Montessori Playroom - 5 Step Toy Storage & Organization

Despite every mom’s best effort to keep the toys and clutter to a minimum, we all know it’s near impossible. From Christmas gifts to birthday gifts to everyday messages from family and friends, toys simply get out of control. And of course, none of us have the heart to throw away our children’s favorites or even those toys that bring back the nostalgia for when they were teeny tiny babes.

So I purposefully designed my daughter, Sofie’s, playroom so that it can accommodate lots of toys, while also still being intentional and fostering creative play. I’ll be honest, curating the right toys took way more than just designing the room, so read on for all of the tips and tricks I use to keep Sofie’s space clean and organized.

montessori-toy-storage.png

Step 1: Choose the right storage

Everyone always asks me where I got these awesome shelves! And the answer is Crate & Barrel. Even though they were so expensive, these Aspect Modular shelving units have been an absolute god-send. I love that you can customize the look you want. Do you have a lot of pretty toys that you want on display? Go with the open shelves. Hate to admit that you have some ugly or less used toys that you just can’t part with? Go with the drawer units to tuck them away. Playroom storage is the number one thing that will make your space look clean and curated. If you’re on a budget, this shelving unit from IKEA, along with some colorful or neutral storage bins can achieve the same effect. The key here is to really think about what you want on display and accessible vs. what you want tucked away.

I knew that I was going to need more storage than just a few shelves and drawers for Sofie’s collection. So I also snagged this awesome kids craft table from Crate & Barrel. I love that this one is super functional for when she’s old enough to sit and color or play a game. But for now, it’s an amazing way to store extra books and toys that won’t fit in her shelves. These shelves are also super accessible — she can pull toys and books out no problem and it’s easy for me to tuck them back away again.

Quick tips:

  • Use modular furniture so that as your kids age, you can rearrange and reuse as needed

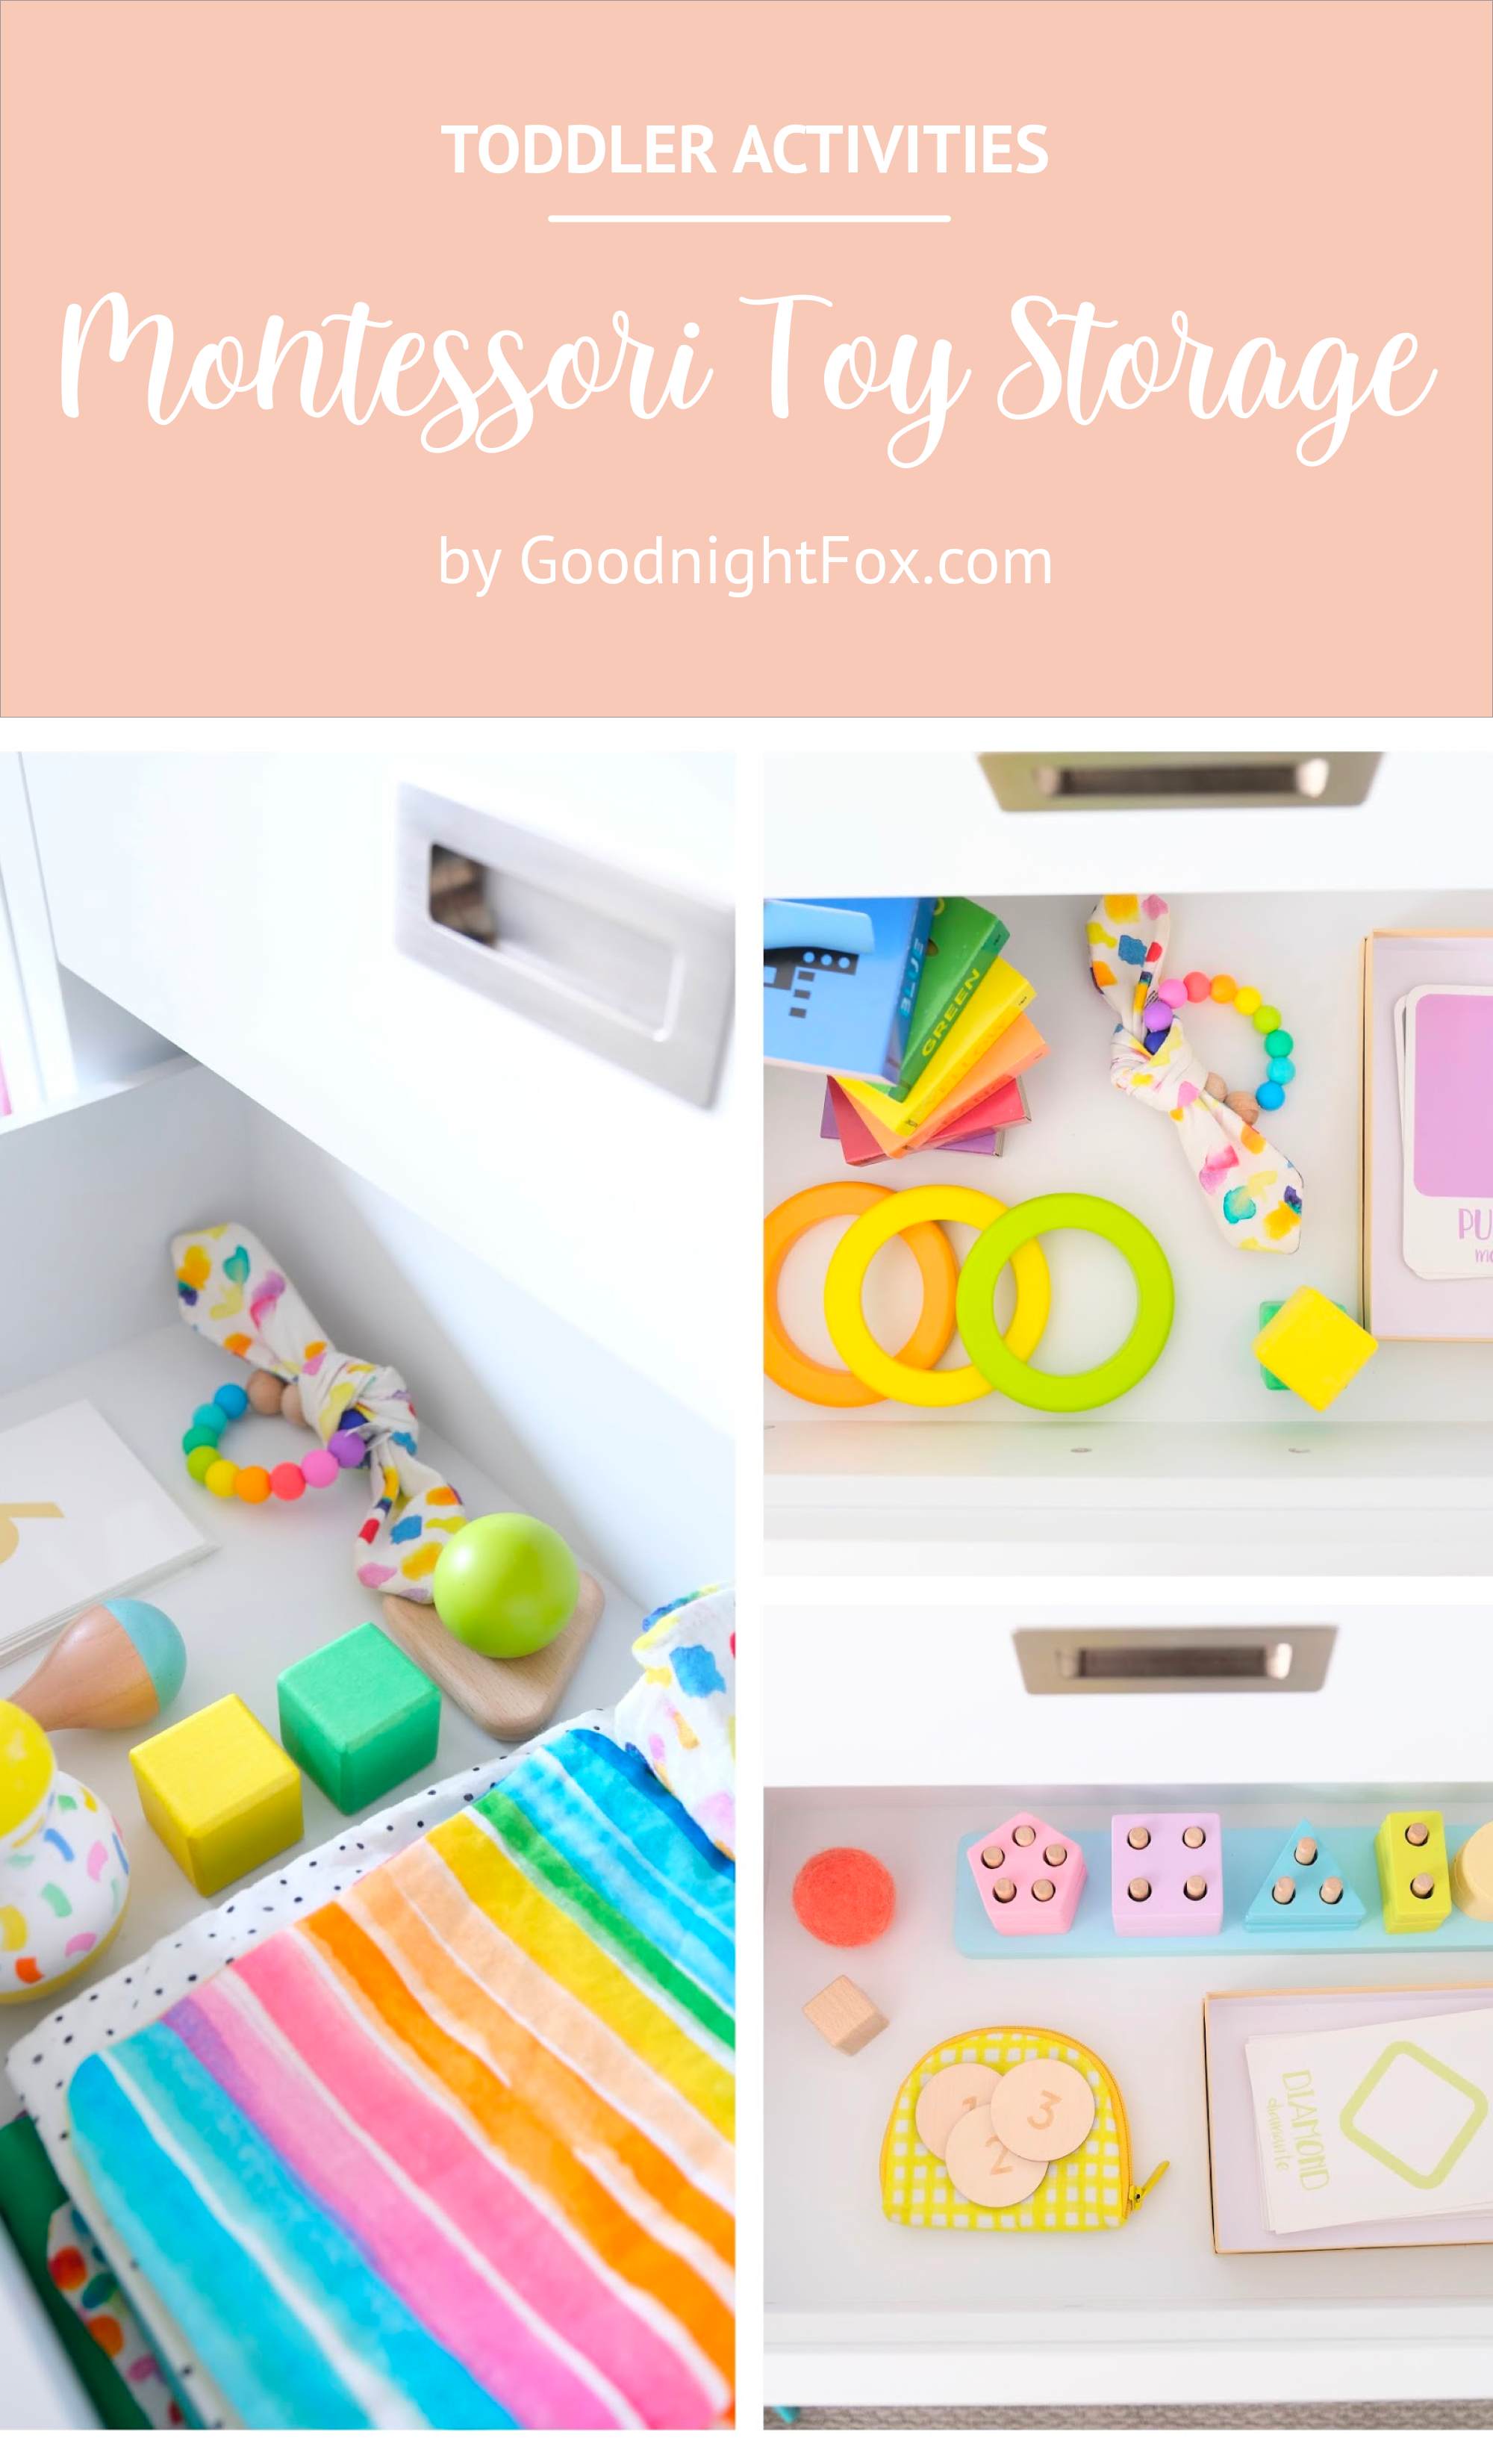
Step 2: Organize open shelves

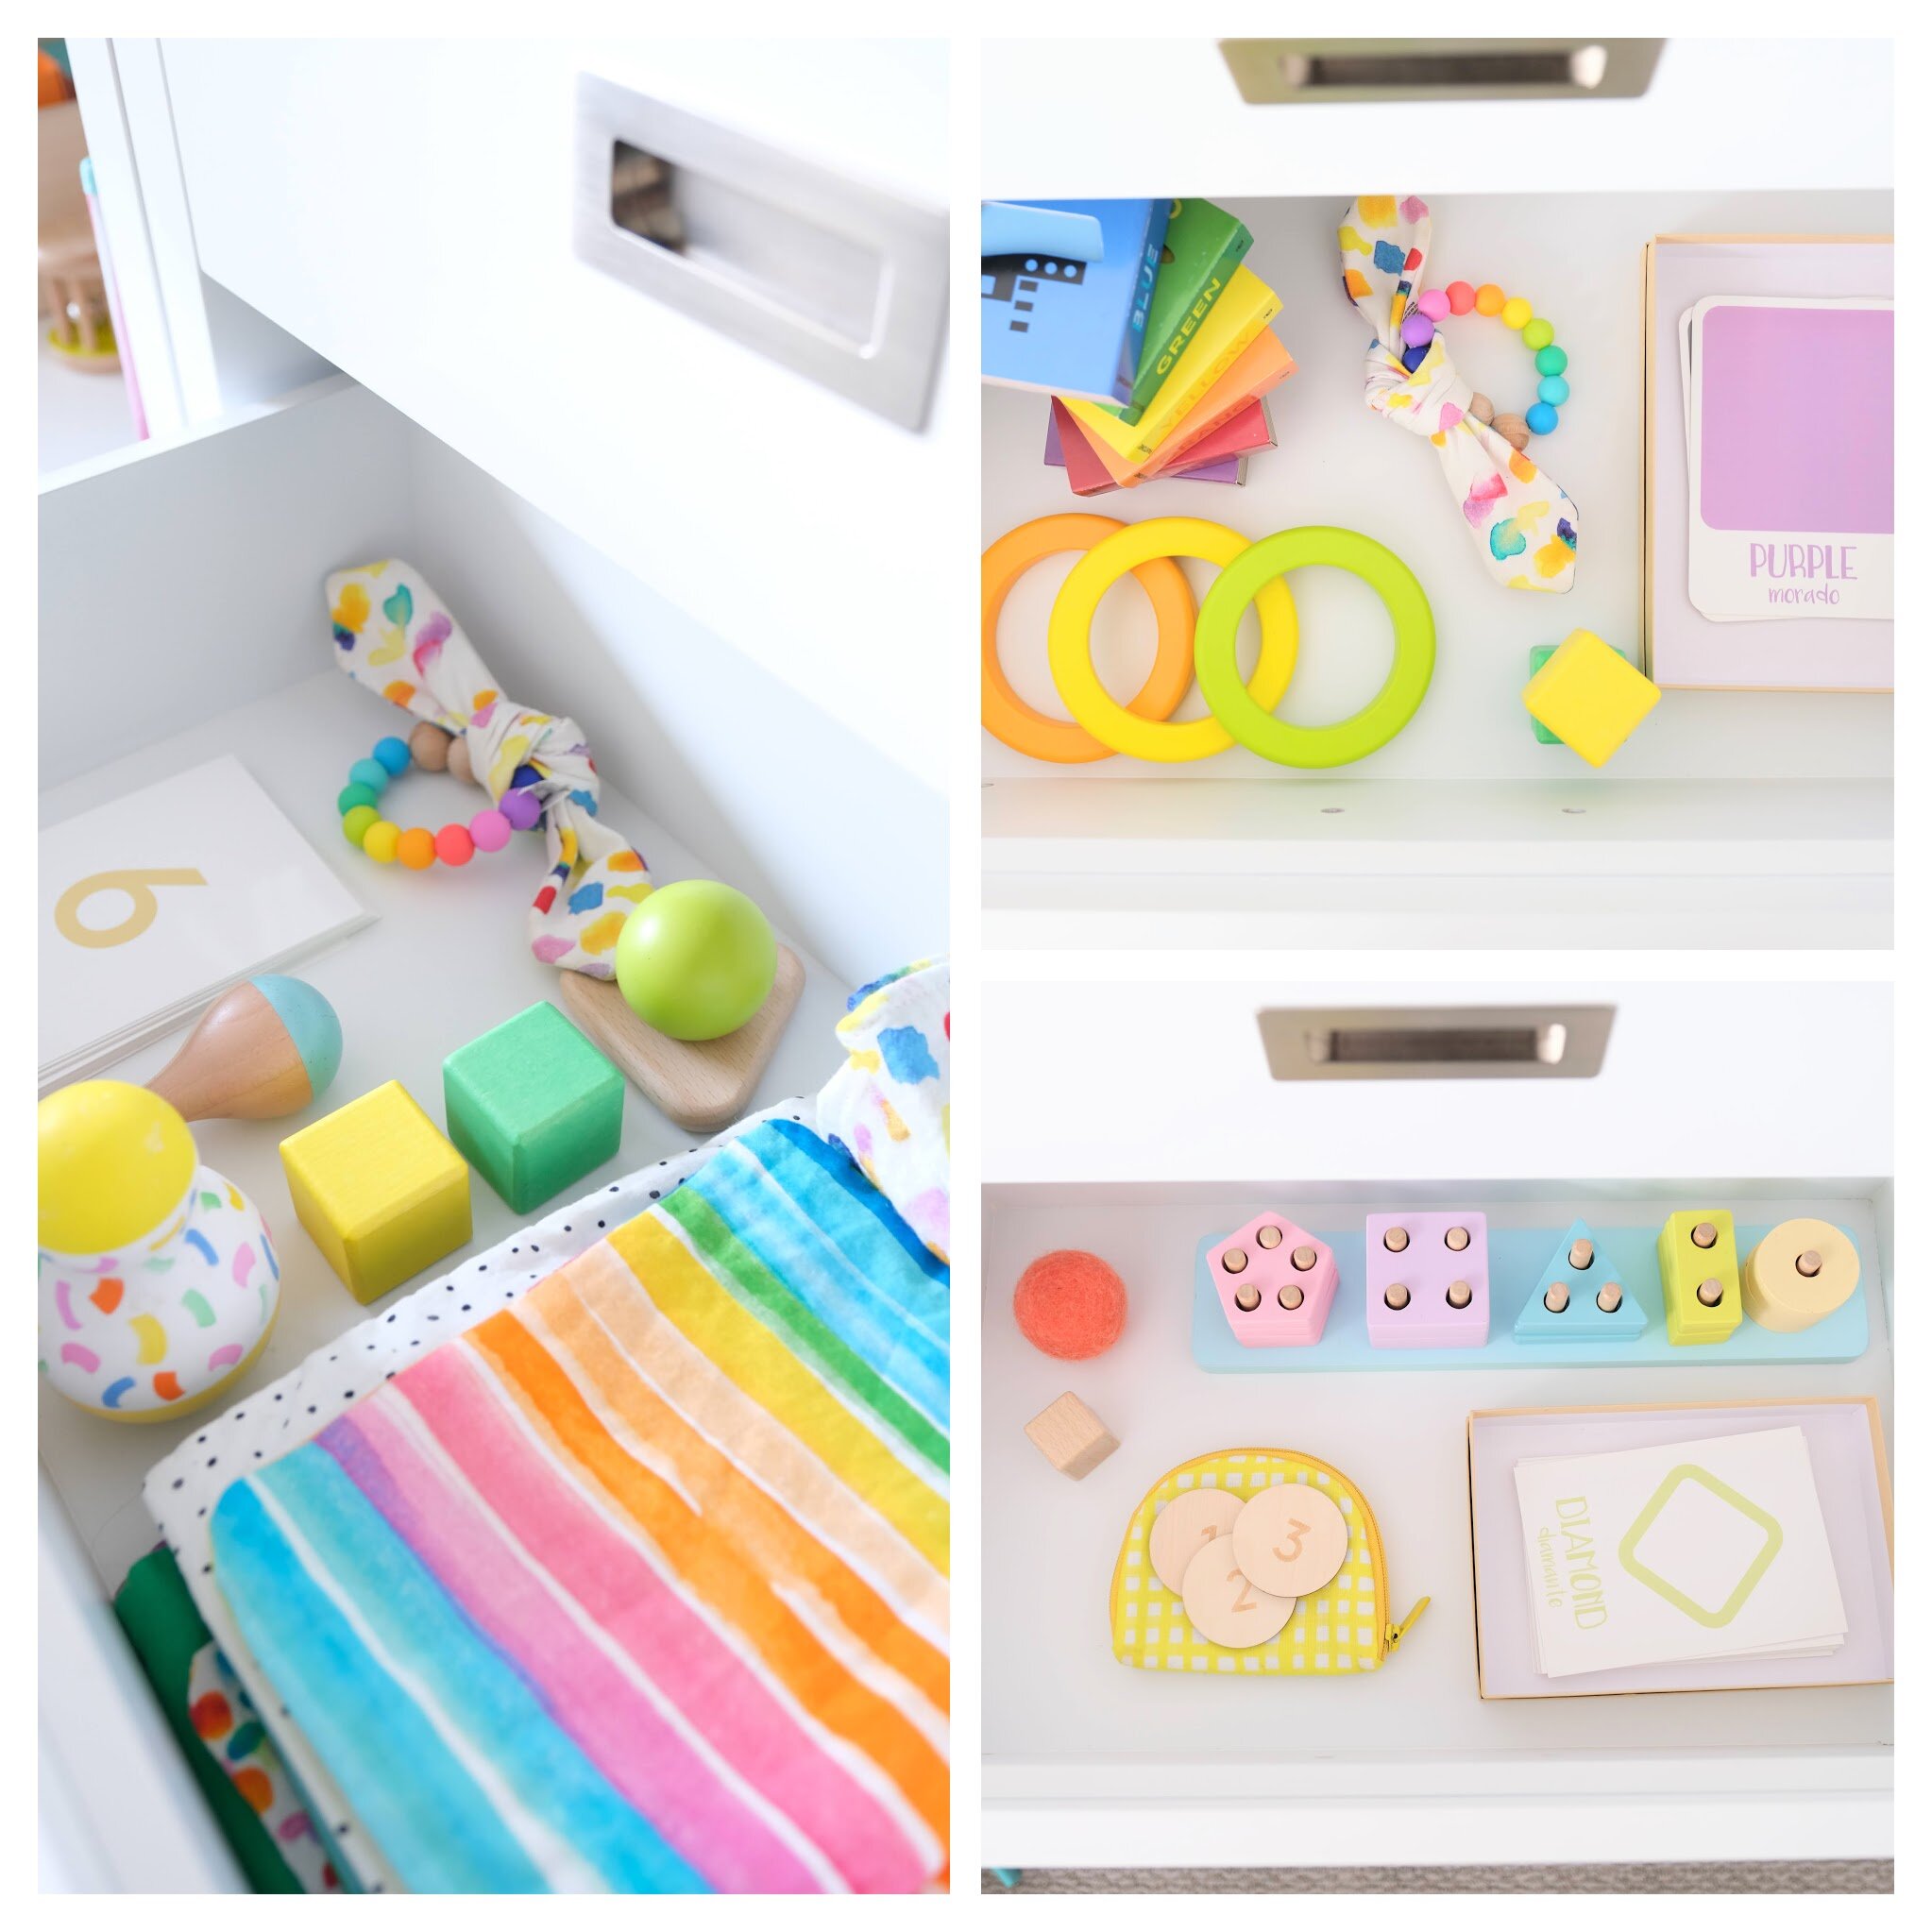
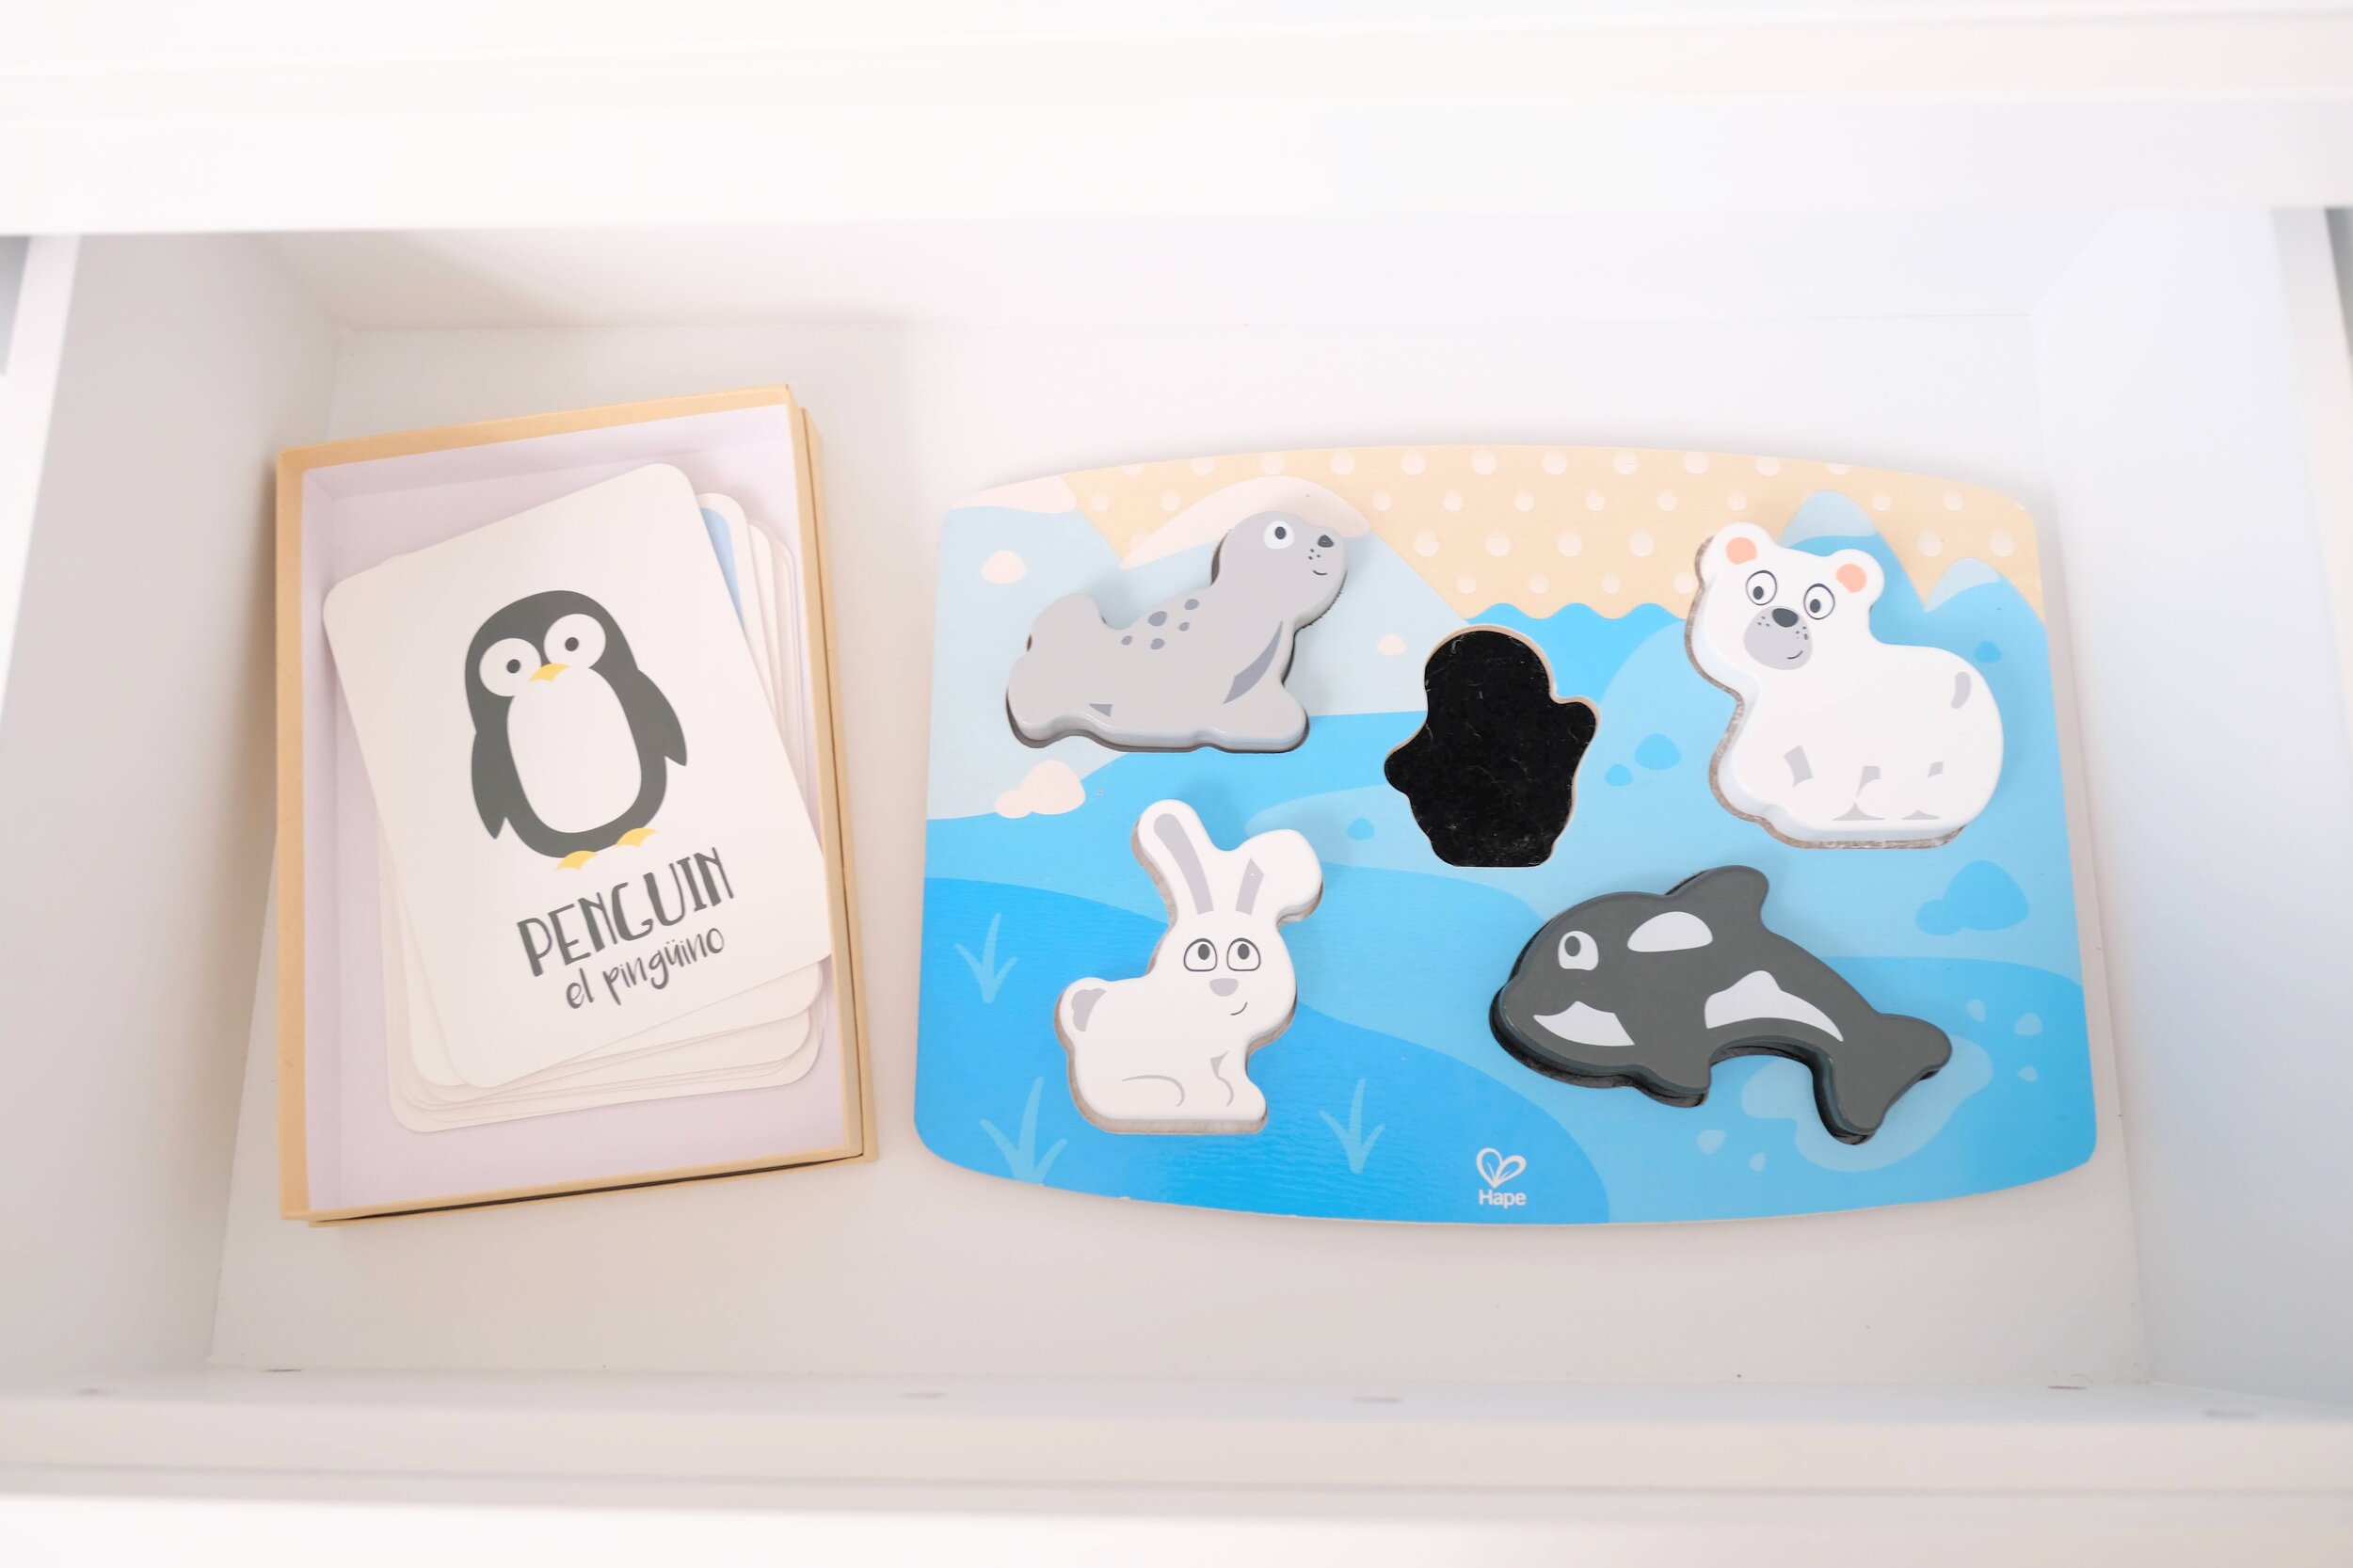
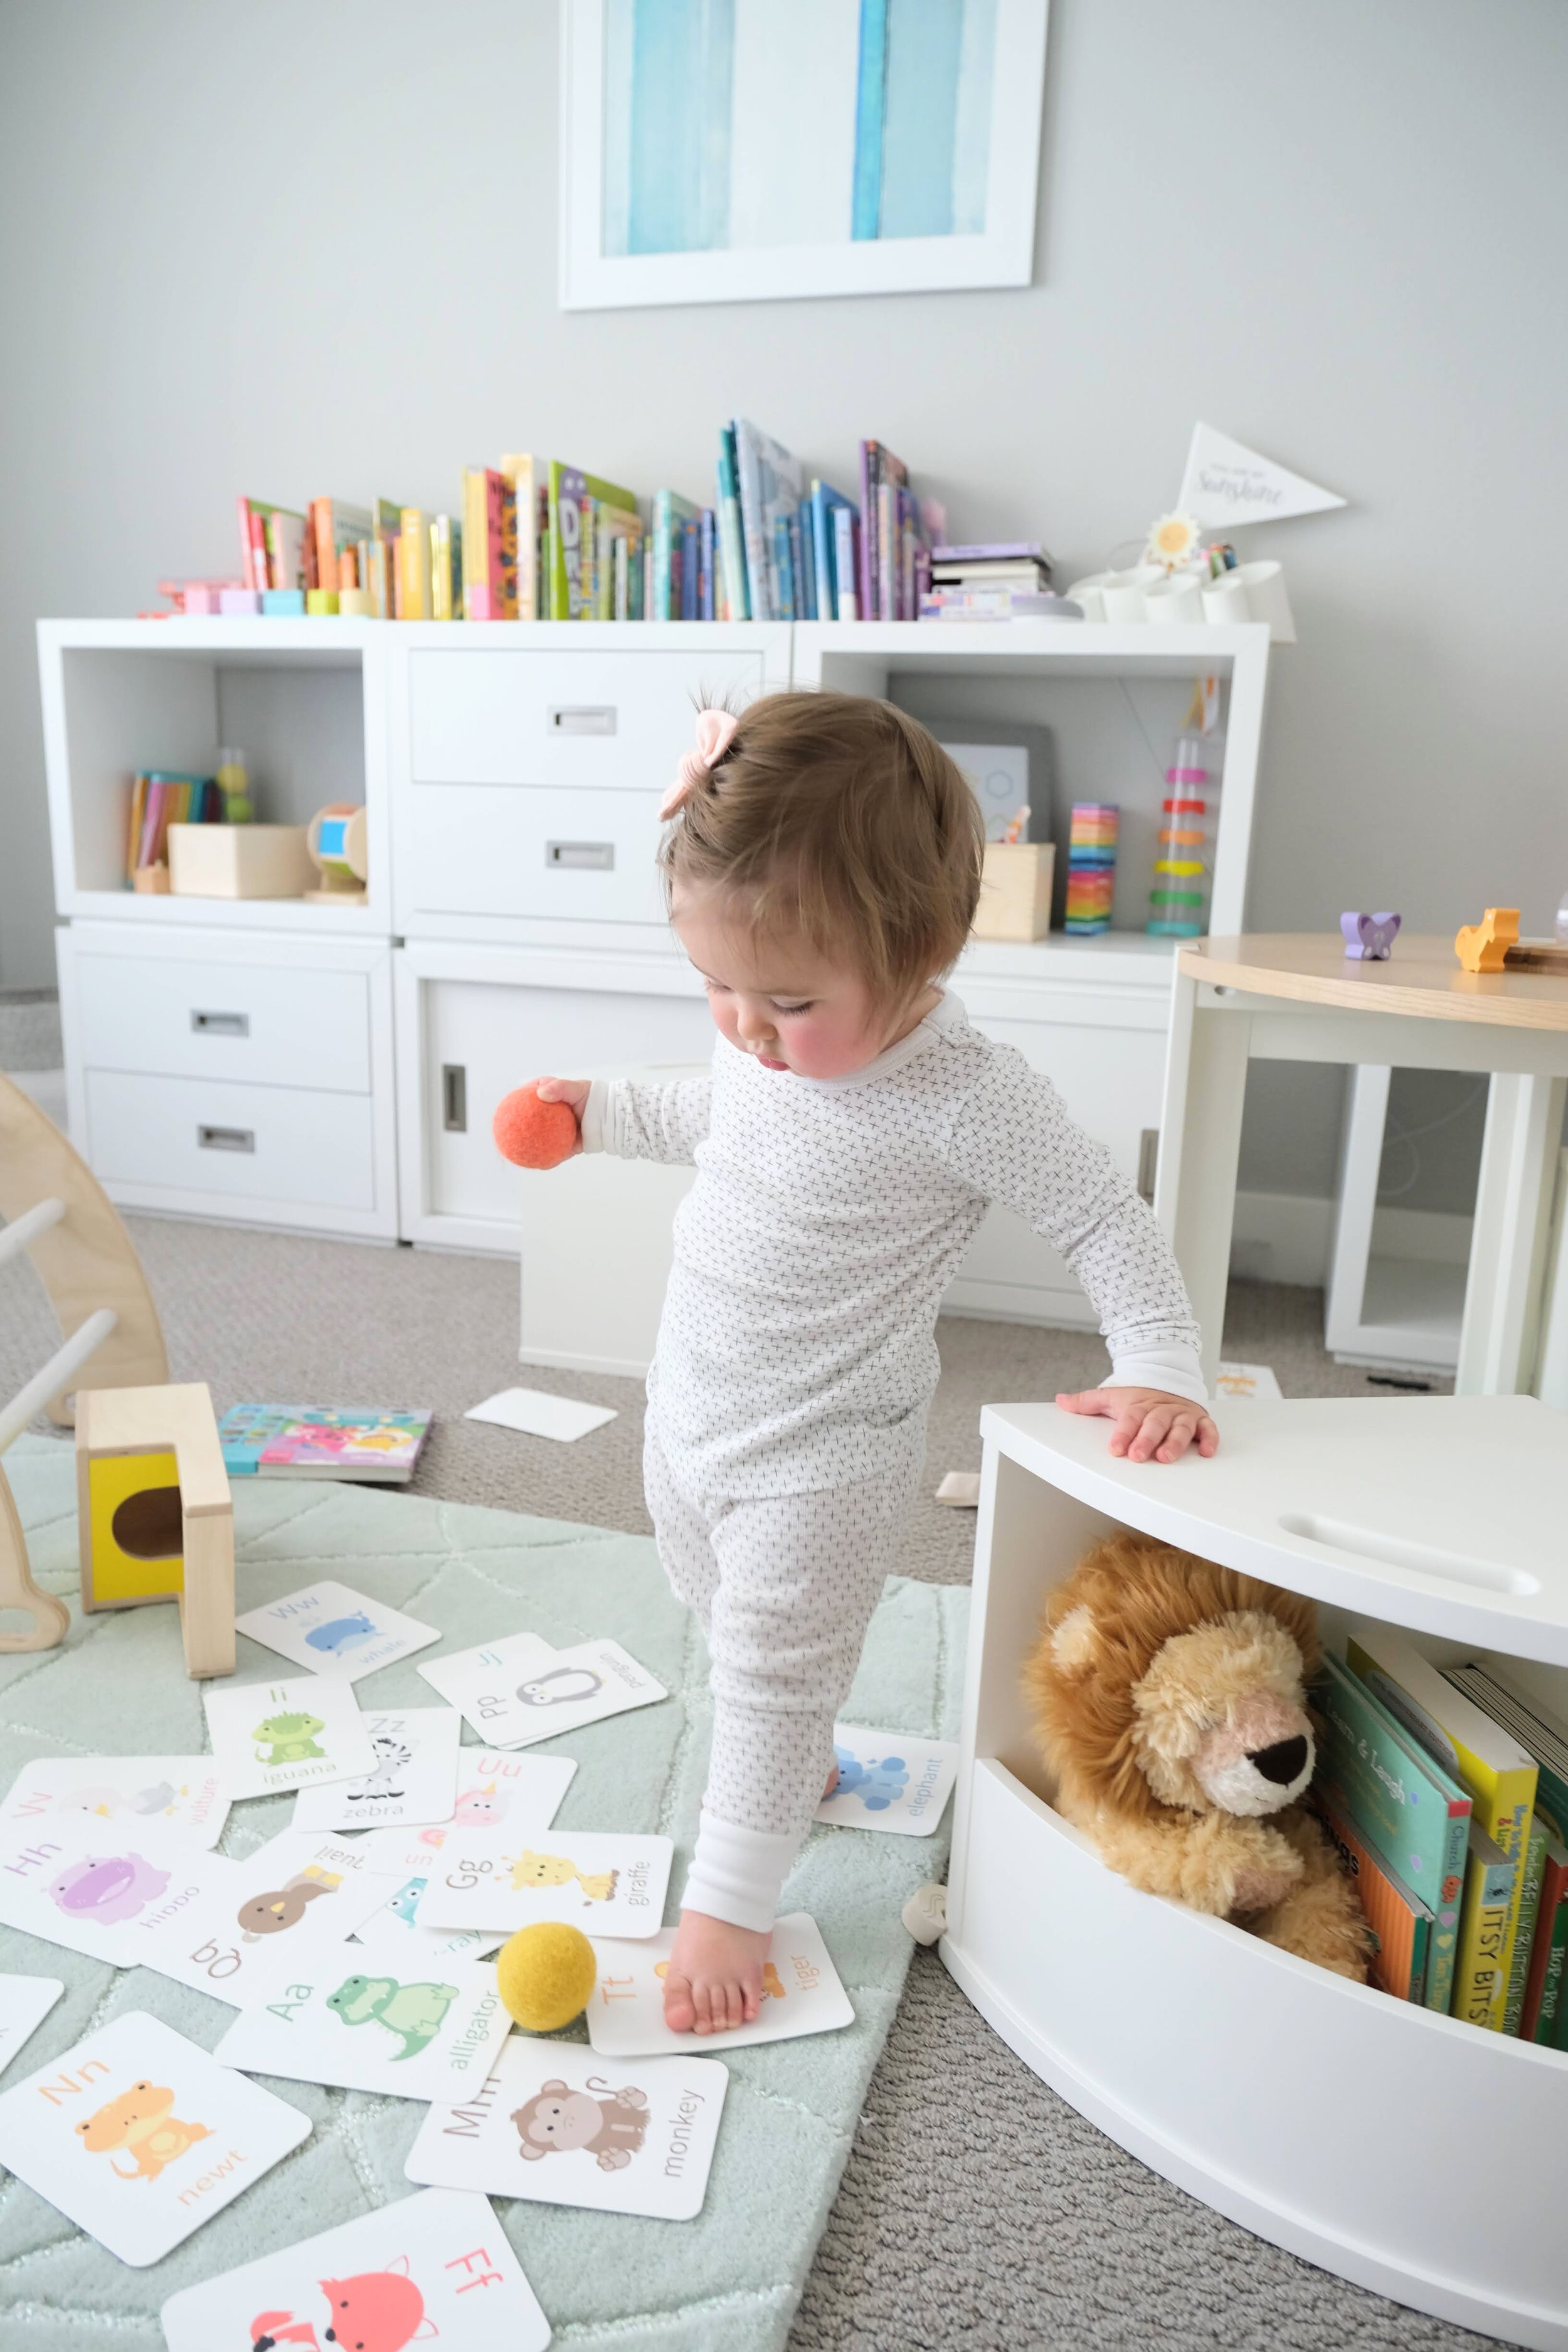
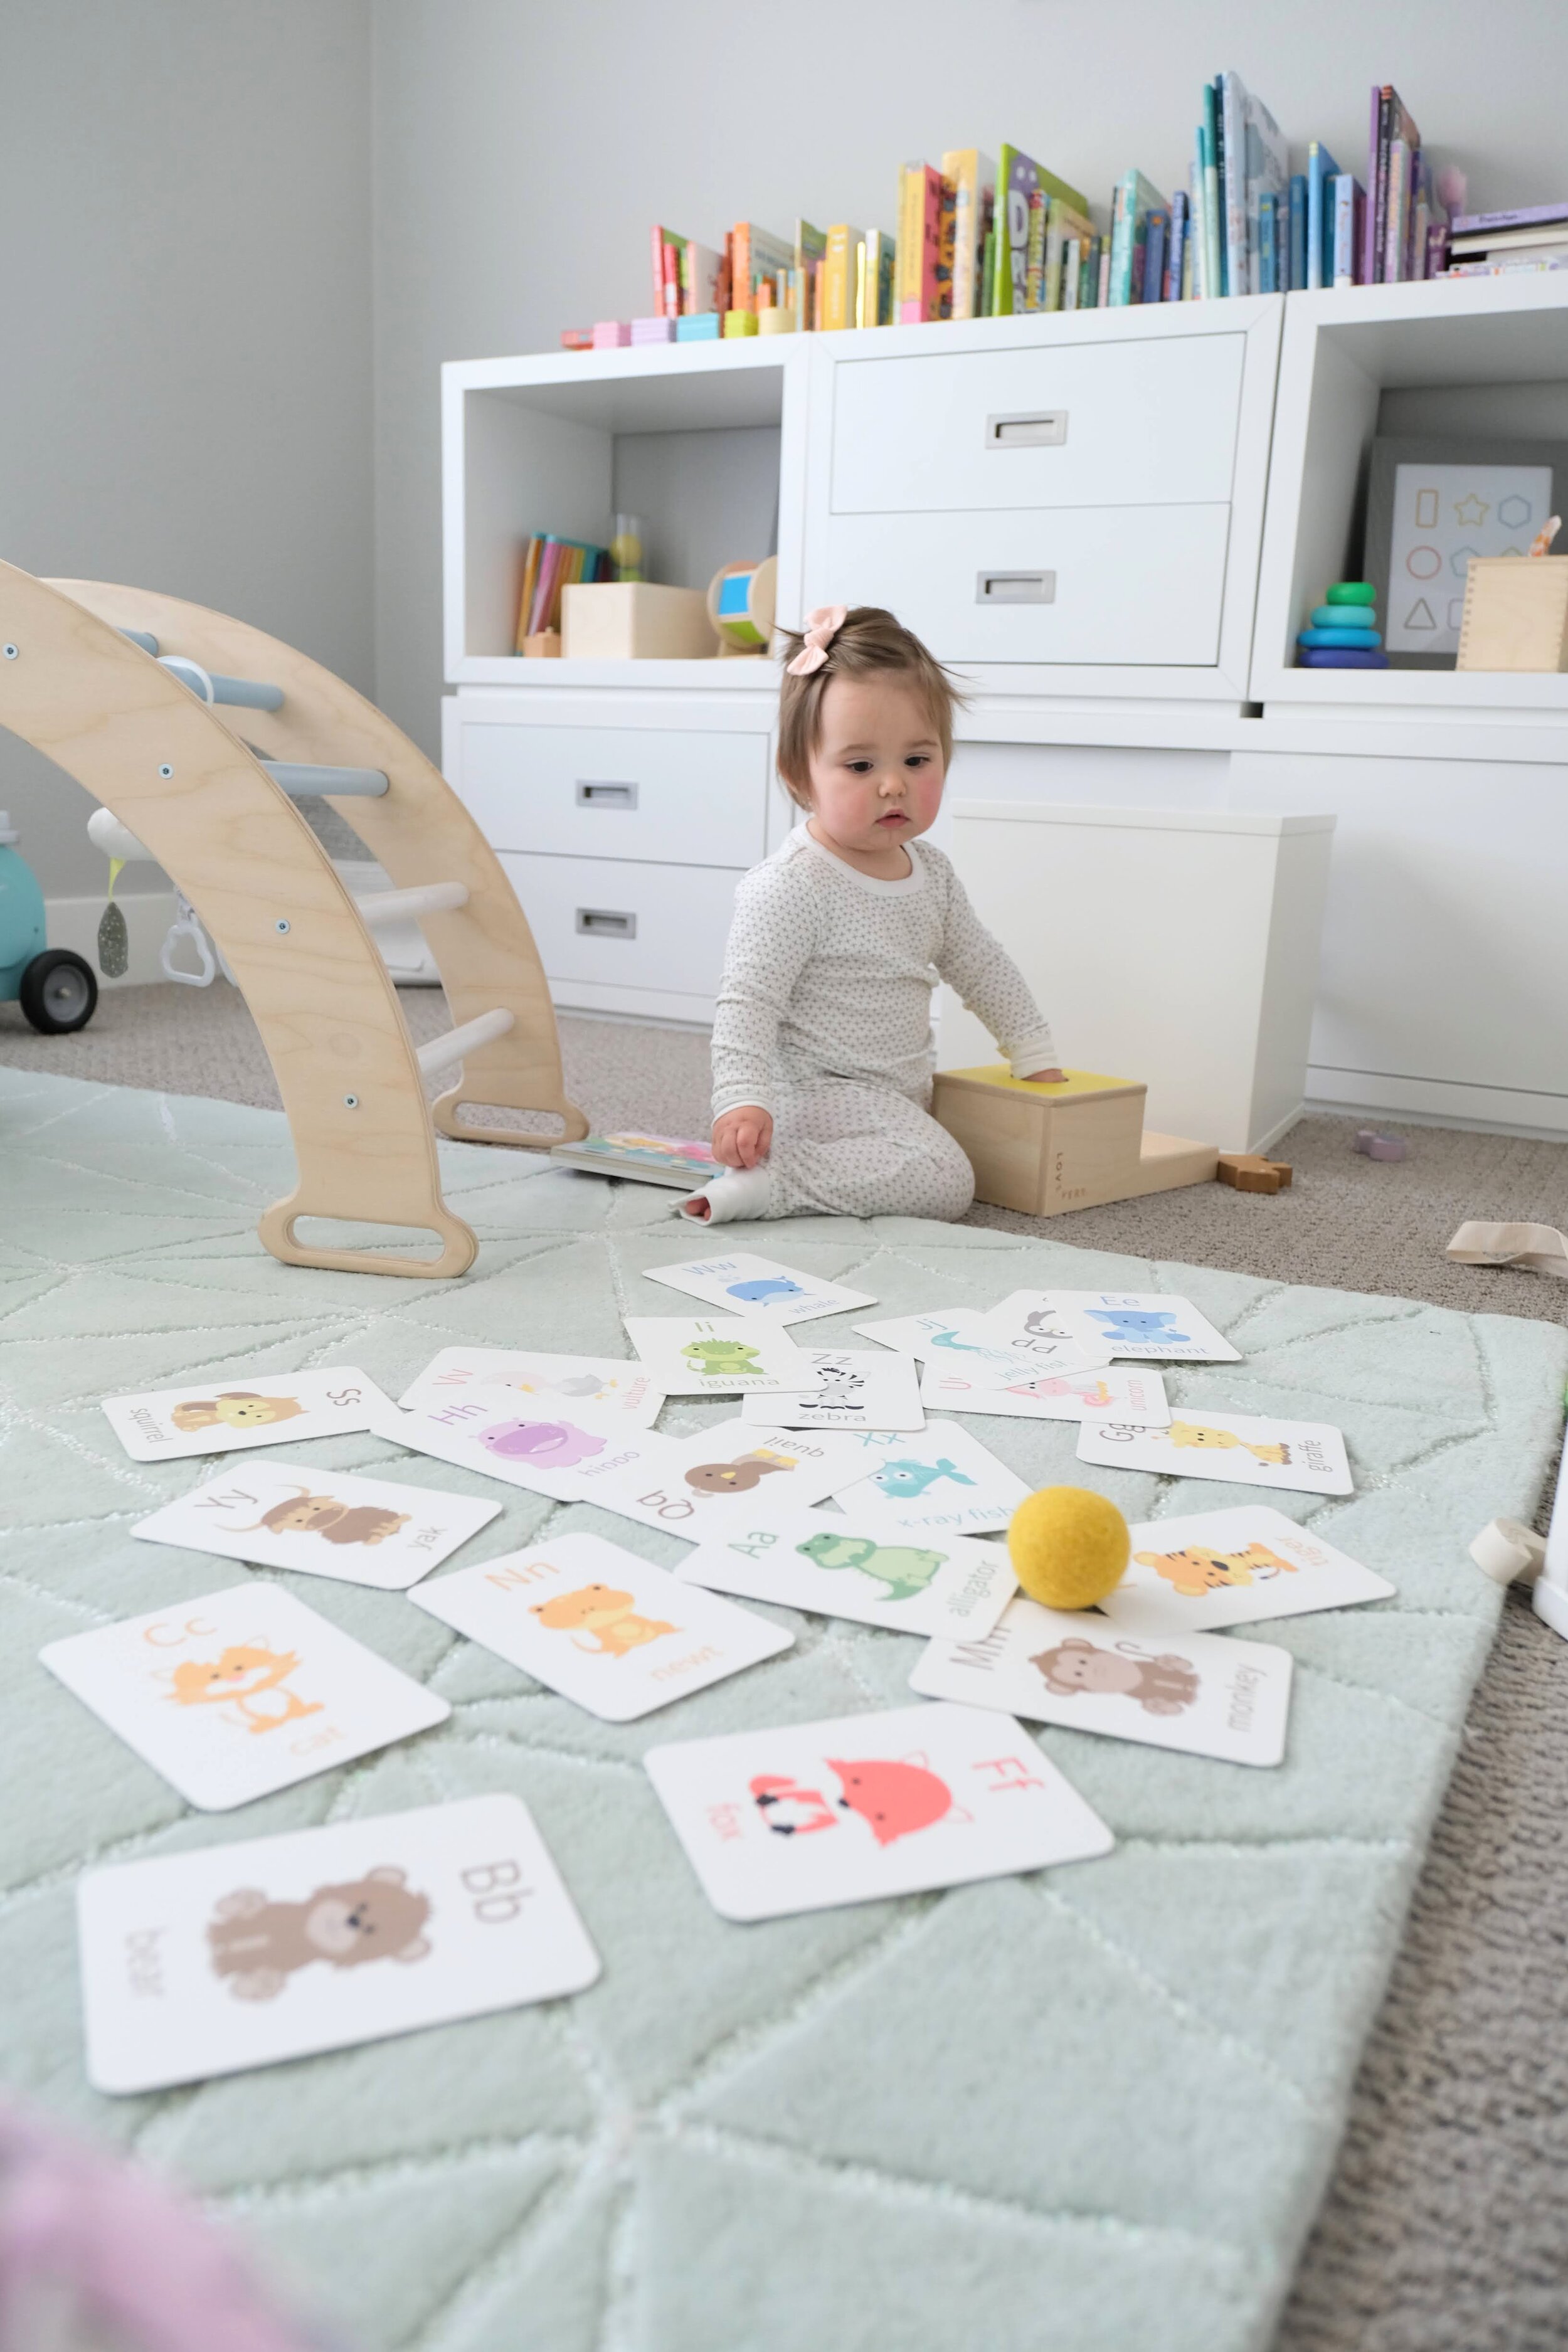
If you want your space to look clean and modern, you have to take great care to curate the open shelves. But it’s not all form over function. These are also the shelves that are most accessible to your kiddos. So look for a combination of toys that get a lot of use, and also look nice and match the overall color scheme you’re going for.

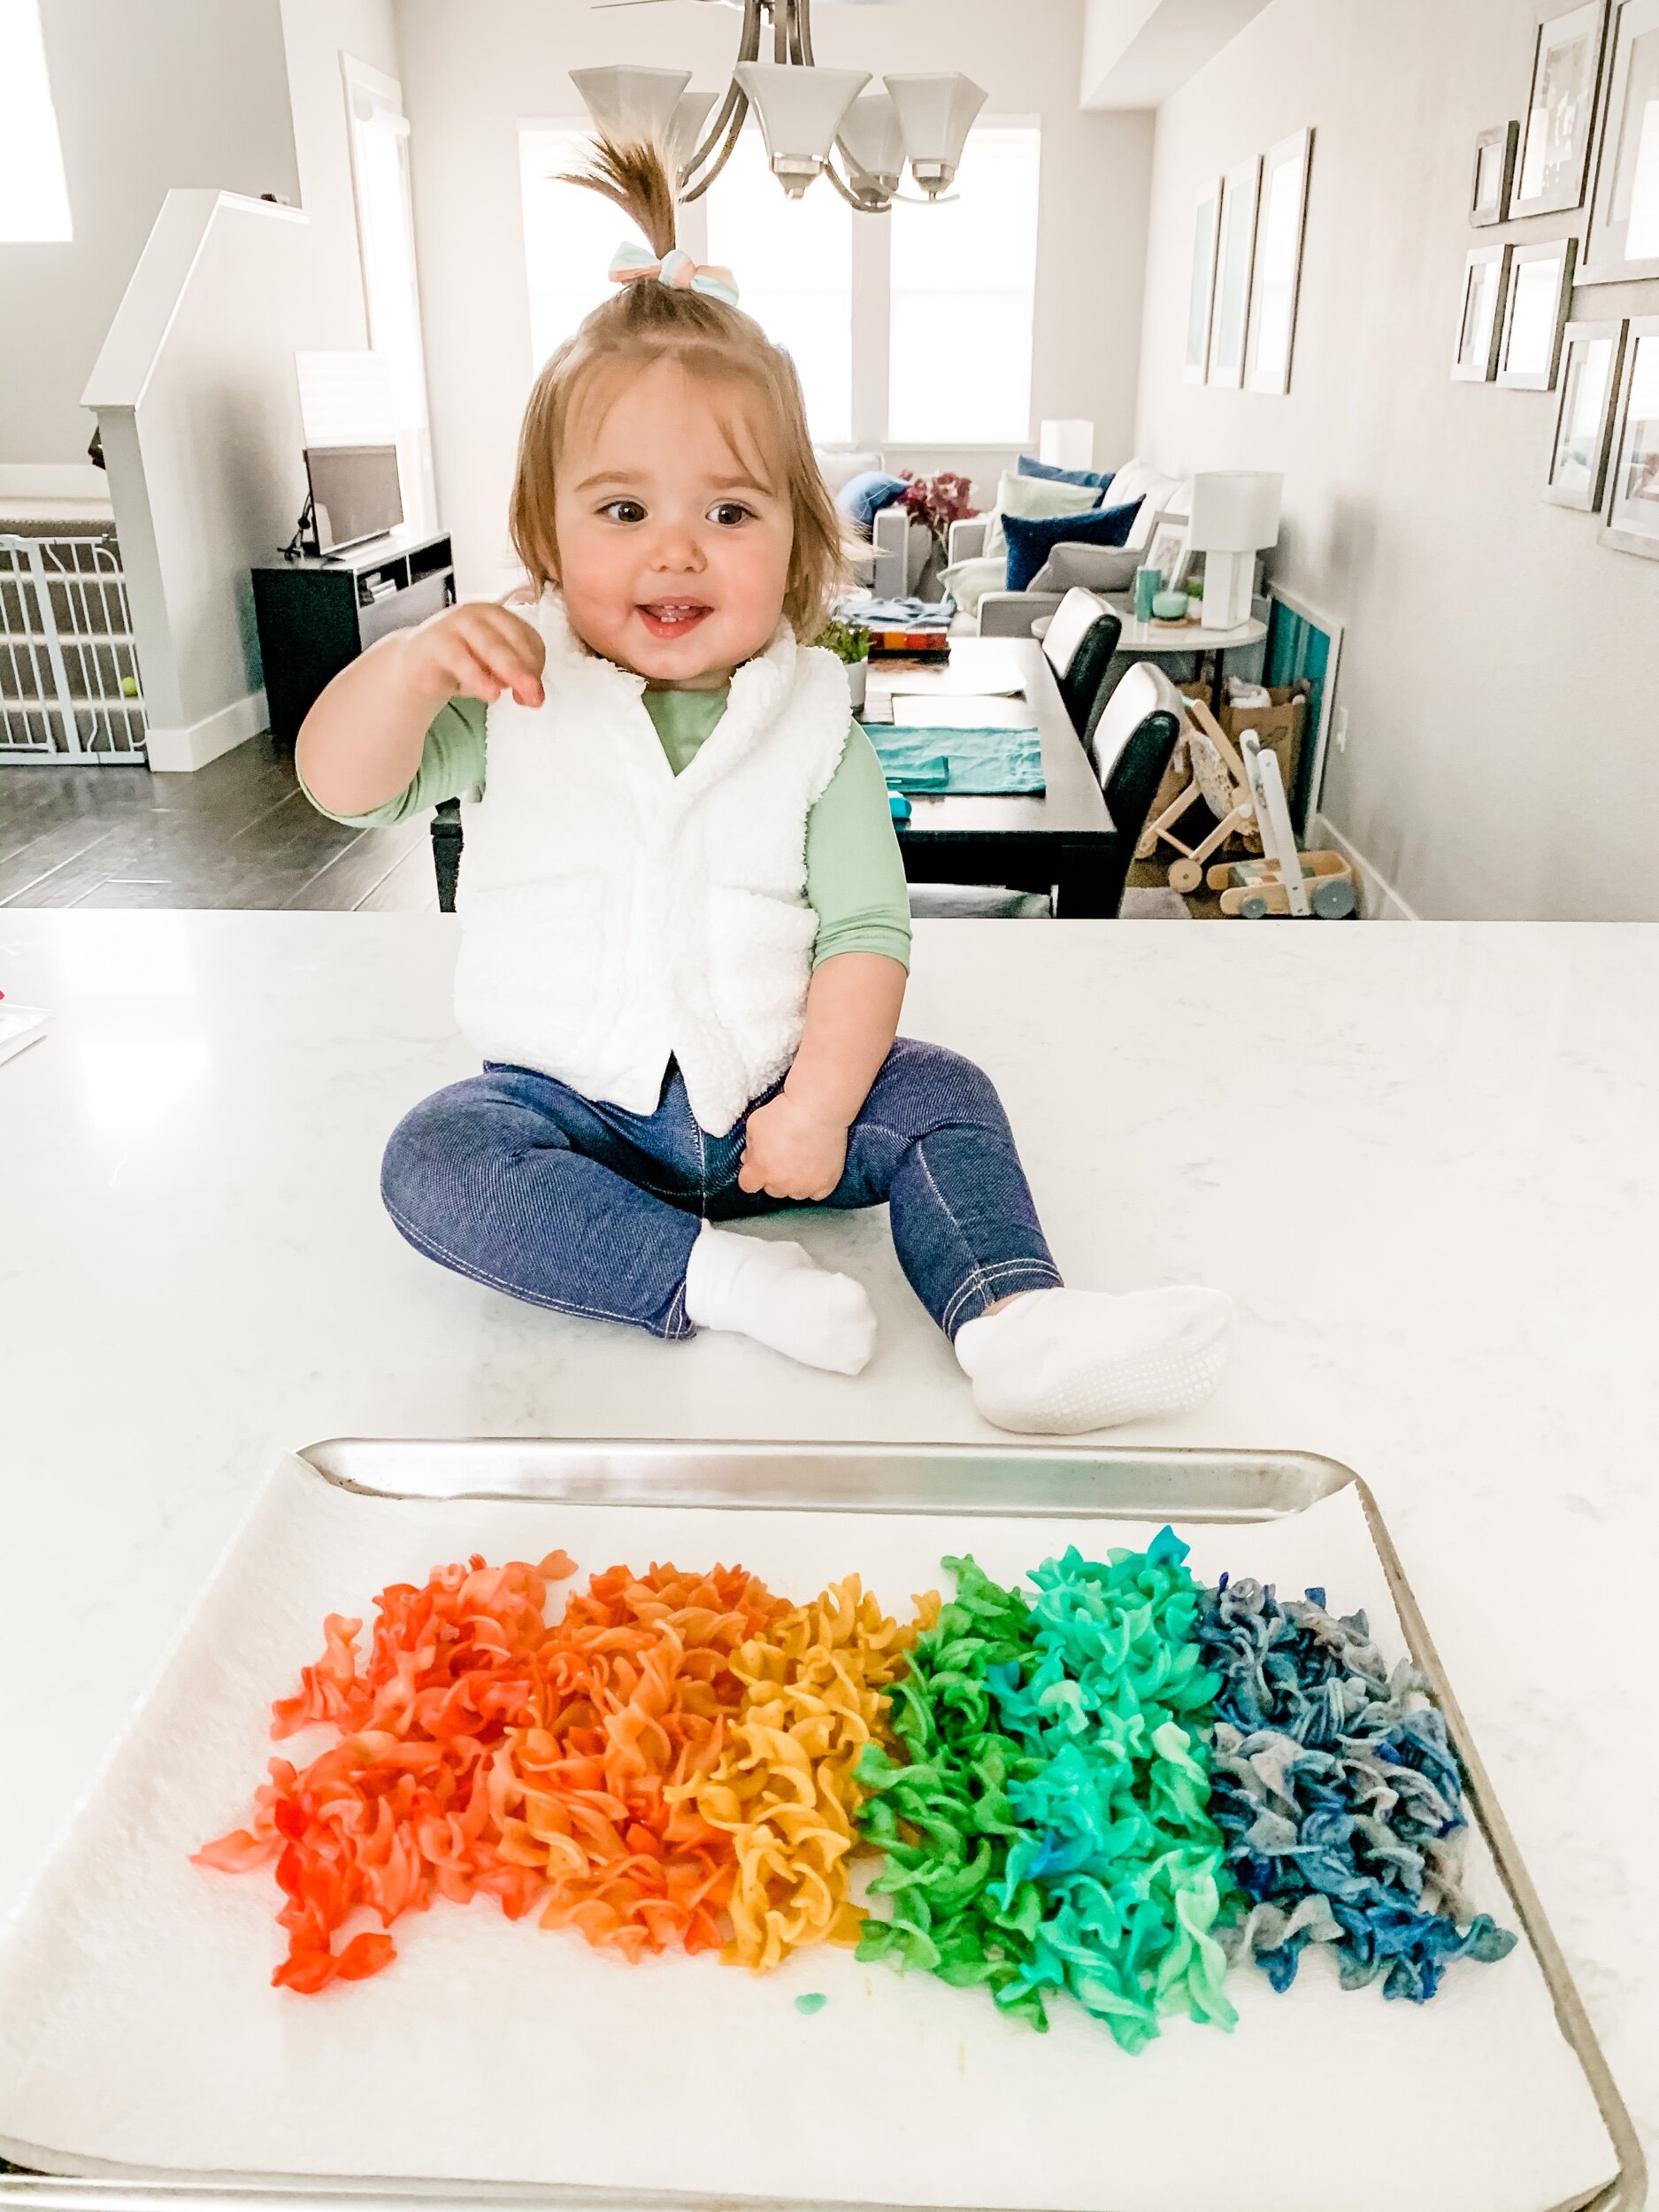
Obviously the rainbow playroom is a common color scheme — and one that I actually fought so hard against. But as I collected more and more toys, it pretty much became the default. Sofie has a toy subscription to Lovevery which we absolutely love because it puts the toy buying on auto-pilot. We don’t have to research toys specific to her age, we just enjoy what arrives in the mail each month. Pro tip: You can sign up to have friends gift or contribute to your box subscription! This is an AMAZING way to make sure that when you’re getting gifts, you’re getting things you actually need and things that you want and will look great in your space.

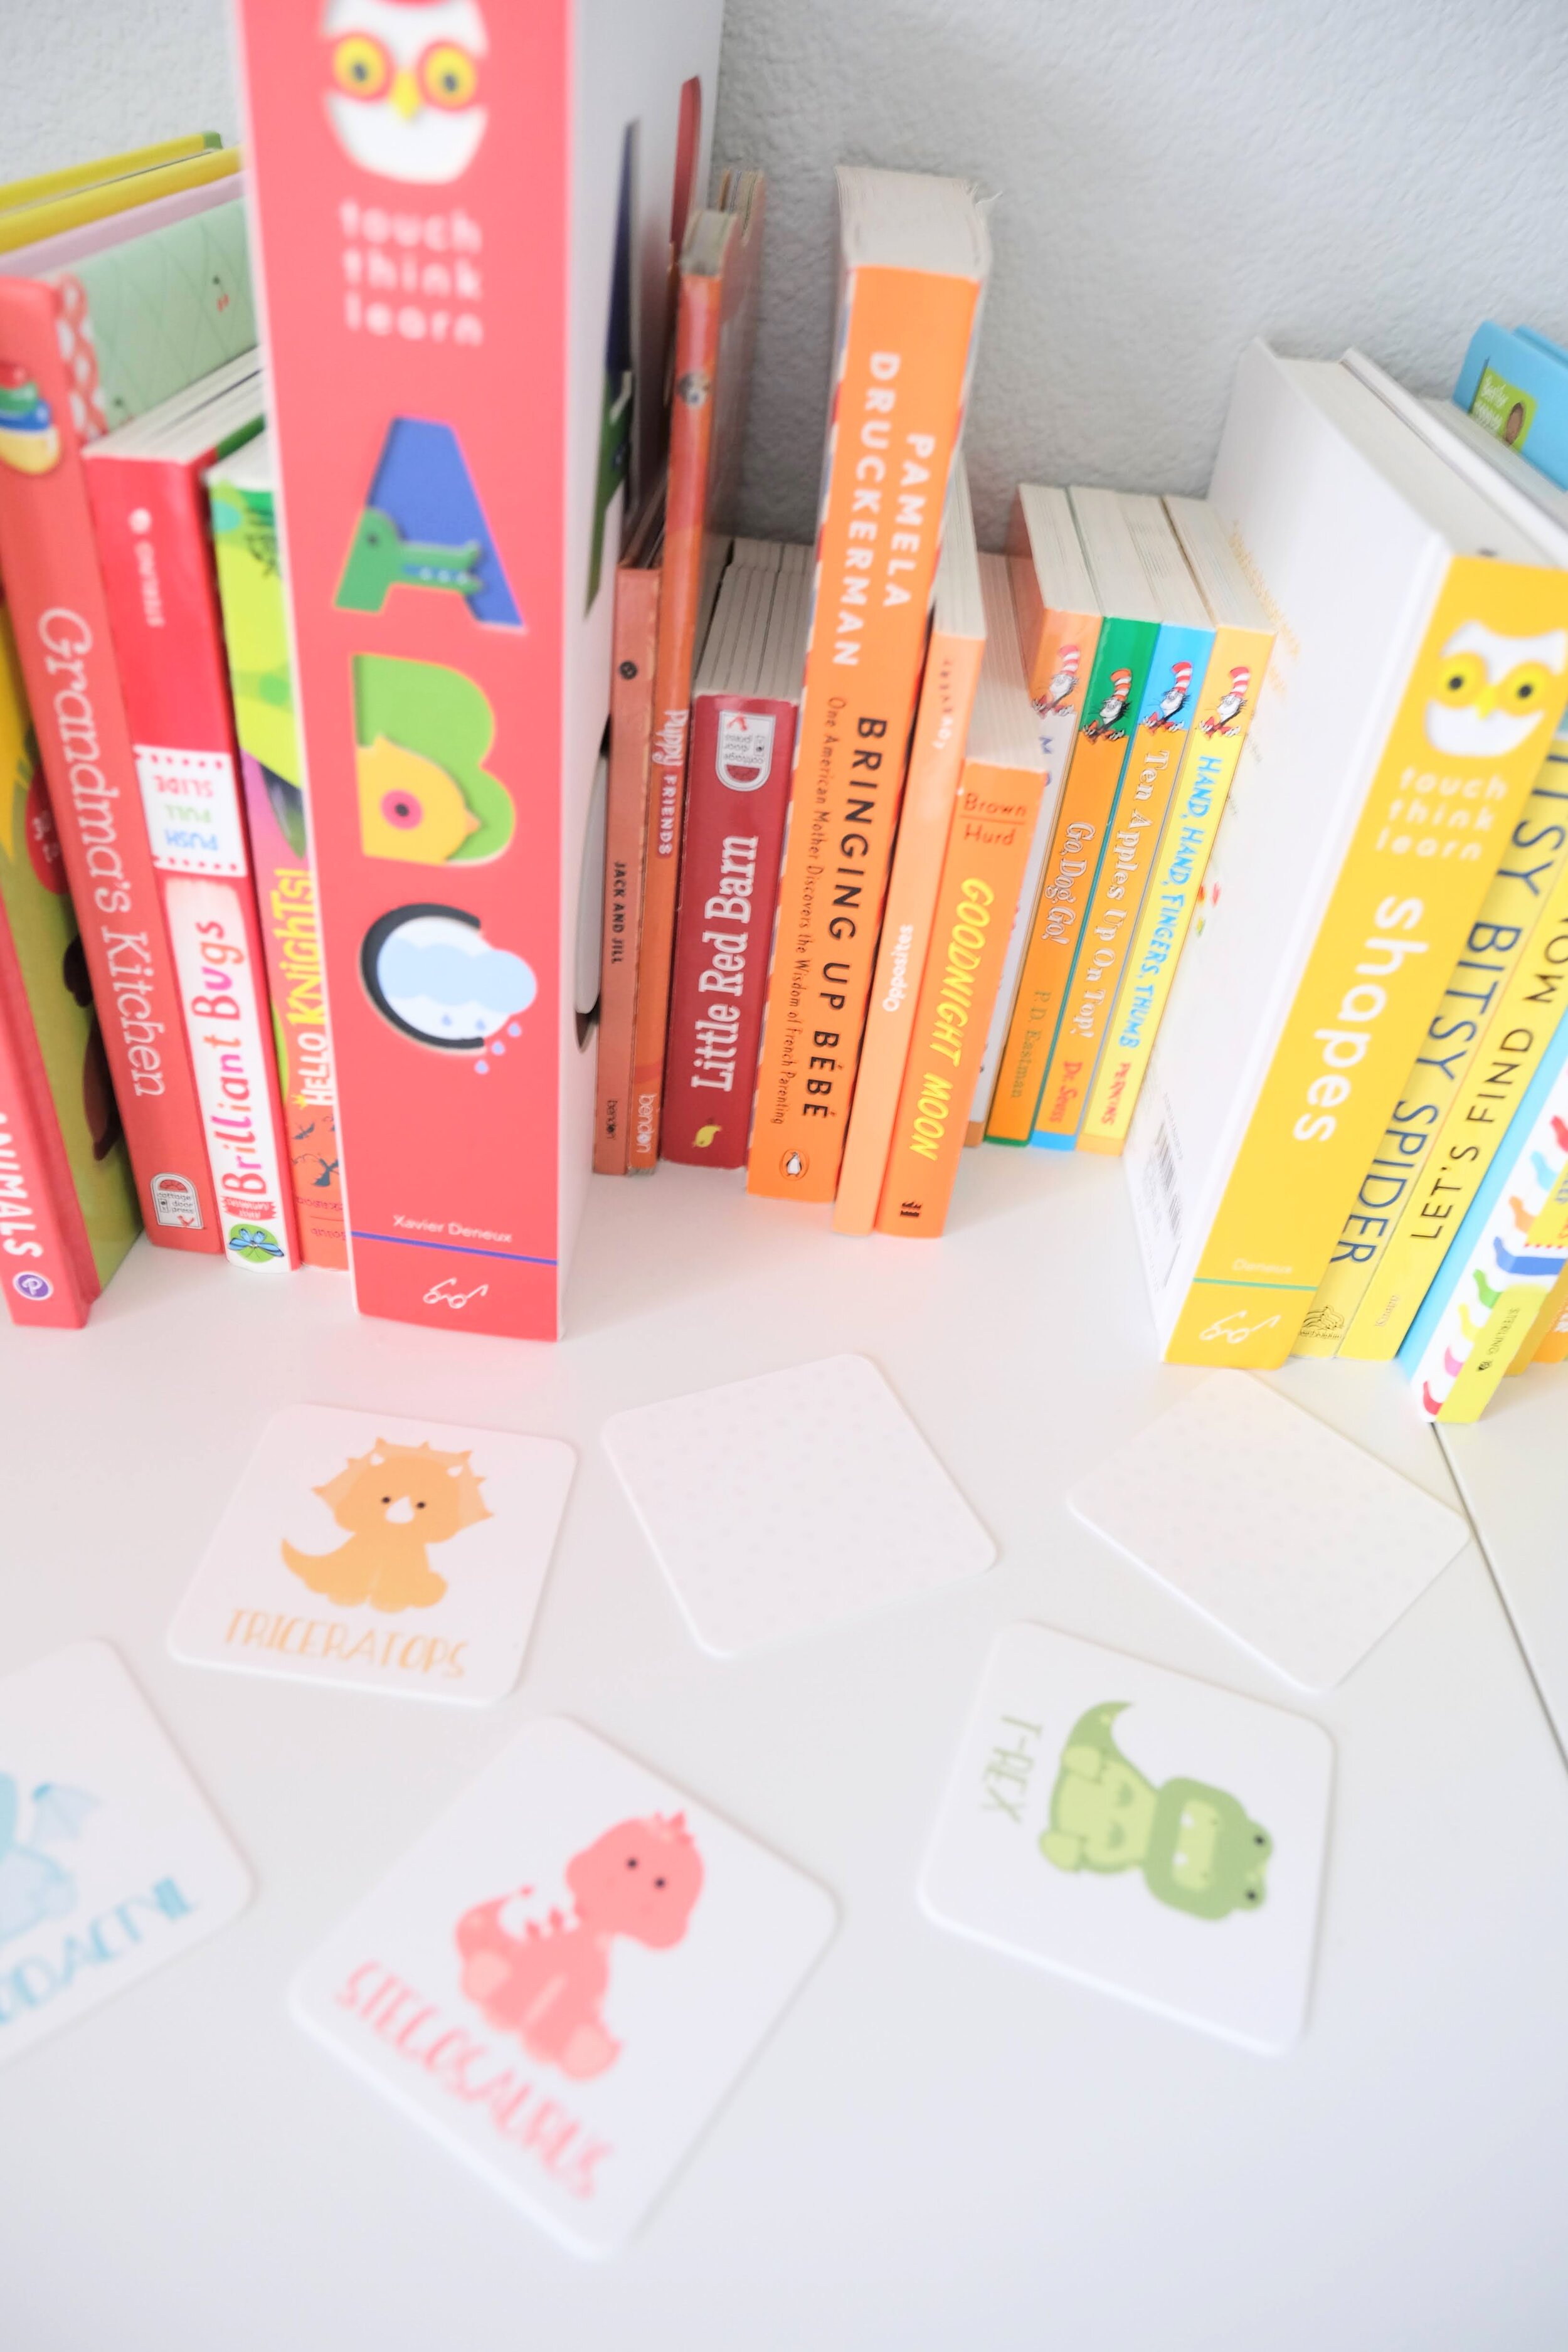
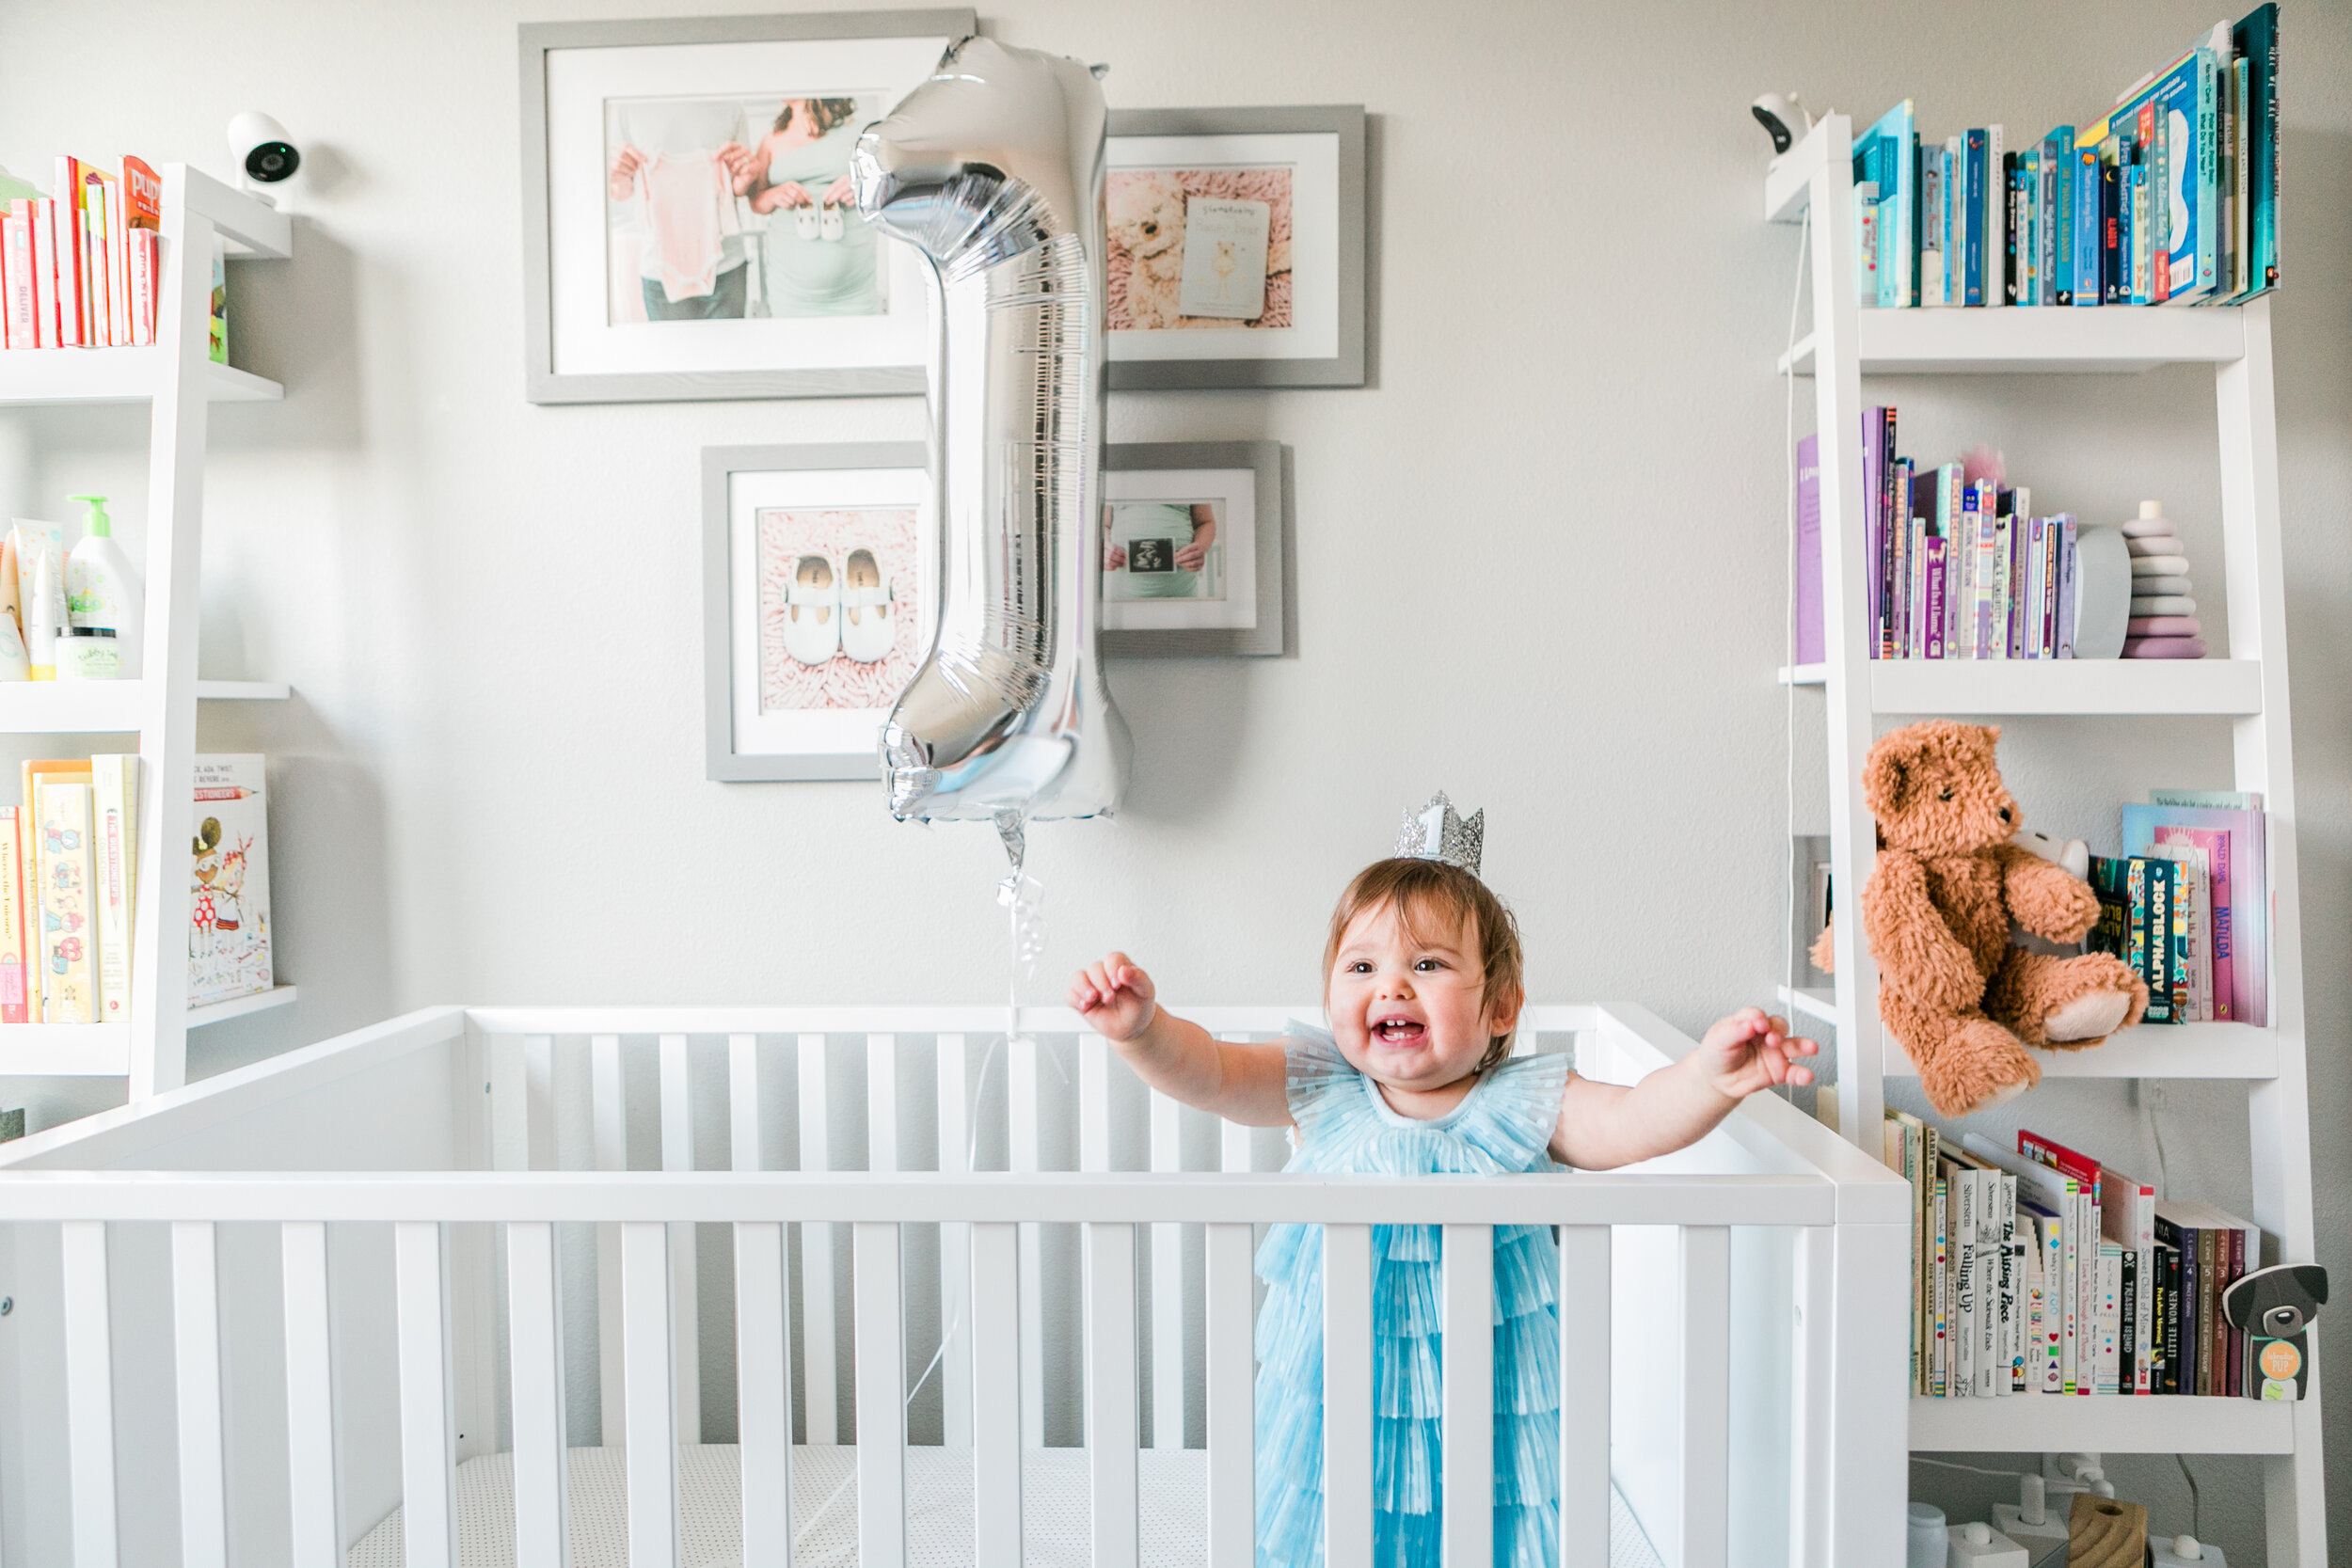
You’ll also want to balance the shelves looking full, but also giving them room to breathe. This works two fold — you want to make sure your child is playing with intention and not just grabbing absolutely everything on the floor. Per the Montessori method, intentional play starts with one toy or activity at a time and exploring it to its fullest. At the same time, if your shelves look empty or you can see a lot of open wall space, it won’t look like the optimal storage solution for what you have. To fill my shelves, but still keep them open and airy, I framed some GoodnightFox Playroom art which gives a nice colorful background and height to the shorter toys in the shelf.

Quick tips:

  • Have friends & family contribute to a toy subscription to keep everything looking cohesive and to optimize for the right toys for your child’s age

  • Use playroom art to add height to shelves with short toys

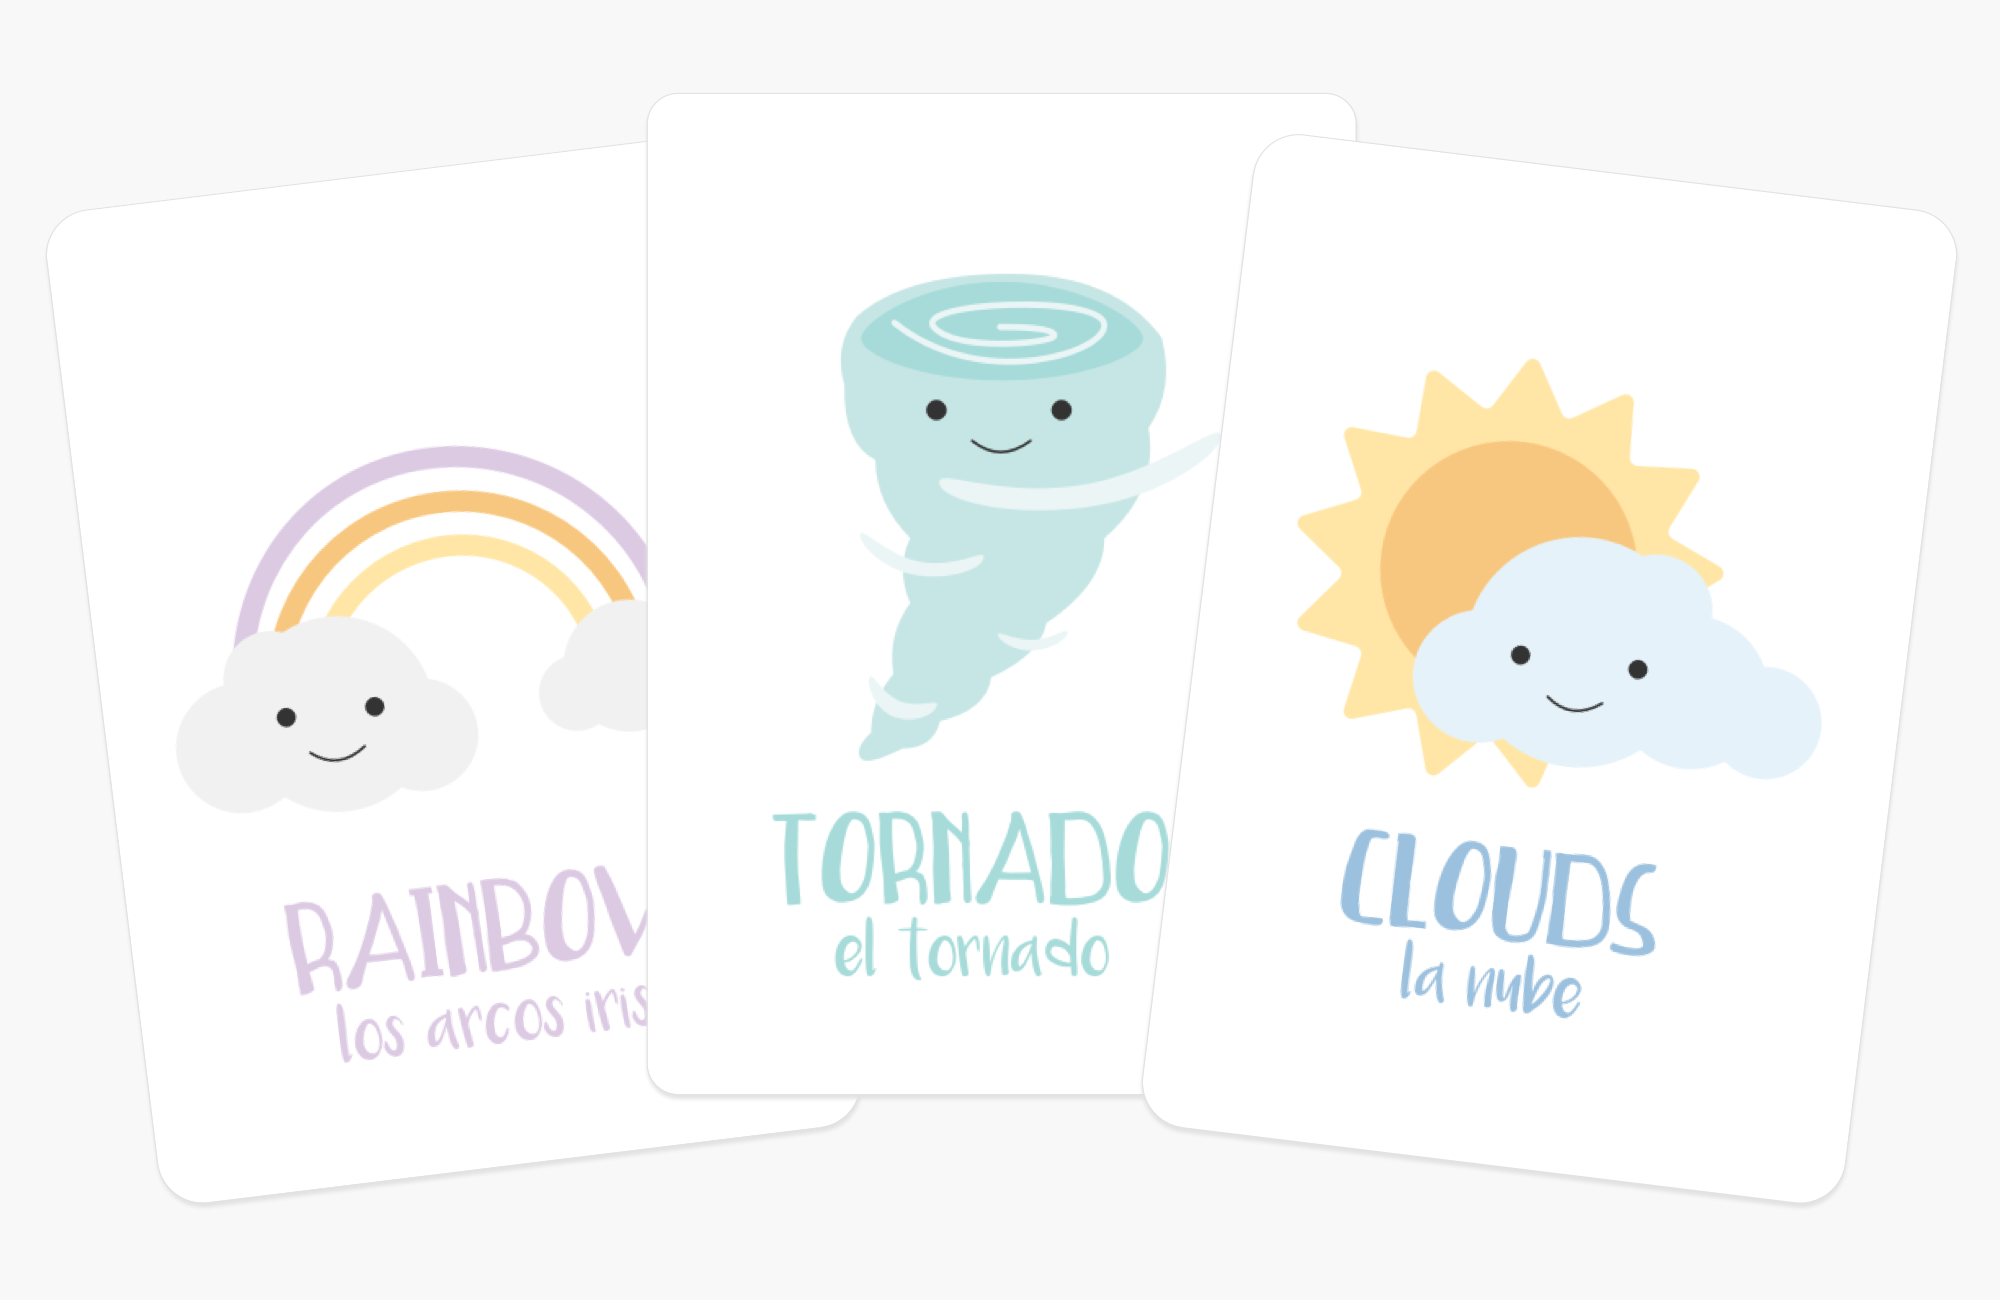
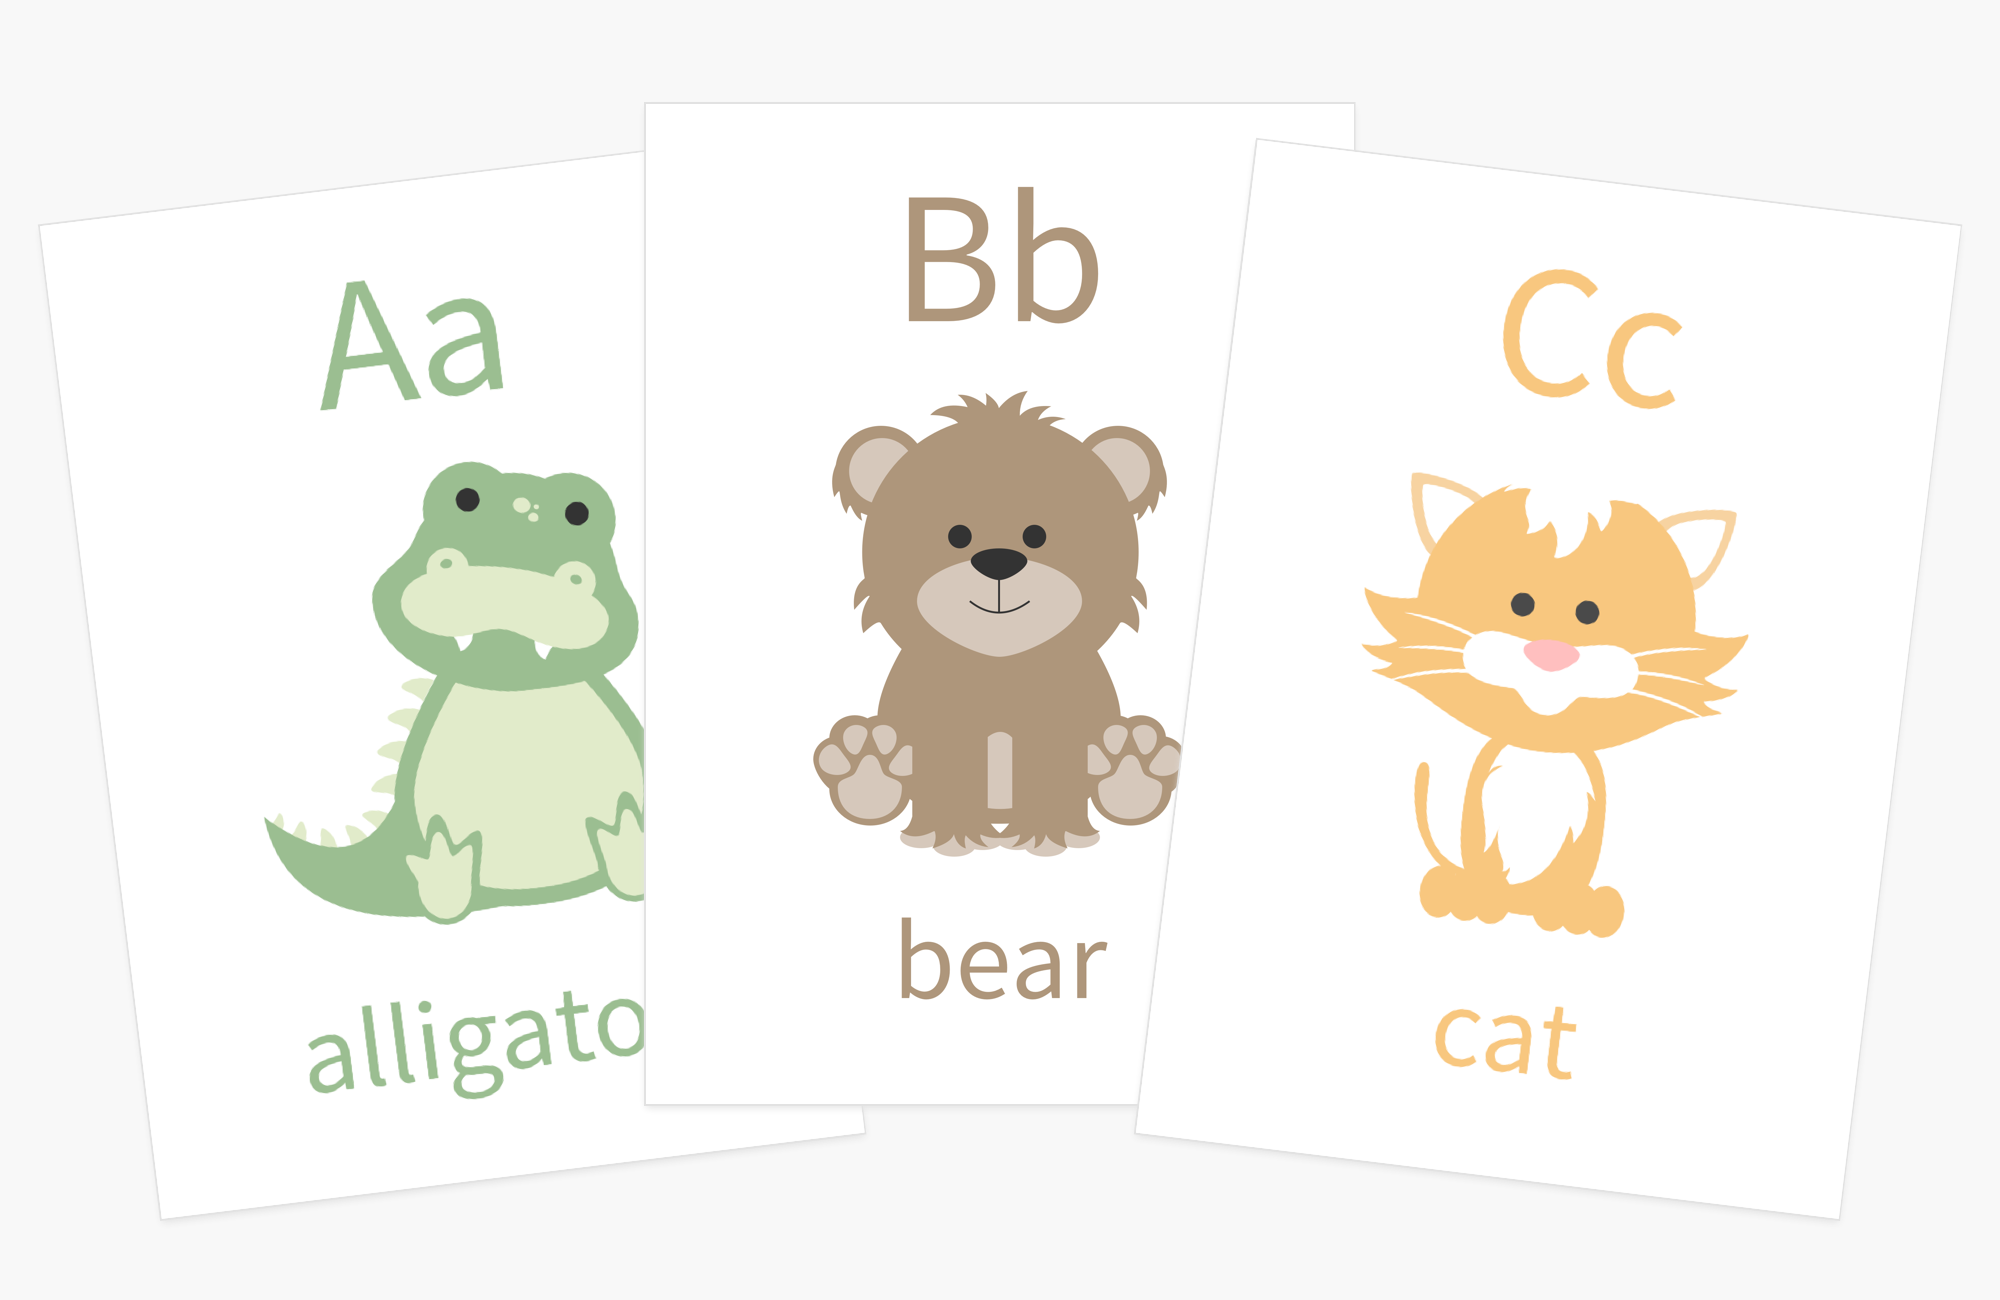
  • Match your toys to the overall color scheme of the room

DSCF7098.JPG

Step 3: Create a fun focal point

To have a great play space, it has to look like fun! So finding a focal point to the room that looks inviting and inspires play and imagination is key. I researched all of the well known options, from the Nugget Couch, the Pikkler Triangle, Ball Pits, and more. And ultimately, I landing on the ball pit and Pikkler triangle combo. I was lucky enough to have been gifted this amazing Crate & Barrel ball pit from Sofie’s aunt and uncle. The rainbow bridge and ball pit combination along with the mint-colored rug as an access point really bring the whole space together.

DSCF9962.jpg

Step 4: Organize drawers by theme

Okay, so call me crazy, but I love having a theme to each drawer. In part because it makes it way easier to put things back in their place after a play session. But also because it helps me focus our learning activities on one subject at a time.

DSCF9823.jpg

Food

I absolutely love having play food for Sofie! It’s such a great way for her to learn all of the different fruits and veggies without making a huge mess with real food. But I’ve collected so much of it now that the drawer is practically full. This is by far her favorite drawer and we pair it with these adorable Fruit Flashcards for matching practice.

Colors

It wouldn’t be a rainbow playroom without a drawer dedicated to learning our colors. I love these Pantone Color books because the cut outs help make them even more educational. Colored blocks and rings along with this teething toy make it both fun and functional. And of course, it wouldn’t be complete without Color Flash Cards to practice learning the rainbow.

Animals

It’s so much fun to teach Sofie about all of the different animal groups. I re-theme this drawer each season and we talk about the different types of animals. In winter, it’s the Arctic Animals, Spring the Farm Animals, Summer the Sea Creatures, and the Woodland Animals in the fall. This texture puzzle by Hape Toys in one of her all time favorites.

Mindfulness

Okay so I’ll admit that I probably like this drawer more than Sofie does. But I like to keep the real brain toys in this drawer. She loves playing with her stacking cups, her zen pebbles, and anything and everything with lids. Paired with the Mindfulness Flashcards, this drawer gives us an opportunity to talk & think together.

Shapes & Numbers

Of course, it wouldn’t be a great play space if we didn’t represent all classroom subjects. So this drawer is all about learning shapes and numbers. It’s so important for toddlers to be introduced to math concepts early. So pulling toys out of this drawer is especially brainy. Sofie loves her Lovevery coin purse and her Shapes Flash Cards.

Step 5: Make a reading rainbow!

So maybe you’re like me and you’ve tried everything you can think of to organize endless piles of books and between all of the different sizes and varieties, they end up just looking like a cluttered mess. Well, I never thought I would say this, but I am now a huge fan of the reading rainbow. Organizing all of Sofie’s books by colors has really brought a sense of unity to her overall play space.

Here are some tips to get you started:

  • Remove any books that are way too big or way too small, tuck these away in closed storage

  • Focus on the primary color in the binding

  • Fade colors together — if you have handful of different greens, put the teal or turquoise ones closer to the blue end to create a gradient fading effect.

DSCF0093.JPG

So there you have it! My 5 step guide to an adorable Montessori Inspired playroom that will keep your toddler entertained for hours. For Sofie, creating this play space made a huge difference in the way that we parent. Without it, we were constantly following her around the house, watching her every move, anticipating her every fall. Once we created a space dedicated to her, it was like magic. We could finally sit and watch her play and enjoy herself without focusing on the hazards all around her.

Most of the time, I help clean up after she makes a big mess. But I always feel great doing it because I know that every toy has its place. Through a combination of carefully curated toys (thanks to BabyList wishlist and Lovevery subscription), amazing playroom storage and organization furniture (thanks primarily to Crate & Barrel), Sofie’s playroom has been a huge success!


The Shopping List

If you’re looking for all of the great toys, furniture, etc. featured in this post check out the shopping list below.


Brighten up your playroom with these adorable toddler educational flash cards

Use code FREINDS15 for 15% off your order at https://www.etsy.com/shop/GoodnightFoxStudio?coupon=FRIENDS15

Taste Safe Play Dough

I’ve been dying to let Sofie play with play dough but she just puts everything in her mouth! So finally I found a recipe for some taste safe play dough to try.

  • 3 Jumbo Marshmallows (or 6 large ones)

  • 1/4 of corn starch

  • 1 tsp coconut oil

Mix marshmallows corn starch and oil in a bowl and microwave for 30 seconds. Stir in with food coloring and kneed!

IMG_4938.jpeg
IMG_5084.jpeg
IMG_4925.jpeg
IMG_4955.jpeg
IMG_4947.jpeg

Mess Free Finger Painting

Today for our arts and crafts activity we did a little painting. Because Sofie’s only 1, I wanted to do this mess free to keep the house clean for once. So I opted for the painting inside a plastic bag instead of finger pairing today. I think her little master piece came out great! Plus it was super simple to set up and clean up. The only problem we ran into was Sofie wanting to bite the plastic bag facepalm.

IMG_4479.jpeg
IMG_4467.jpeg
IMG_4469.jpeg
IMG_4477.jpeg
IMG_4519.jpeg

Valentine’s Day Activity - Love Machine

So I was searching all around for a great Valentines Day activity for Sofie and then staring at the empty shipping box on the calendar it hit me! I could use bobs and buttons and containers around the house to make her a little activity sensory center. Then I decided to call it the little love machine!

21E0C46D-46F3-44B8-9766-EE9CE2CD817C.png

If you want to recreate this one, here are the materials I used. But really you can find empty containers for just about anything! It was so fun just rummaging around the house to see what we could find.

  • Happiest baby food pouch

  • Happiest baby snacks lid

  • Honest company wipes lid

  • Jar of jam lid

  • Red and Pink ribbon

  • A small box

  • A medium sized box

  • Velcro Patches

IMG_4744.jpeg

Sofie was so excited when we were just getting started. She loves turning the nobs on the Love Machine! I made these by poking a hole in the box and then inserting an empty baby food patch through the inside. Make sure you poke it all the way through so that the lid will screw on completely. She absolutely loves taking these on and off and over and over again.

IMG_4844.jpeg

I added some snacks to the little cubby to encourage her not to eat the parts of the machine itself. It definitely kept her little mouth occupied while her mind was busy playing with all of the nobs and buttons.

IMG_4788.jpeg

I started out by letter her play with it in her high chair, but the box was a little bit too big for her to really play with everything. So then we moved down to the floor.

IMG_4818.jpeg

How perfect are these little wipe container tops! I know you can make these peek-a-boo lids into a great activity. I had some photos recently printed so I just grabbed those, cut them out, and put them in behind. A little hot glue and voila! She kept trying to feed the photo of Milo but giving him snacks and then closing the lid. It was hysterical!

IMG_4824.jpeg

This little Valentine’s Day Love Machine activity turned out to be the perfect size! Sofie was able to carry the box around the room, pick it up, set it down and keep playing.

IMG_4763.jpeg
IMG_4764.jpeg

More Valentine’s Day Activities

Looking for more fun Valentine’s Day Activities or Gifts? Check out these best-selling games and coloring PostCards.