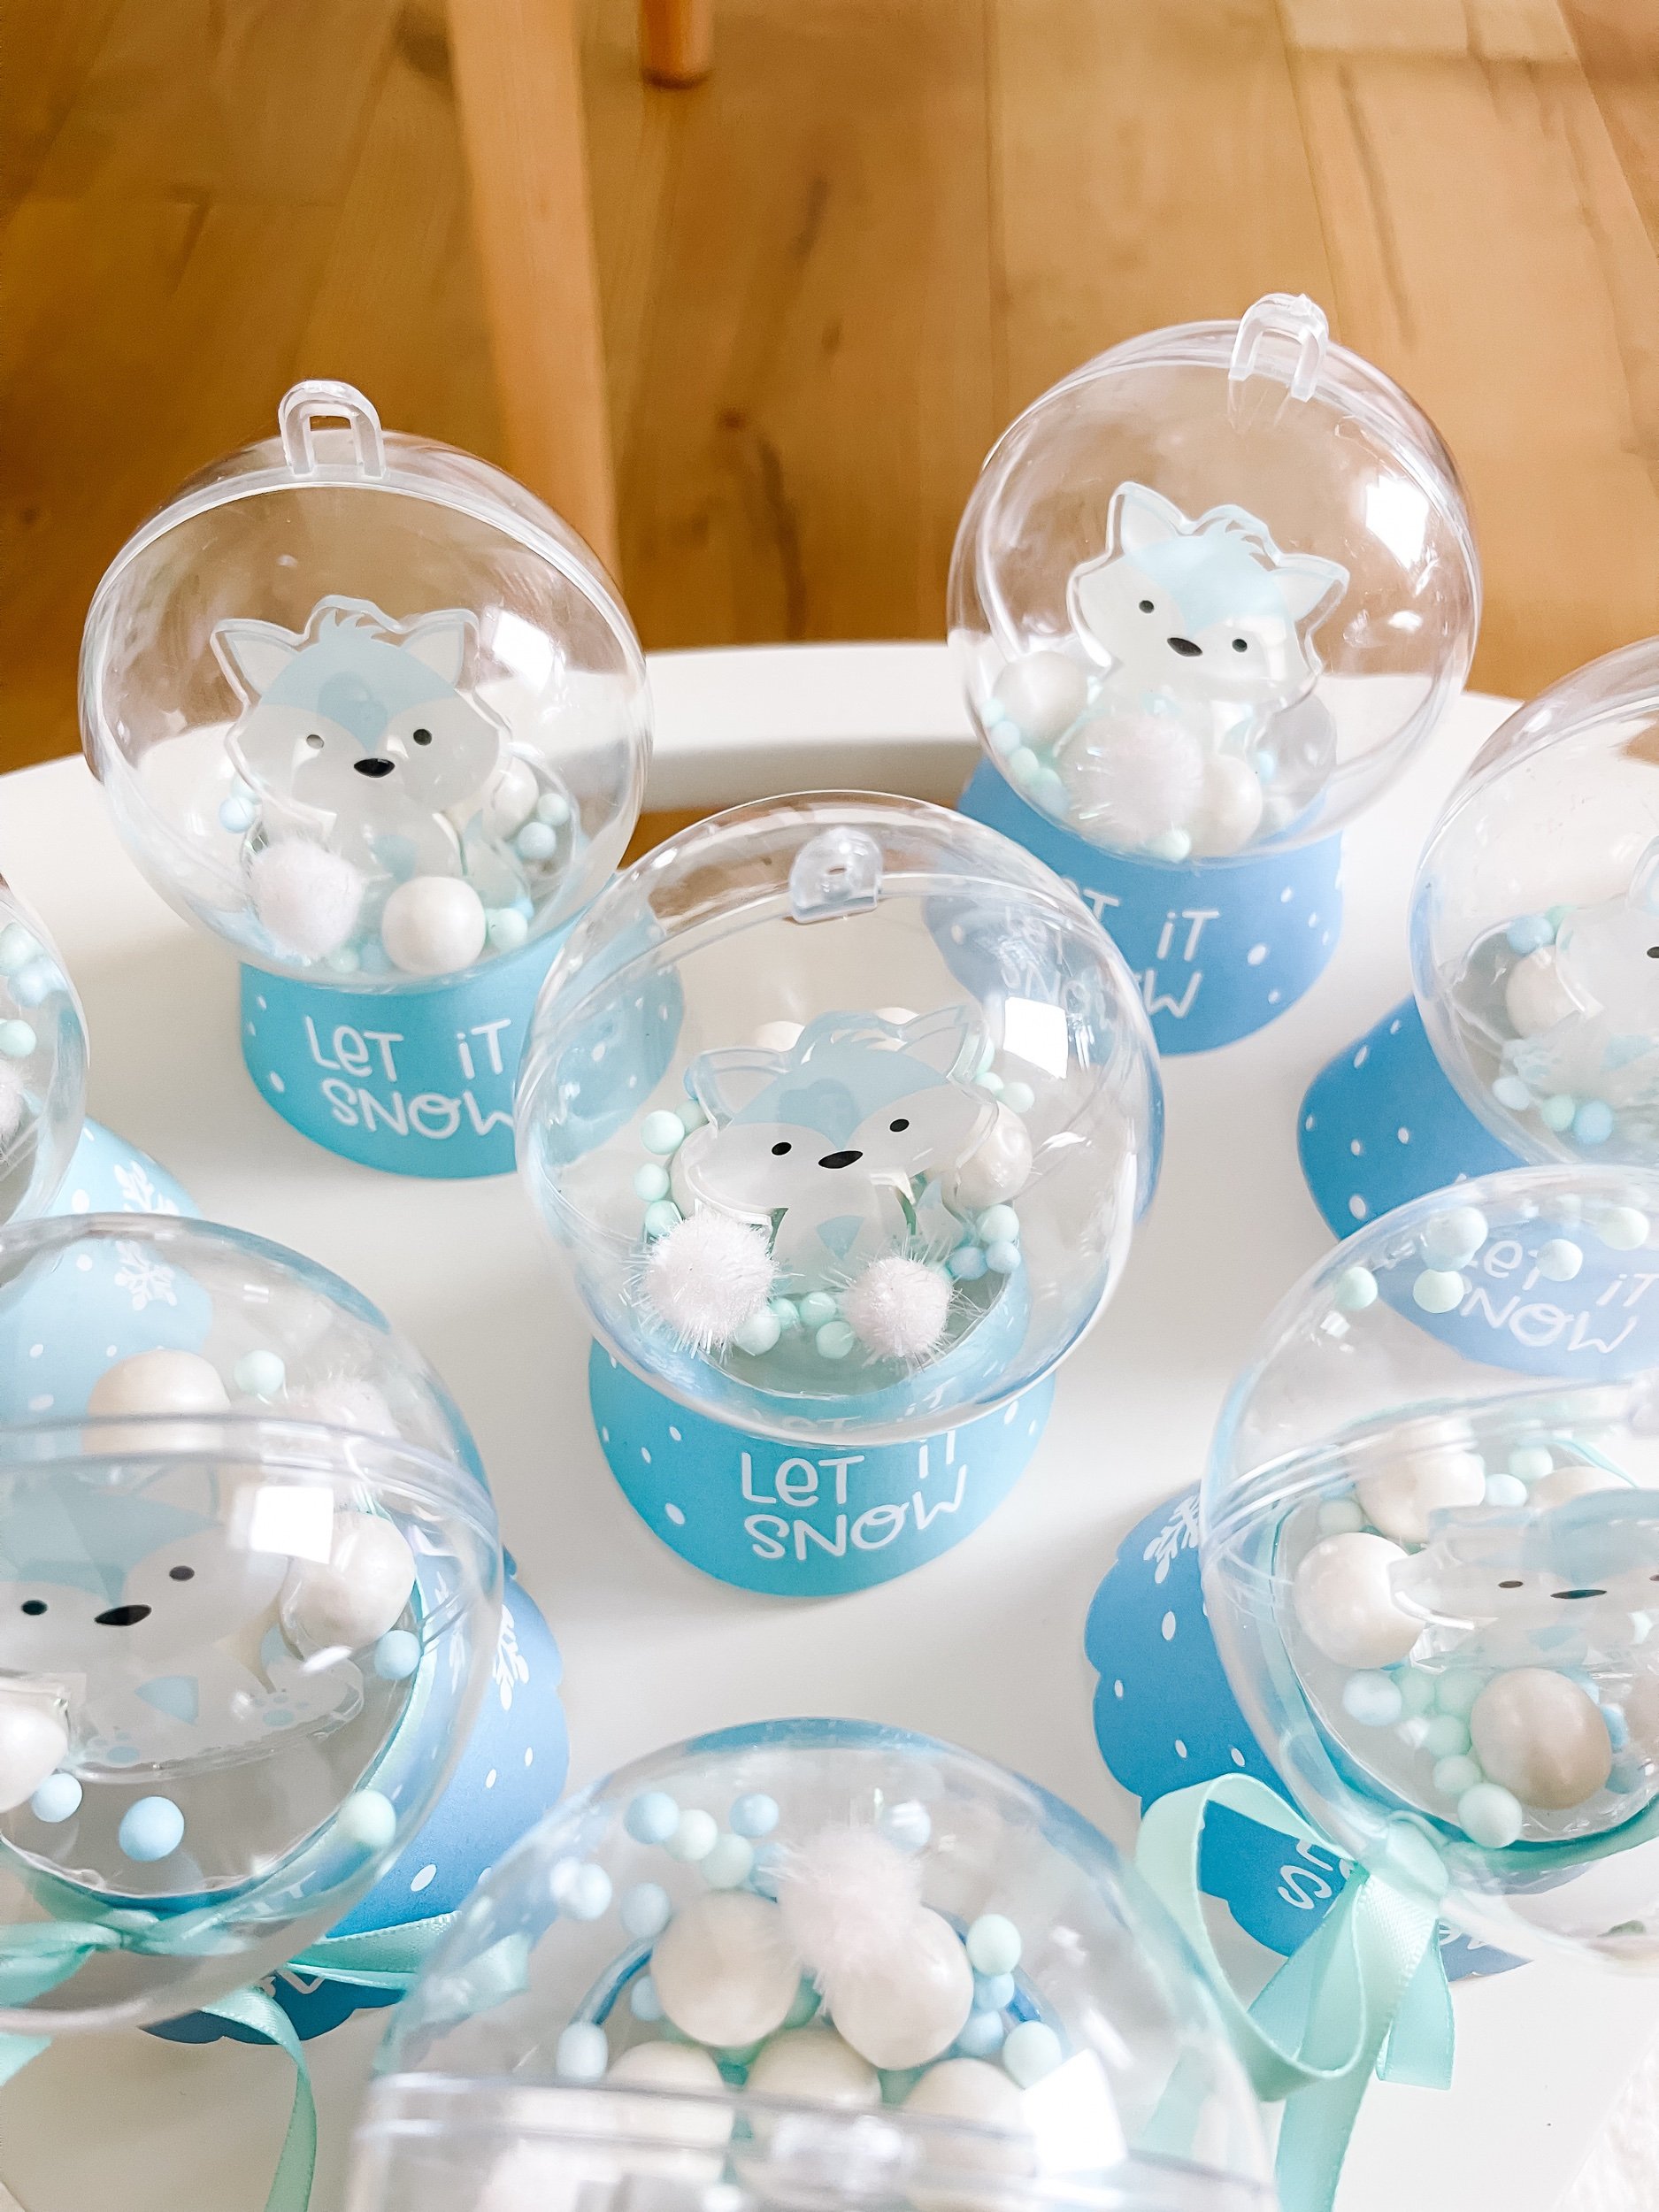
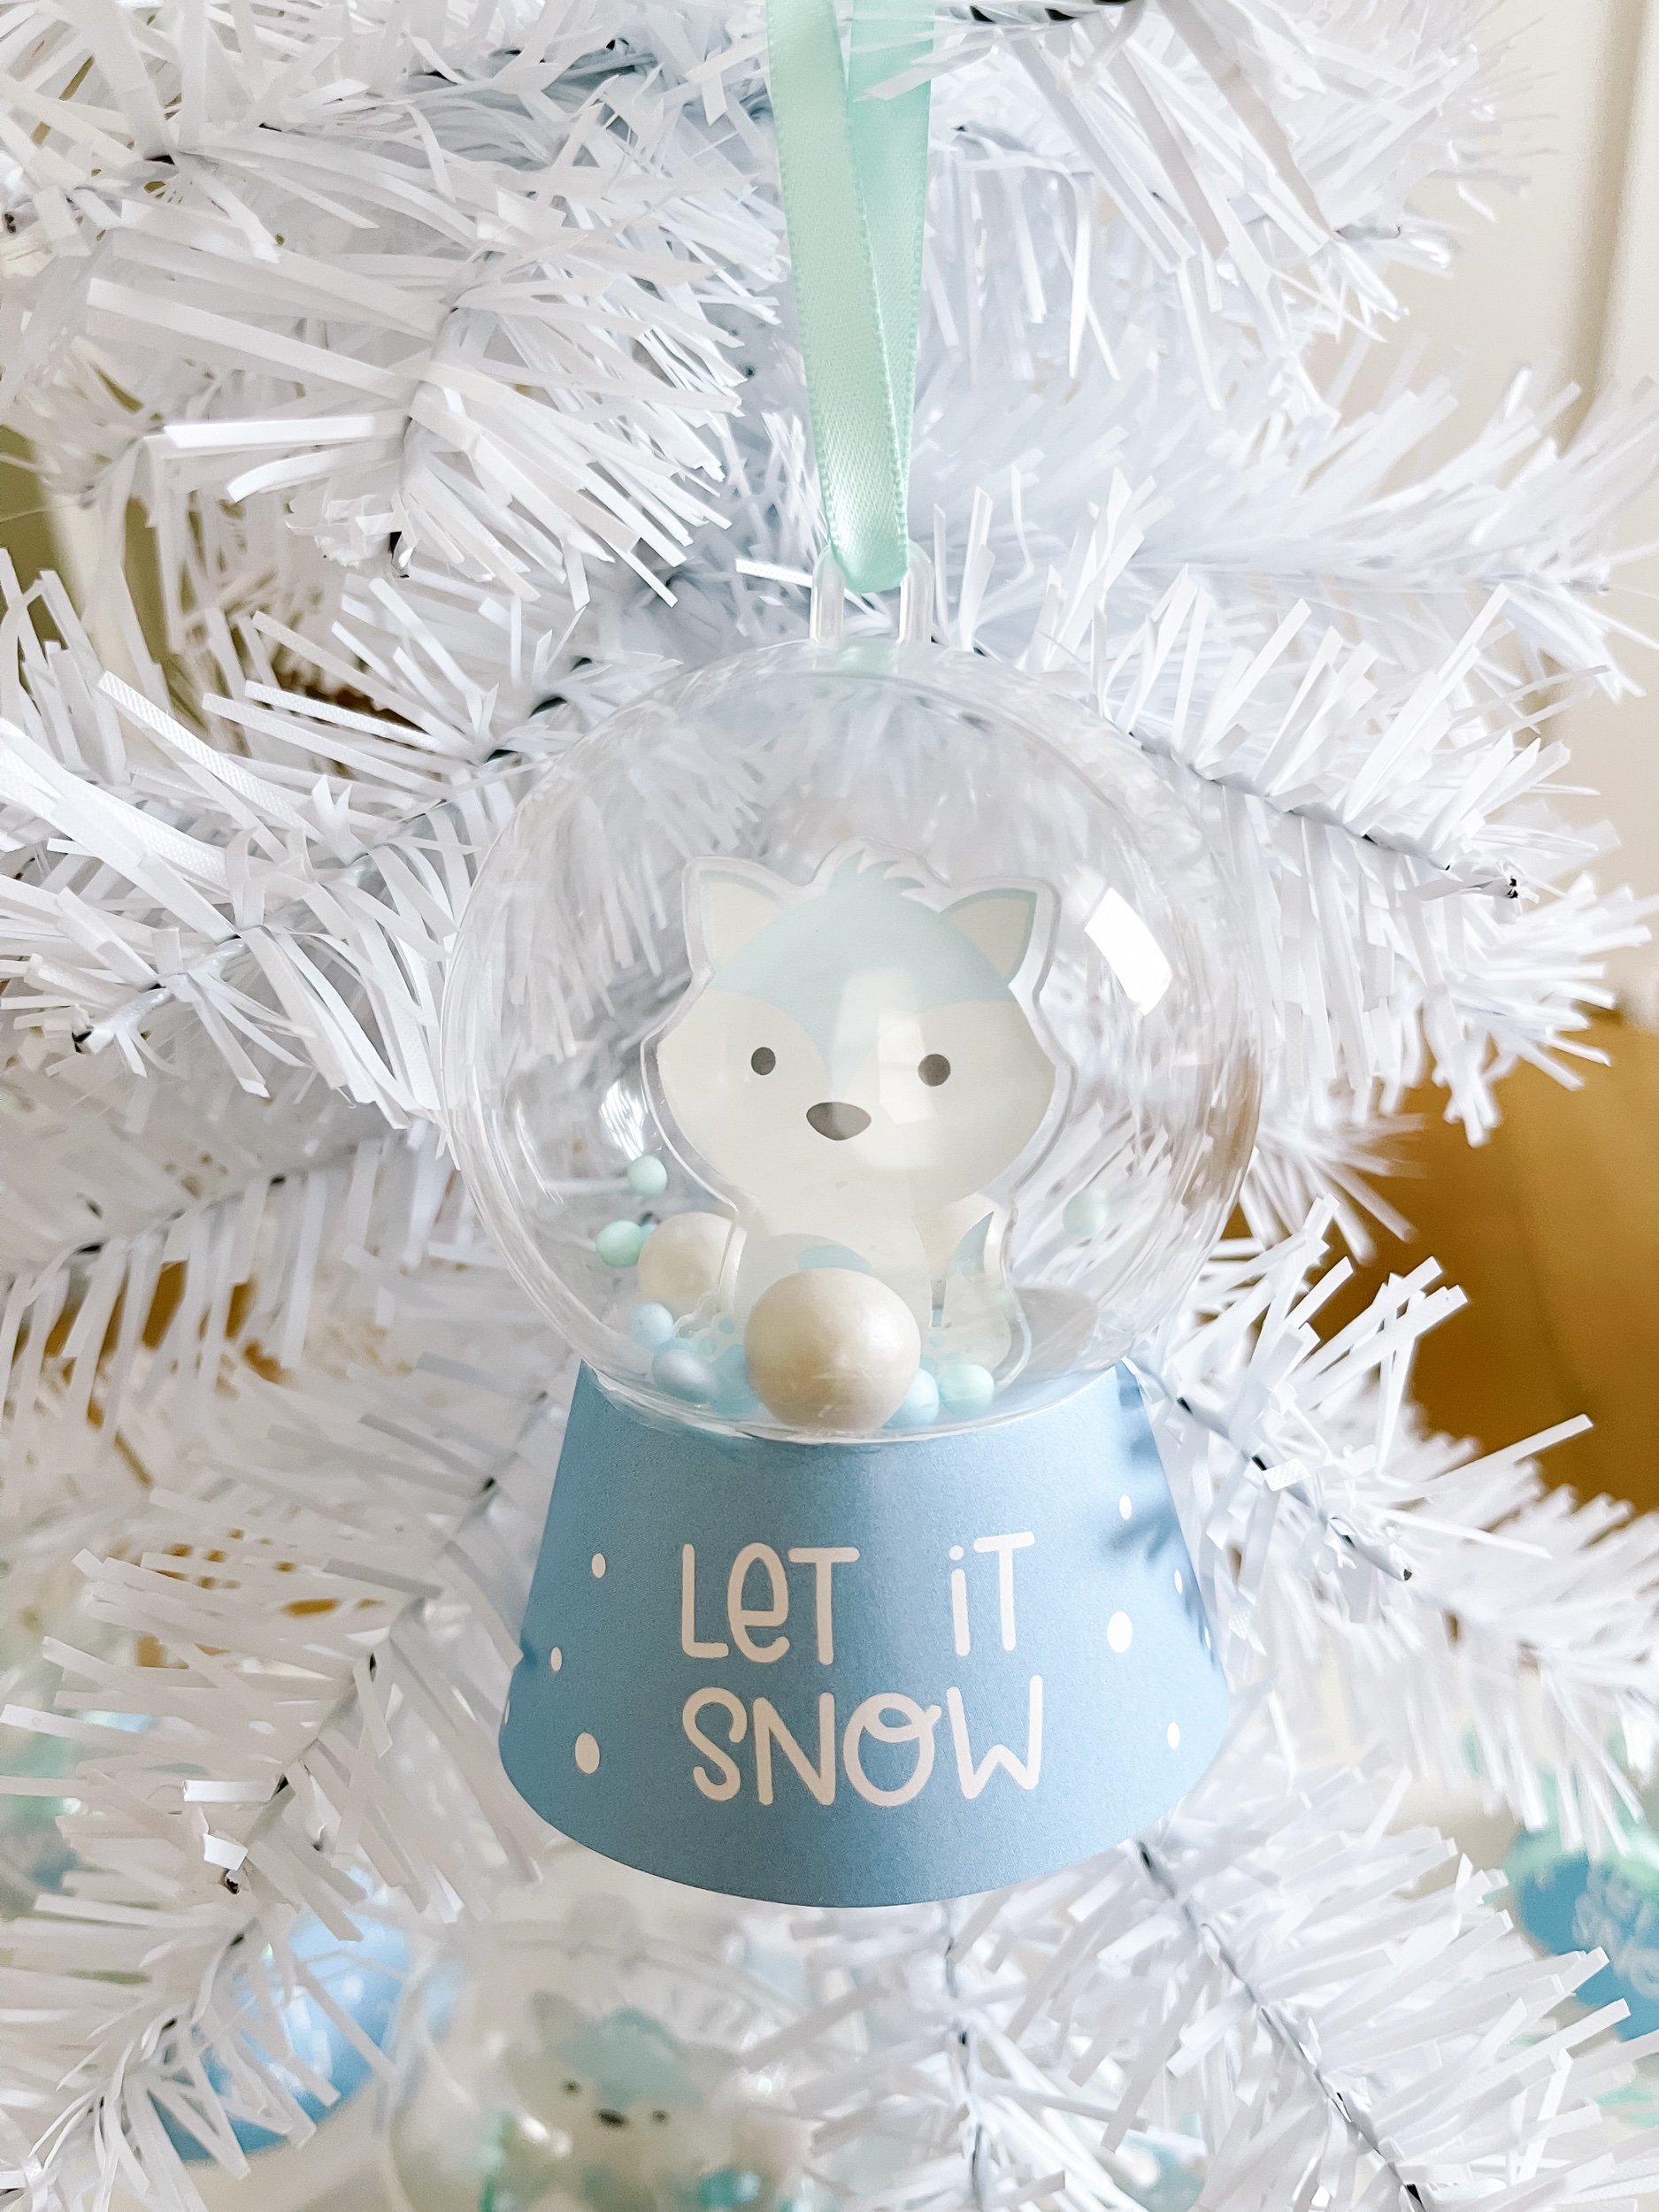
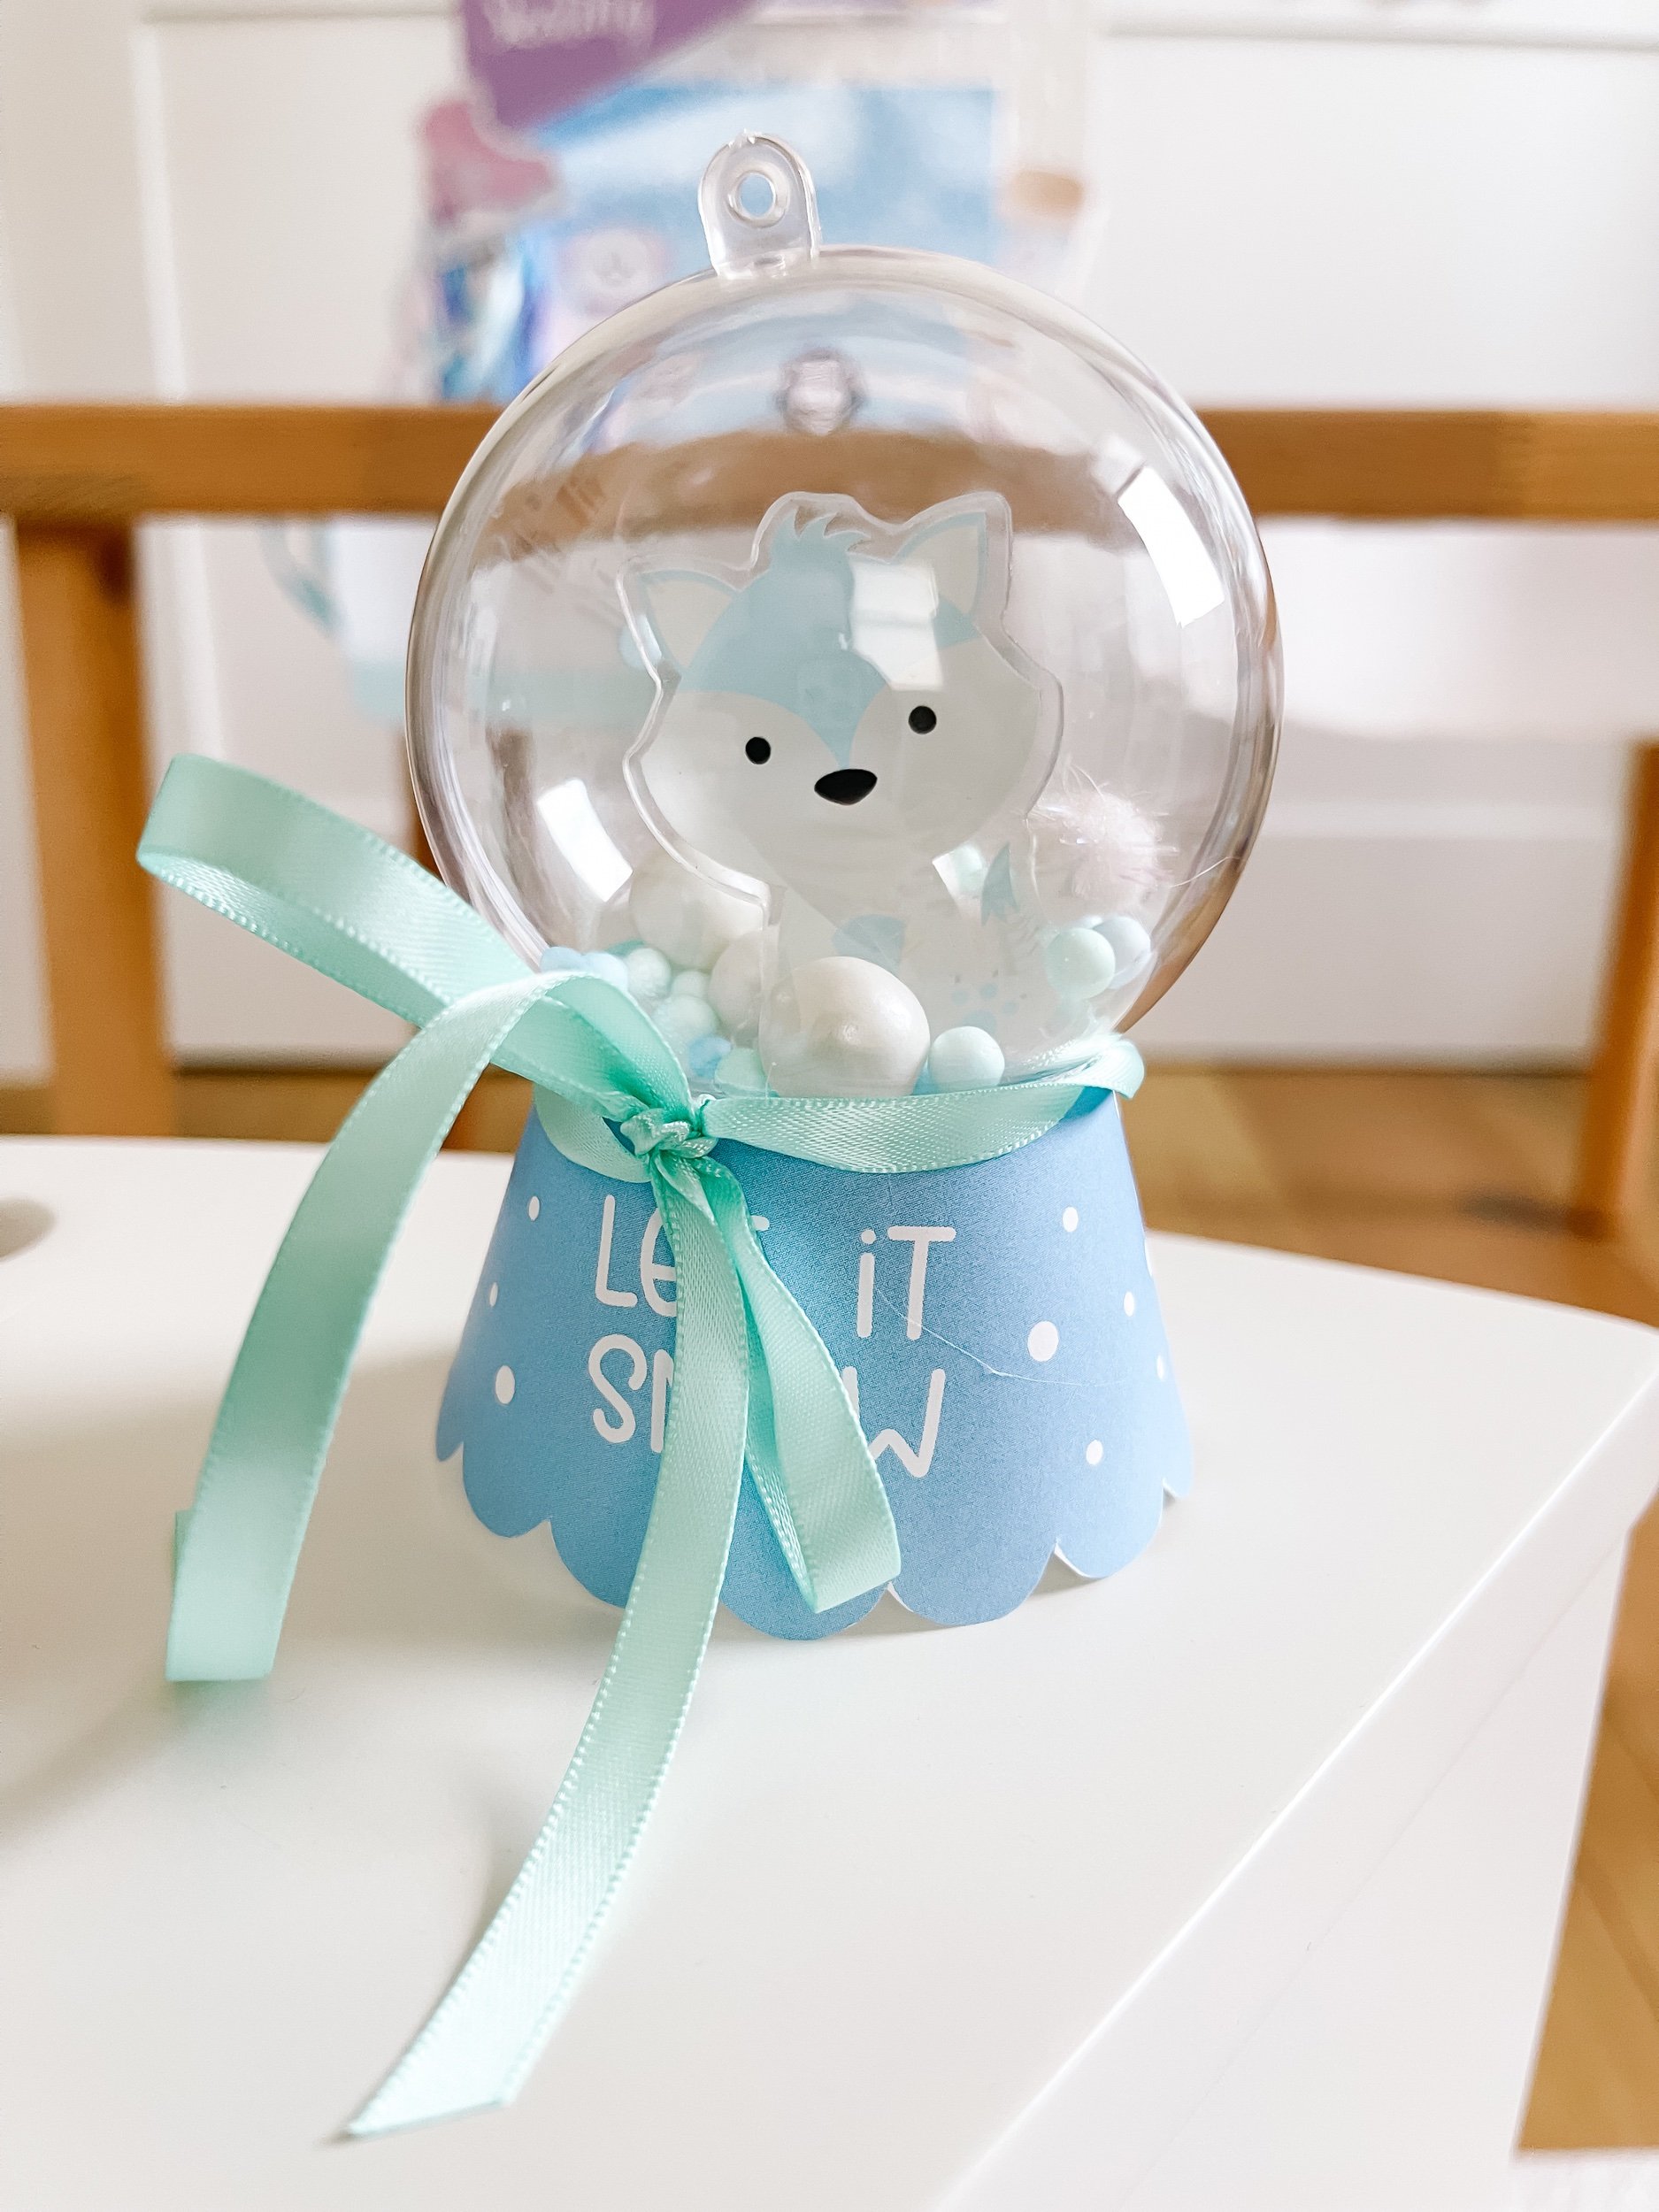
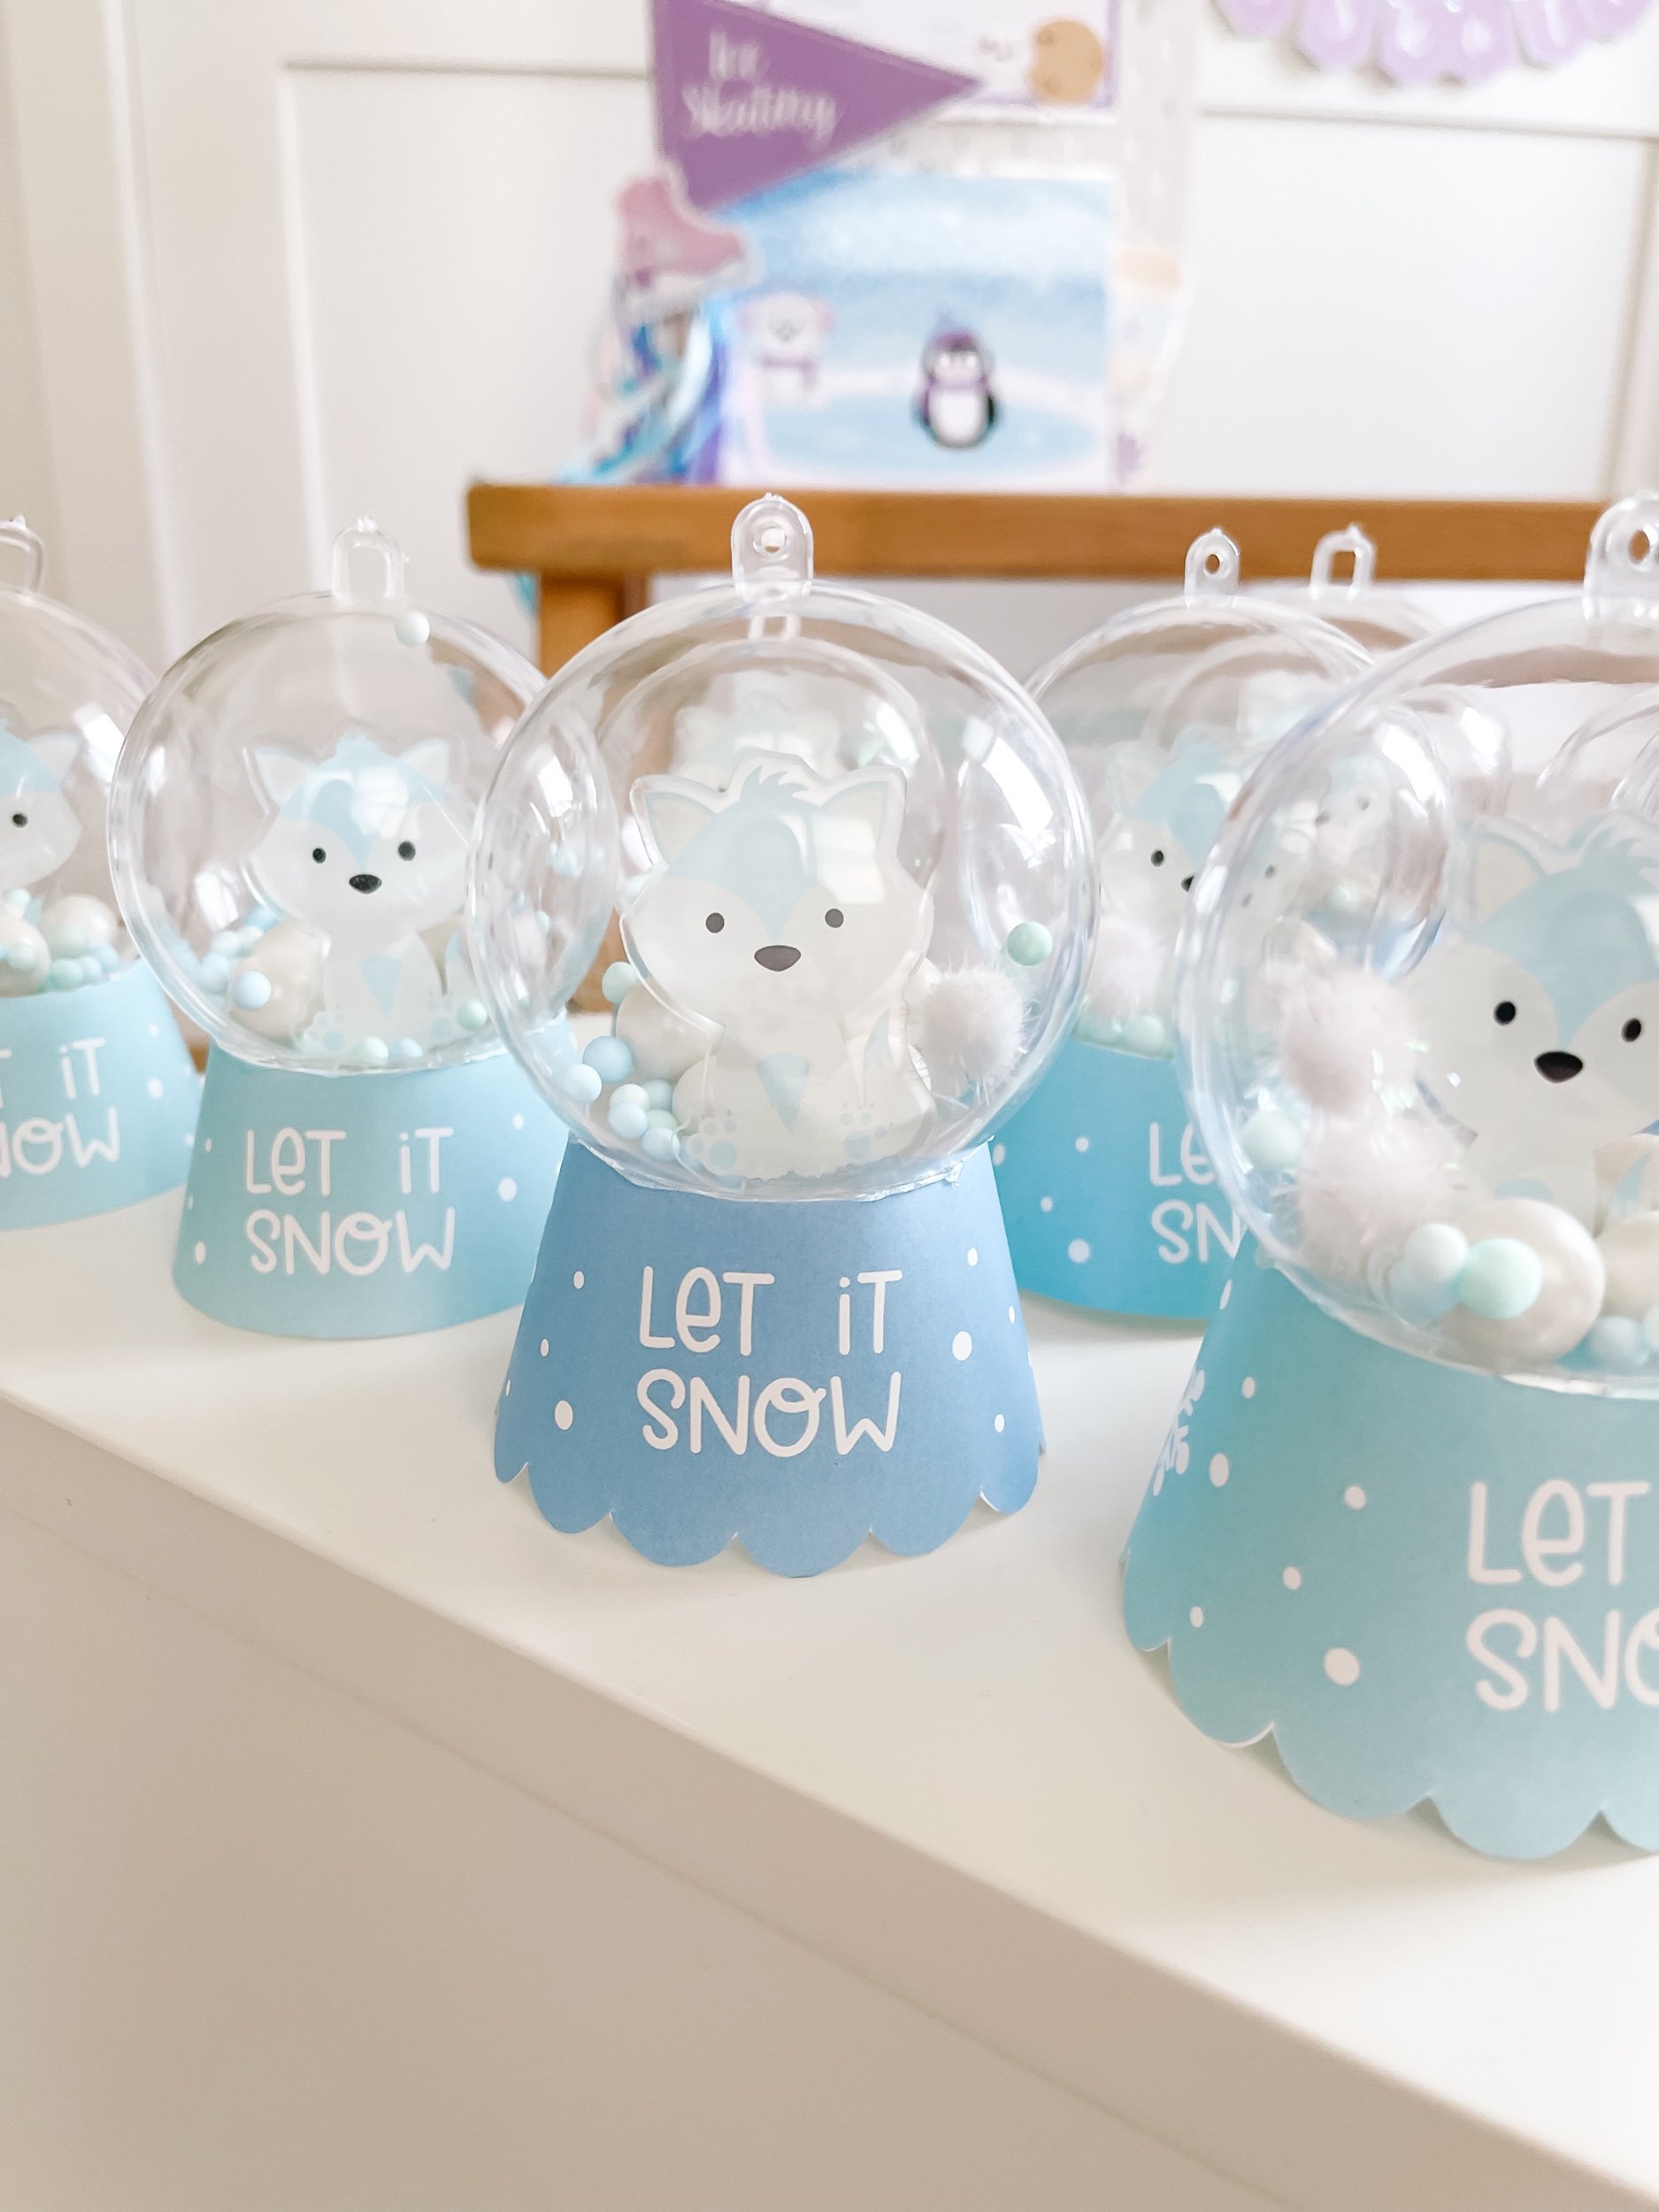
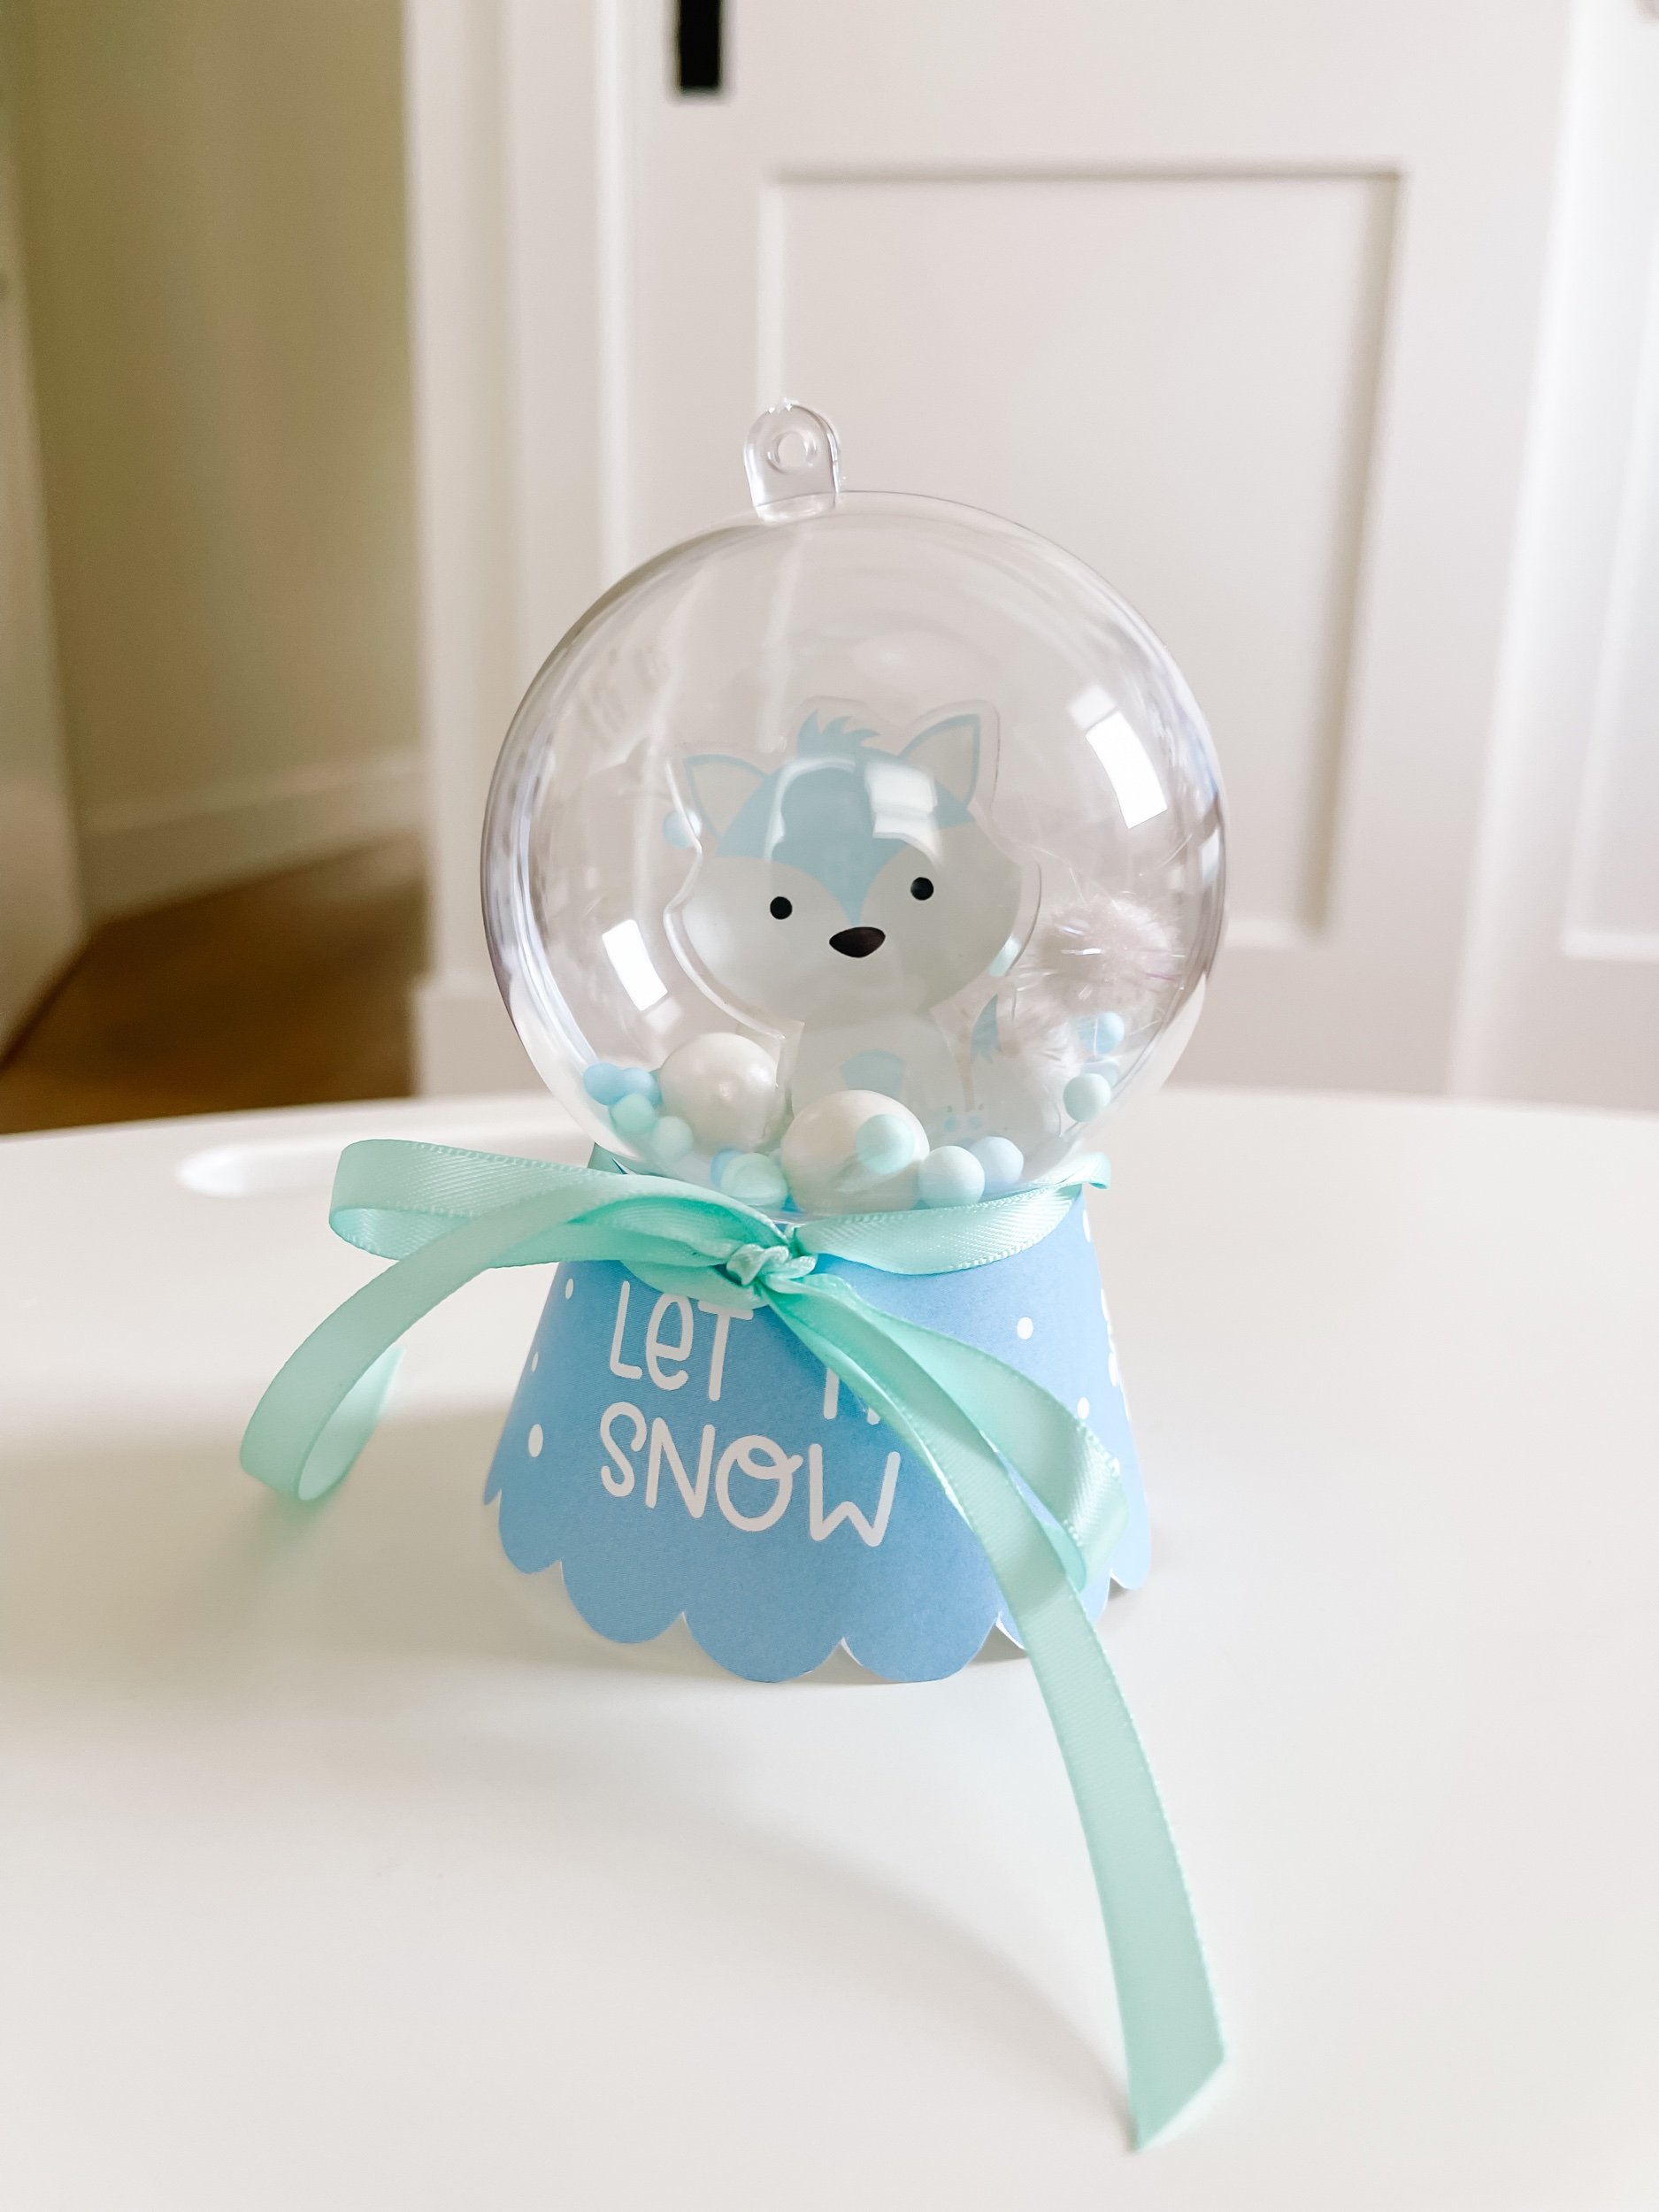
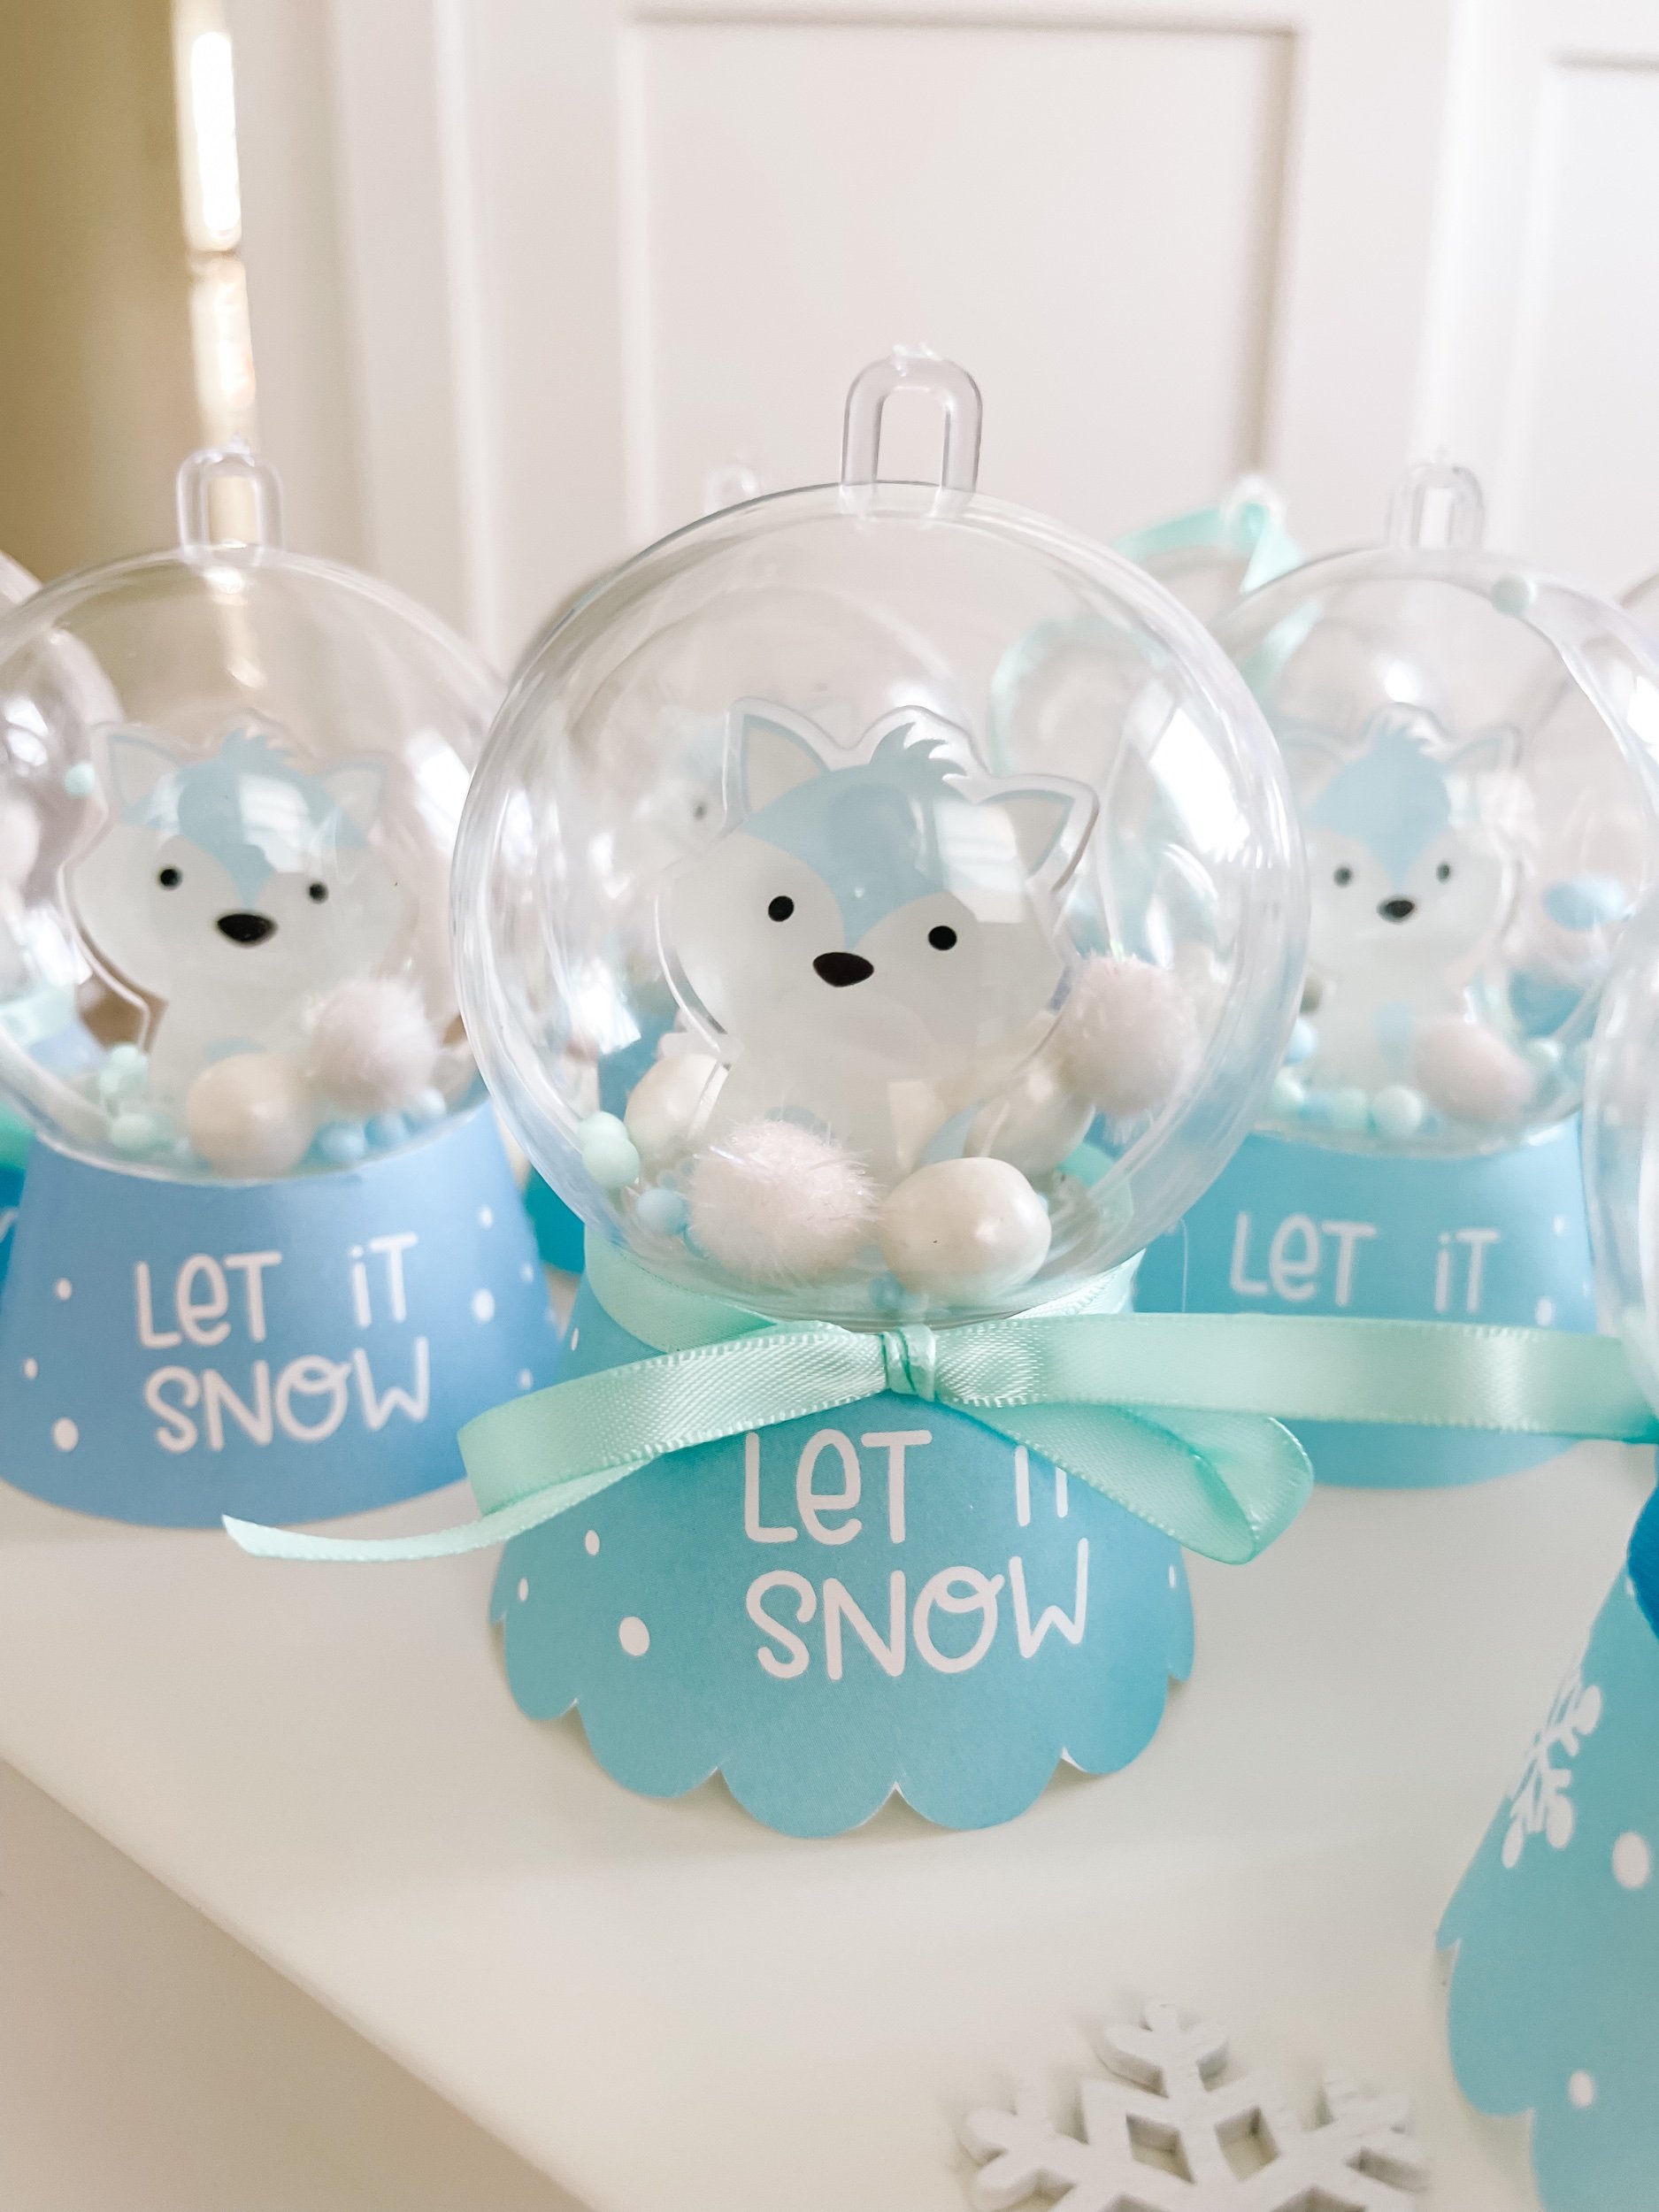
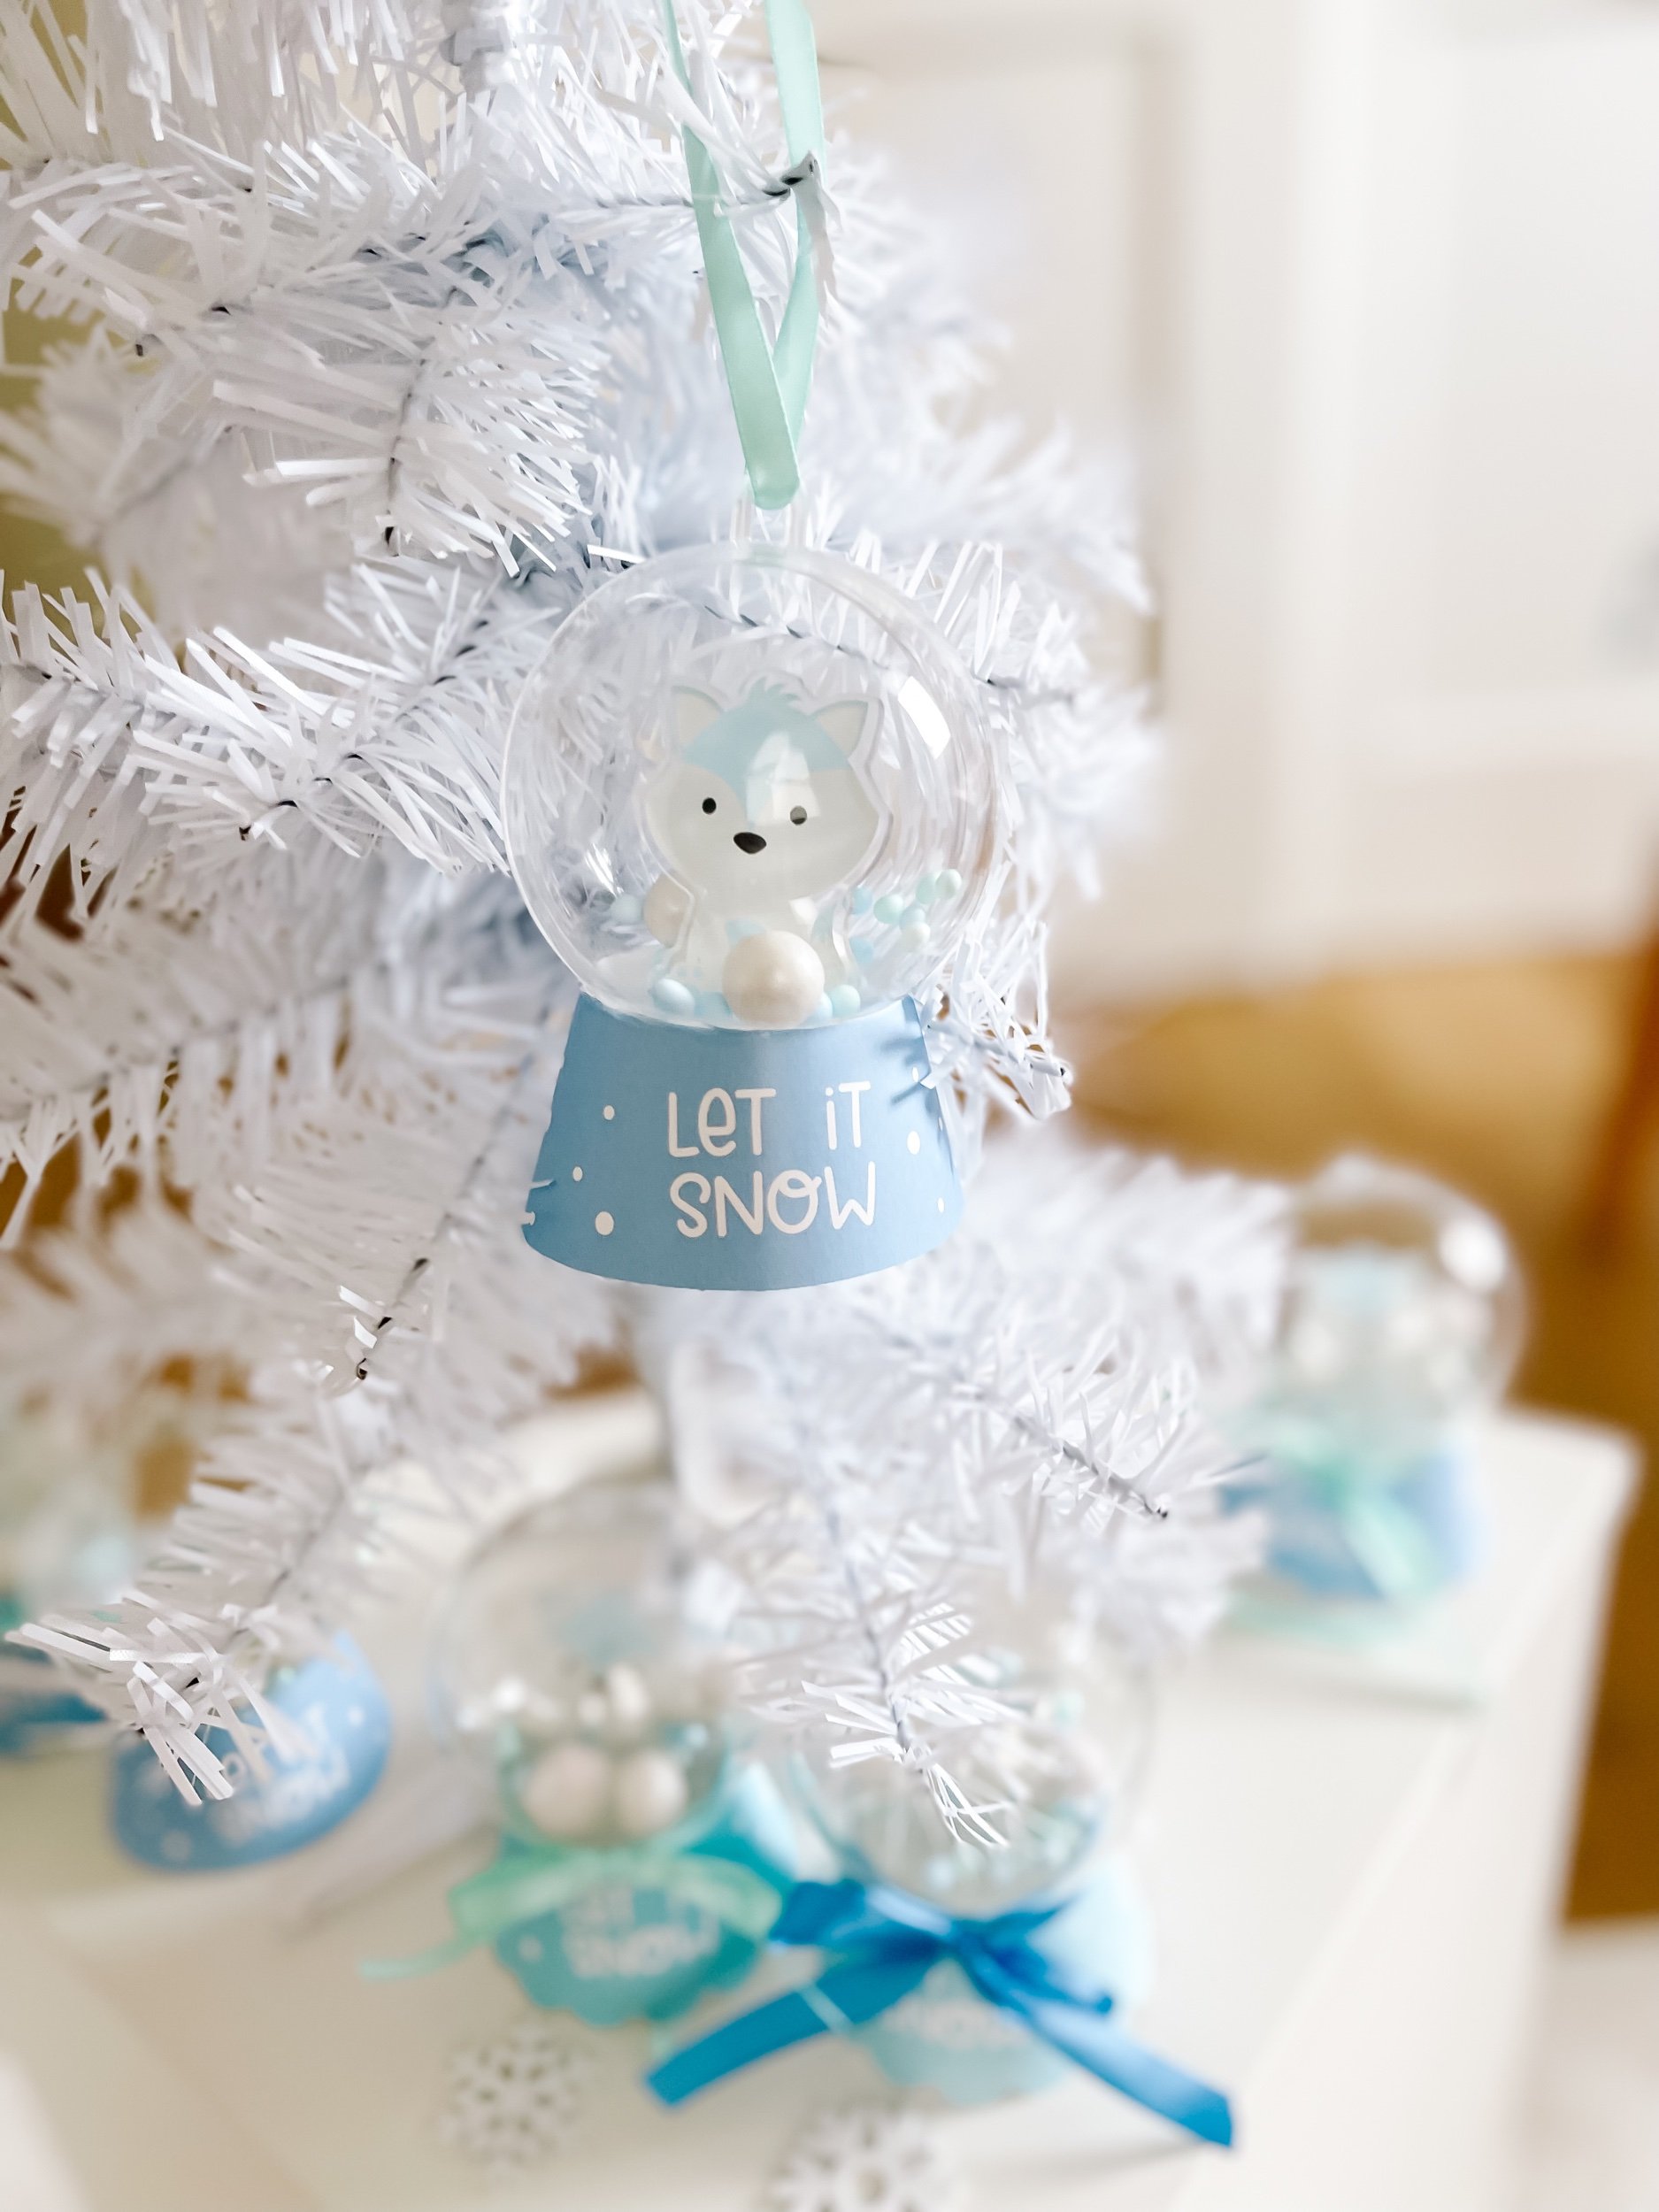
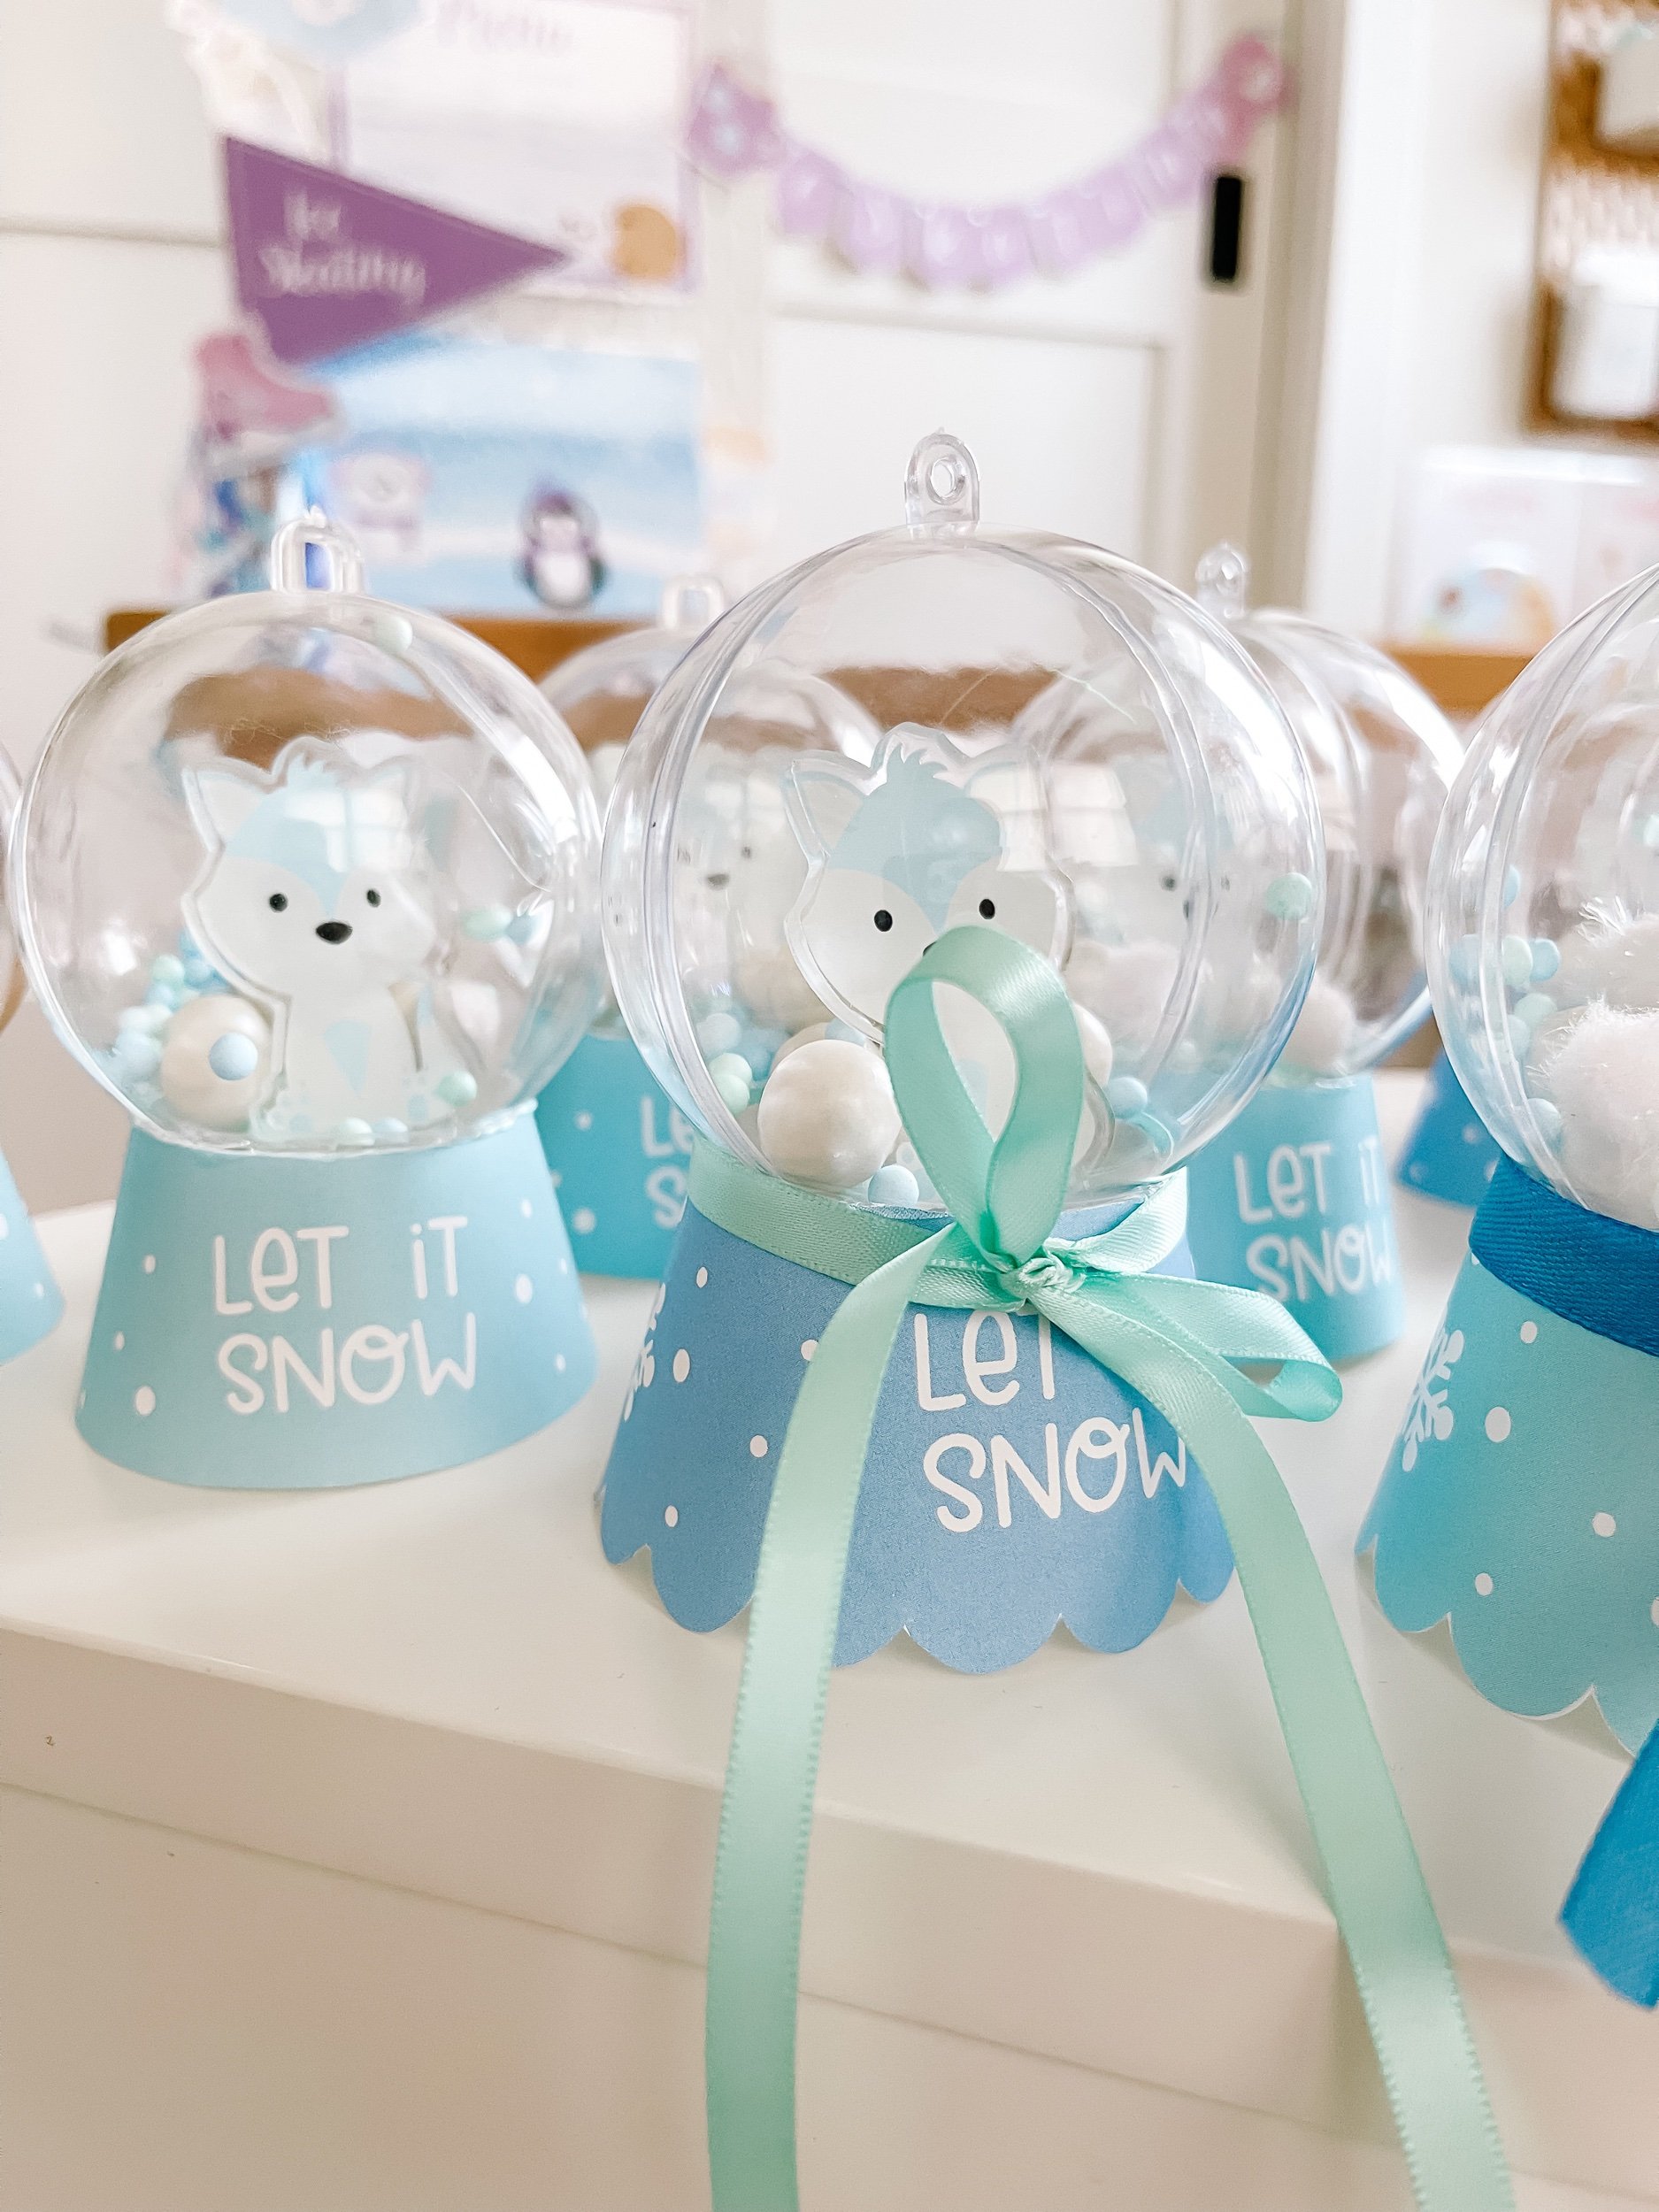
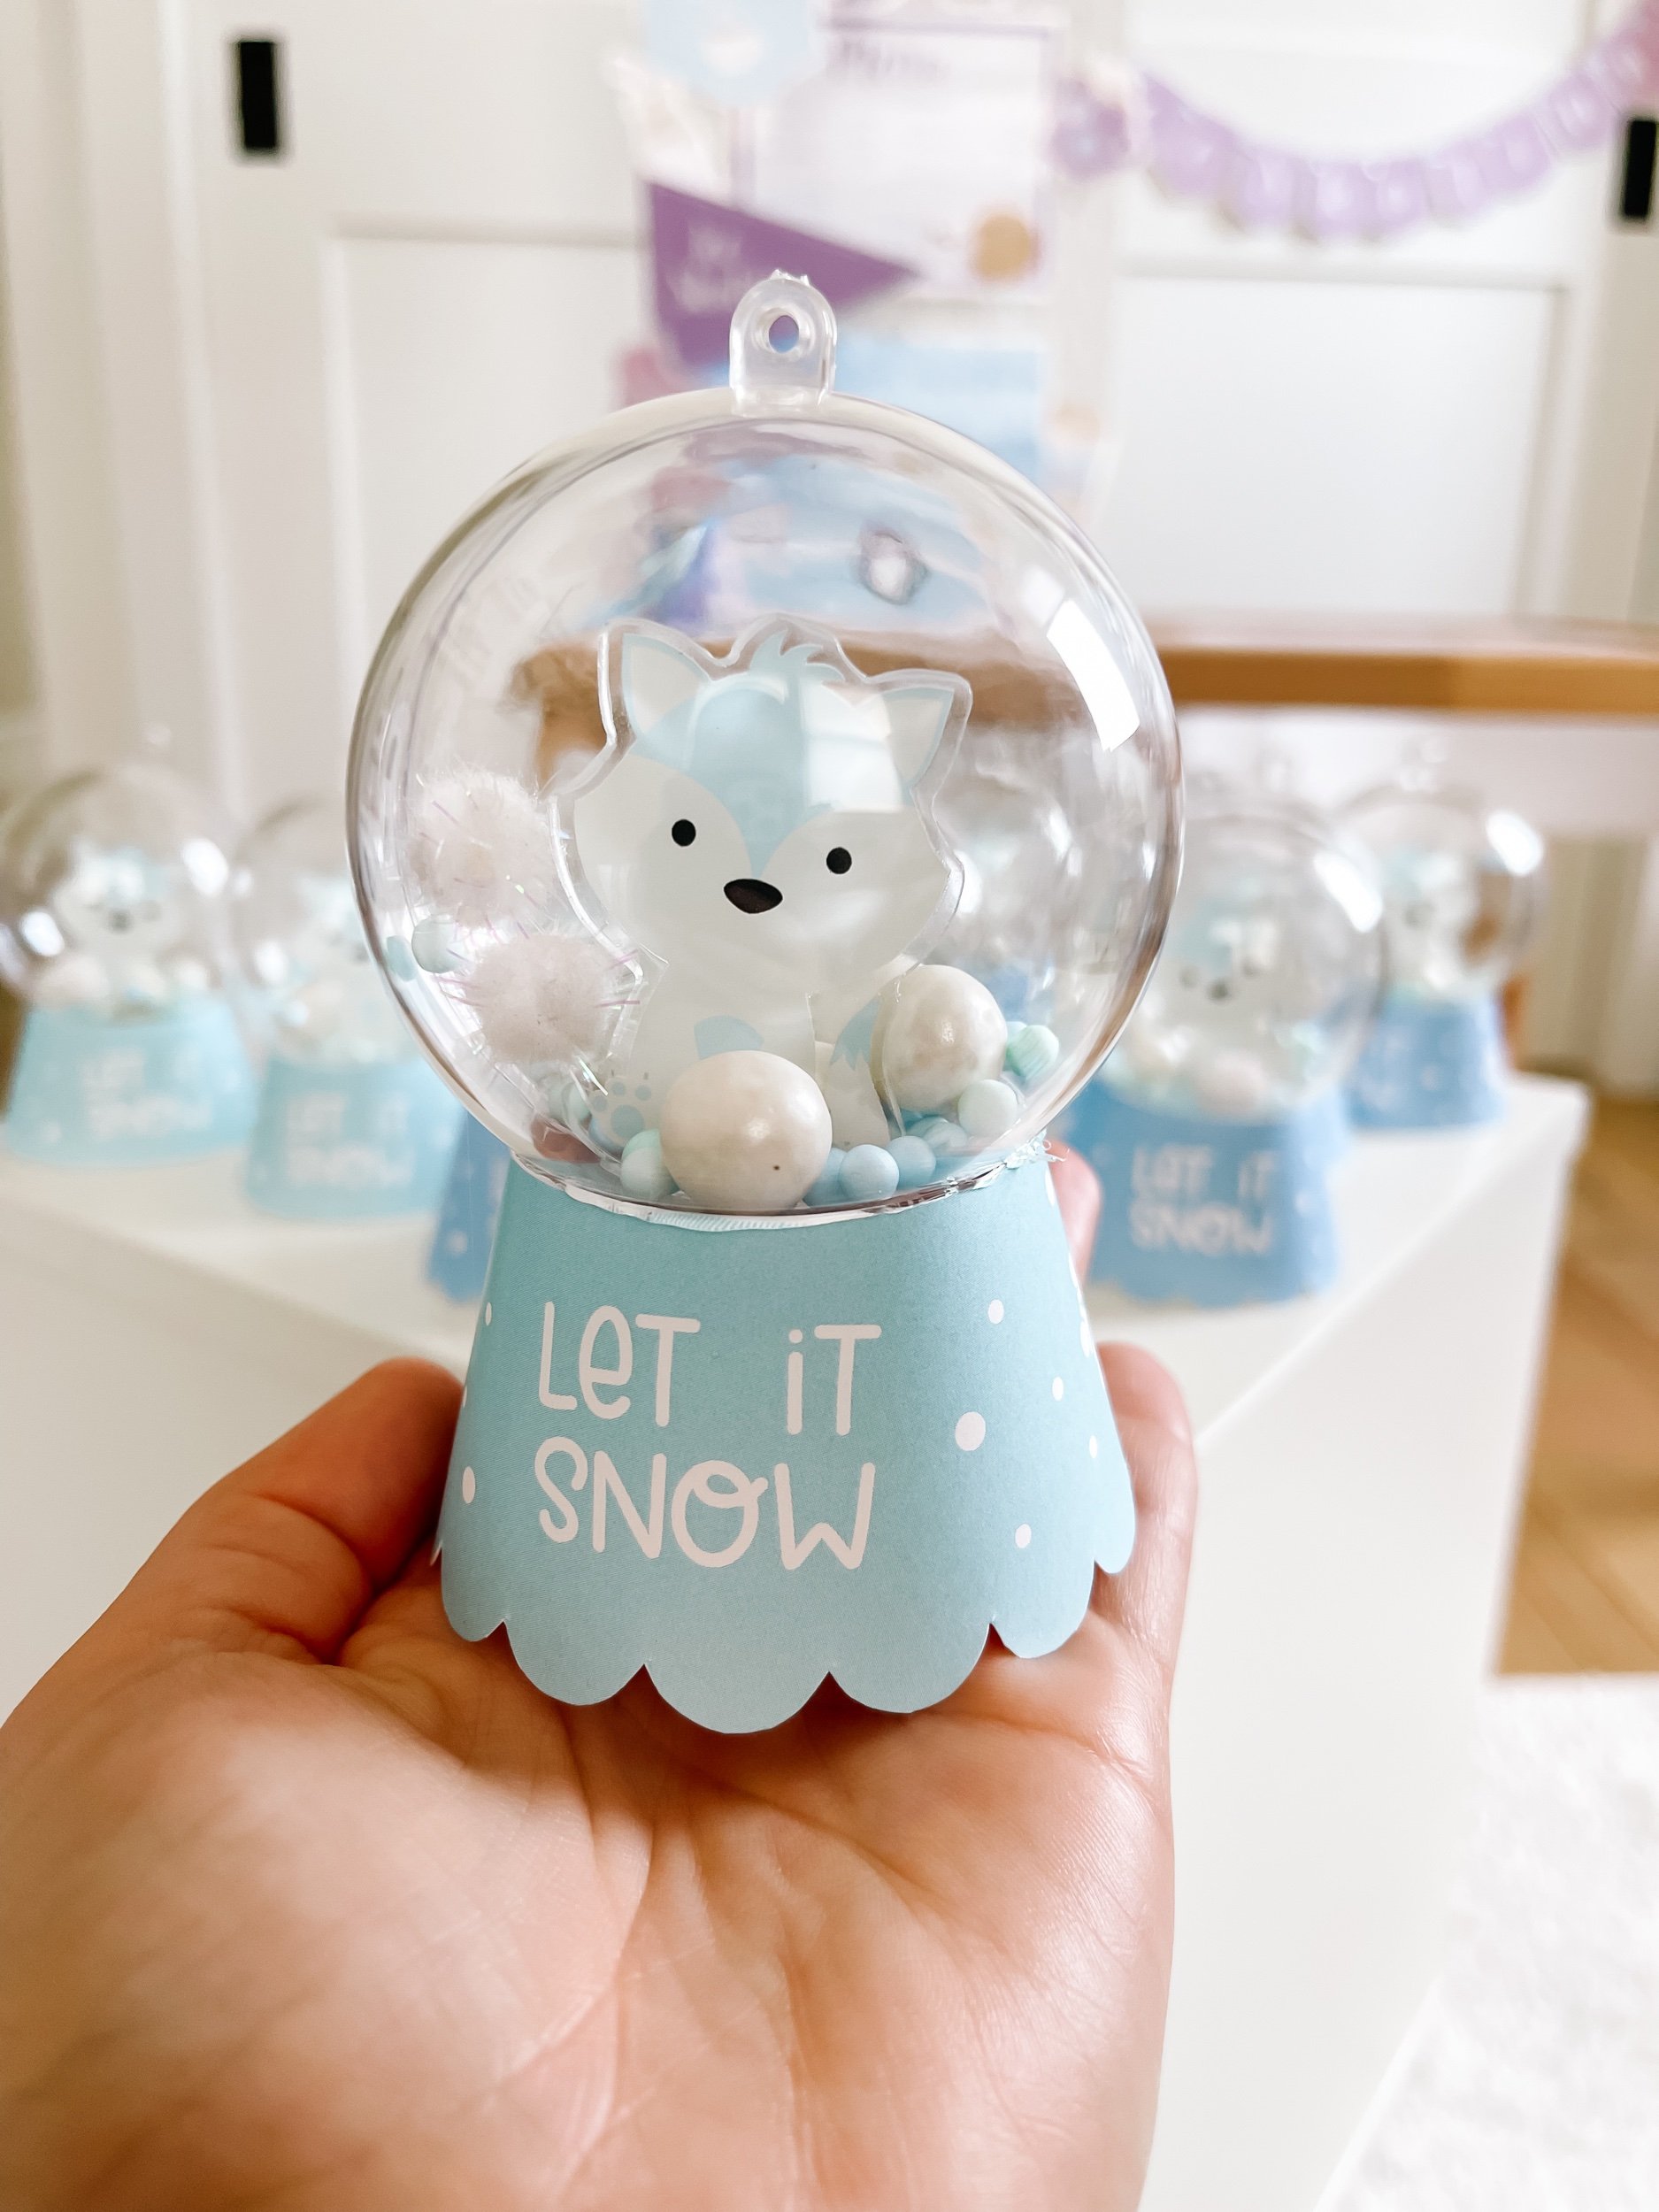
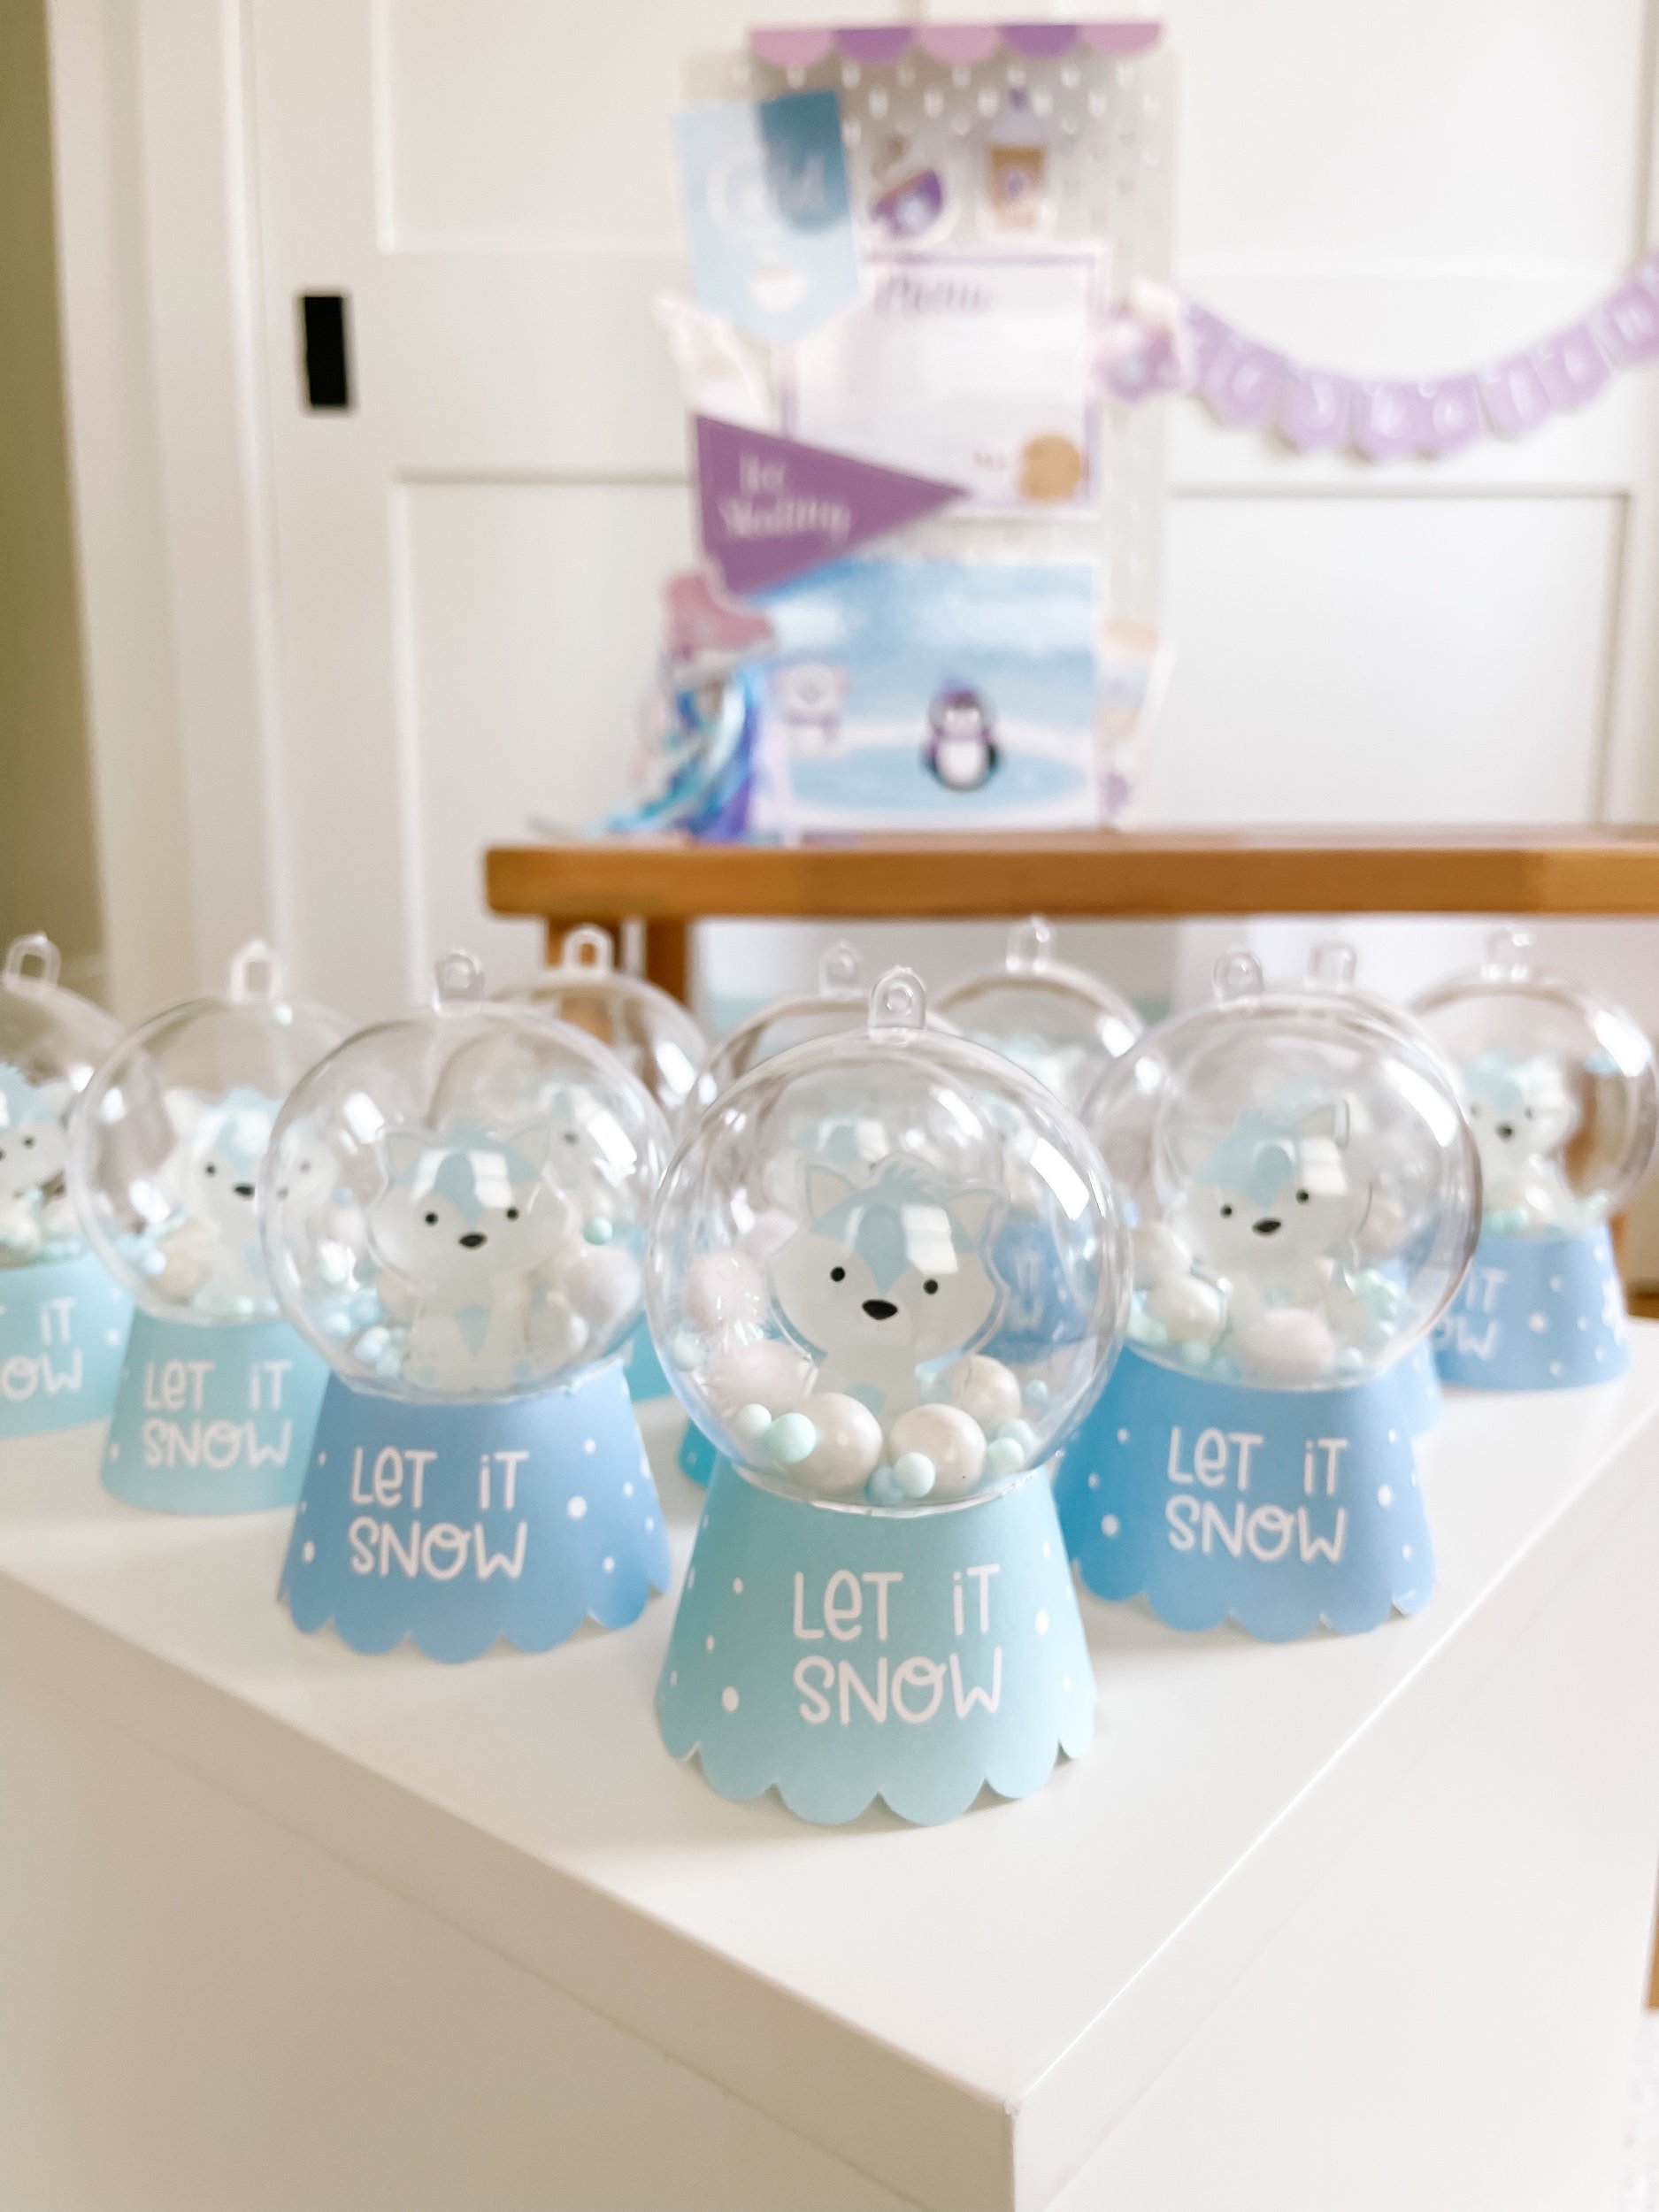
If you’re on the hunt for unique and adorable party favors or classroom gifts for kids, look no further! These DIY snow globe favors are not only charming but also fun to make. Perfect for winter-themed events, holiday parties, or even as a special classroom treat, these snow globes will be a hit with both kids and parents alike.
Using simple materials like clear plastic baubles, foam beads, and acrylic charms, you can create stunning and personalized snow globes that are sure to leave a lasting impression. Here’s how you can create these beautiful snow globe favors step by step, so you can wow your guests or students with a handmade treasure they’ll adore!
Why These Snow Globe Favors Are Perfect for Any Occasion
• Cost-Effective: These DIY snow globes won’t break the bank! You can get all the supplies easily, including acrylic charms and printable collars from GoodnightFox, and bulk foam beads for filling.
• Customizable: The design possibilities are endless! You can mix and match different acrylic charms, beads, and ribbon colors to match any event theme.
• Fun and Interactive: Kids will love shaking their snow globes and watching the “snow” swirl around the charming figurines inside.
• Durable and Safe: Unlike glass snow globes, these are made from sturdy plastic, making them kid-friendly and durable.
Supplies You’ll Need:
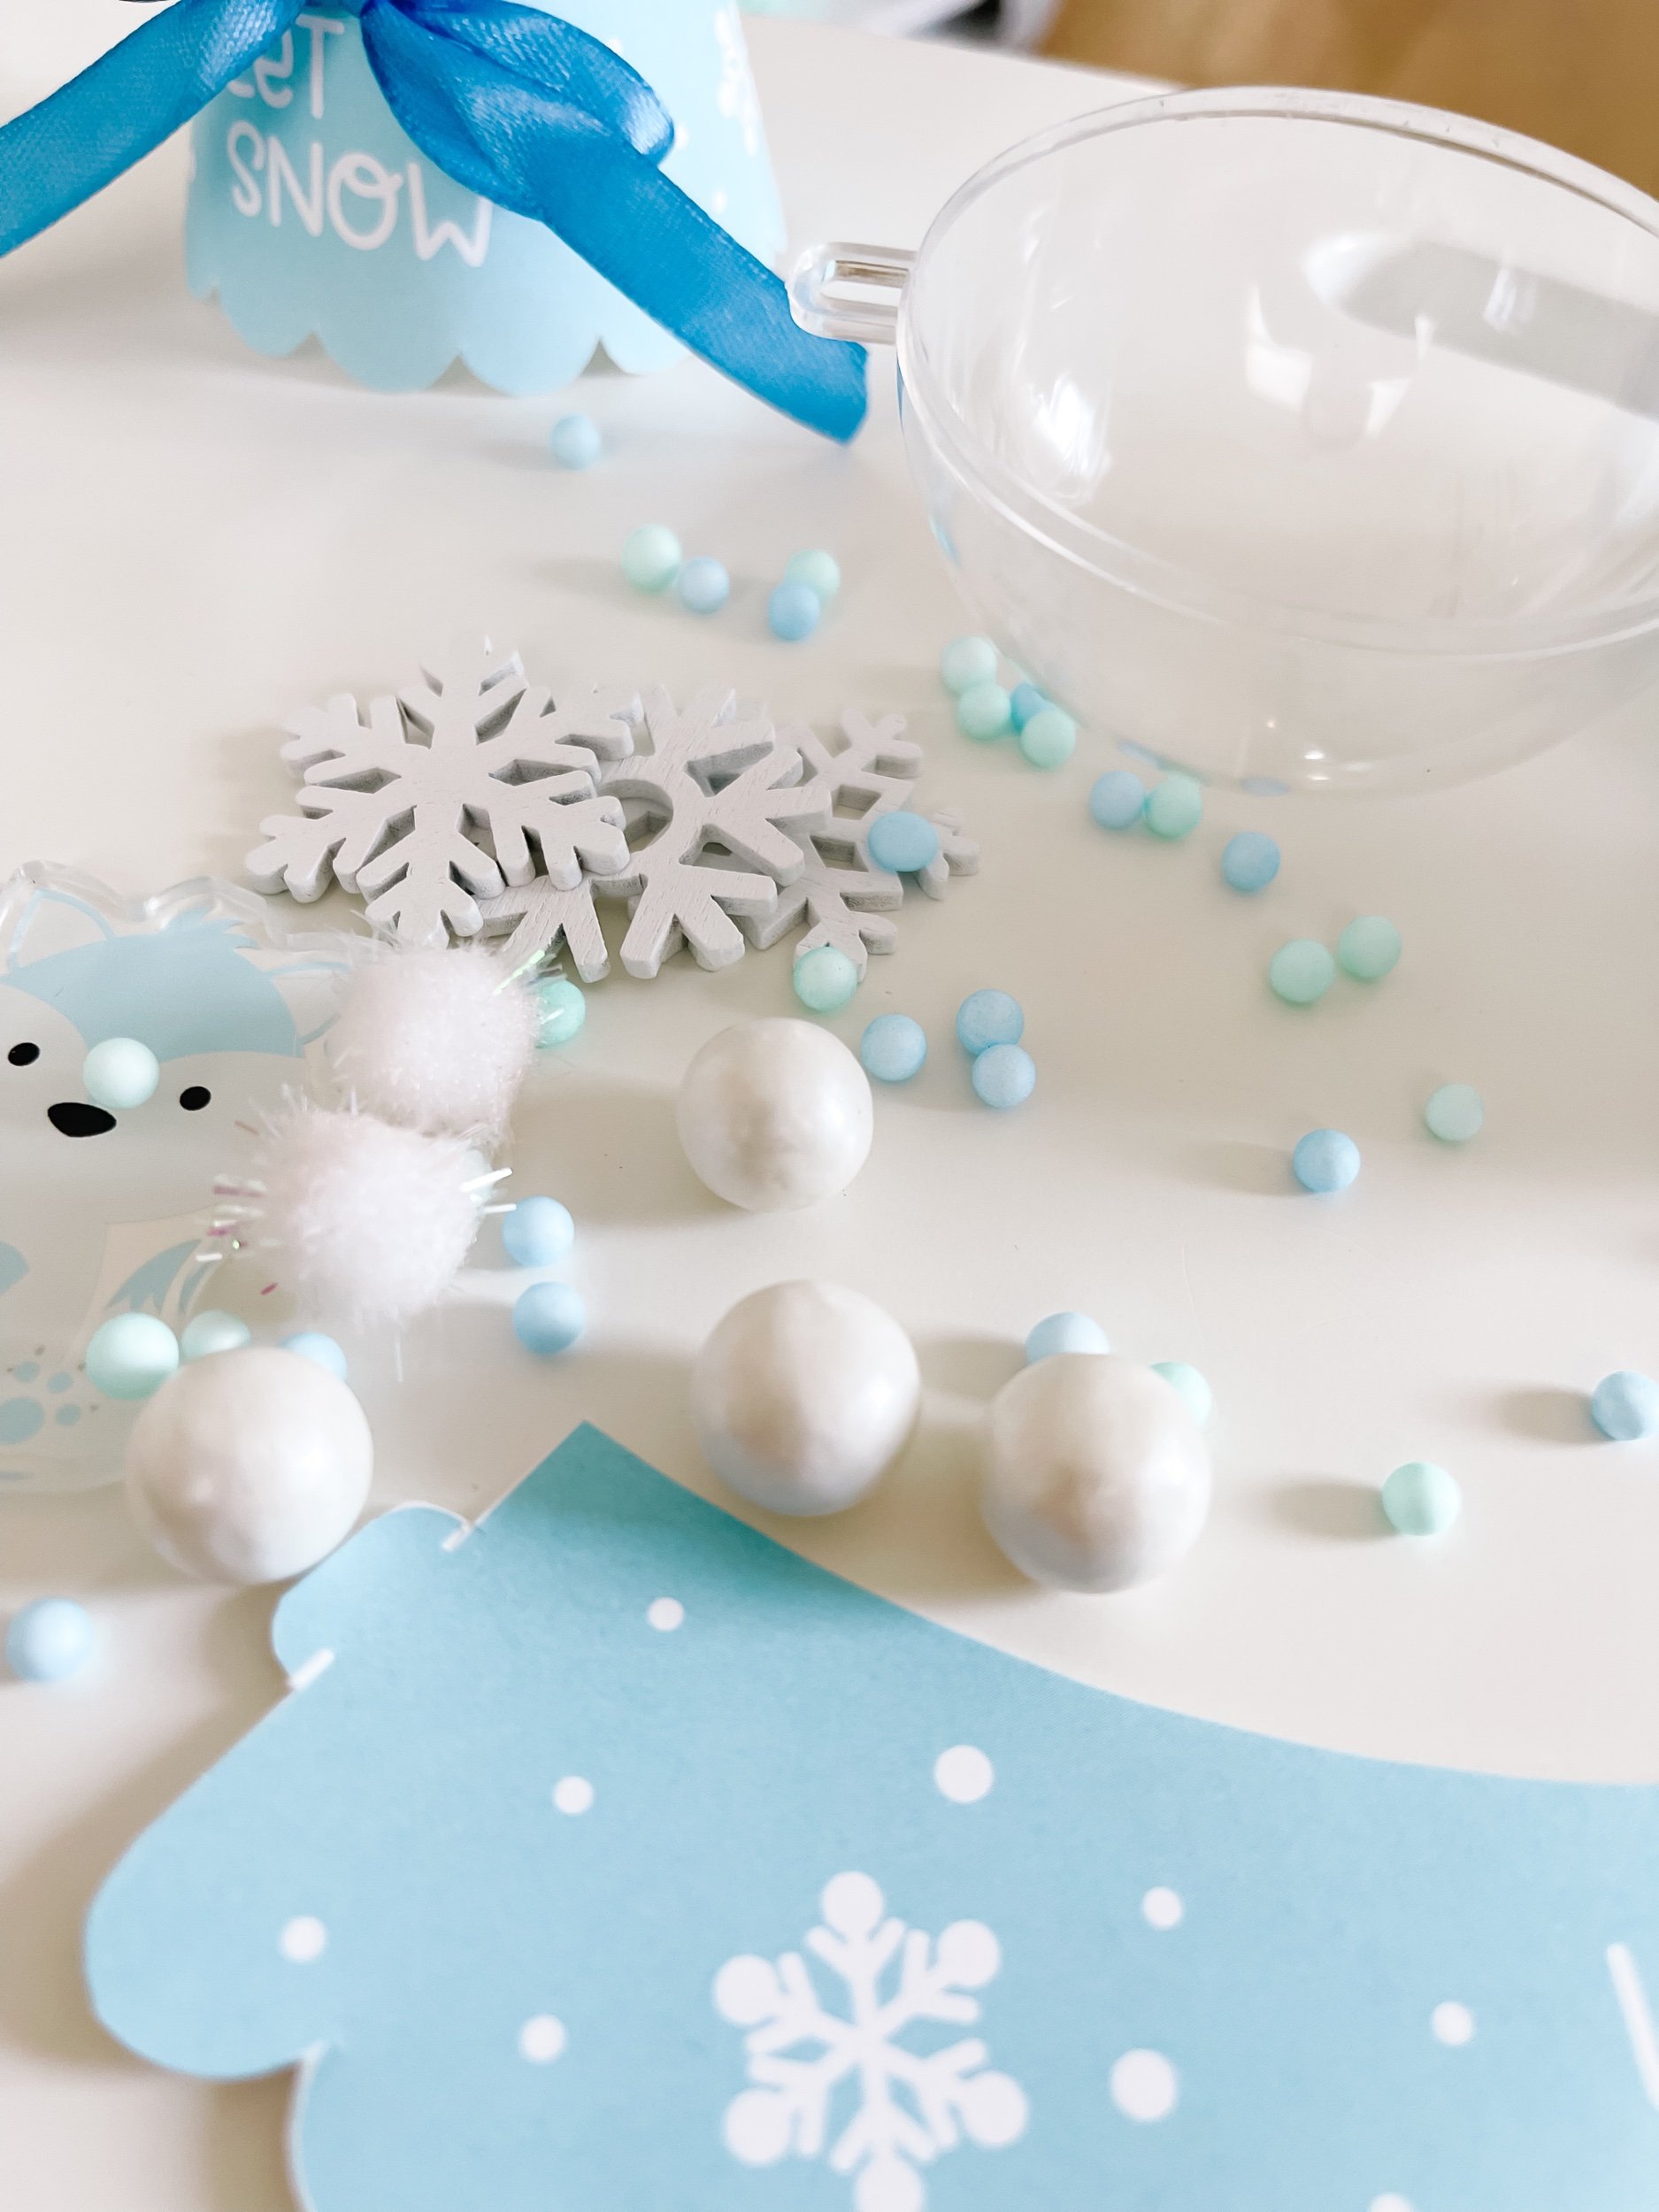
• Clear plastic baubles (available at most craft stores or online)
• White and blue foam beads
• Wooden snowflakes
• Acrylic charms from GoodnightFox (choose charms to match your theme)
• Printable snow globe collars from GoodnightFox
• Hot glue gun and glue sticks
• Ribbon for wrapping
Step-by-Step Instructions
1. Gather Your Supplies
Before starting, make sure you have all your supplies within easy reach. You can find the acrylic charms and printable collars at GoodnightFox, and the rest of the materials can be sourced from your local craft store.
2. Assemble the Bauble
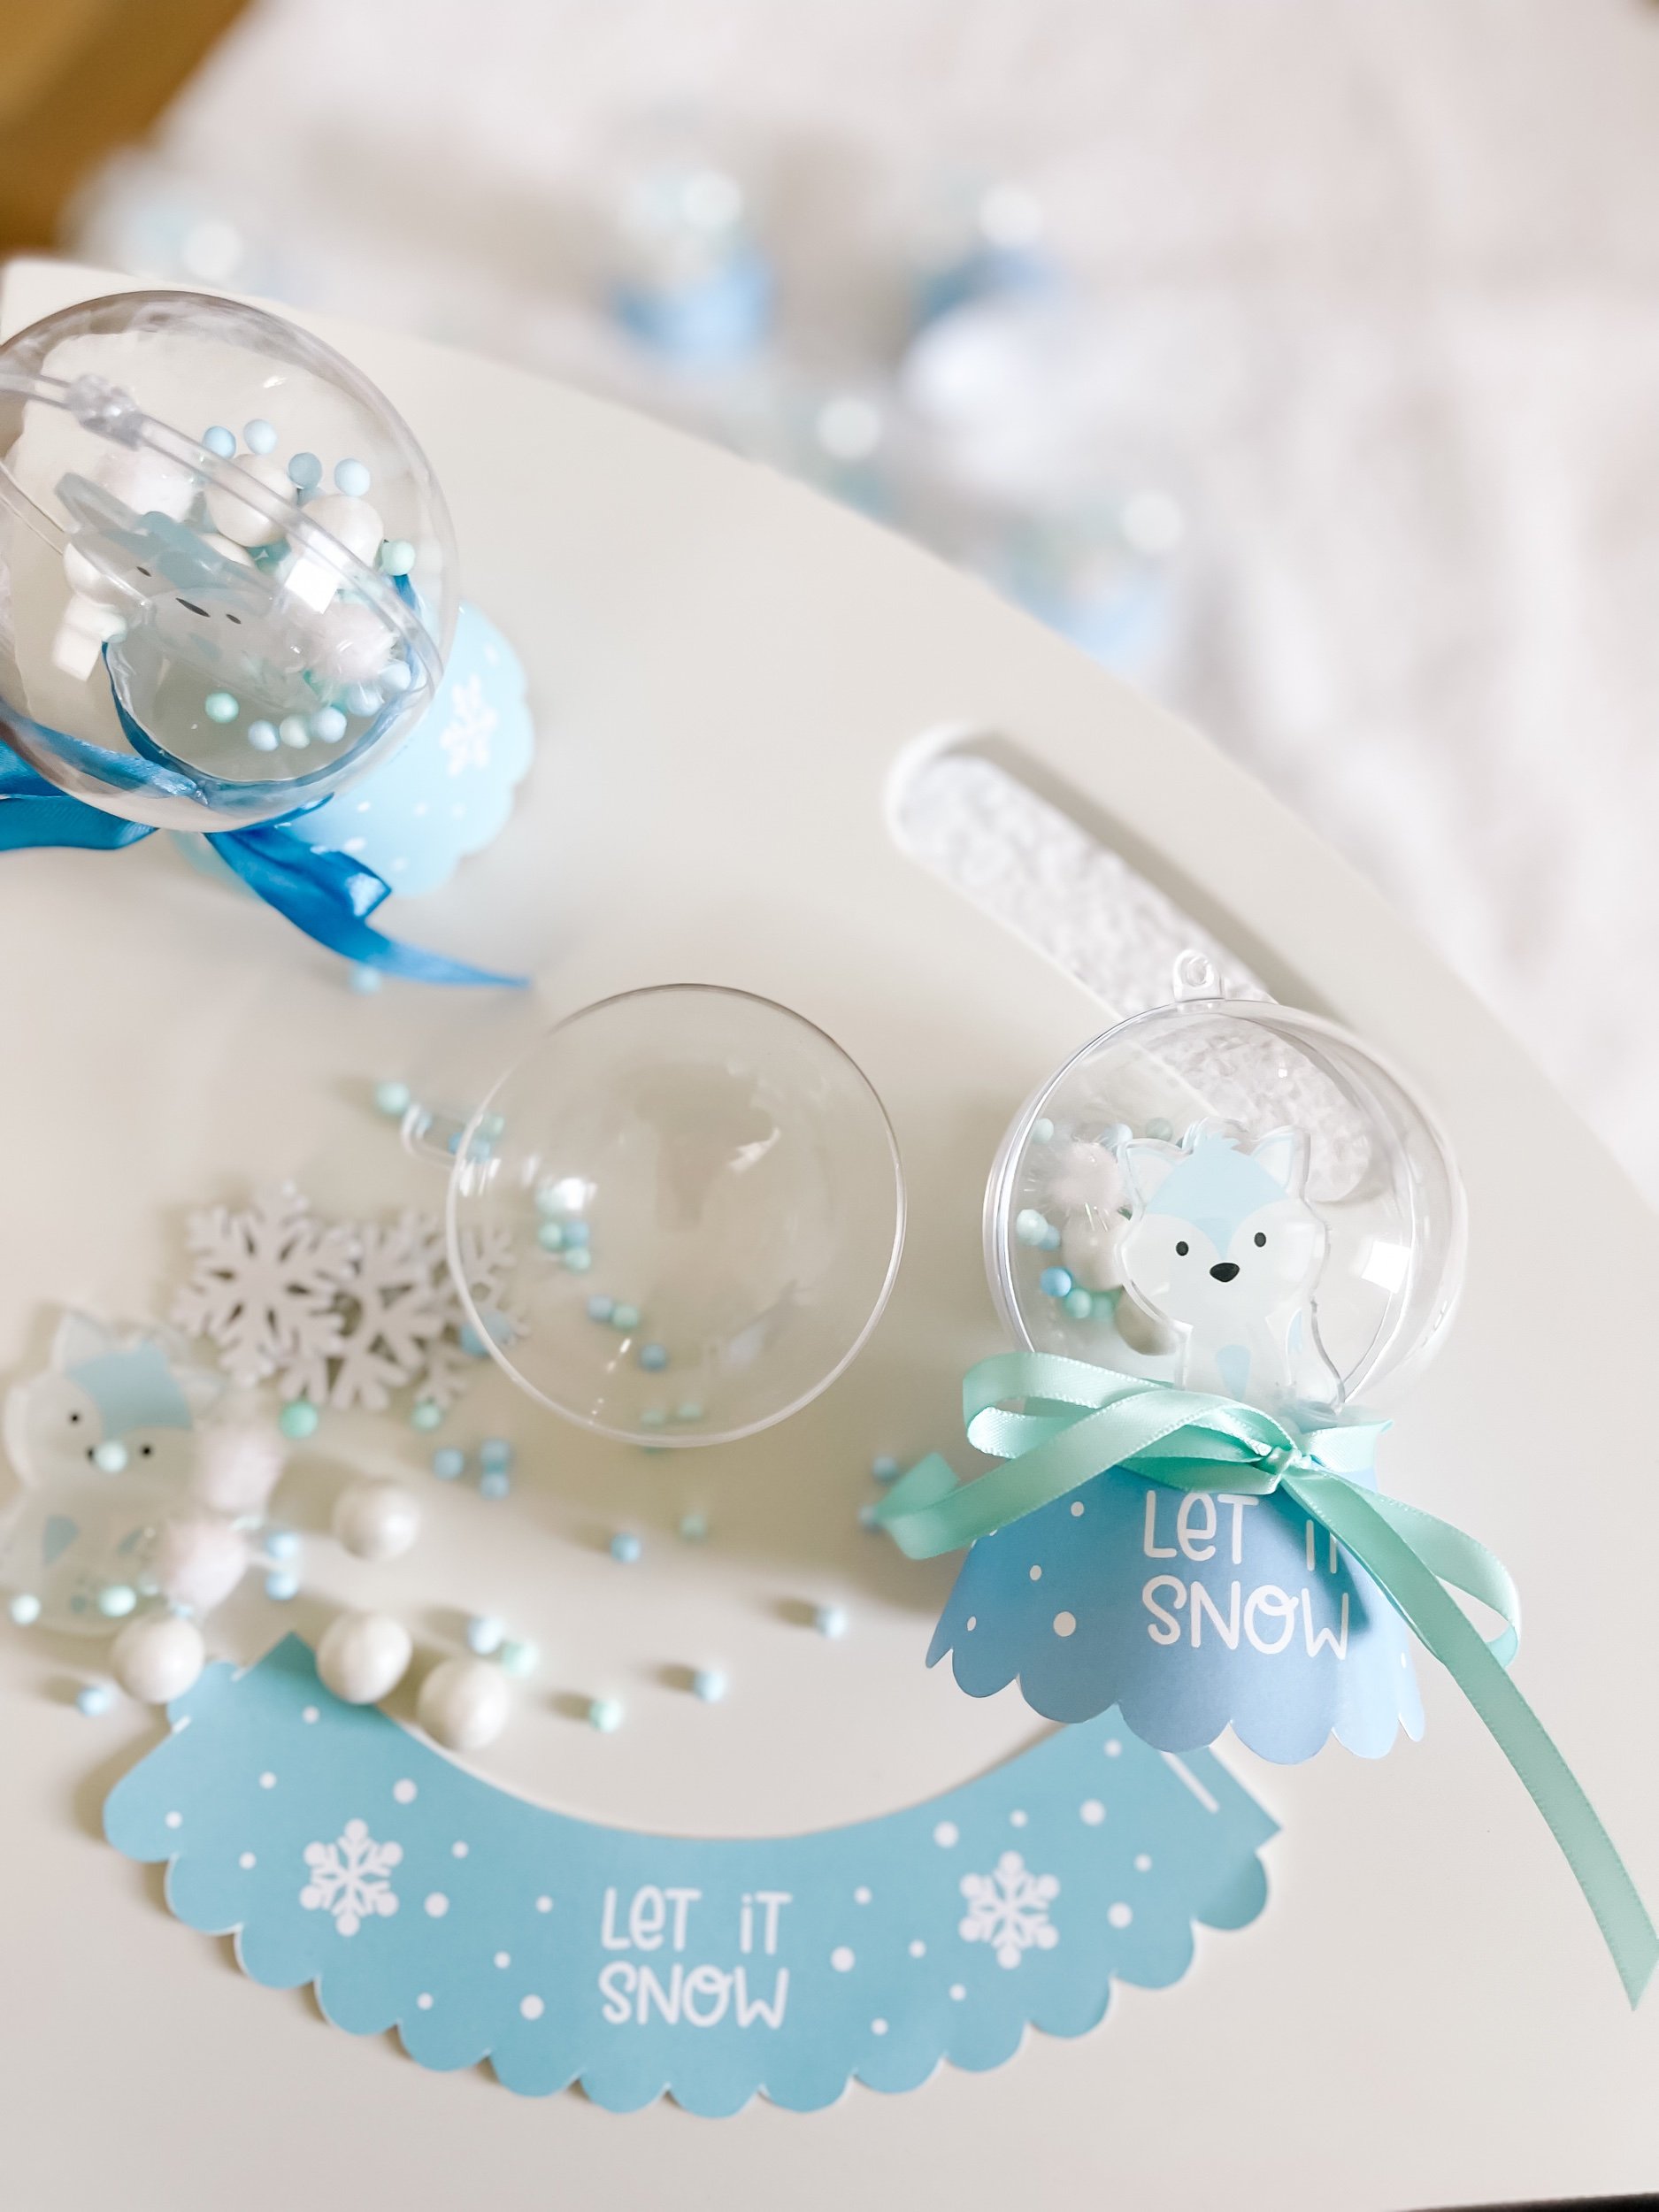
• Begin by opening the clear plastic bauble.
• Choose an acrylic charm from GoodnightFox that fits your theme, whether it’s wintery snowmen, stars, or even a personalized letter charm.
• Using your hot glue gun, carefully attach the charm to the inside bottom of the bauble. Let it dry completely before moving on to the next step.
3. Add the Snow
• Now comes the fun part! Add white and blue foam beads to simulate snow. You can also sprinkle in wooden snowflakes for a touch of wintery magic.
• Don’t overfill the bauble – you want to leave enough space for the snow to move around when it’s shaken.
4. Attach the Printable Collar
• Once you’ve filled the bauble with beads and snowflakes, it’s time to add the finishing touch. Use the snow globe collar printables from GoodnightFox to wrap around the top of the bauble where the two halves meet.
• Secure the collar with a little hot glue for a polished look.
5. Finish with Ribbon
• Wrap a ribbon around the collar of the snow globe for a final decorative touch. Choose a color that matches your event theme—whether it’s a classic winter white, icy blue, or something more festive.
• Tie a bow and trim any excess ribbon for a neat finish.
6. Display or Gift!
• Your DIY snow globe is now ready to be displayed or handed out as a favor! These make perfect party favors for kids’ winter birthdays, holiday celebrations, or as a delightful classroom gift.
Tips for Success
• Personalize It: You can add small name tags to each snow globe, making them extra special for the recipient.
• Add Glitter: For a more magical snow globe effect, sprinkle in a little iridescent glitter along with the foam beads.
• Customize the Charm: GoodnightFox offers a variety of acrylic charms, so whether you’re making a batch for a birthday party, winter festival, or even a back-to-school event, you can find the perfect charm to match the occasion.
Why These Snow Globes Stand Out as Party and Classroom Favors
• Engaging Craft: These snow globes are more than just a gift – they are an interactive experience that children will love shaking and watching as the snow swirls.
• DIY Fun: Crafting these snow globes can be a fun activity to do with kids, adding even more excitement to your event or classroom party.
• Memorable Keepsakes: Unlike other favors that are quickly forgotten, these snow globes serve as a special keepsake that children can cherish long after the party is over.
Conclusion: Create Magical Memories with DIY Snow Globe Favors
These DIY snow globe favors are the perfect way to add a personal and magical touch to any event. Whether you’re making them for a classroom holiday party, birthday celebration, or even as a gift for a special occasion, they’re sure to impress! Easy to make, budget-friendly, and totally customizable, these snow globe party favors are a must-try for your next kid-friendly event. Head over to GoodnightFox to get your acrylic charms and printable collars to get started on this fun project today!
With detailed instructions, the right materials, and a little creativity, these snow globe favors are sure to stand out as the most talked-about keepsake at your event.
For this activity, you can follow the instructions below:
Supplies:
Christmas ornaments plastic non breakable (I used 70mm)
Hot Glue
Filler: White poms, sprinkles, glitter, foam balls, snowflakes
Steps:
Print out the stands on 80lb cardstock
Cut out as many stands as you’d like to make
Assemble the stands by hot gluing the ends together
Take the acrylic charm and hot glue it to the inside of the bauble facing outward. Leave enough room from the edge that when put together, it doesn’t pop off
Fill the bauble with filler! You can use as much or as little as you want.
Snap the bauble together
Put a thin line of glue around the top of the base. Set the bauble on top level with the notch for the hanger on top.
Tie a ribbon around the base for a cute added detail
Tie a ribbon around the hanger on top of you want them to be like Christmas tree ornaments
