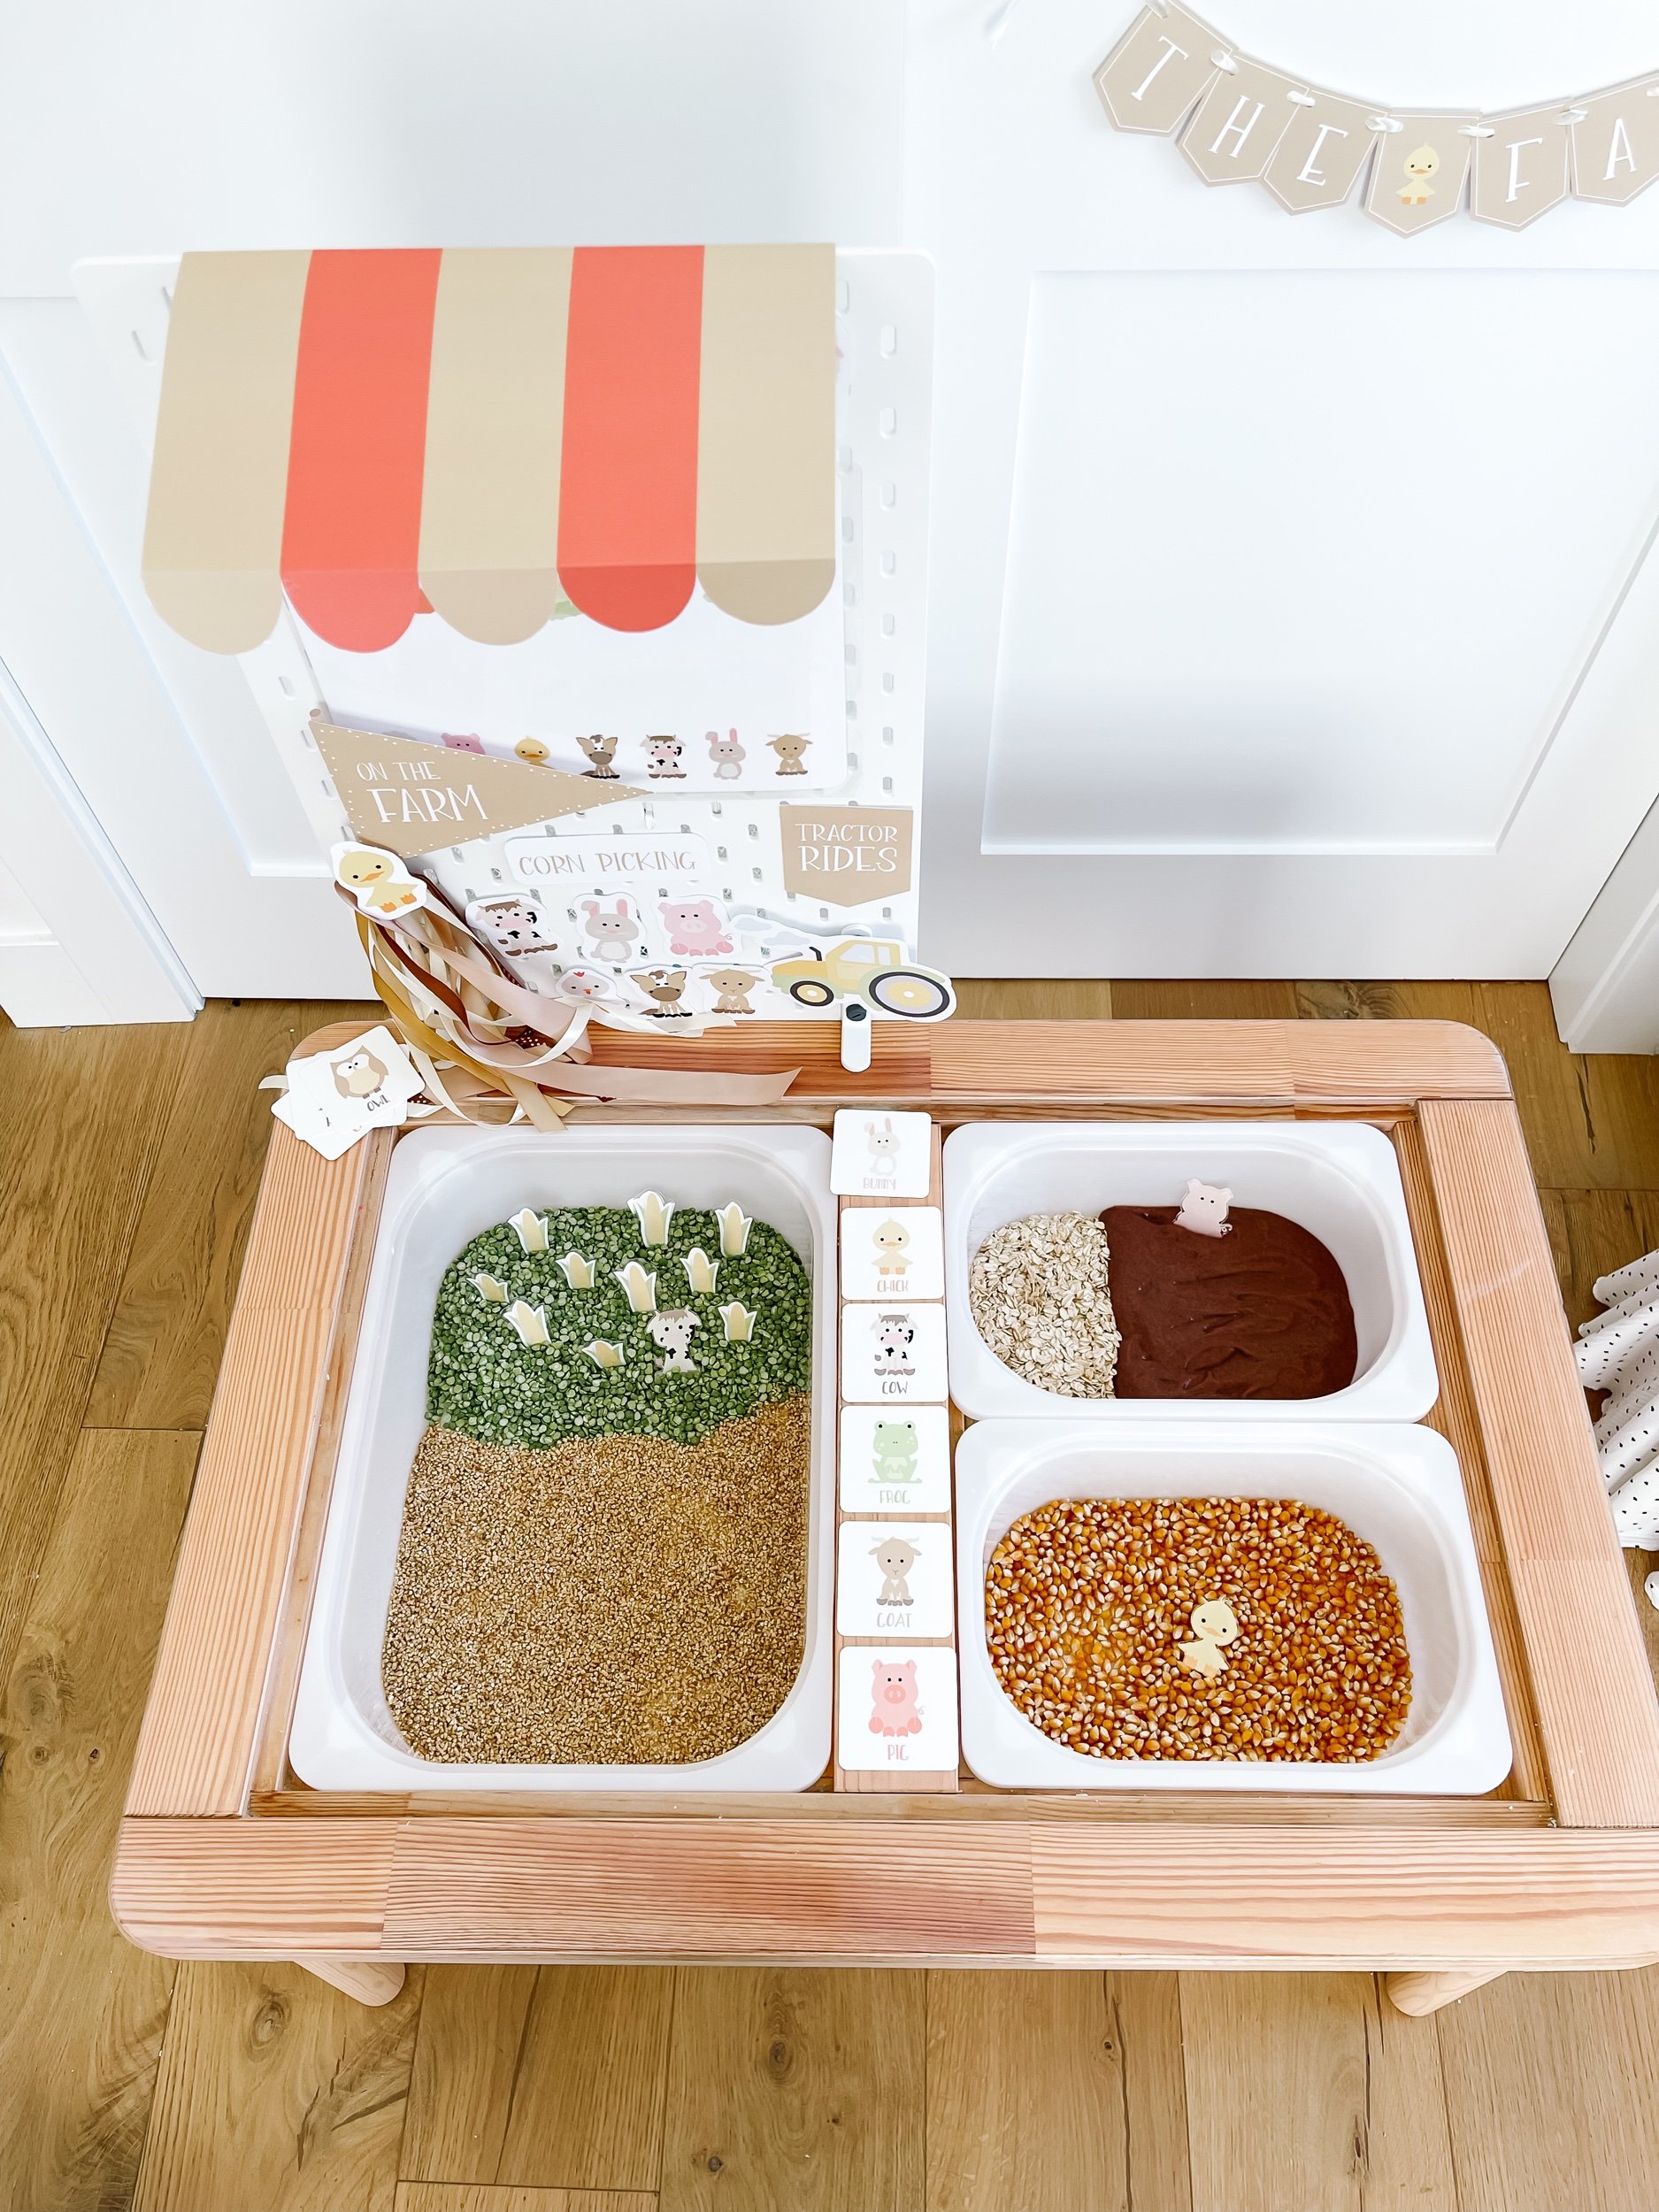
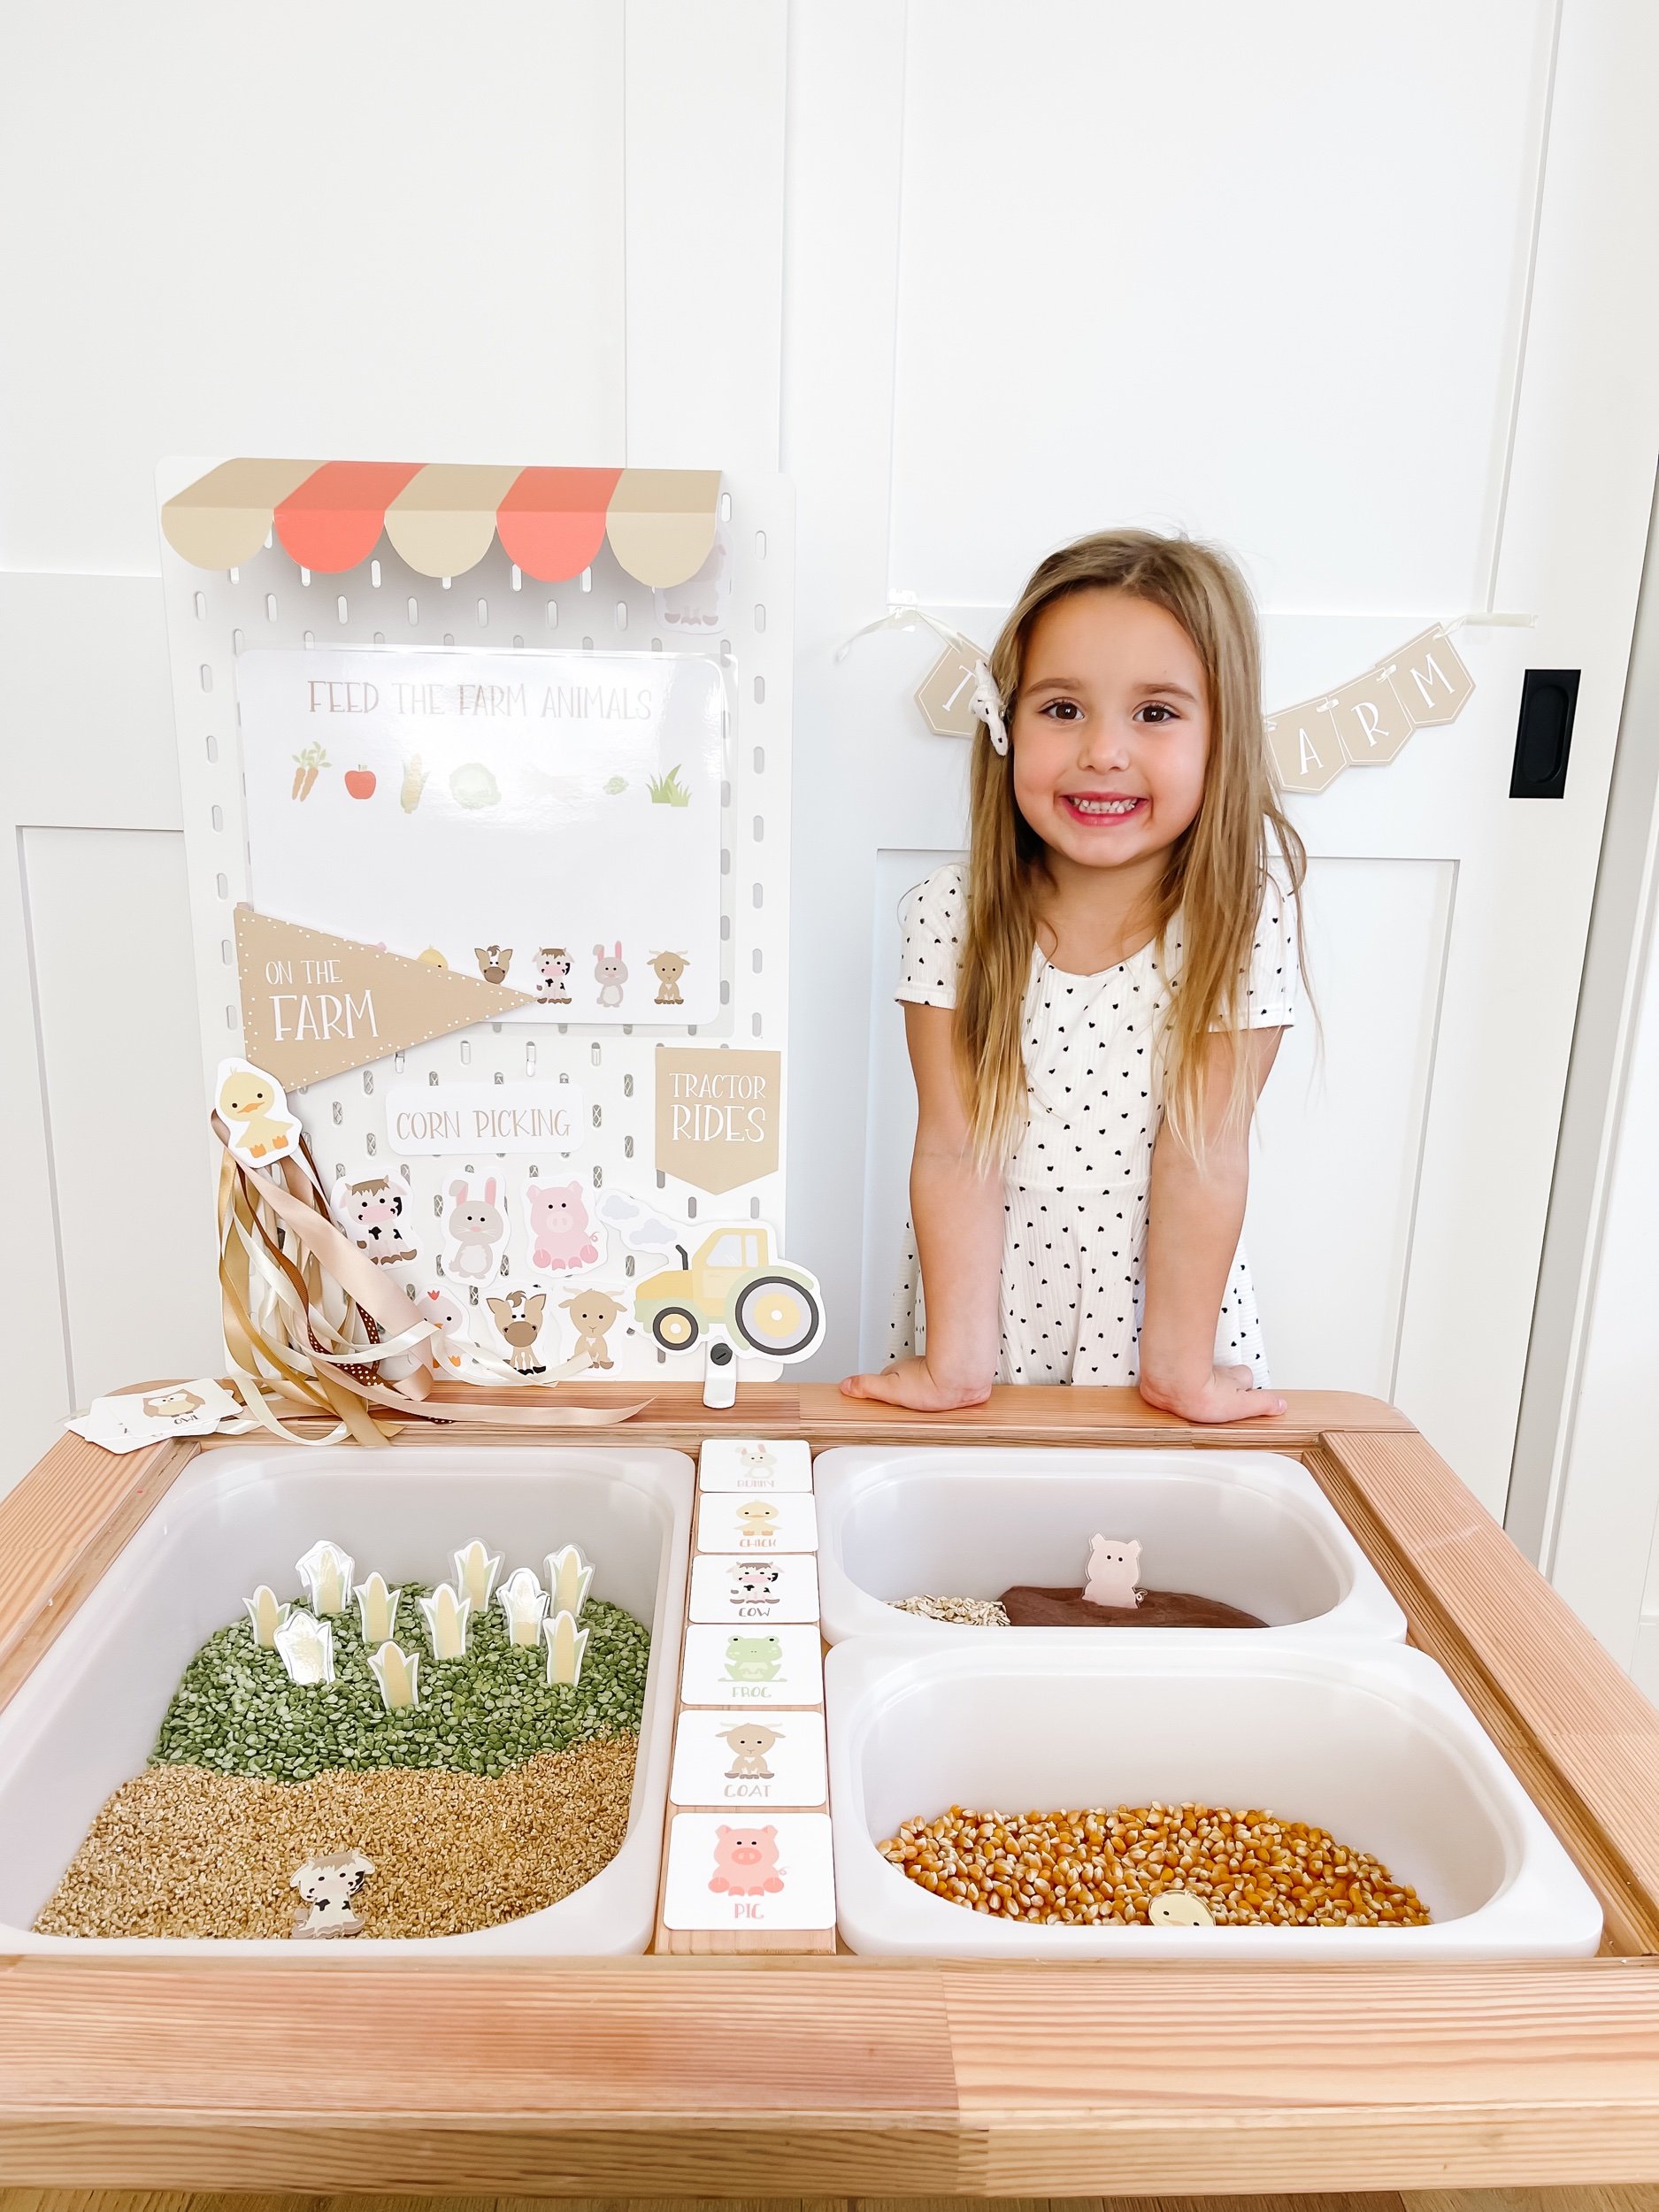
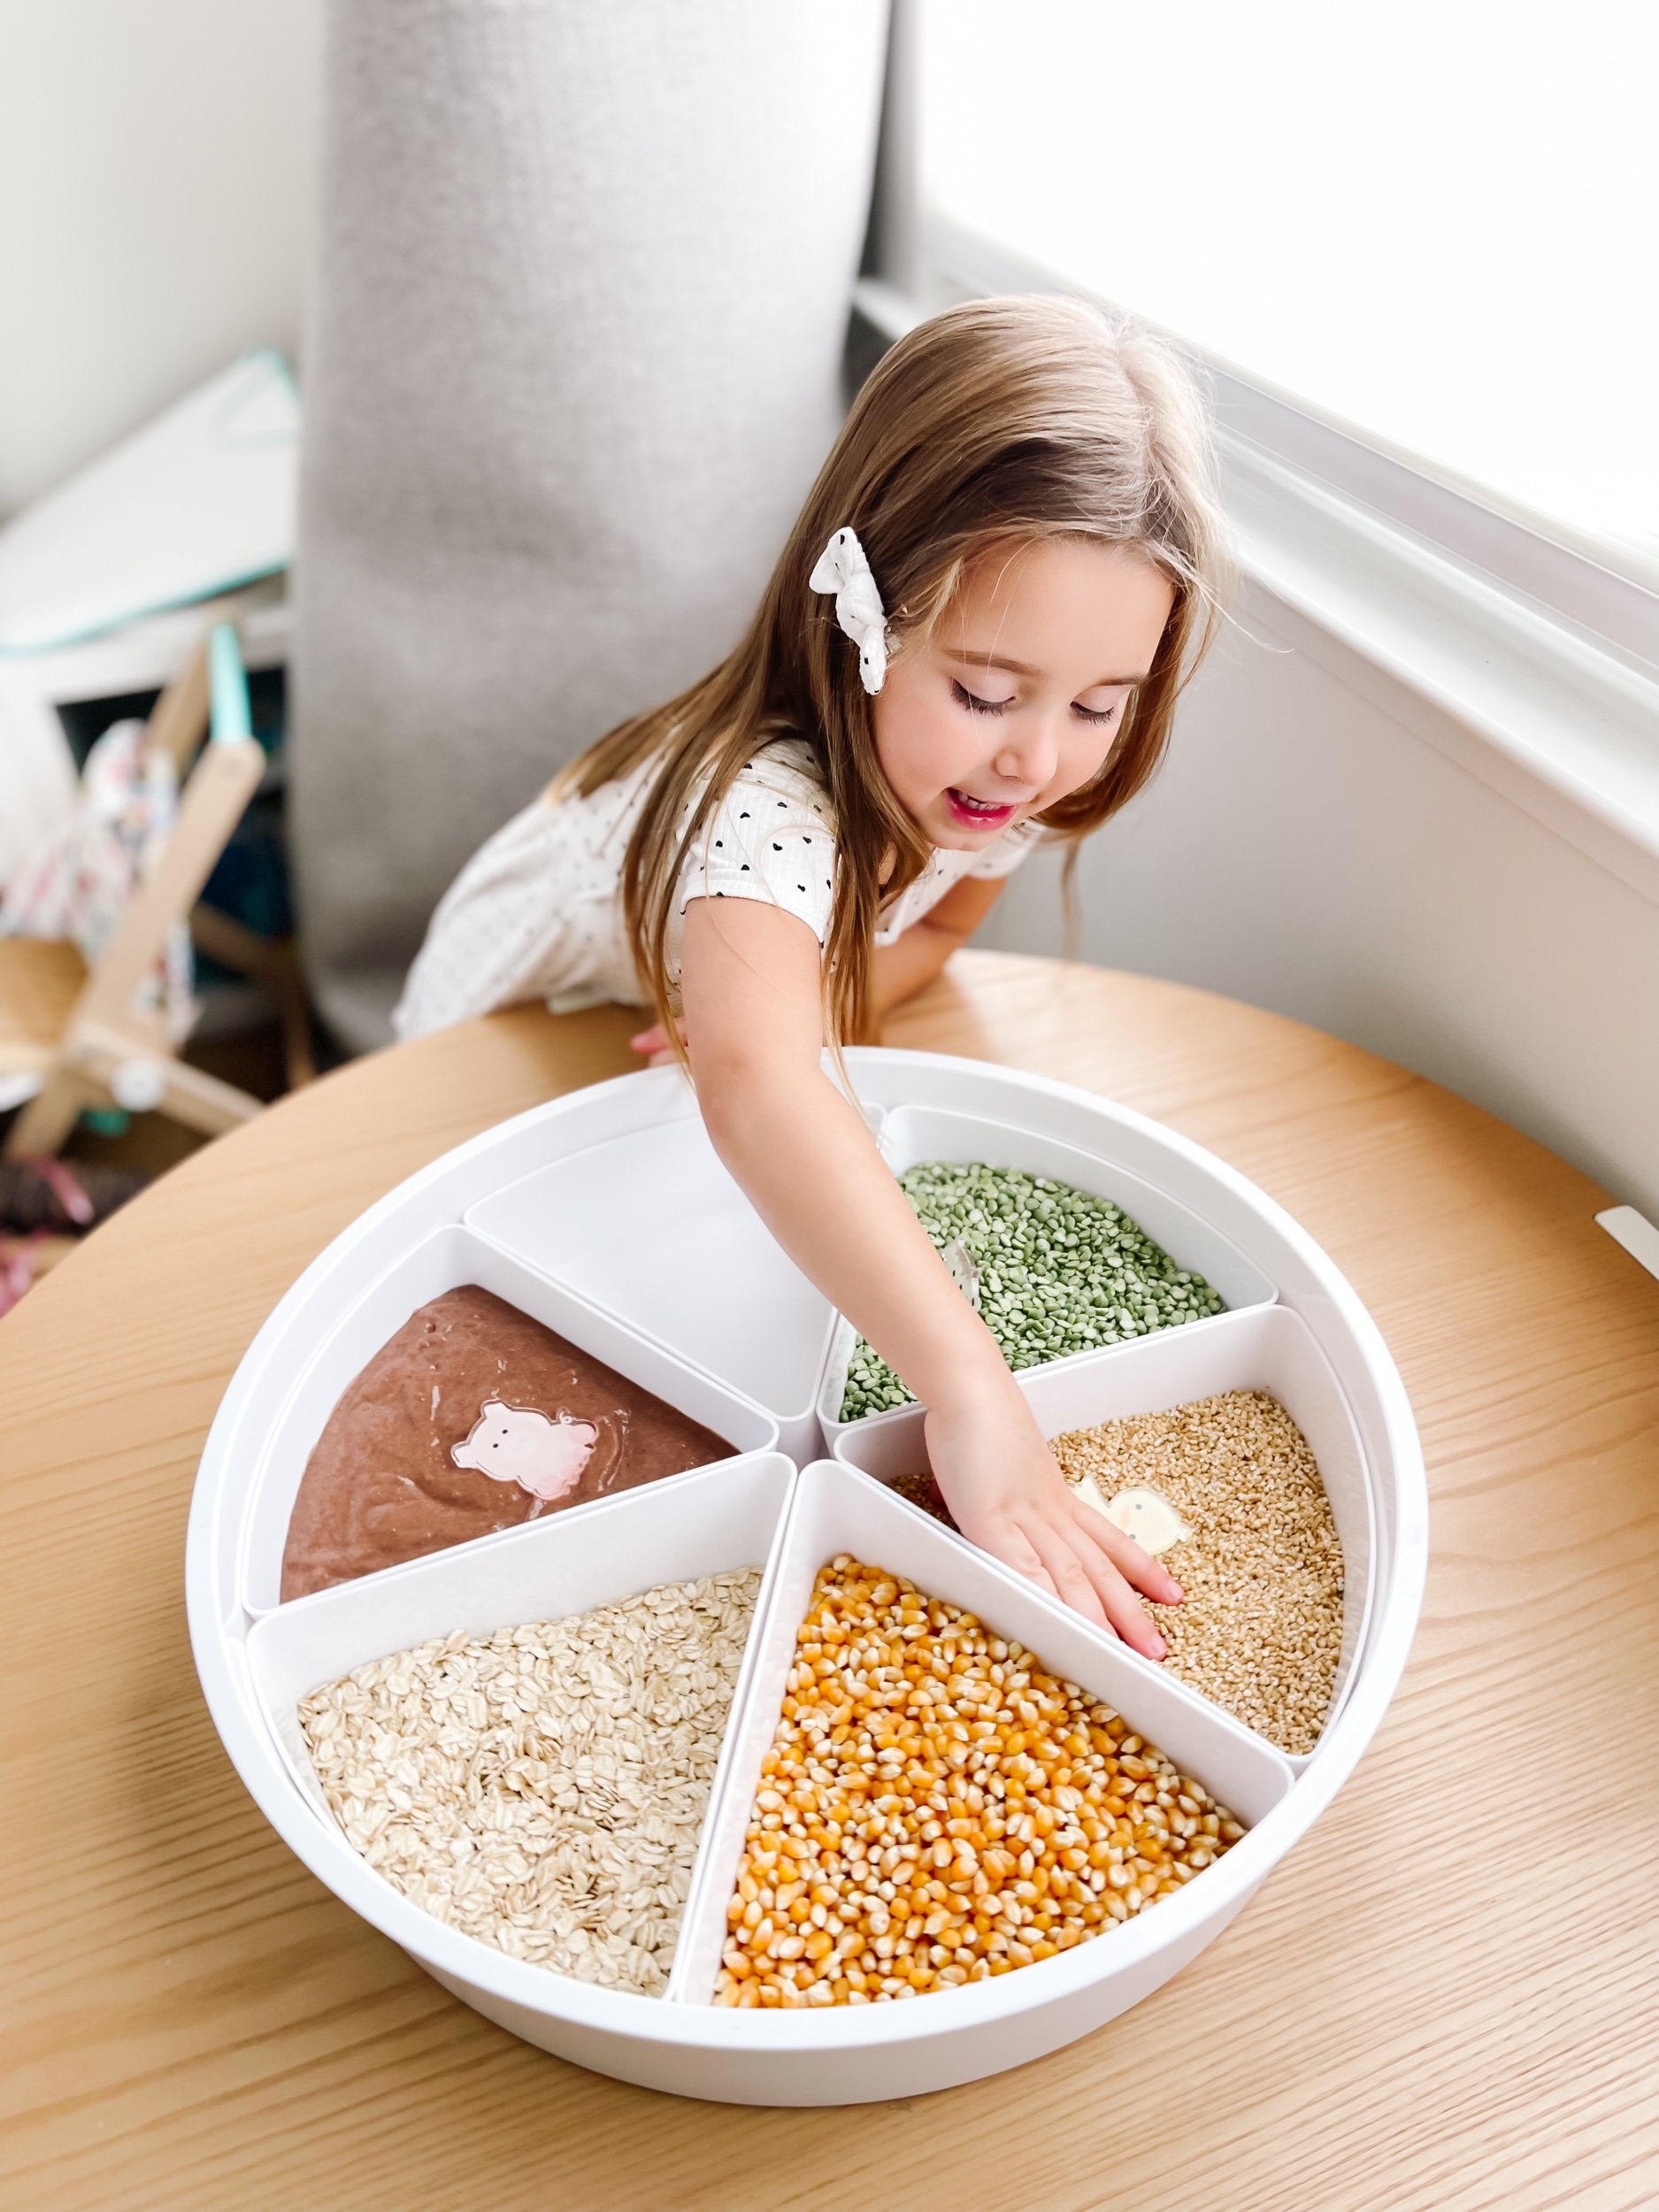
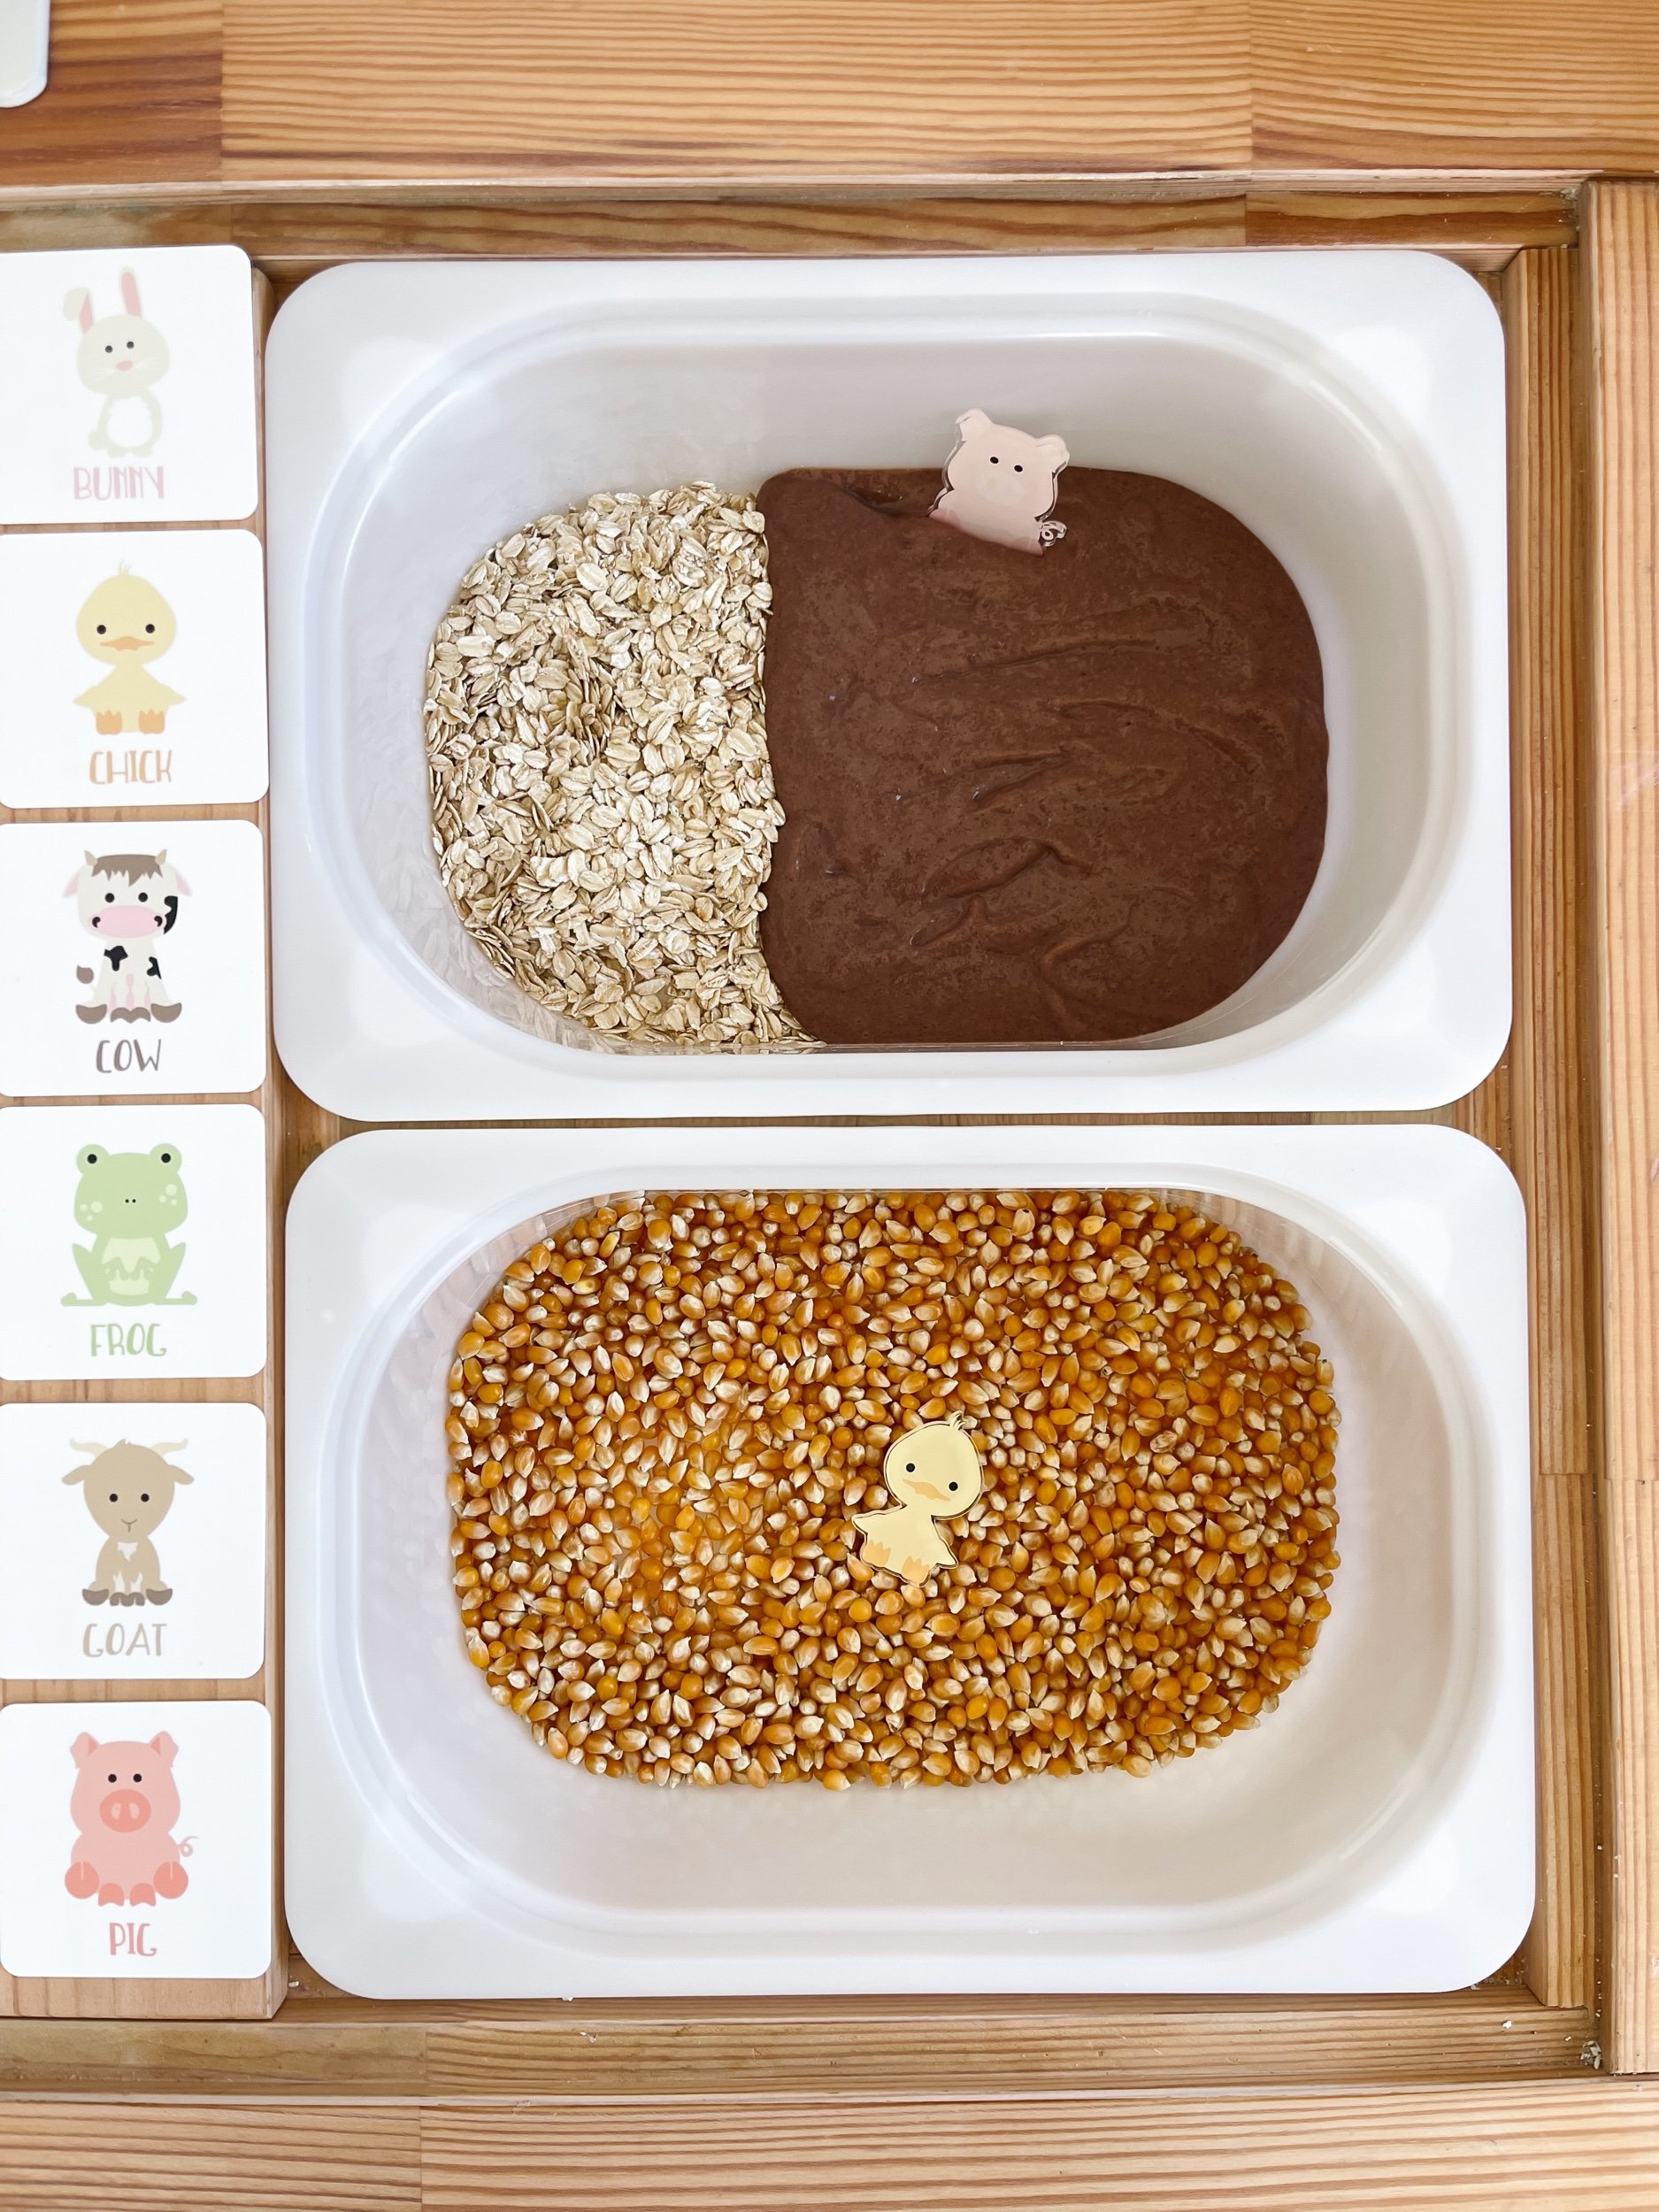
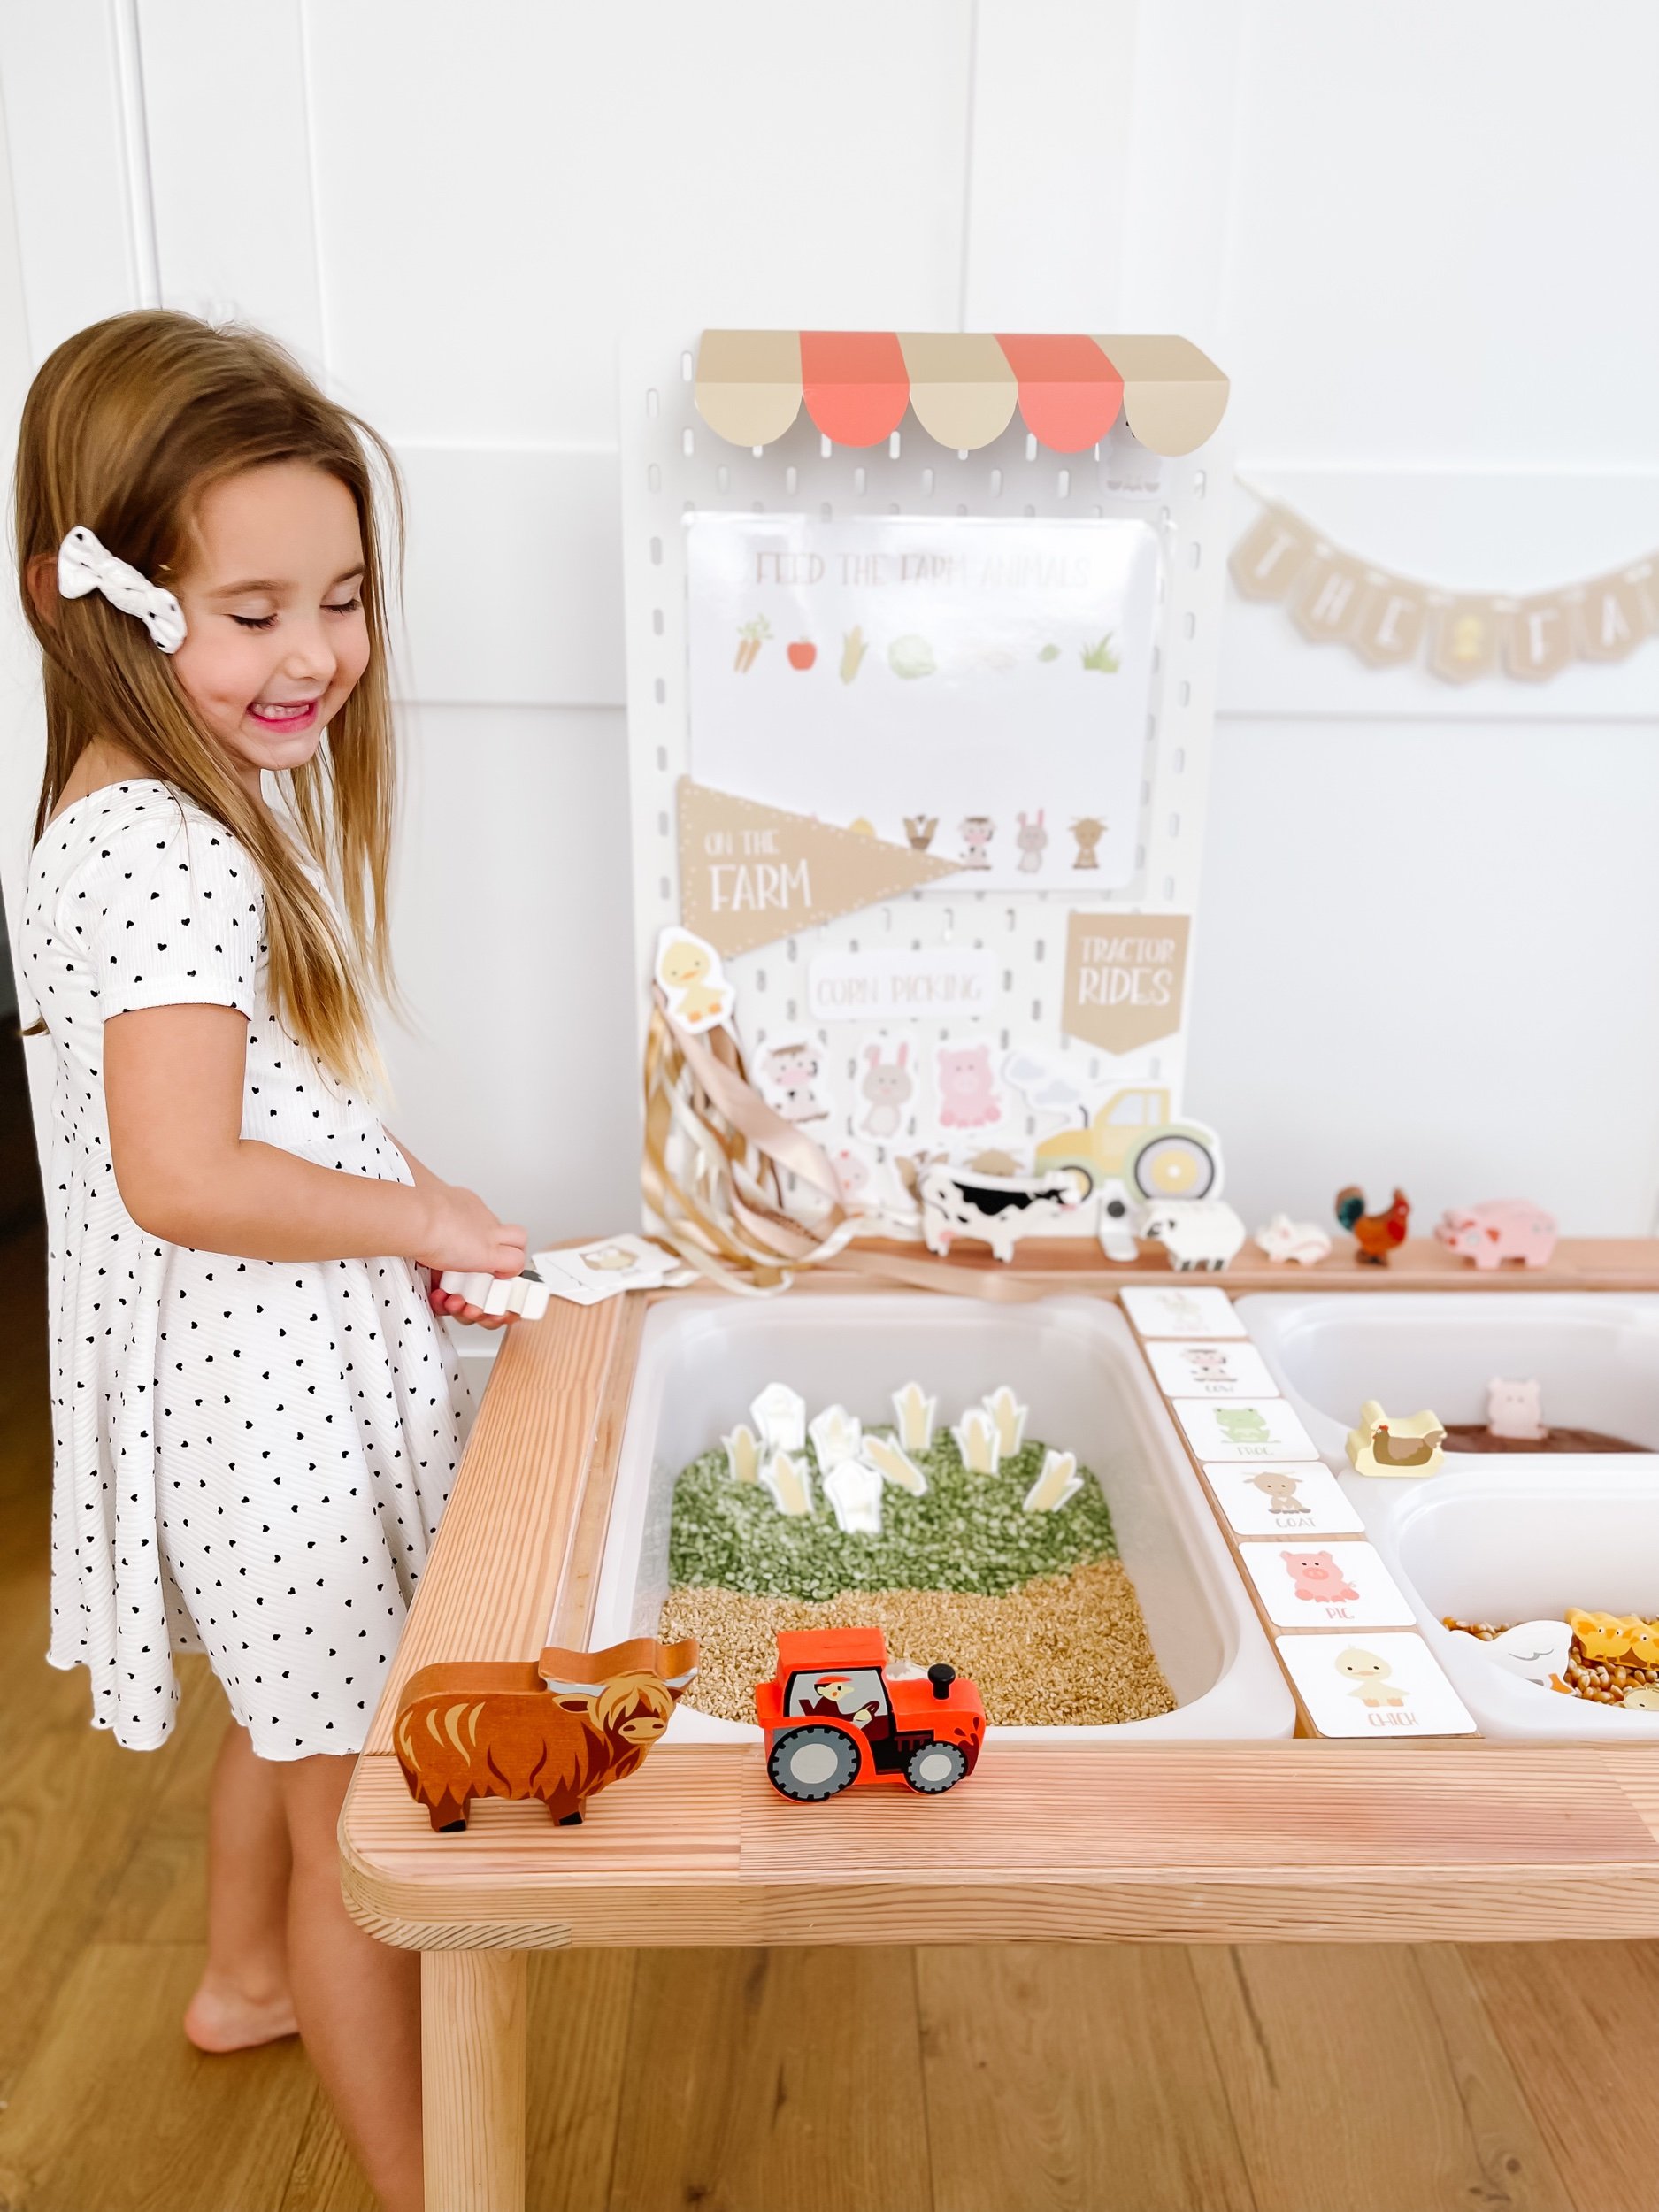
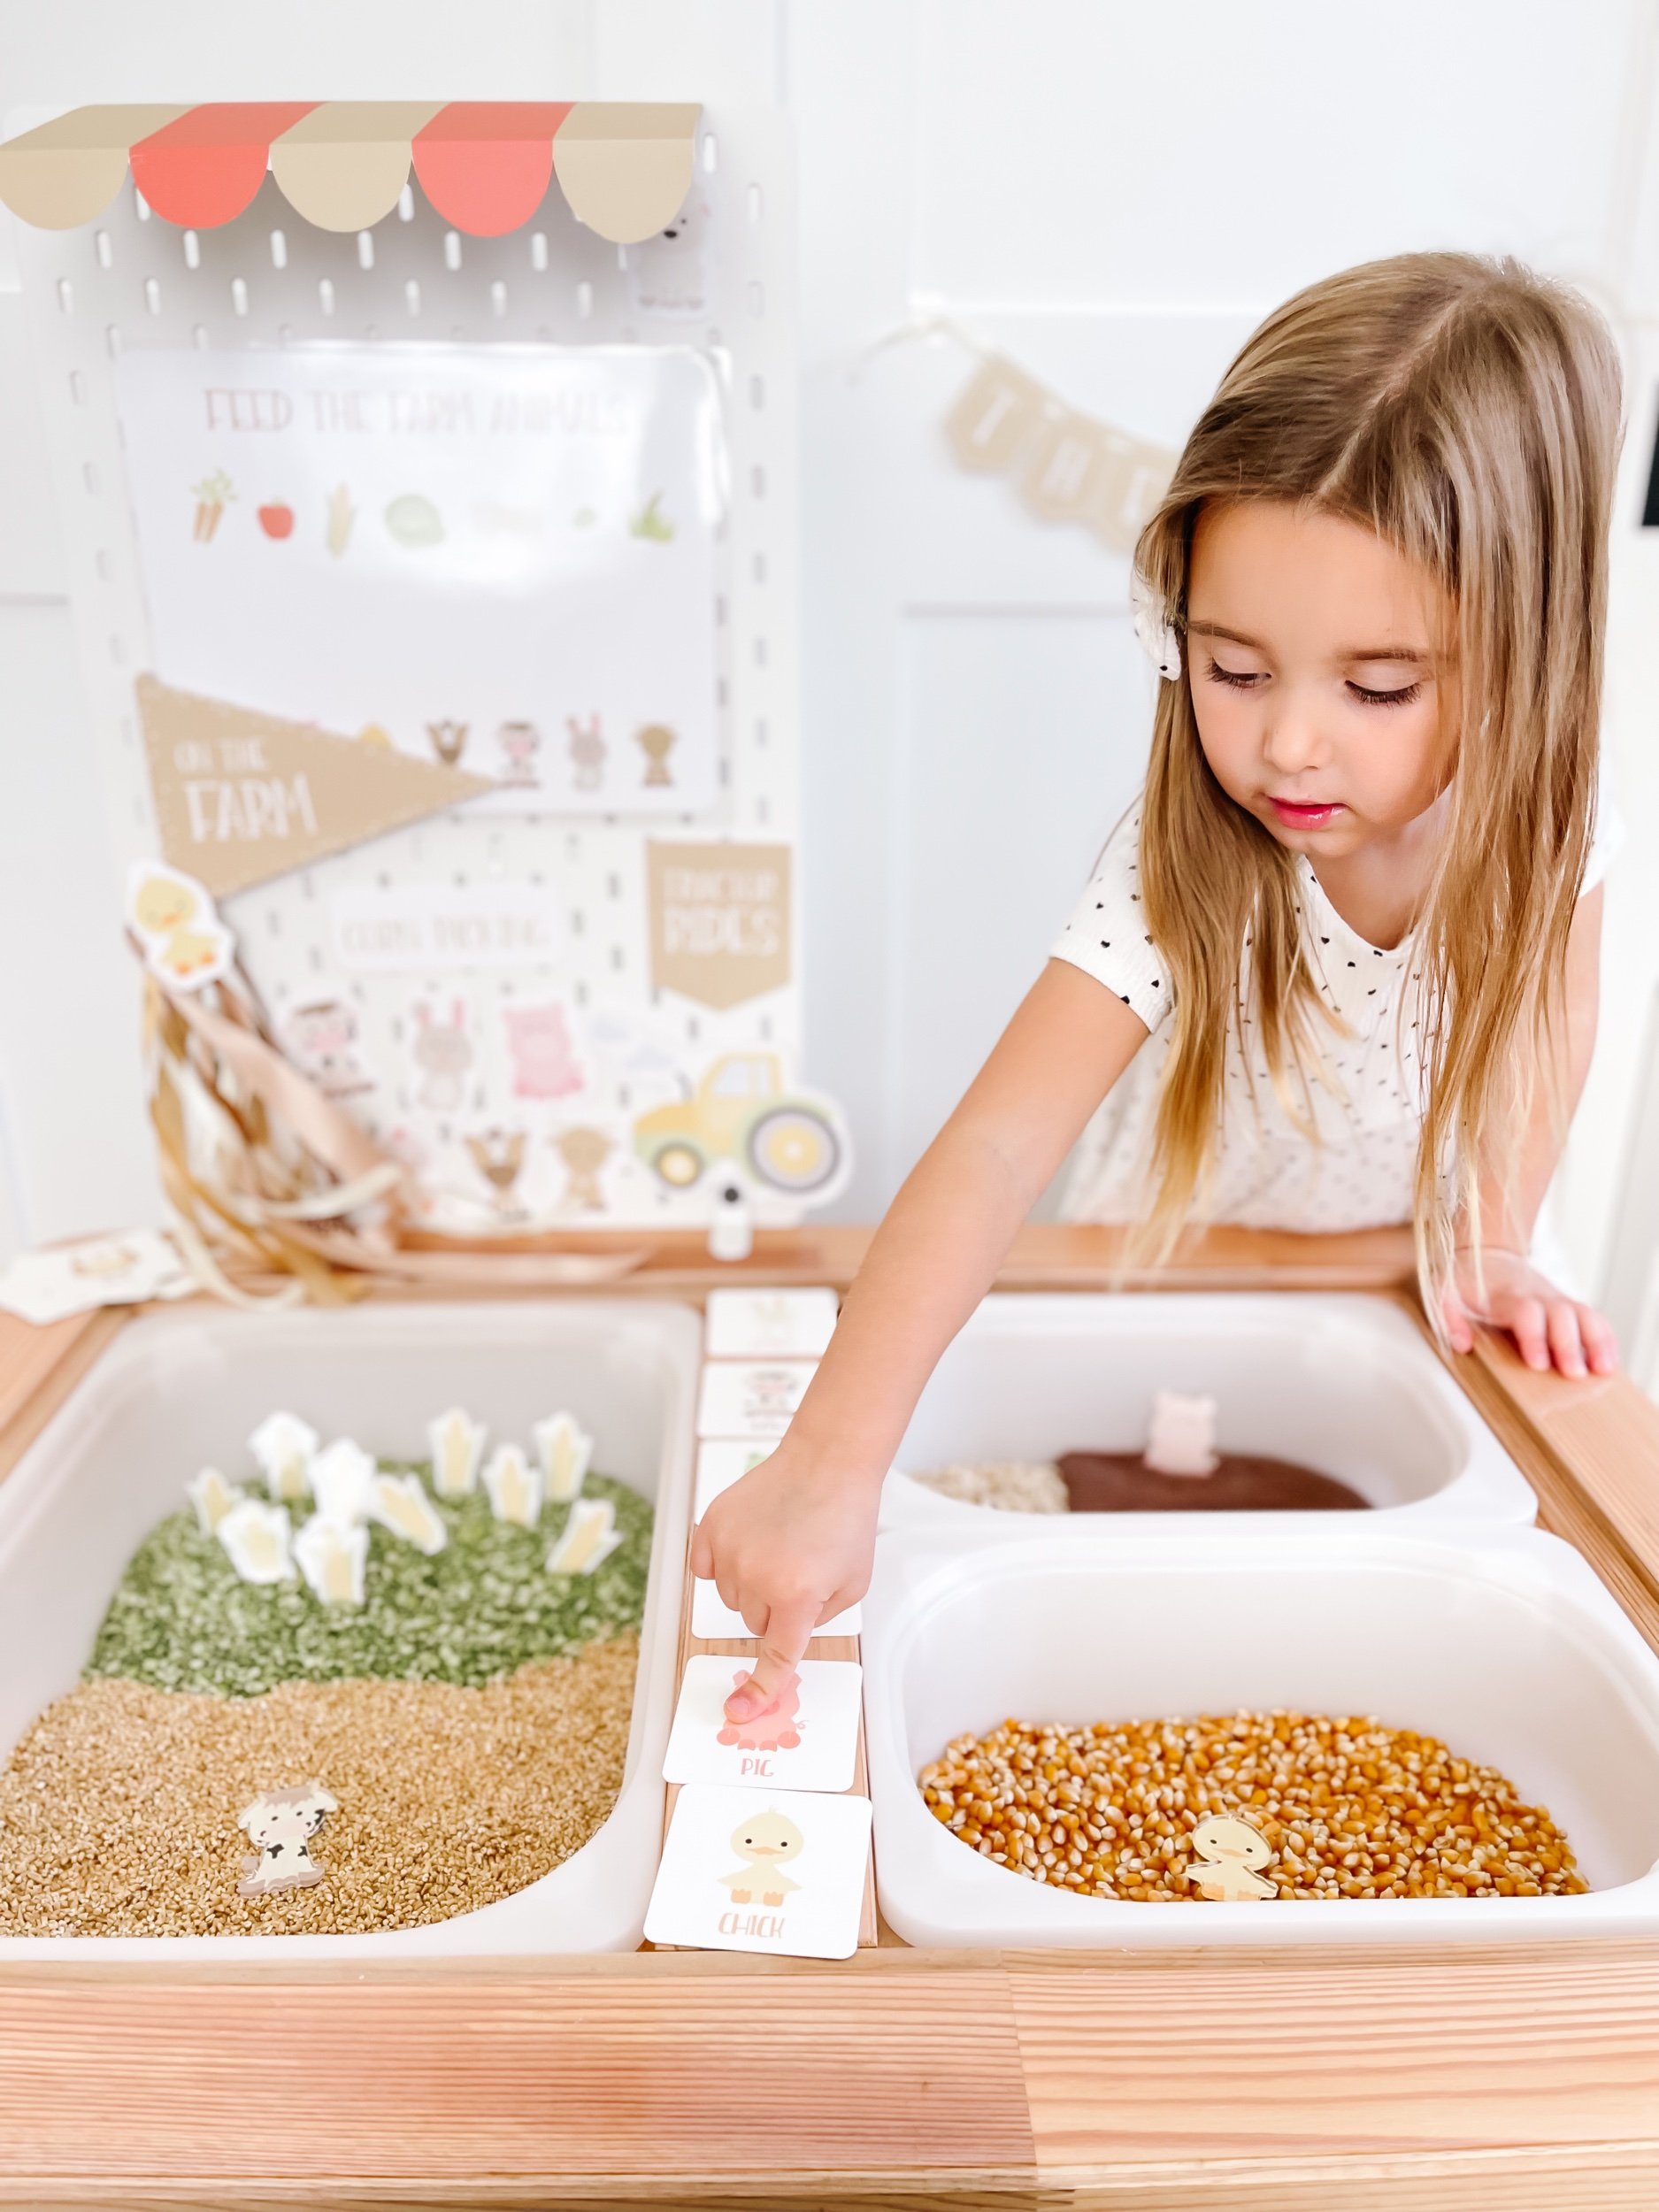
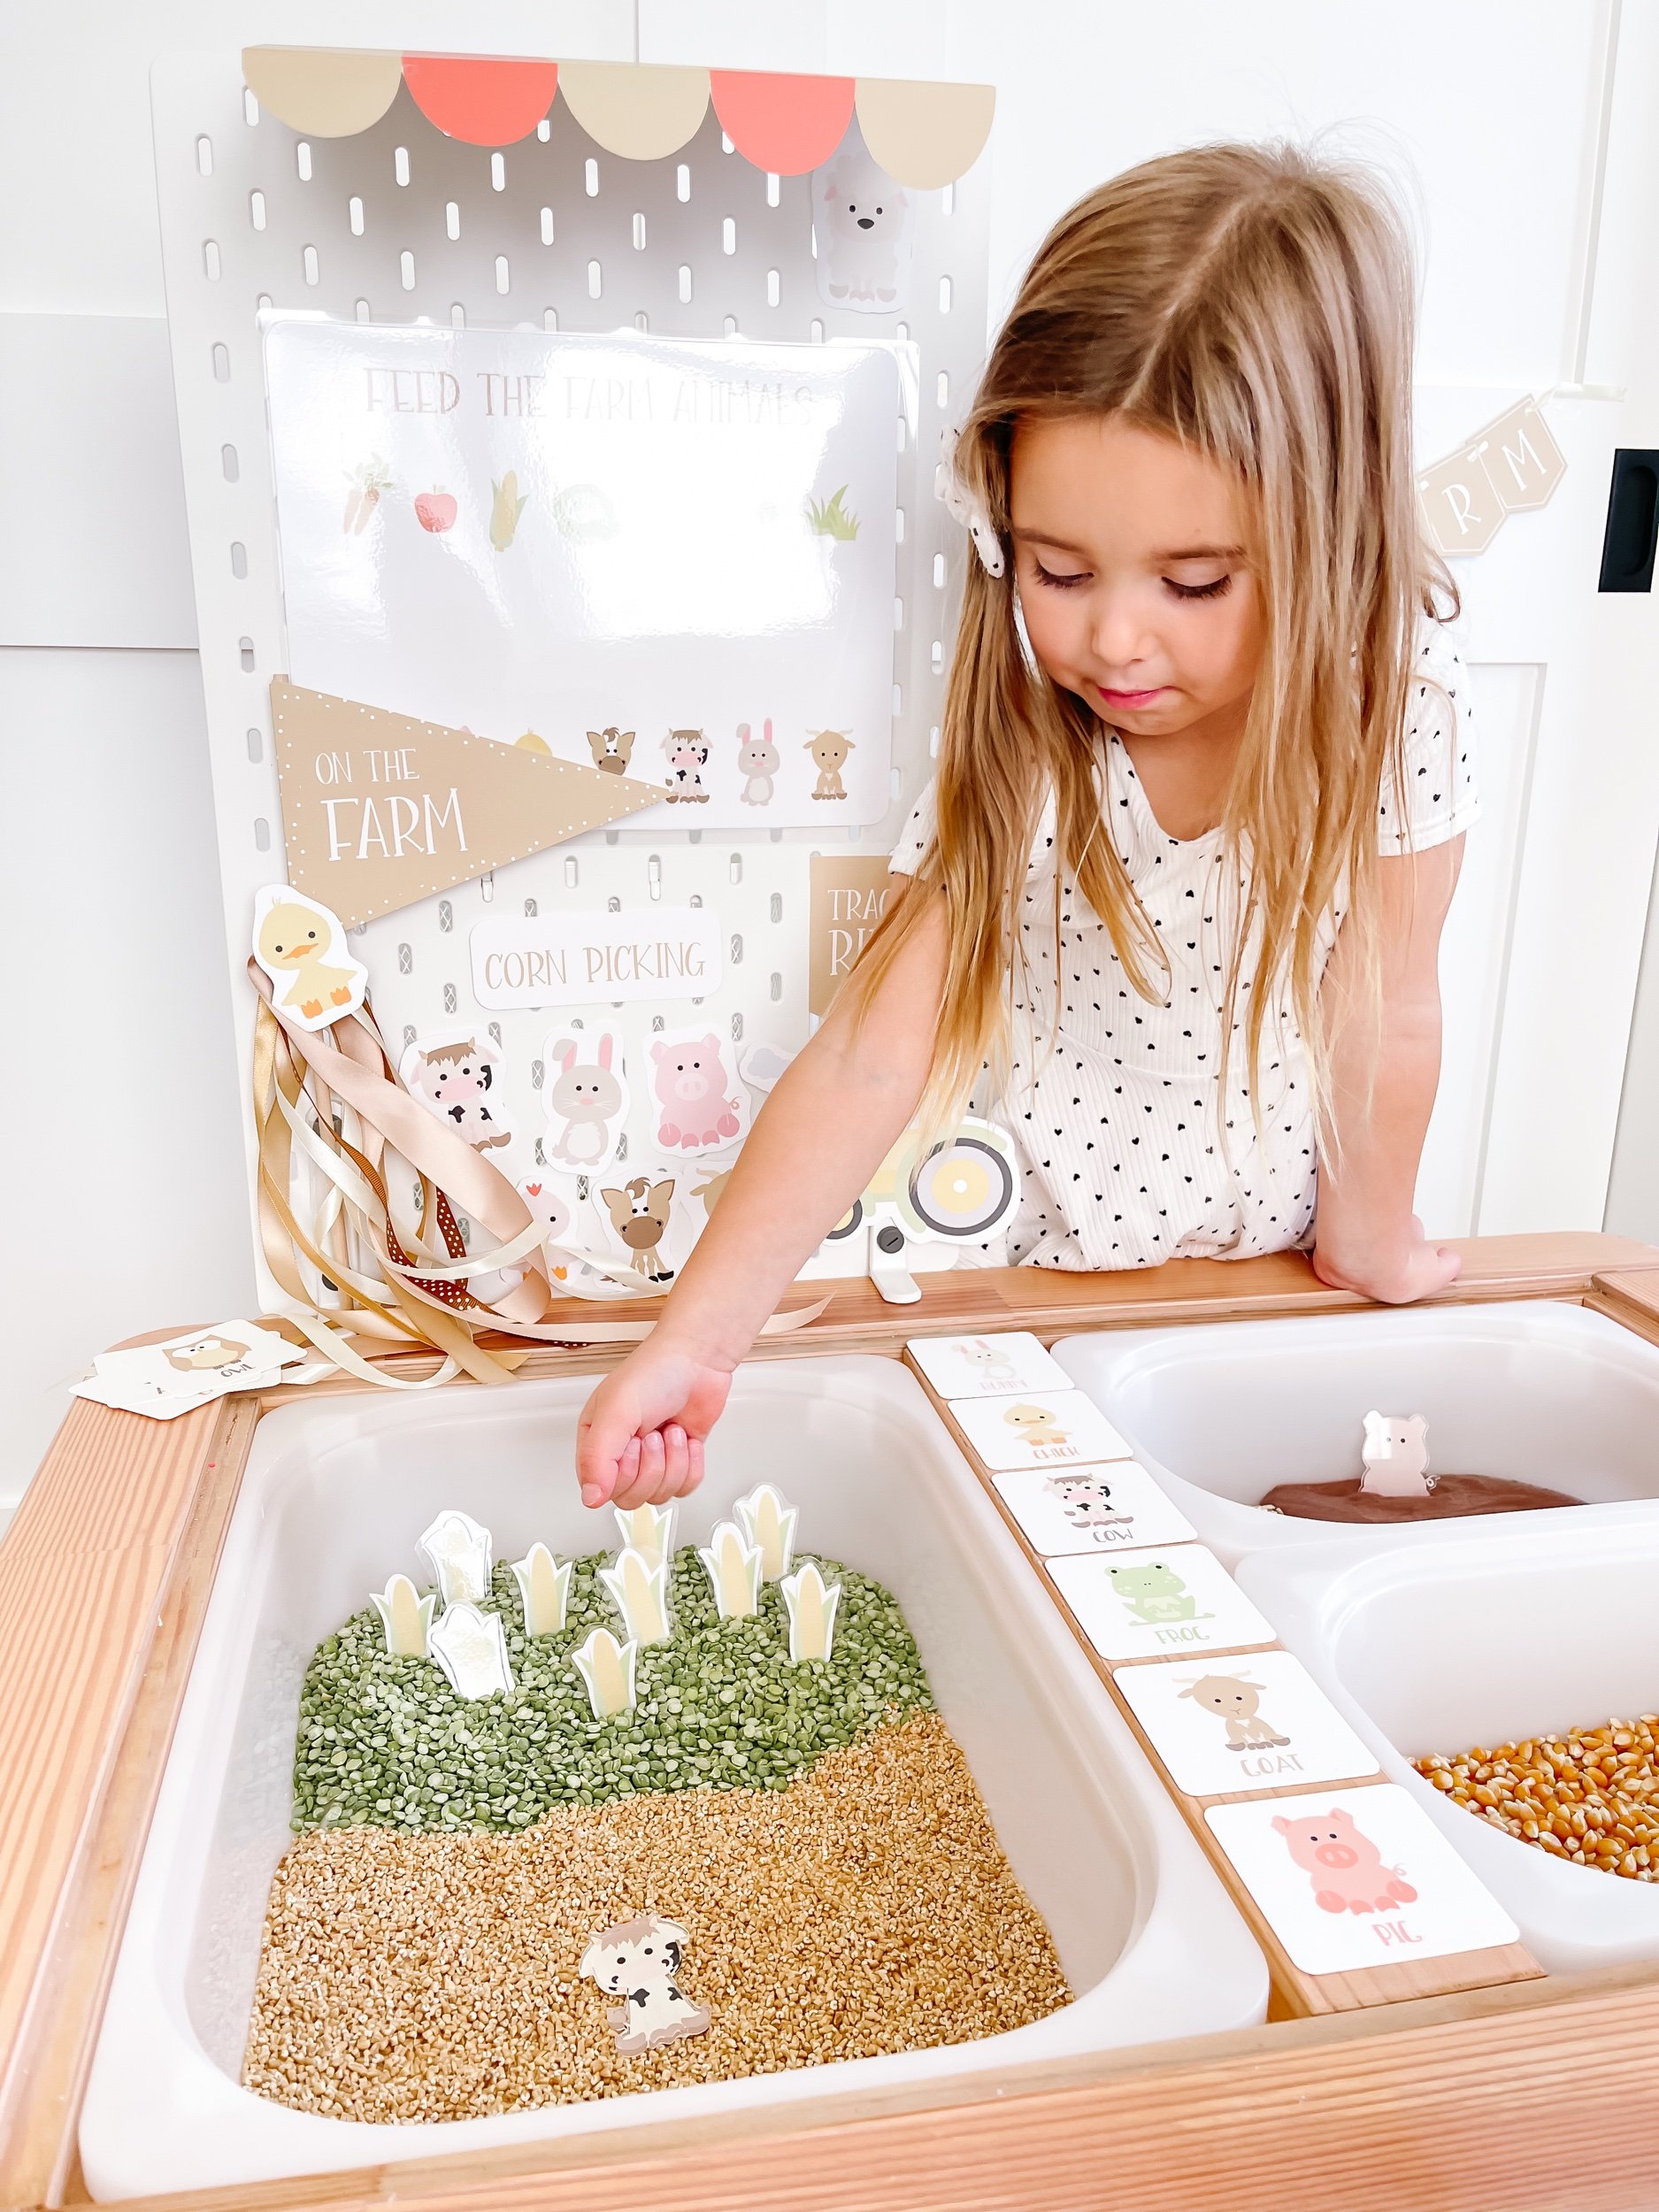
Sensory Play for Kids: Unleash Their Inner Paleontologist!
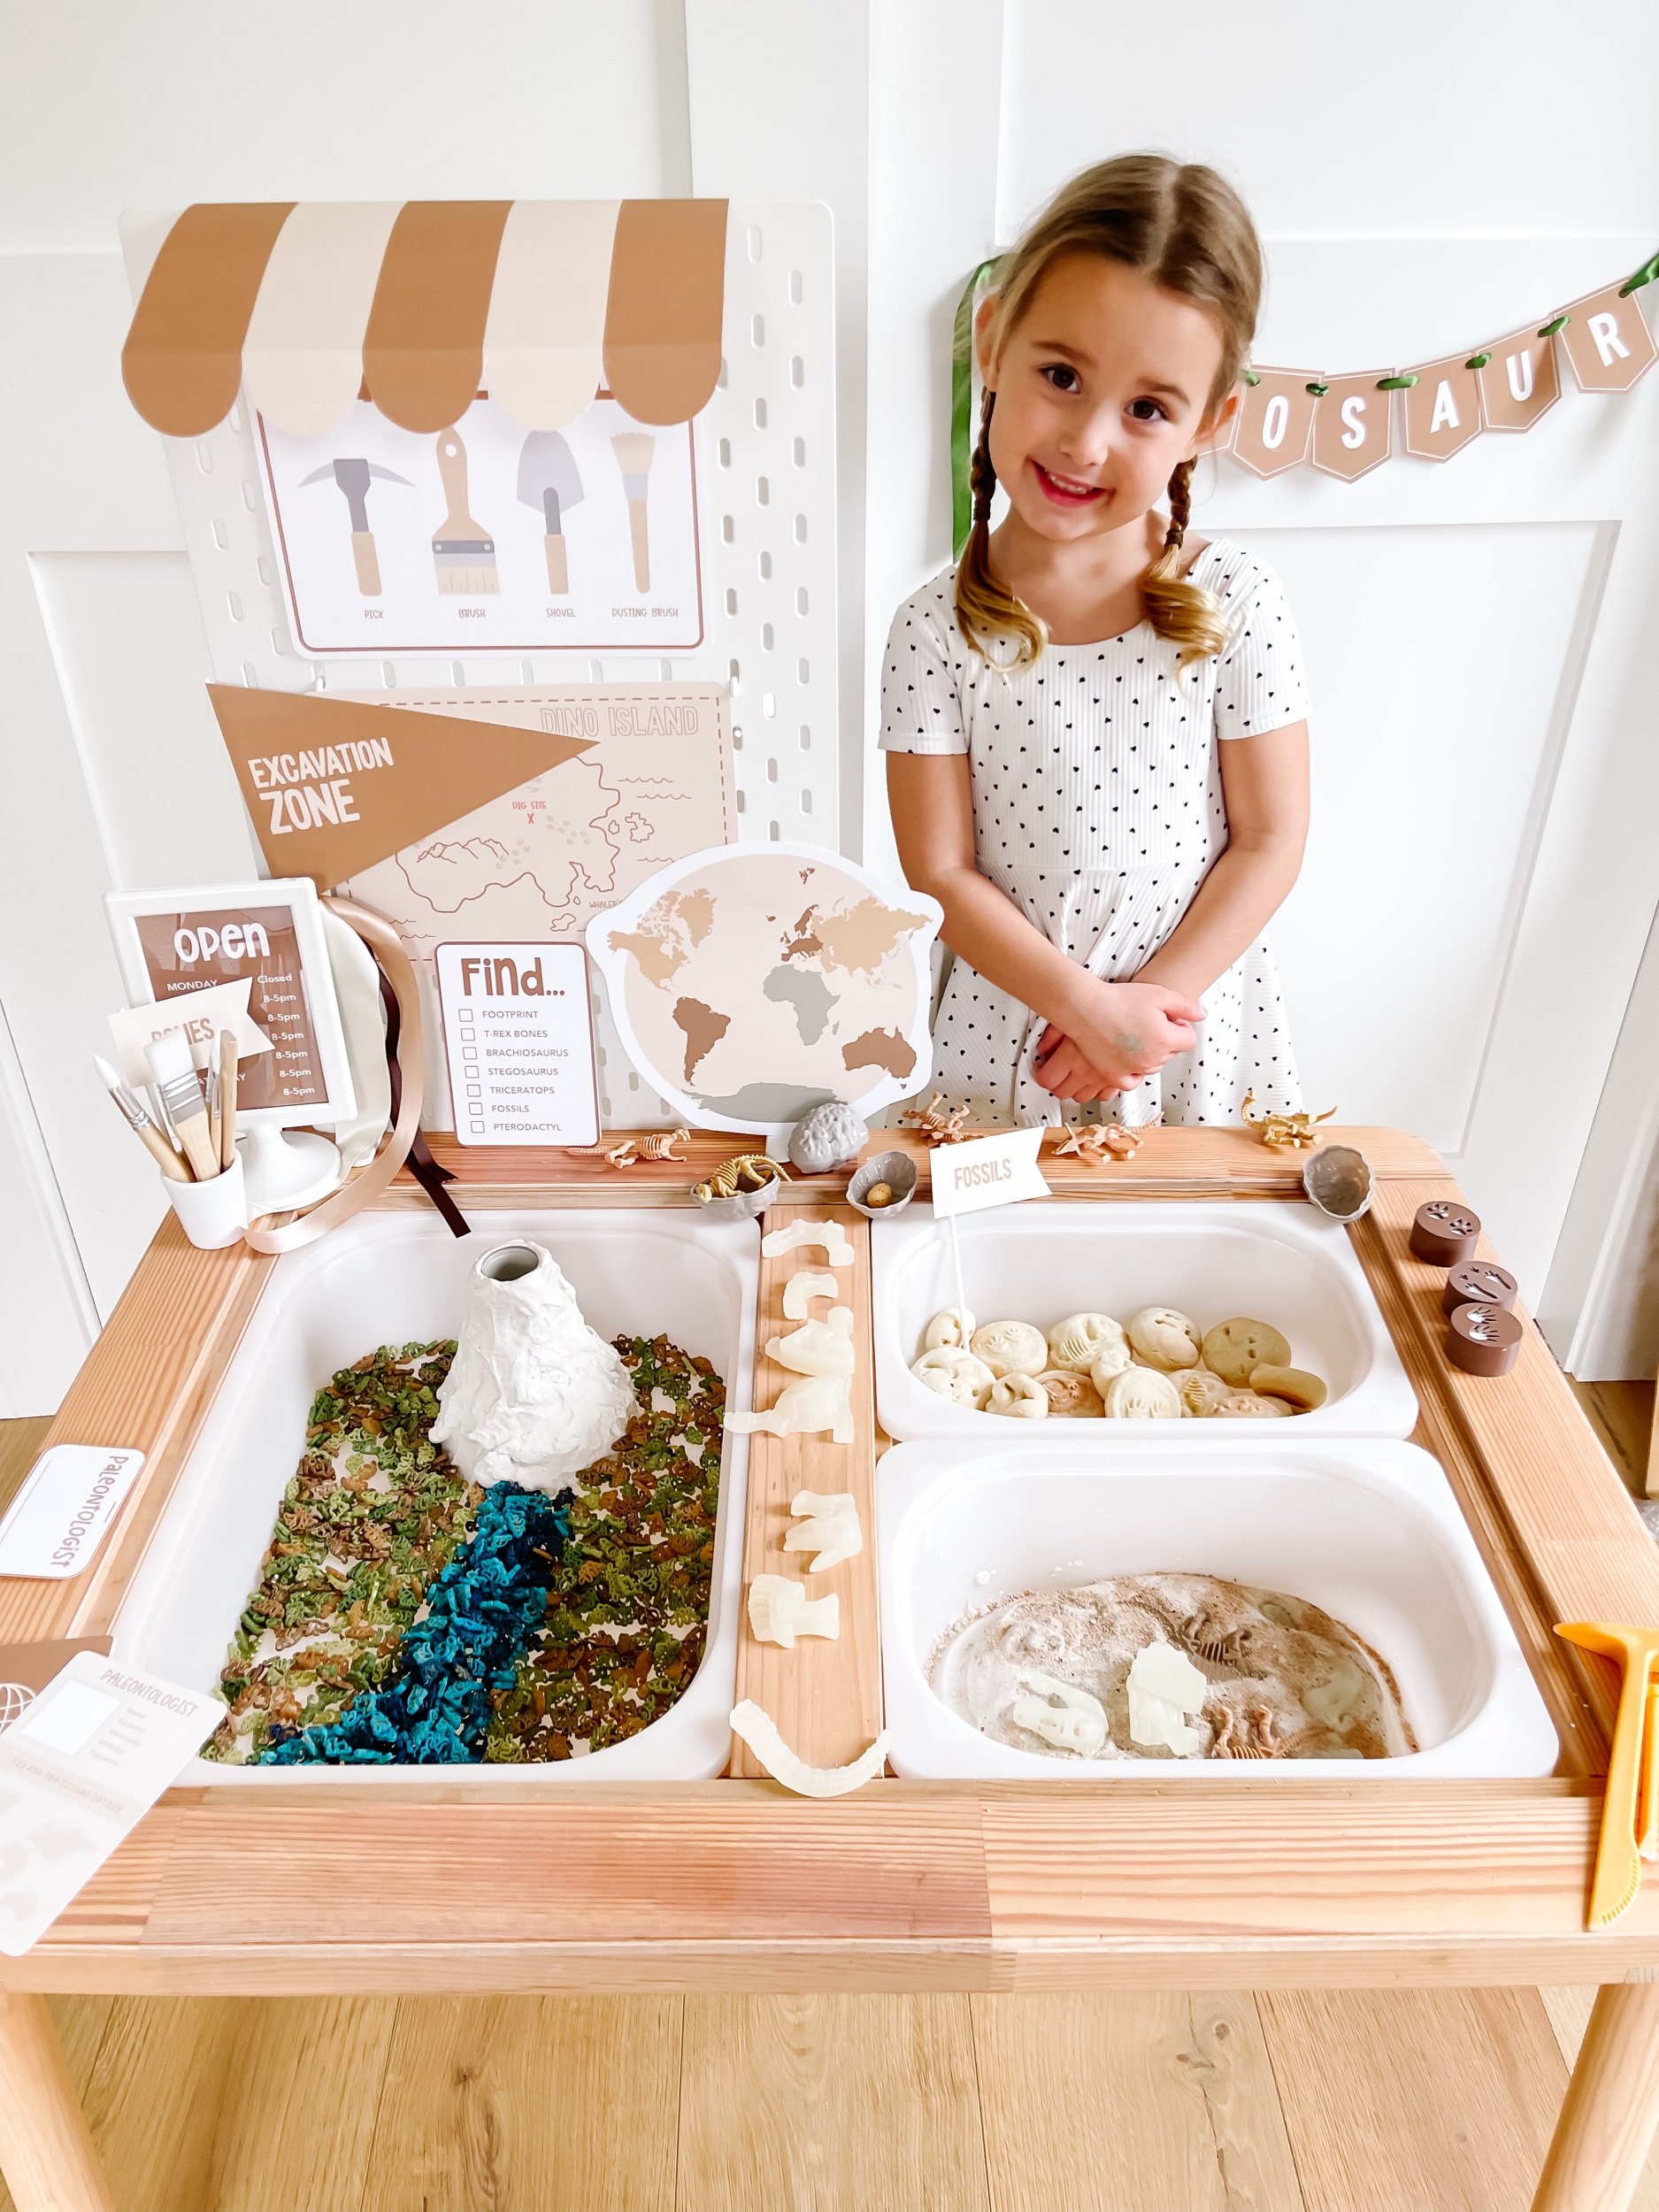
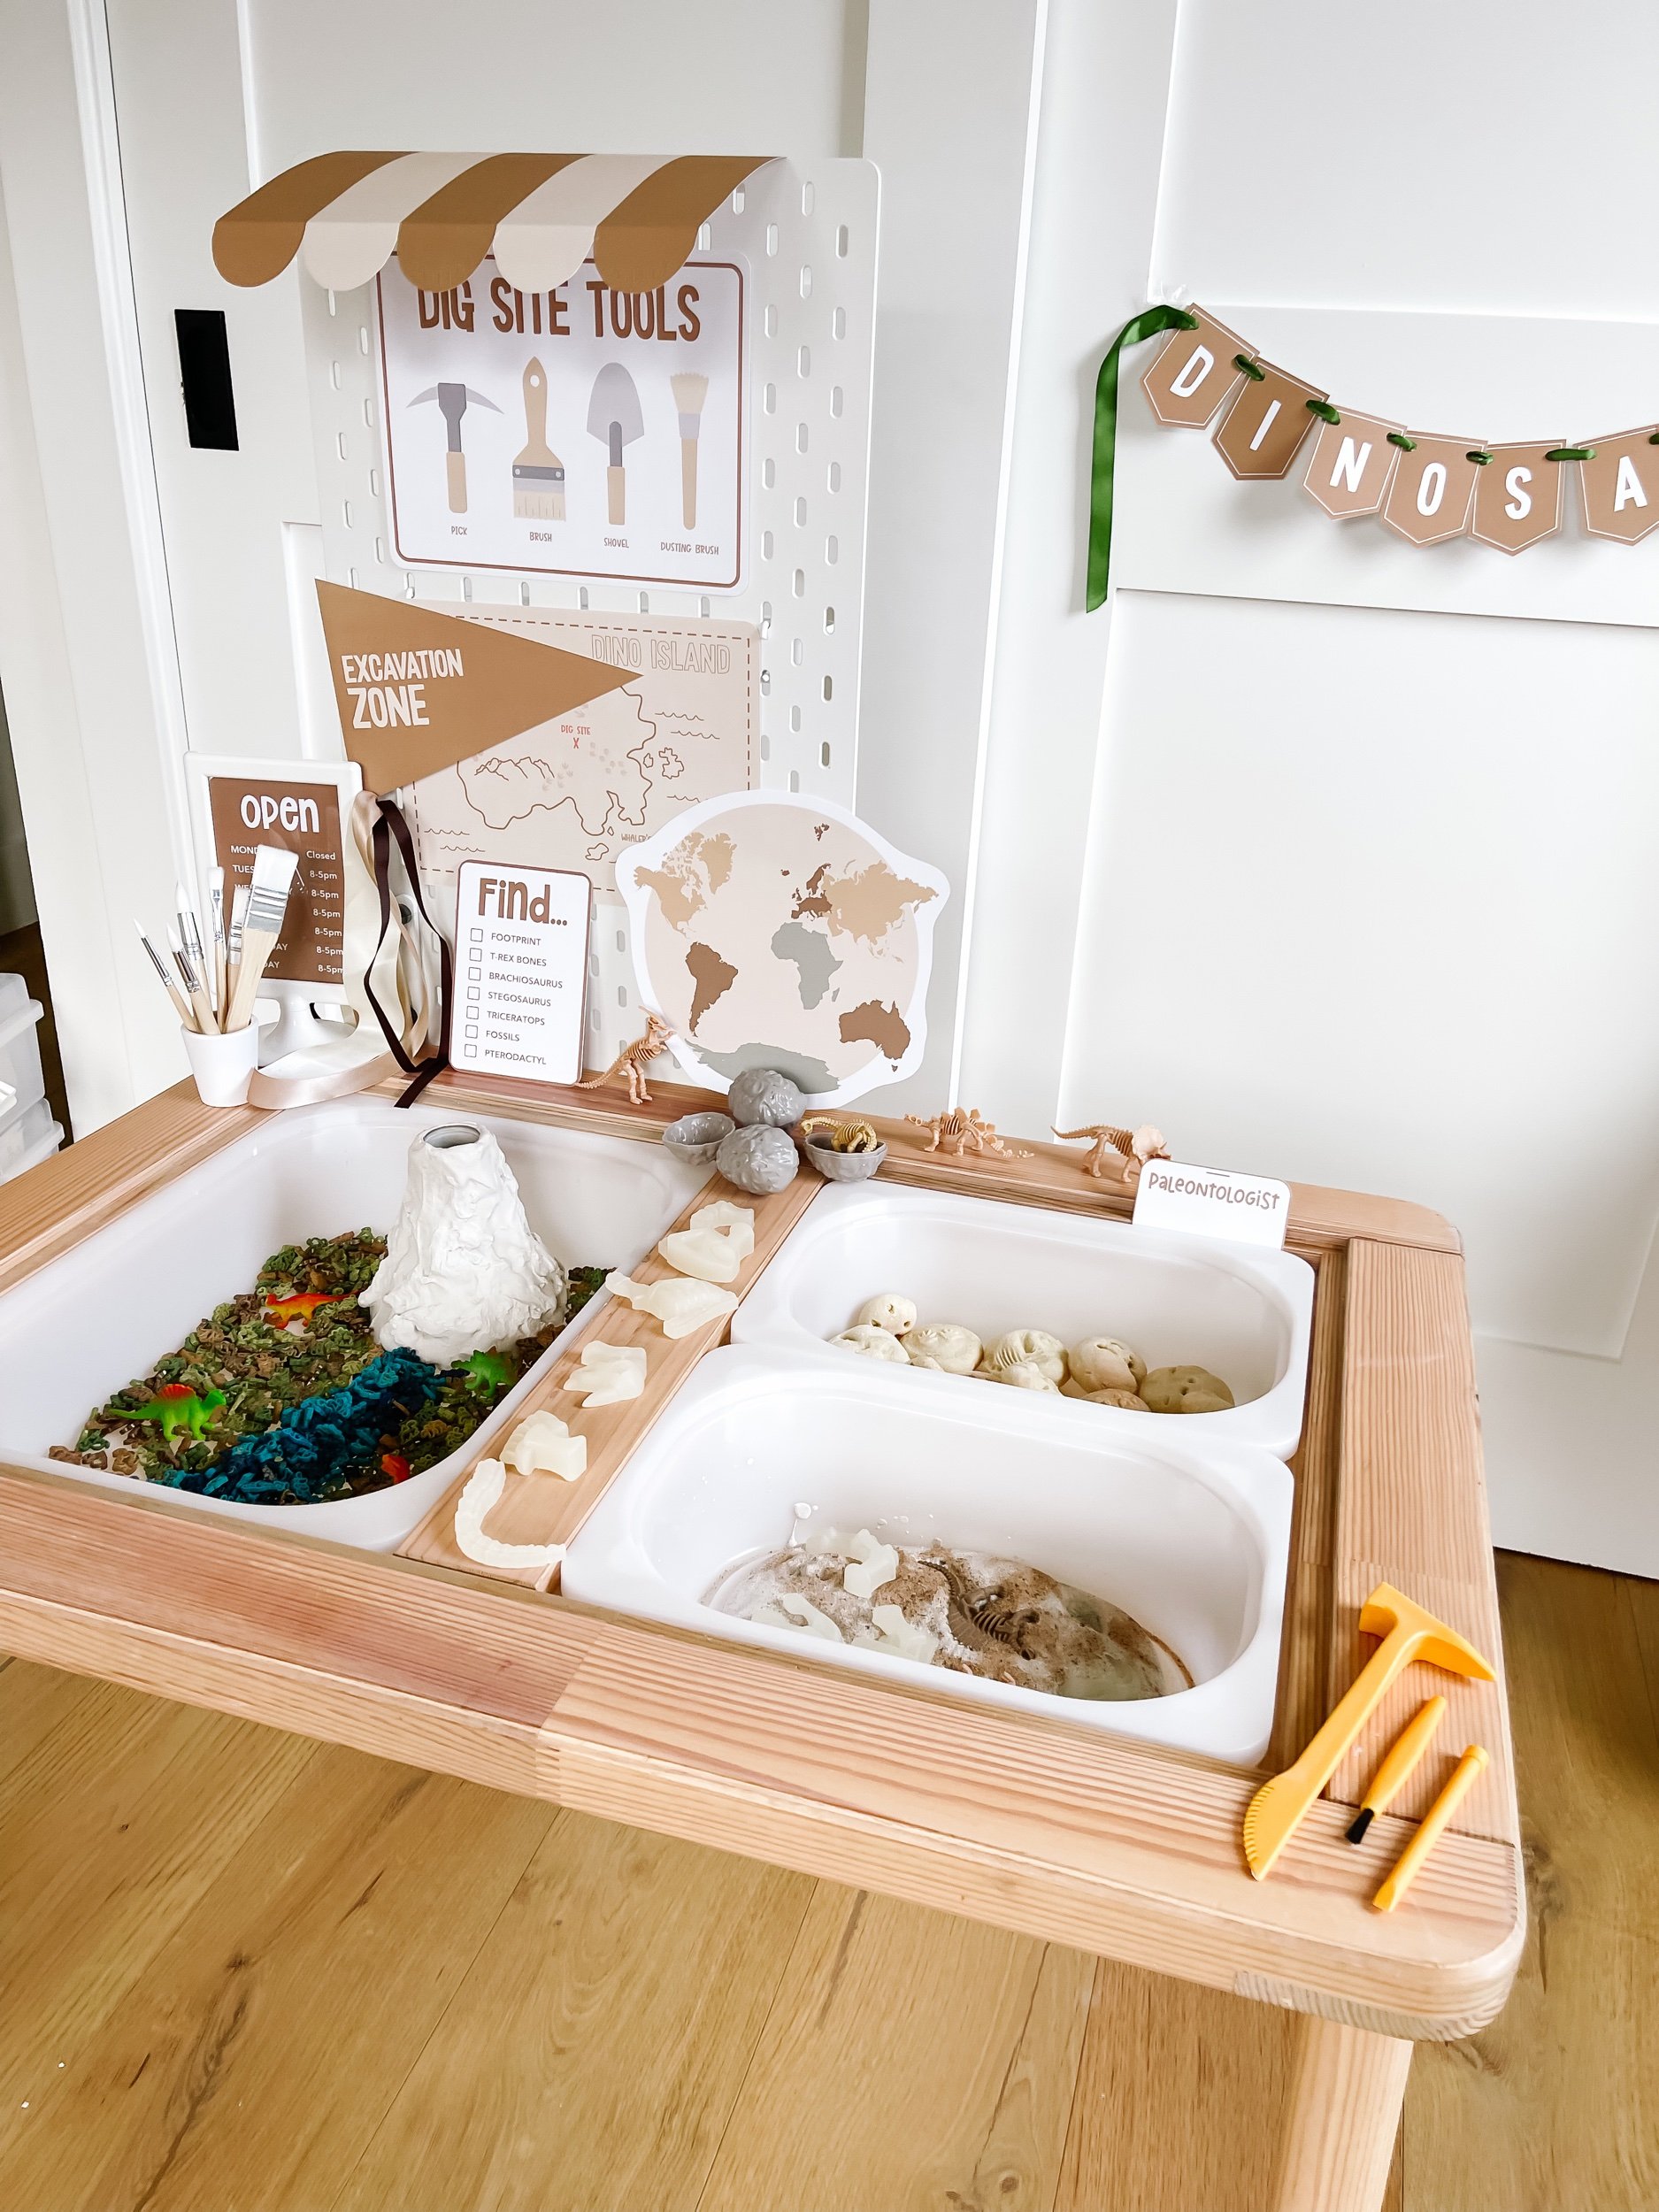
Do you have a little adventurer at home who is fascinated by dinosaurs? Our dinosaur dig paleontology-themed sensory and dramatic play kit is the perfect way to bring their imagination to life! In this blog post, we will explore the benefits of sensory play for kids and provide a detailed description of the elements included in our printable play kit. Additionally, we will introduce you to three exciting sensory bins that can be paired with this kit. Let's embark on a prehistoric adventure!
Benefits of Sensory Play for Kids
But first, let's talk about the tremendous benefits of sensory play for children. Sensory play engages multiple senses, stimulating neural pathways in their developing brains. As kids explore different textures, scents, and sounds, they refine their fine motor skills, enhance cognitive abilities, and foster social-emotional development. Sensory play even promotes language skills as children describe the sensations they experience. It's an all-in-one developmental powerhouse!
Elements Included in the Dinosaur Dig Play Kit
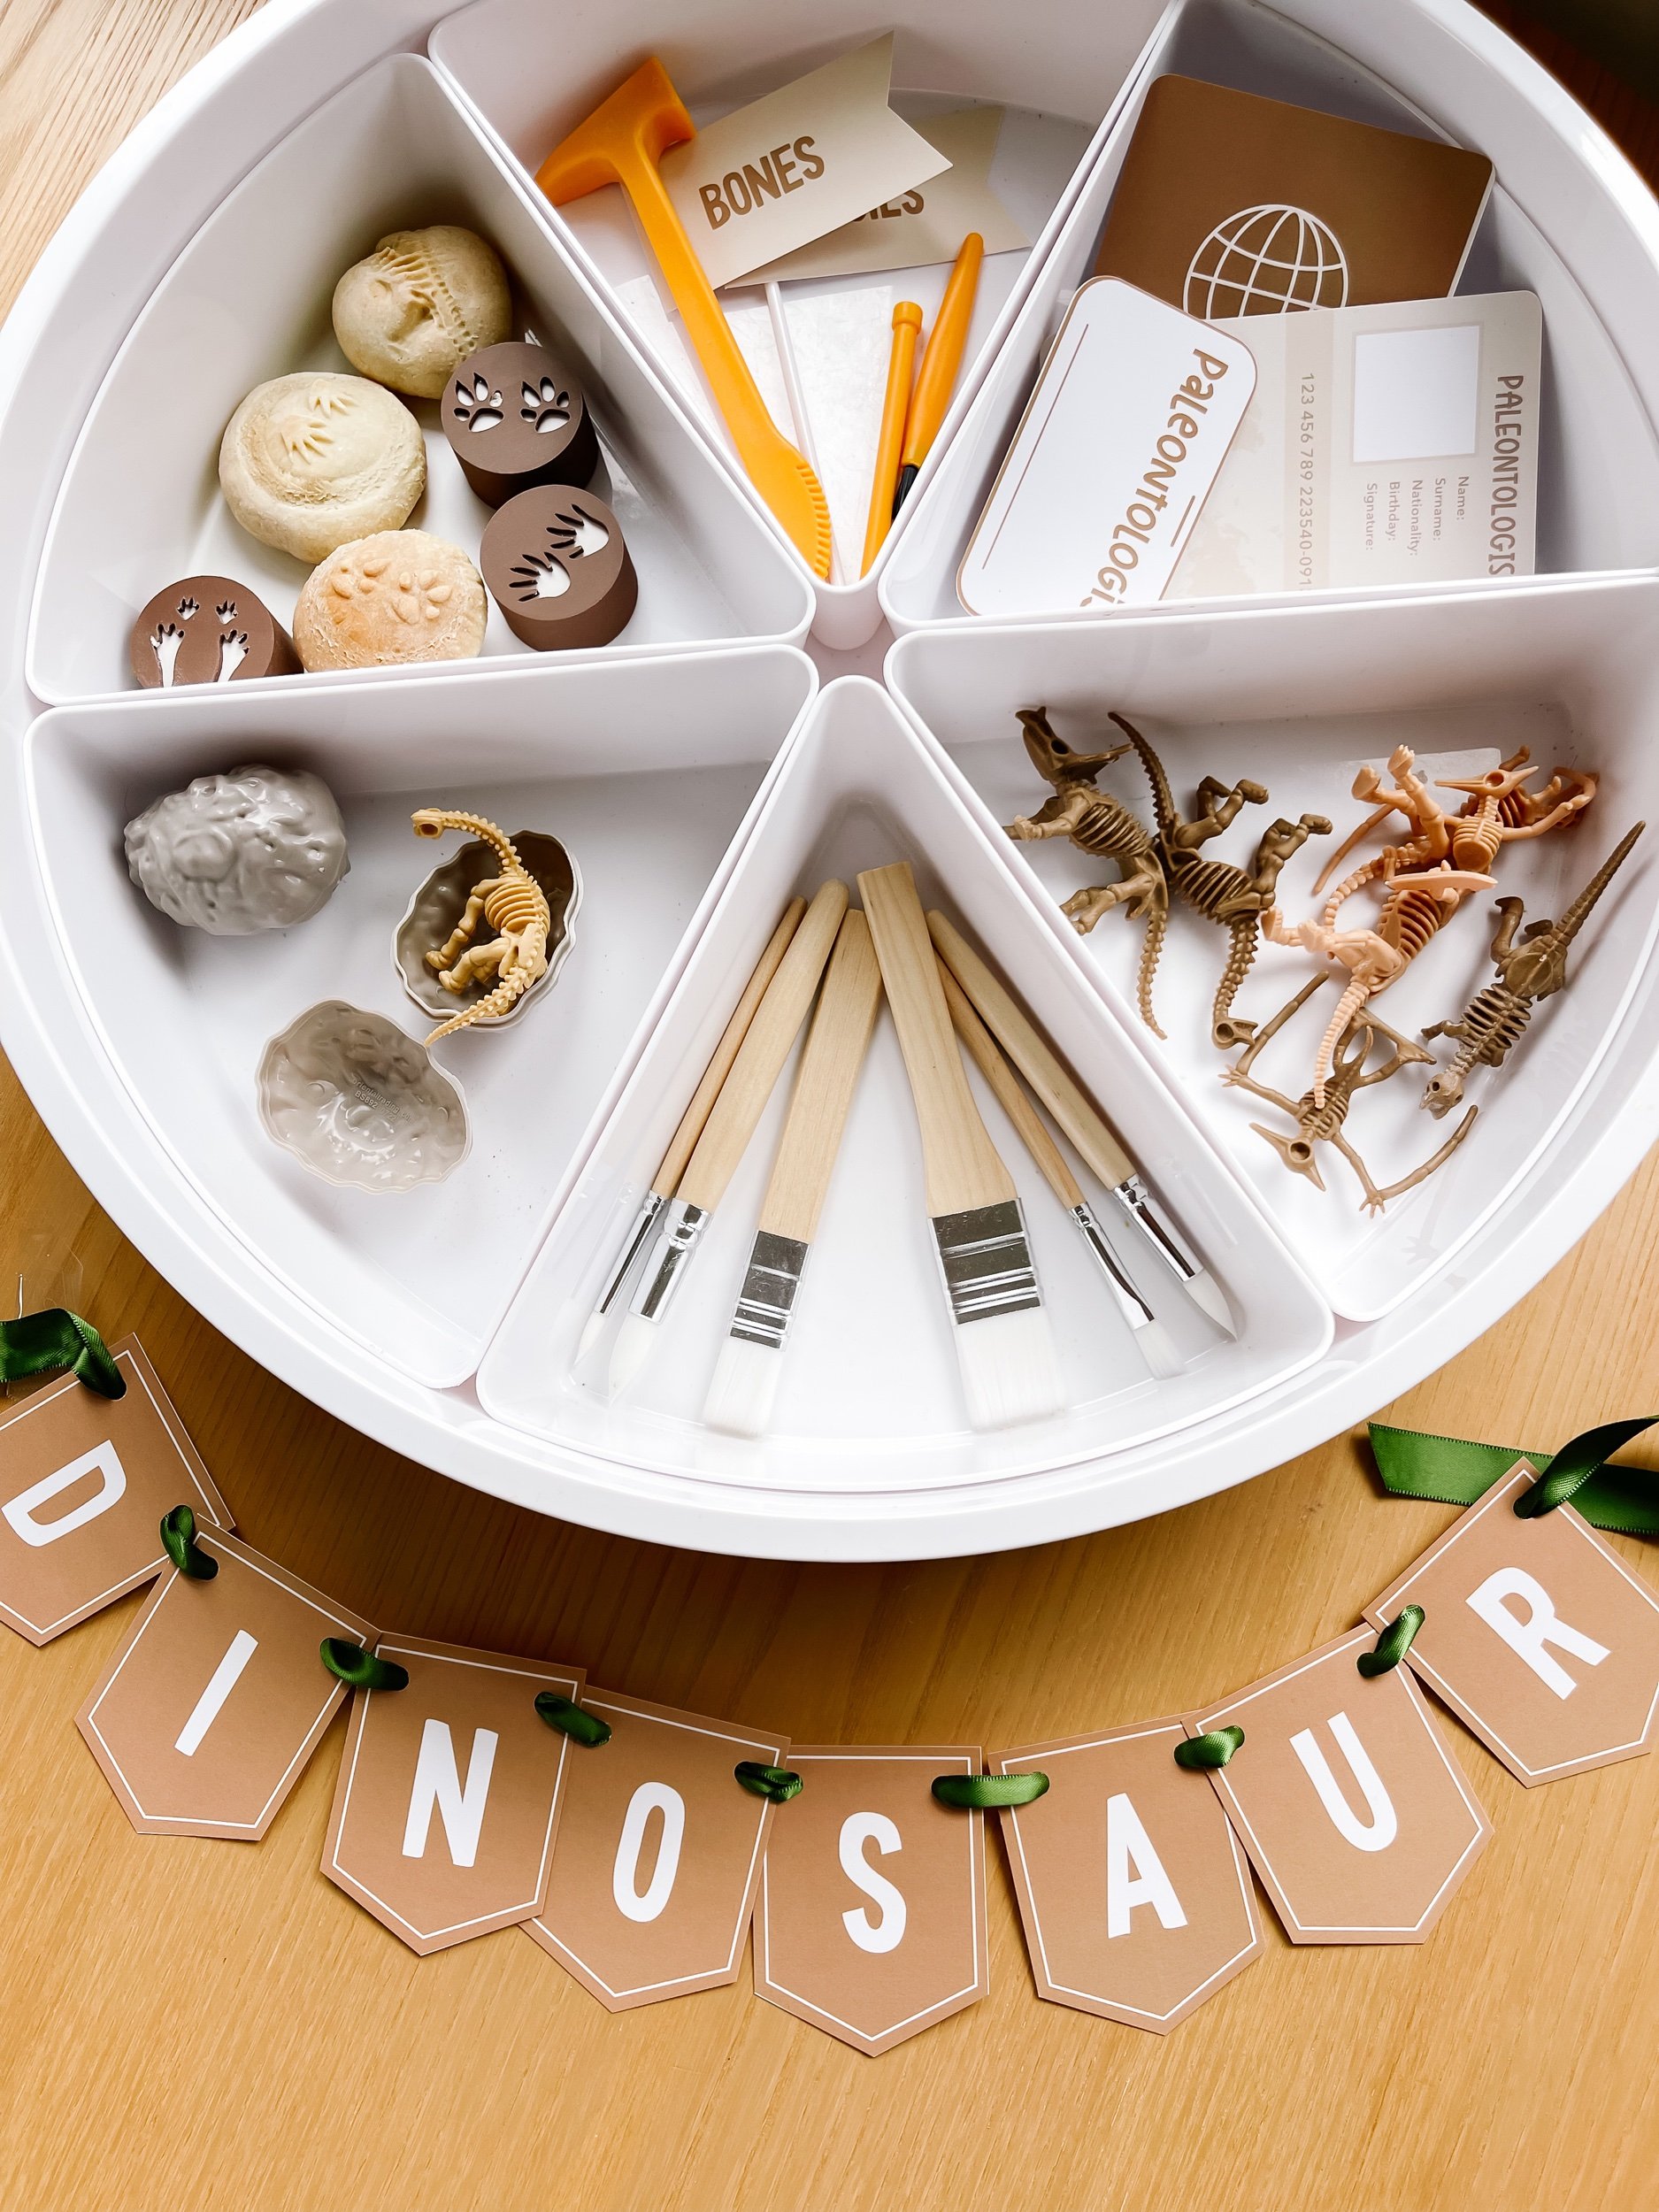
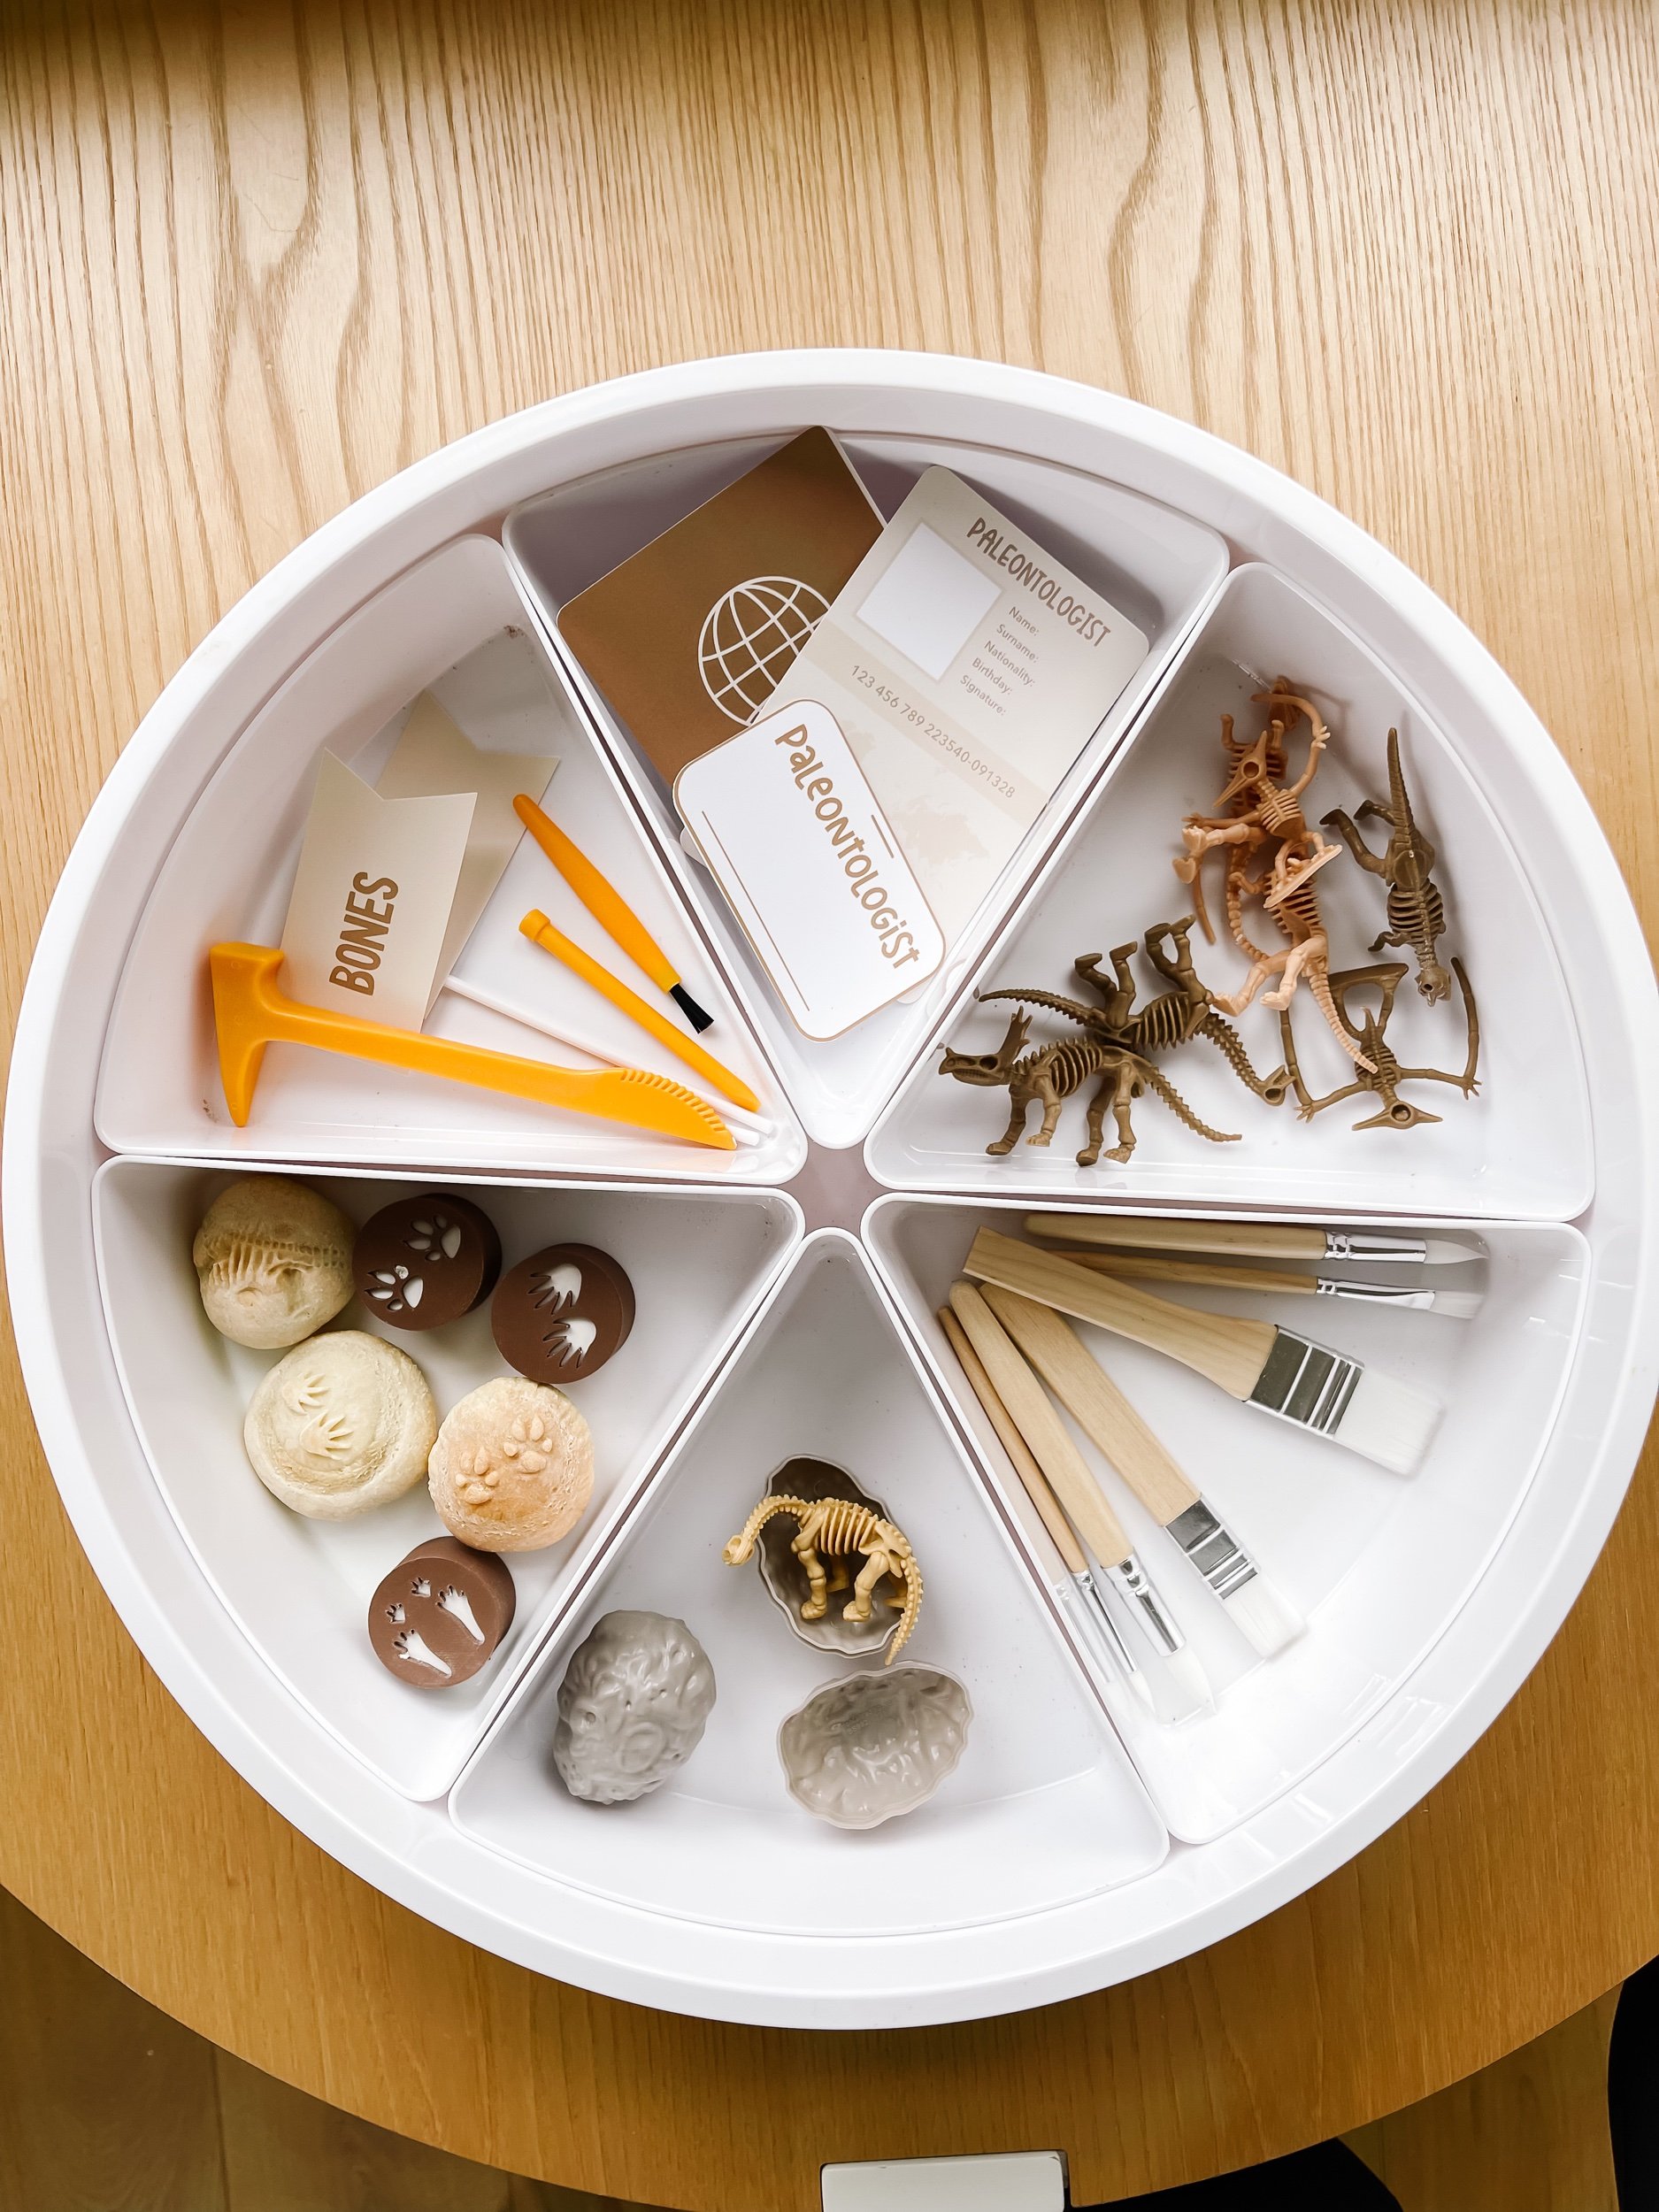
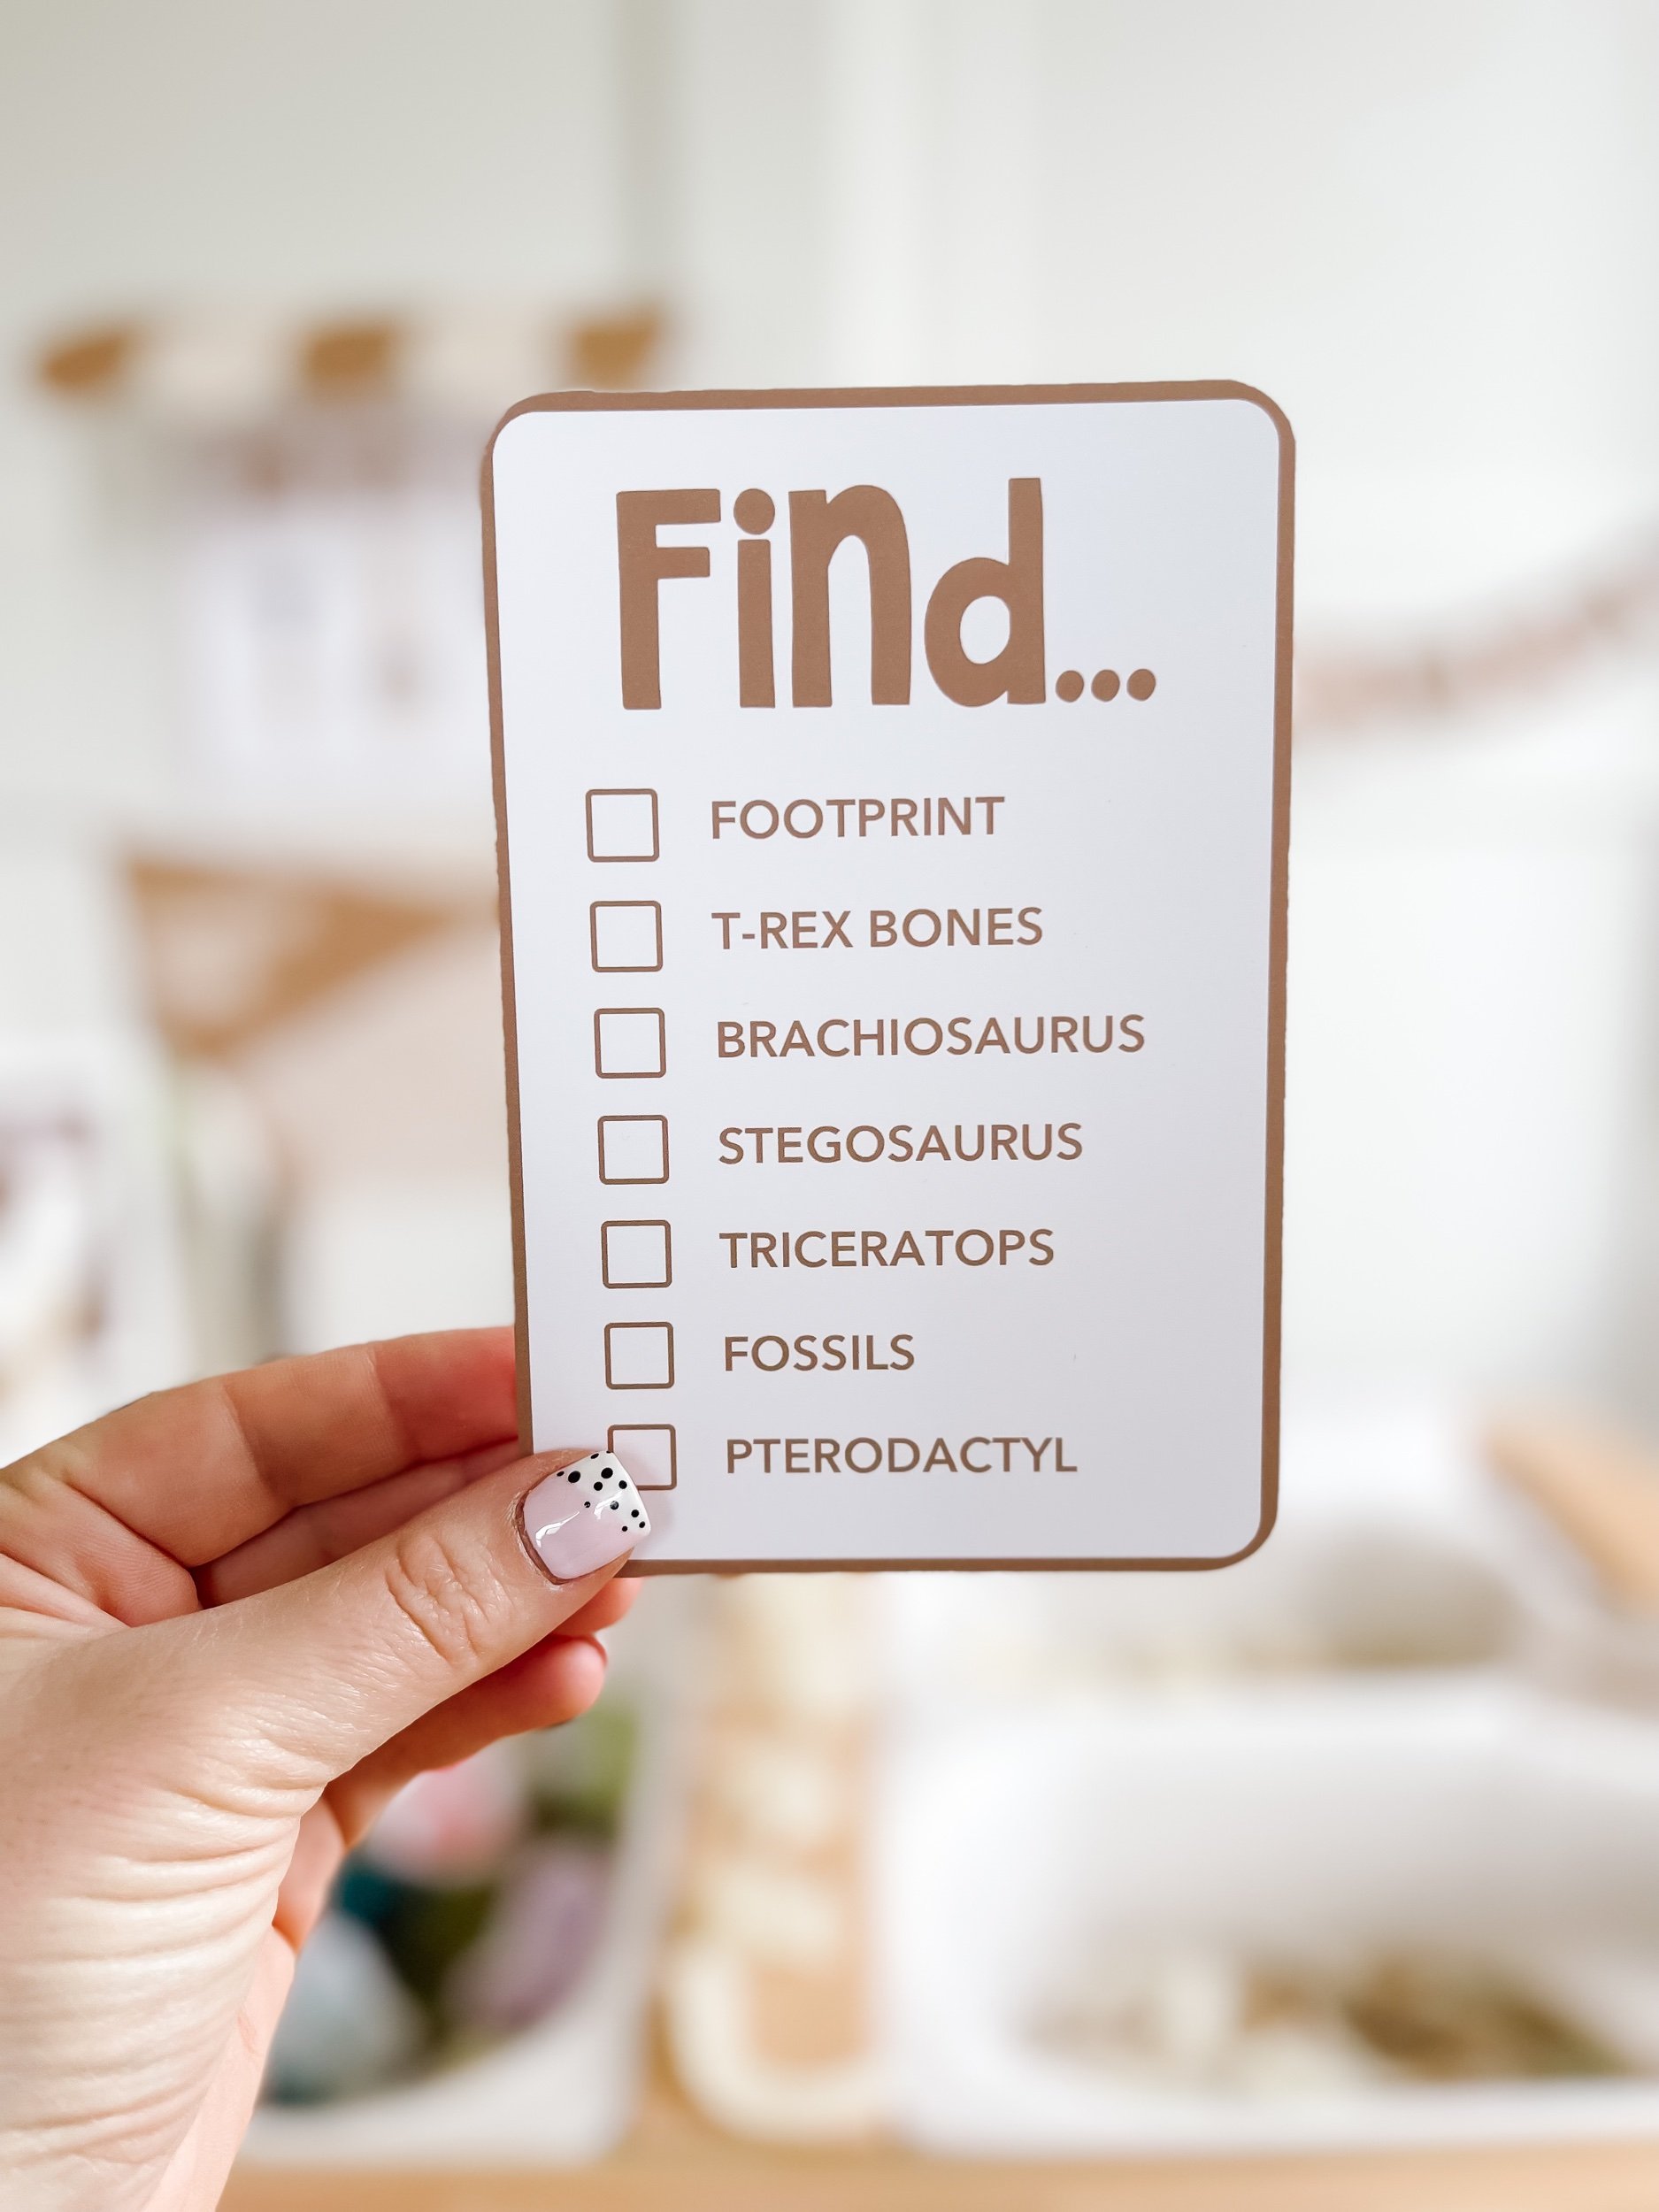
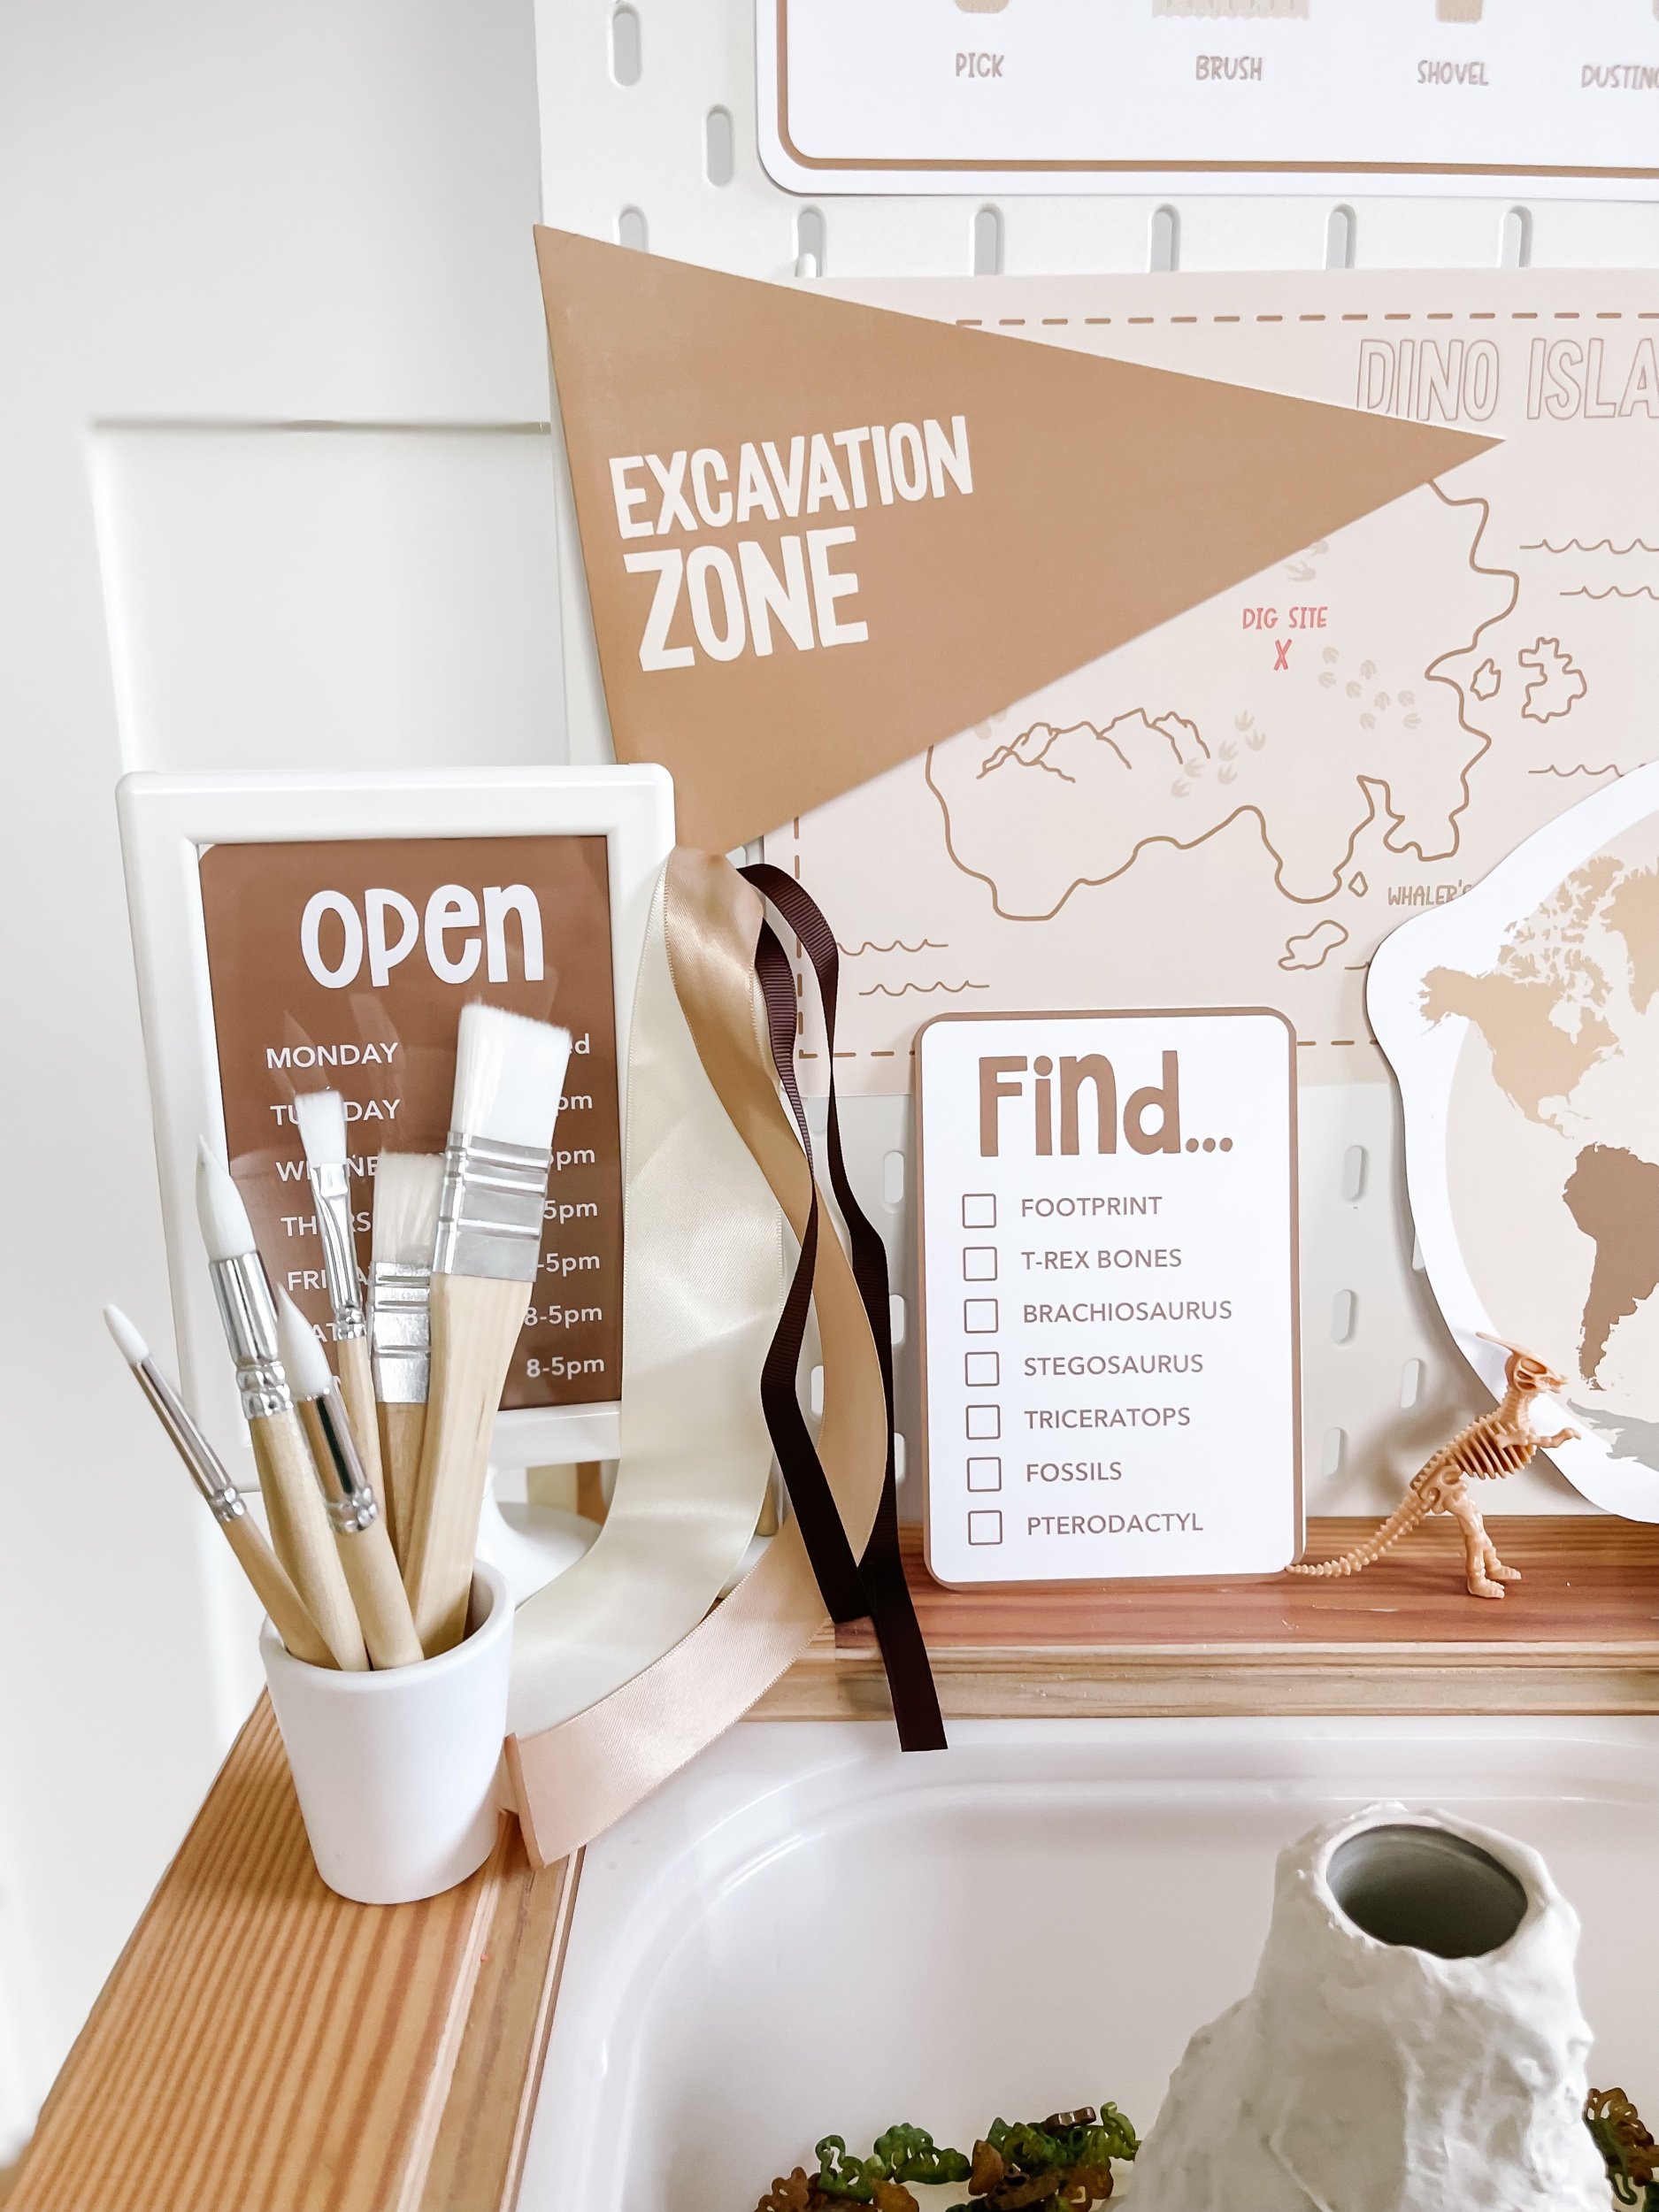
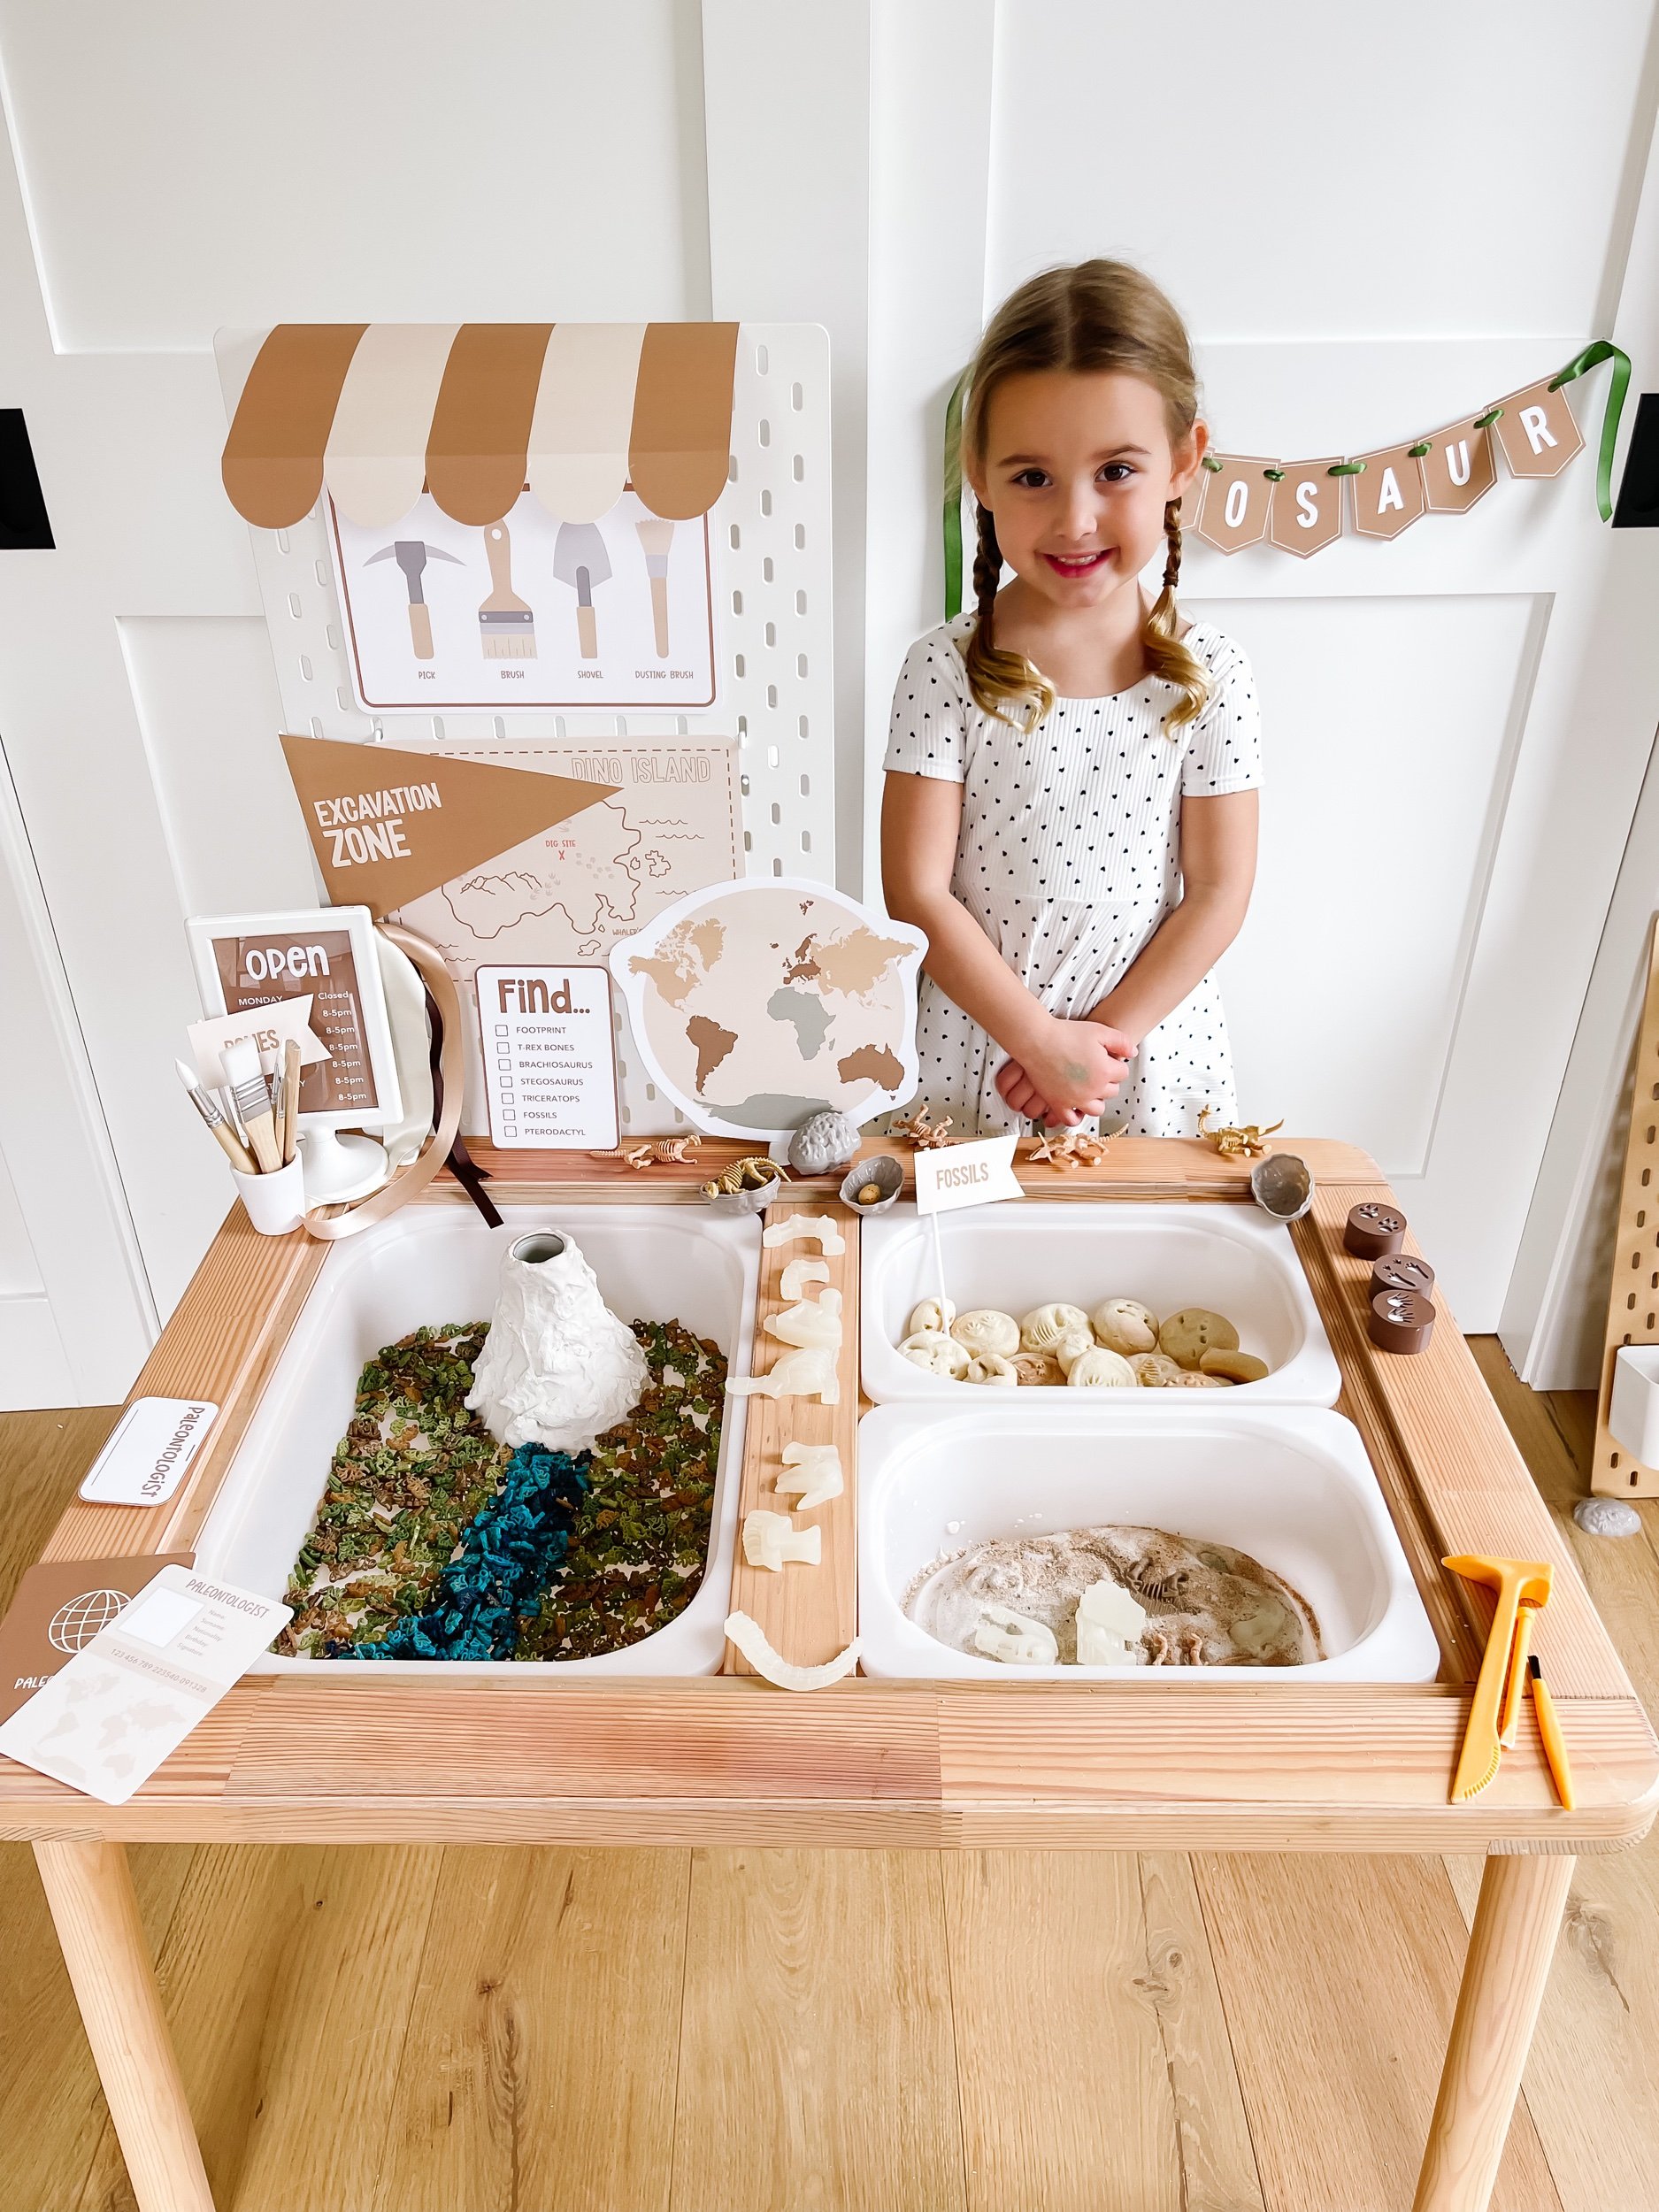
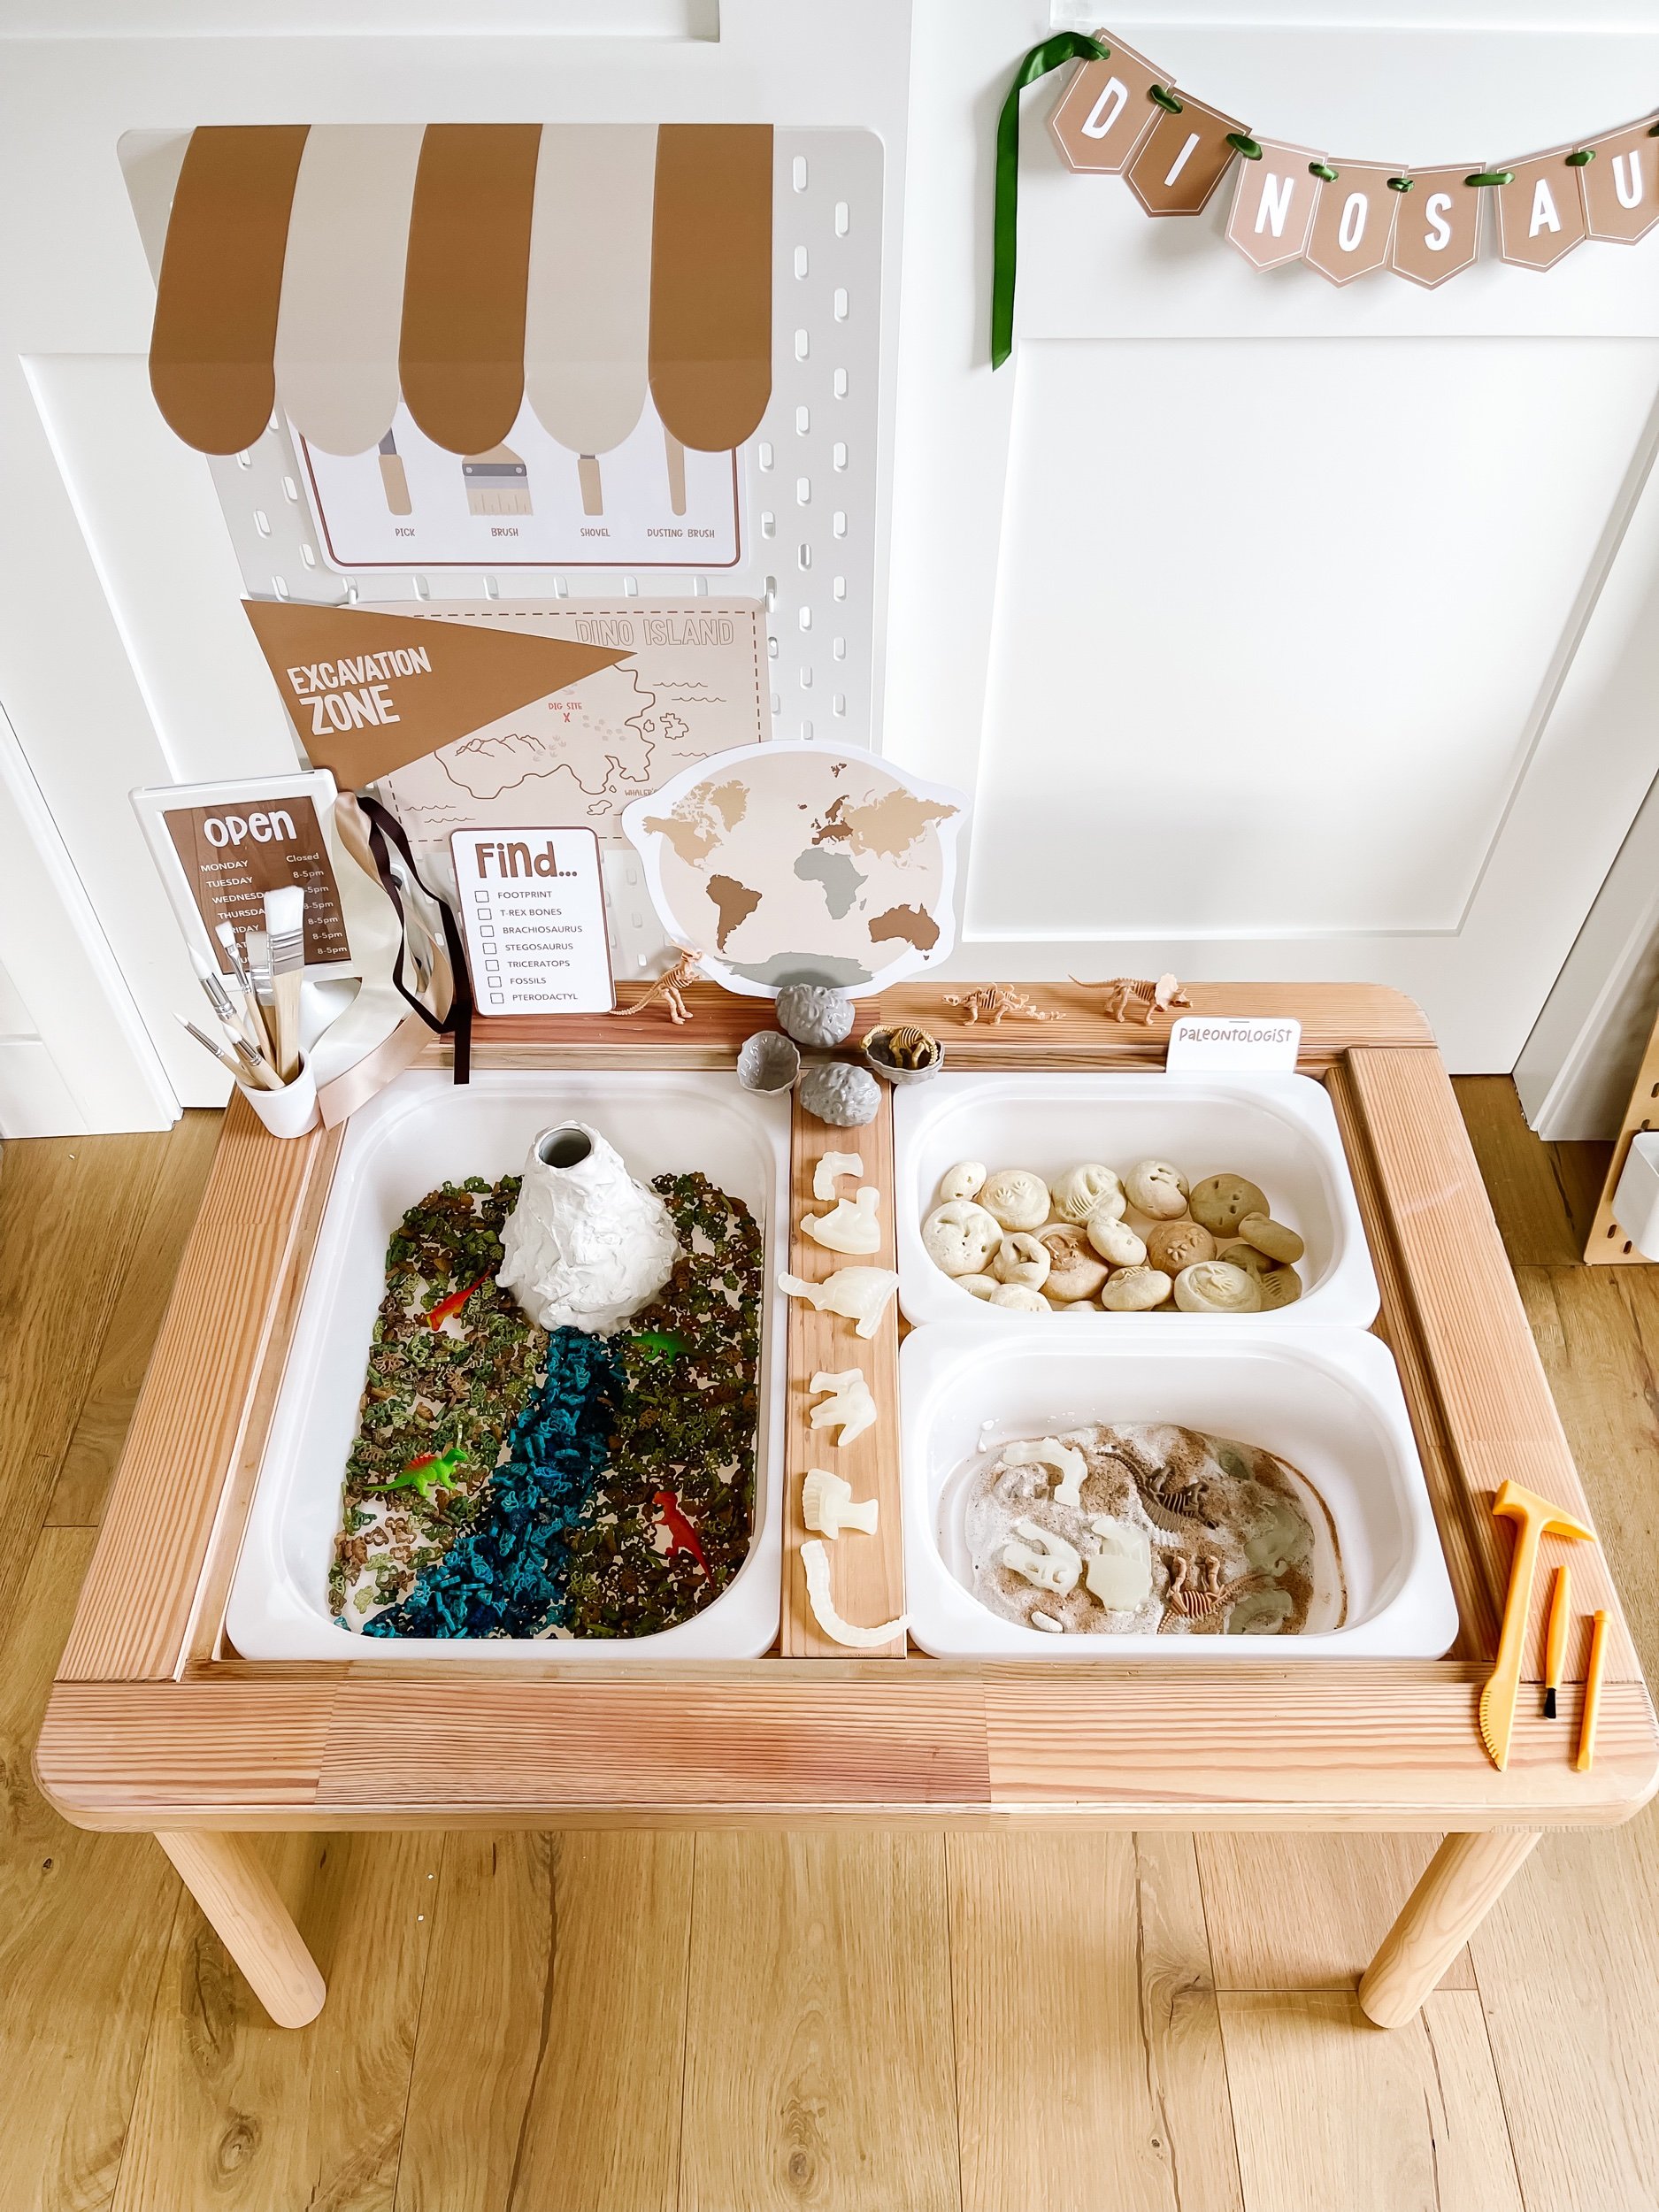
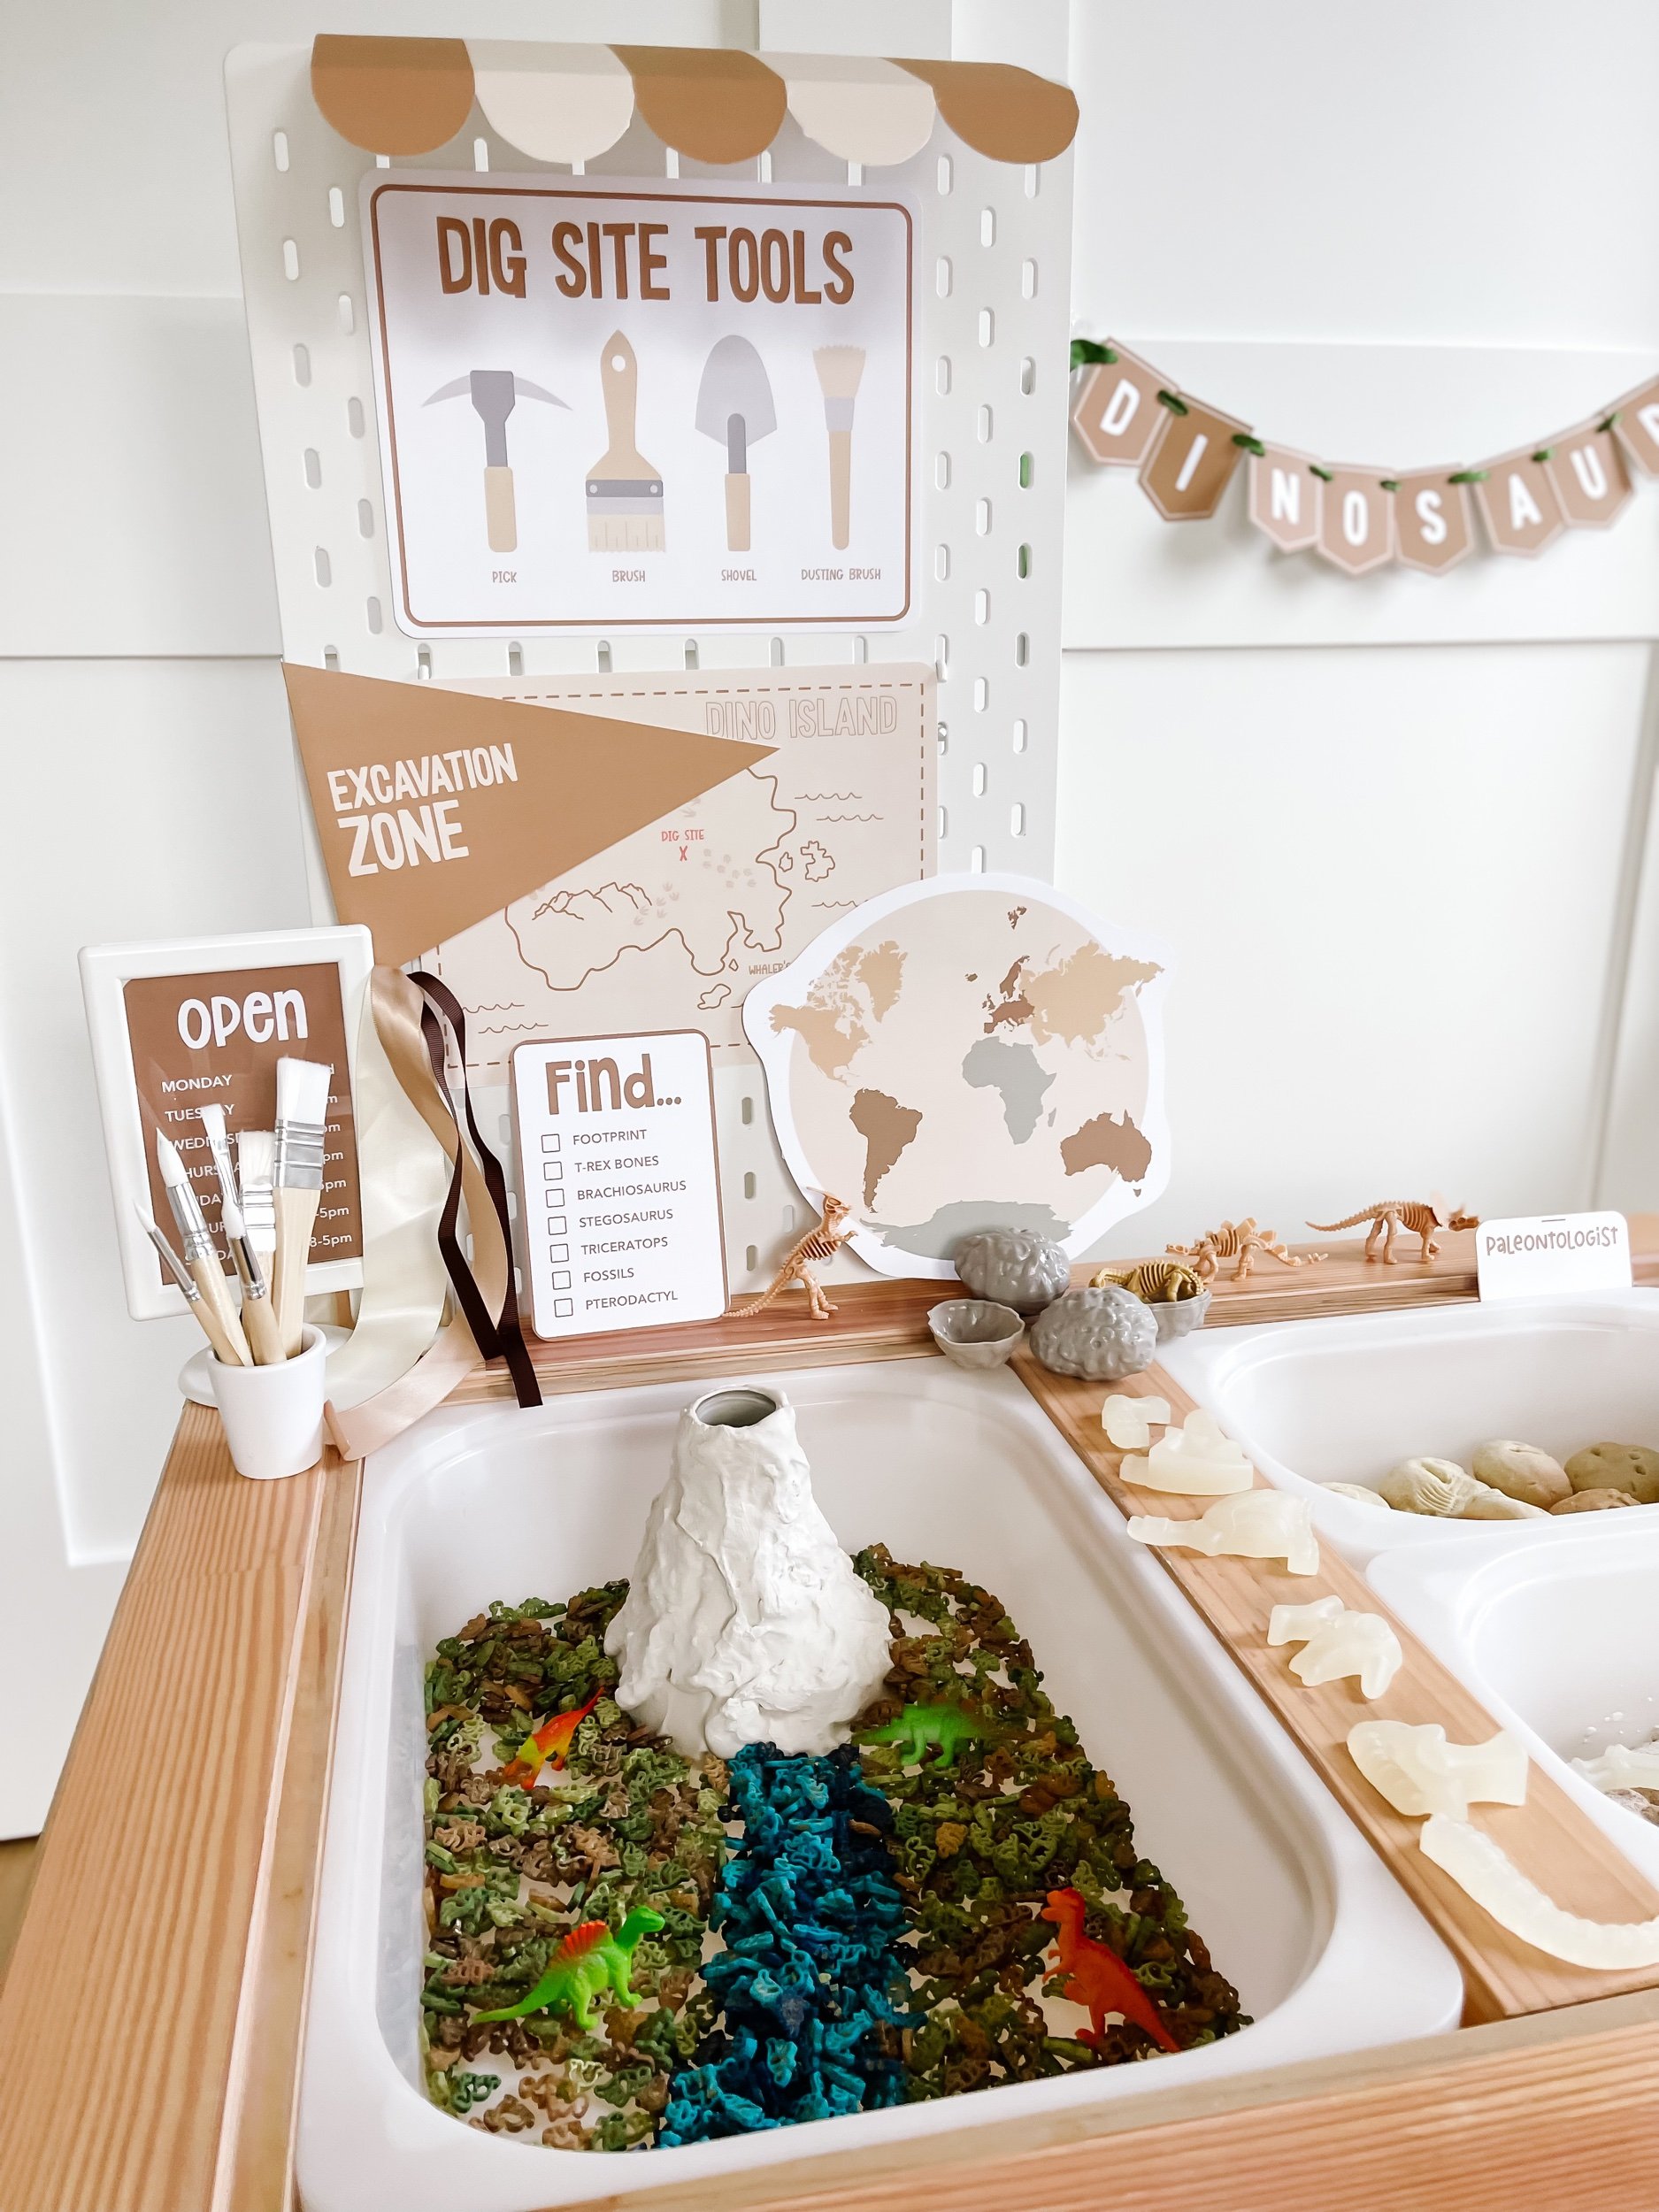
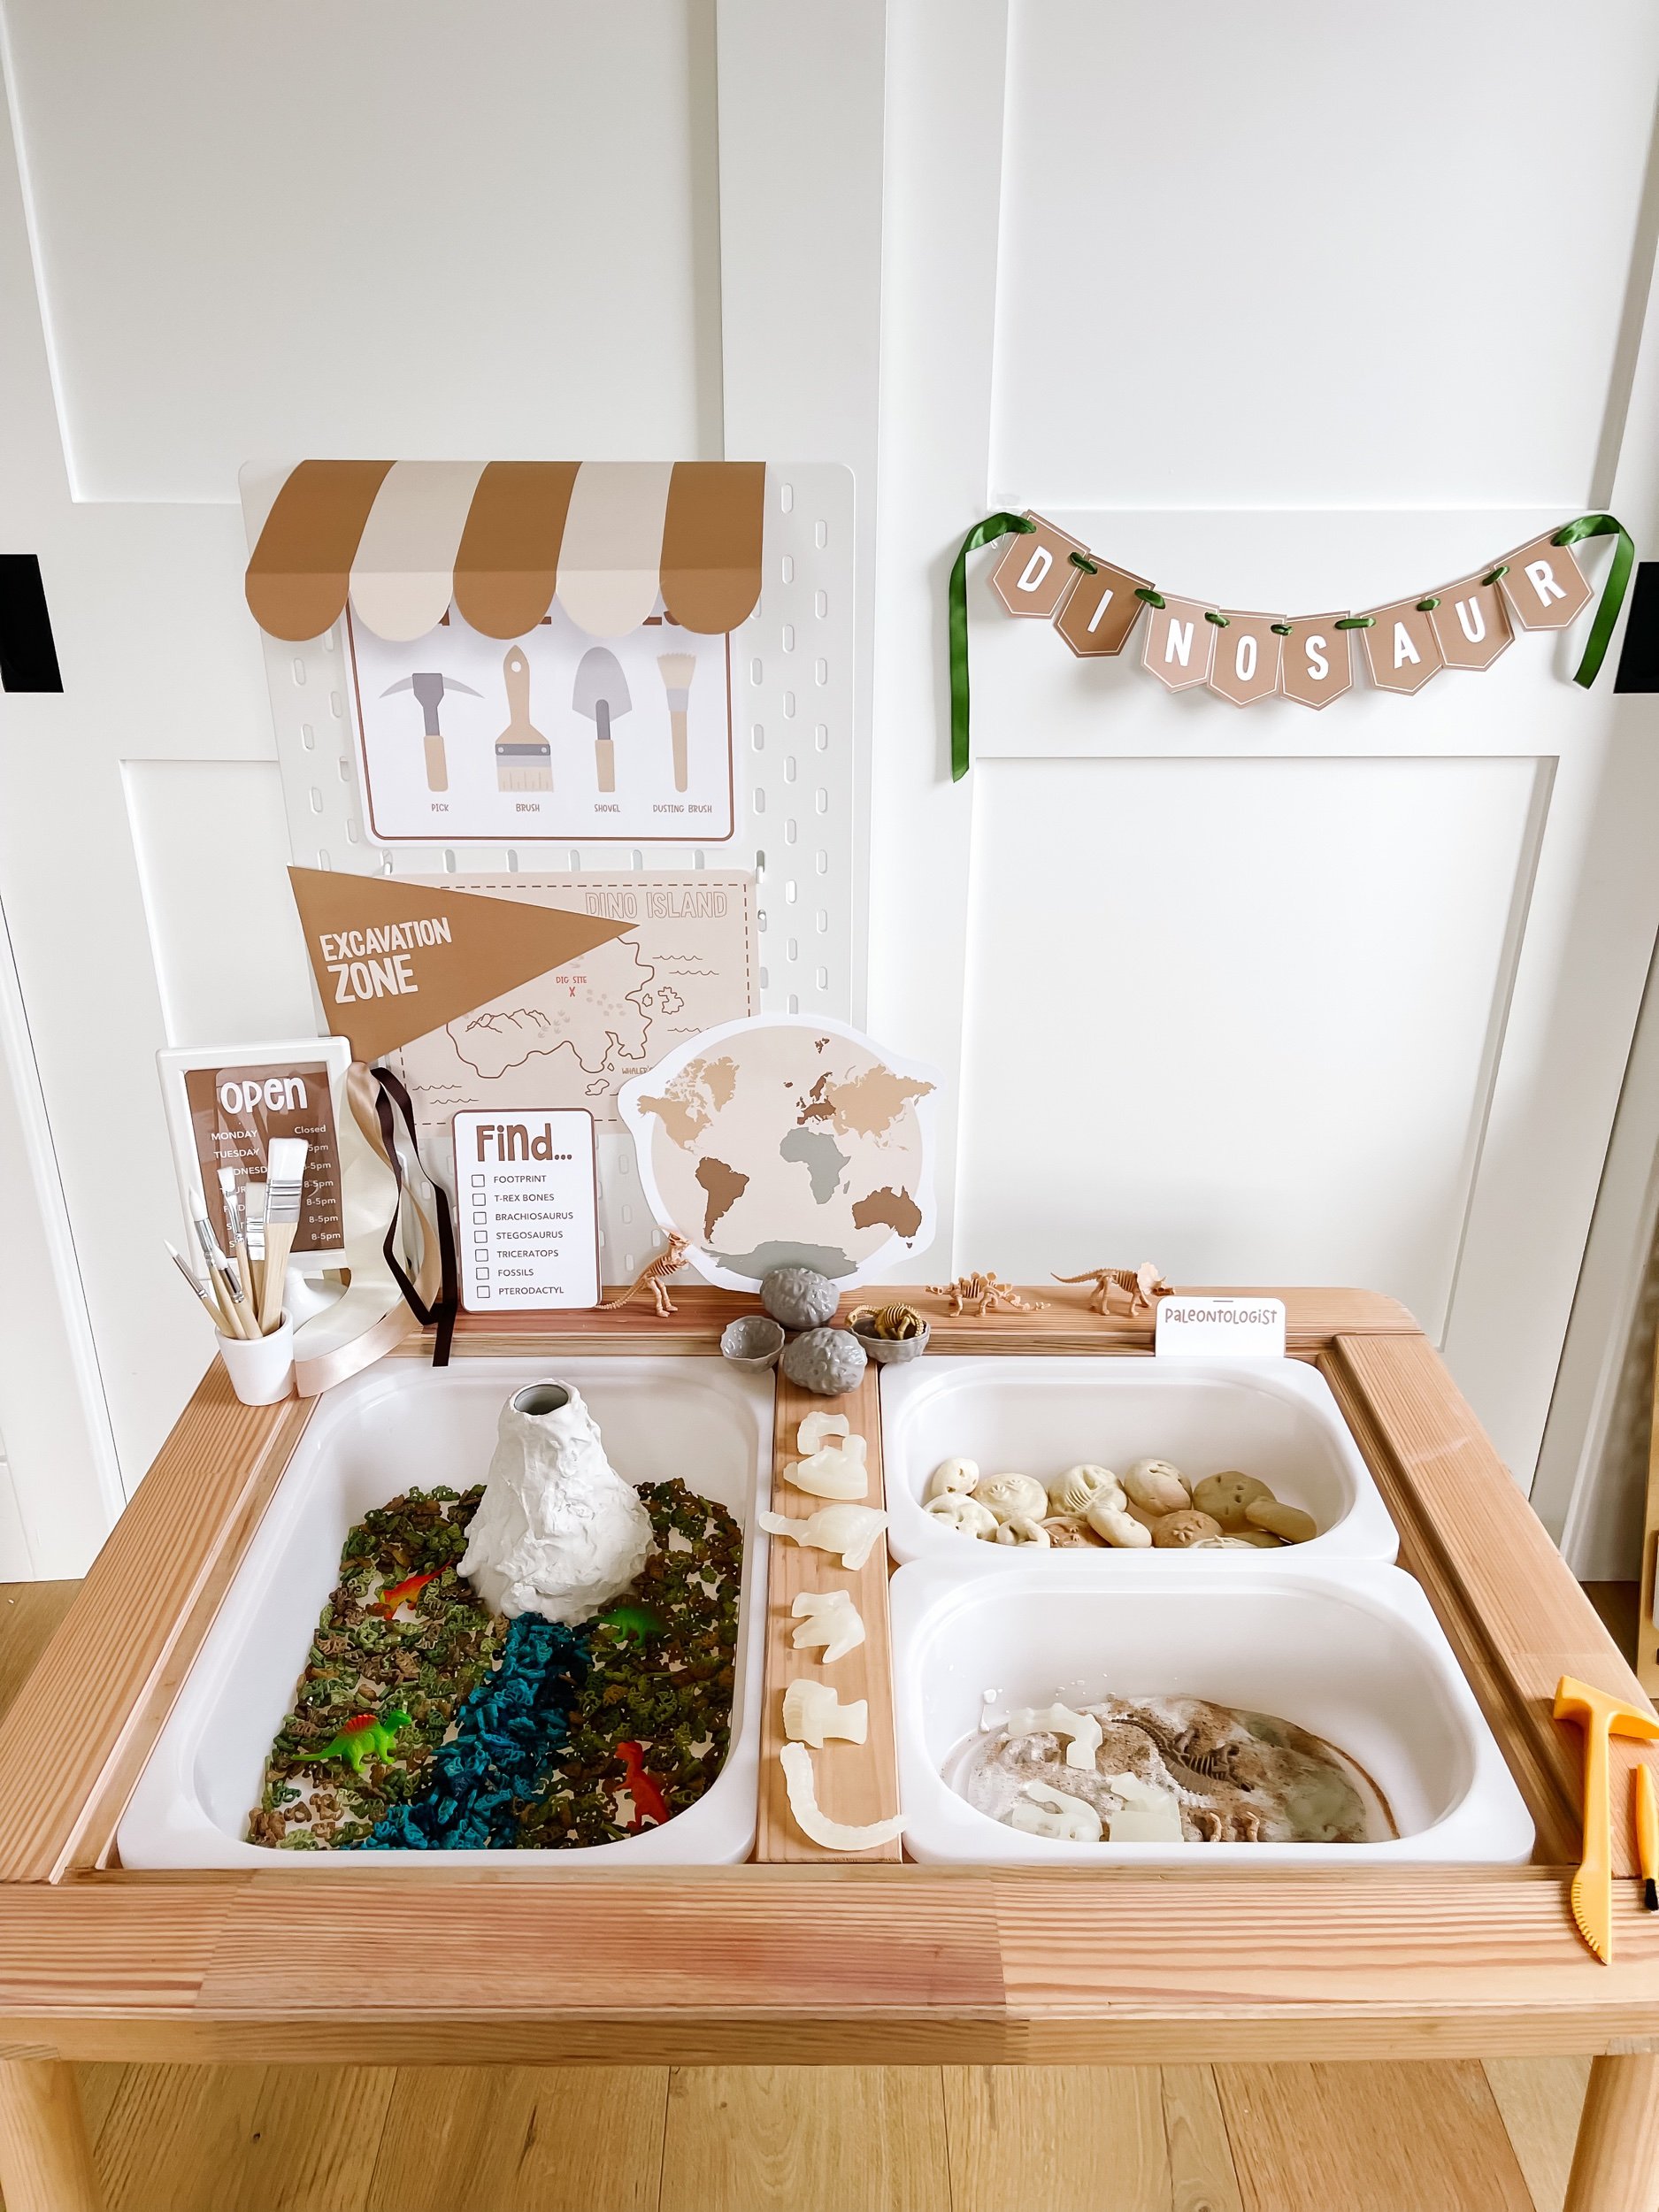
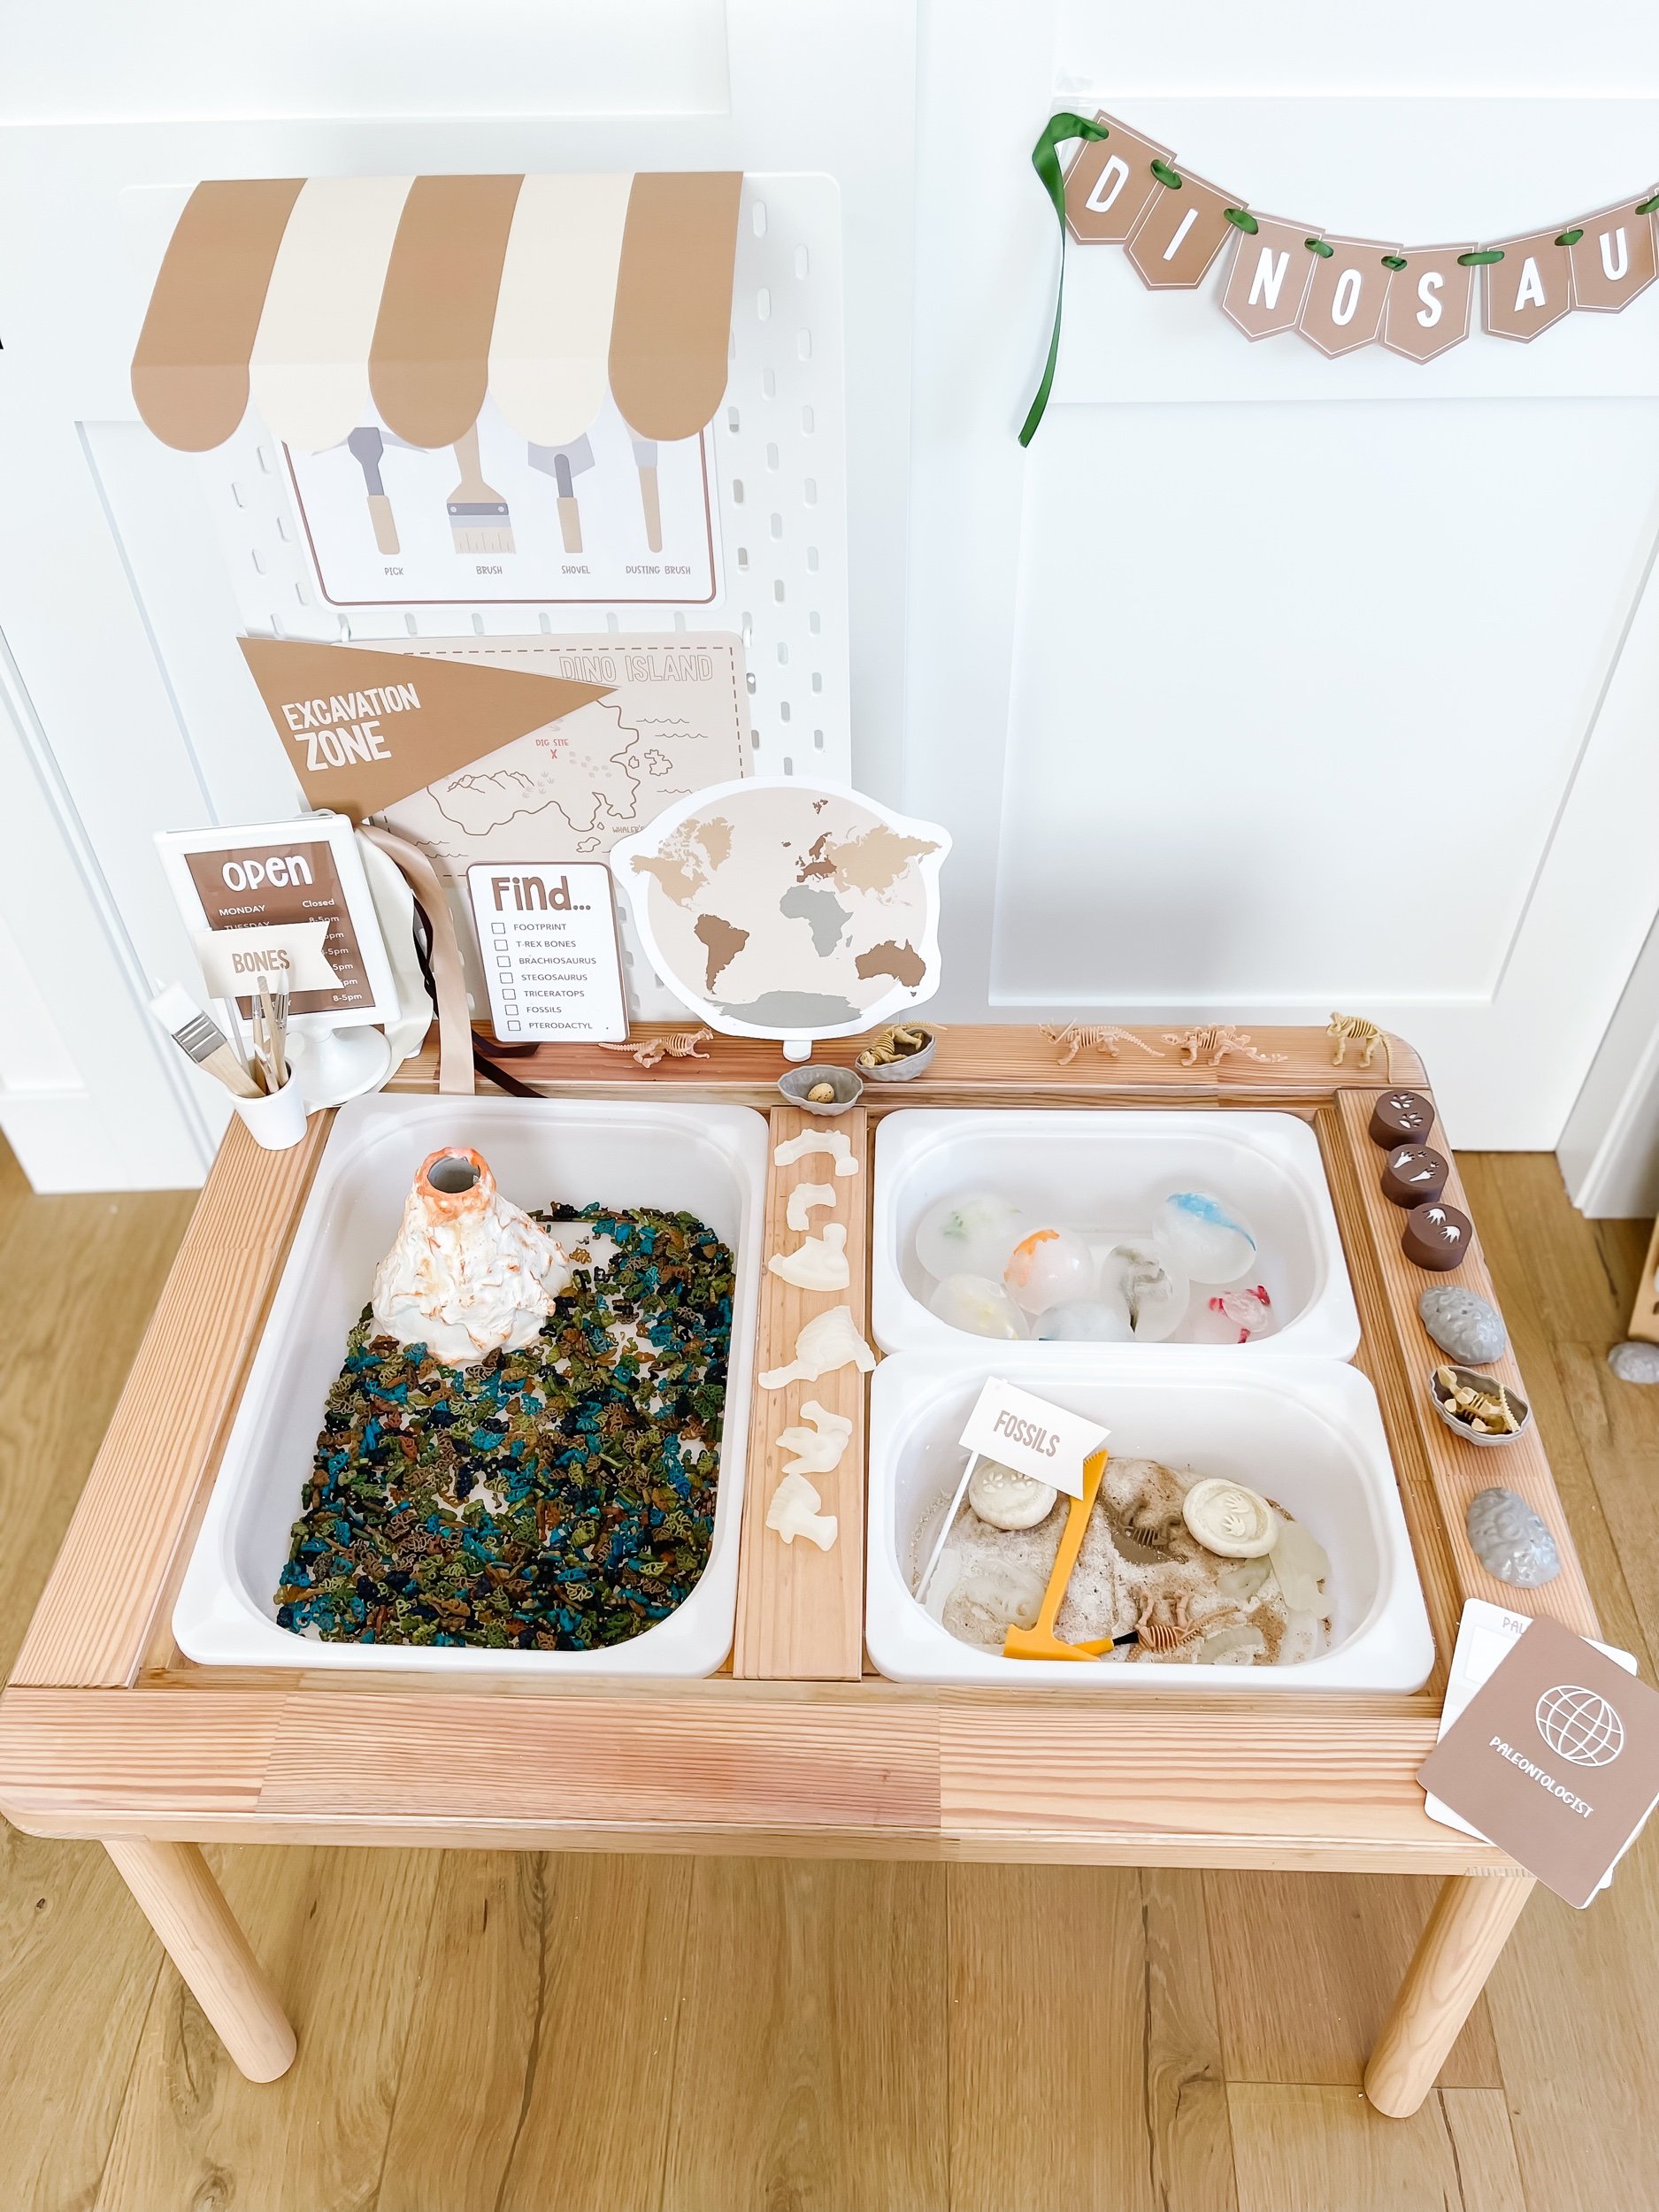
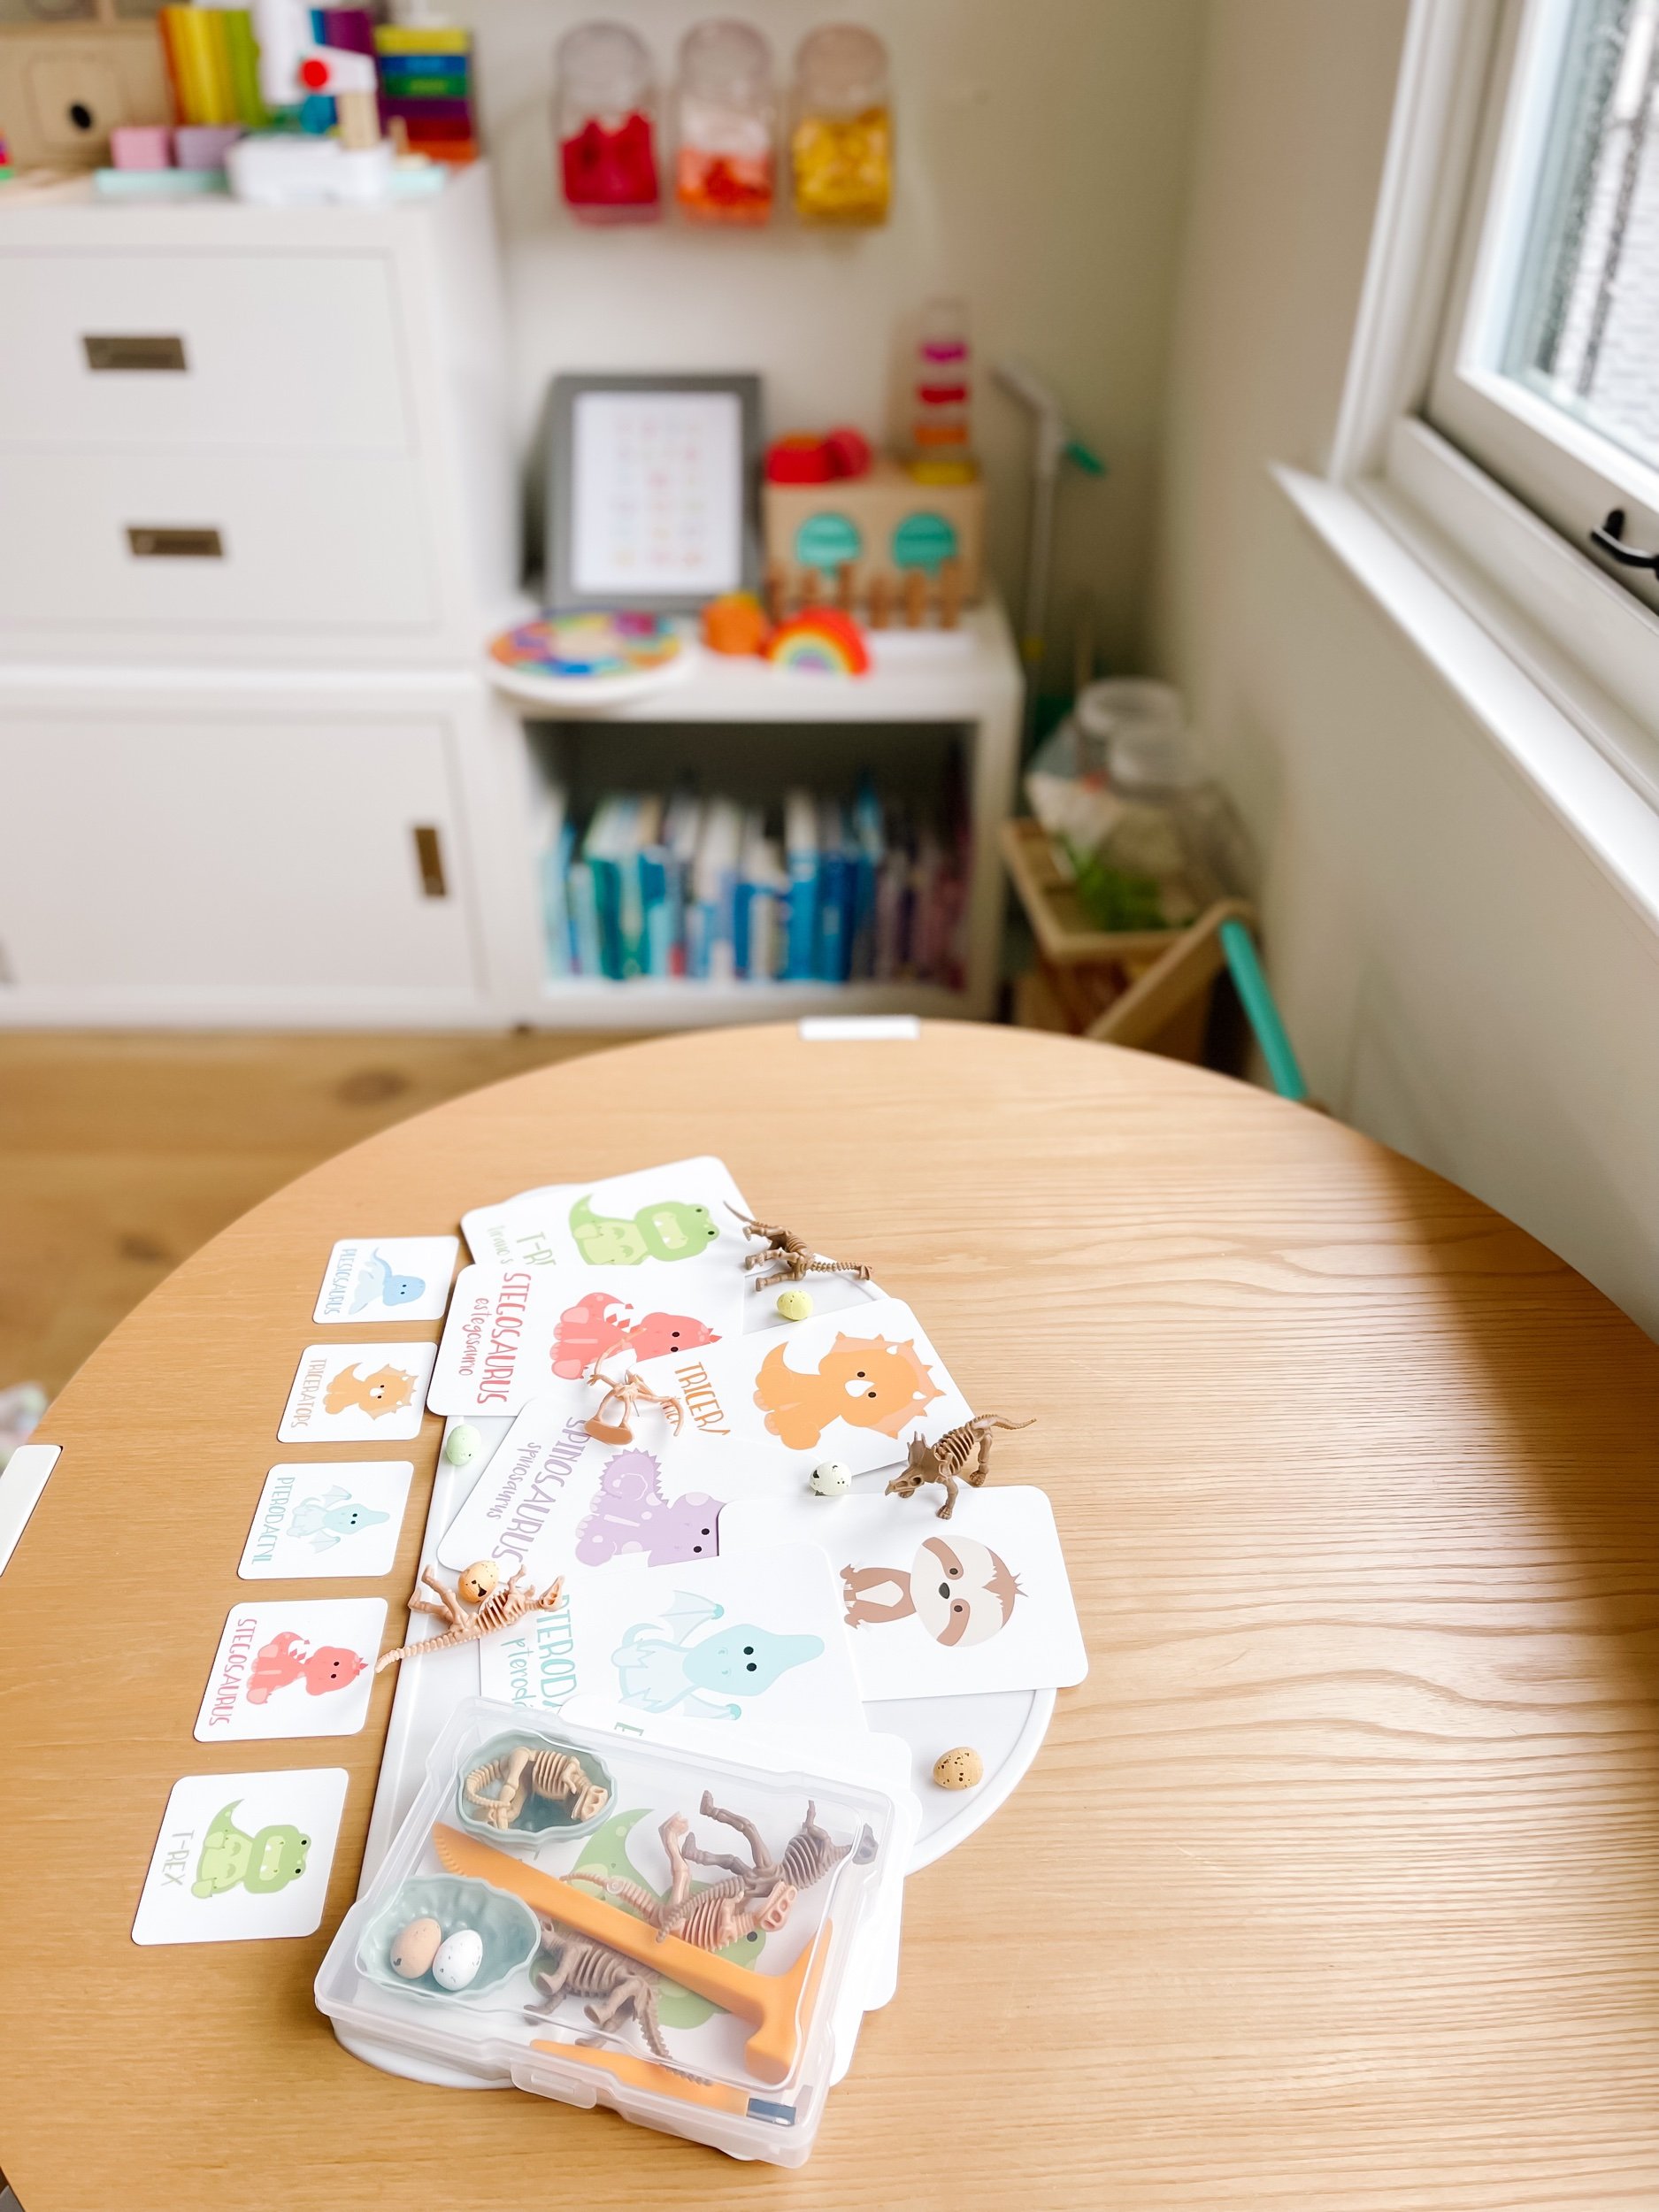
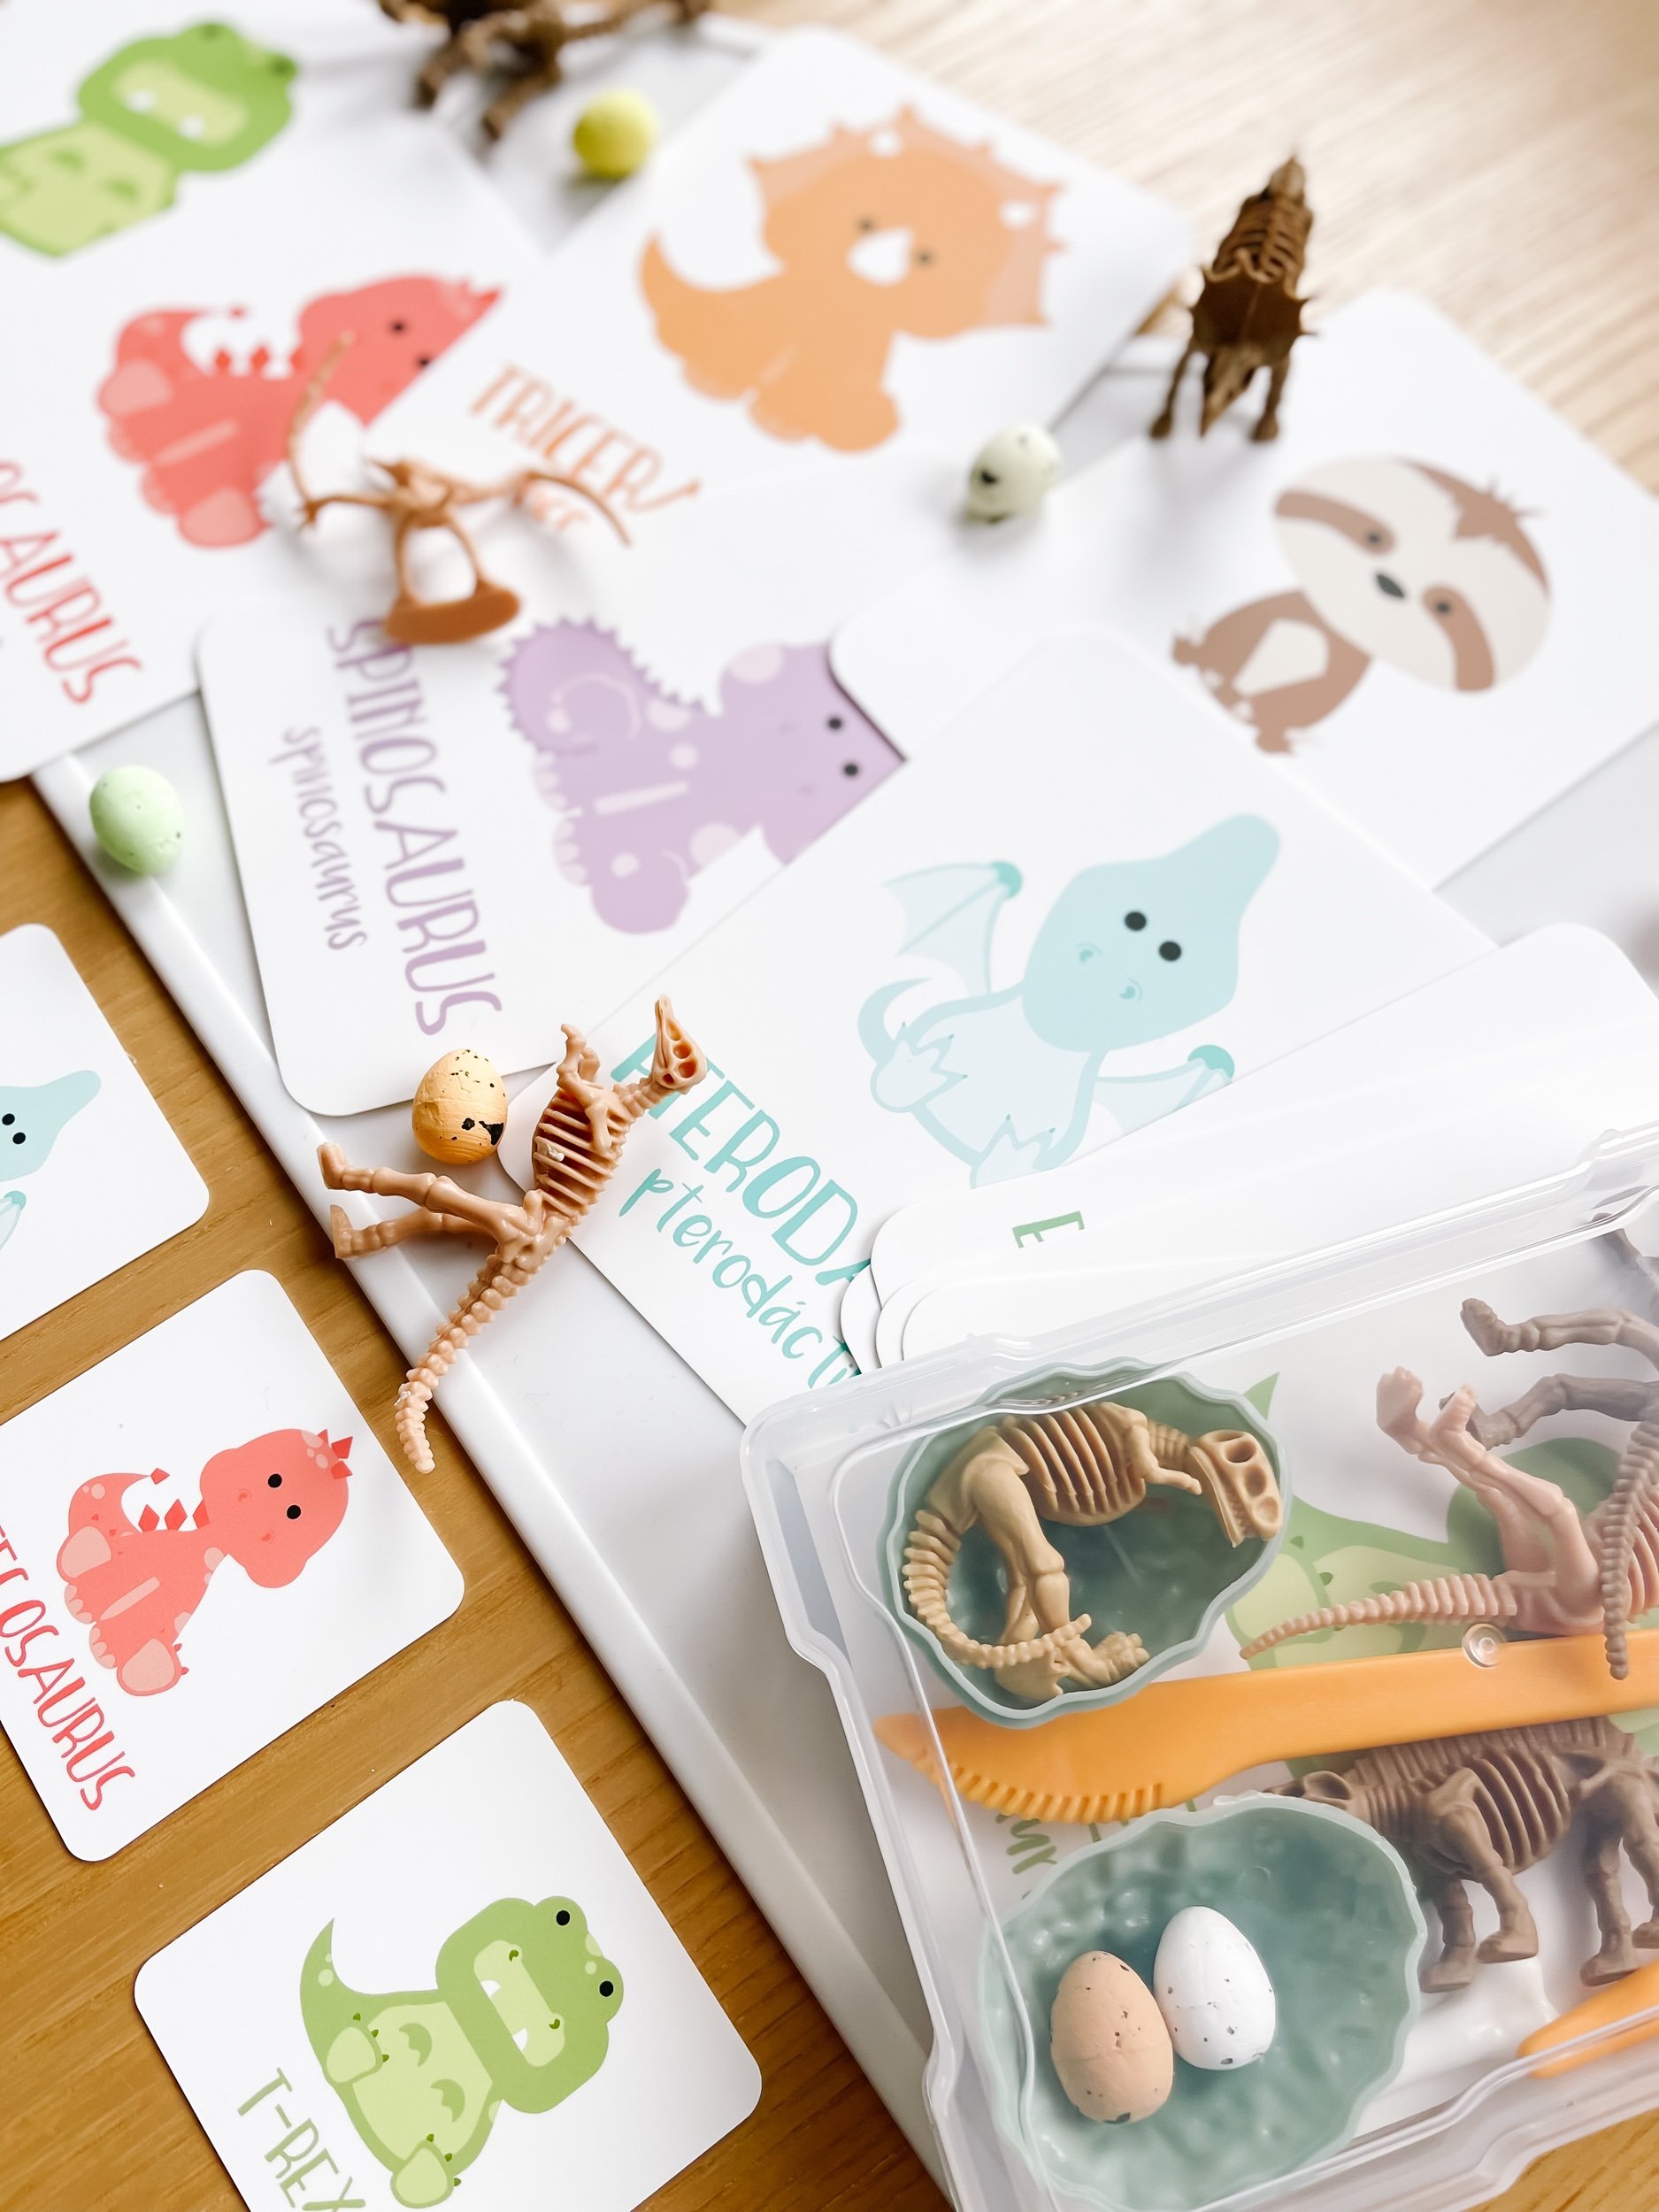
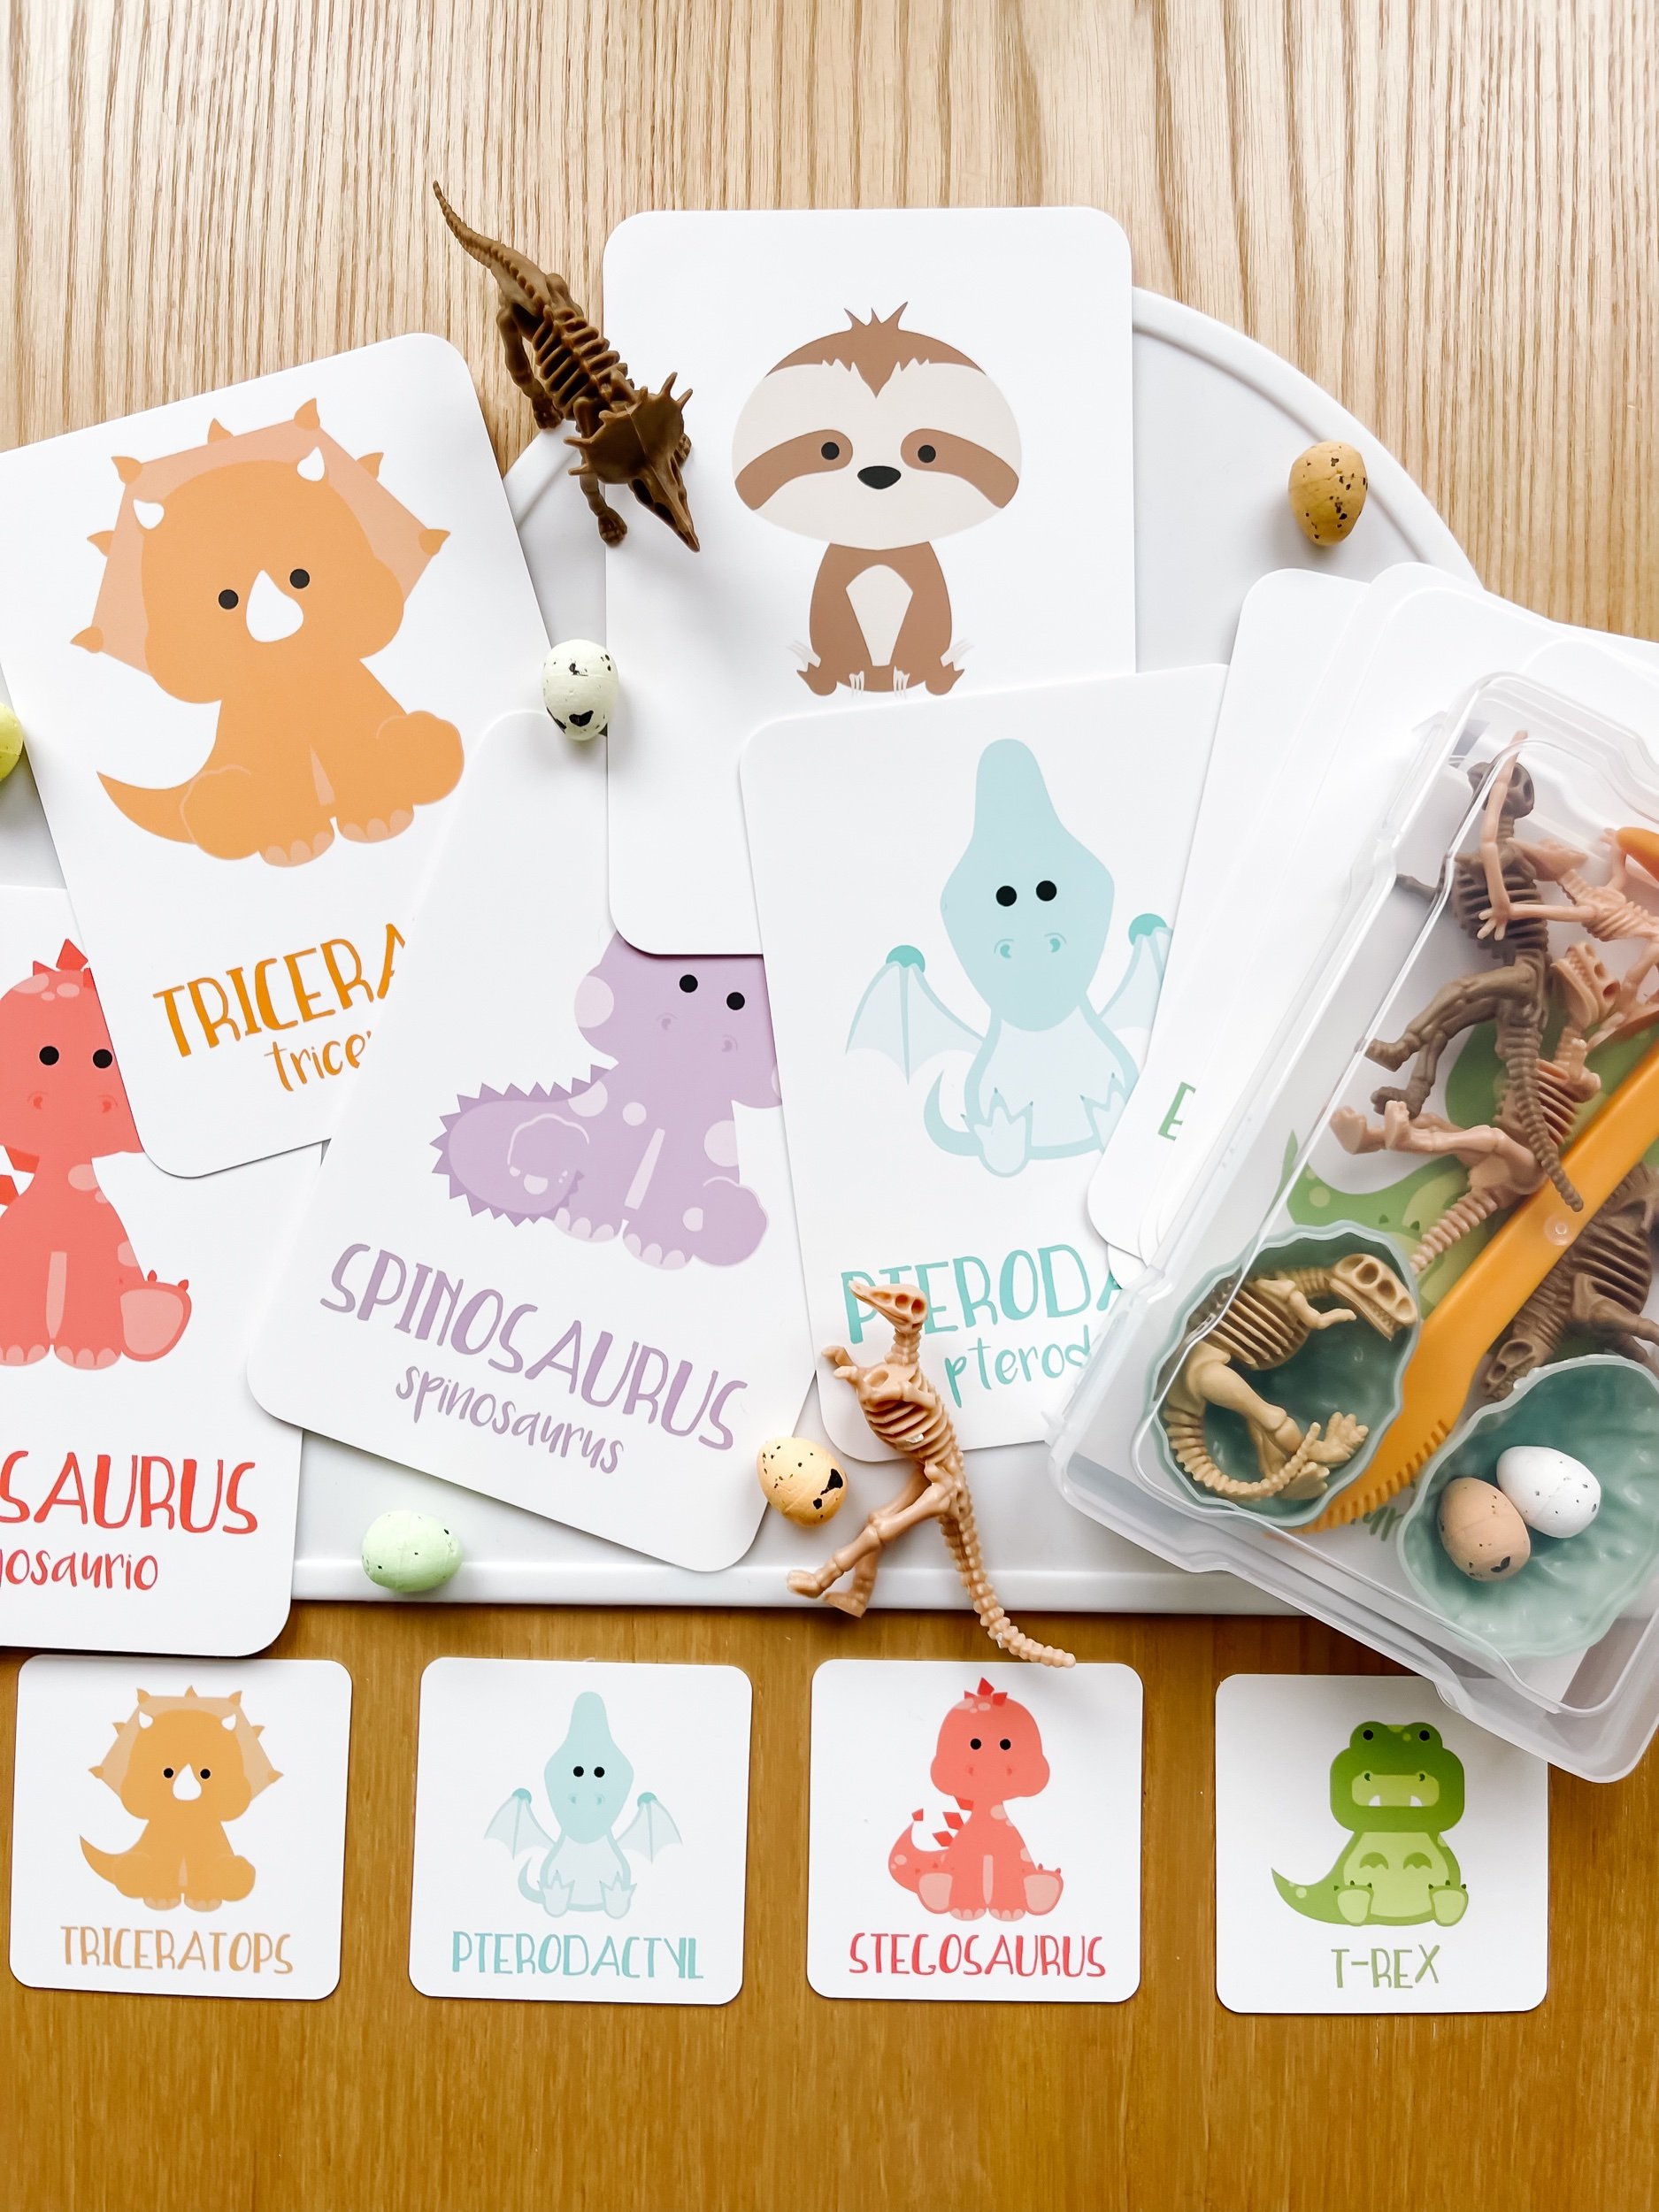
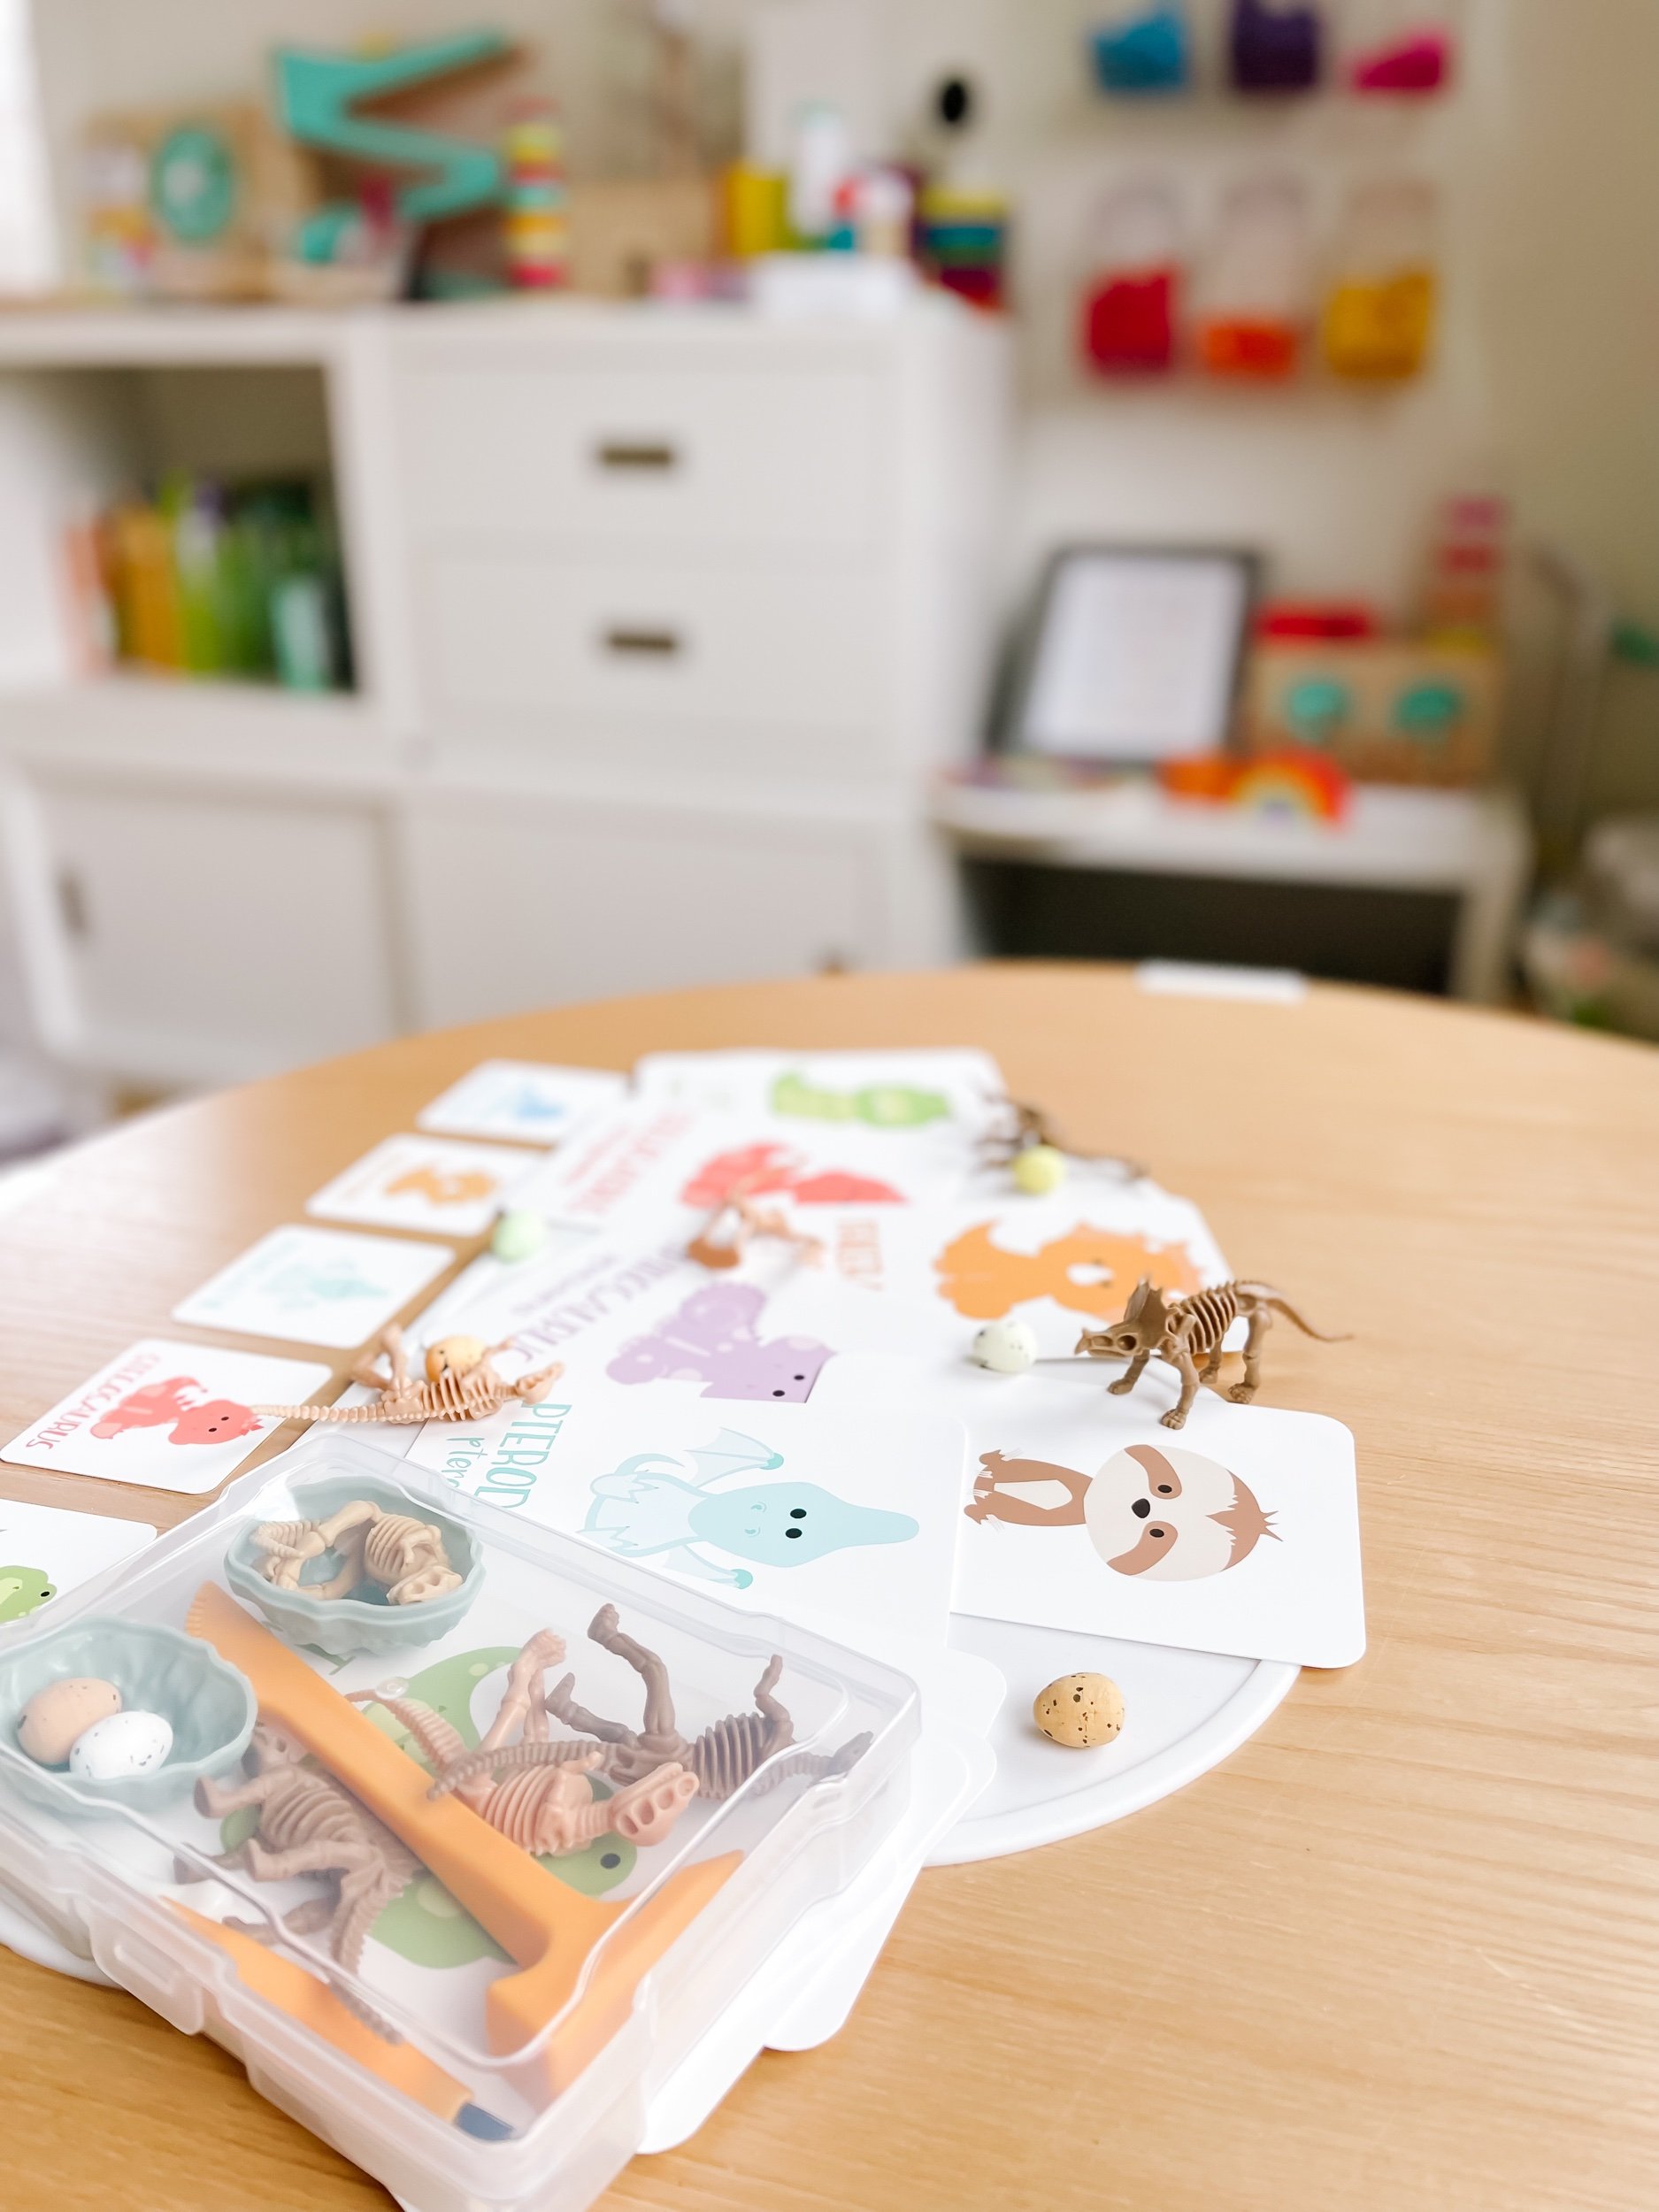
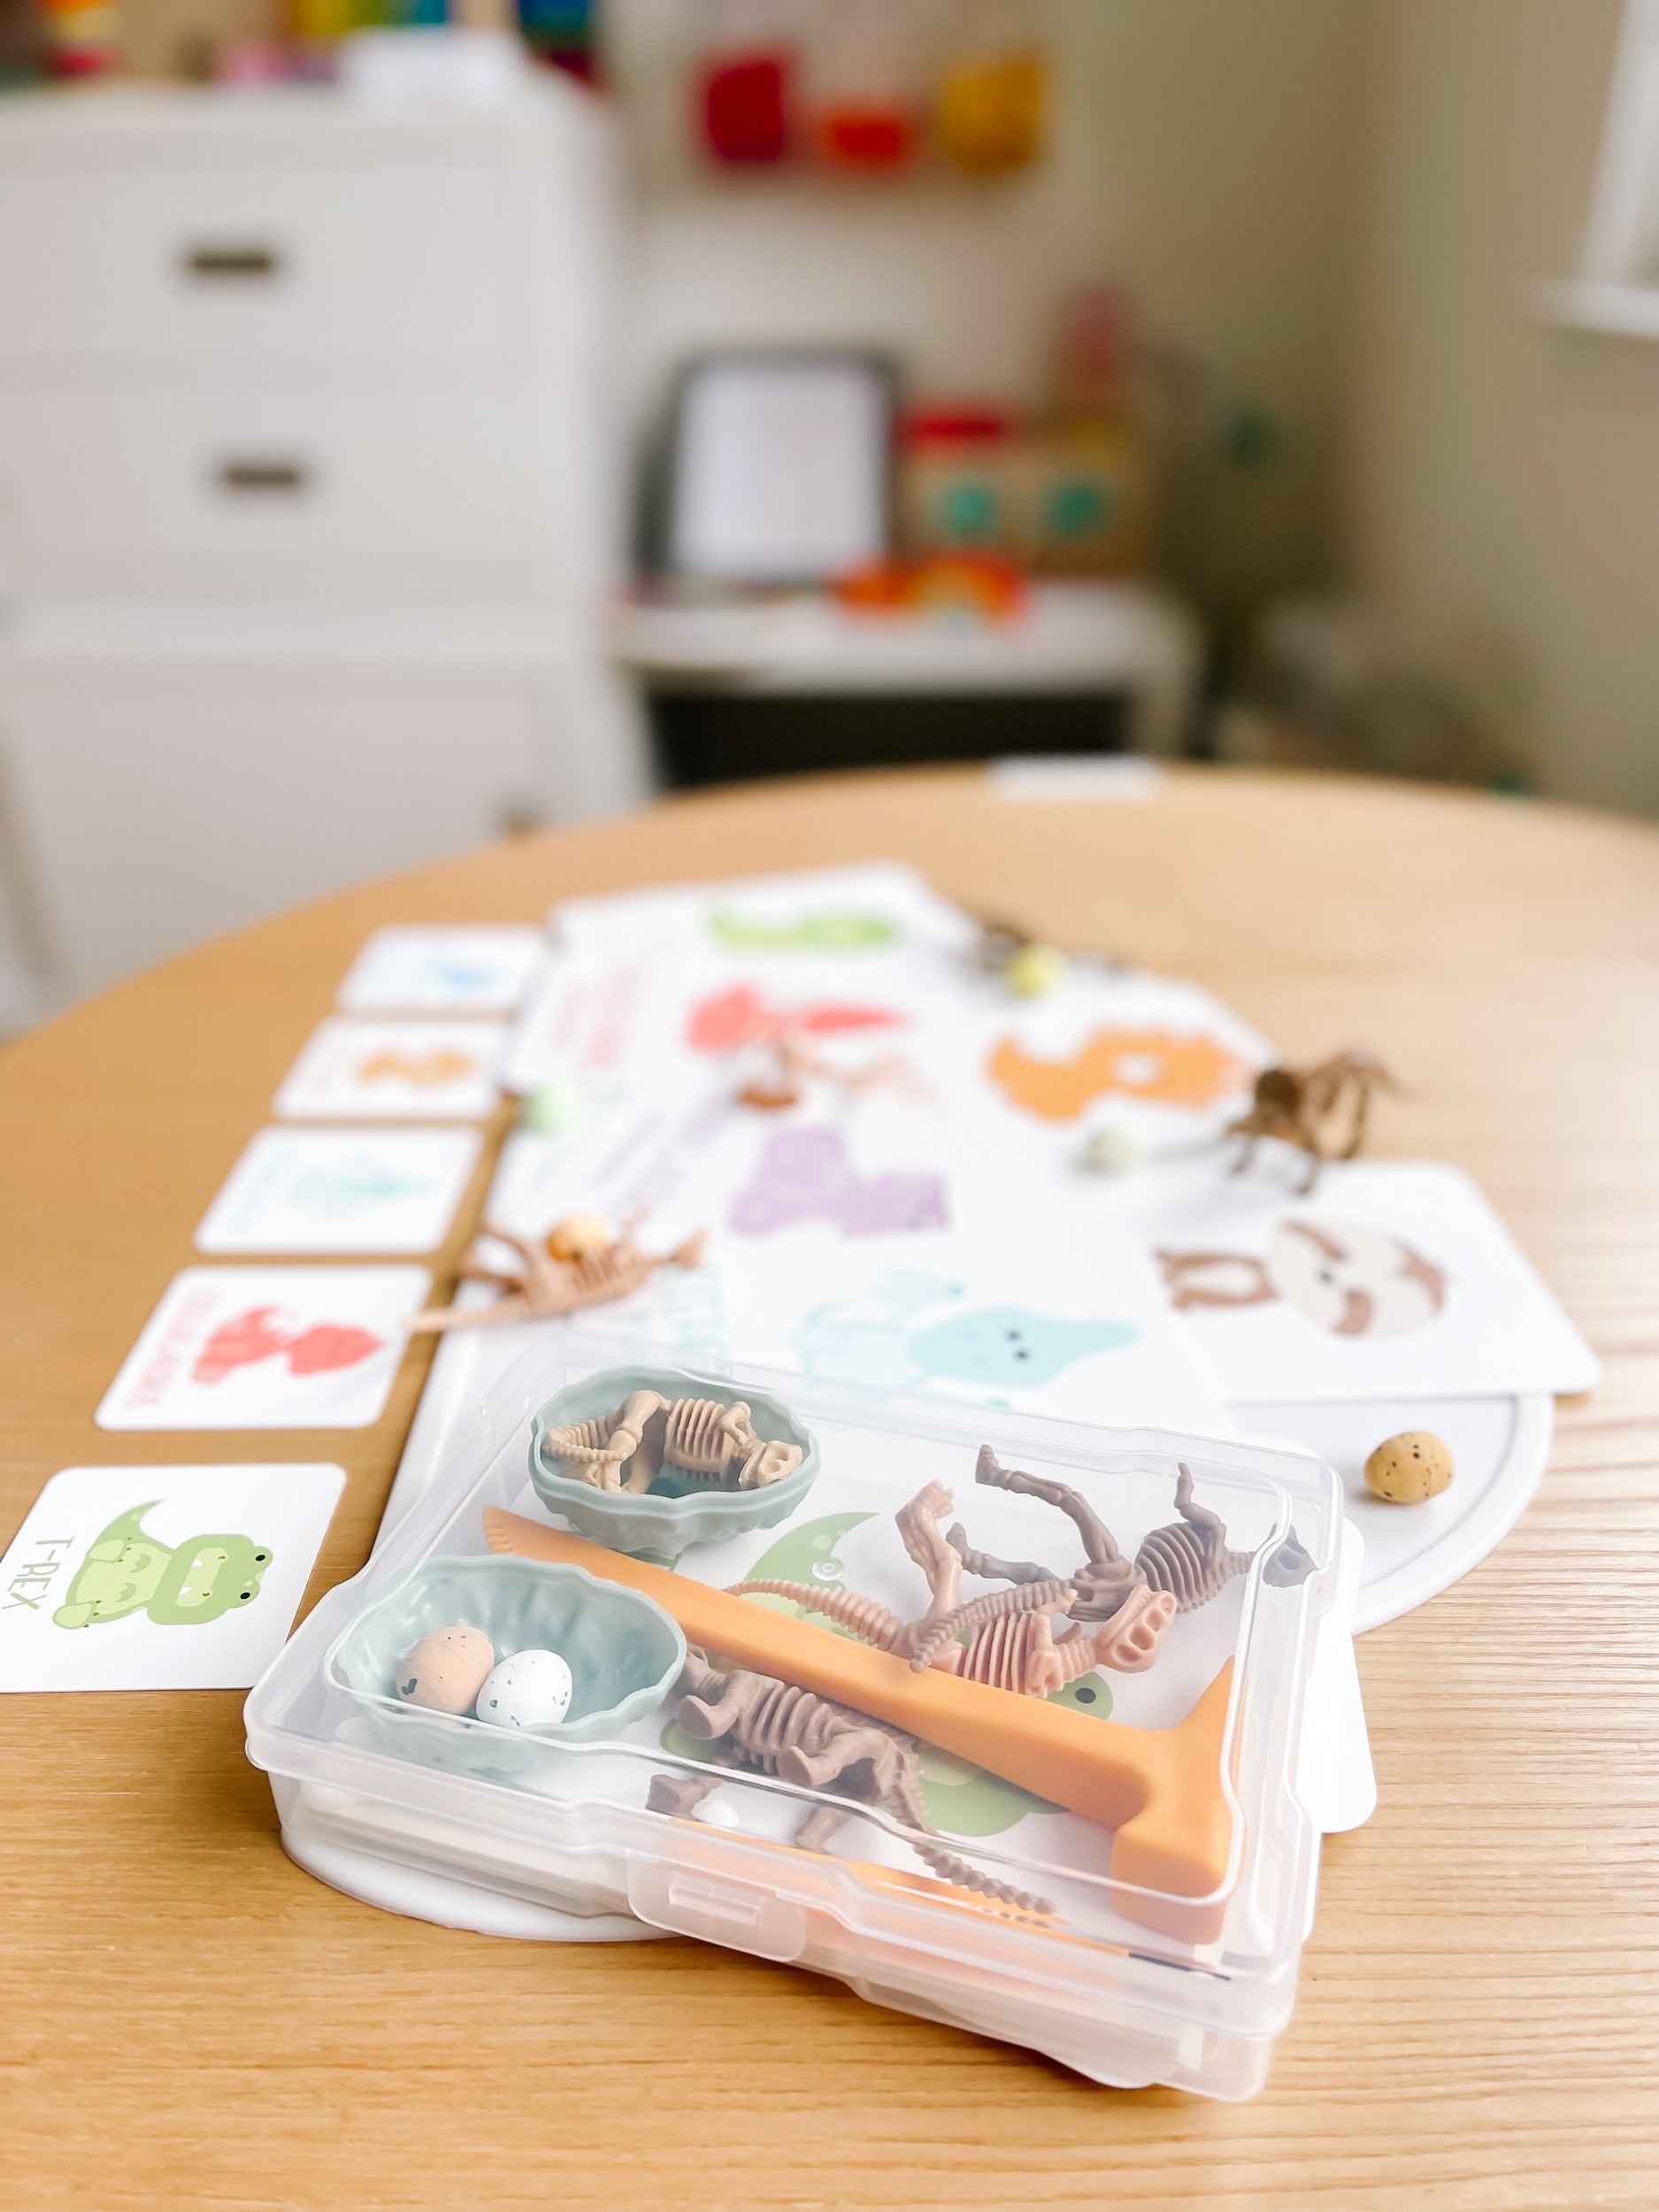
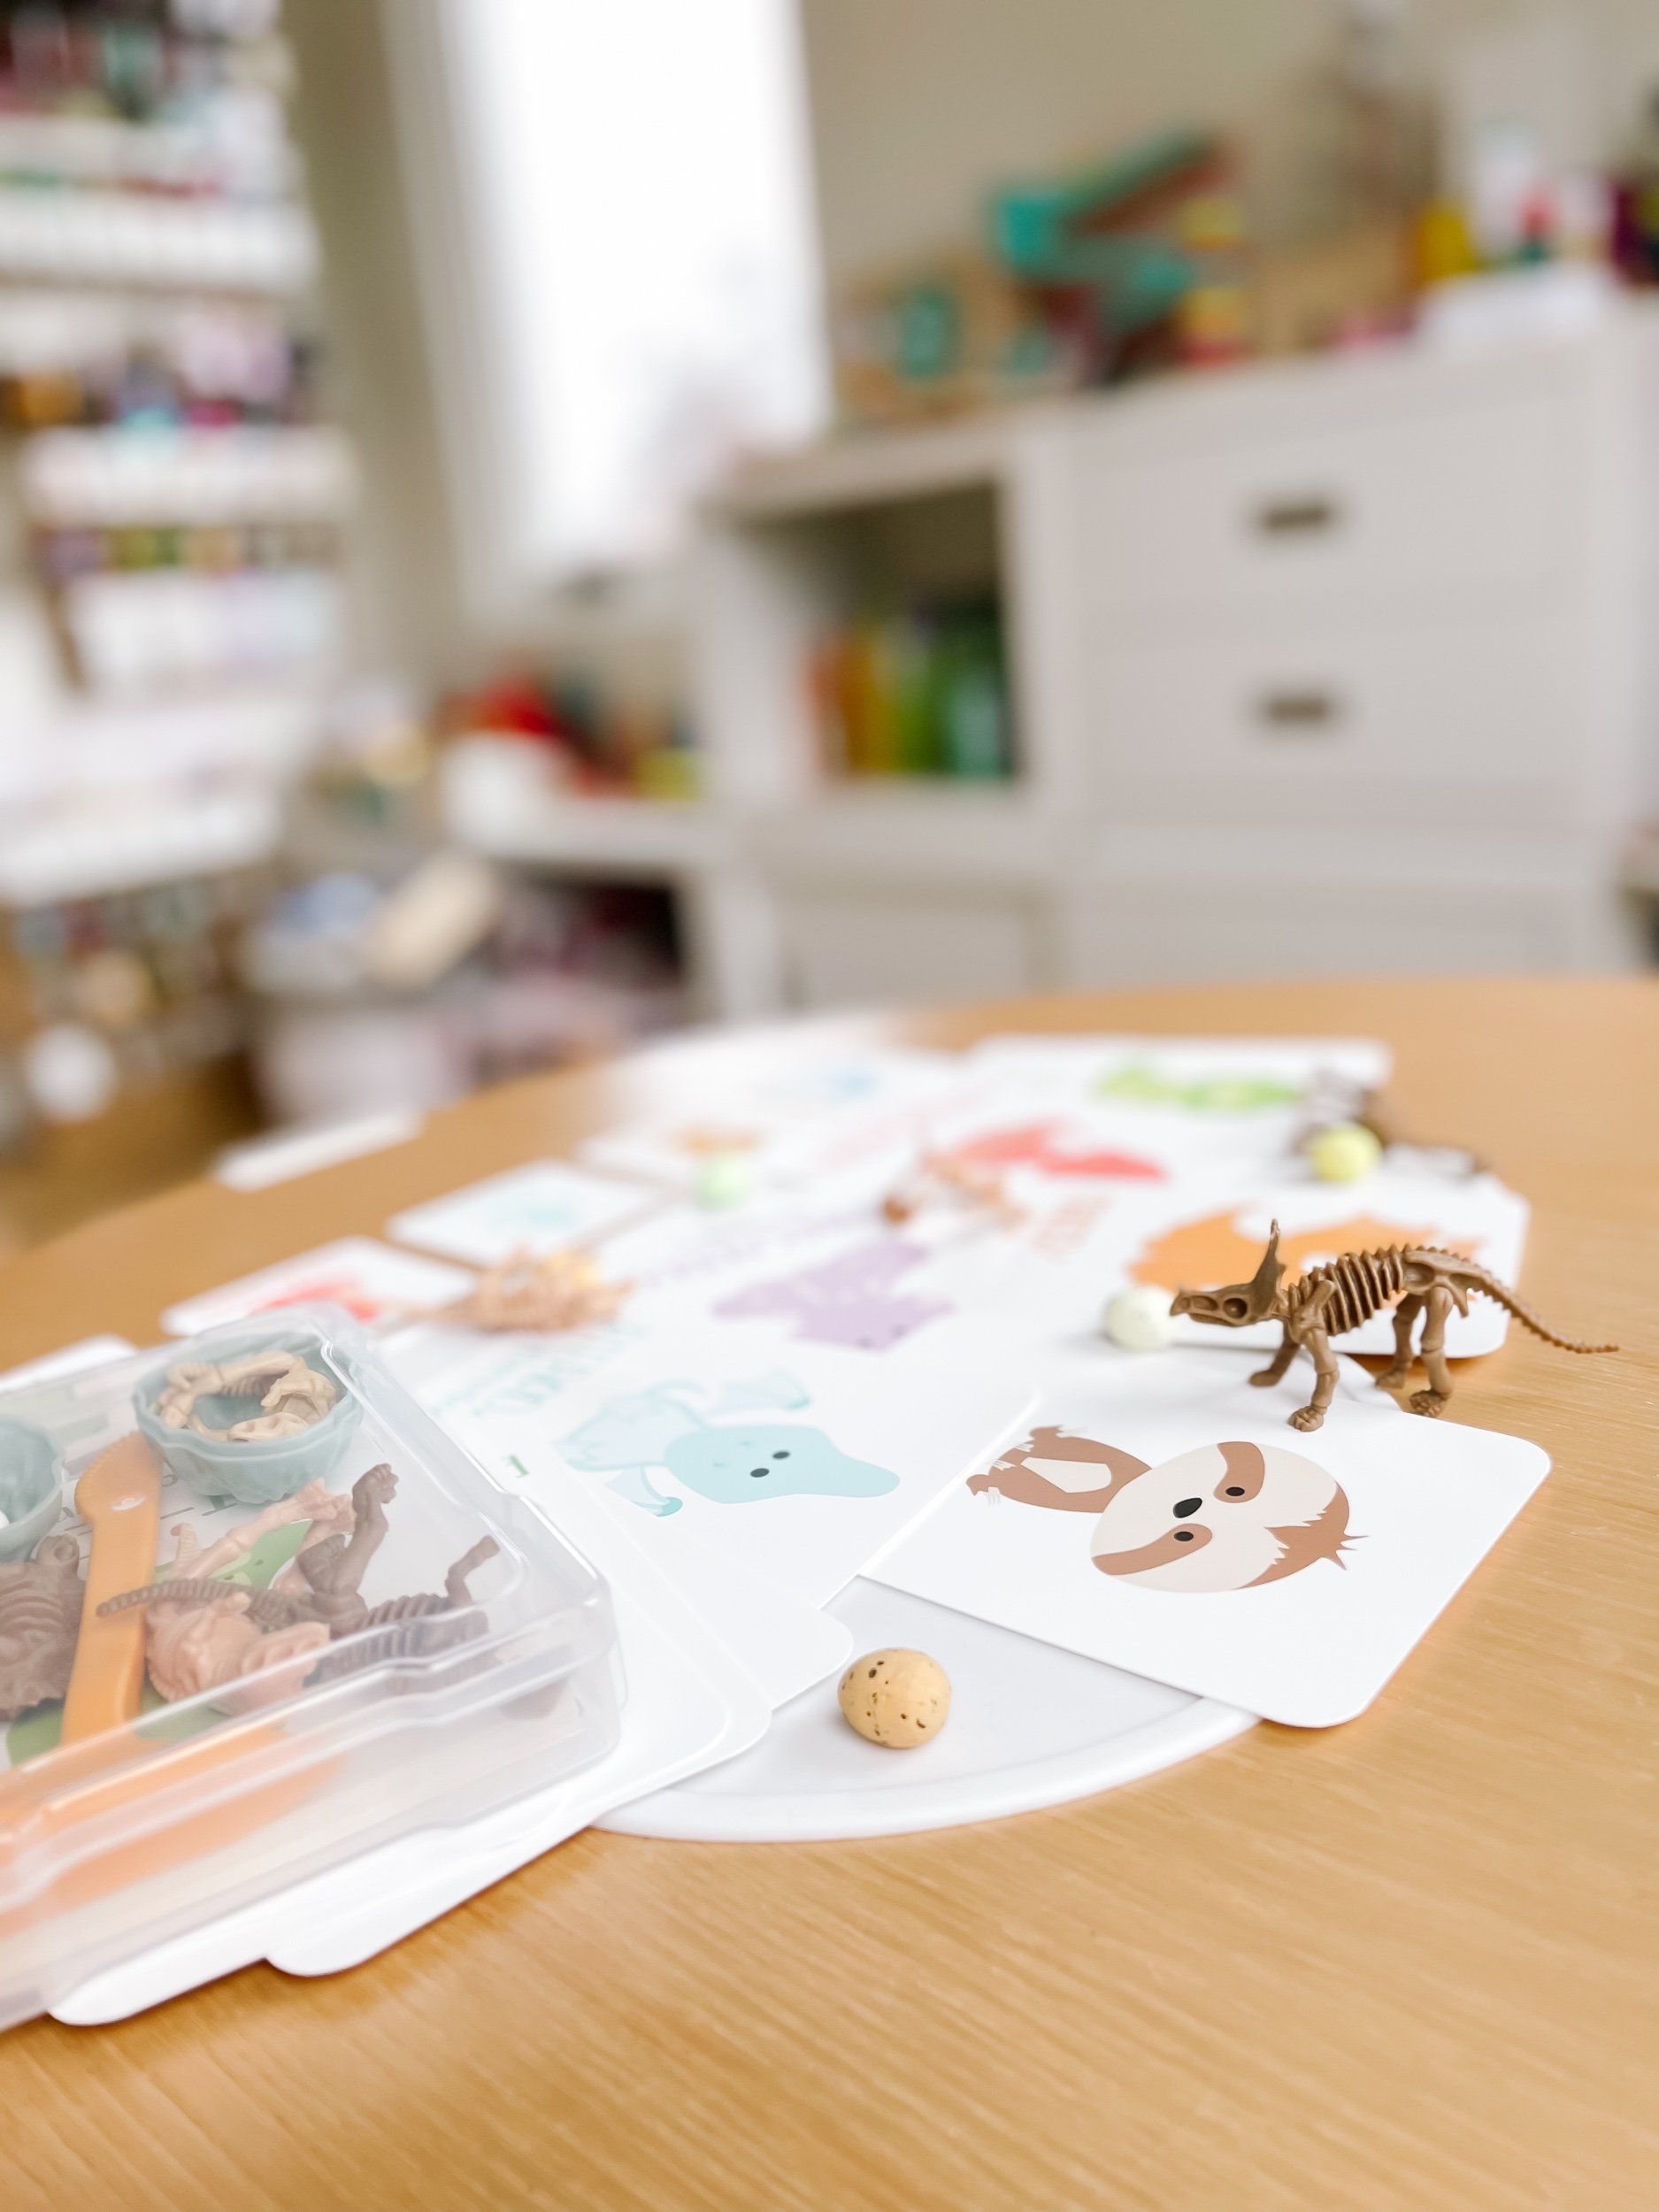
Our dinosaur dig paleontology-themed sensory and dramatic play kit is packed with exciting elements that will ignite your child's passion for exploration. Here's a detailed description of what you can expect:
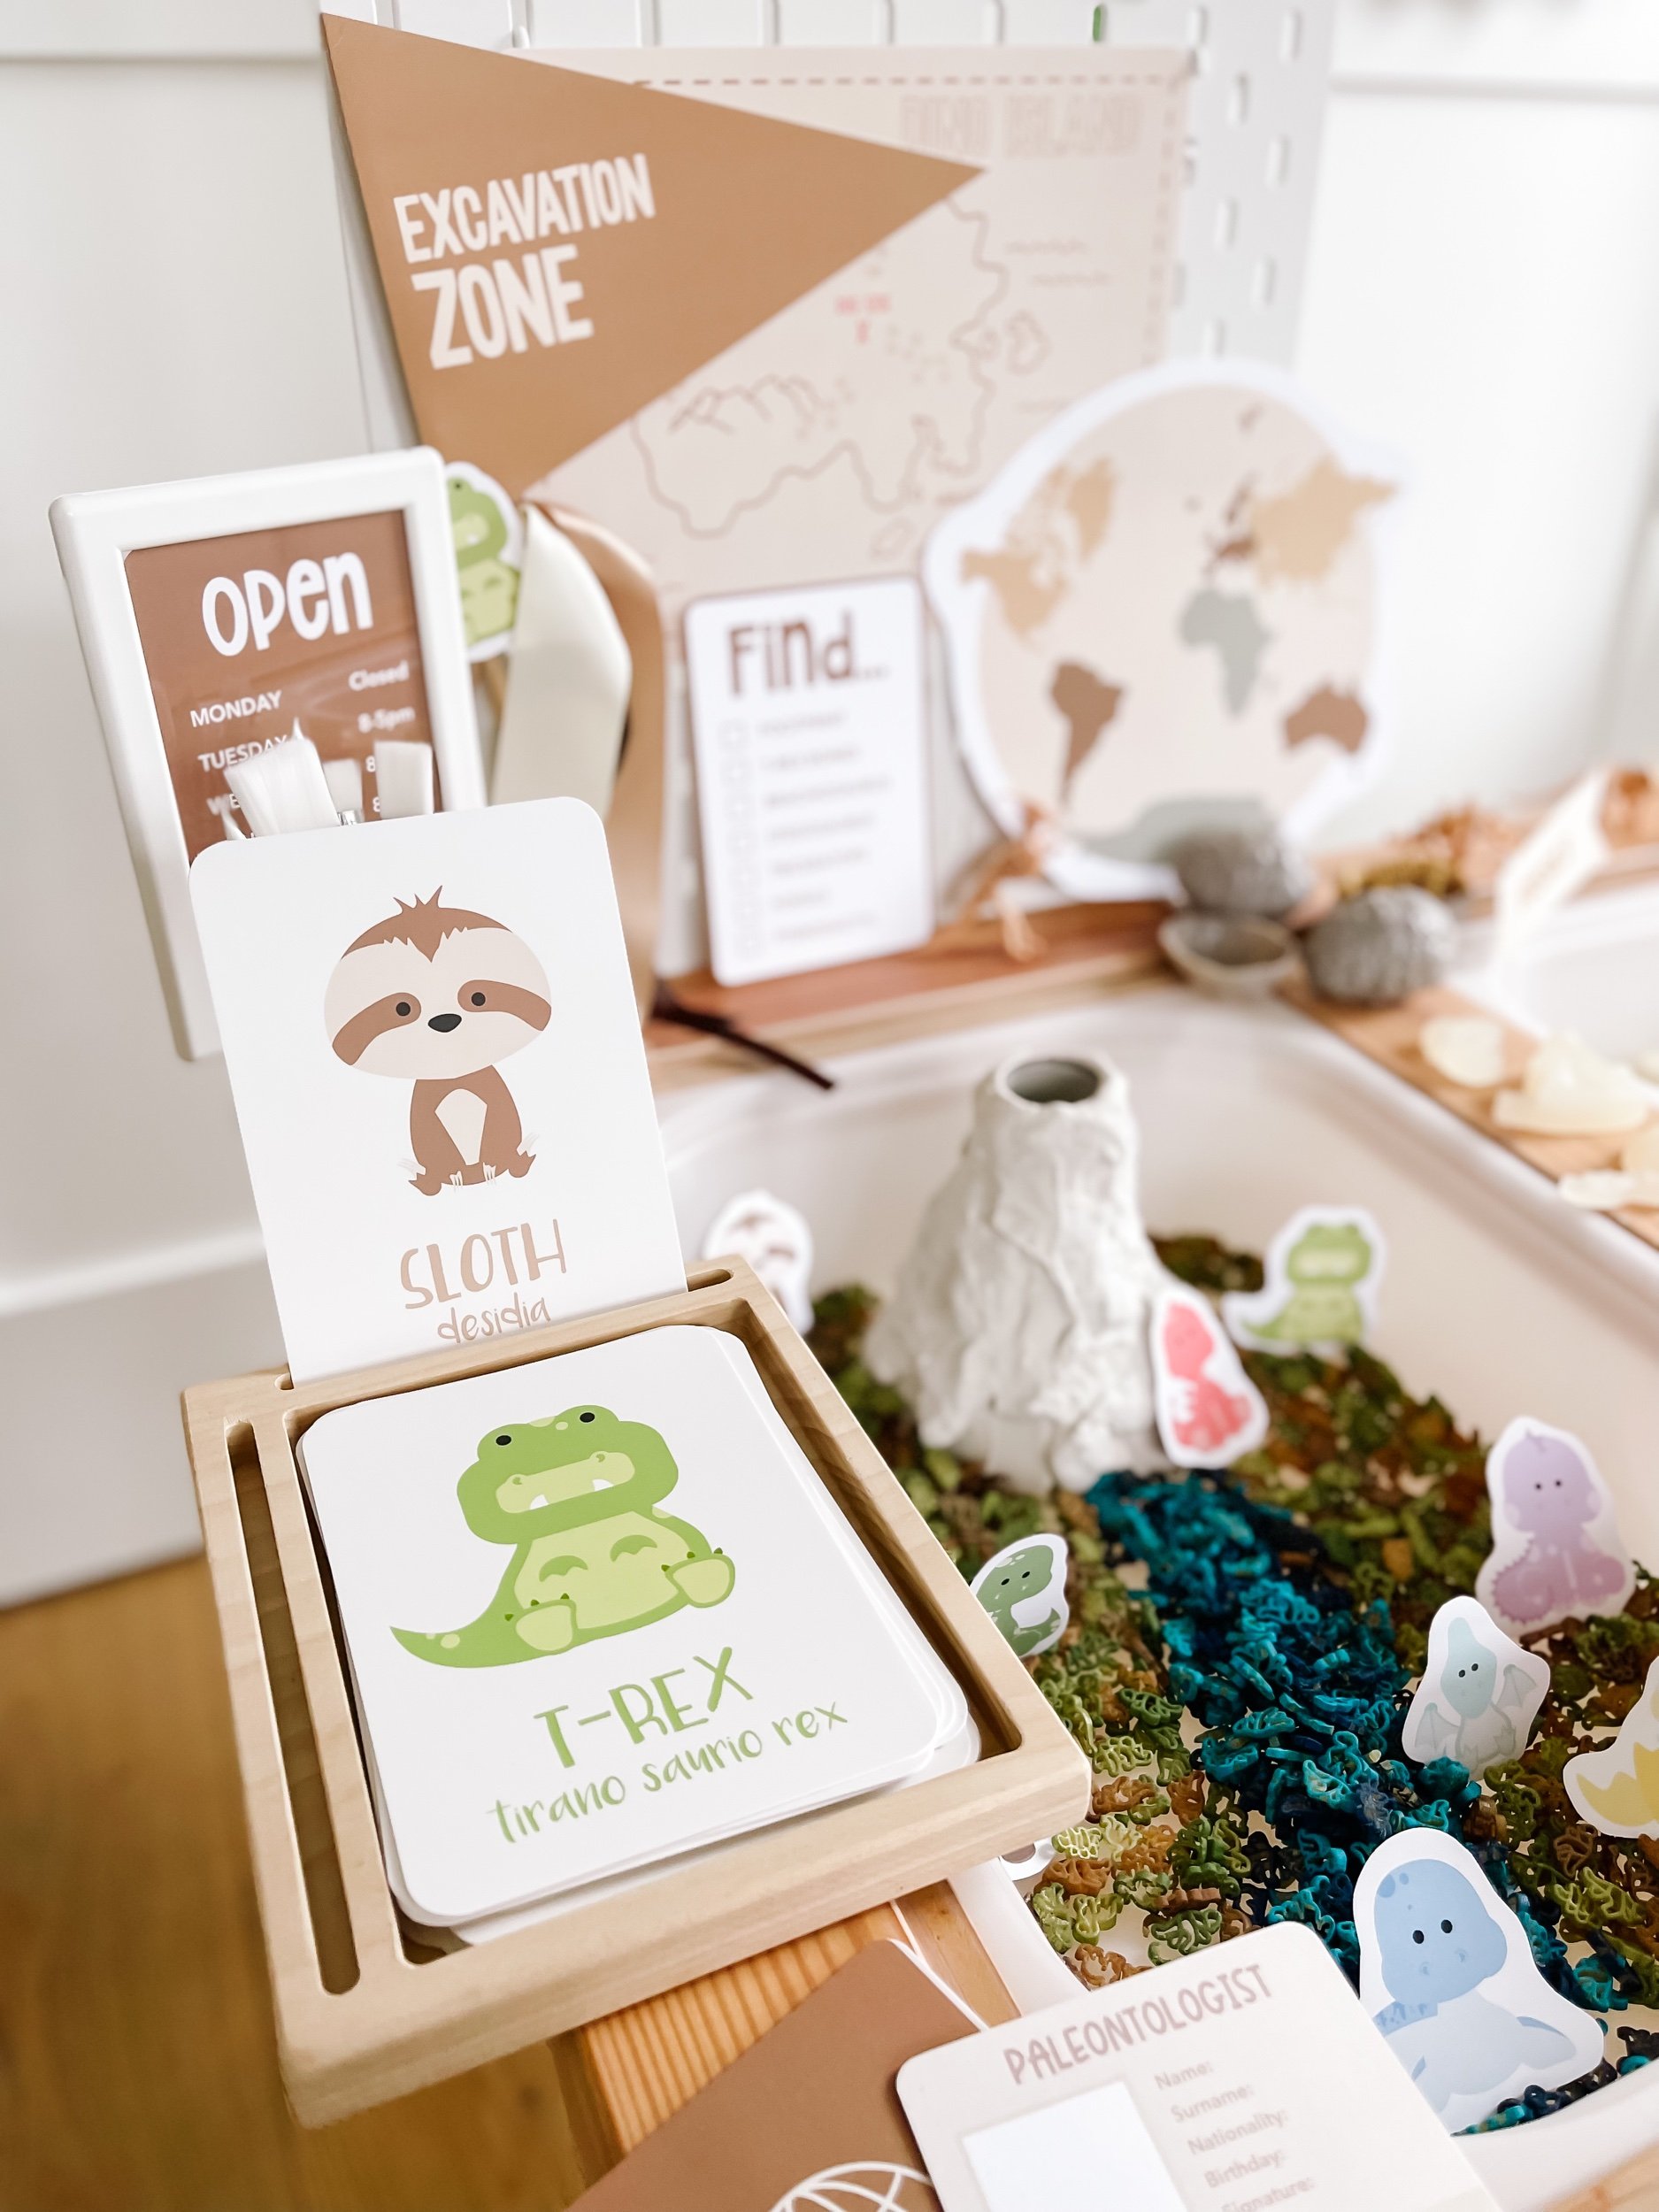
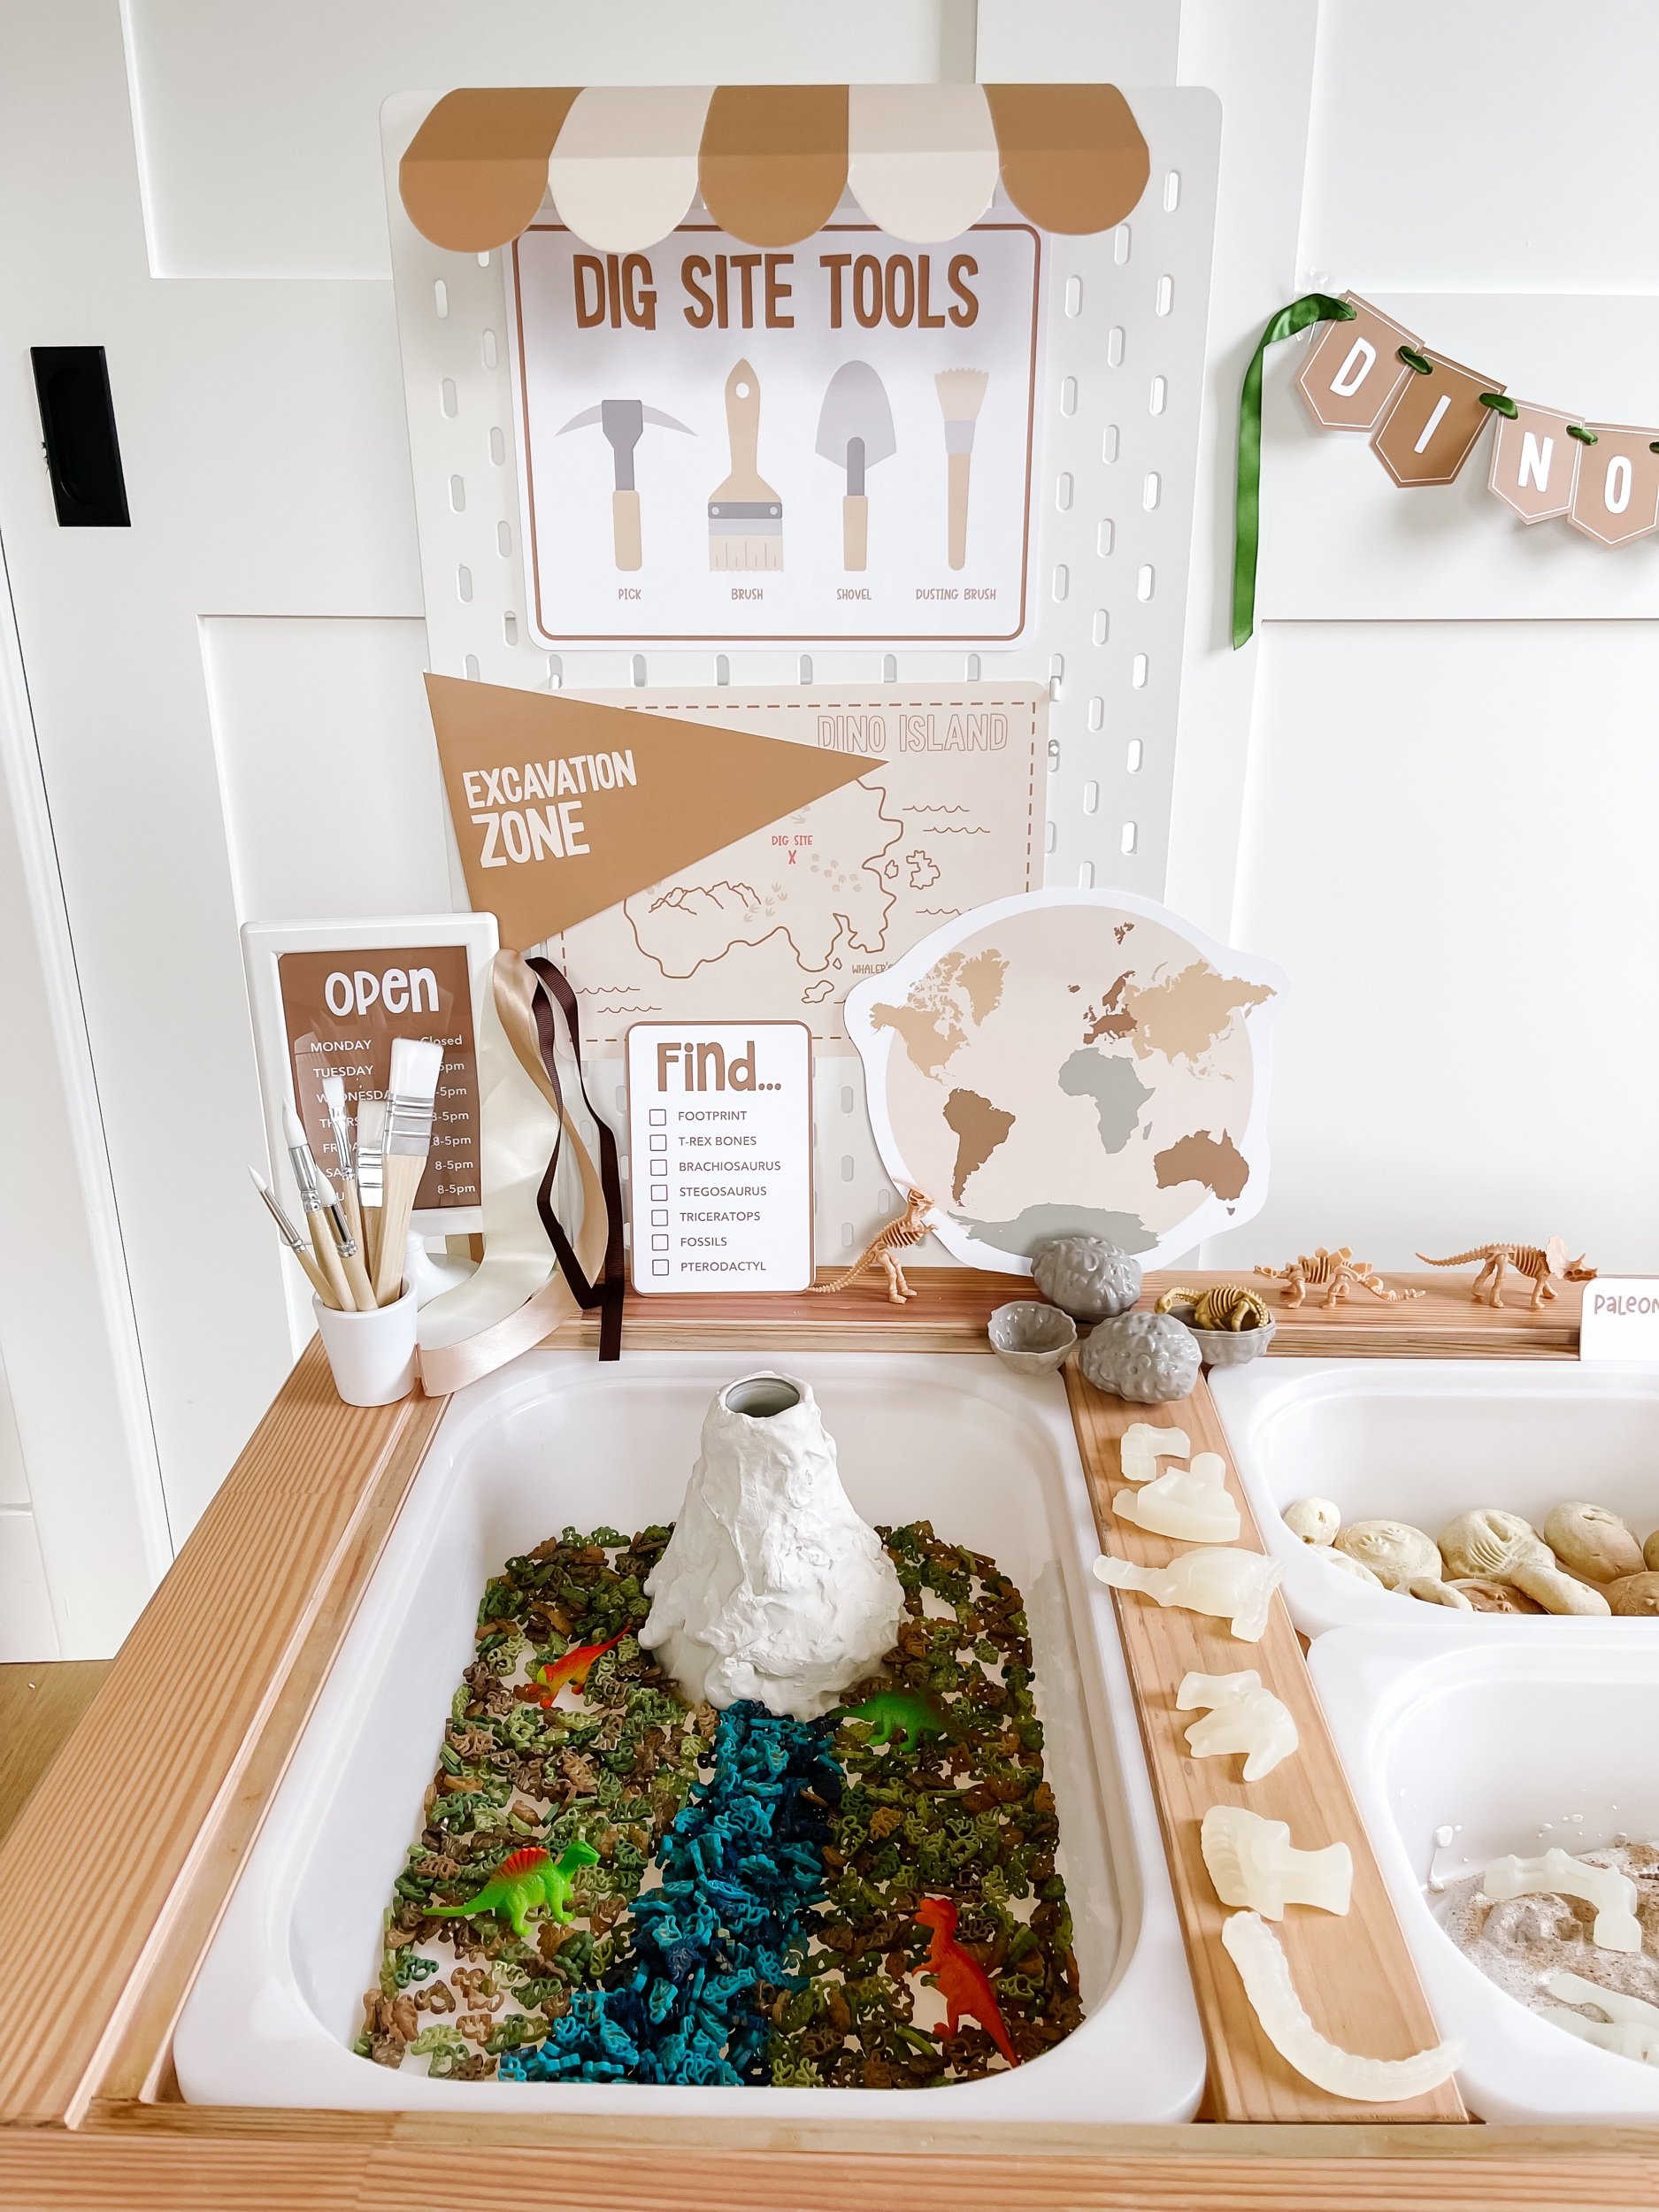
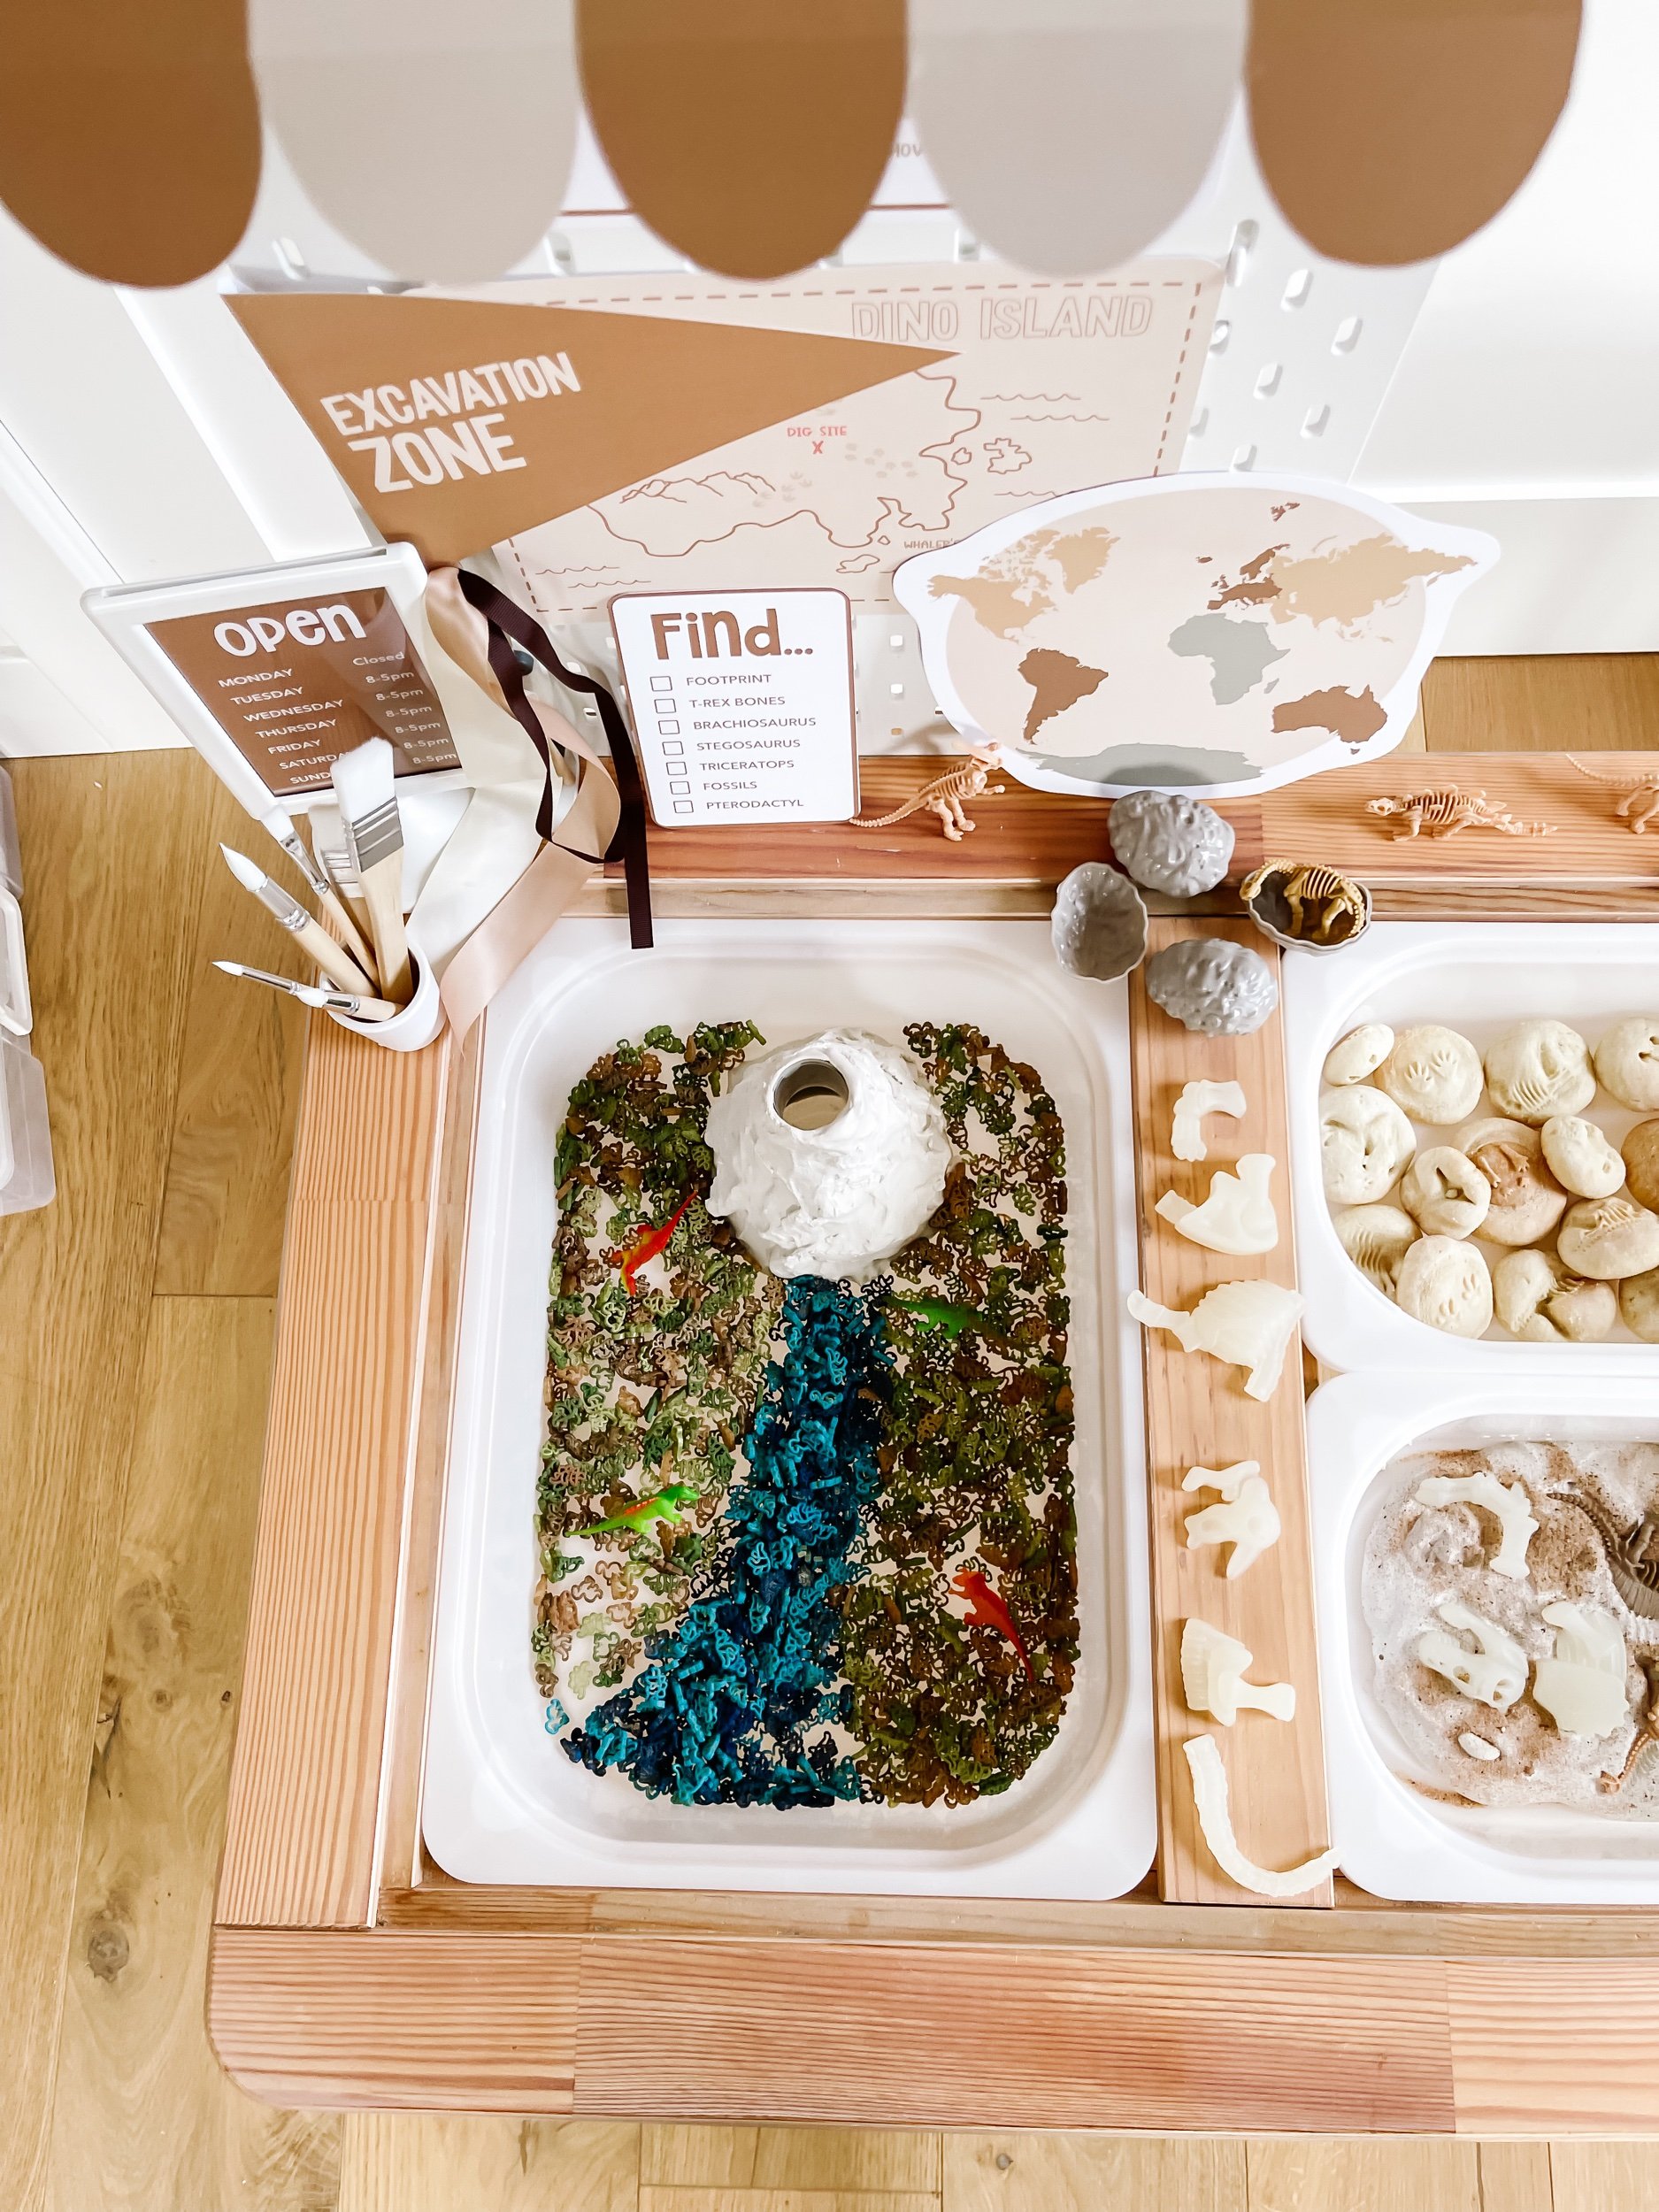
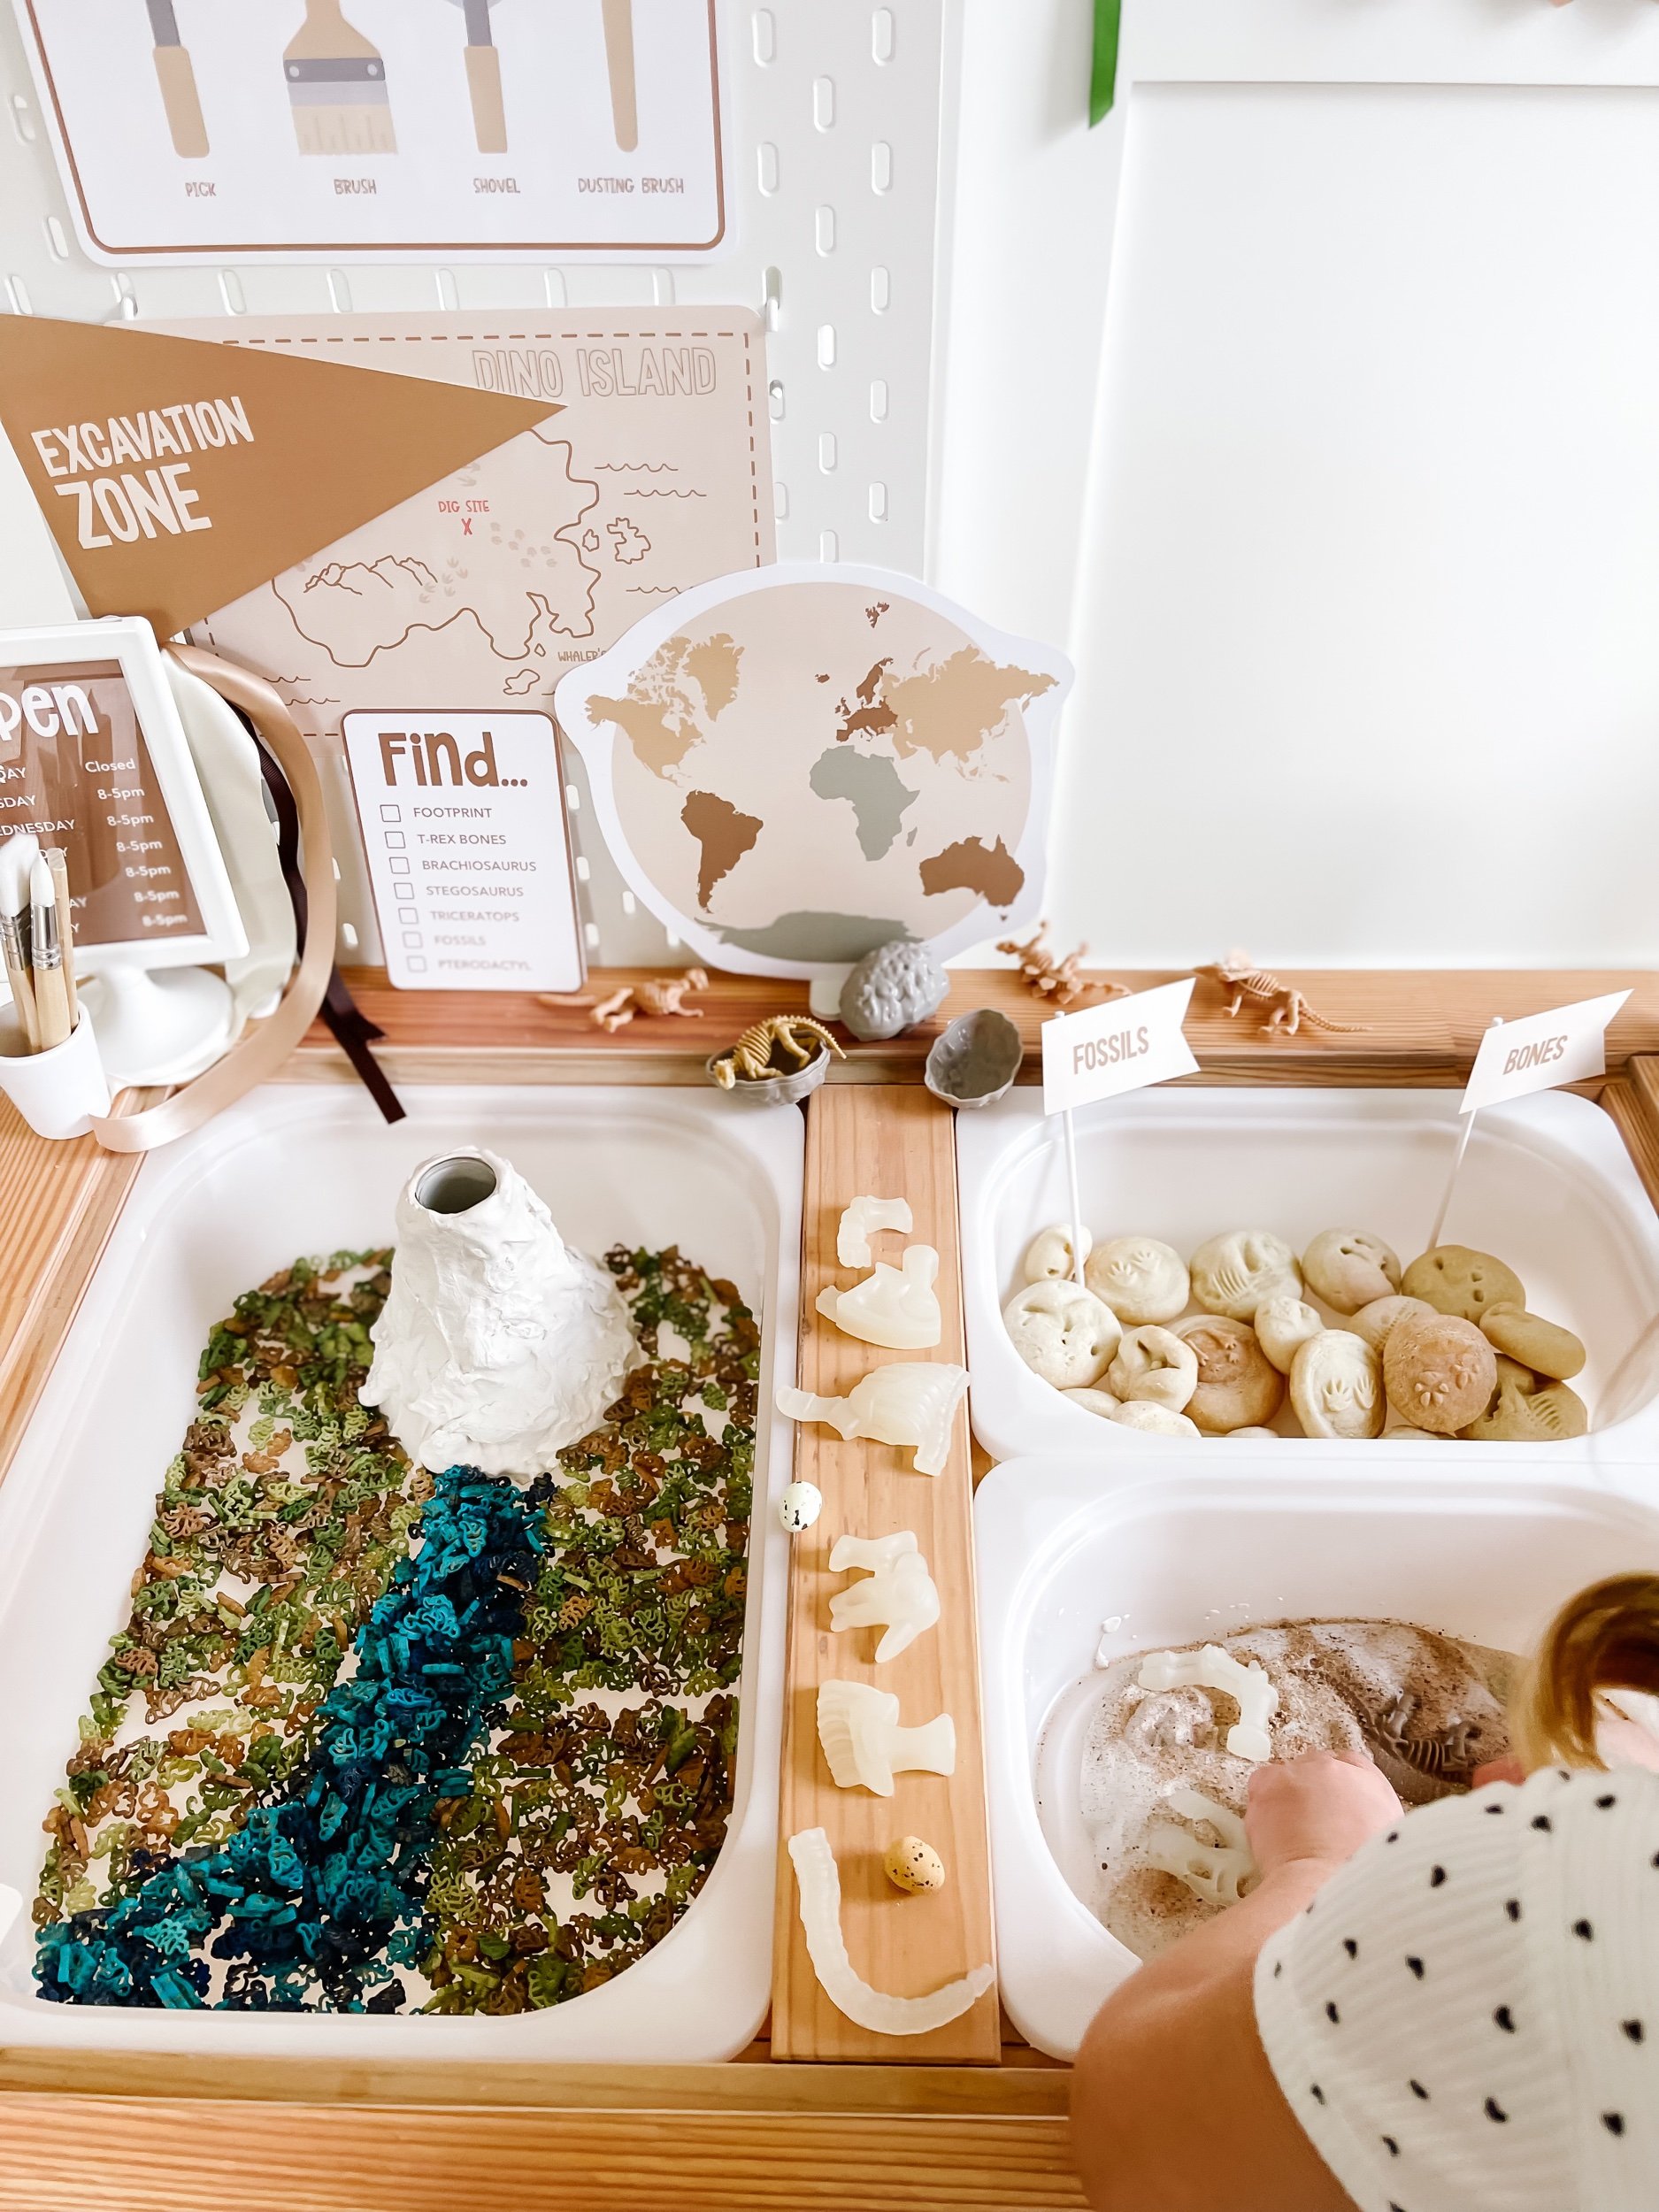
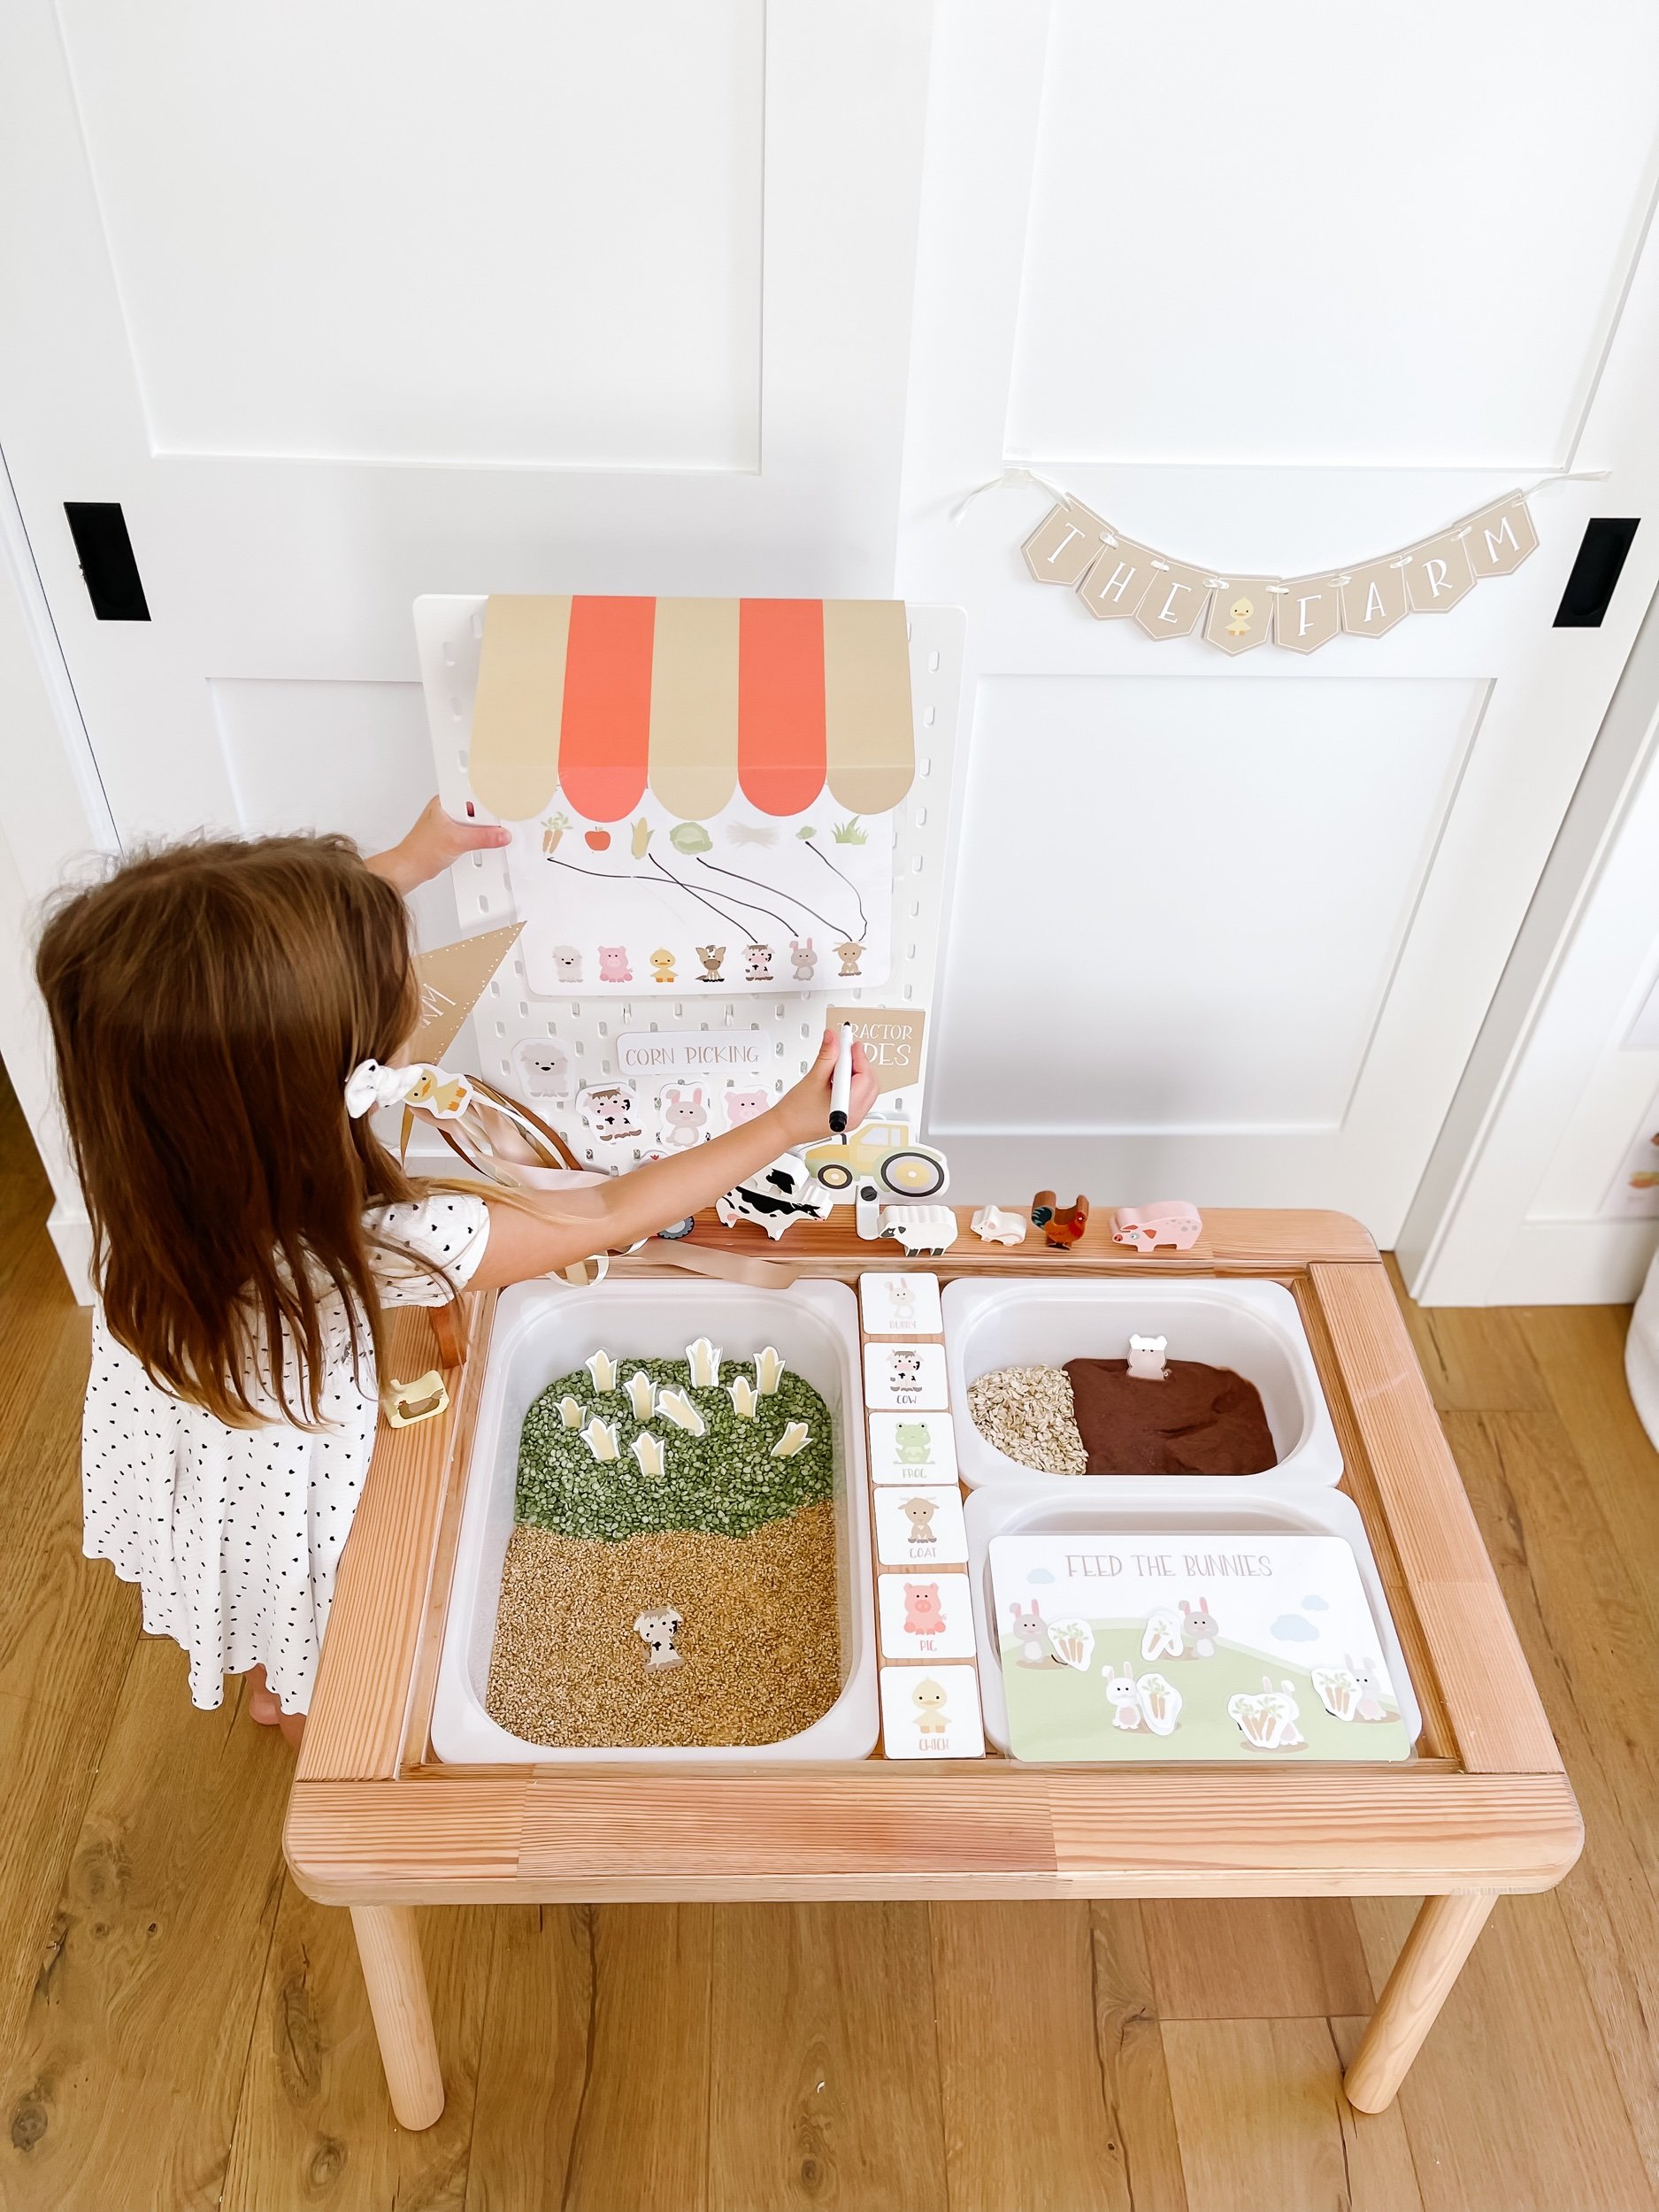
1. Awning: A vibrant and sturdy awning that sets the stage for your little paleontologist's adventure. It creates an immersive environment that adds an extra layer of excitement.
2. Dig Site Map: A beautifully illustrated dig site map that will guide your child through the excavation process. As they uncover hidden treasures, they'll develop their spatial awareness and memory skills.
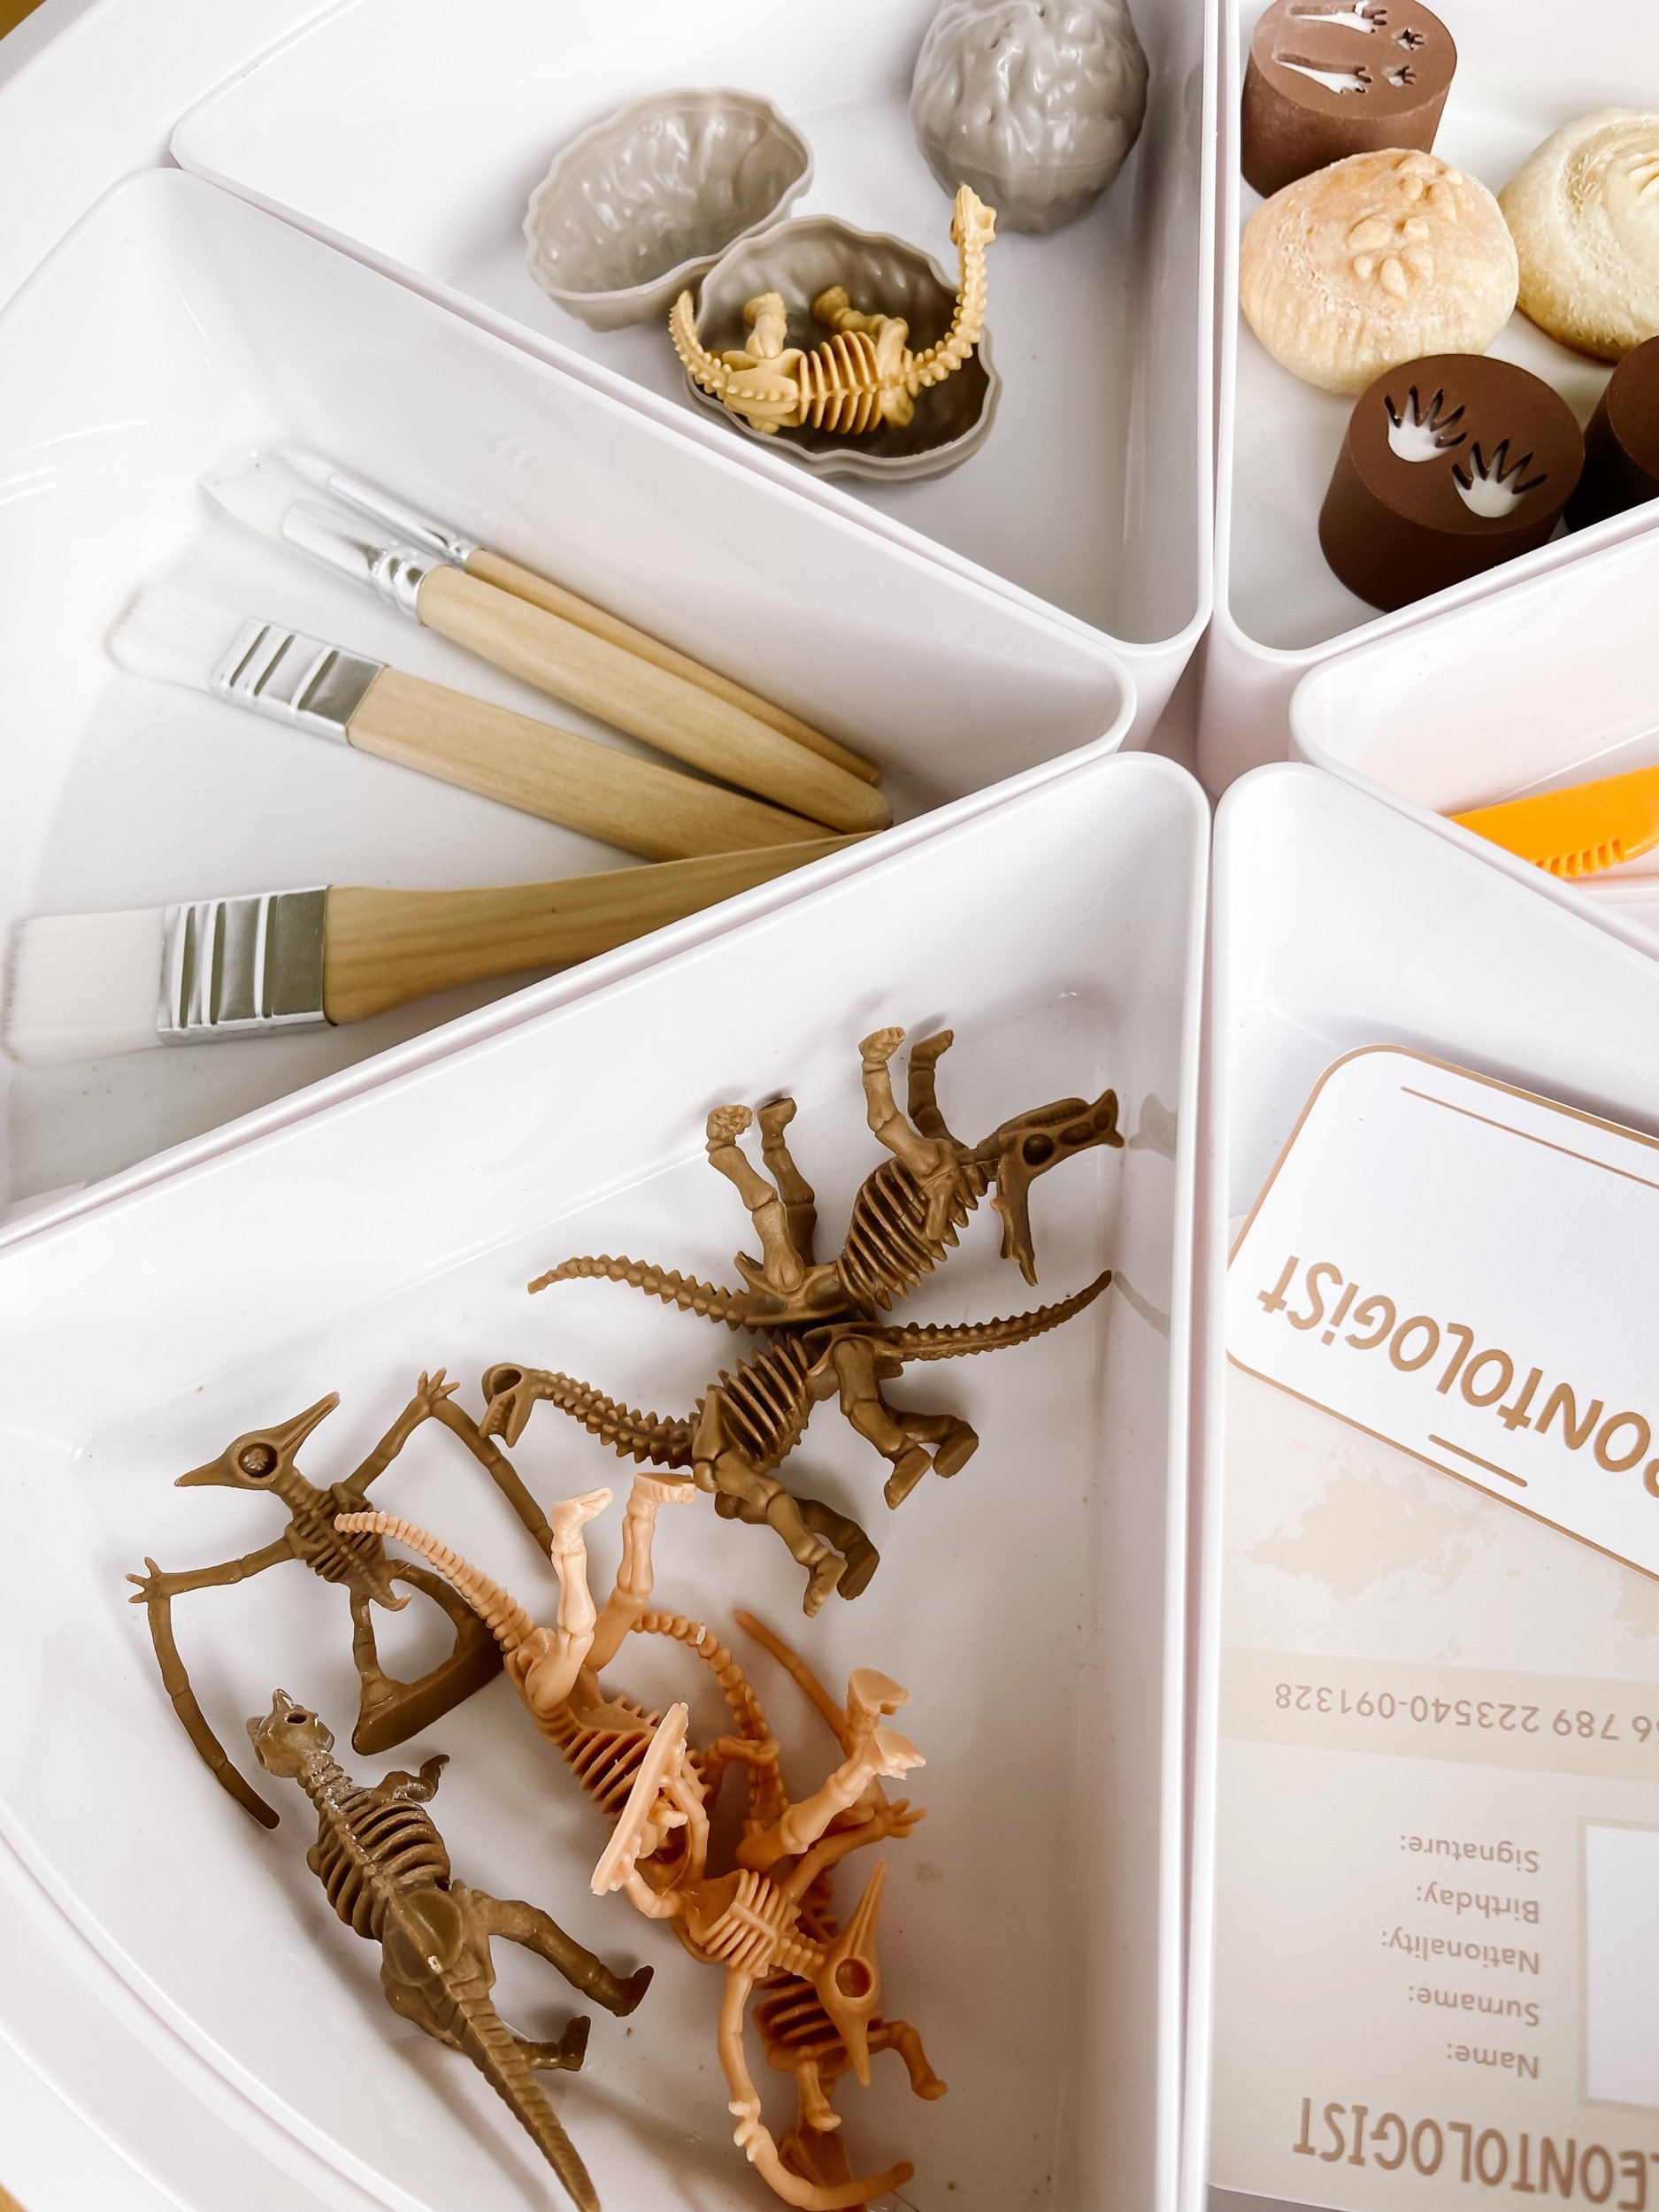
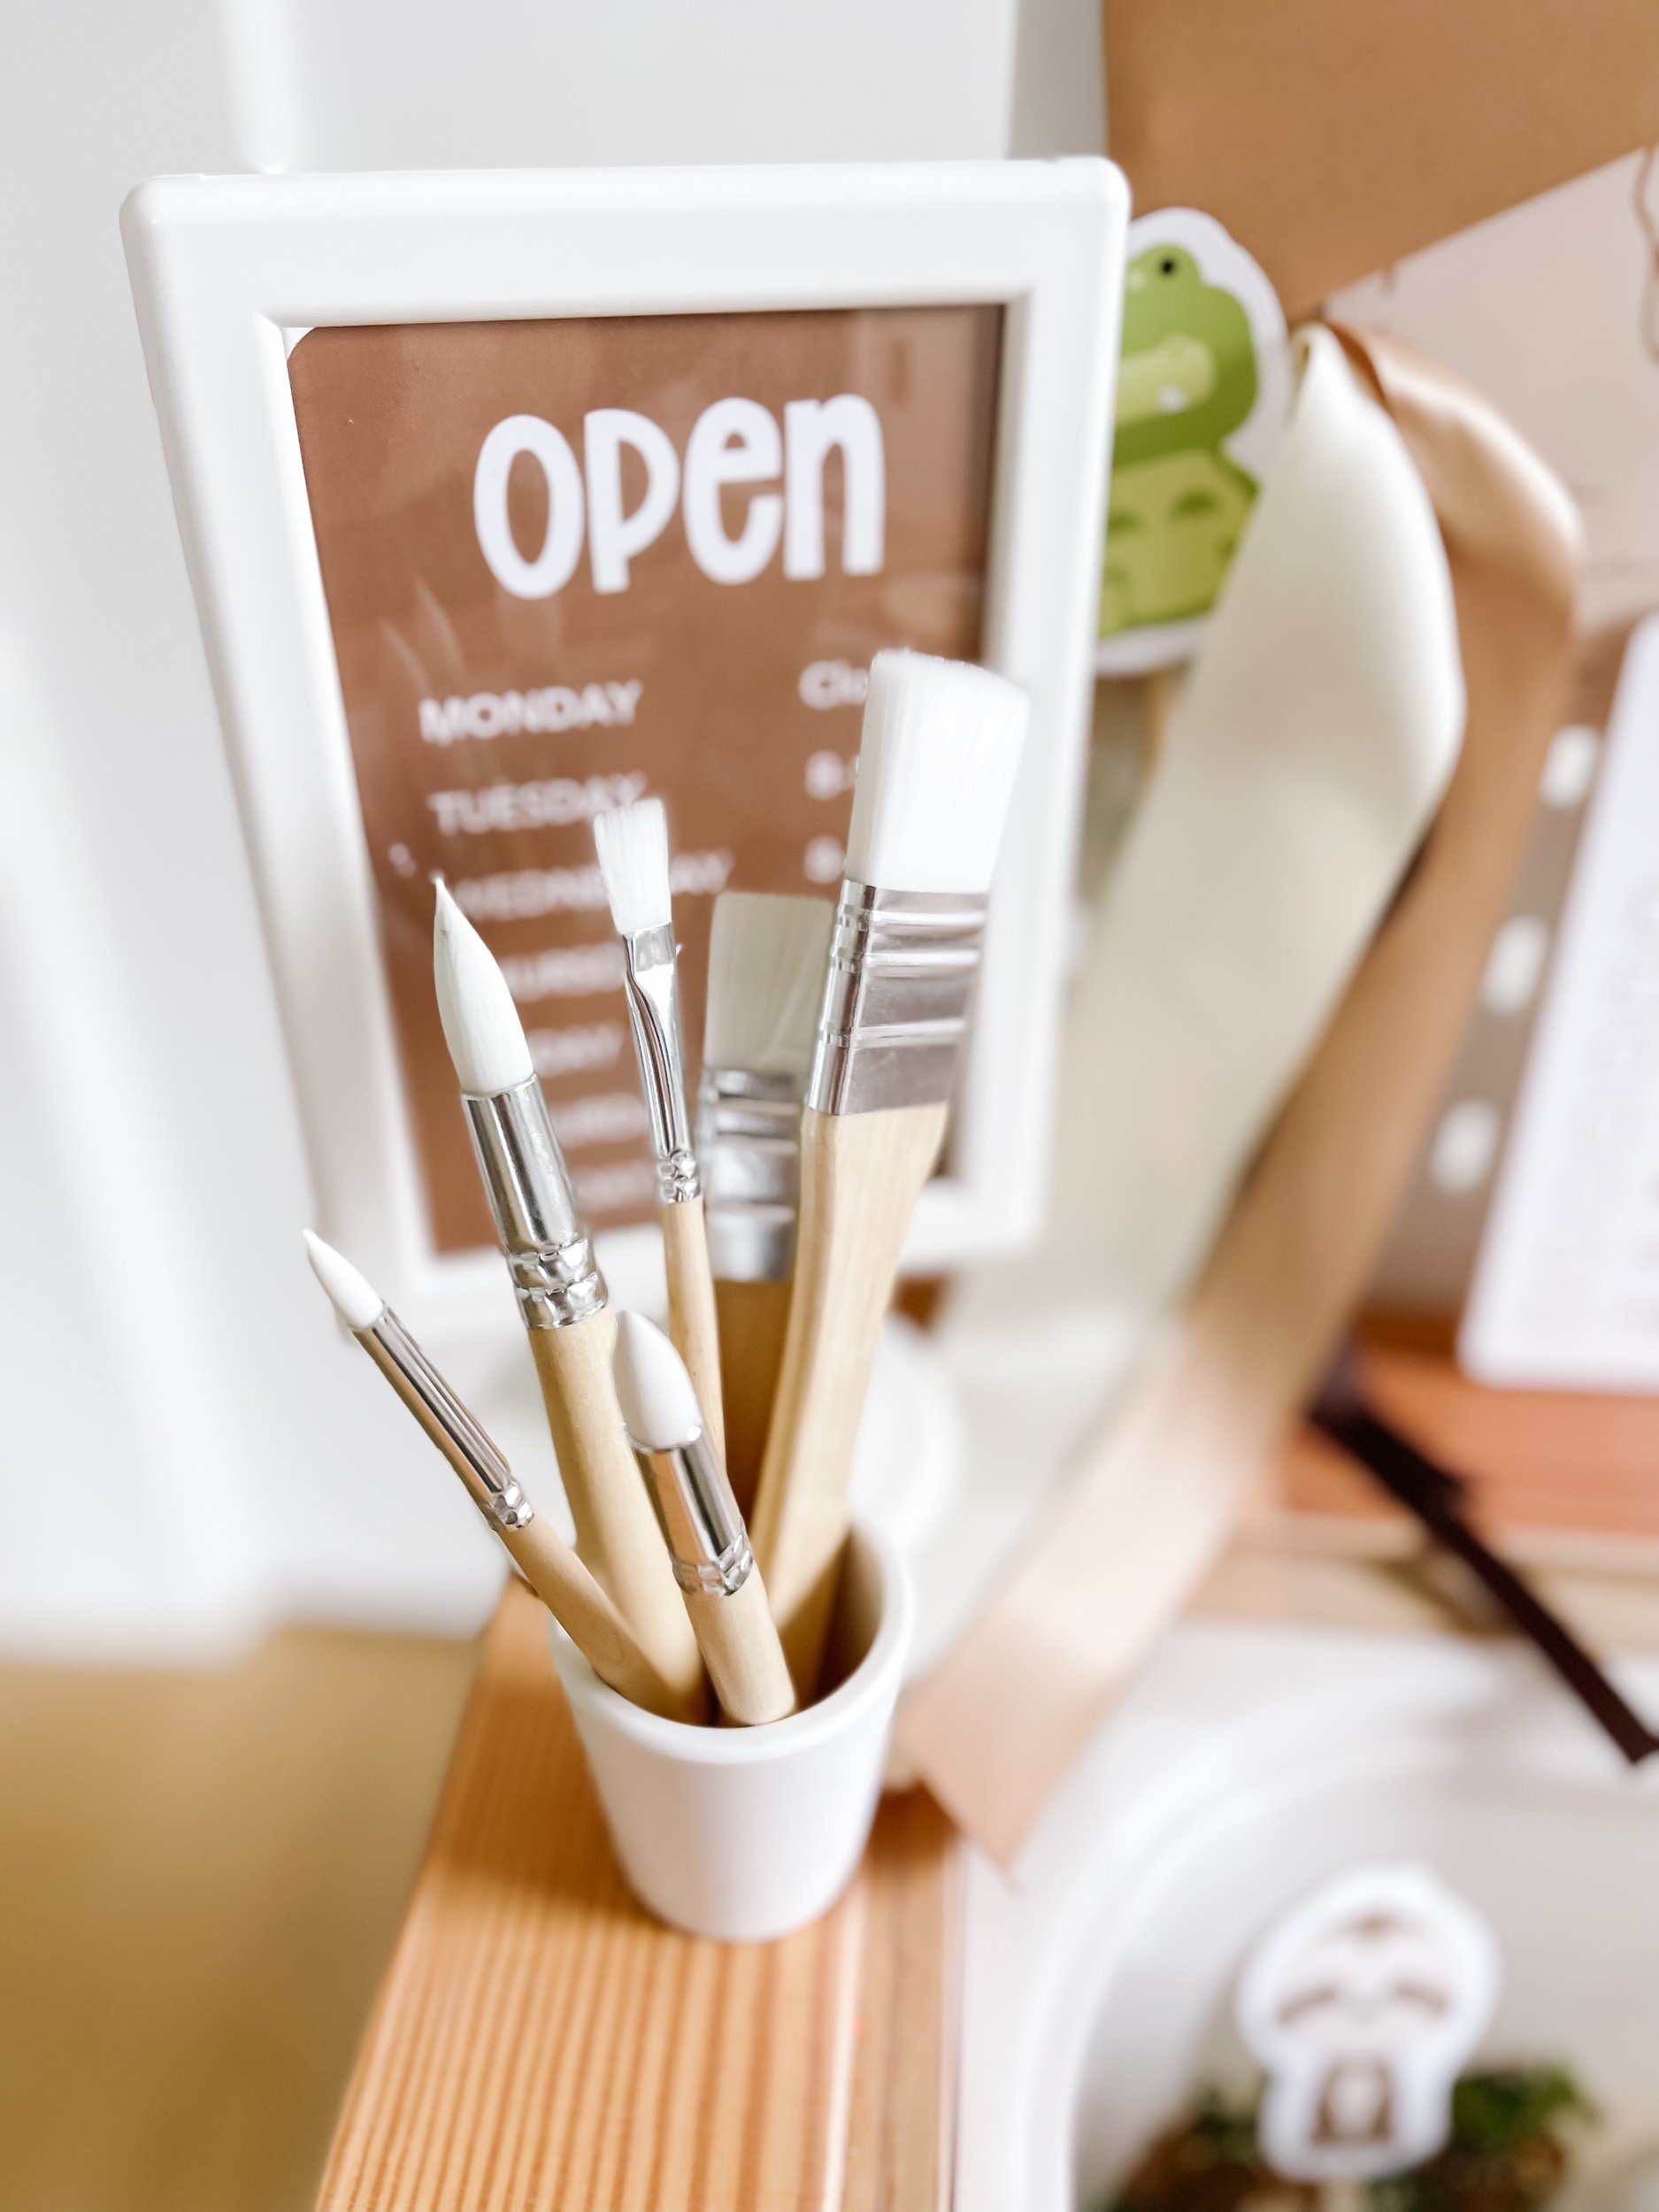
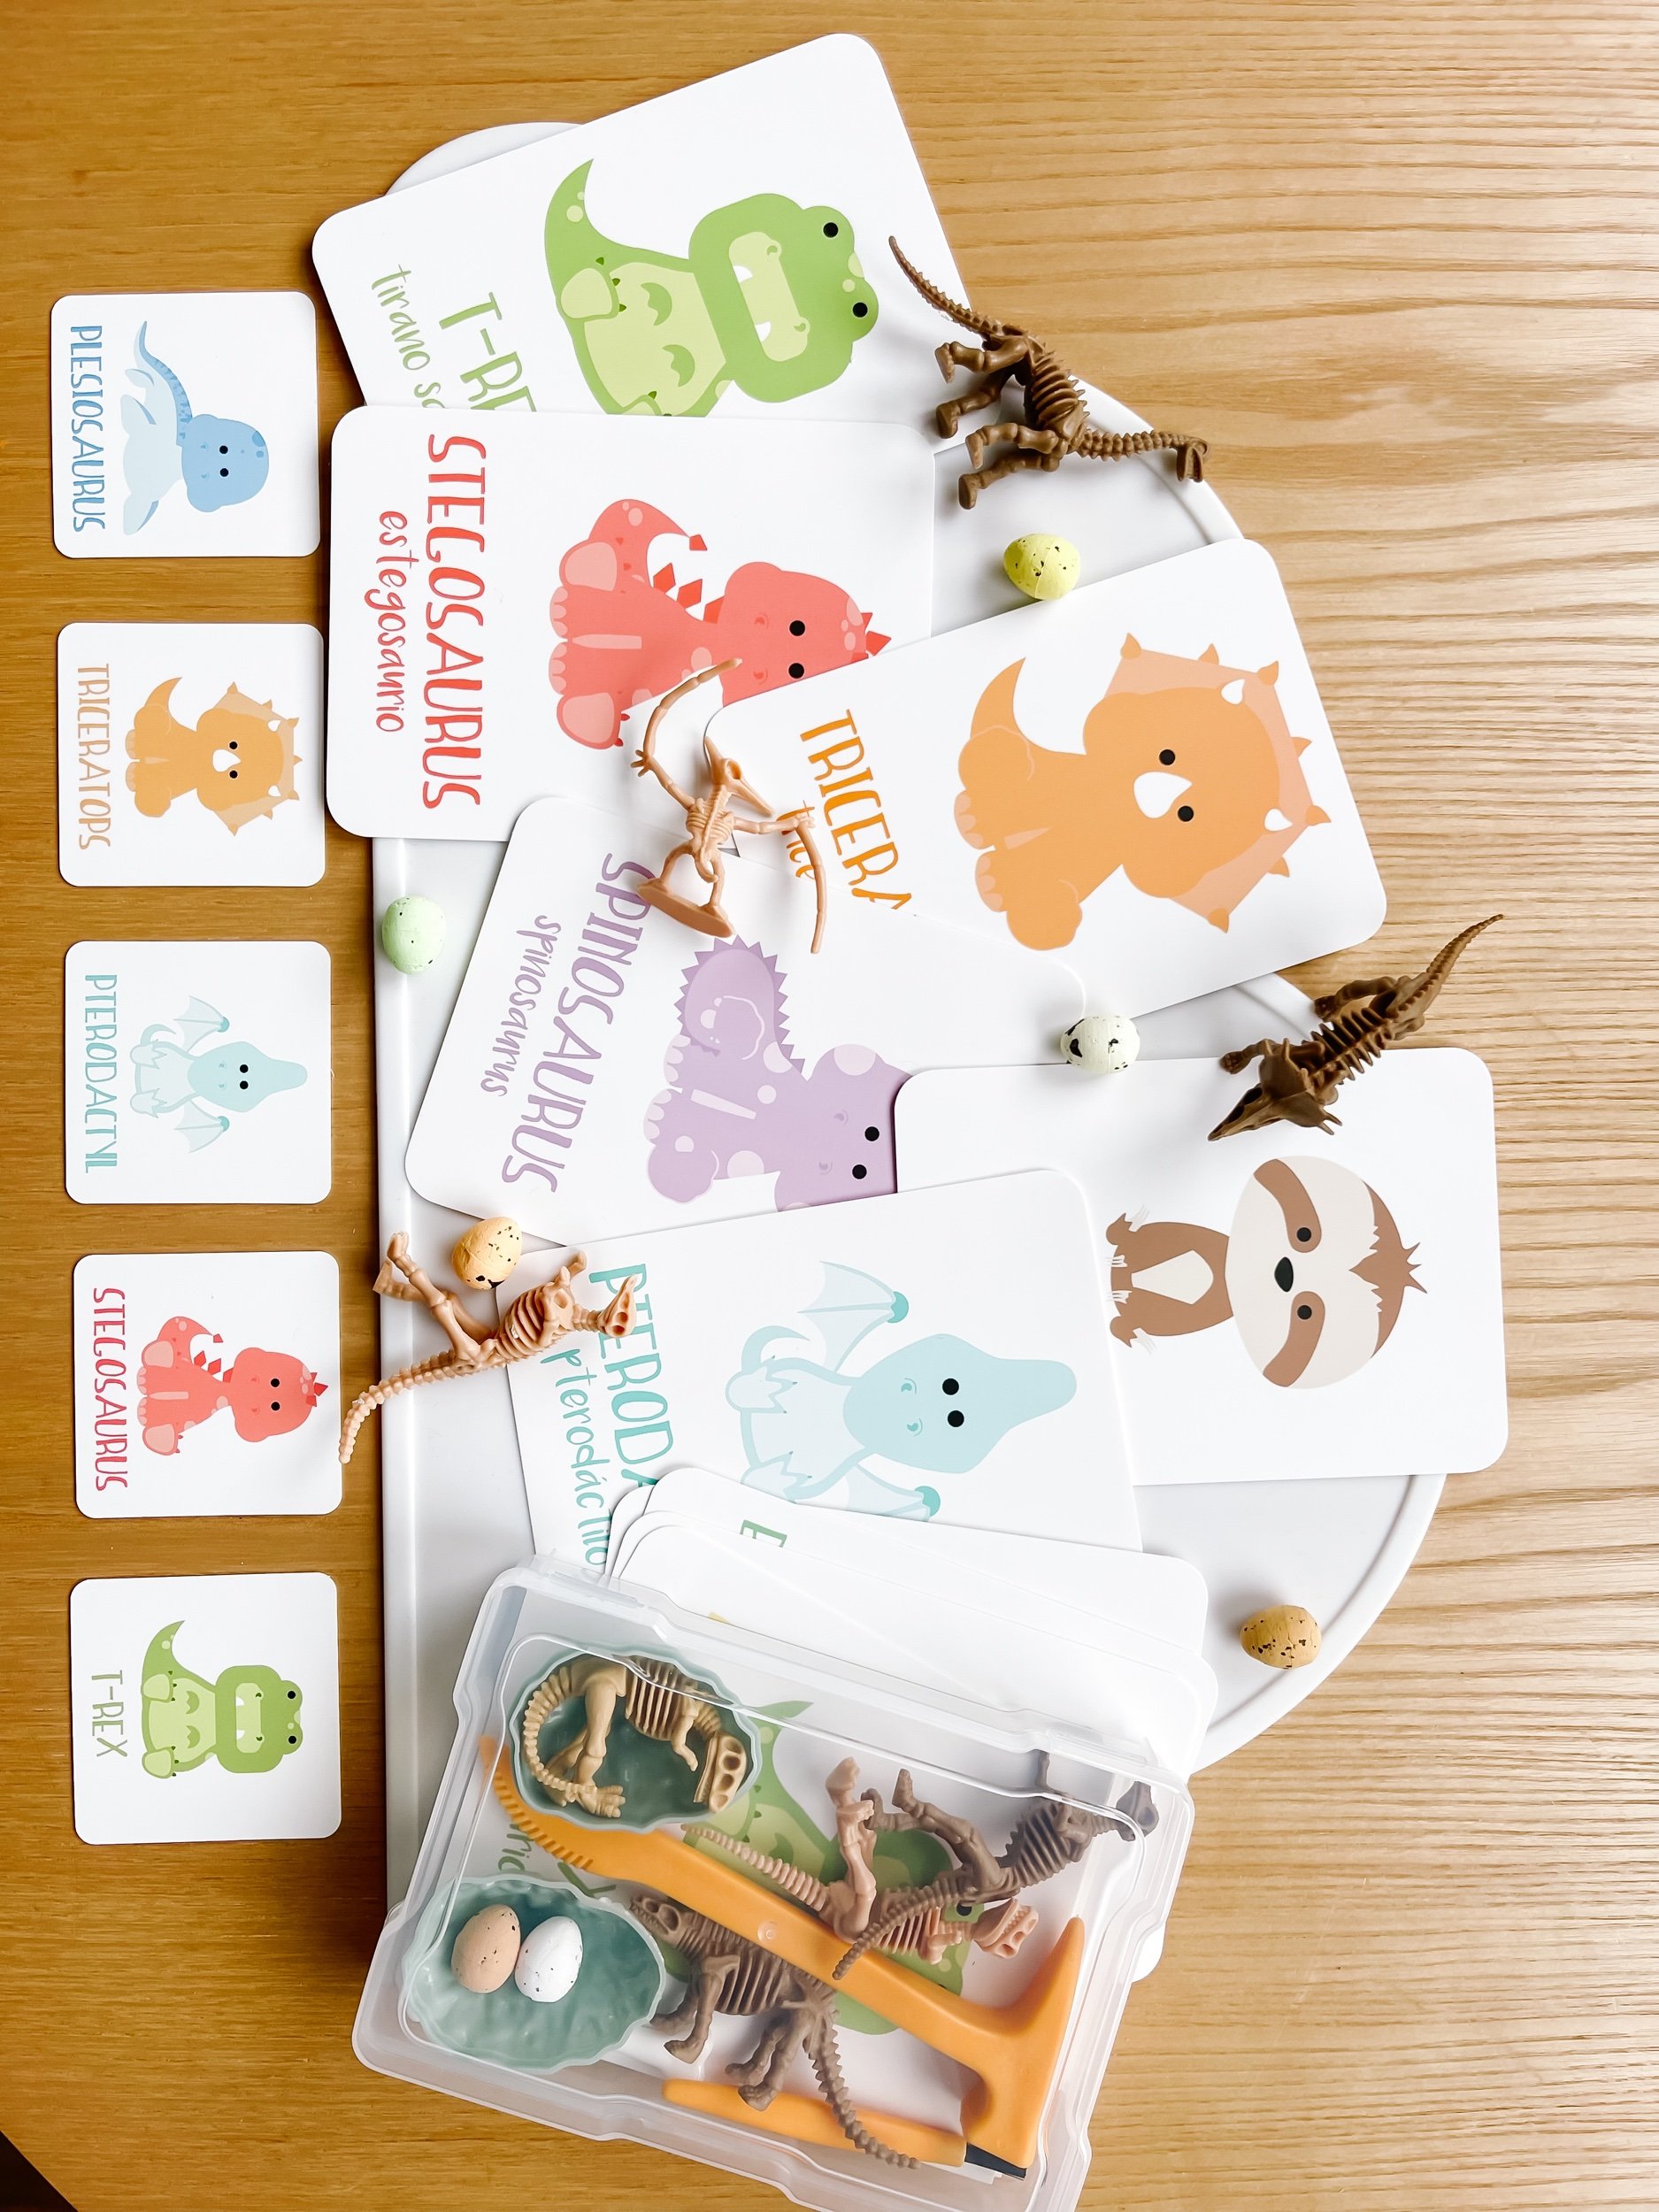
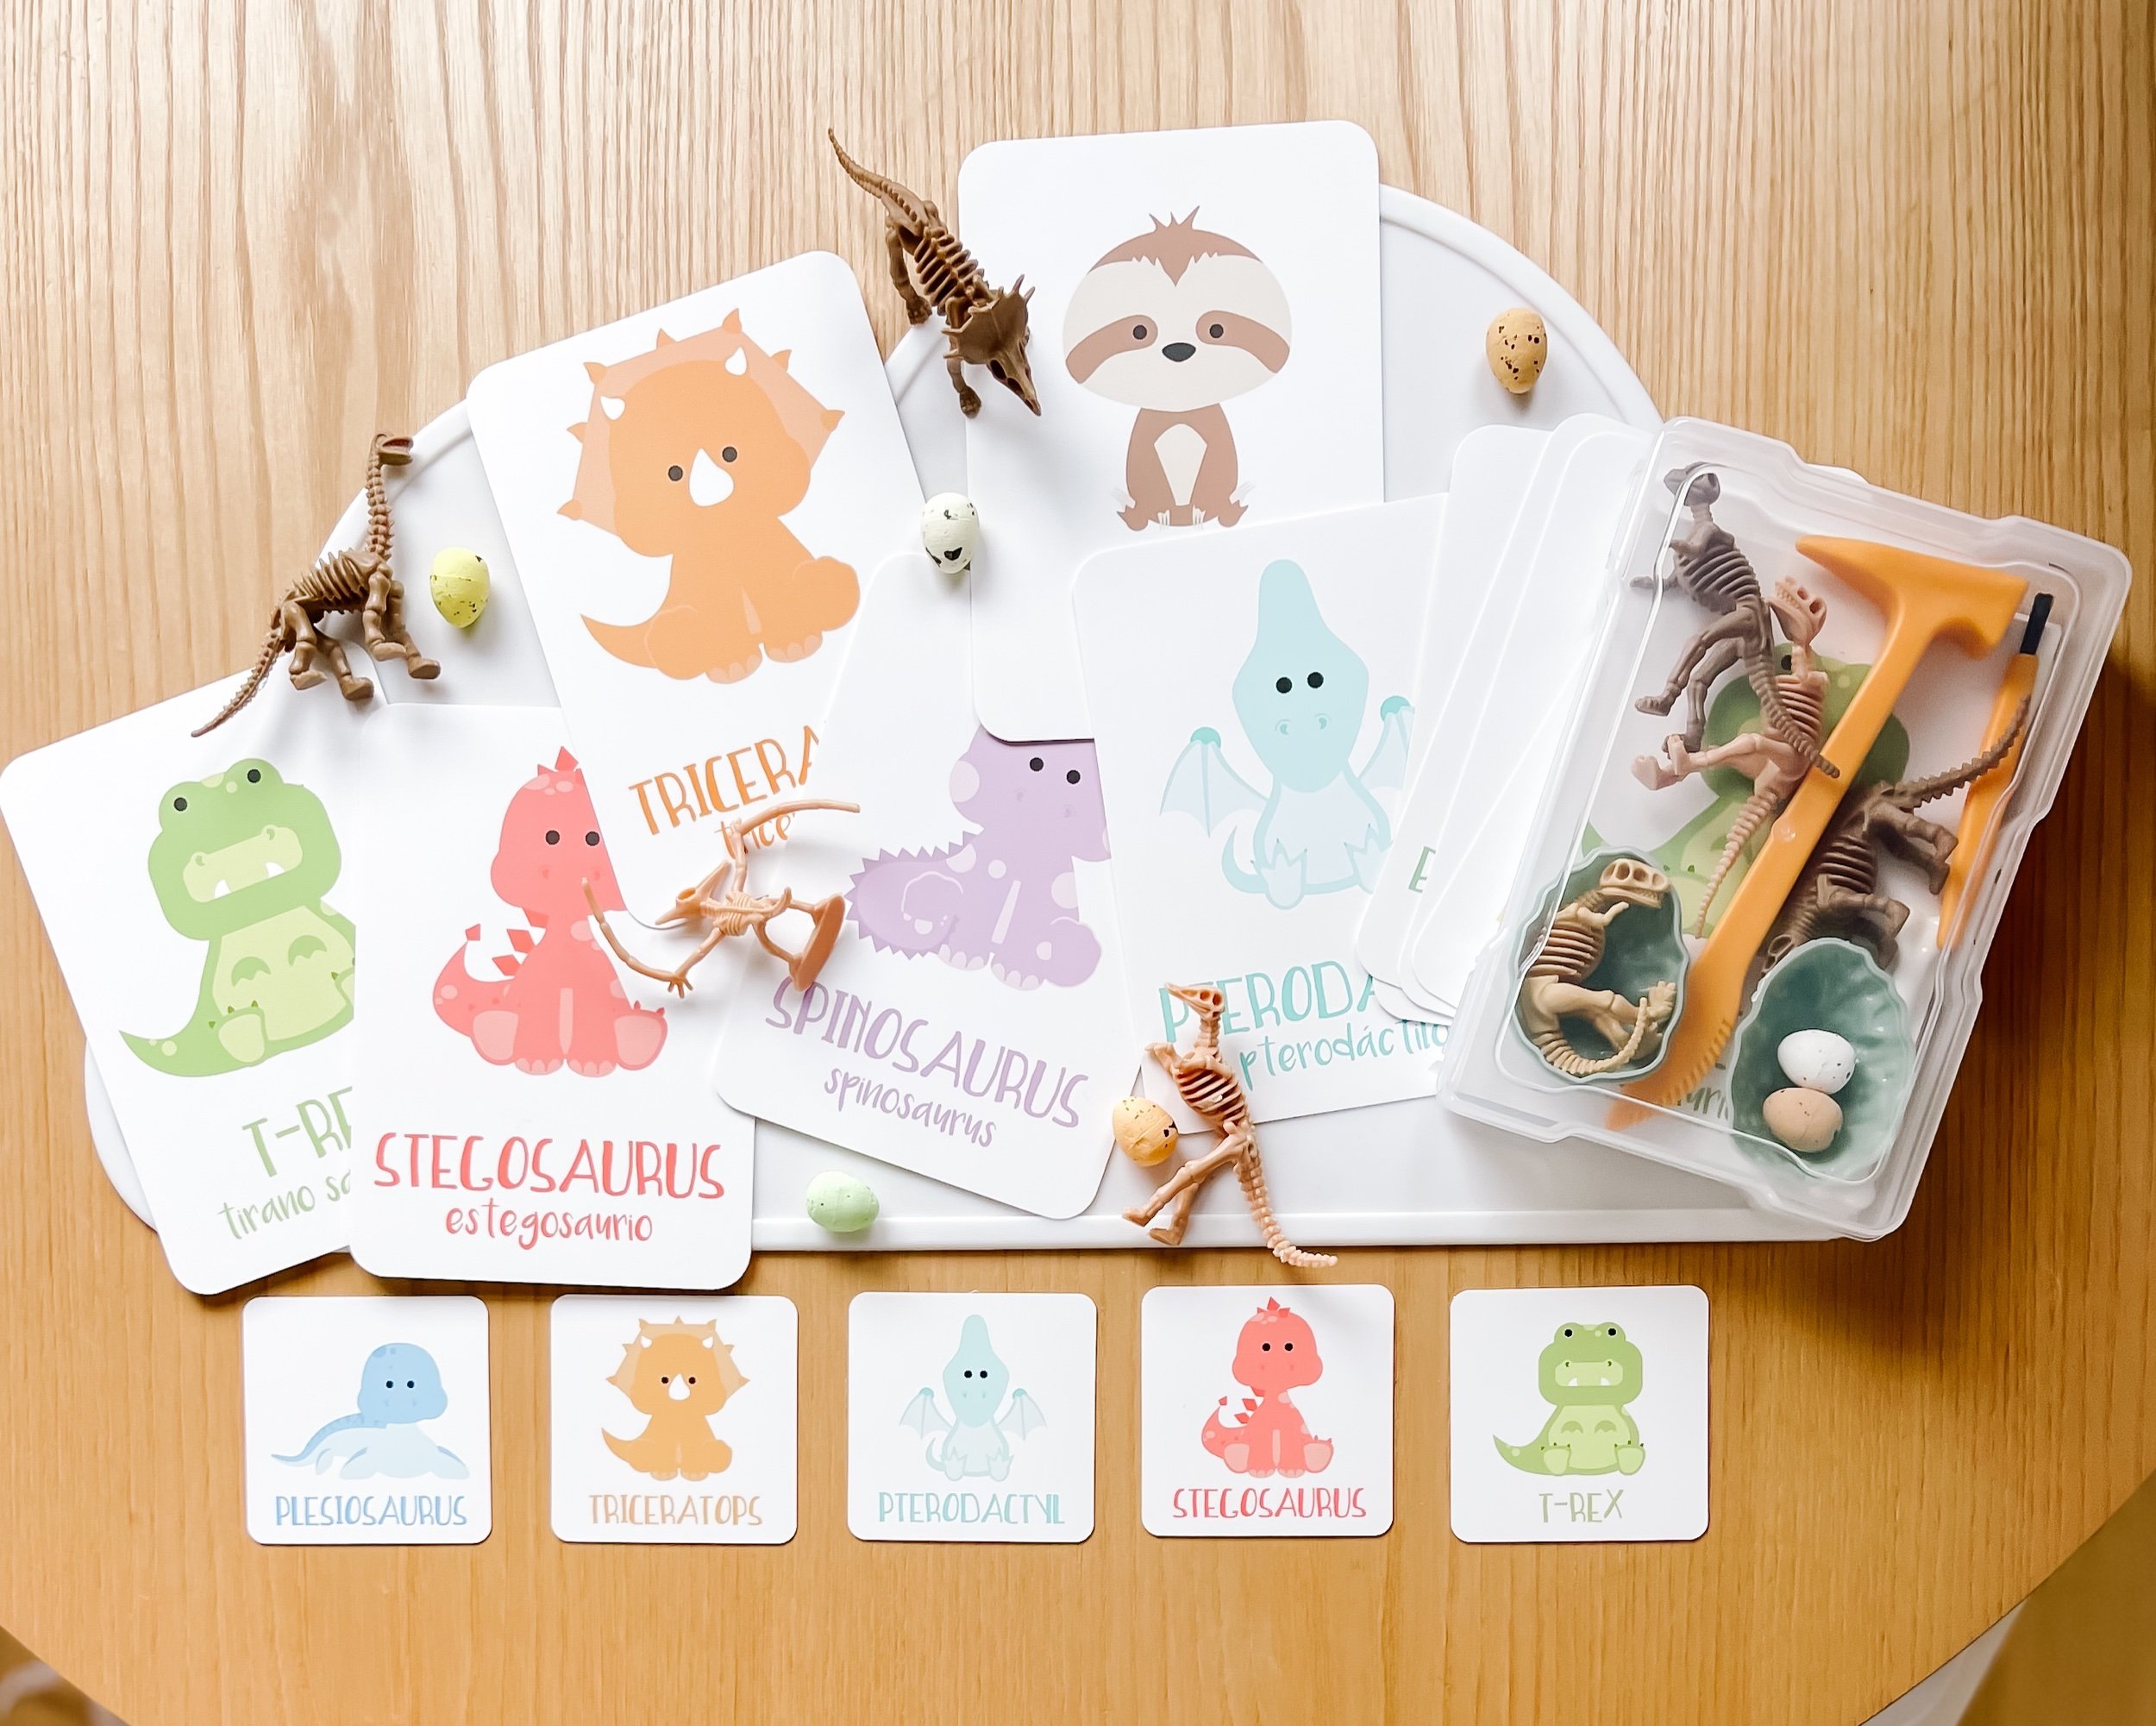
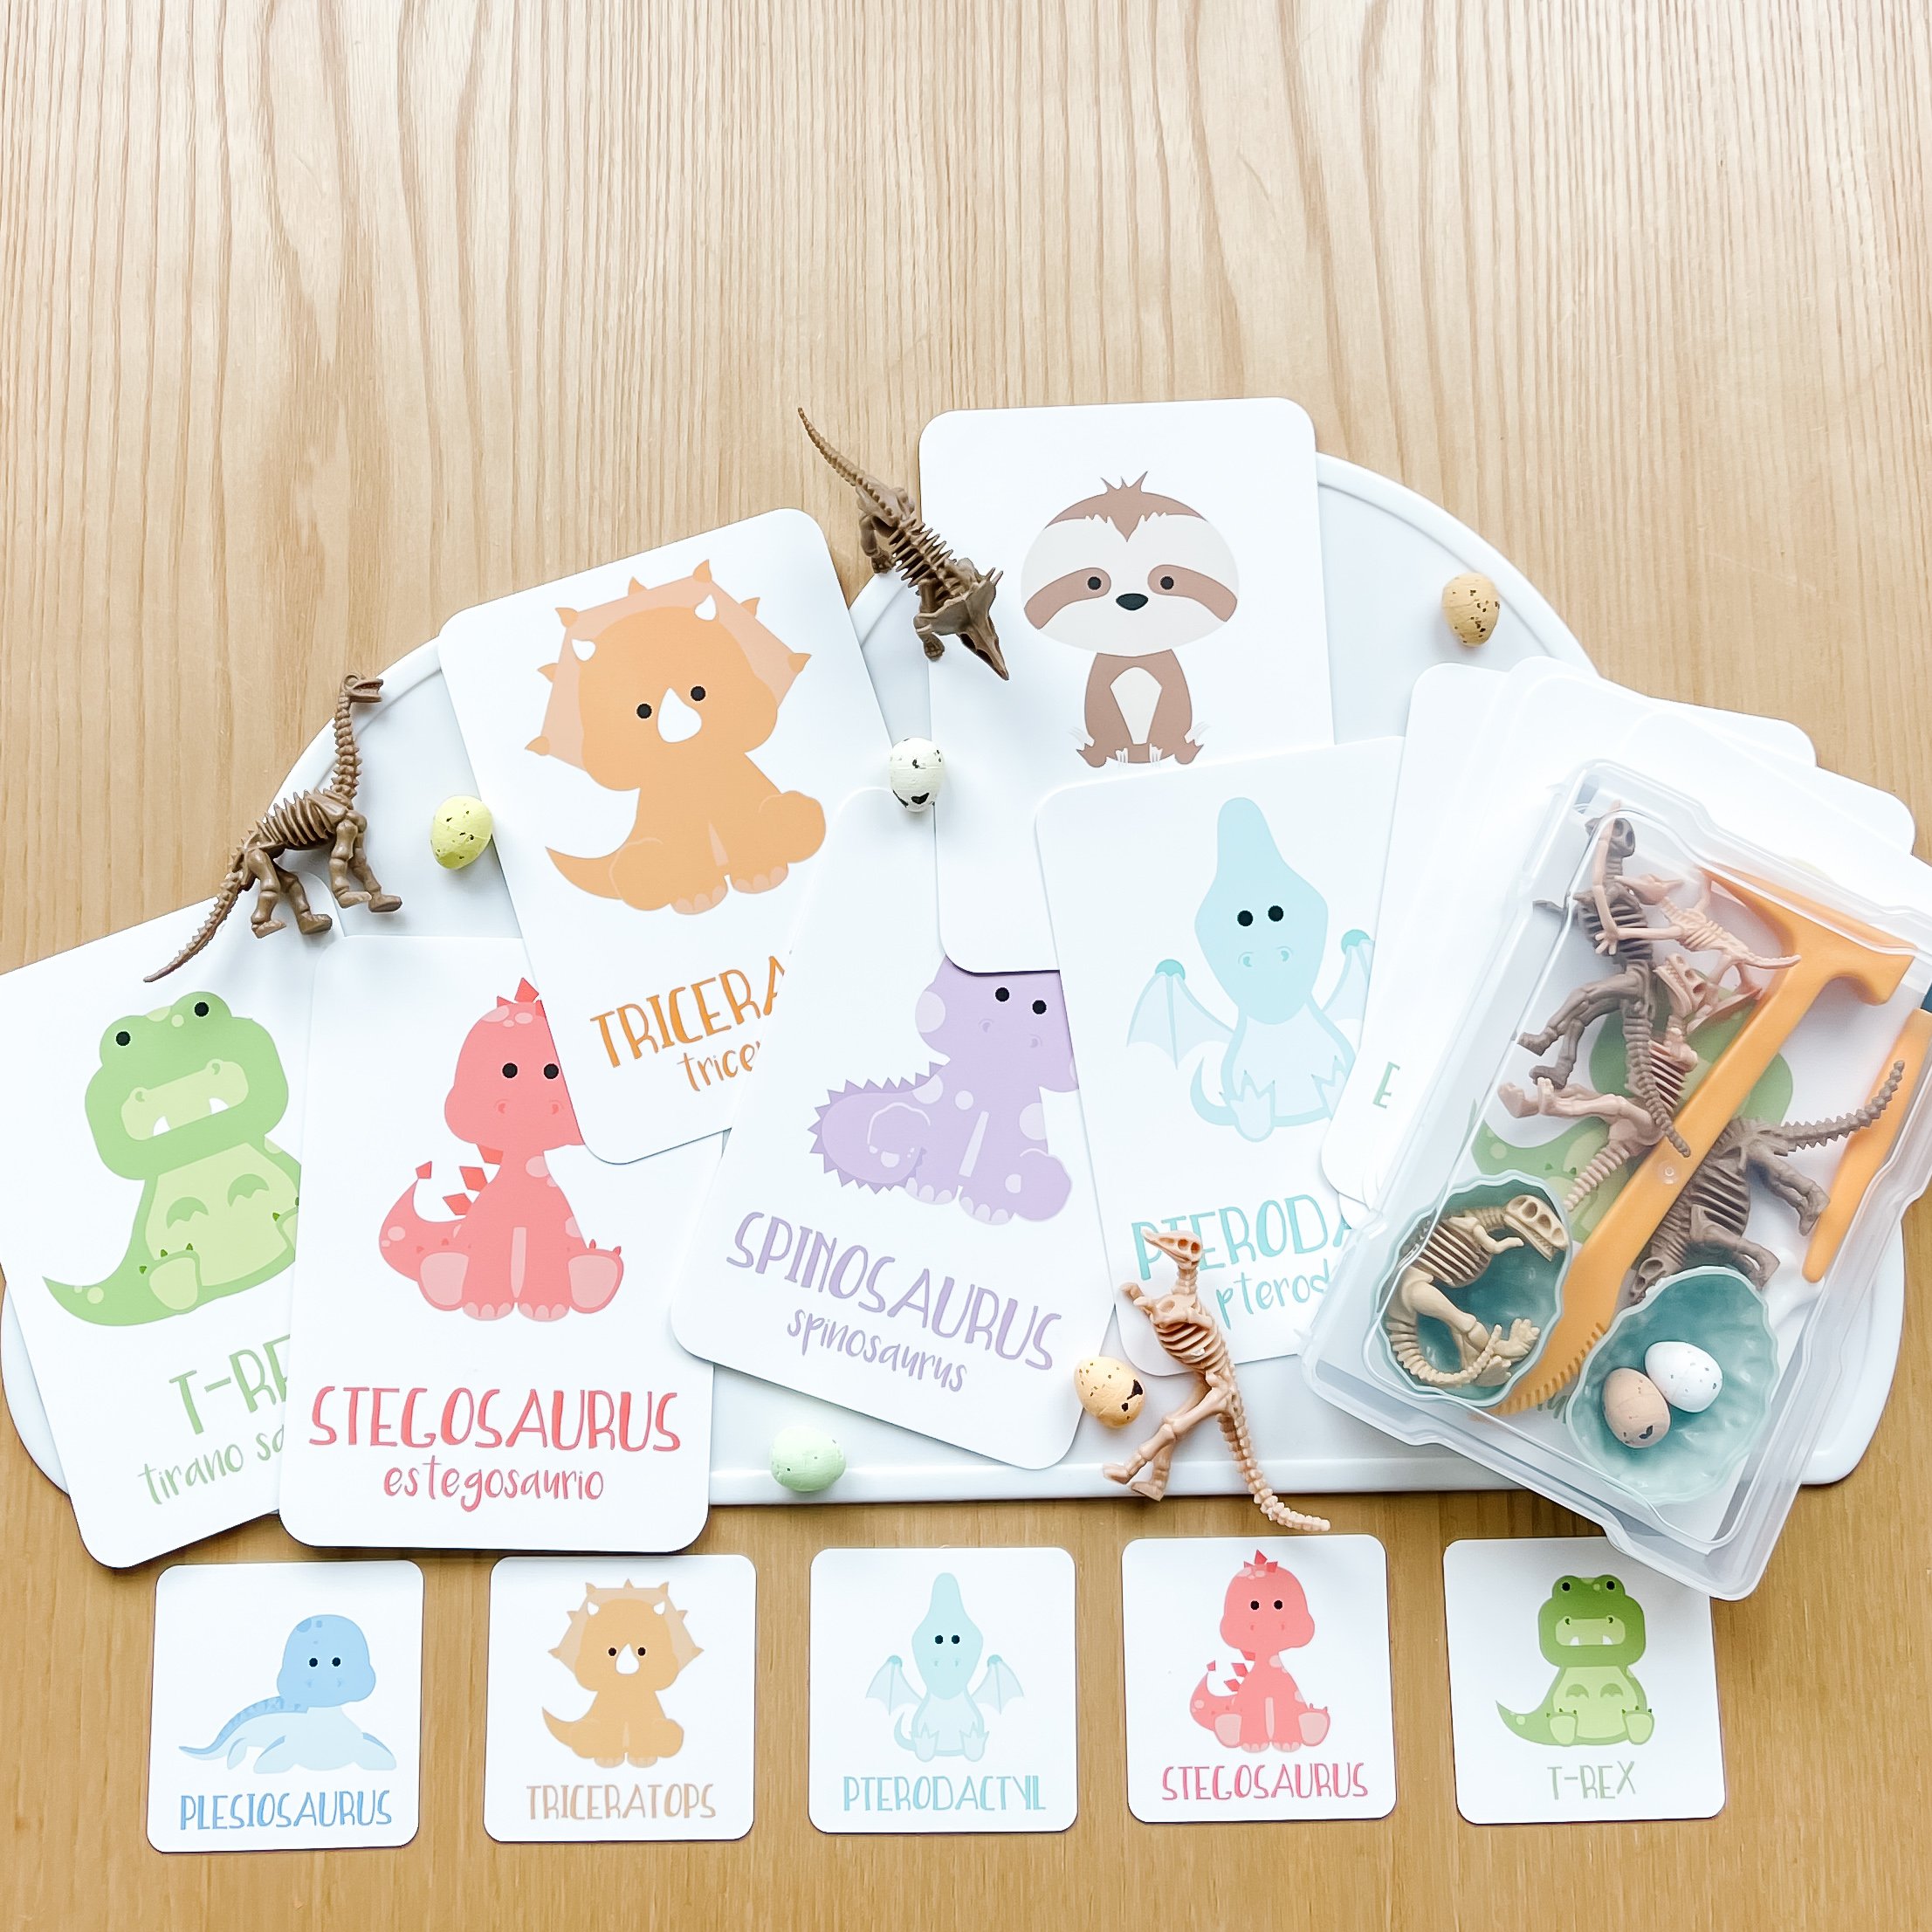
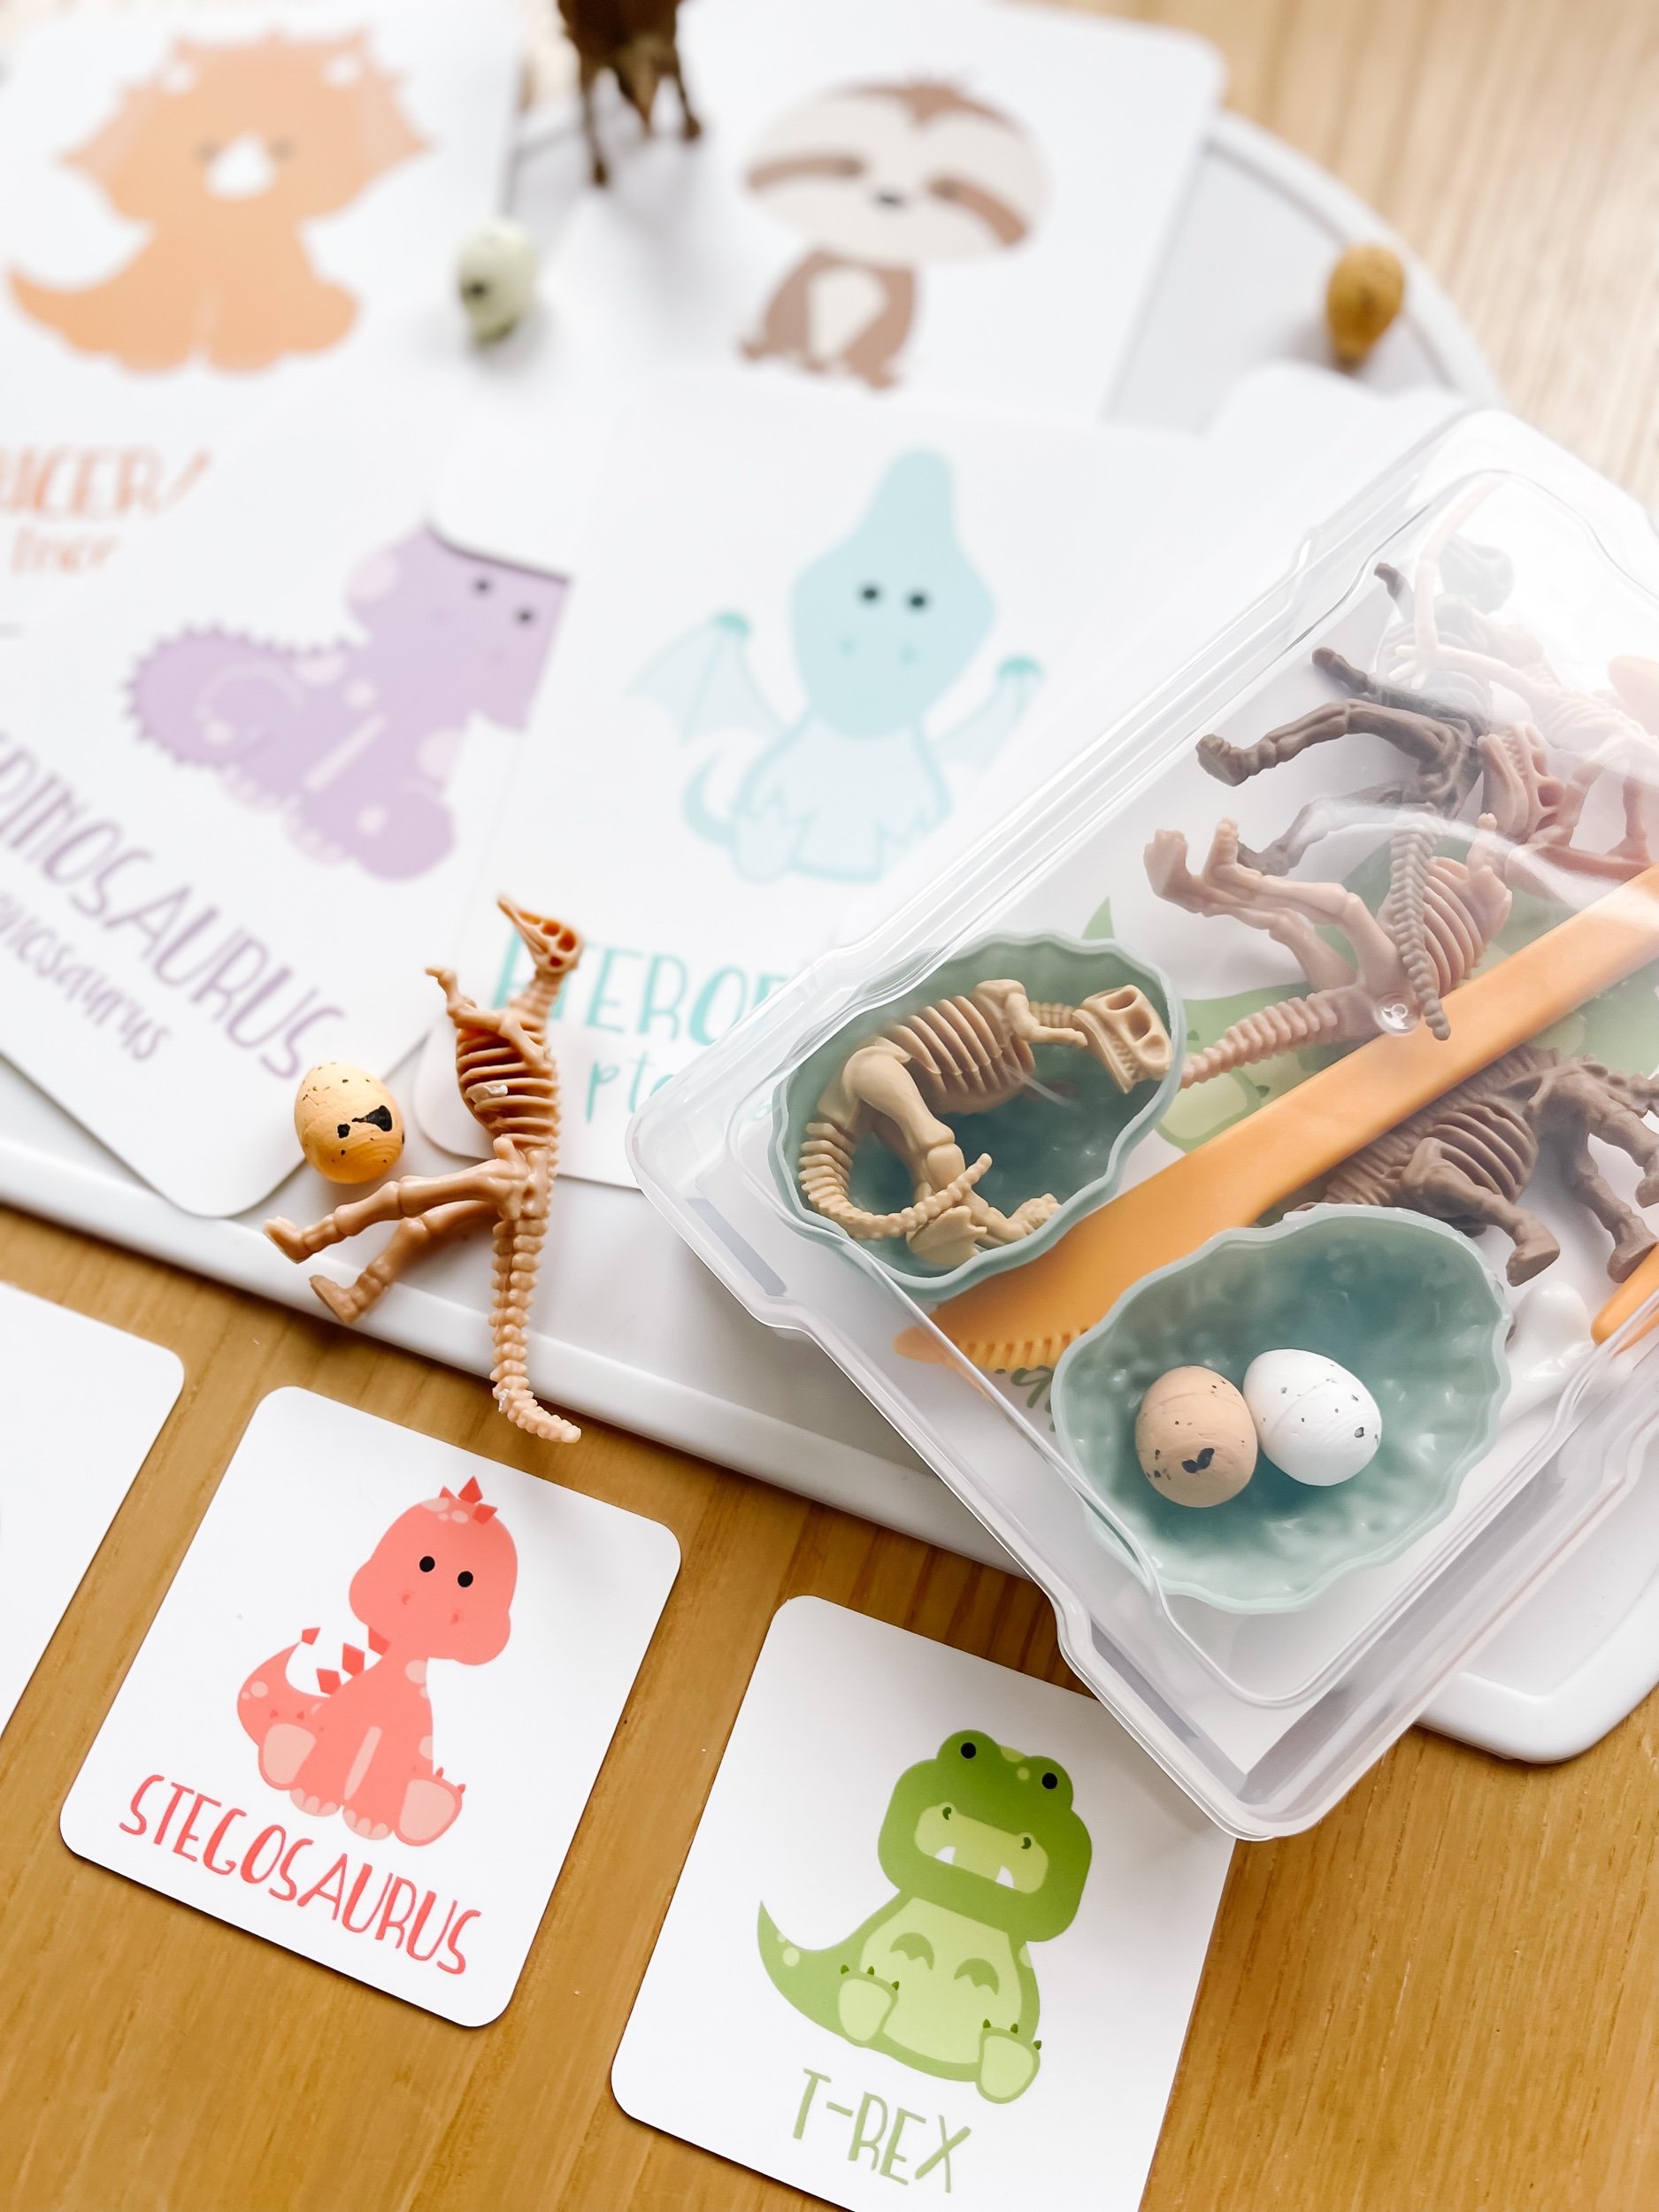
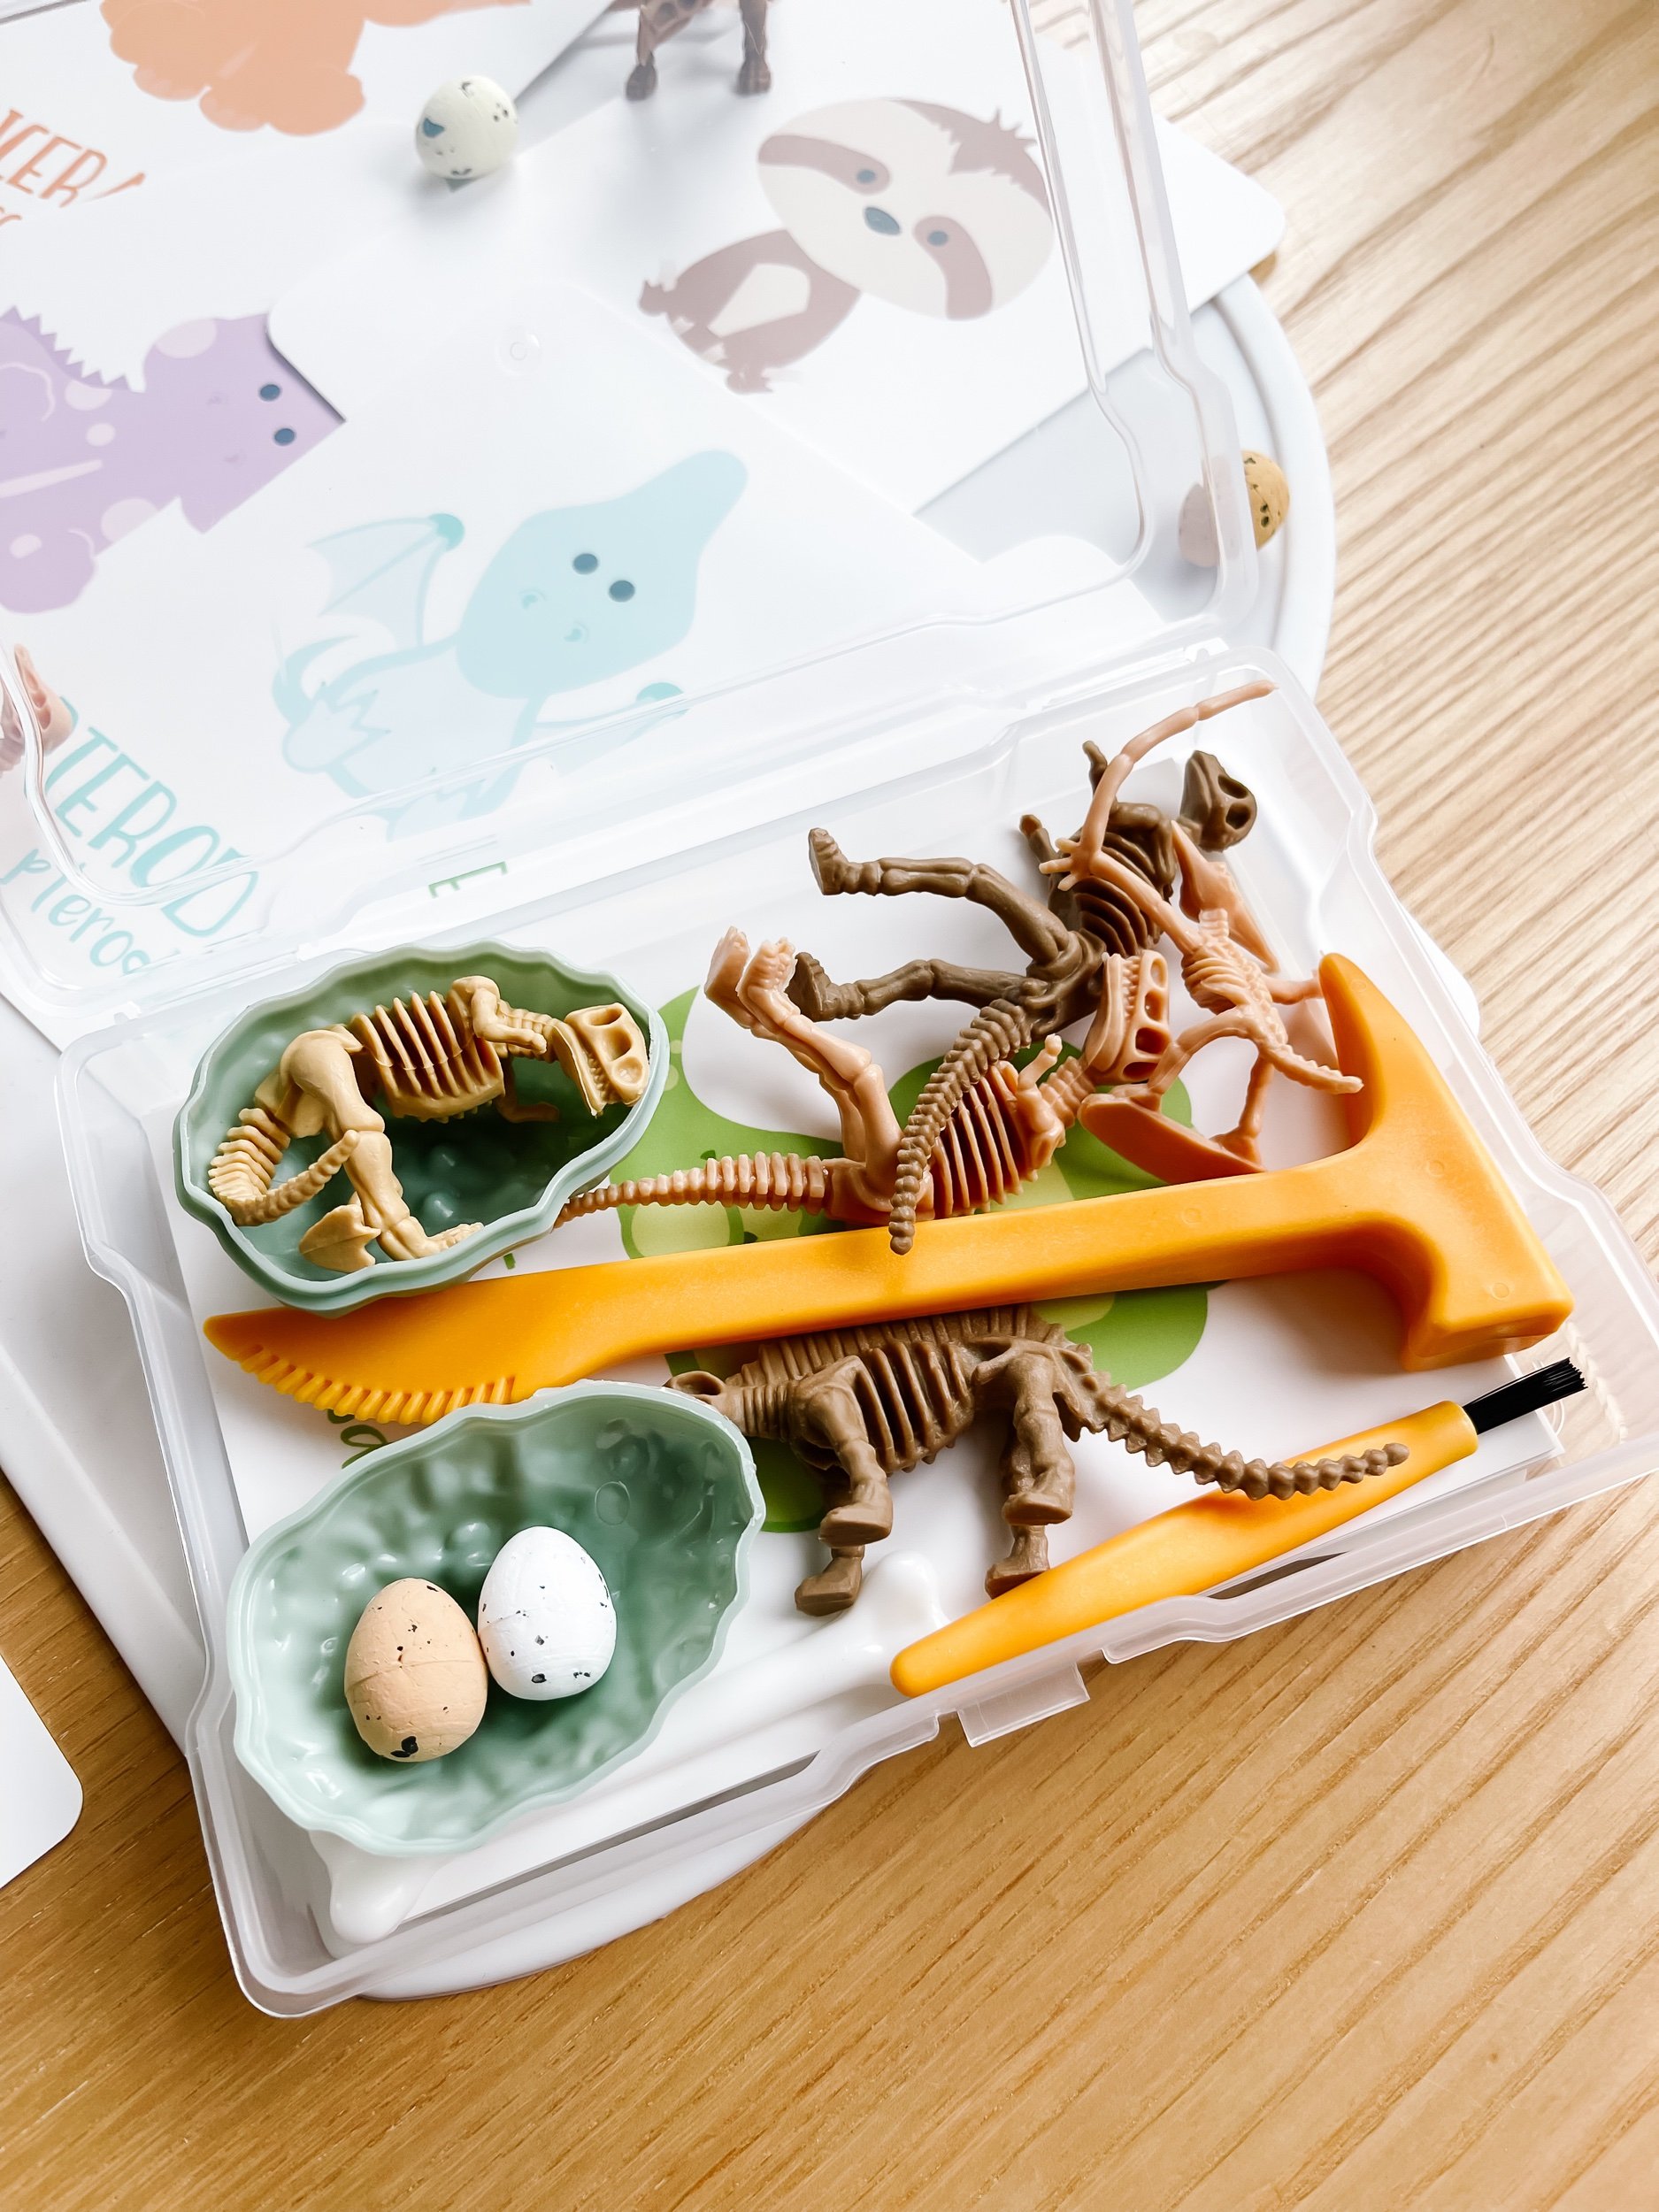
3. Dig Tools: Sturdy plastic tools, including brushes and shovels, to help your child unearth their dinosaur discoveries. These tools mimic the real tools used by paleontologists and allow for an authentic digging experience.
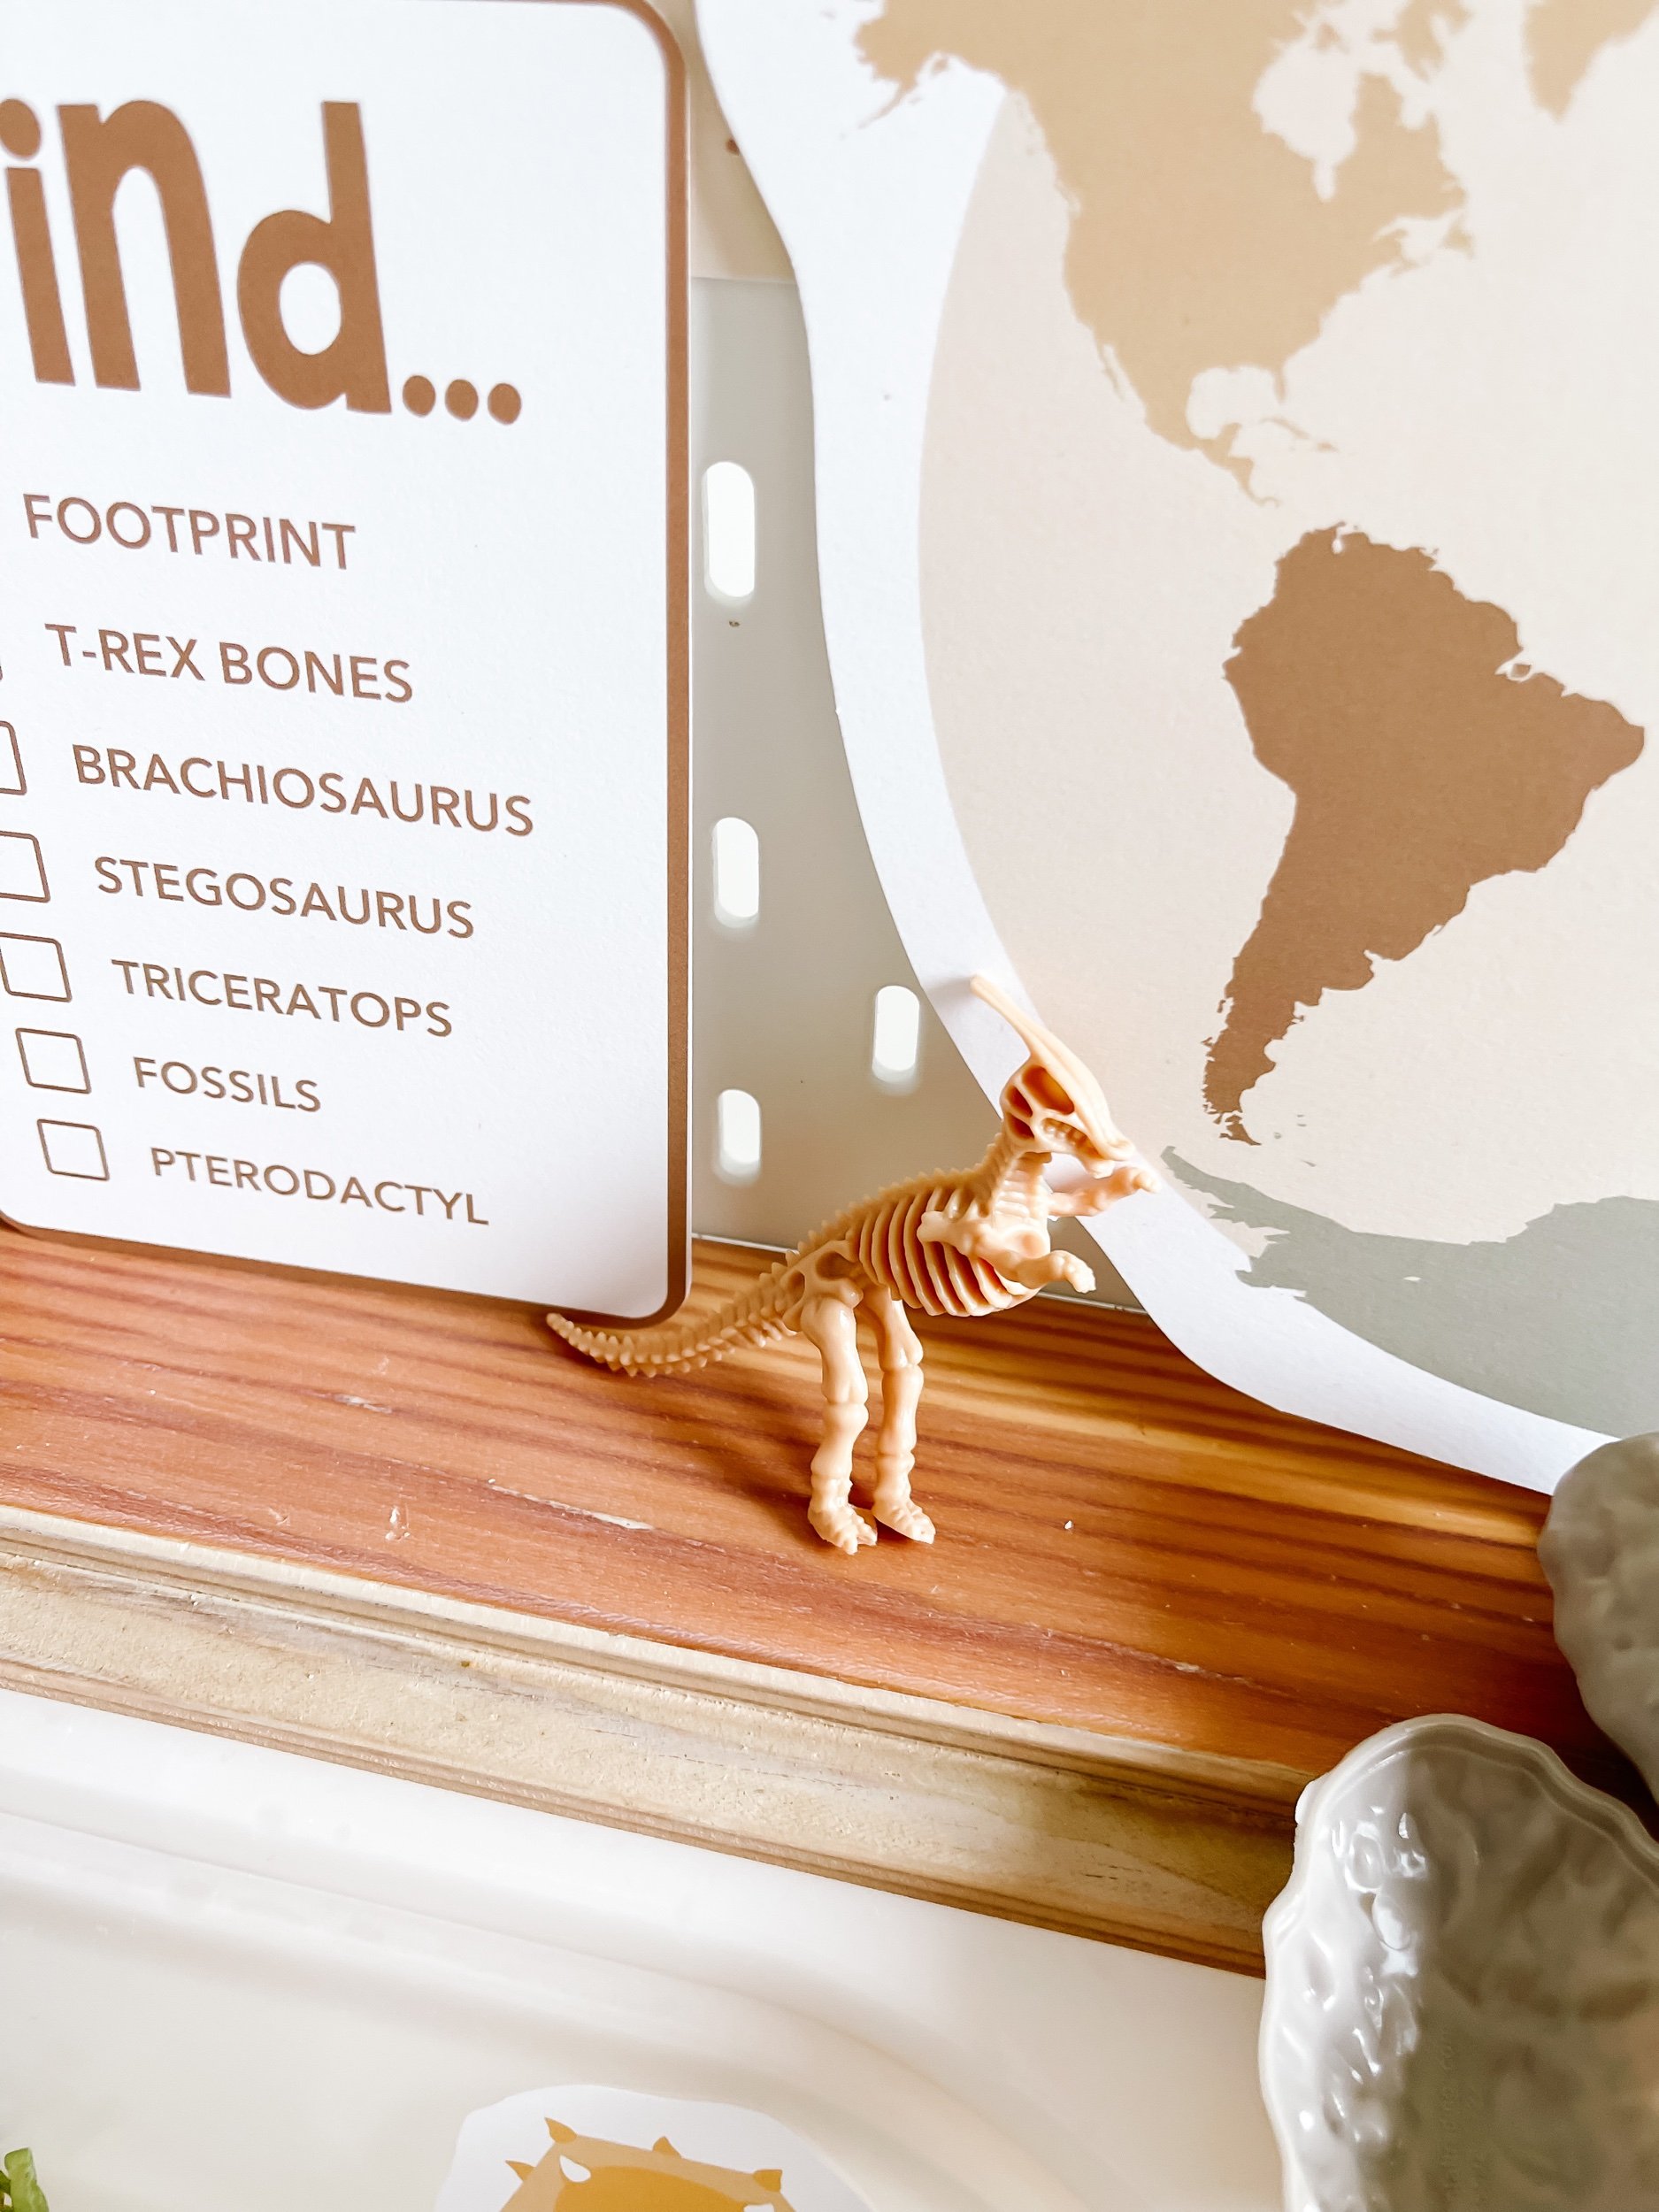
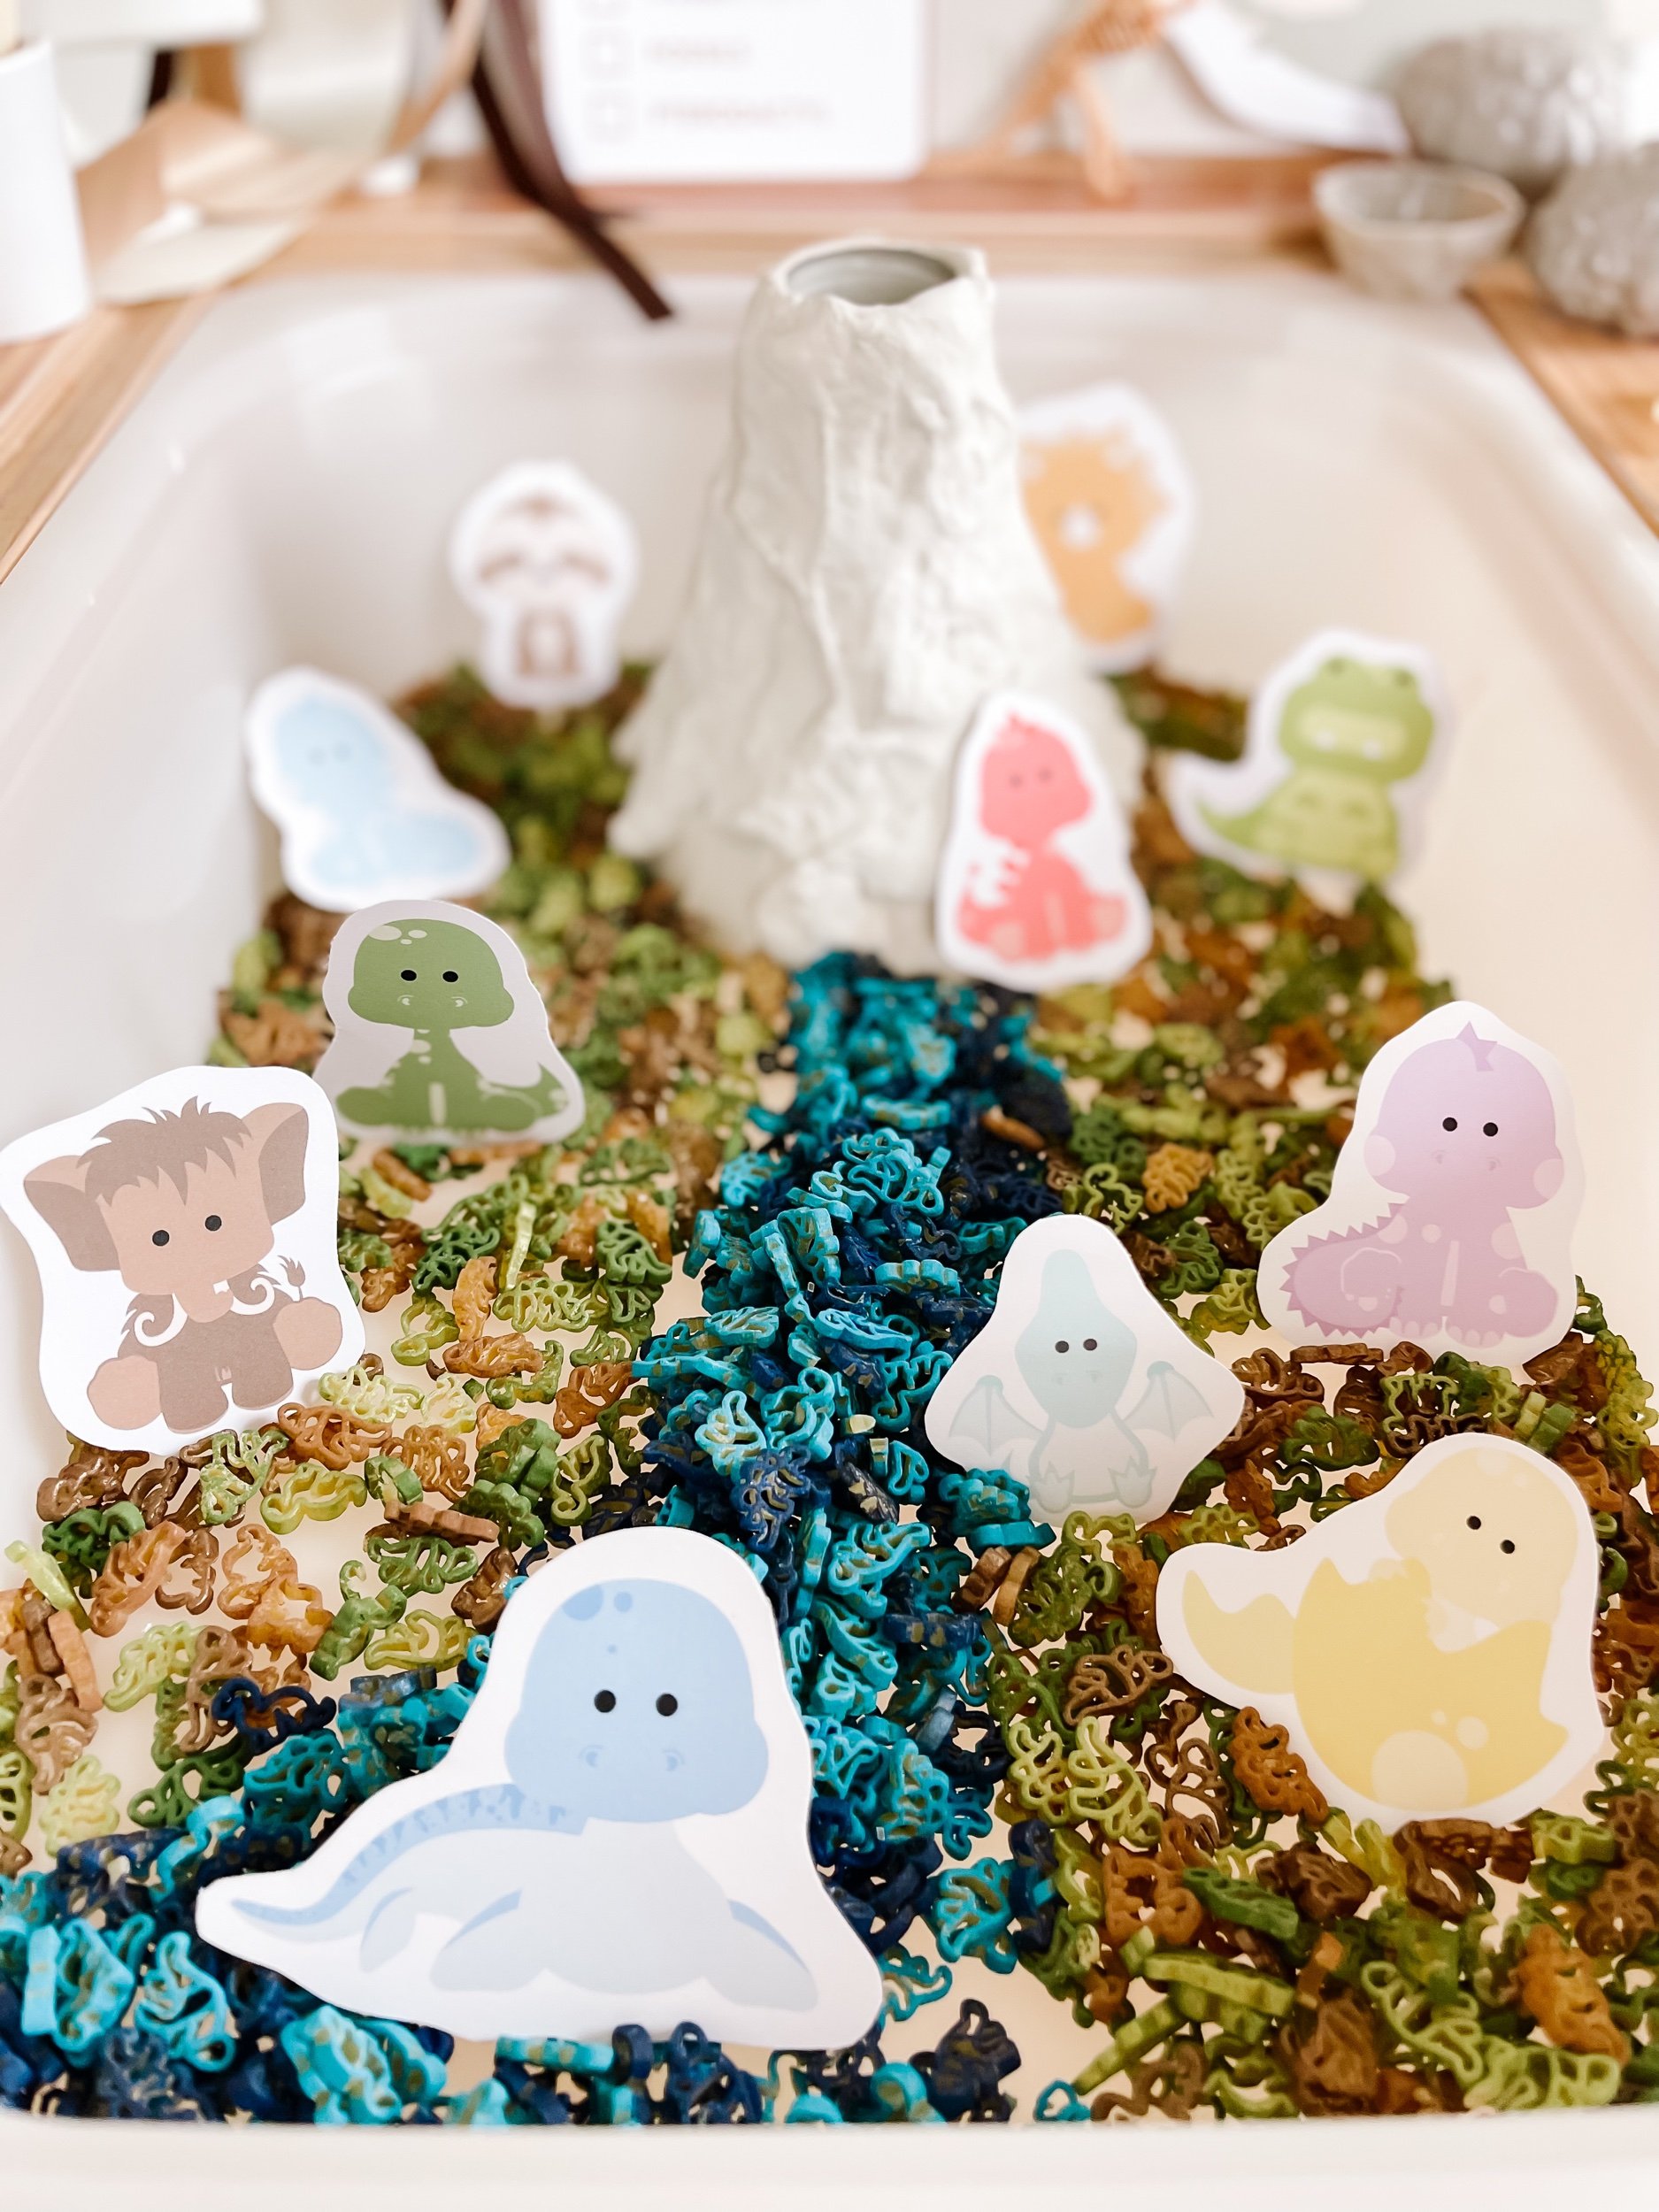
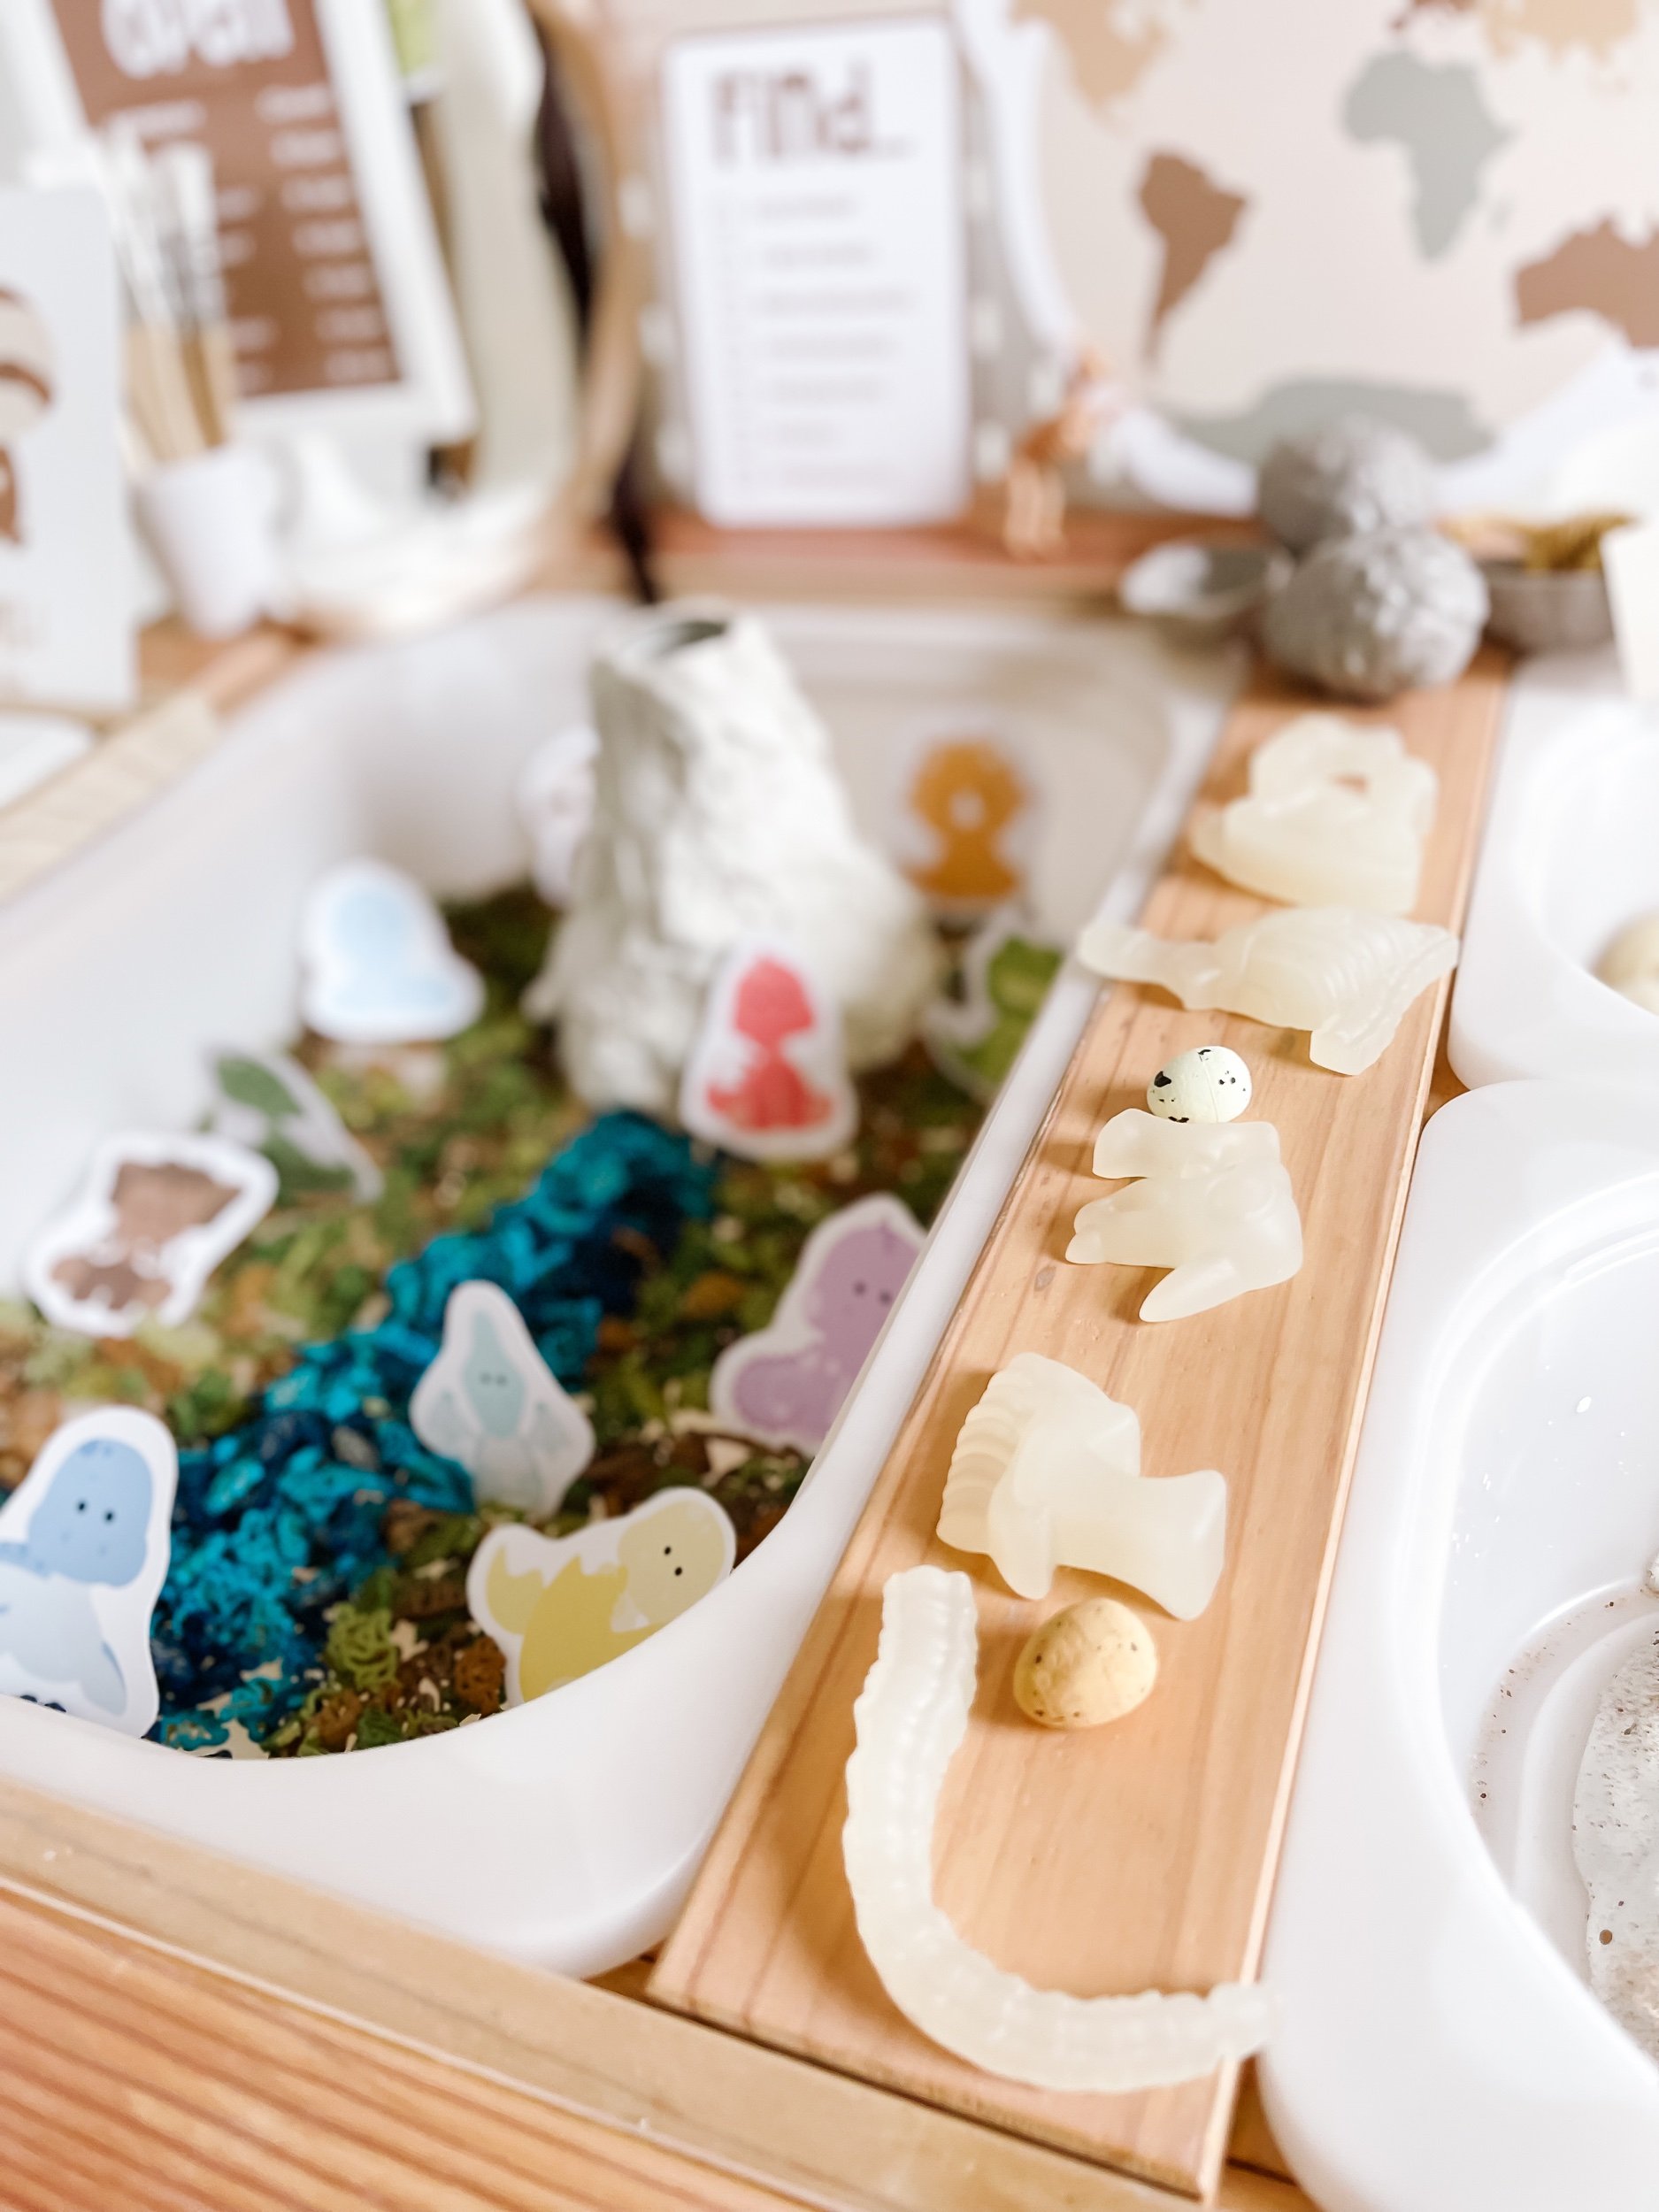
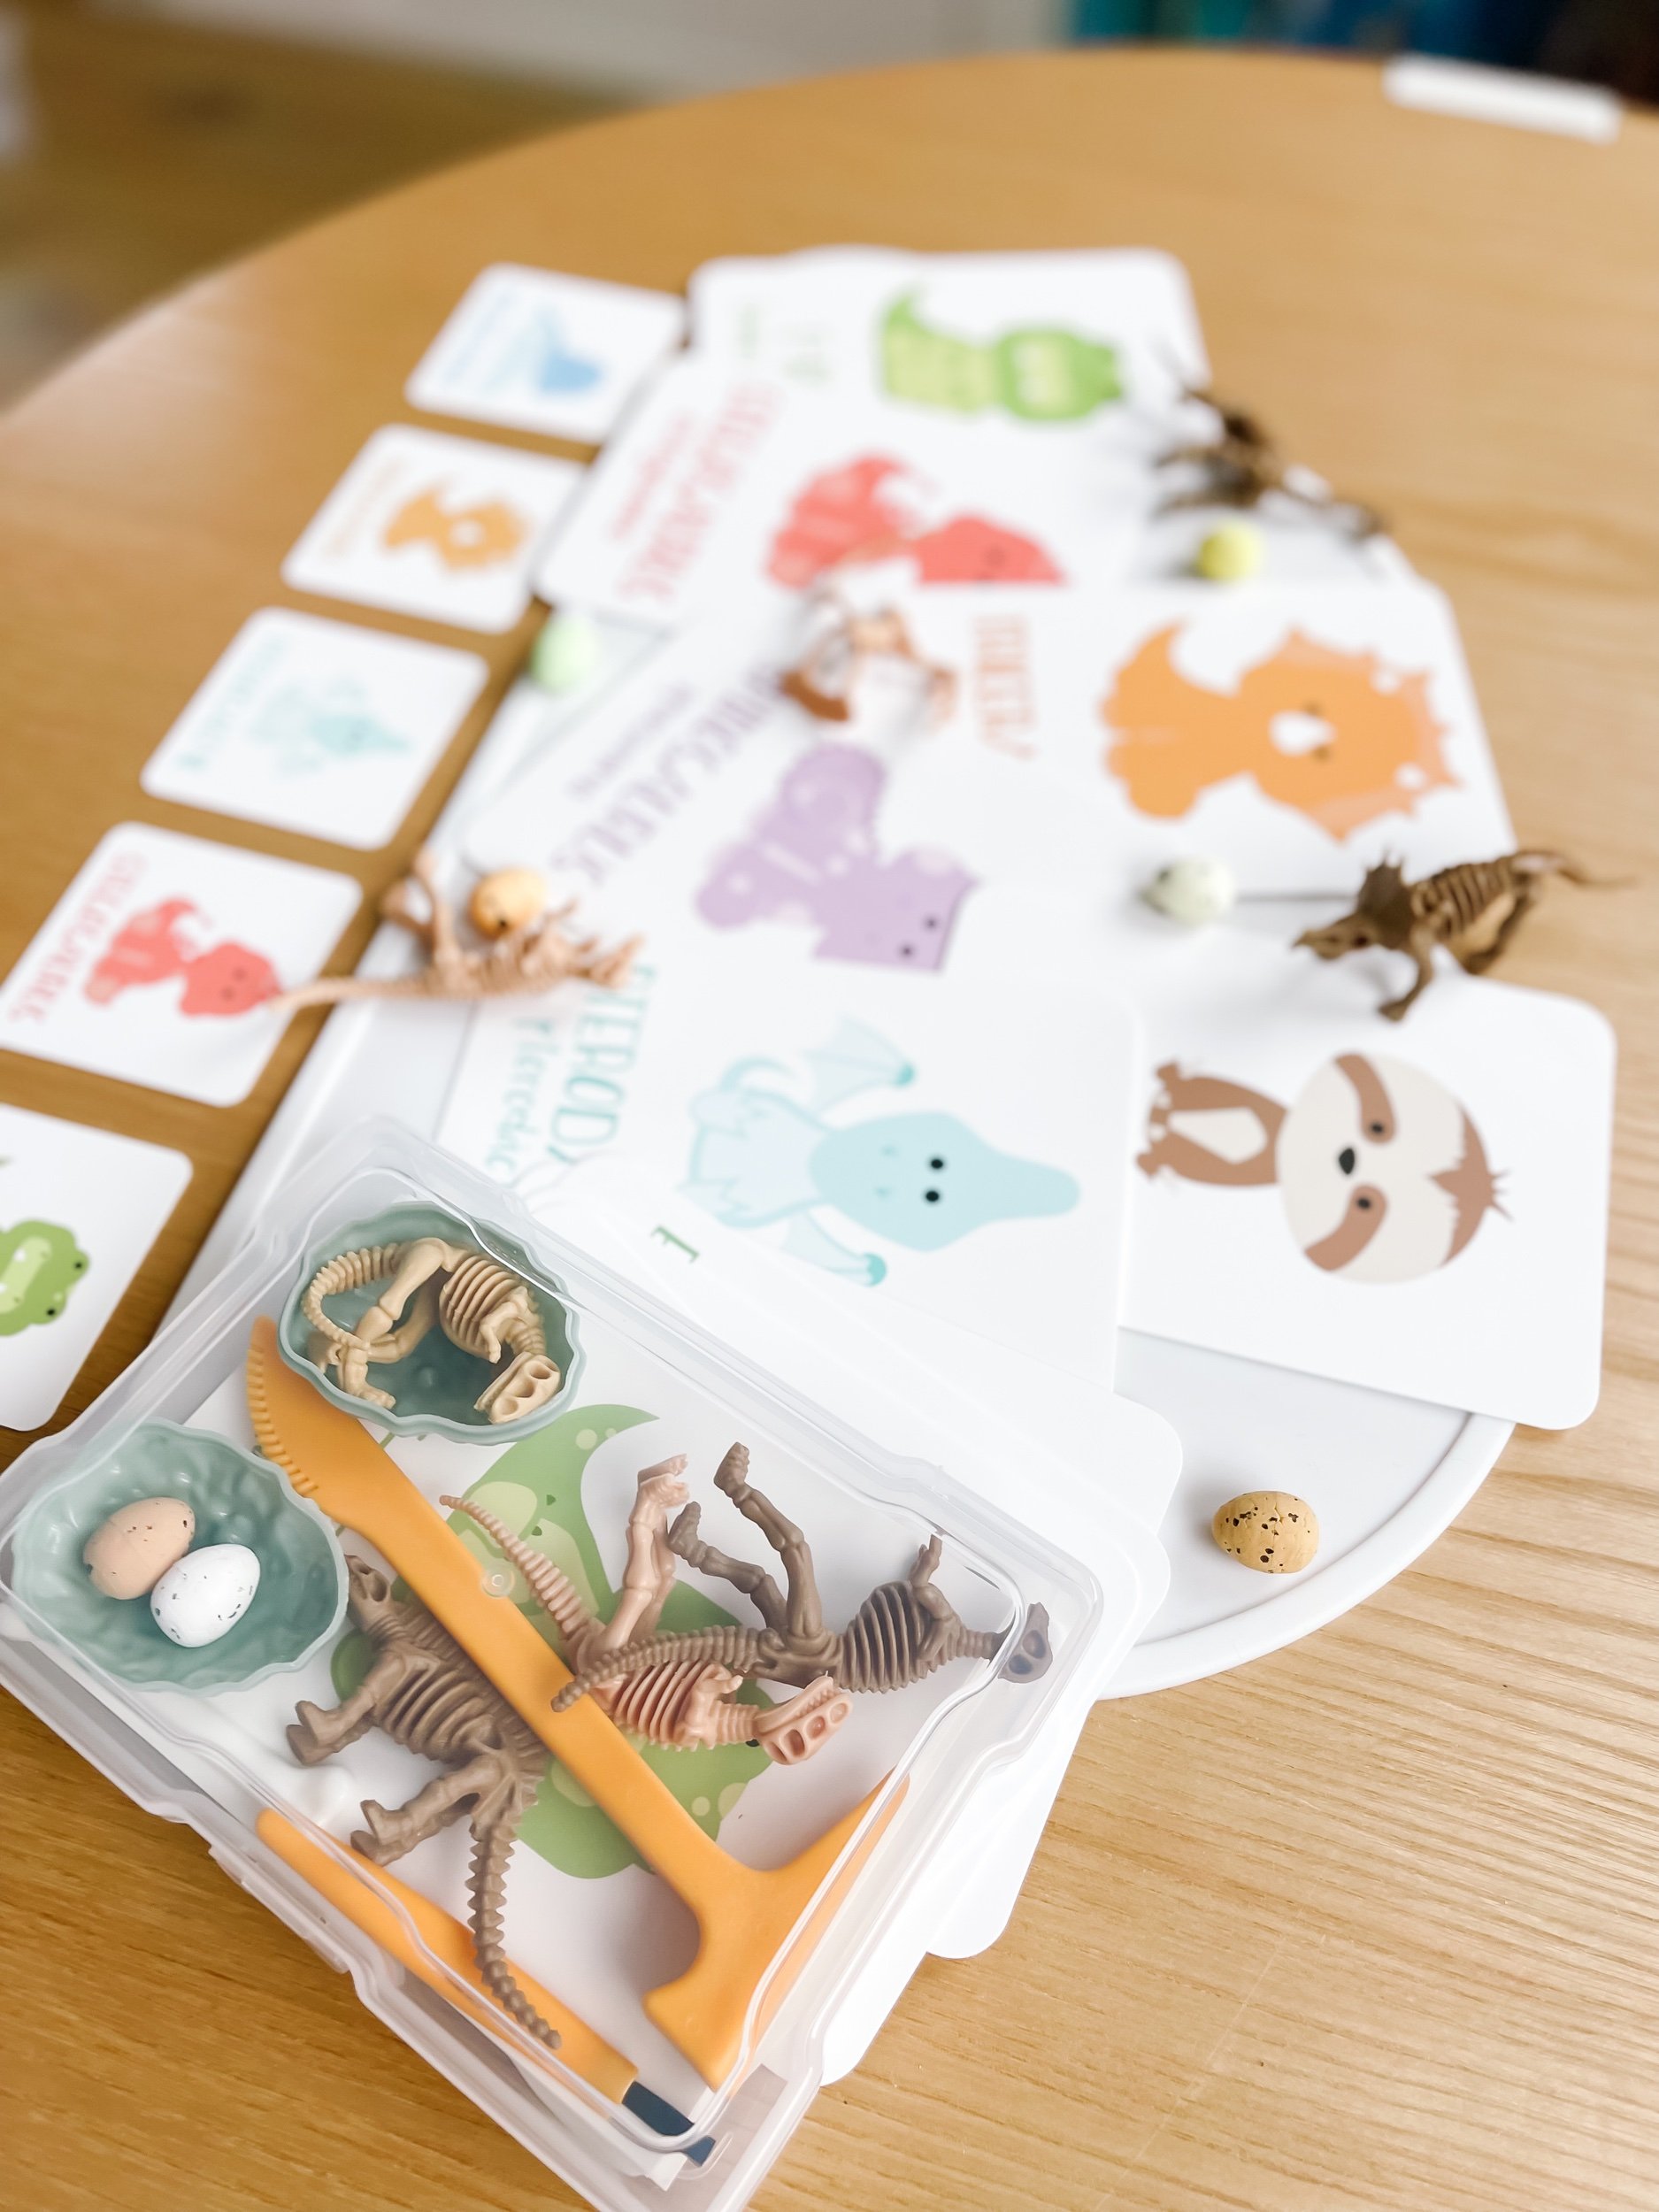
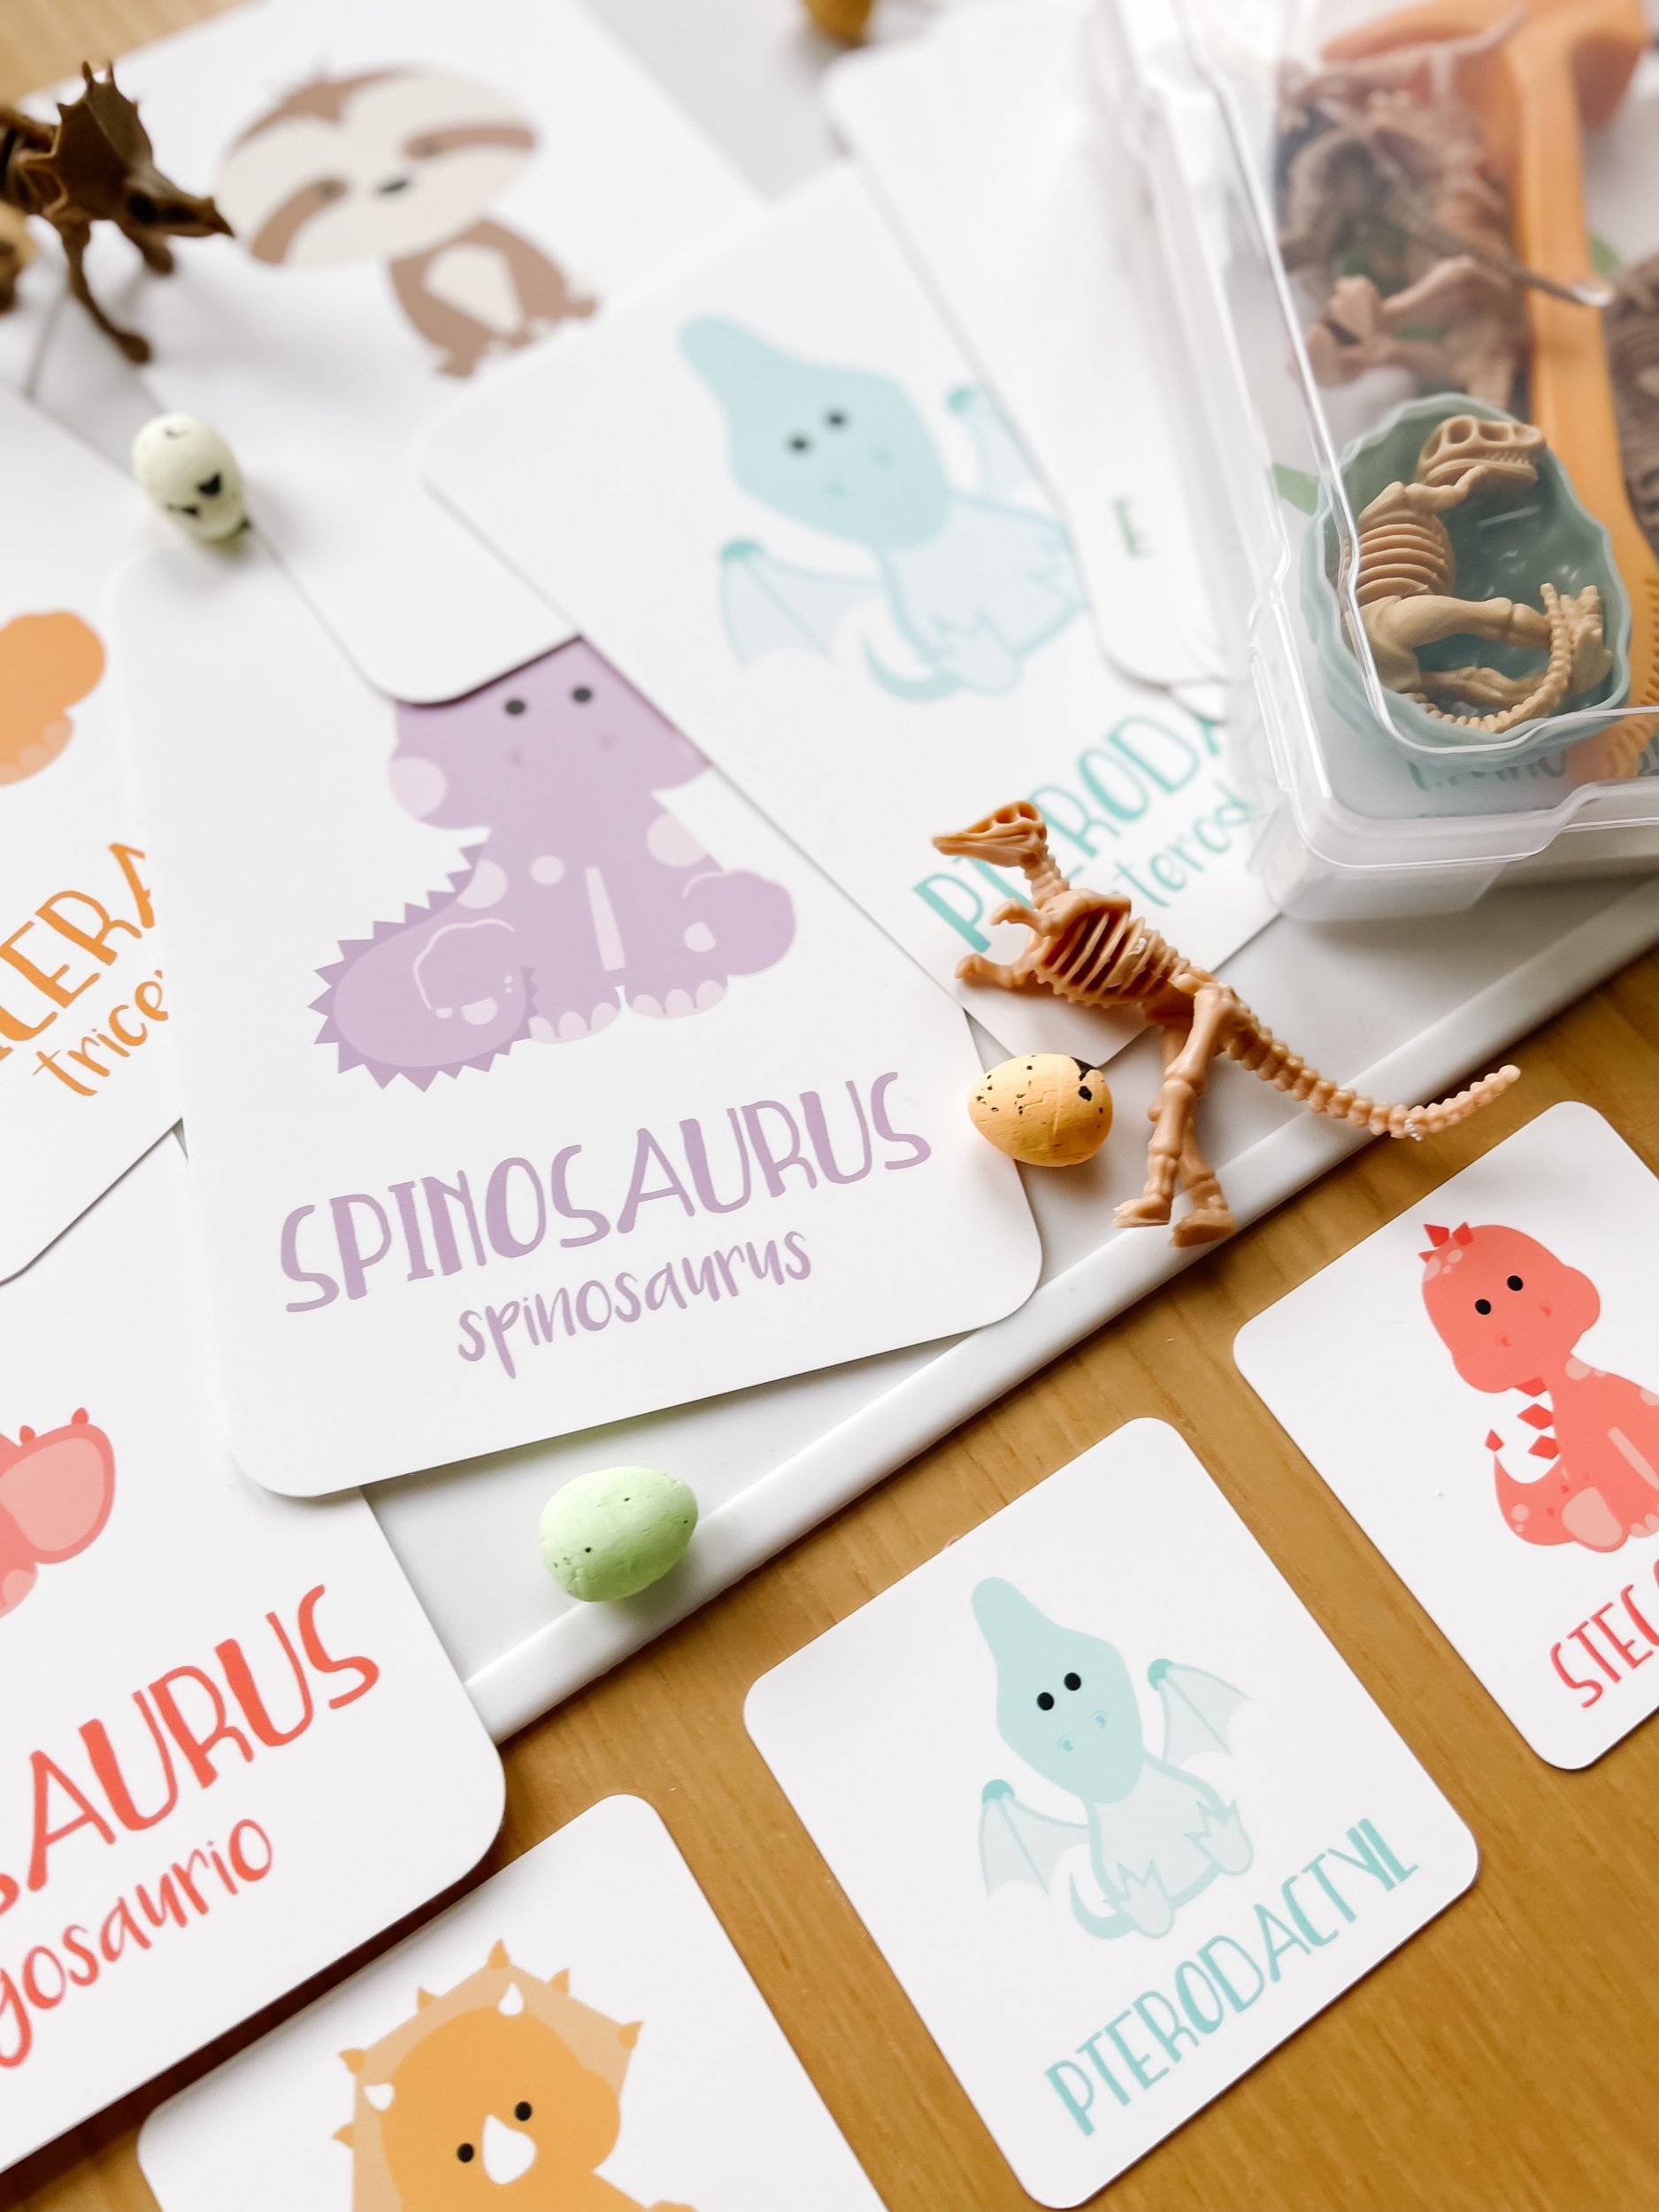
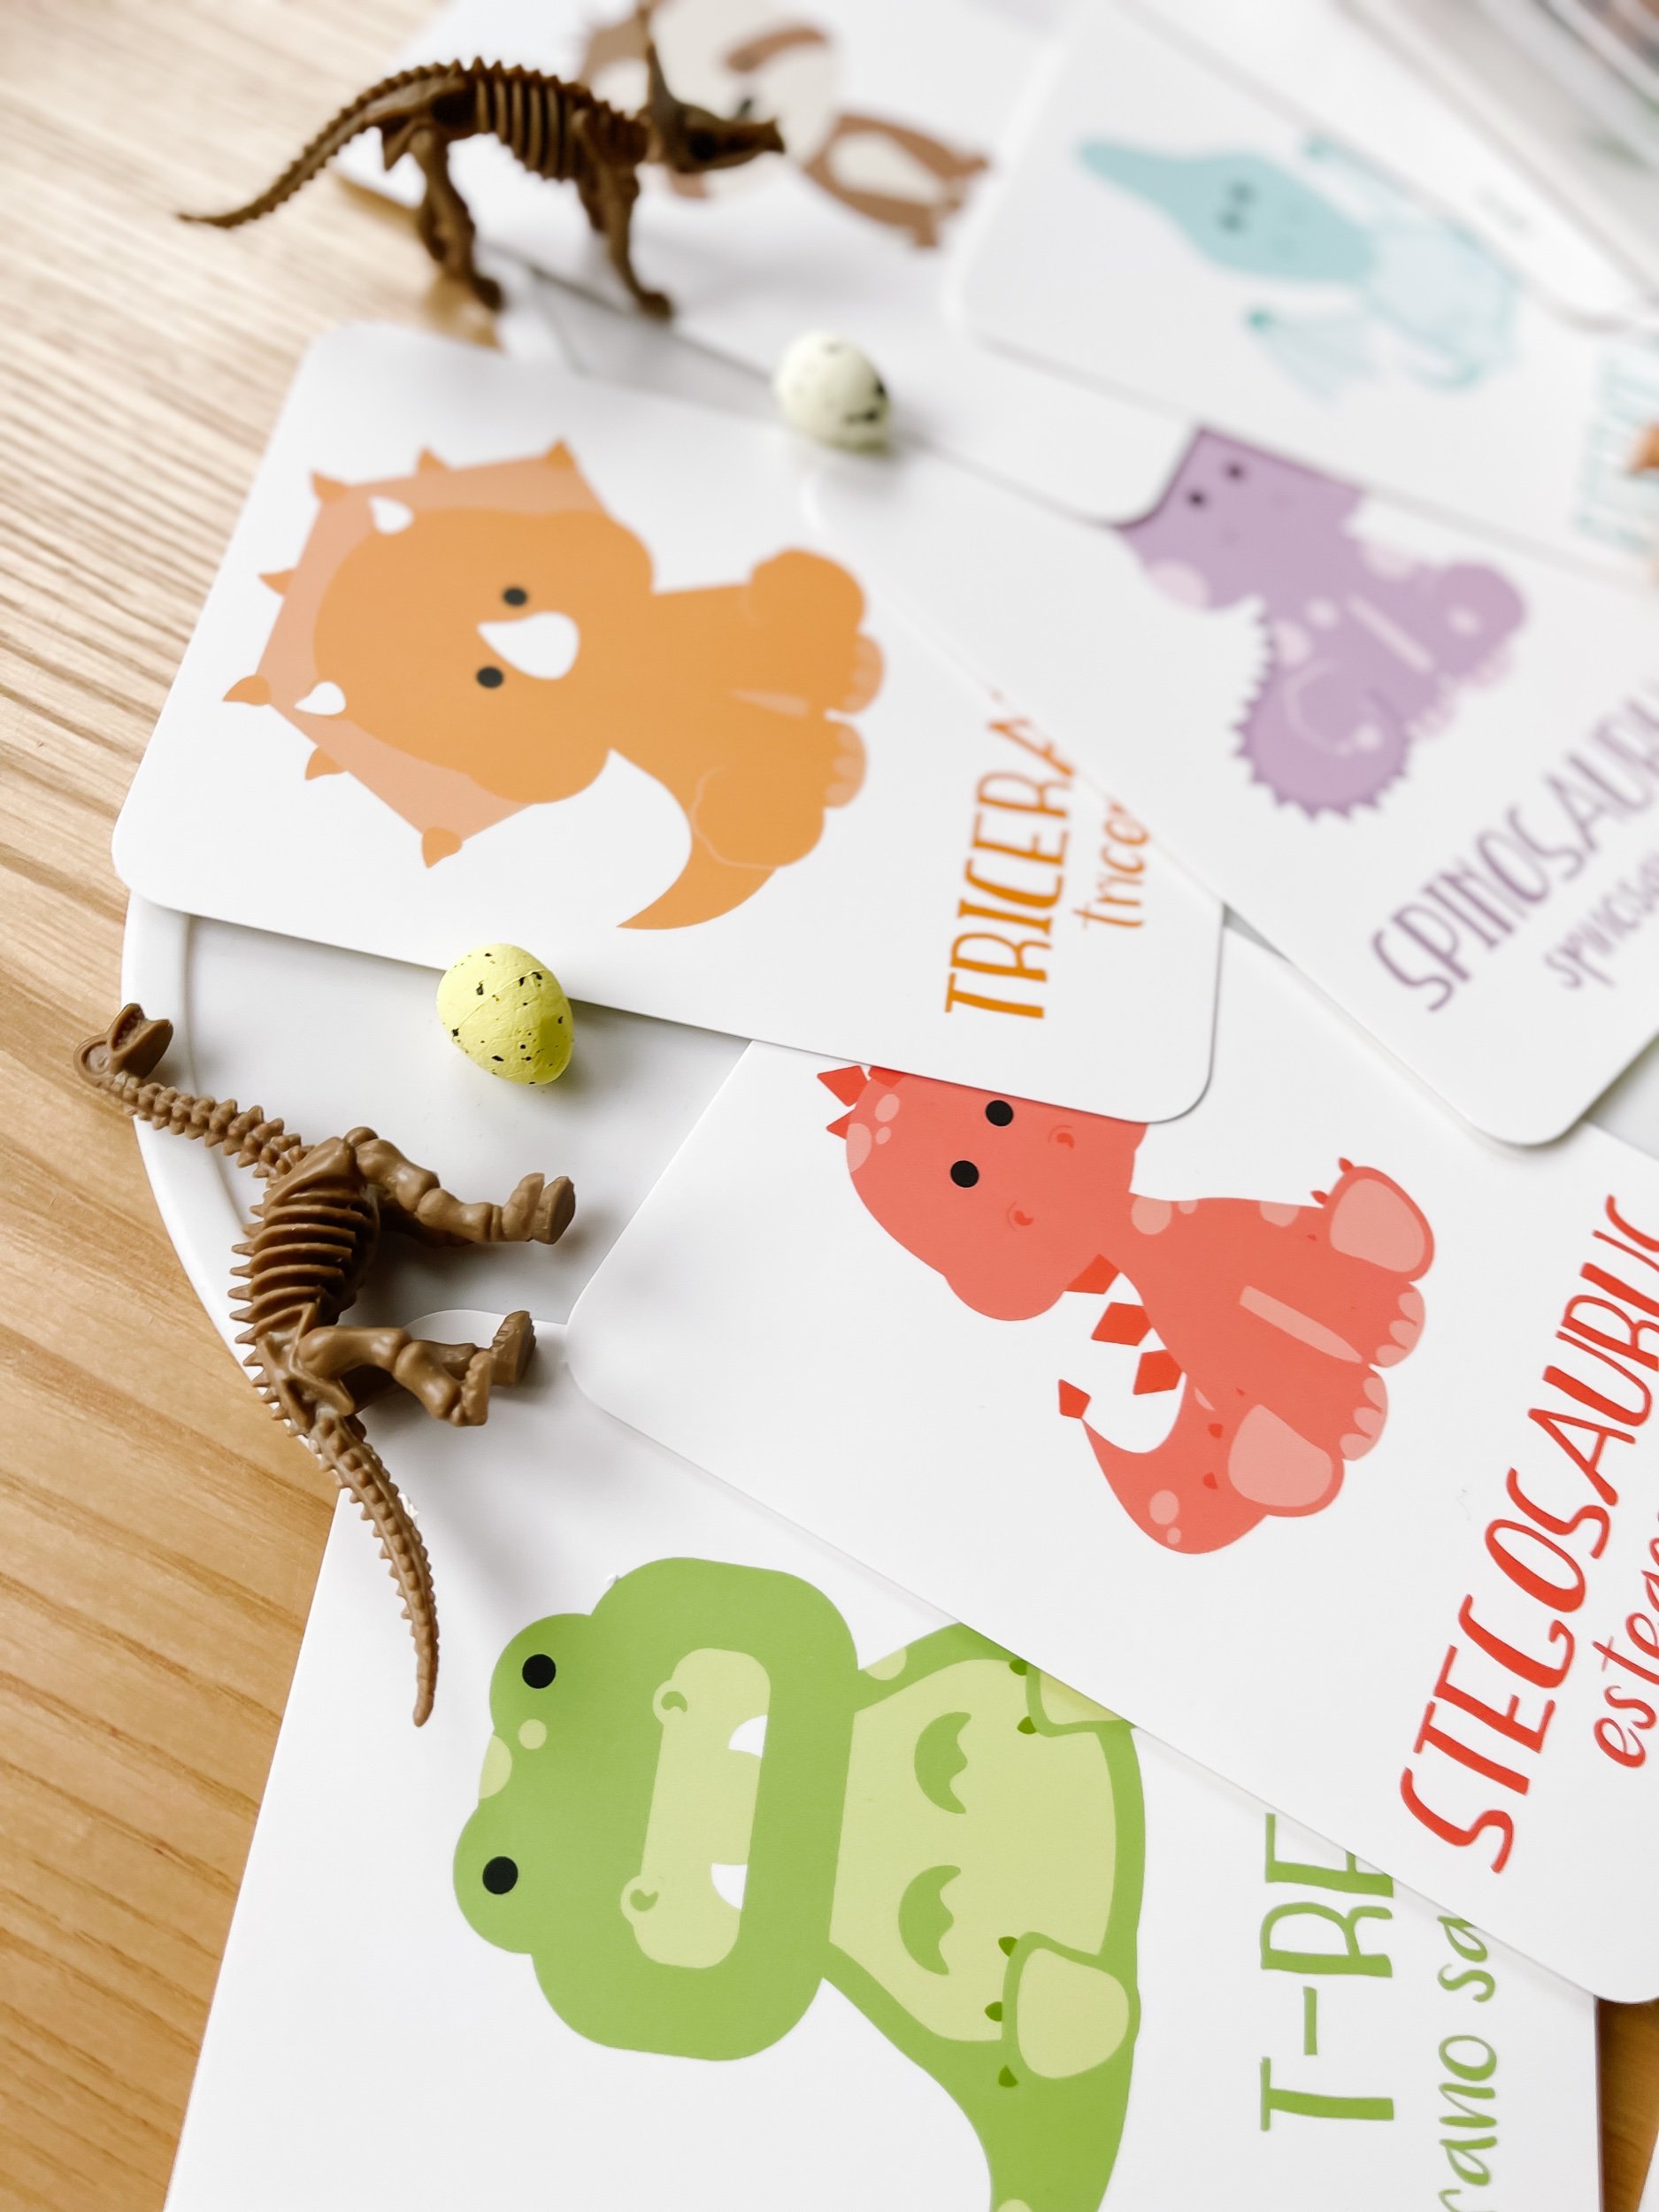
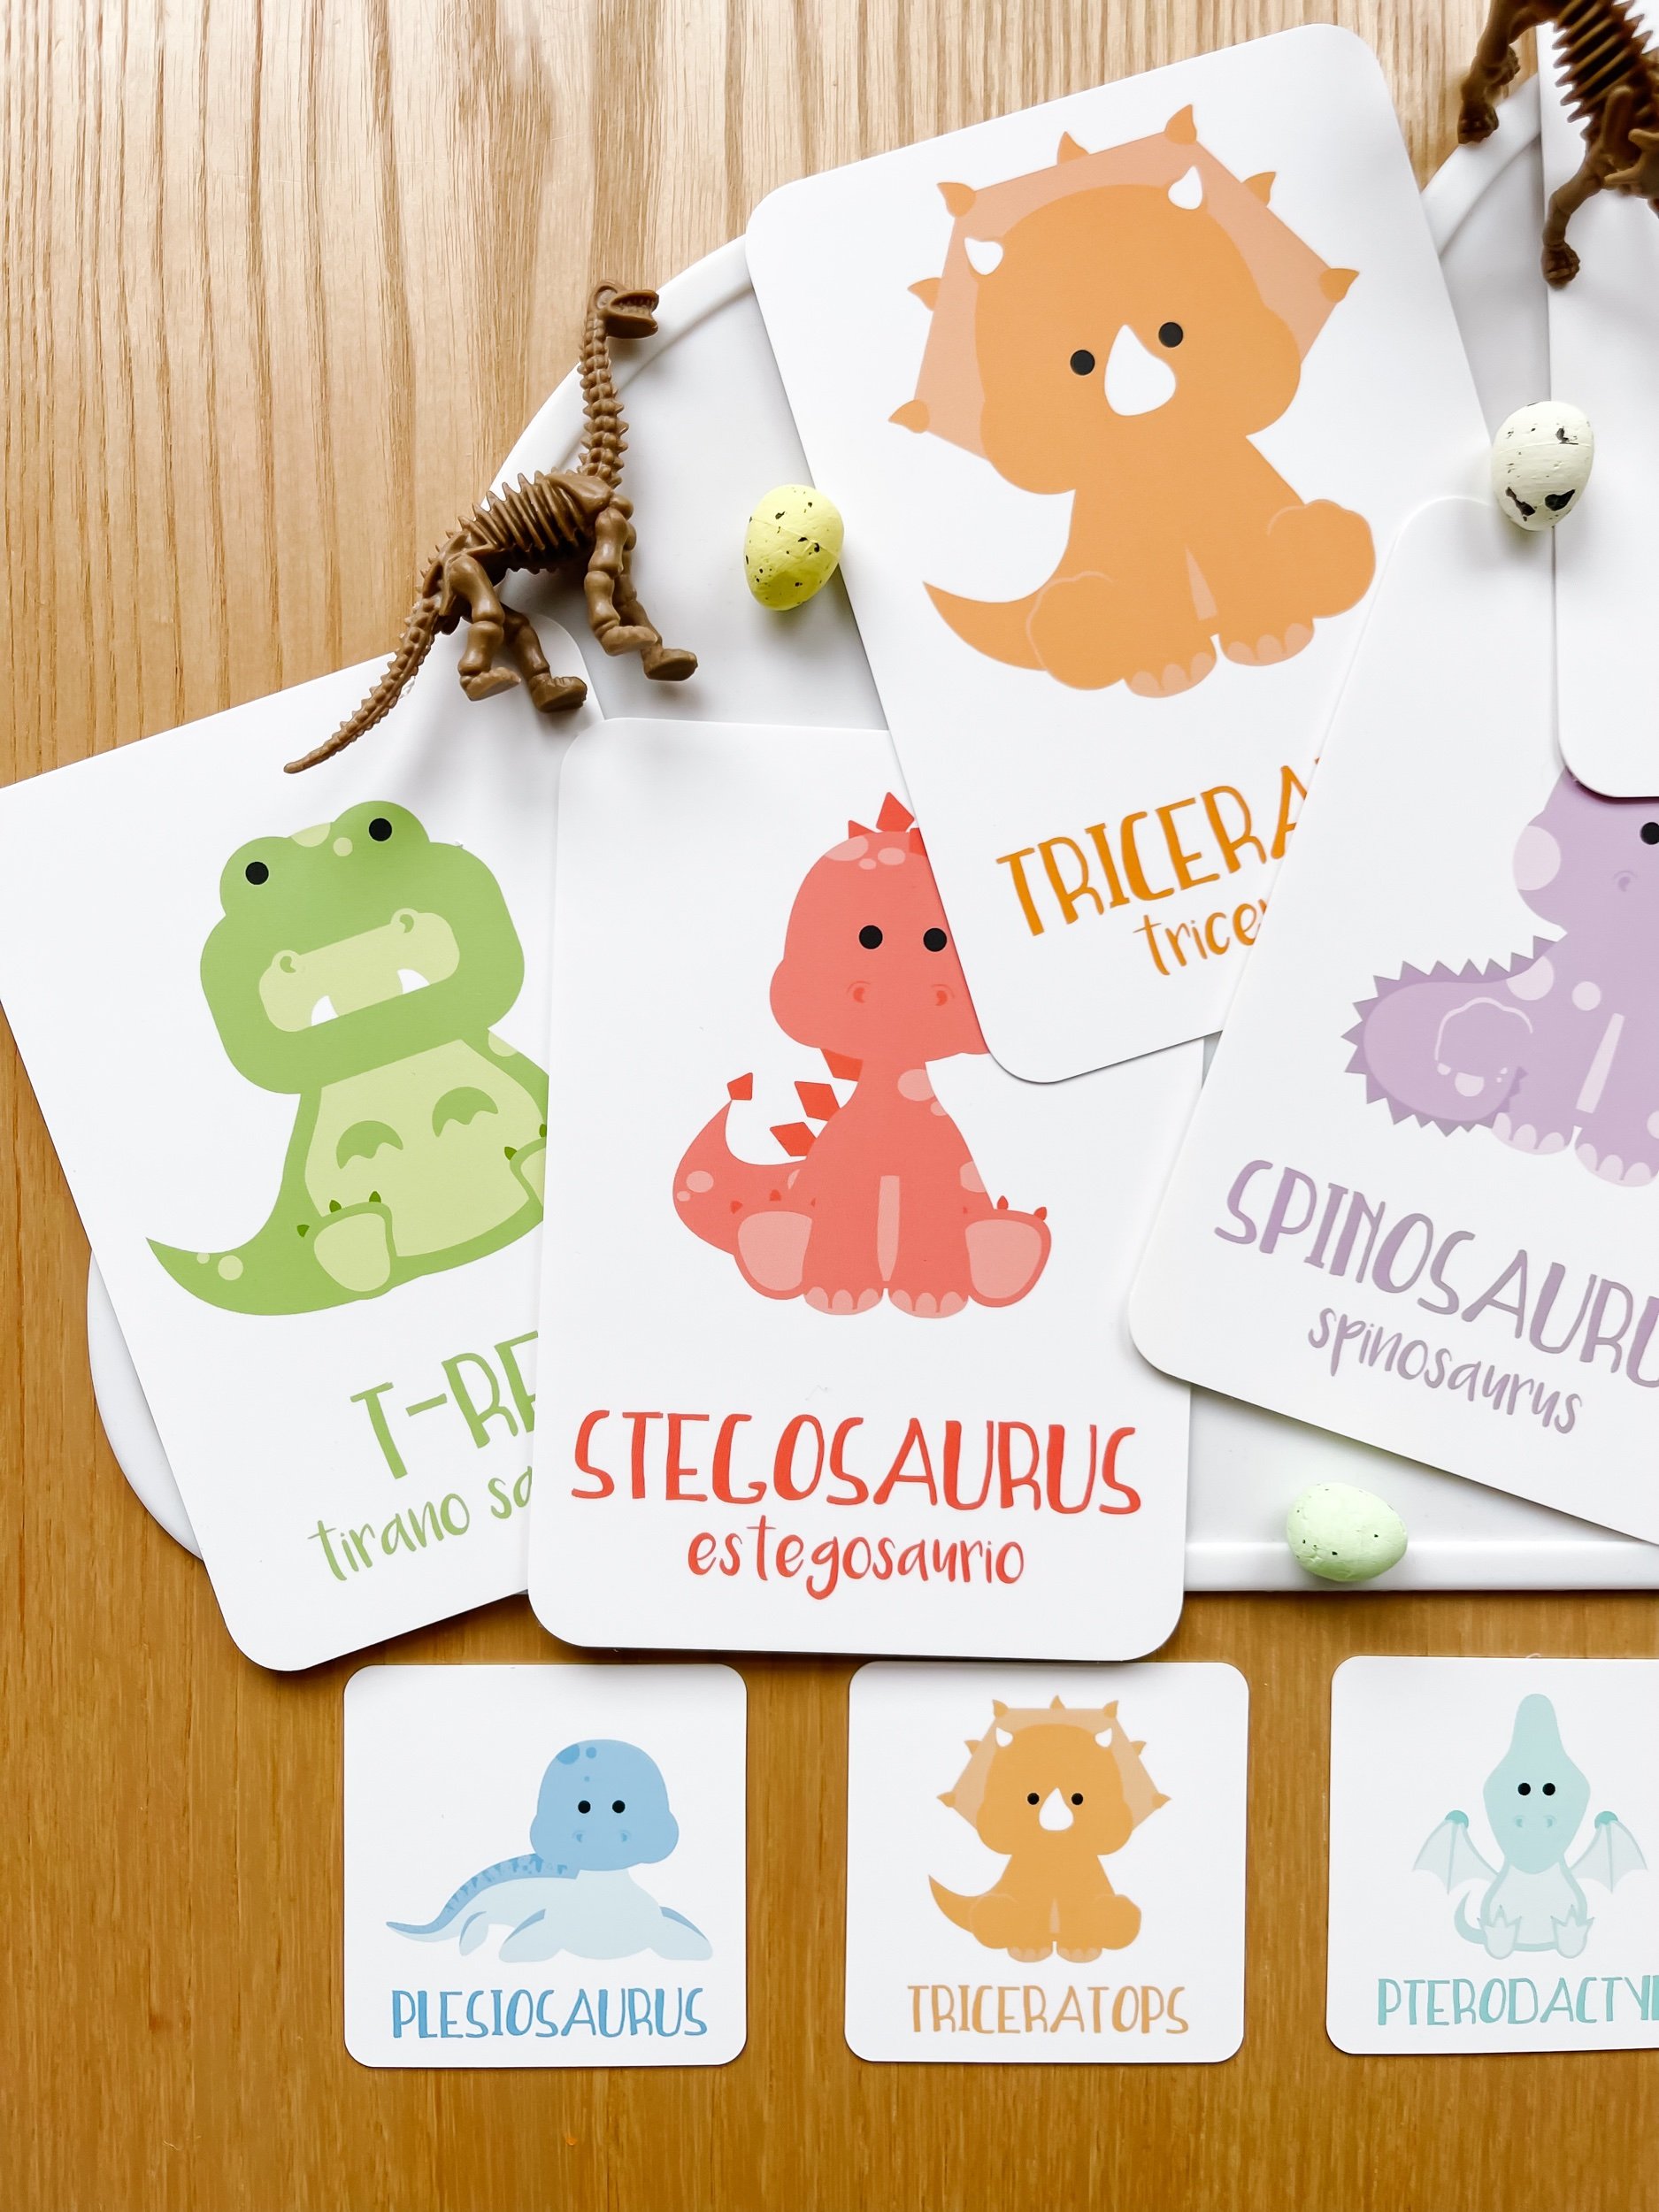
4. Dinosaurs: A collection of hand-illustration dinosaur character to bring the ancient reptiles to life. Your child will love identifying different species and reenacting prehistoric scenes.
5. Banner: A customizable banner that can be personalized with your child's name, adding a personal touch to their paleontological adventures.
6. Flag: A vibrant flag that can be planted at the excavation site, signaling their newfound discovery to the world.
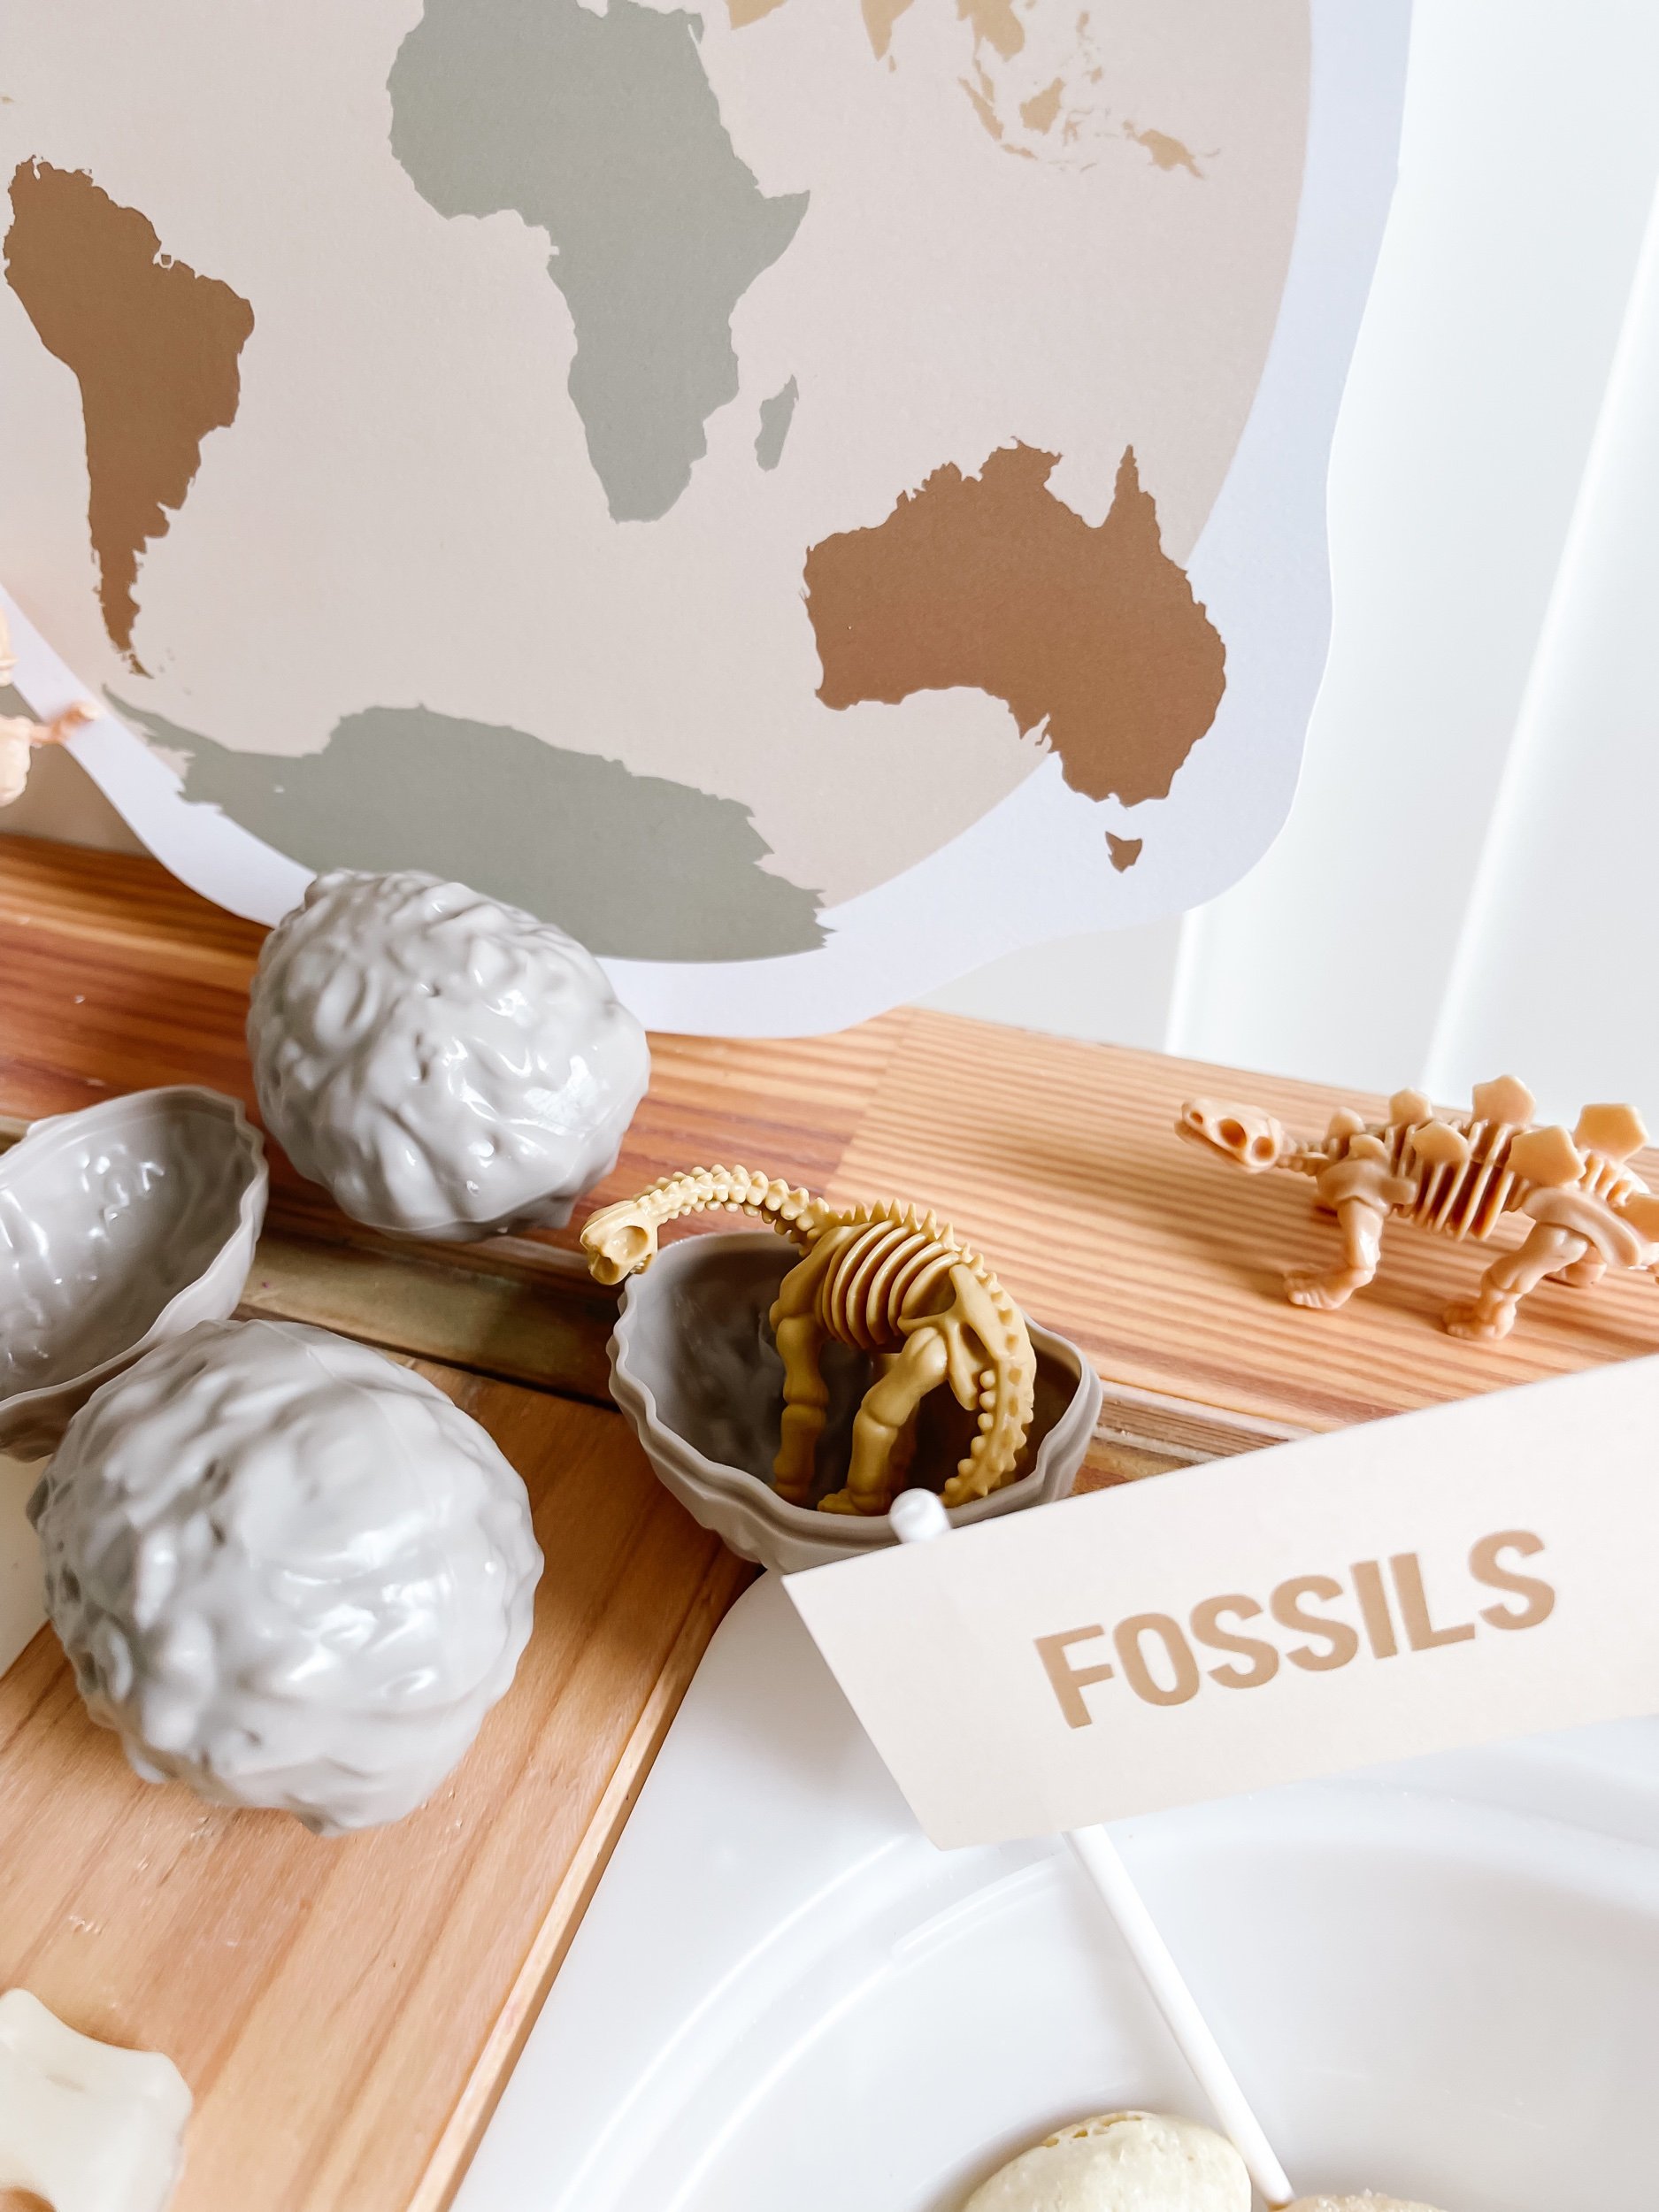
7. Globe: A compact globe featuring the continents. It offers an educational element, allowing kids to explore the ancient world and understand the geographic distribution of species.
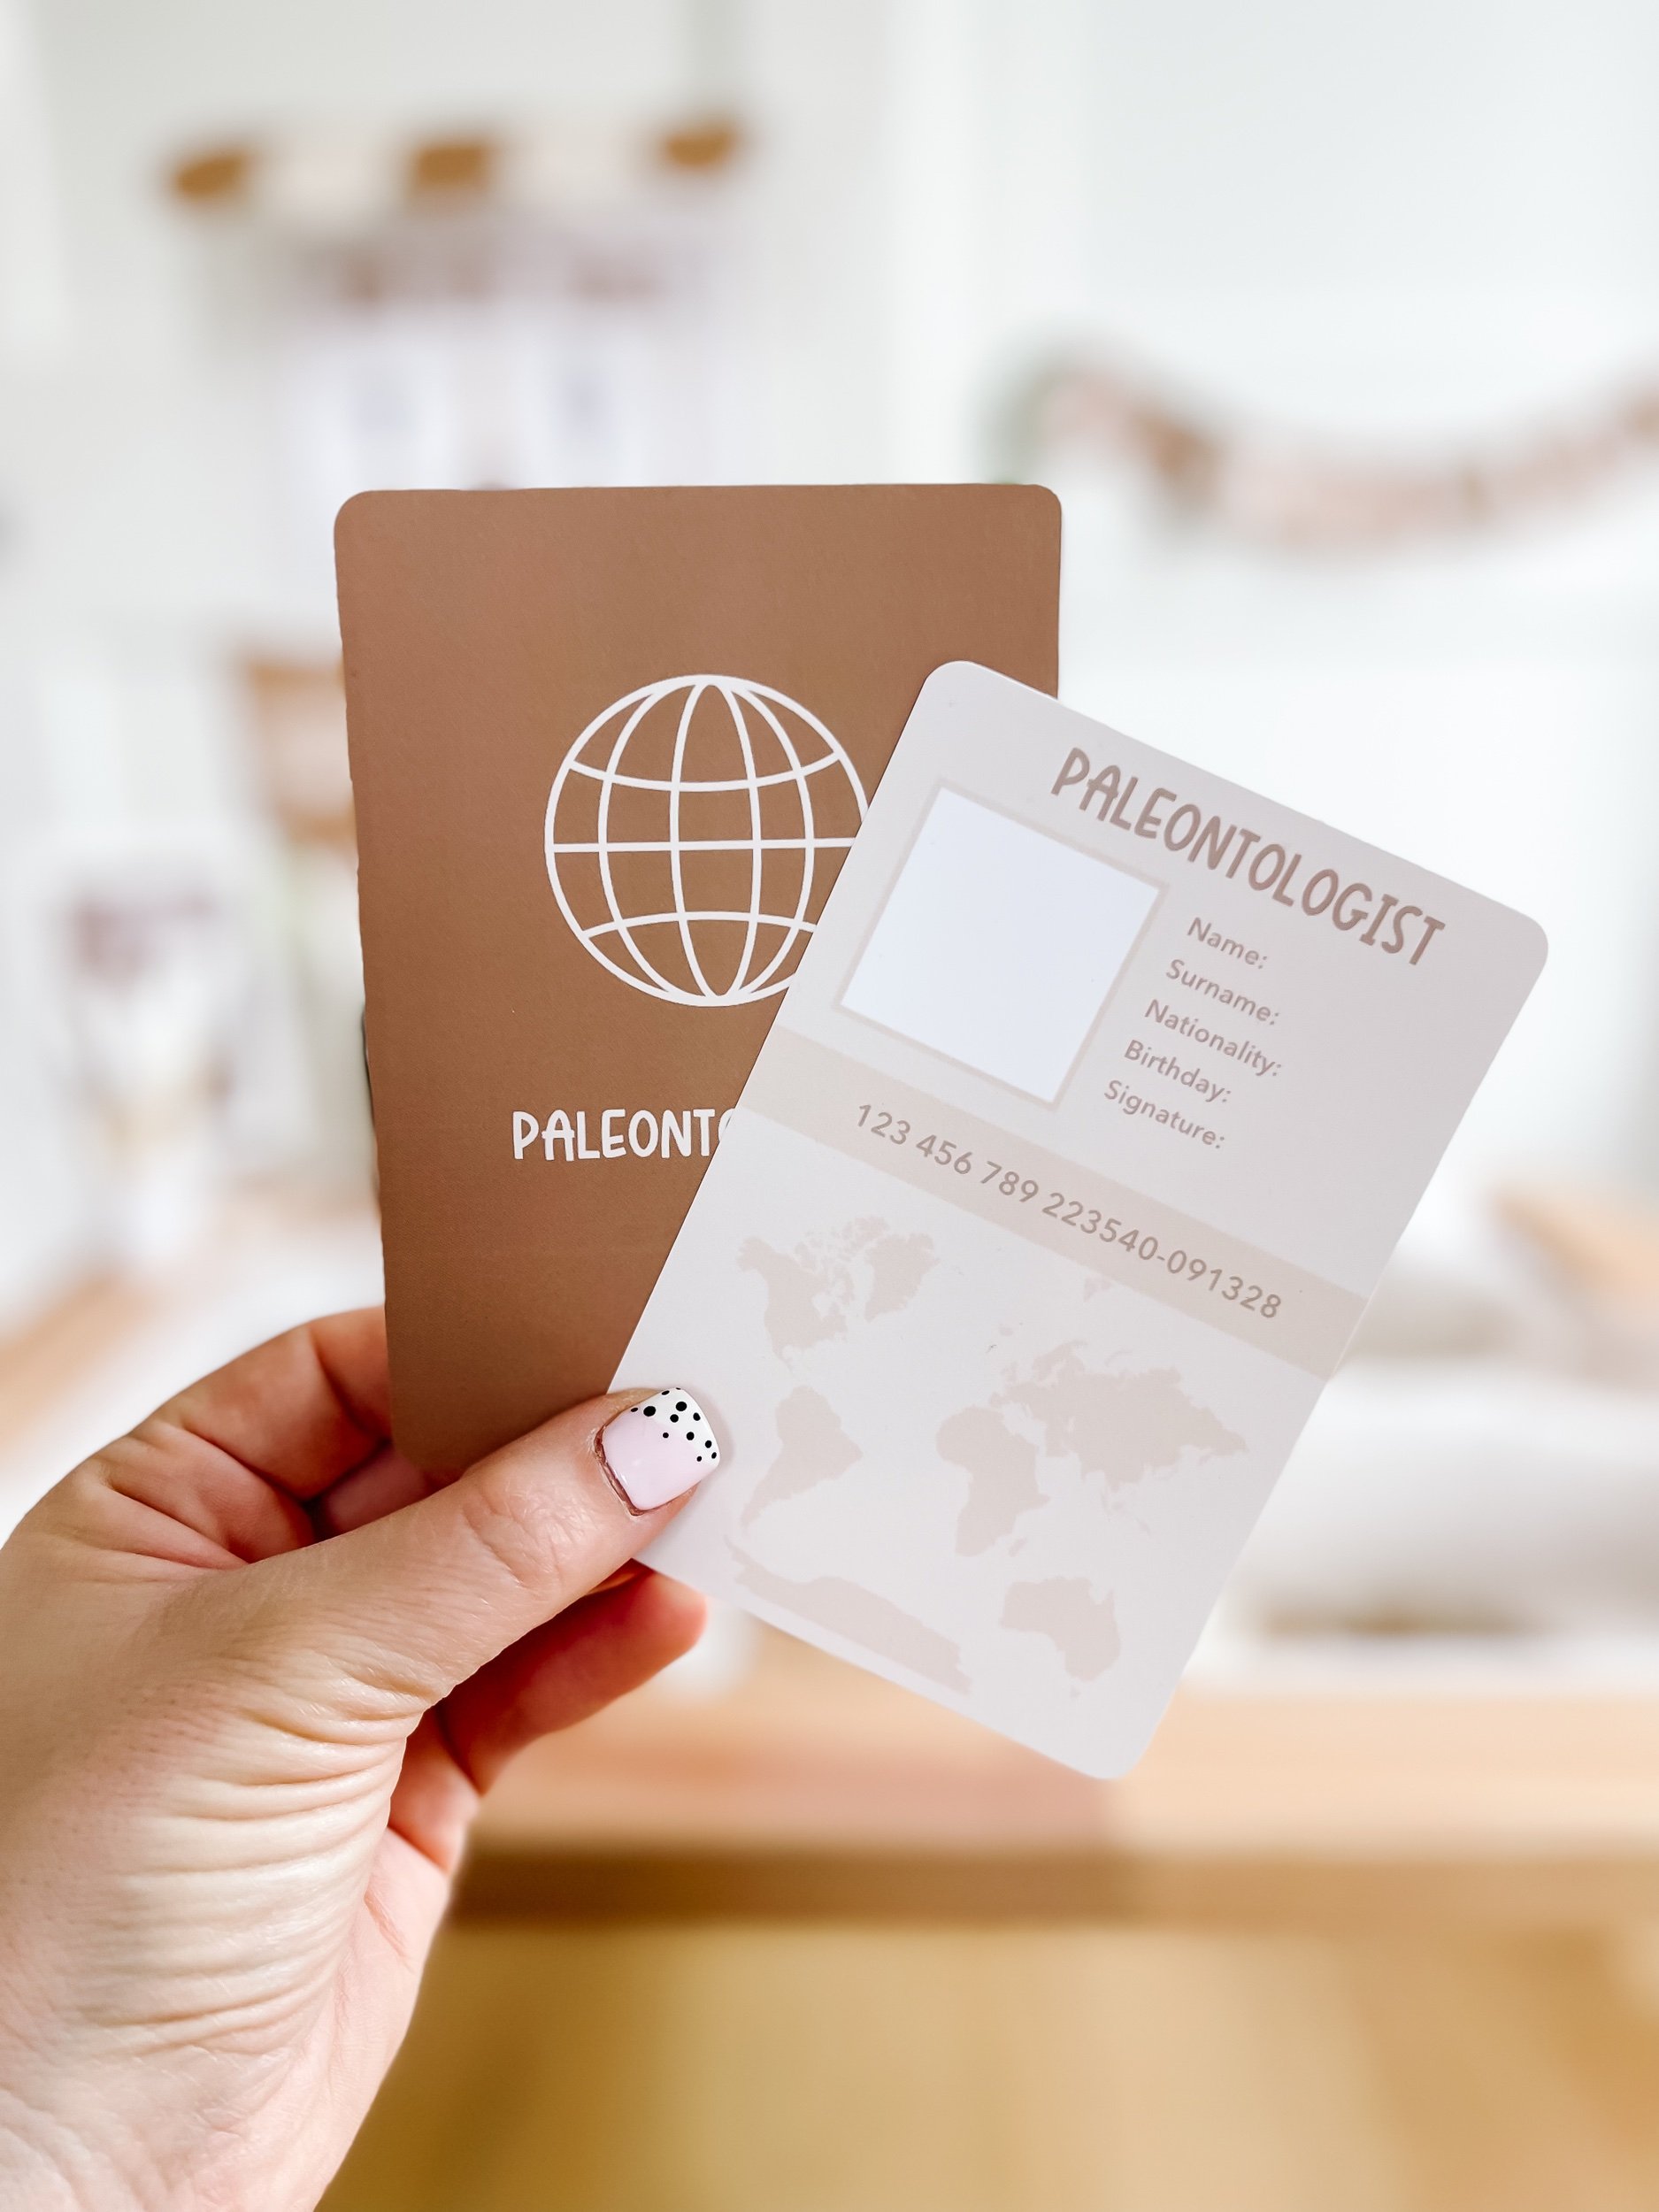
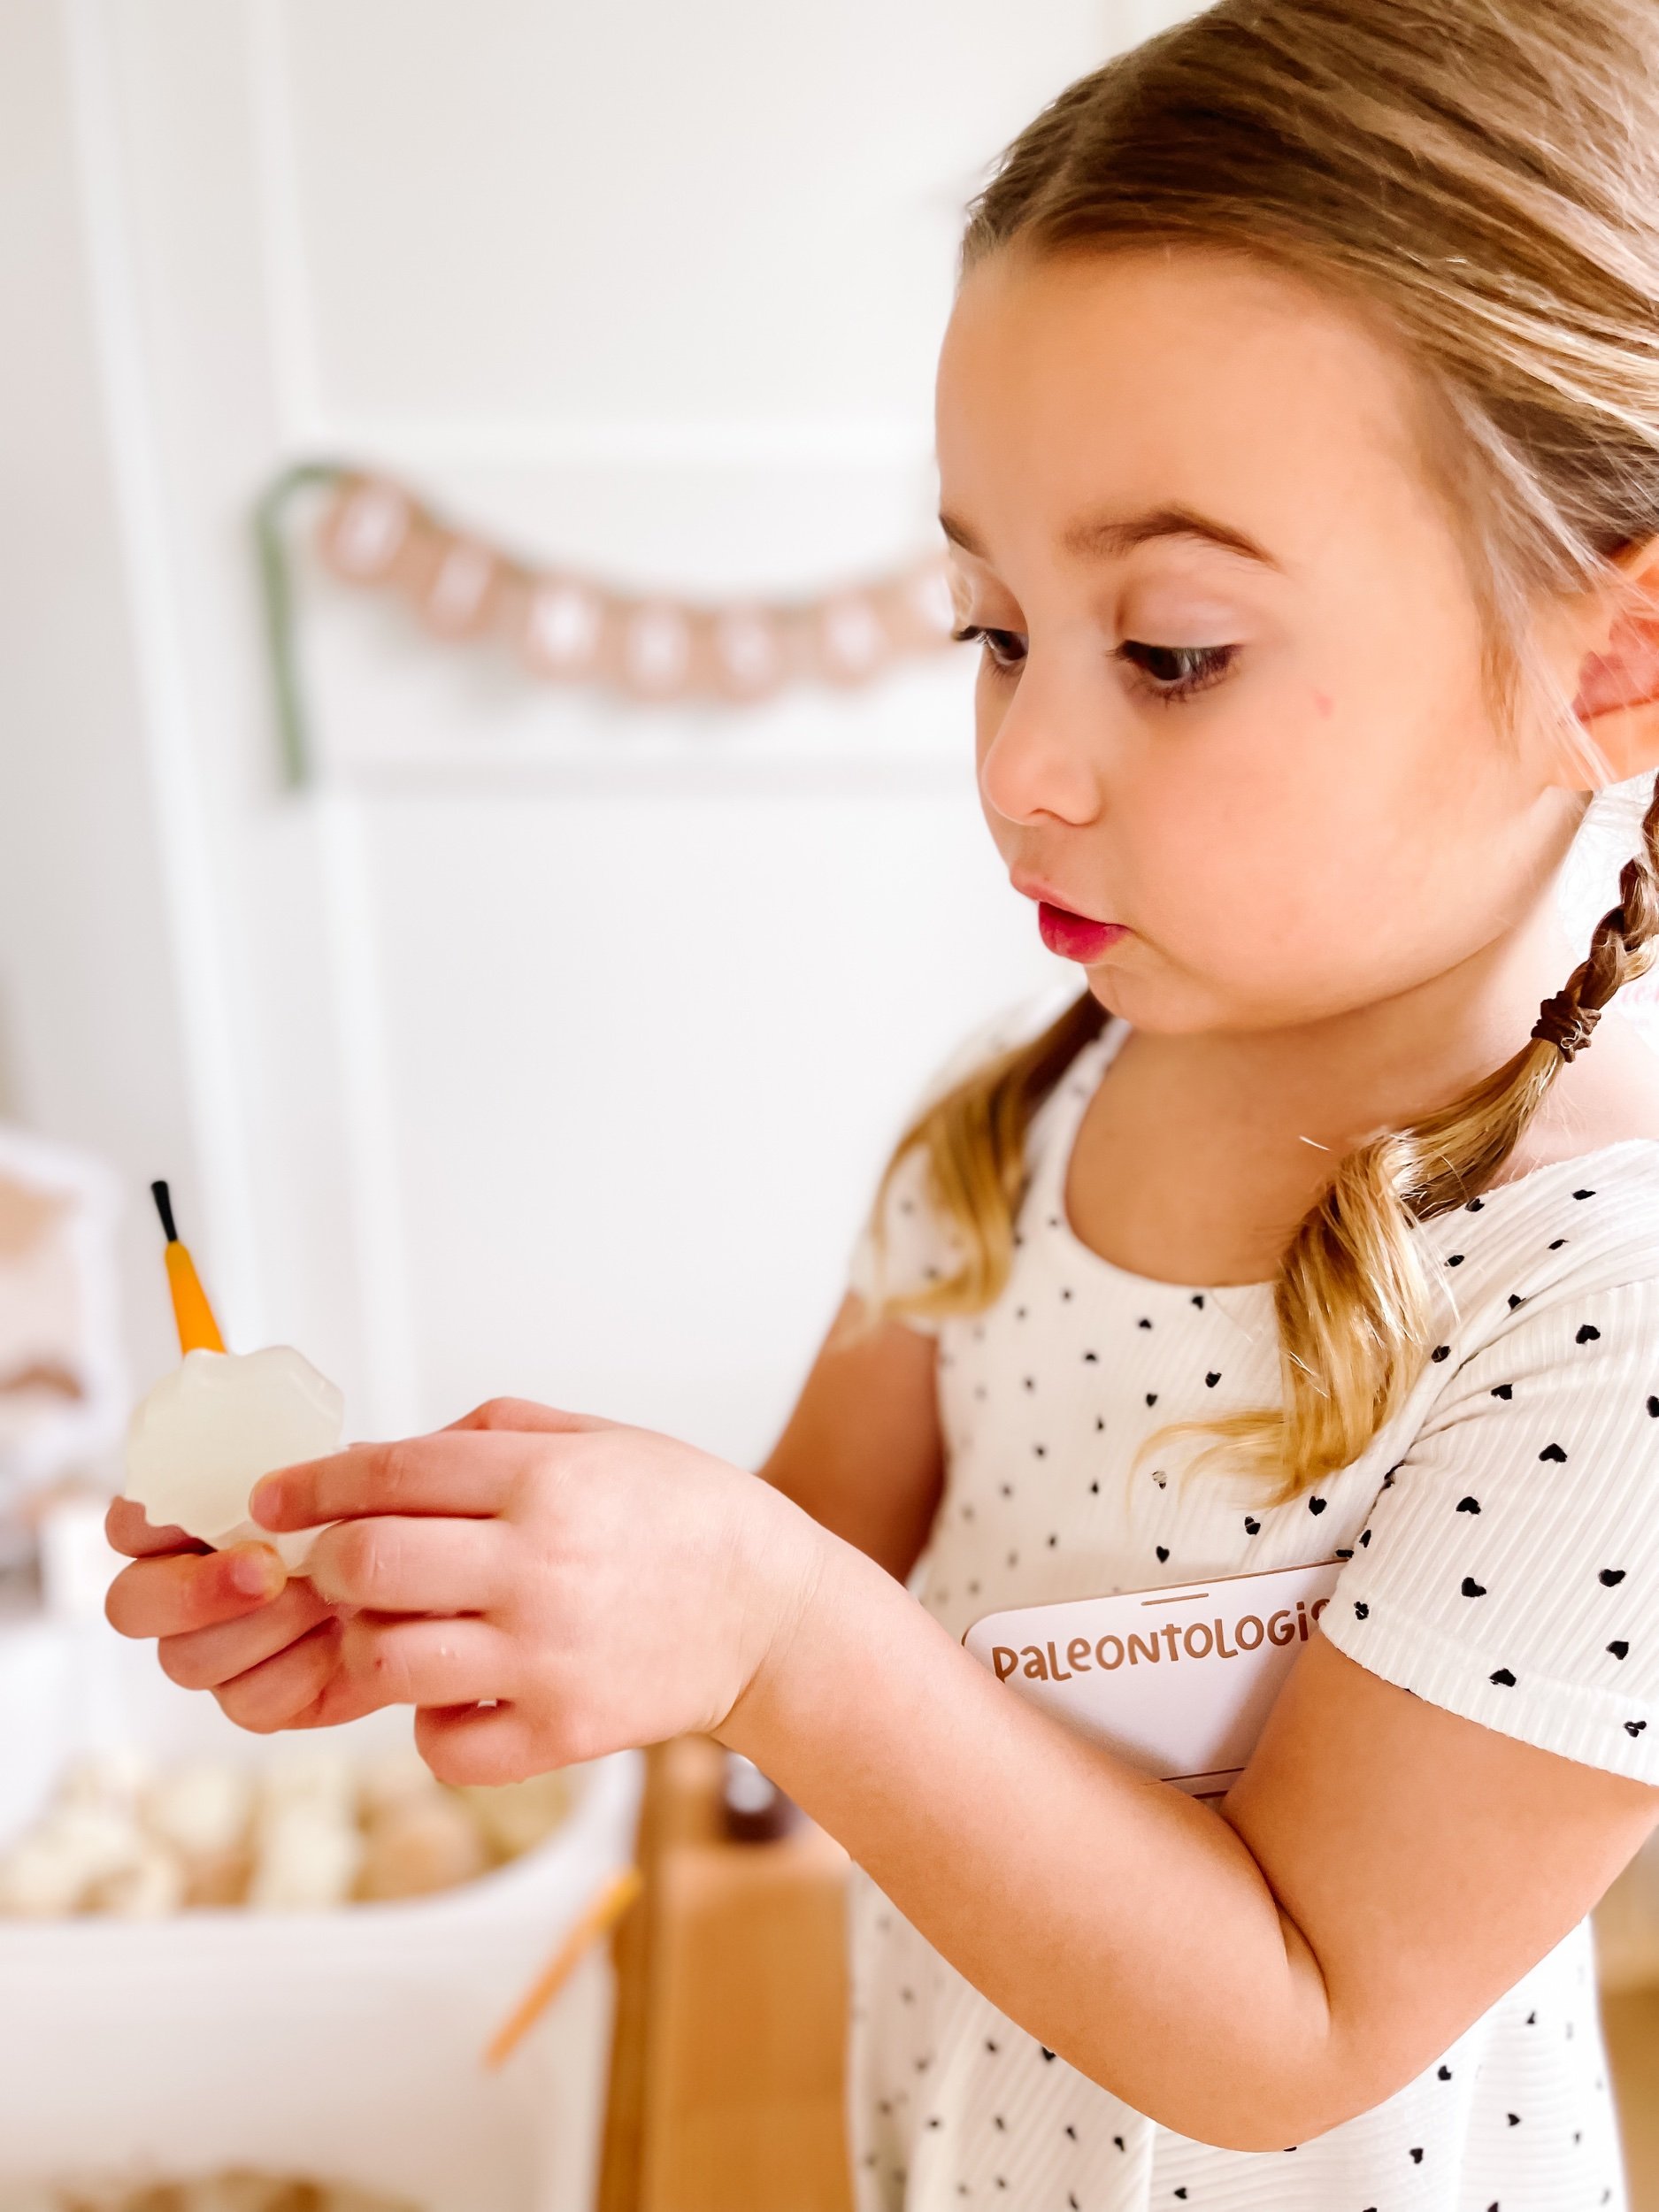
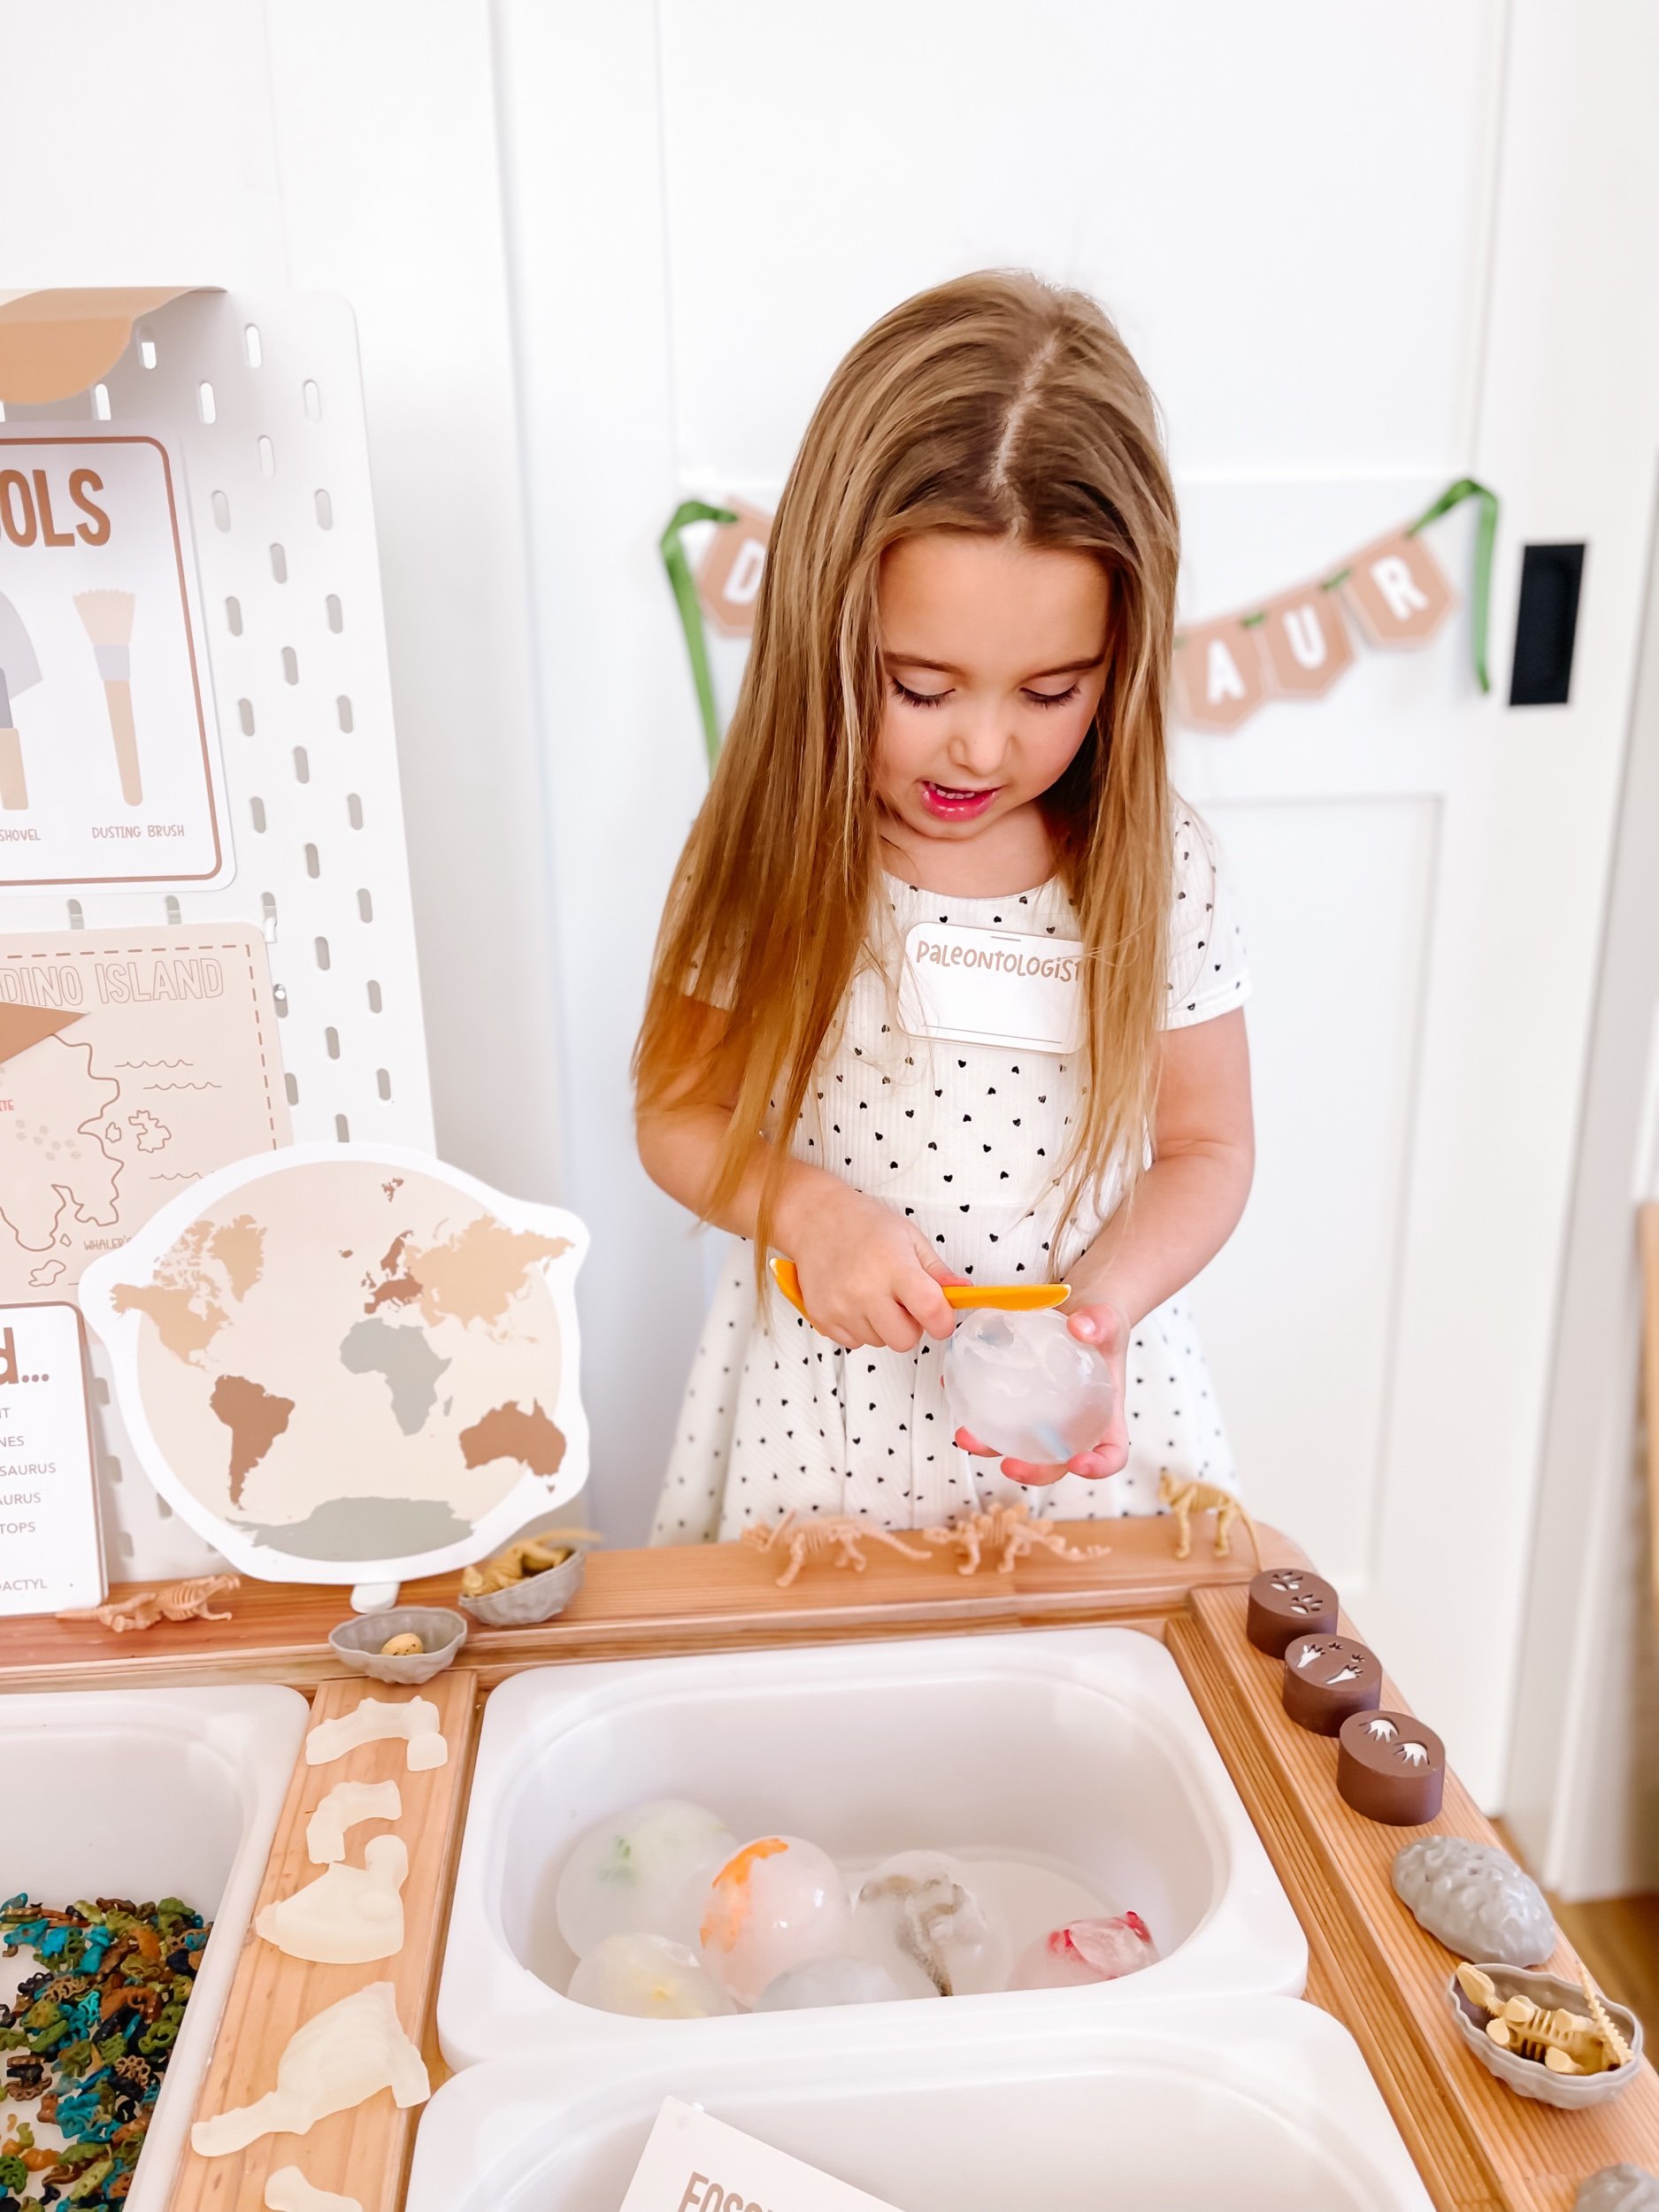
8. Paleontologist Name Tag and ID: A special paleontologist name tag and identification card, making your child an official member of the dinosaur excavation team. This encourages role-playing and boosts their confidence and creativity.
Three Sensory Bins to Pair with the Play Kit
To enhance the sensory experience, we recommend pairing the play kit with three sensory bins that will transport your little paleontologist into a world of sensory exploration. Let's dive into the details:
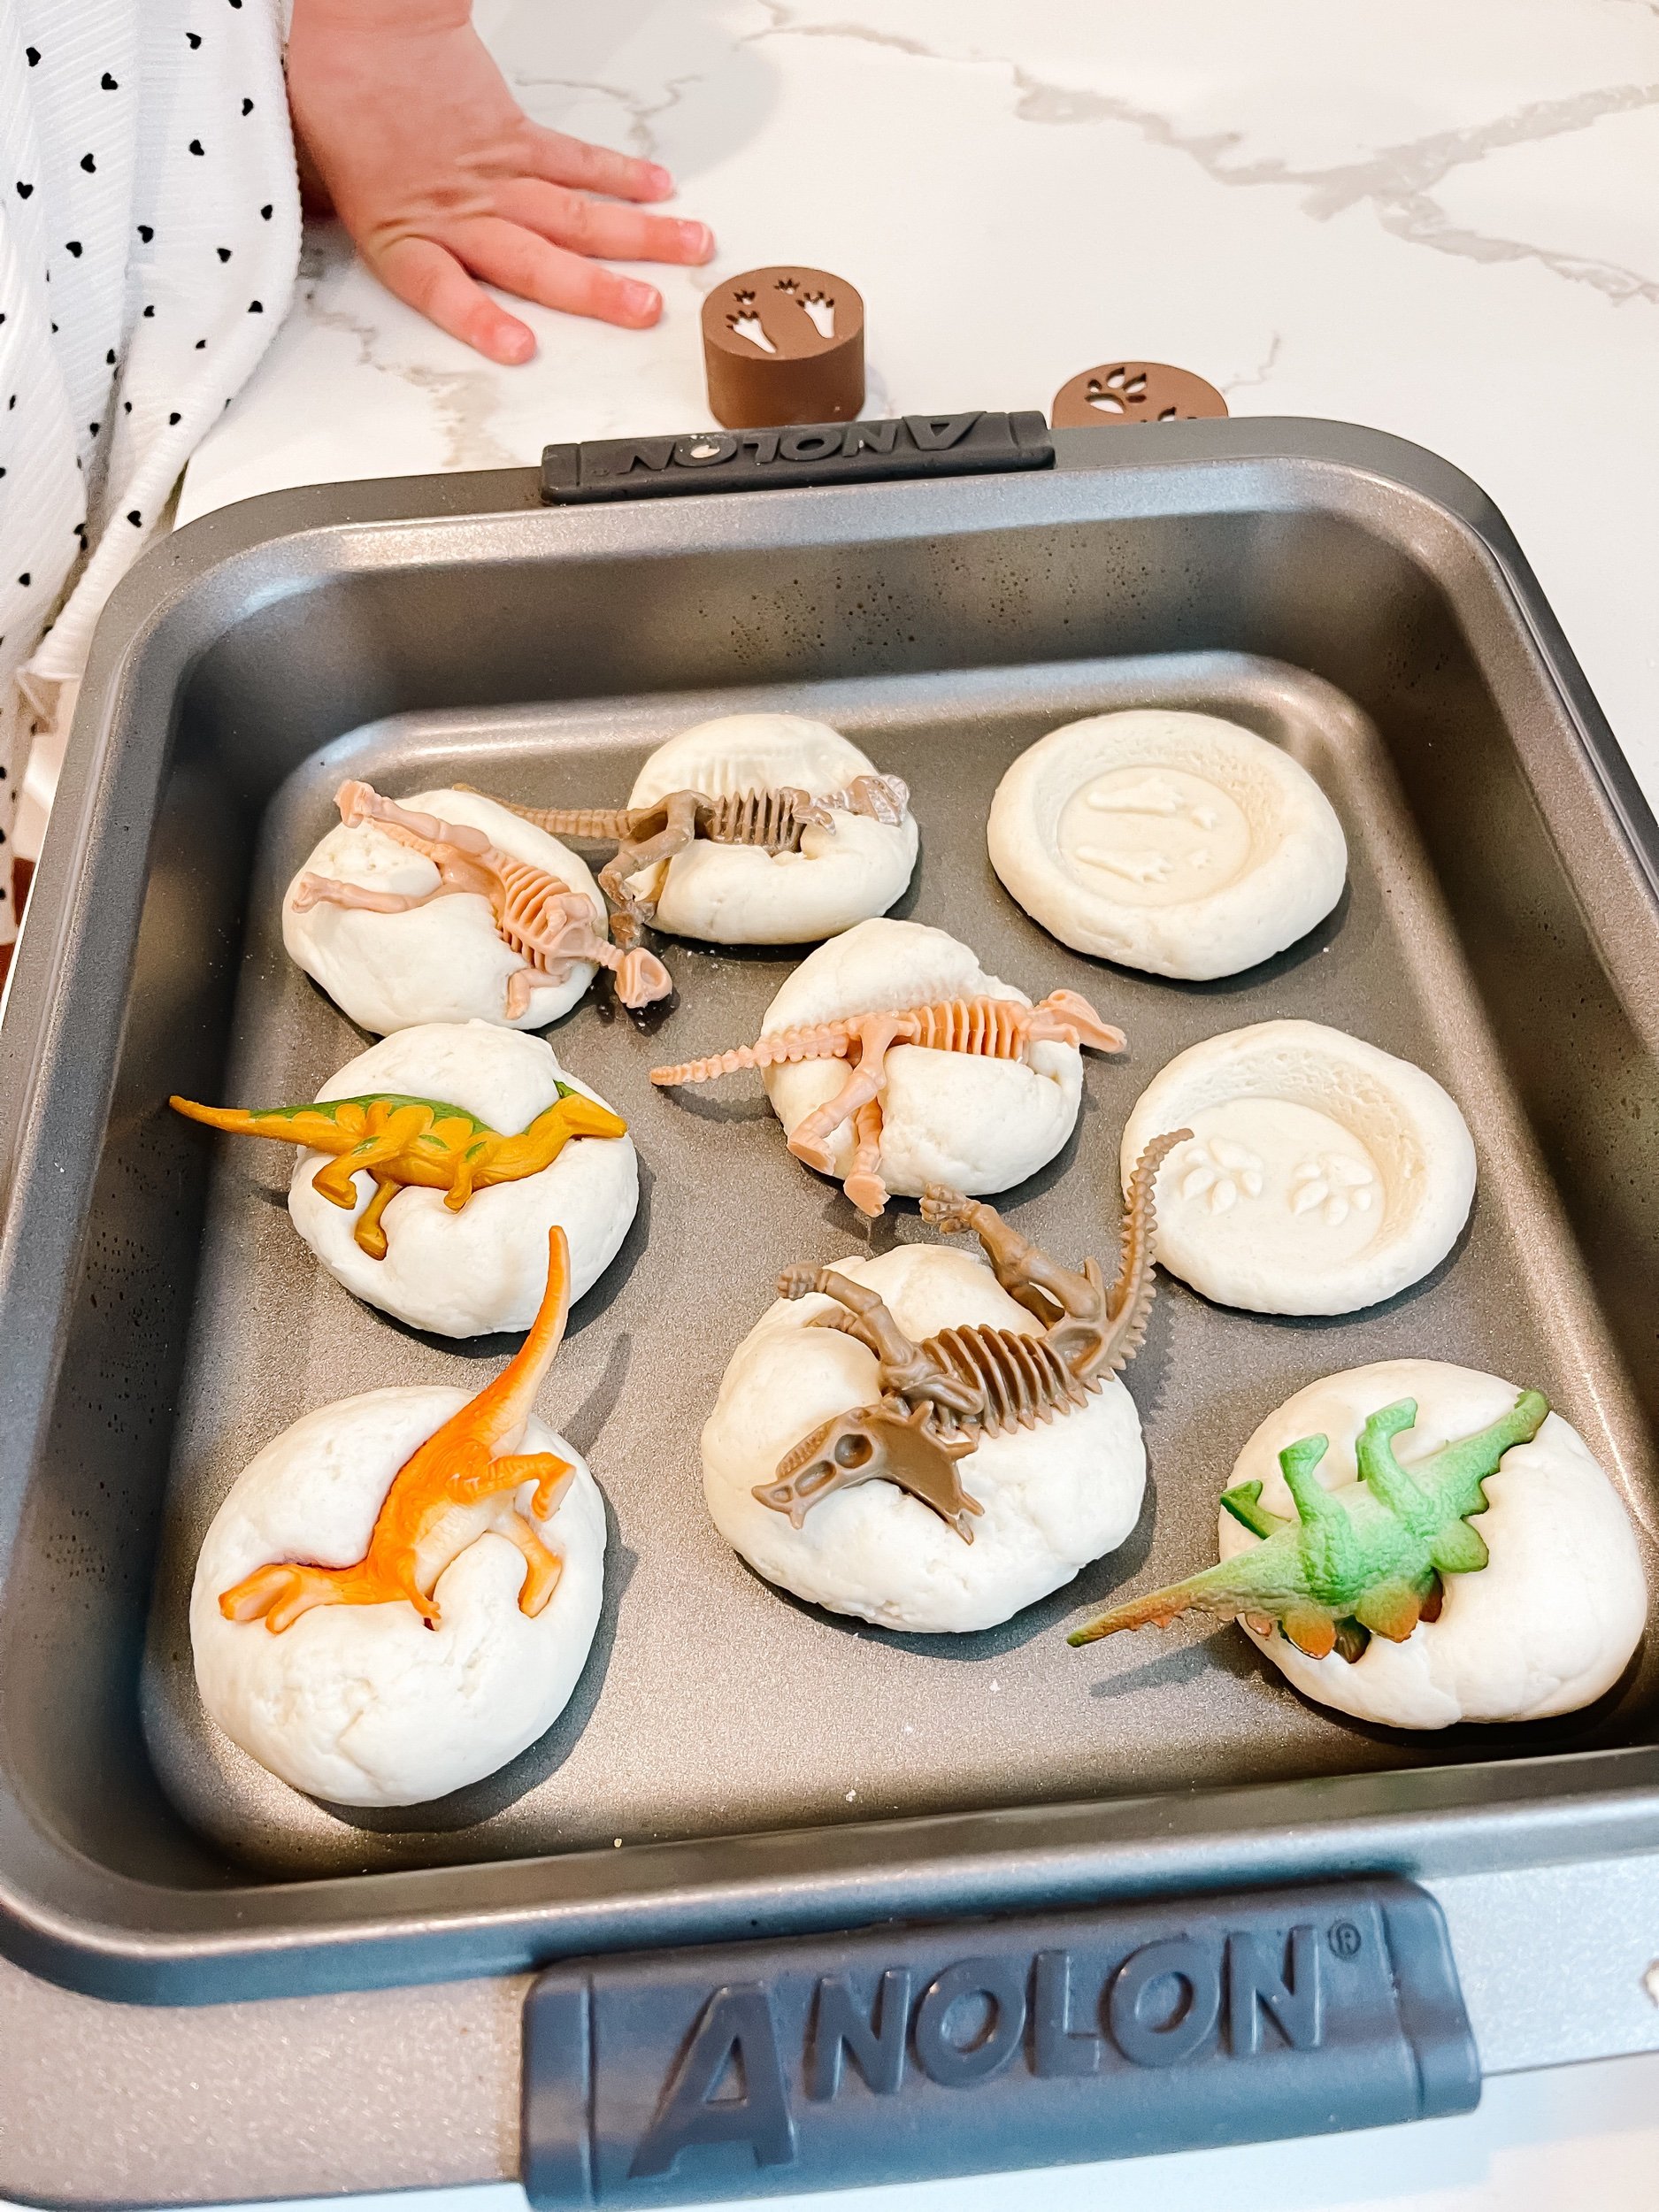
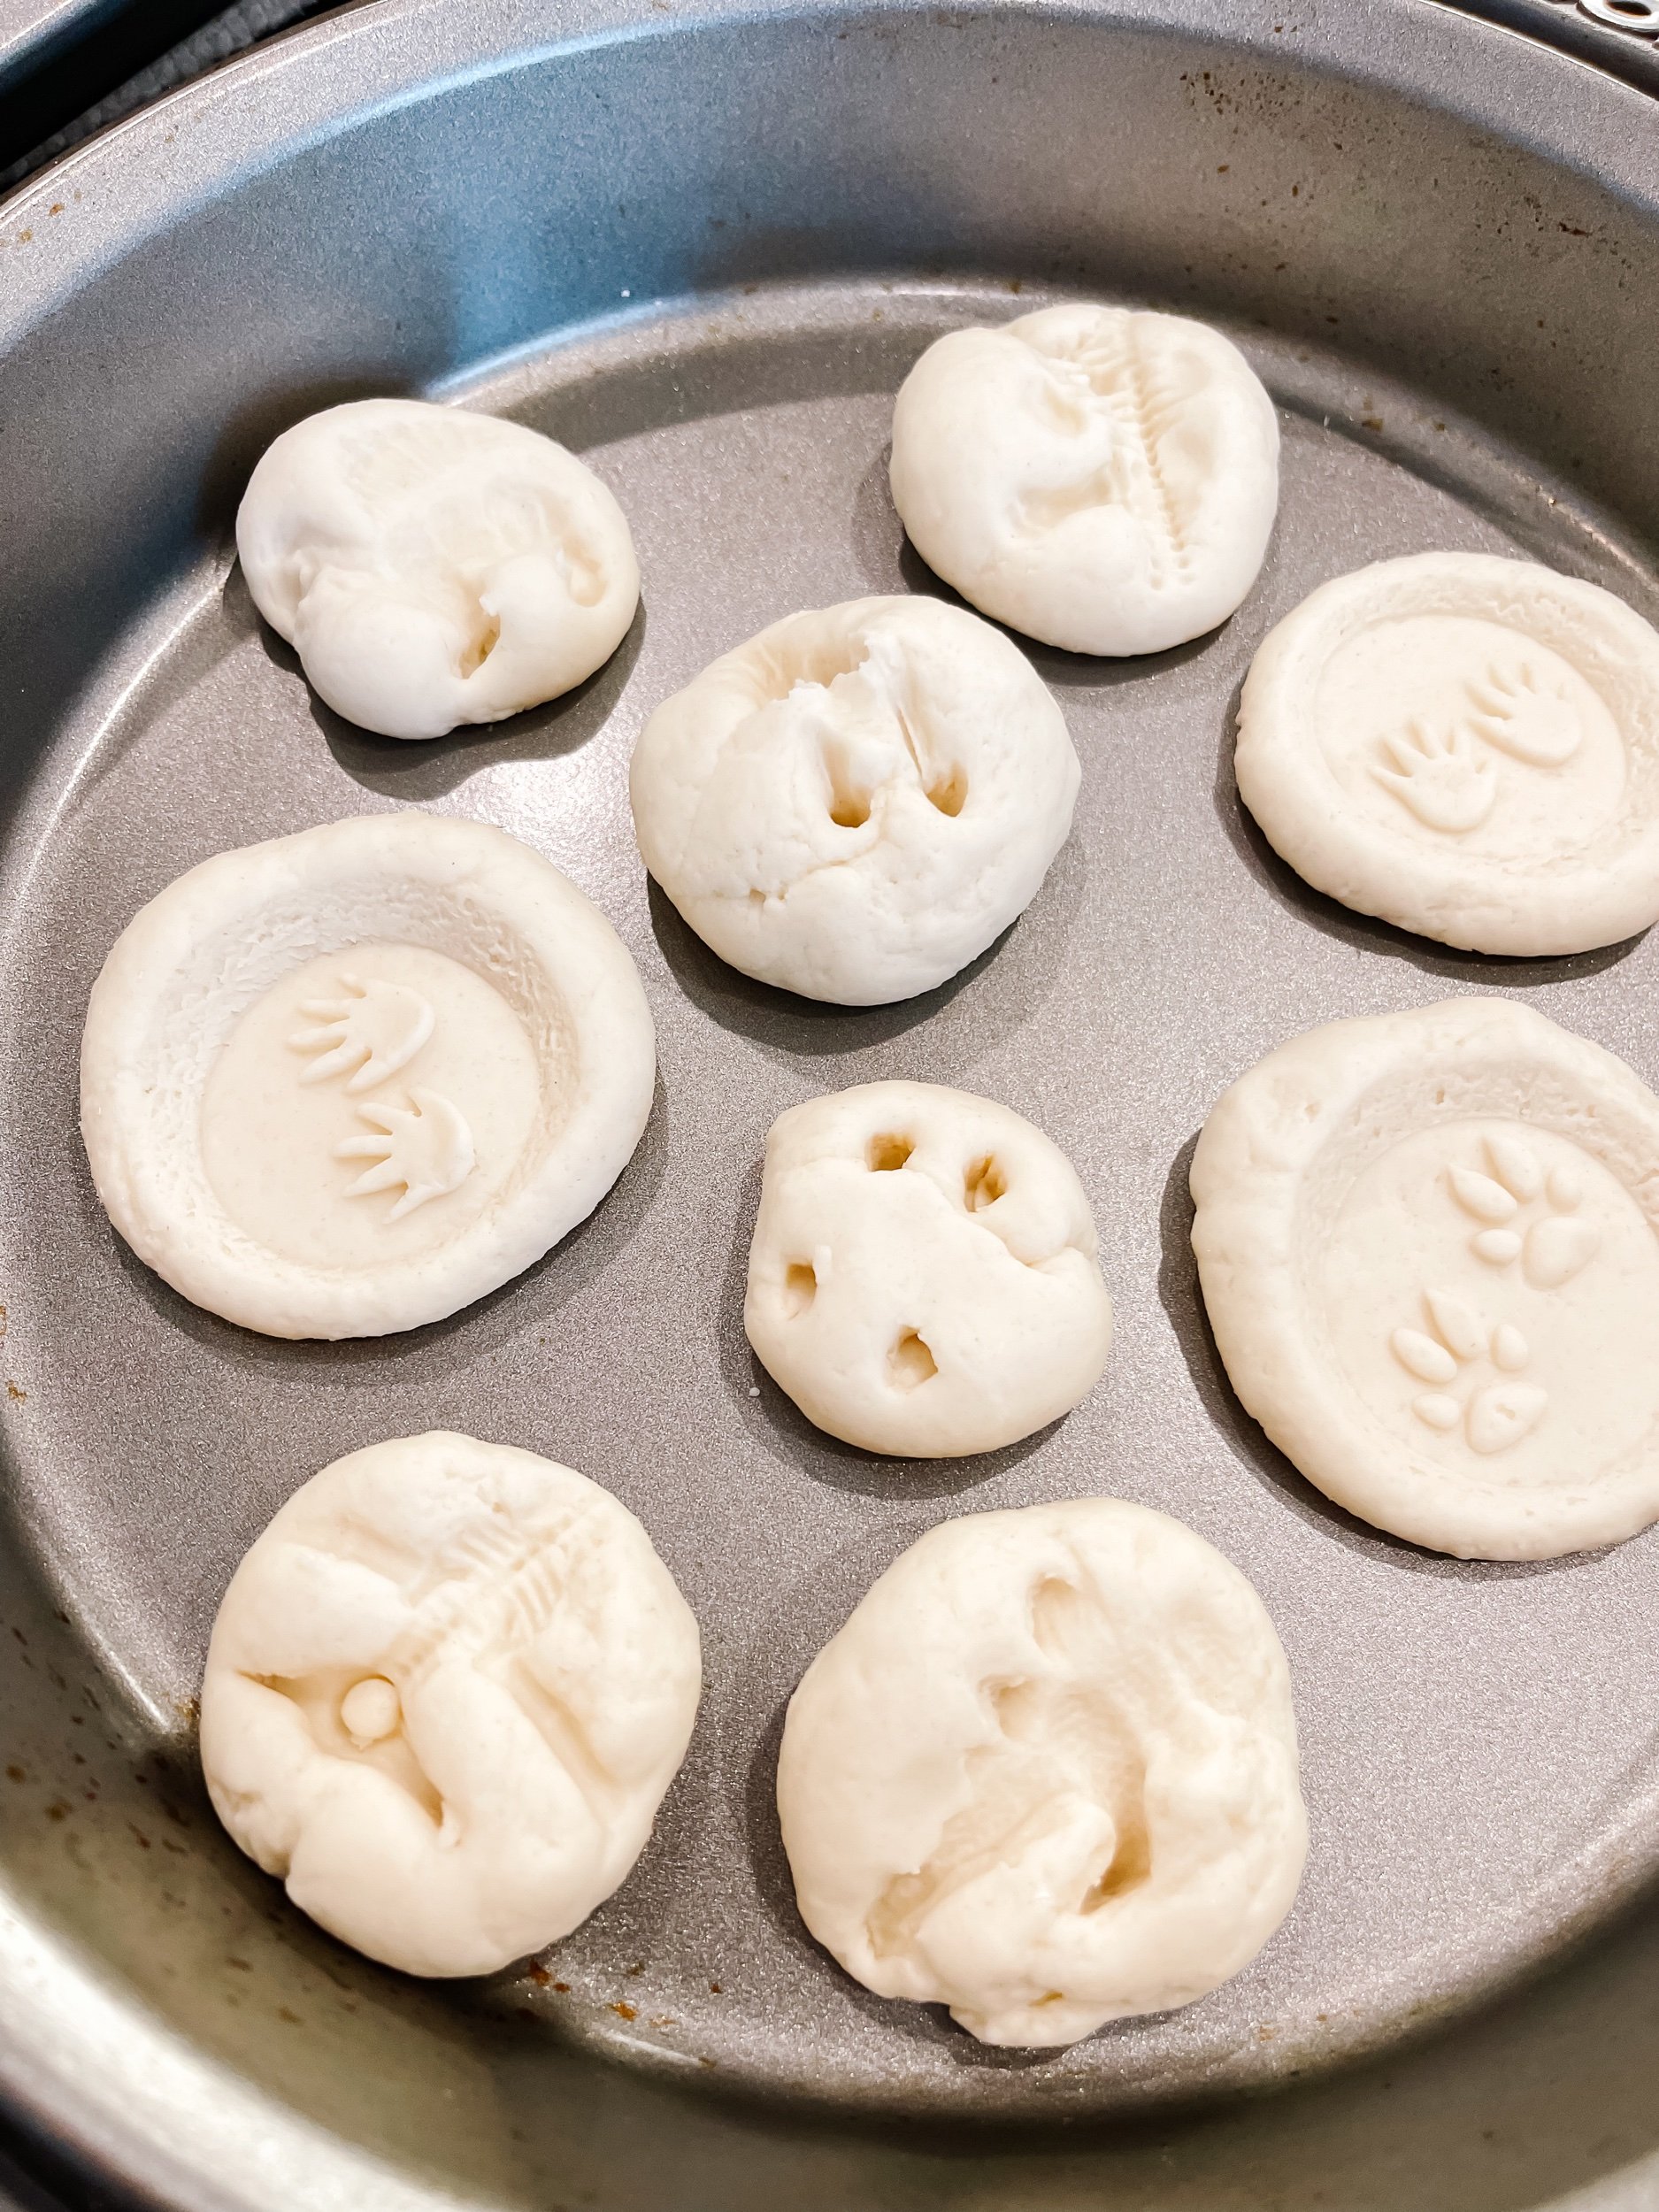
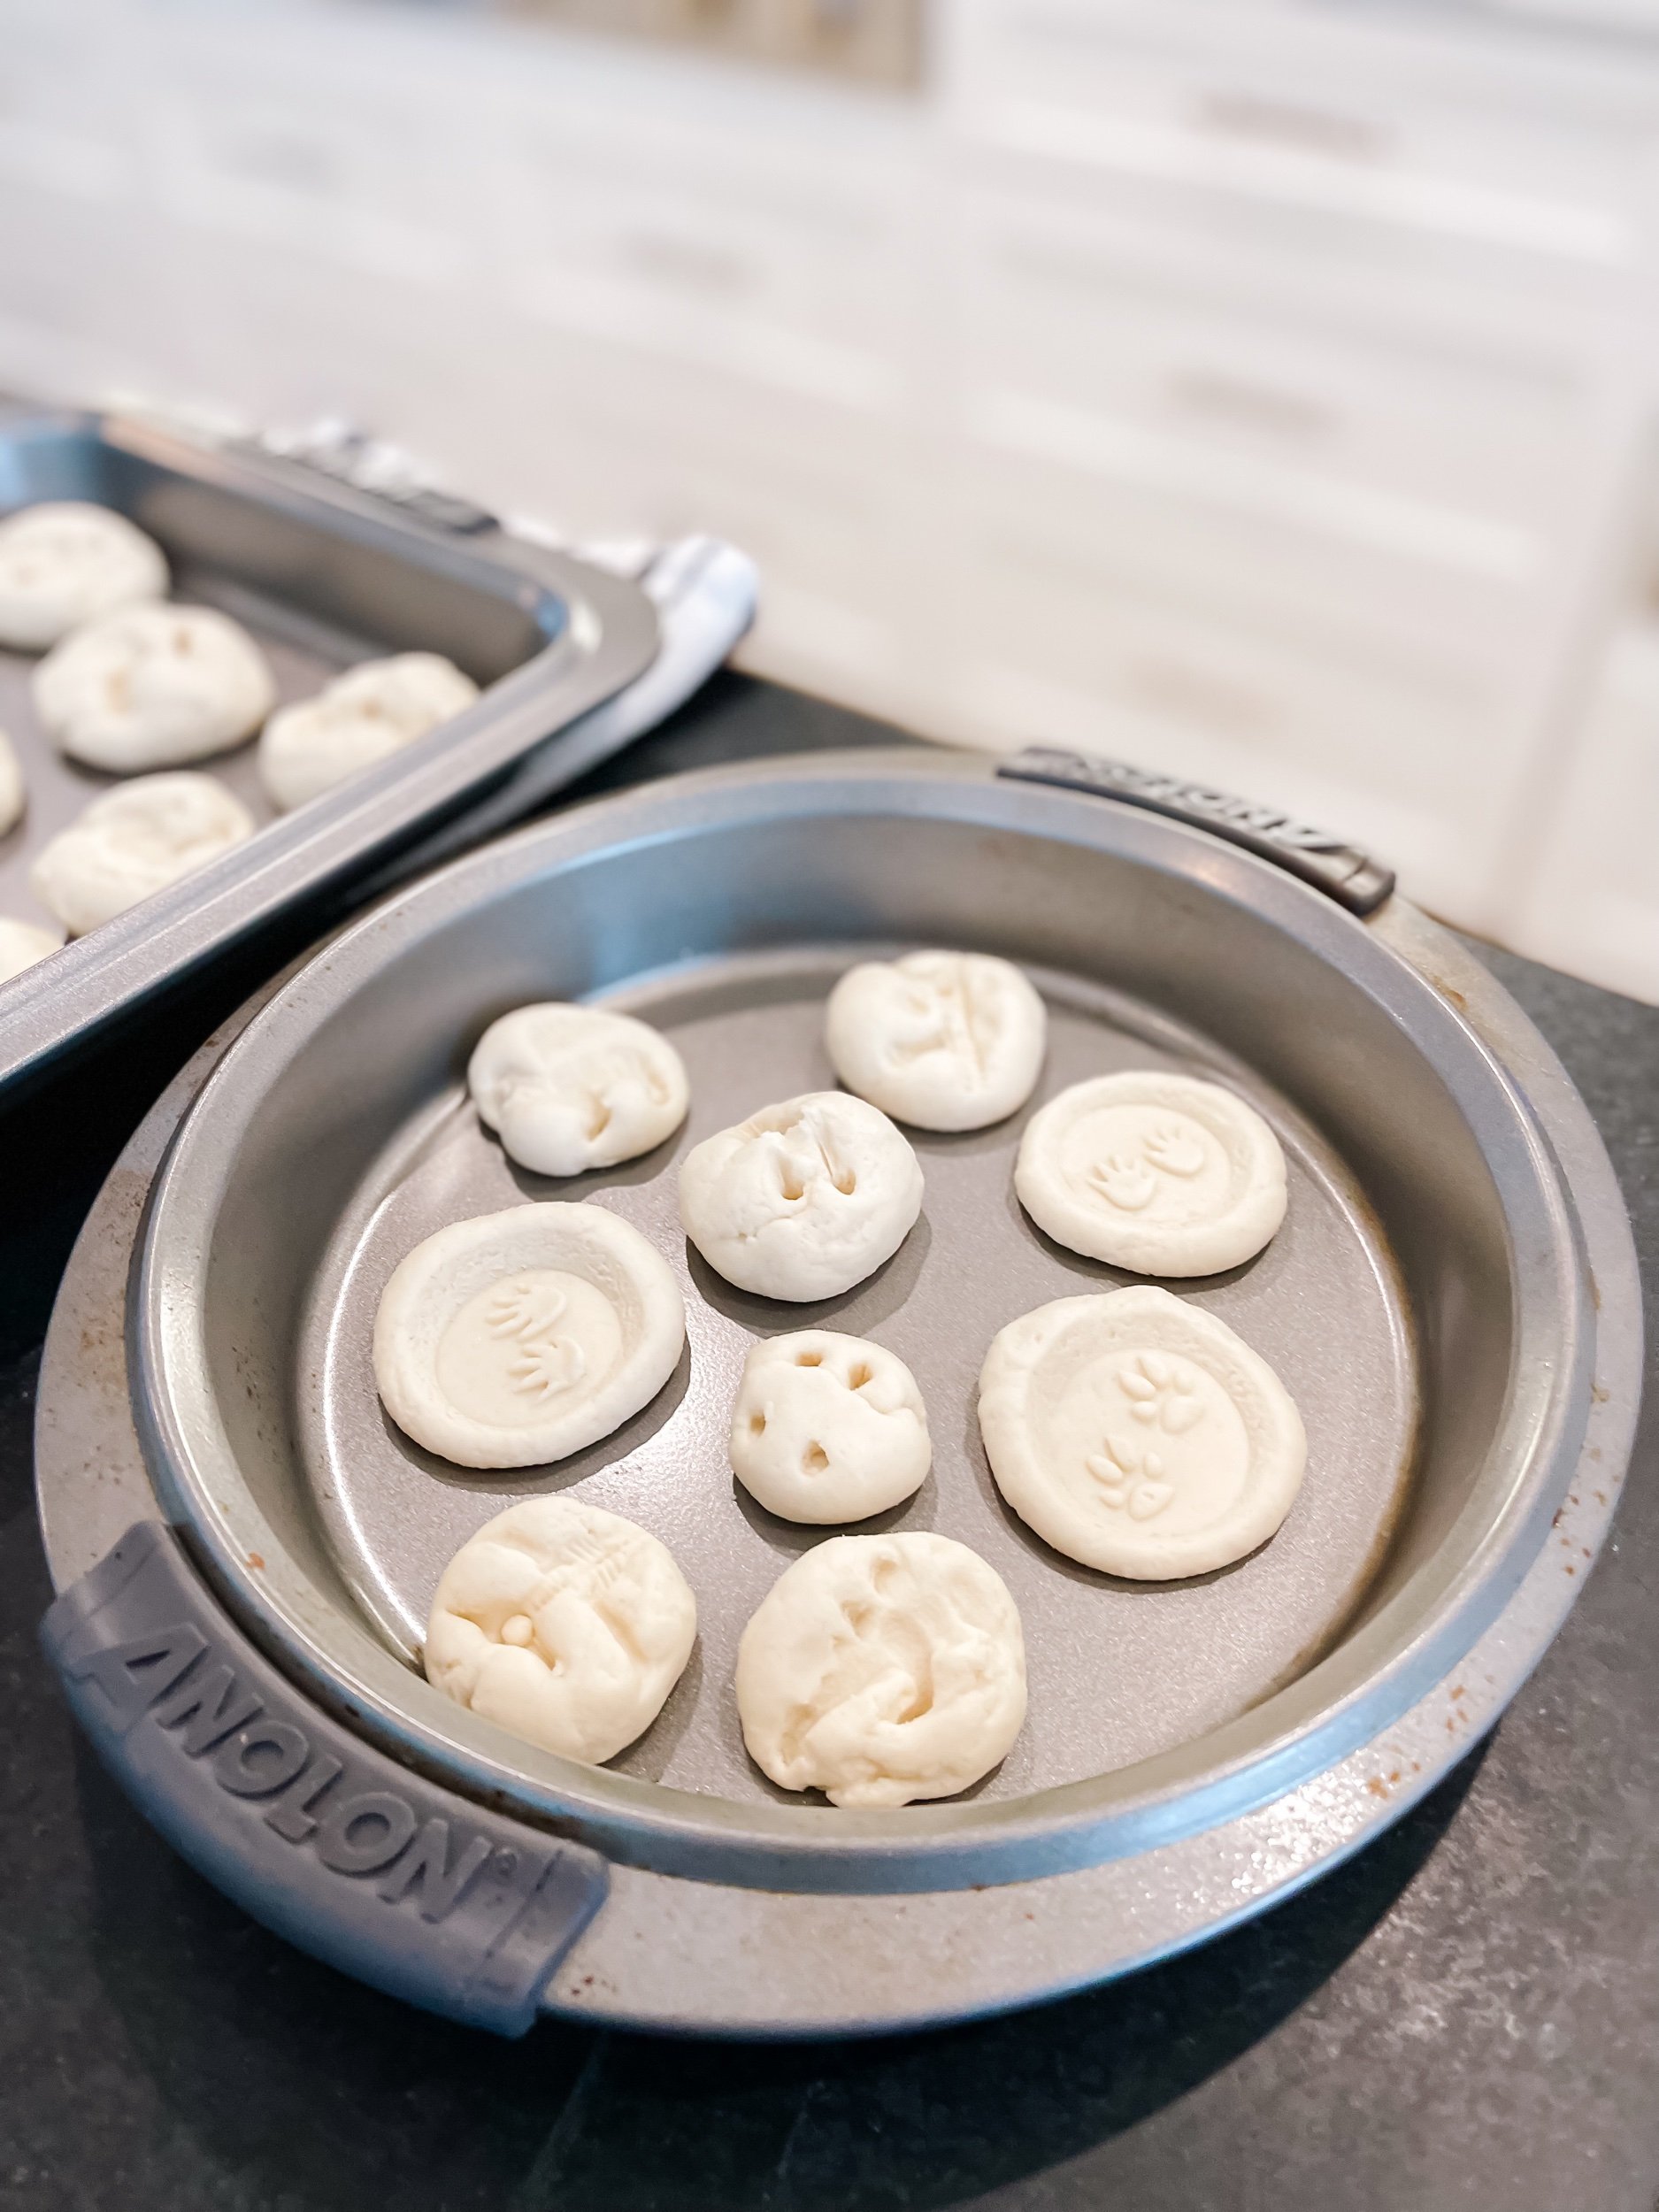
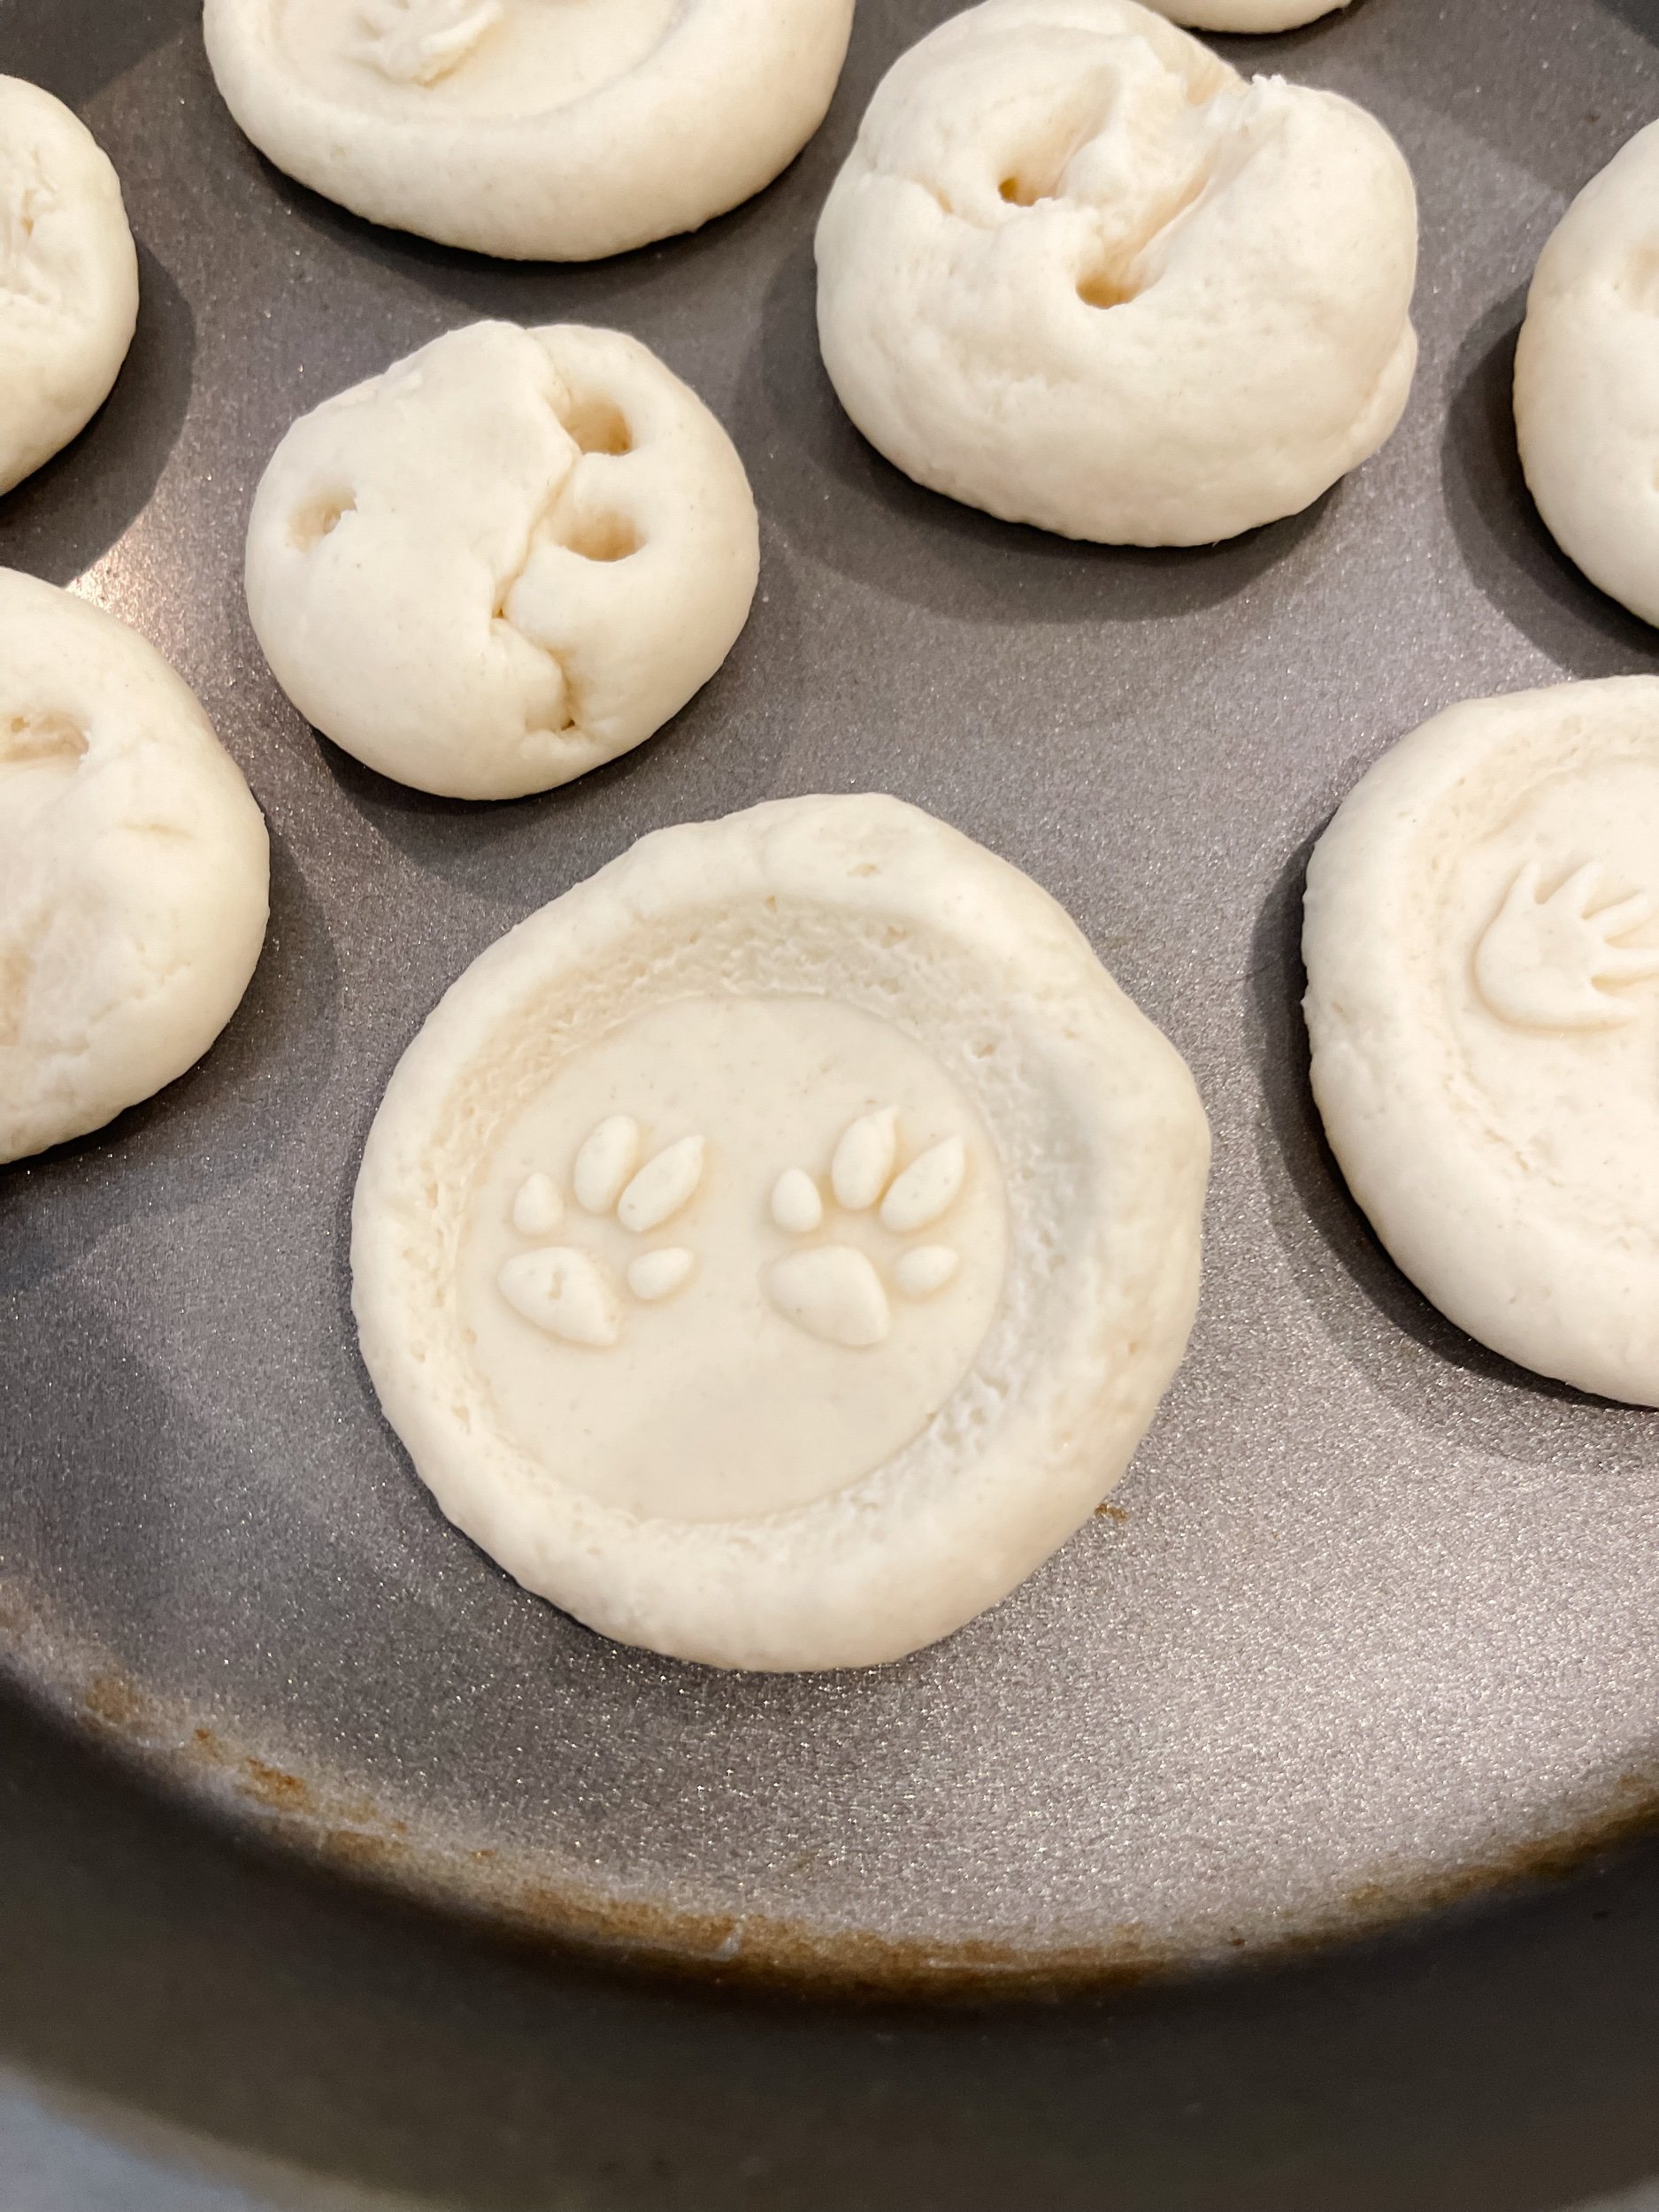
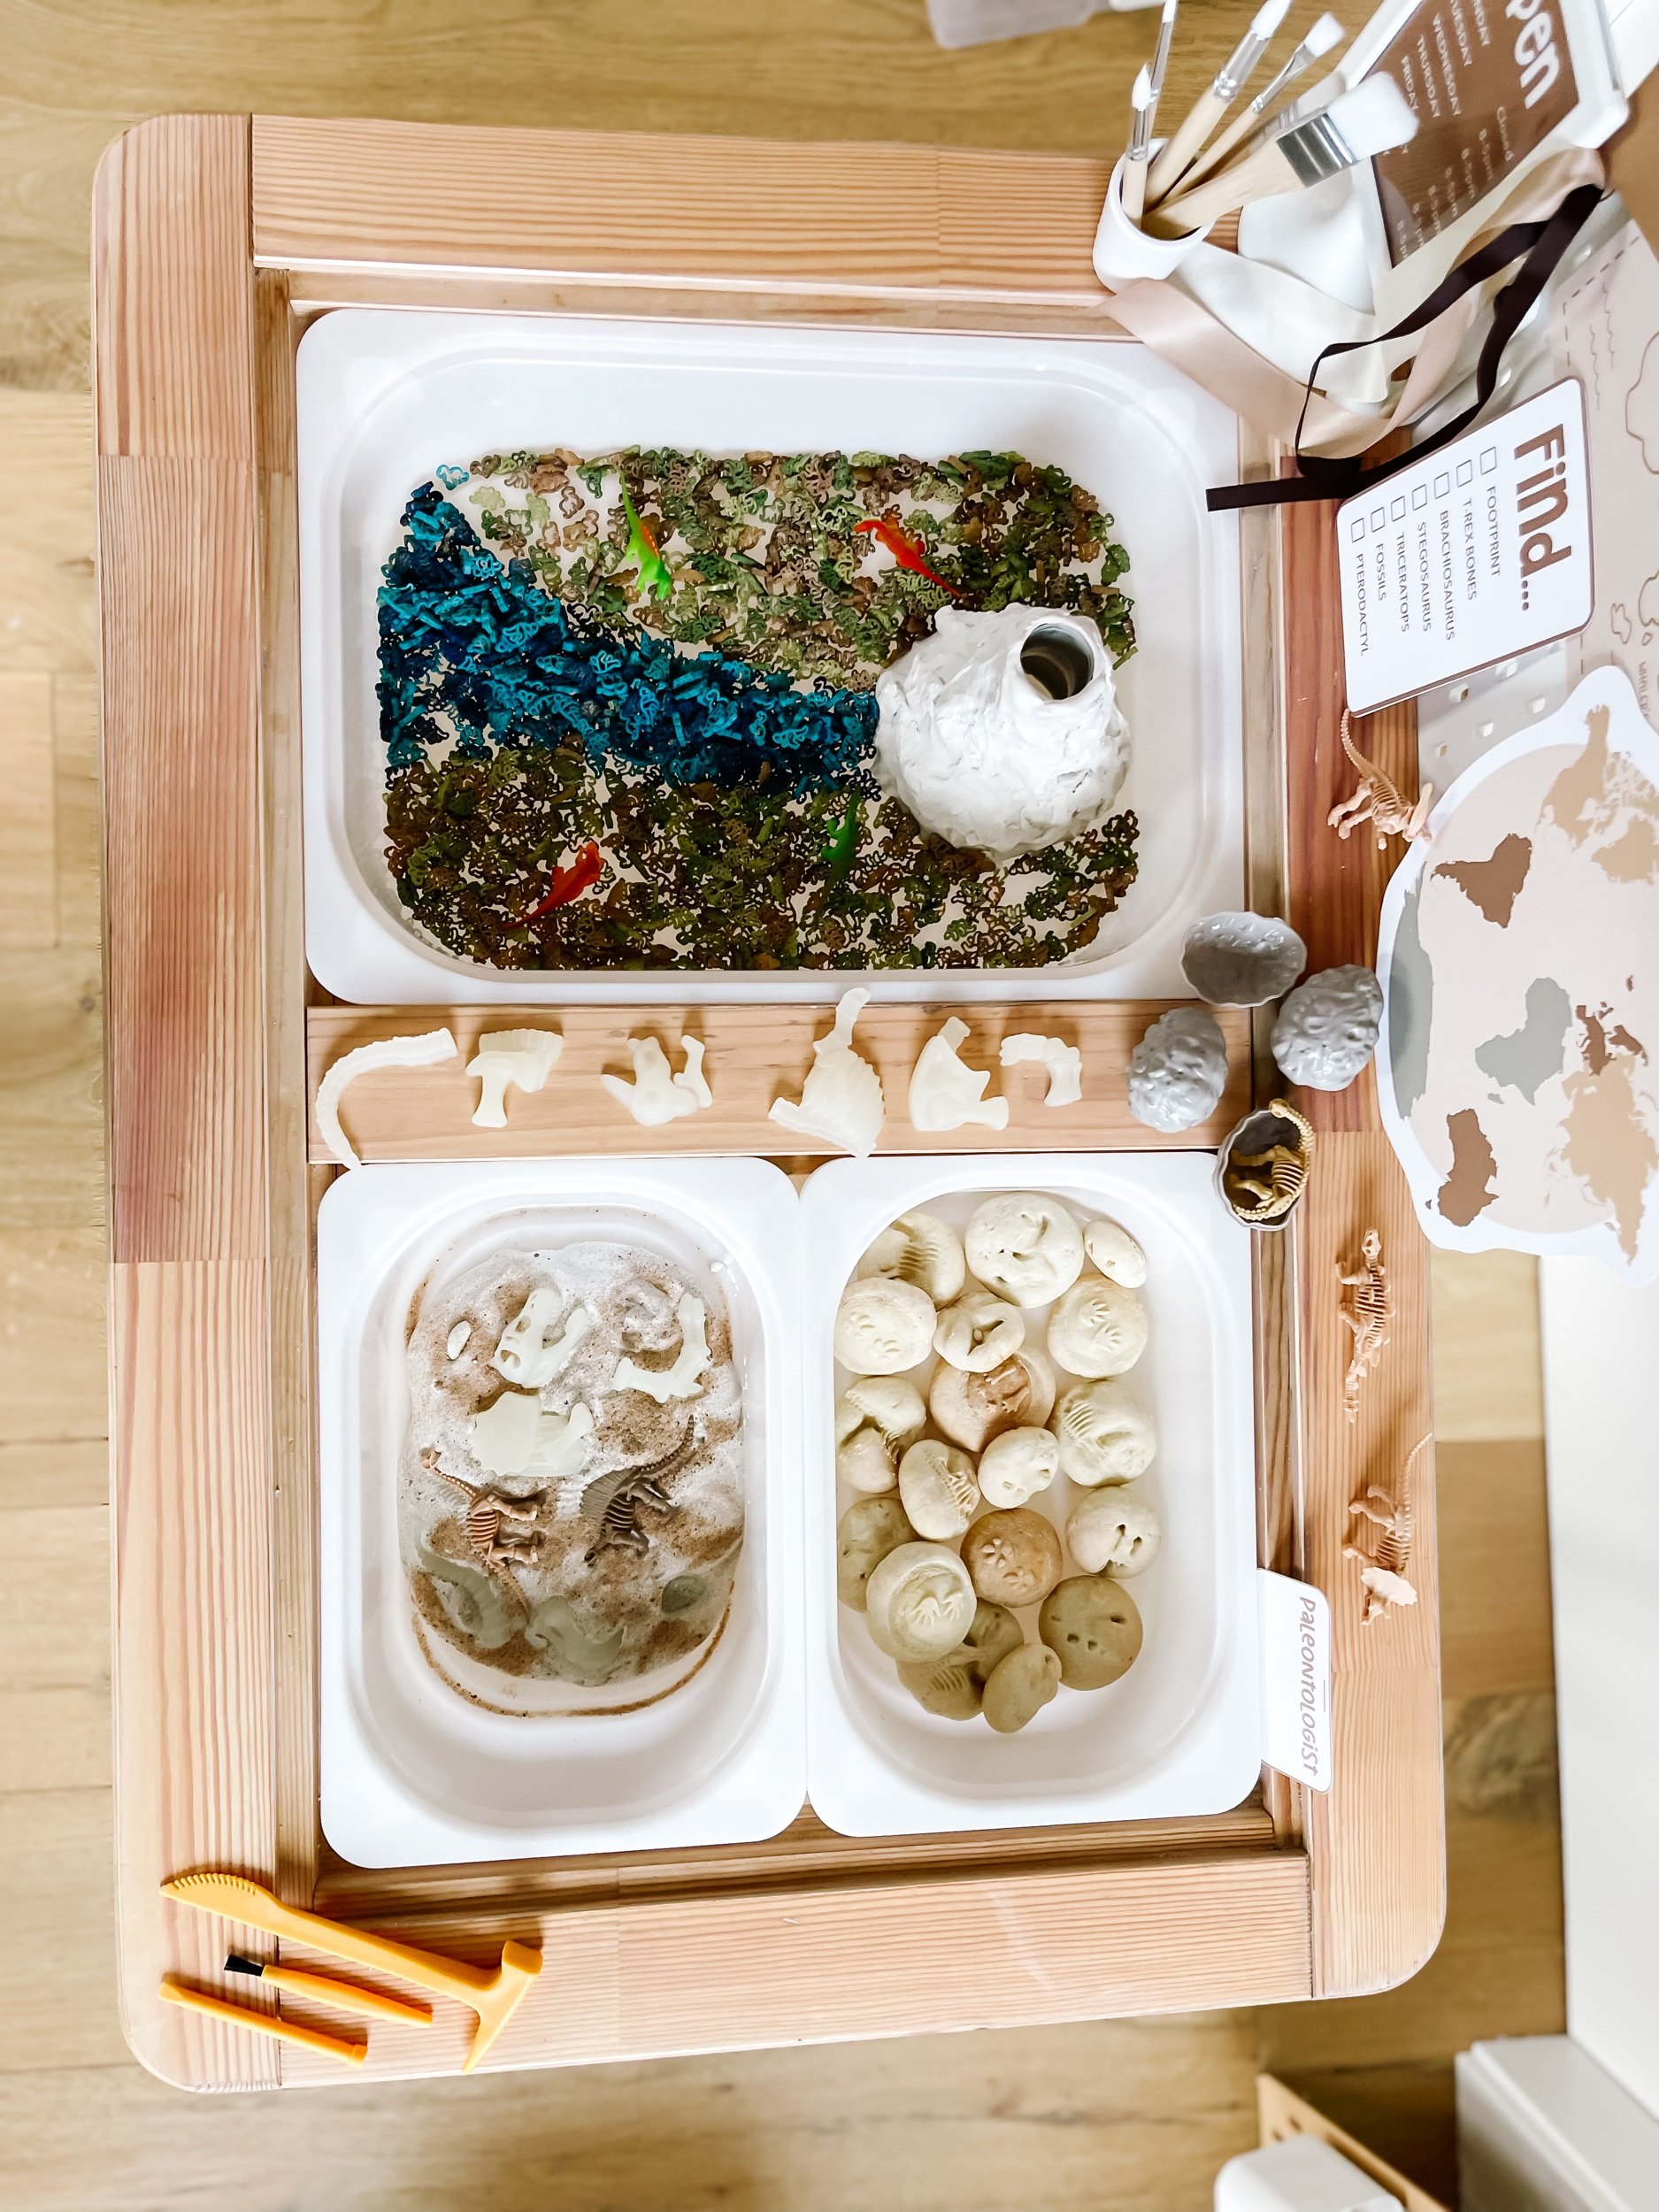
Salt dough fossils
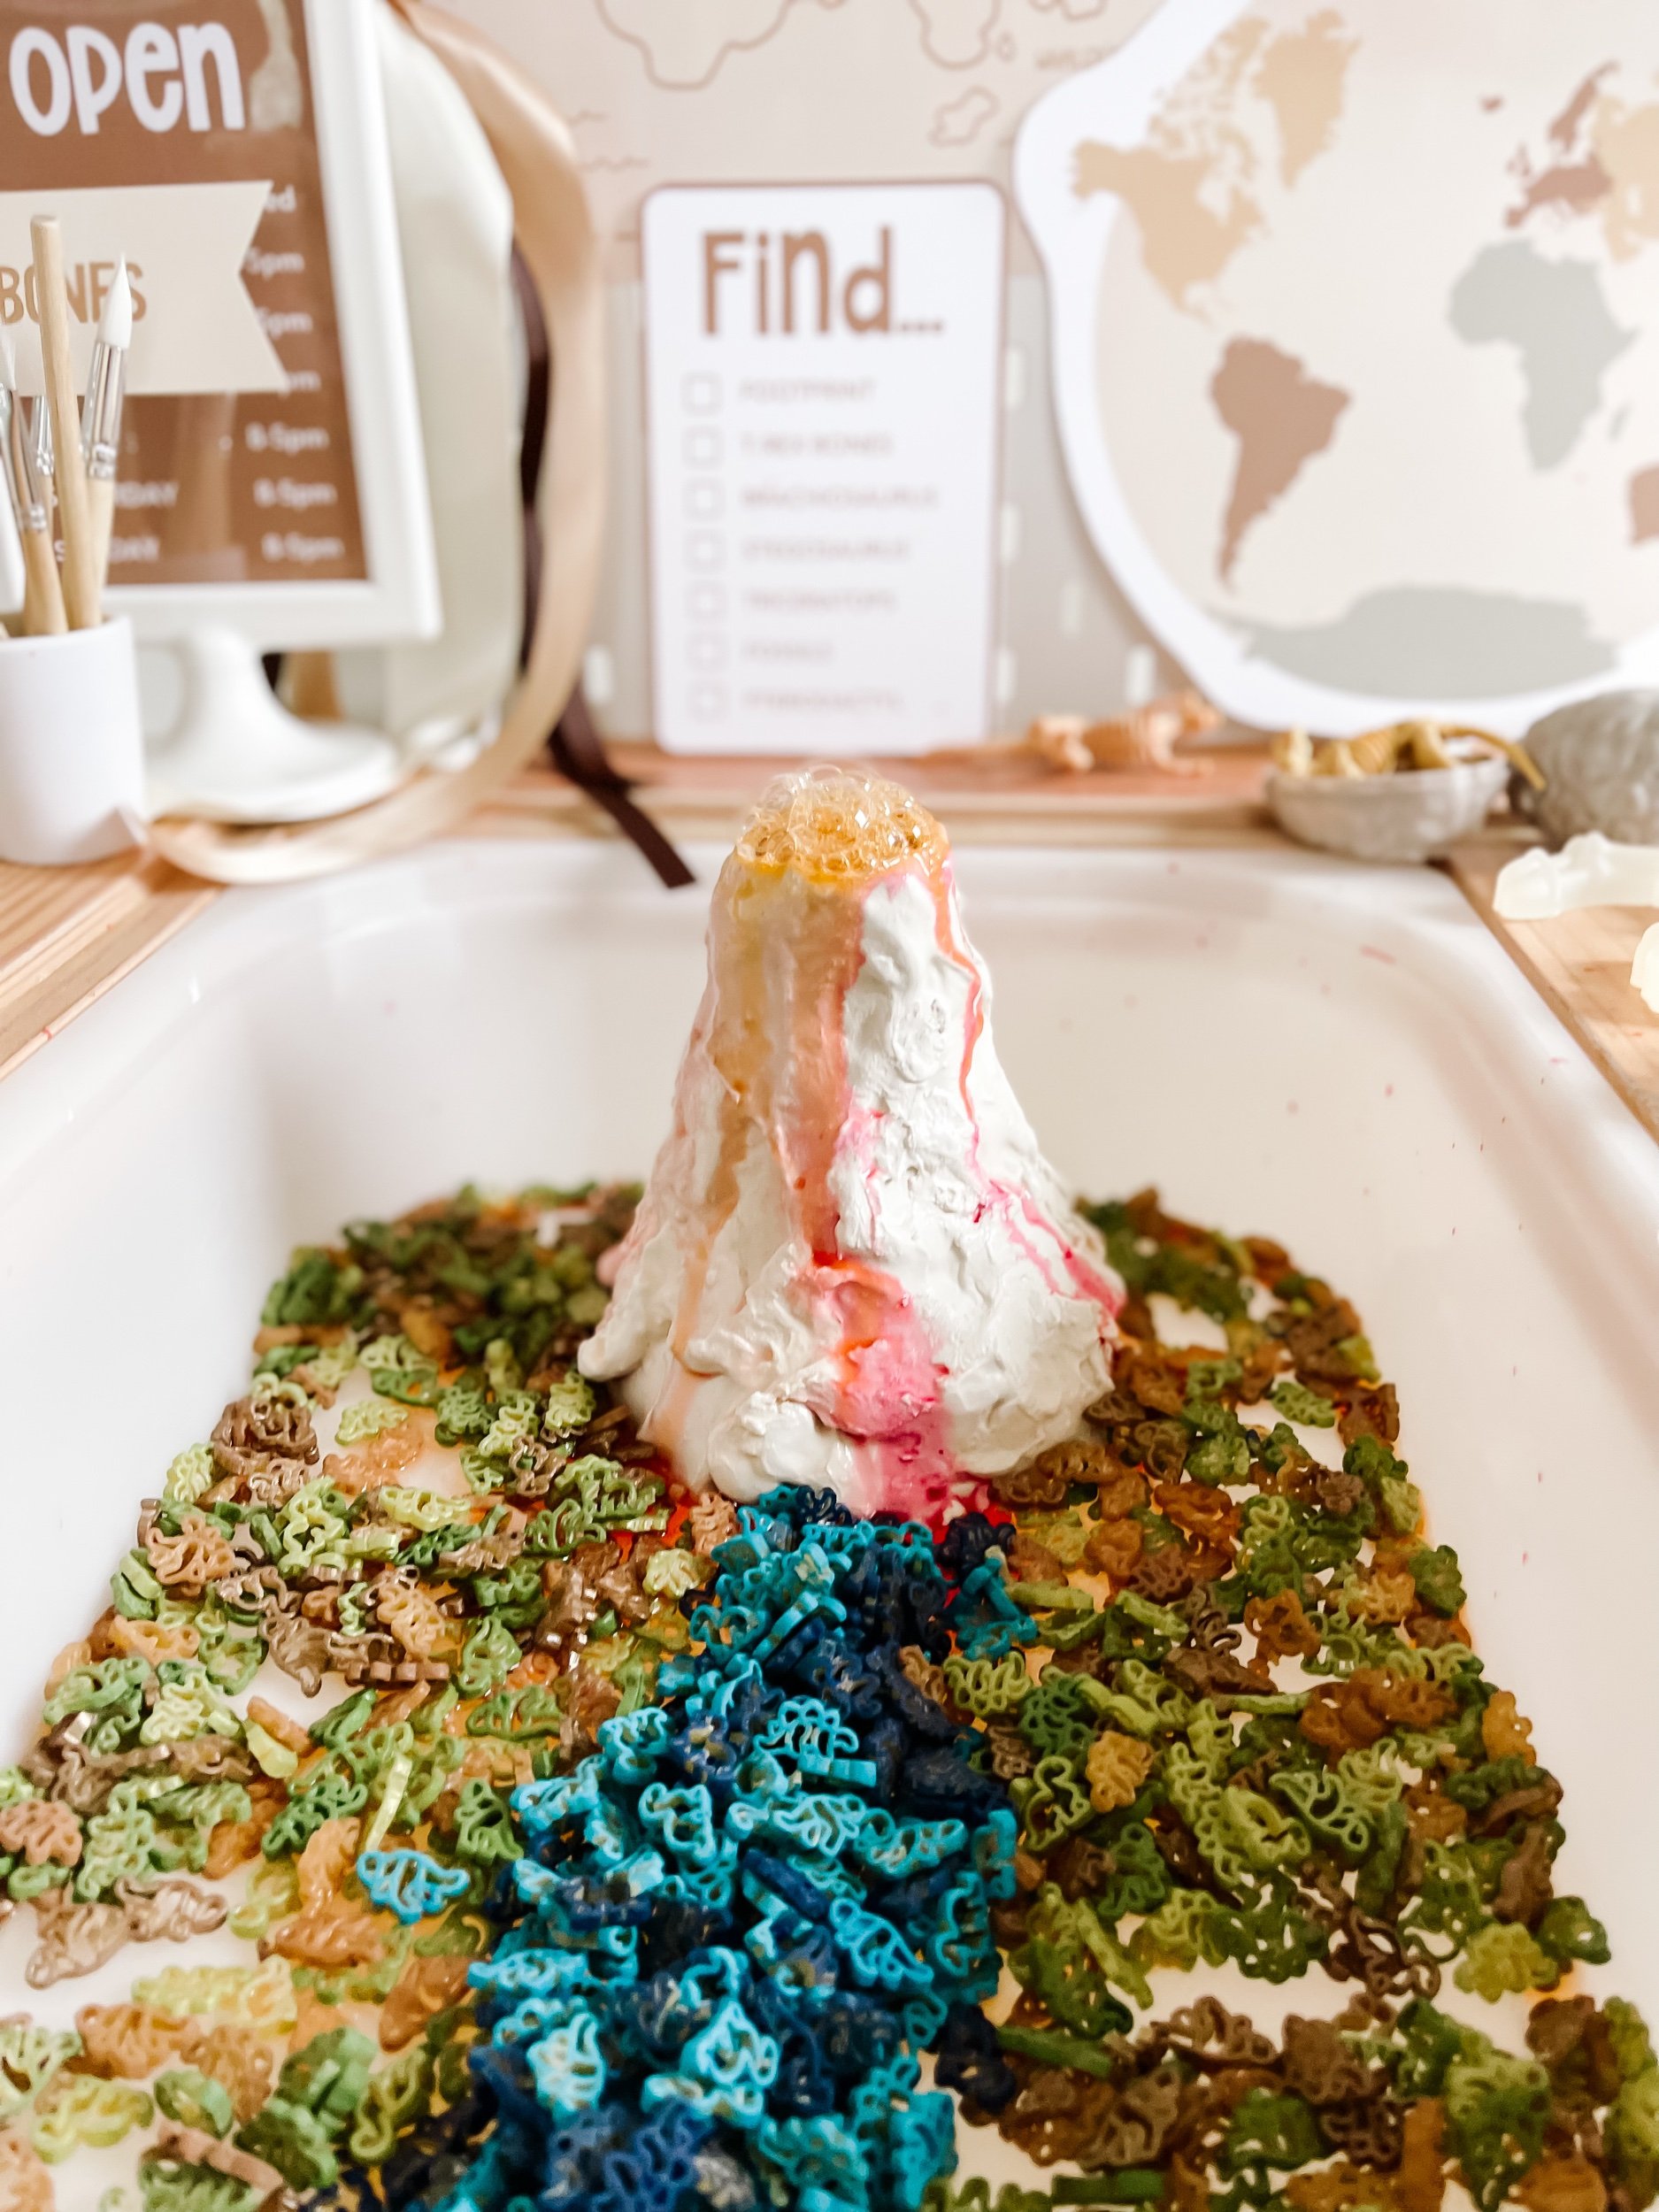
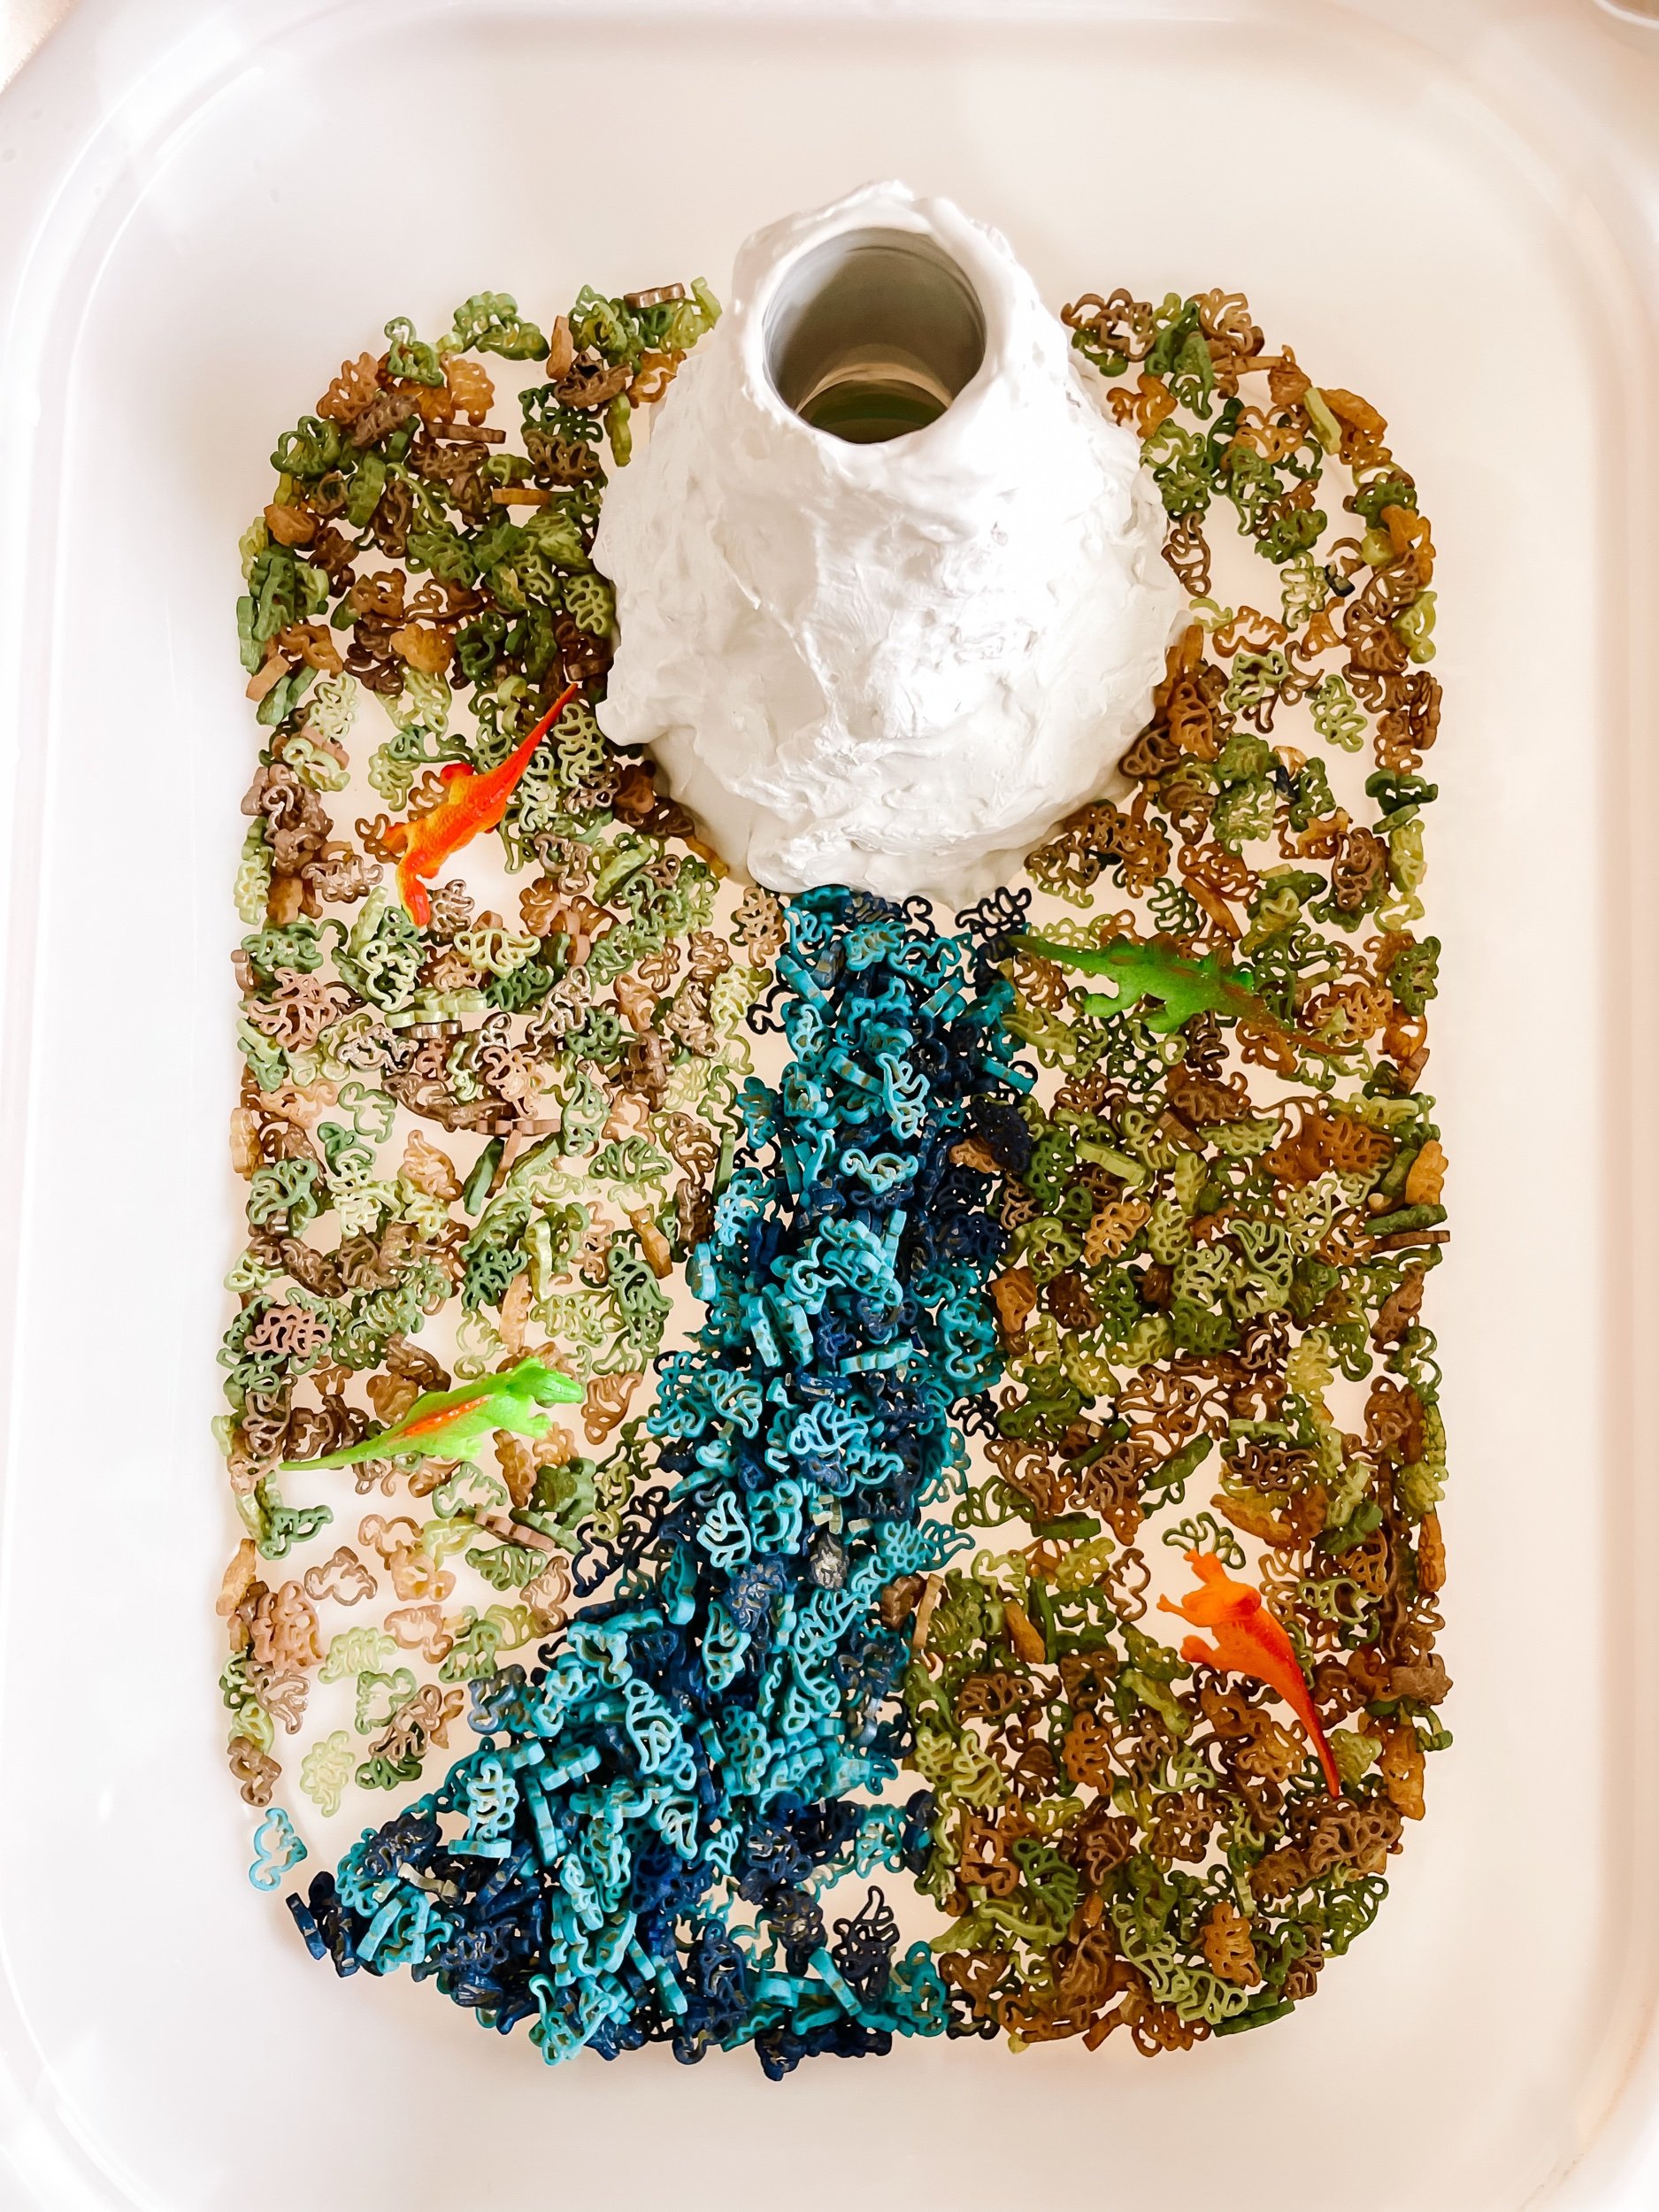
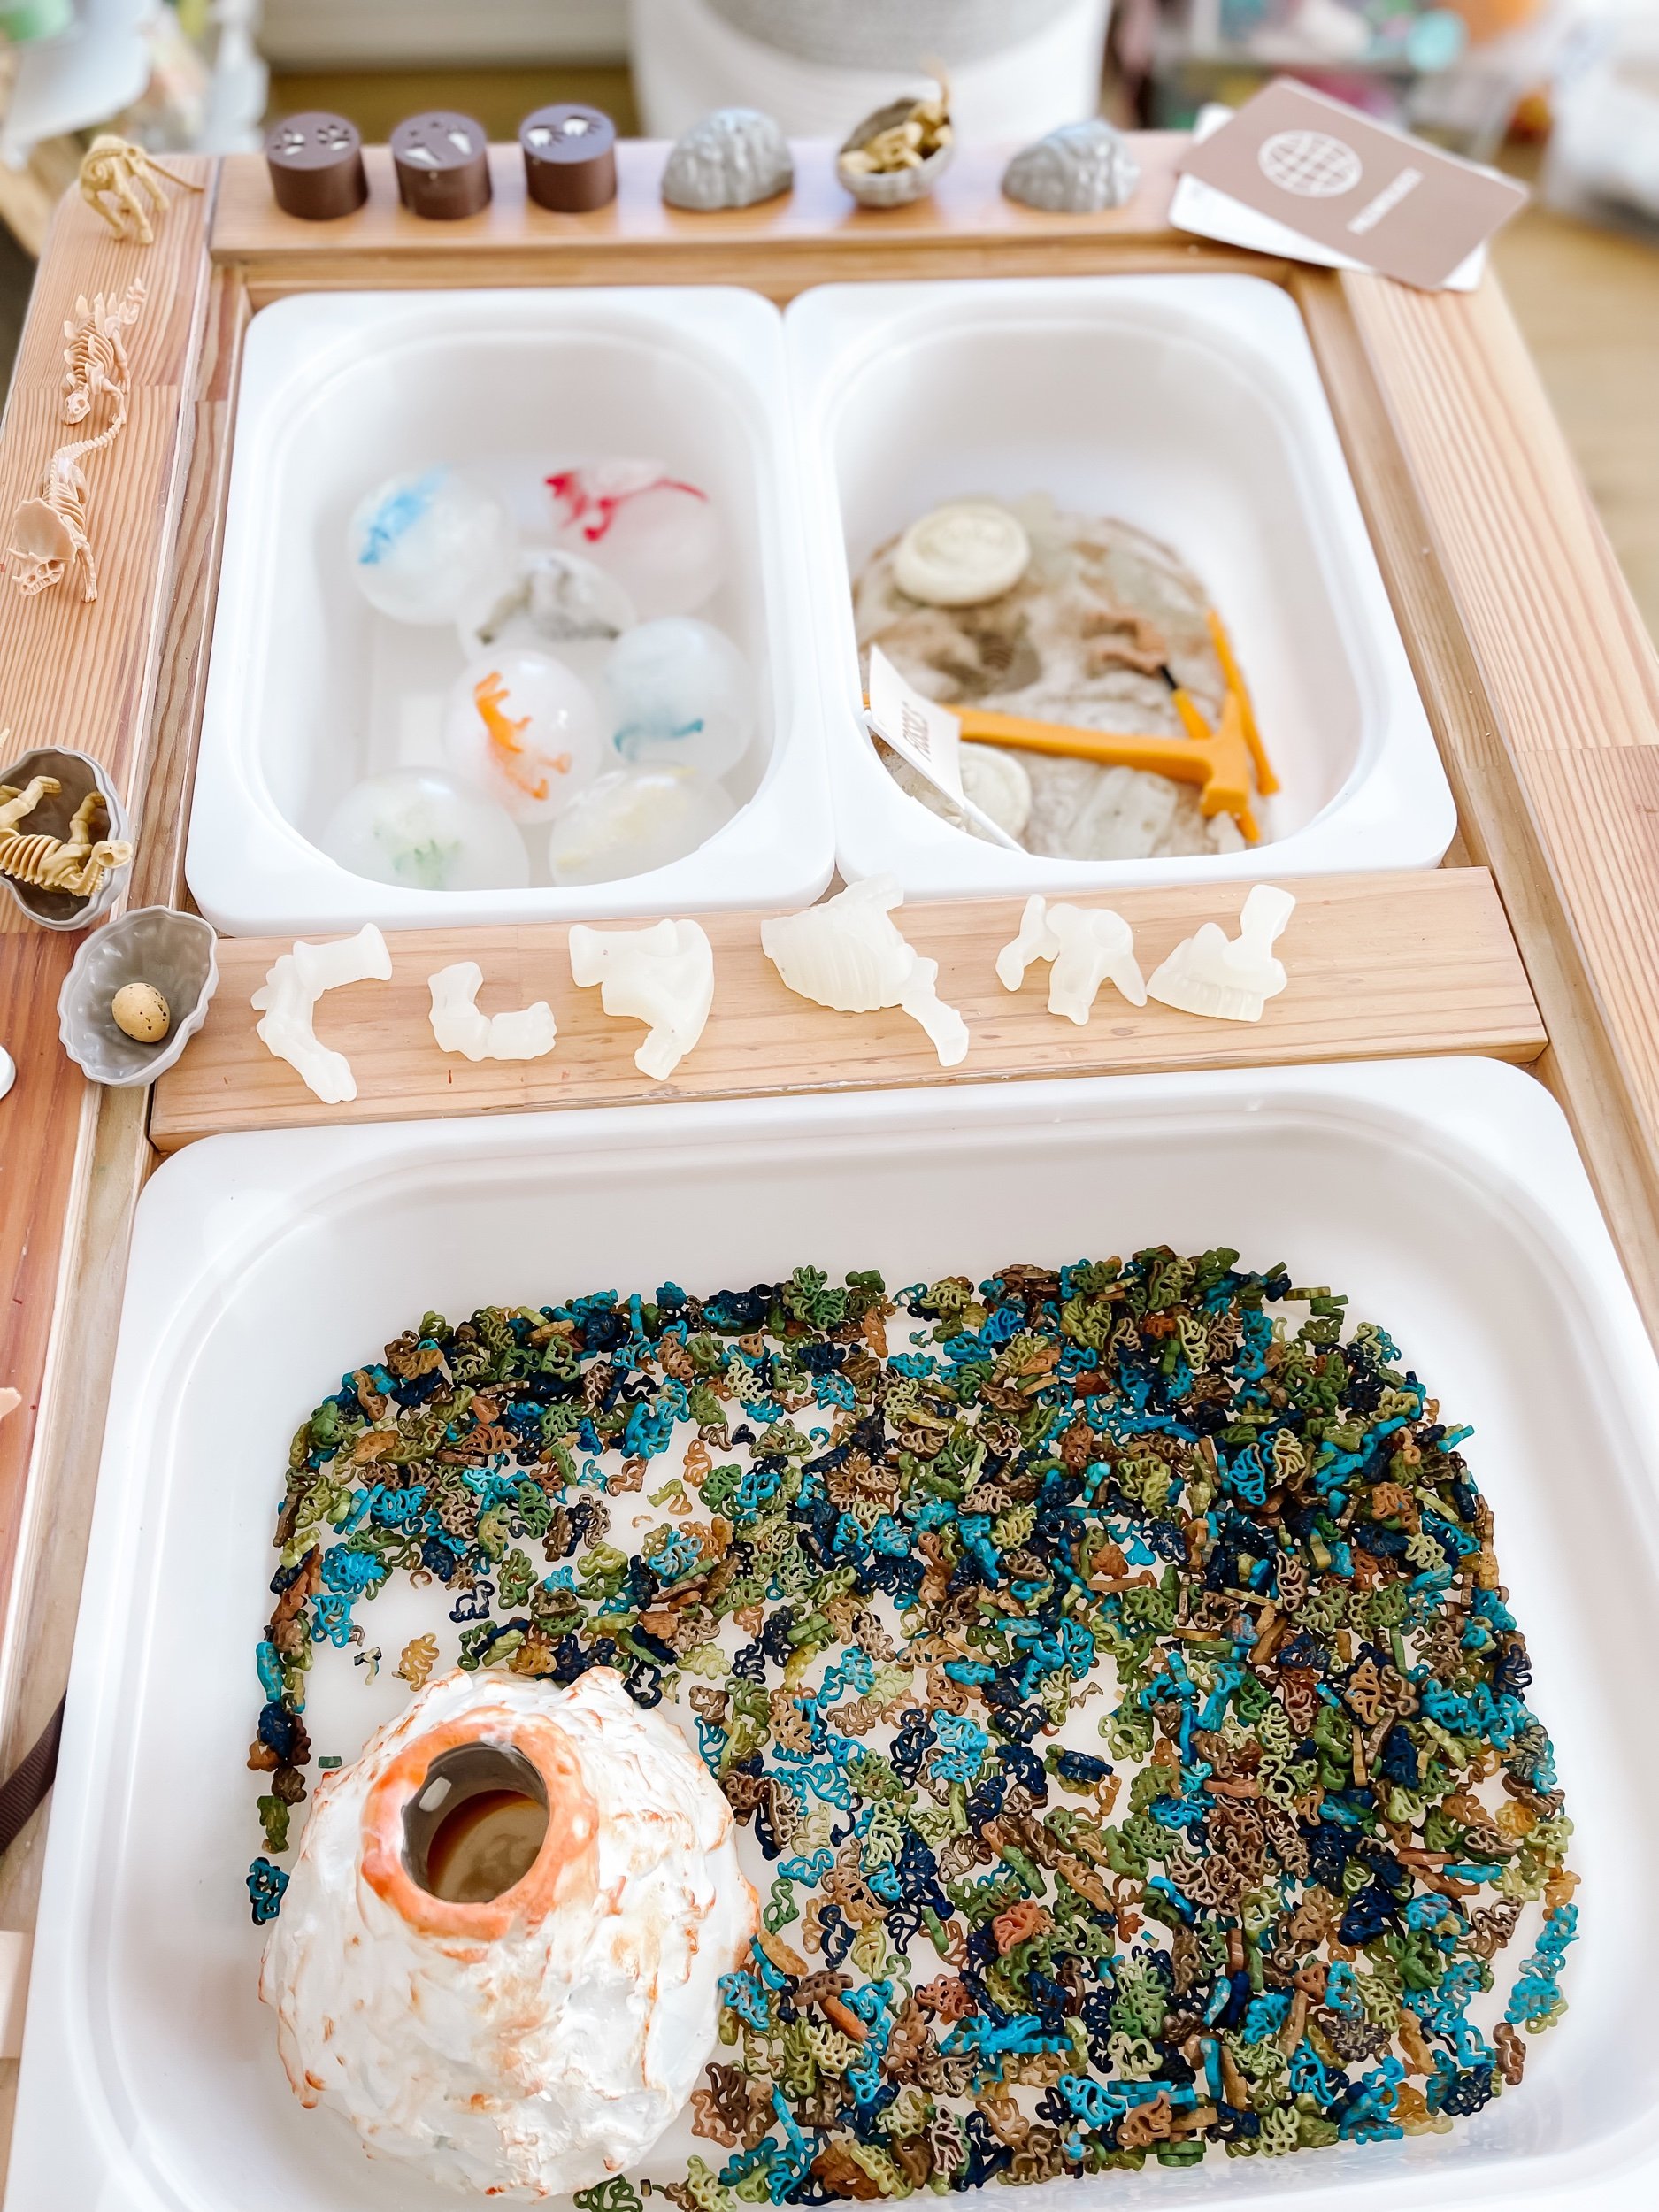
Small world volcano
Dinosaur ice eggs
Plaster excavation
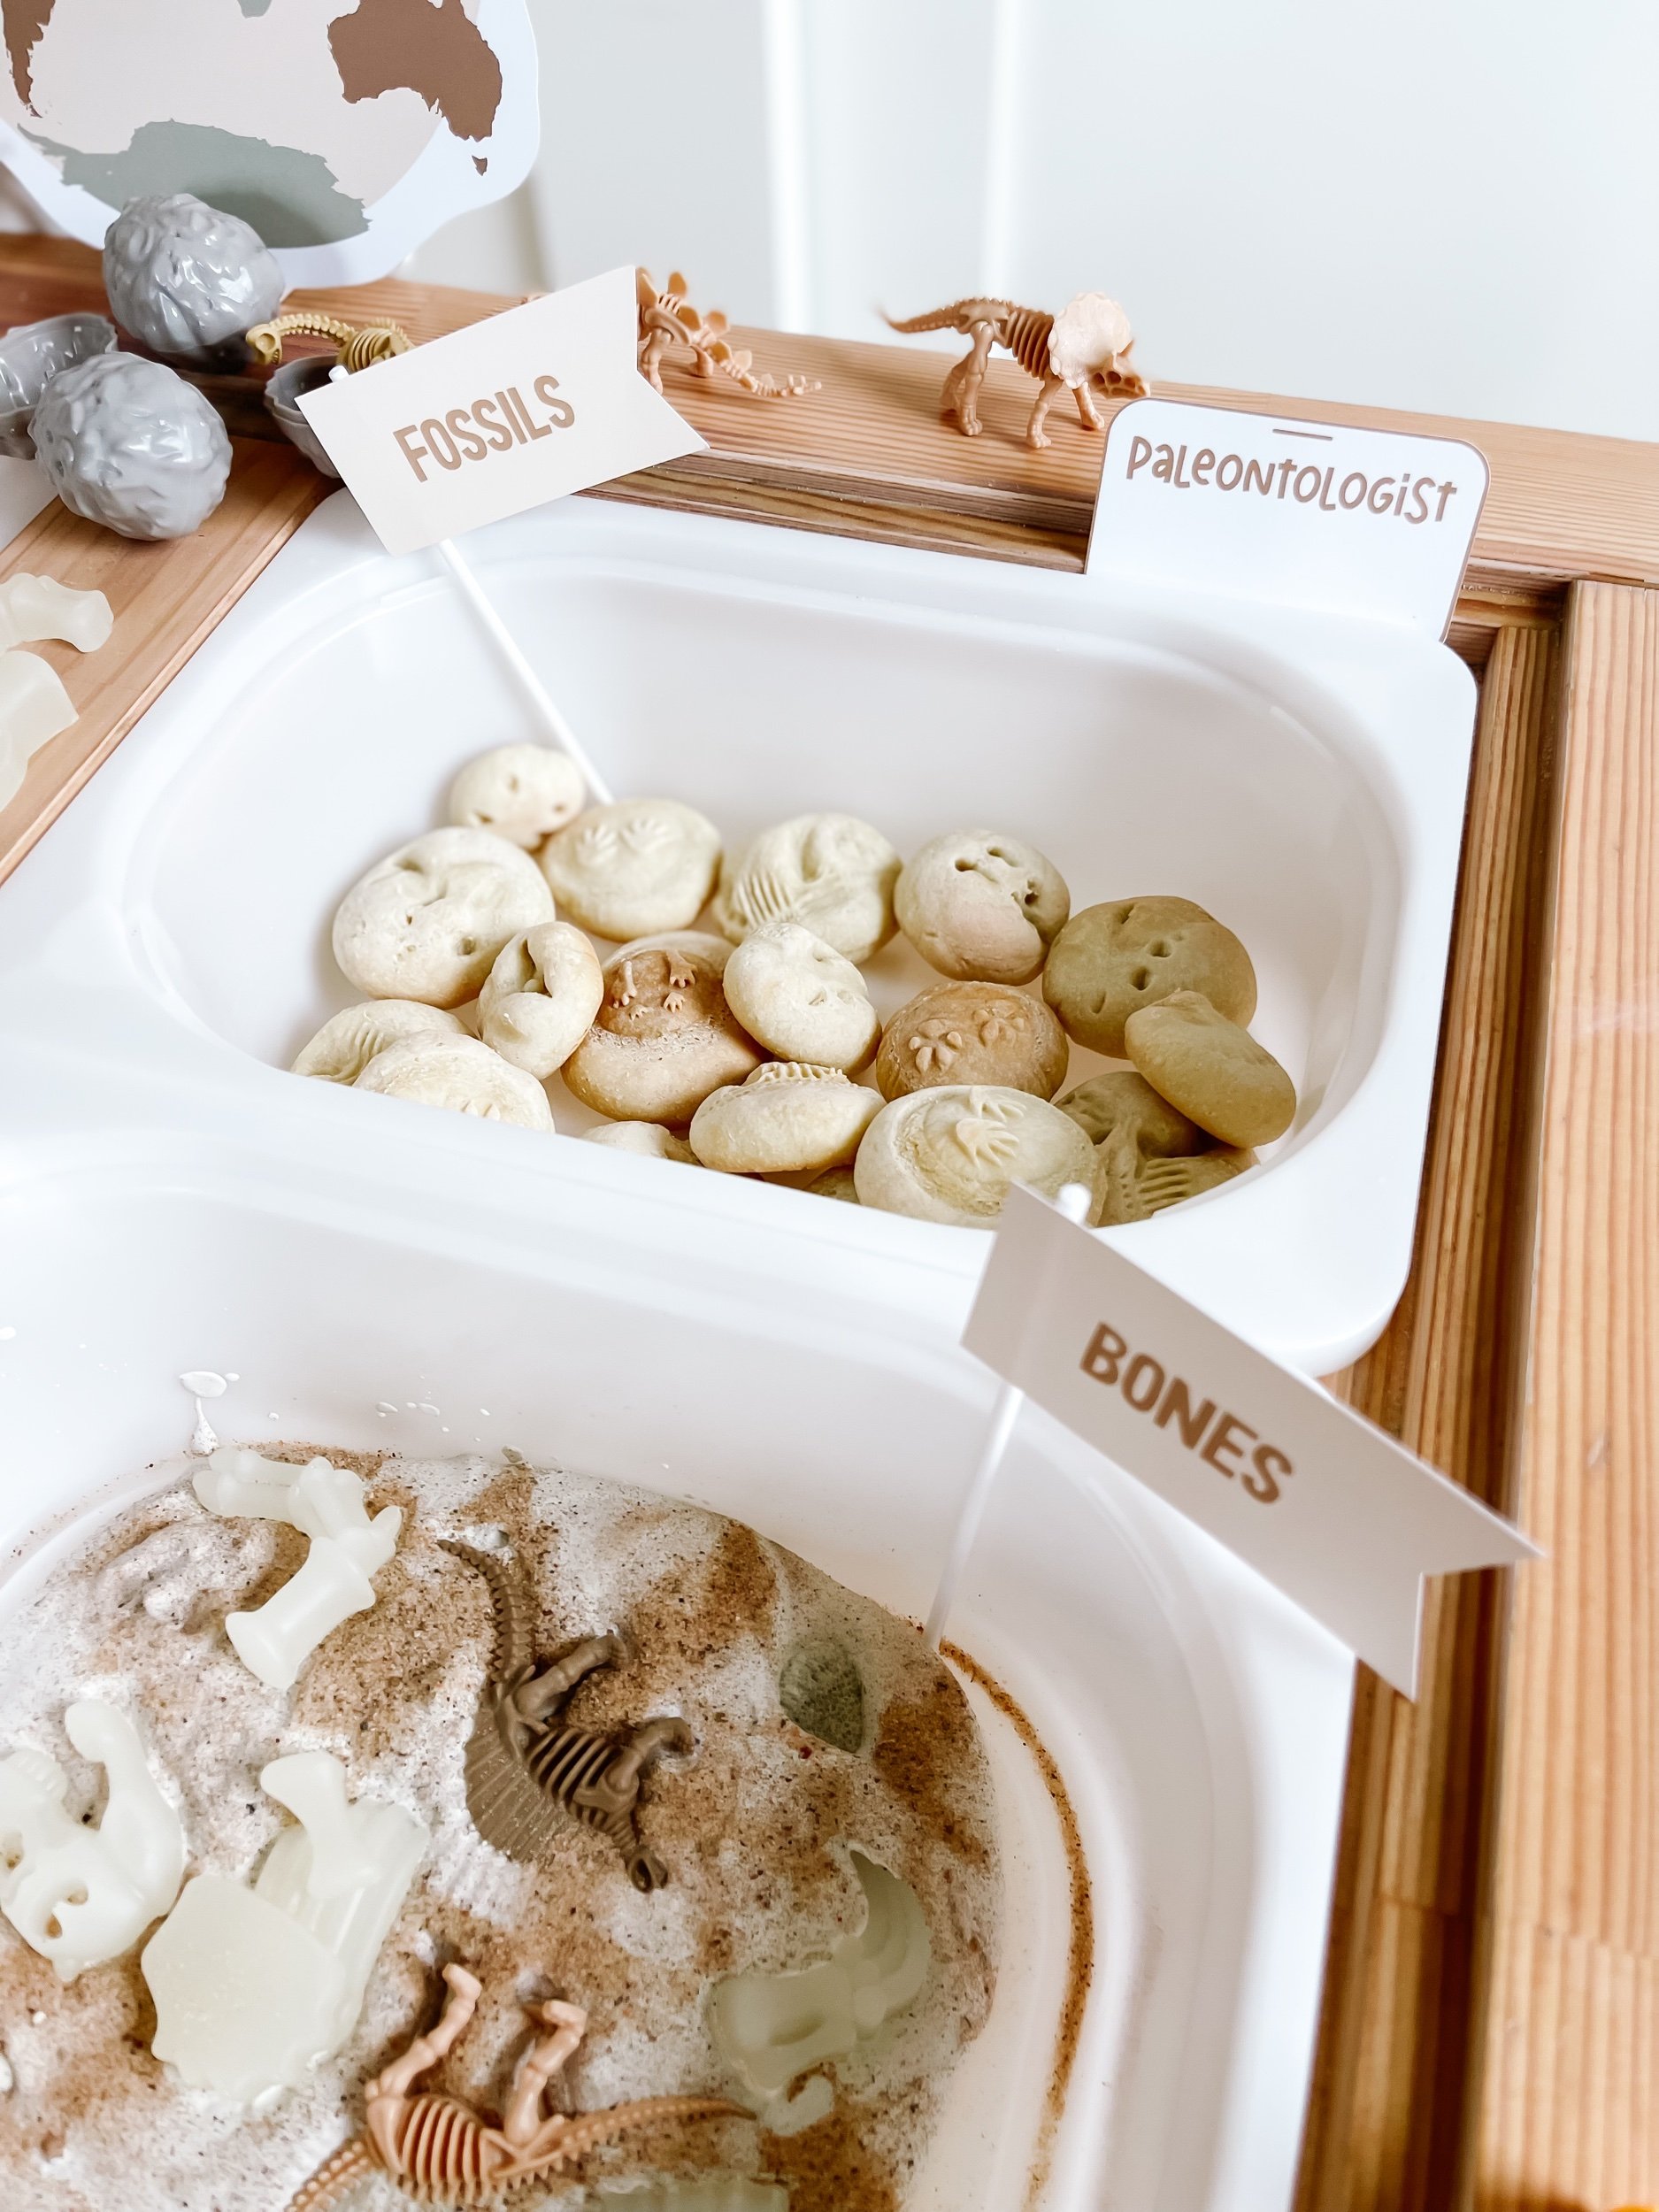
1. Salt Dough Fossils with Dinosaur Footprints & Bugs
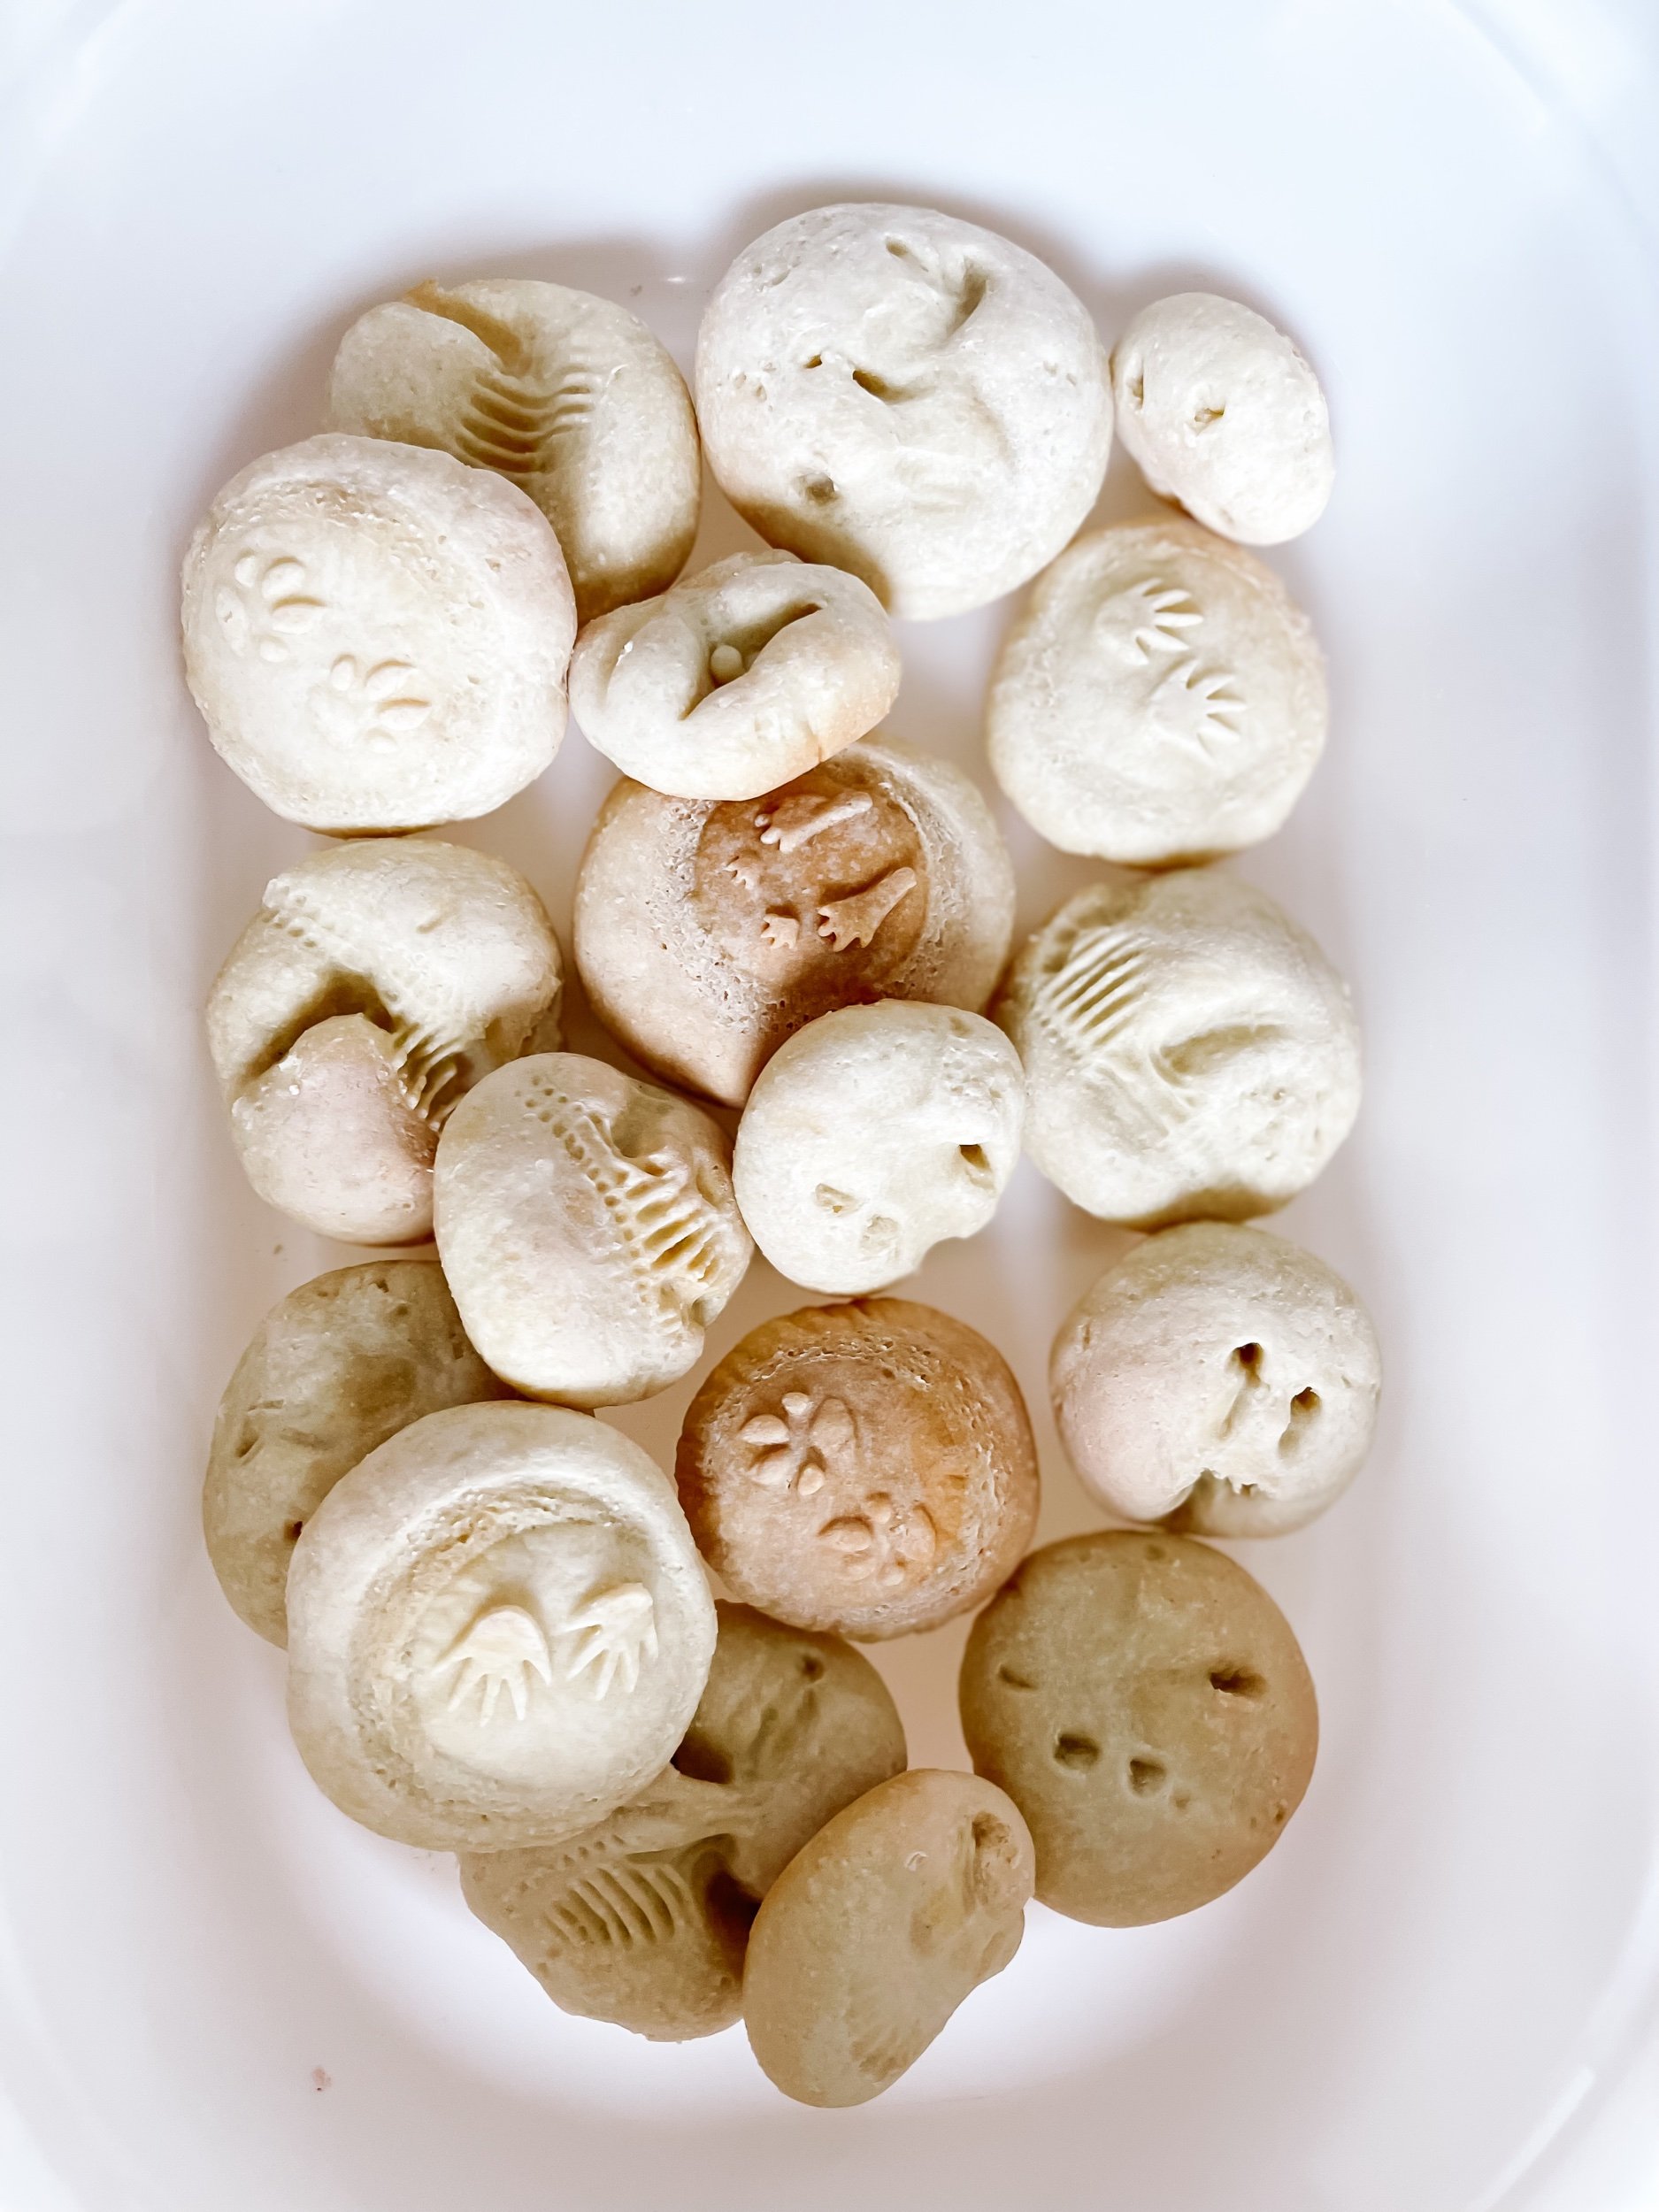
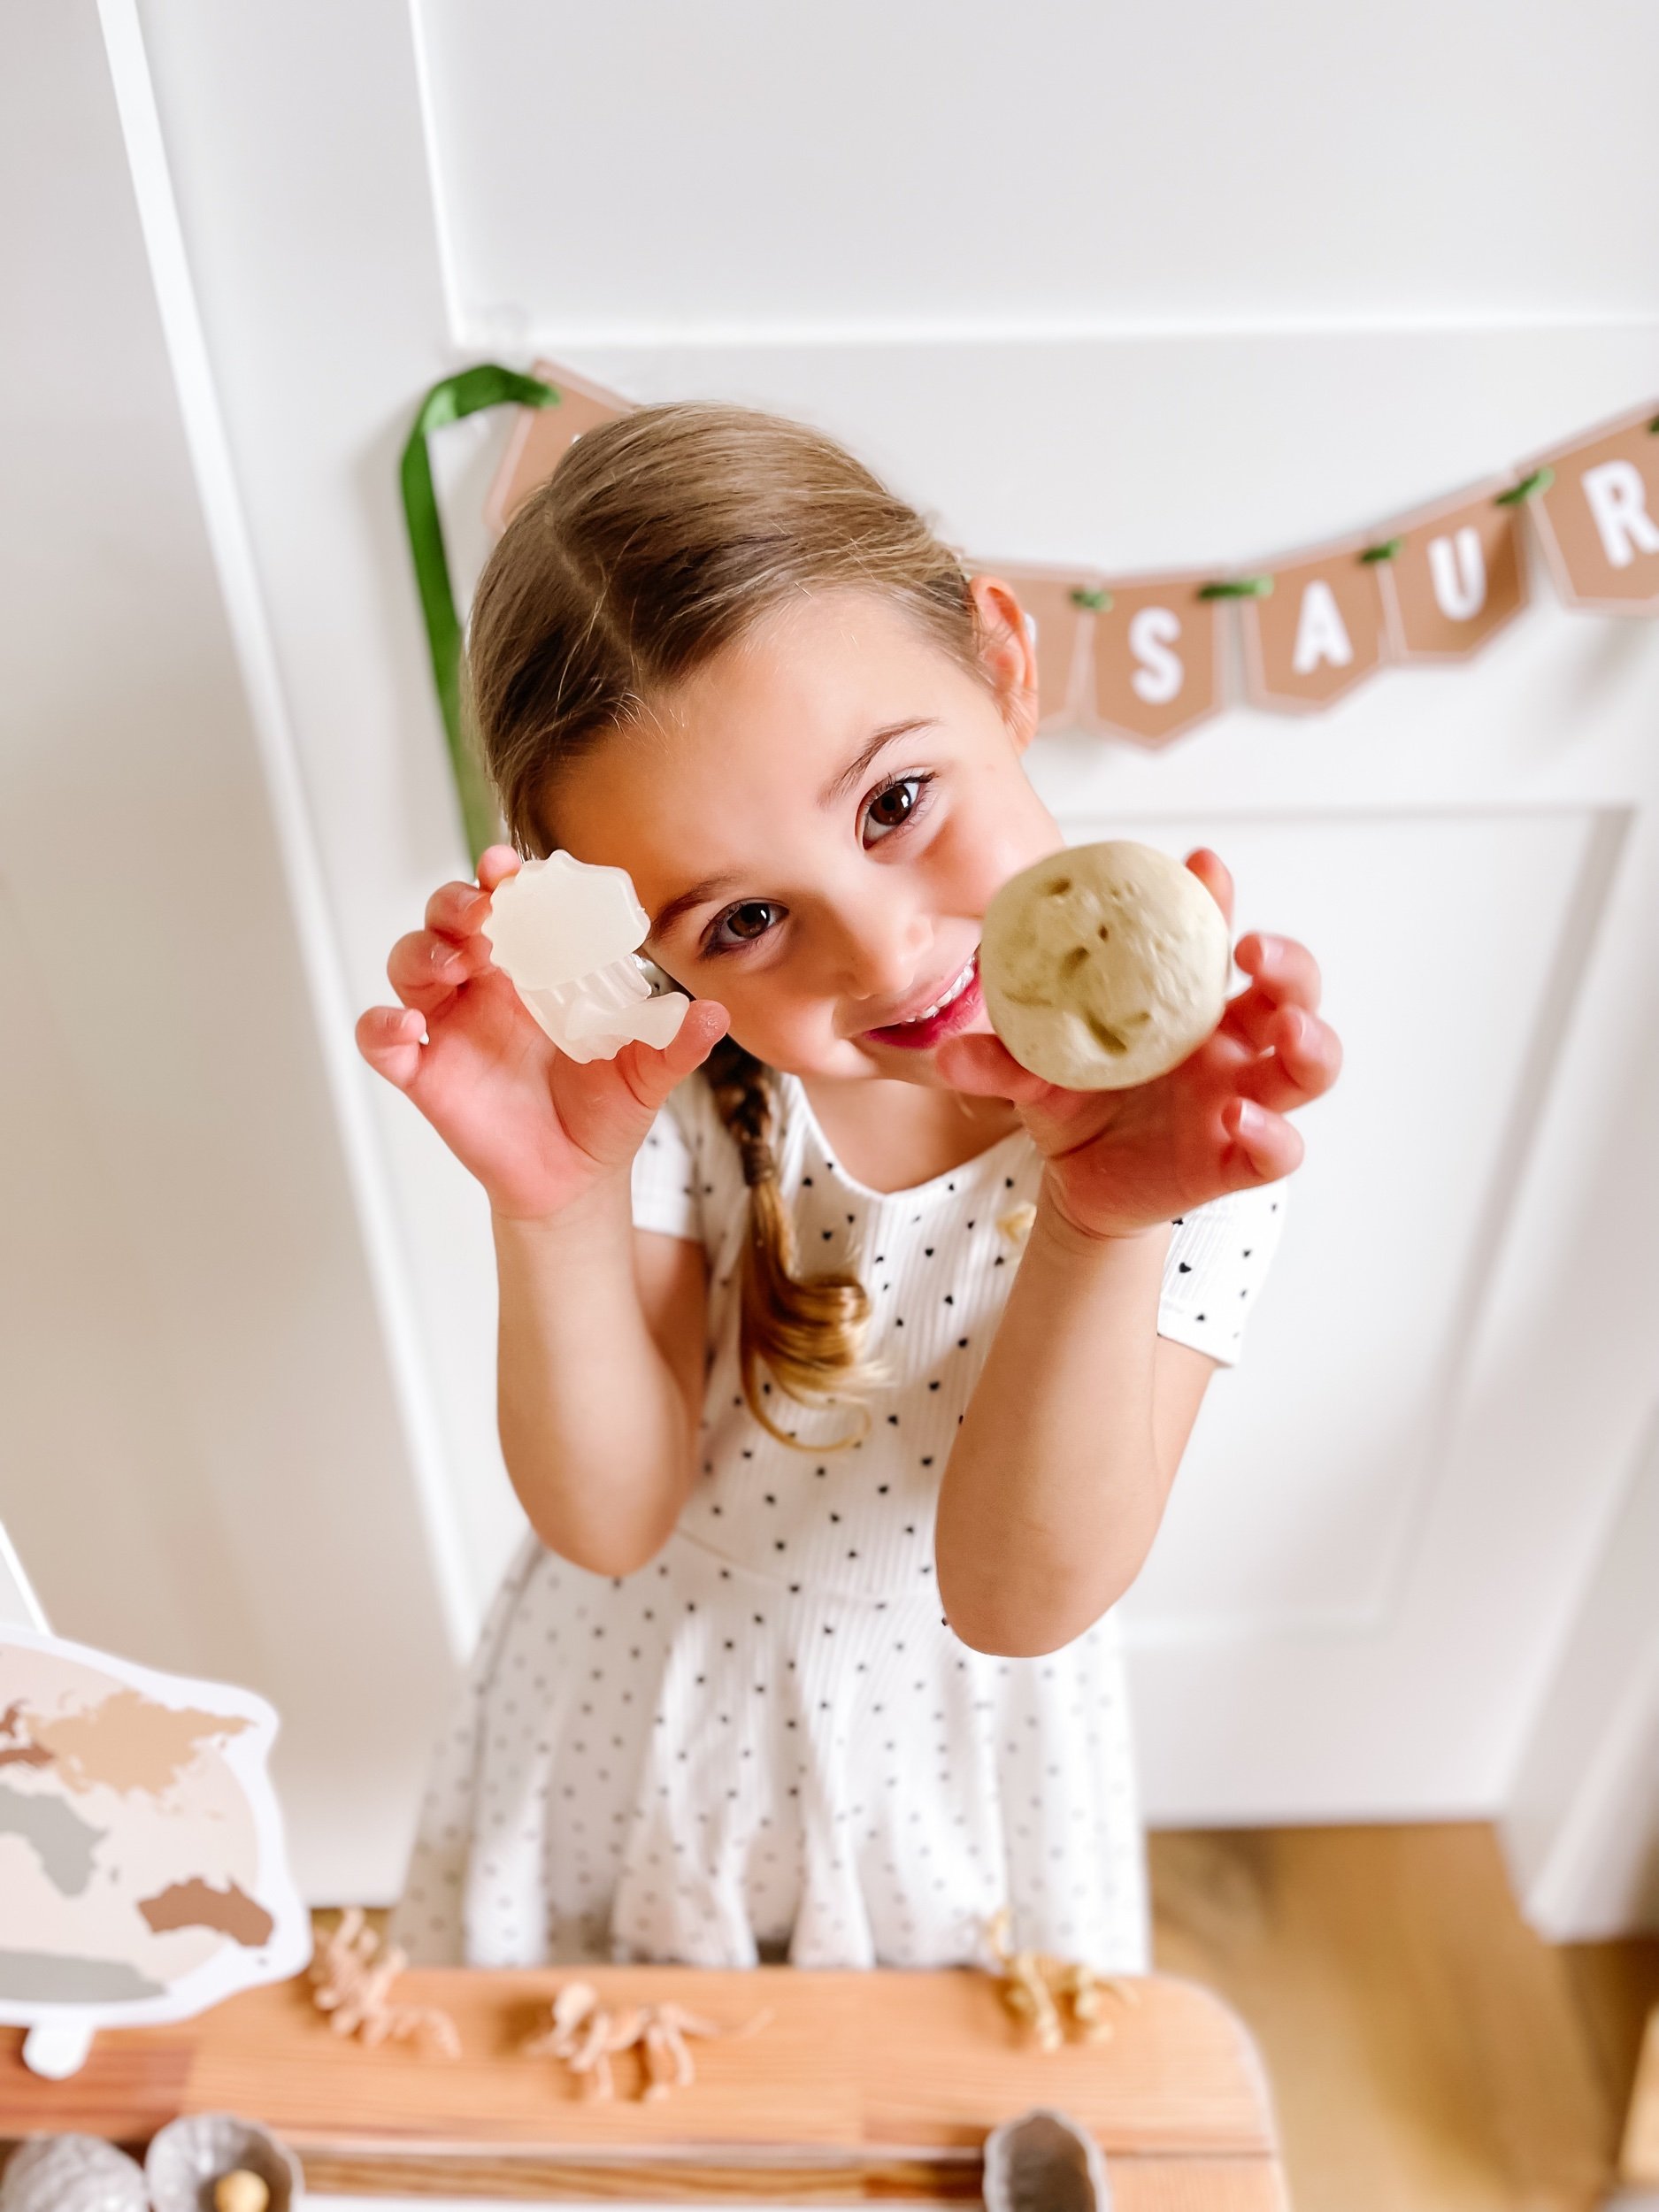
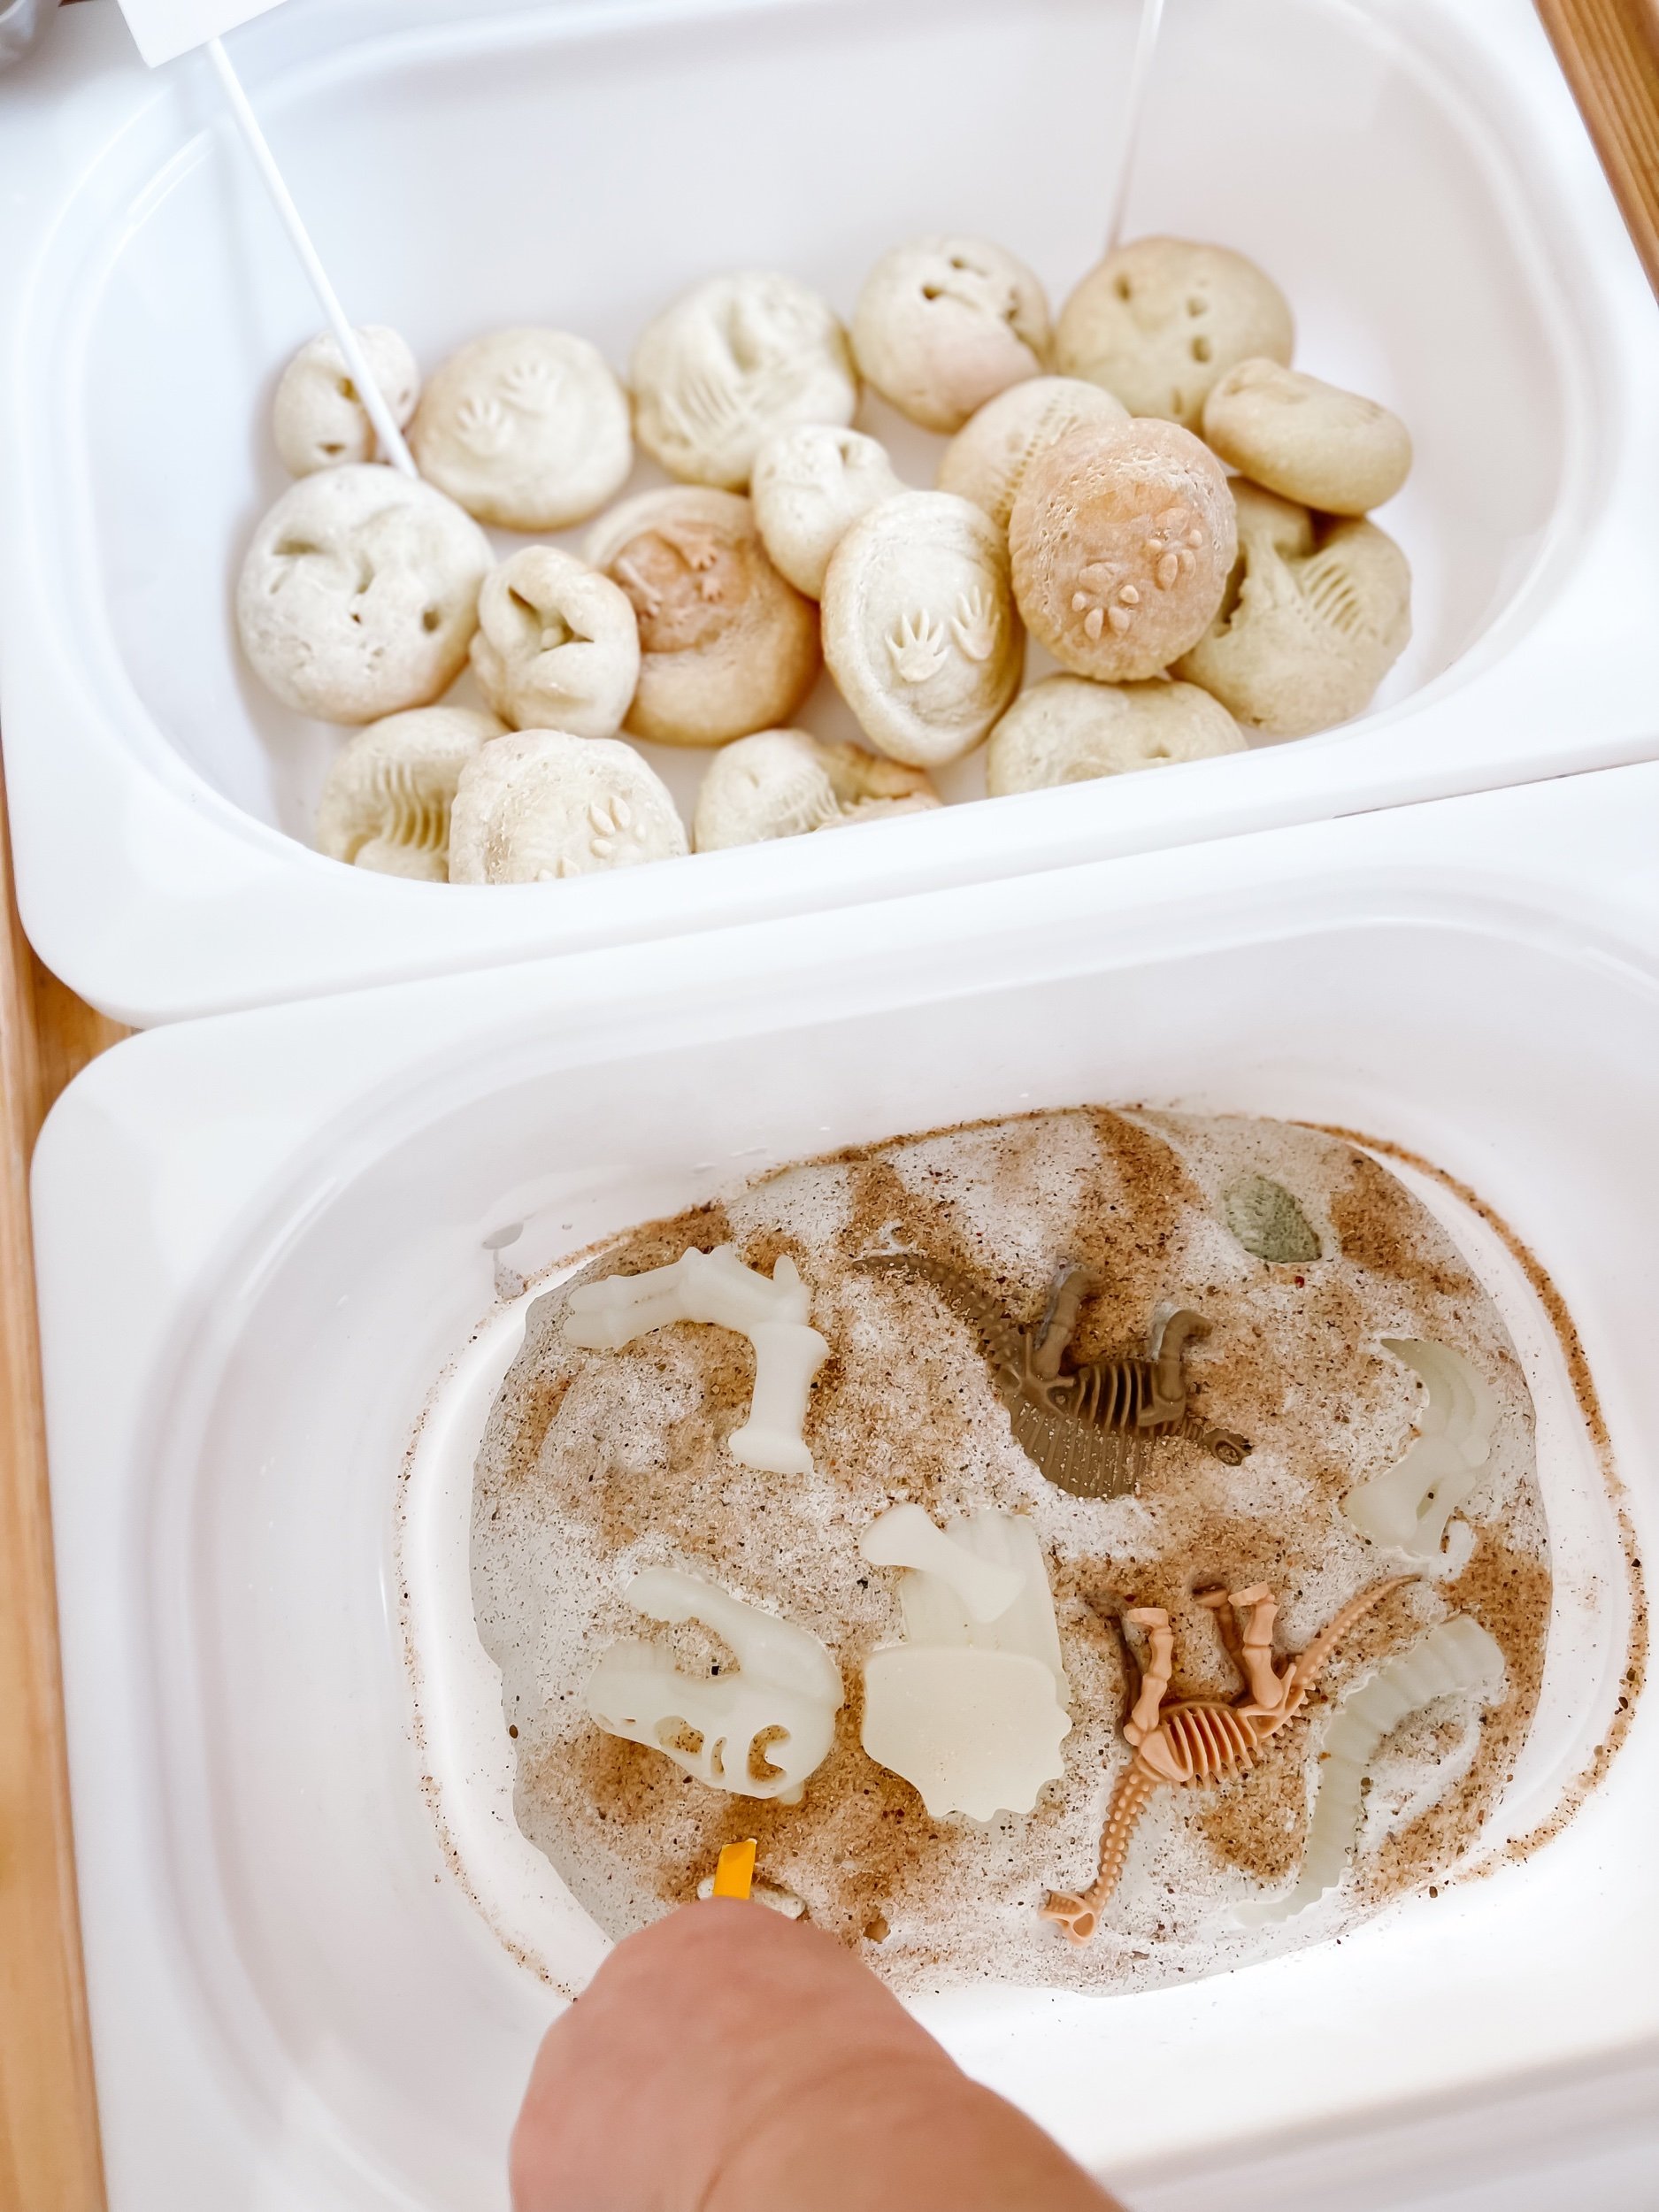
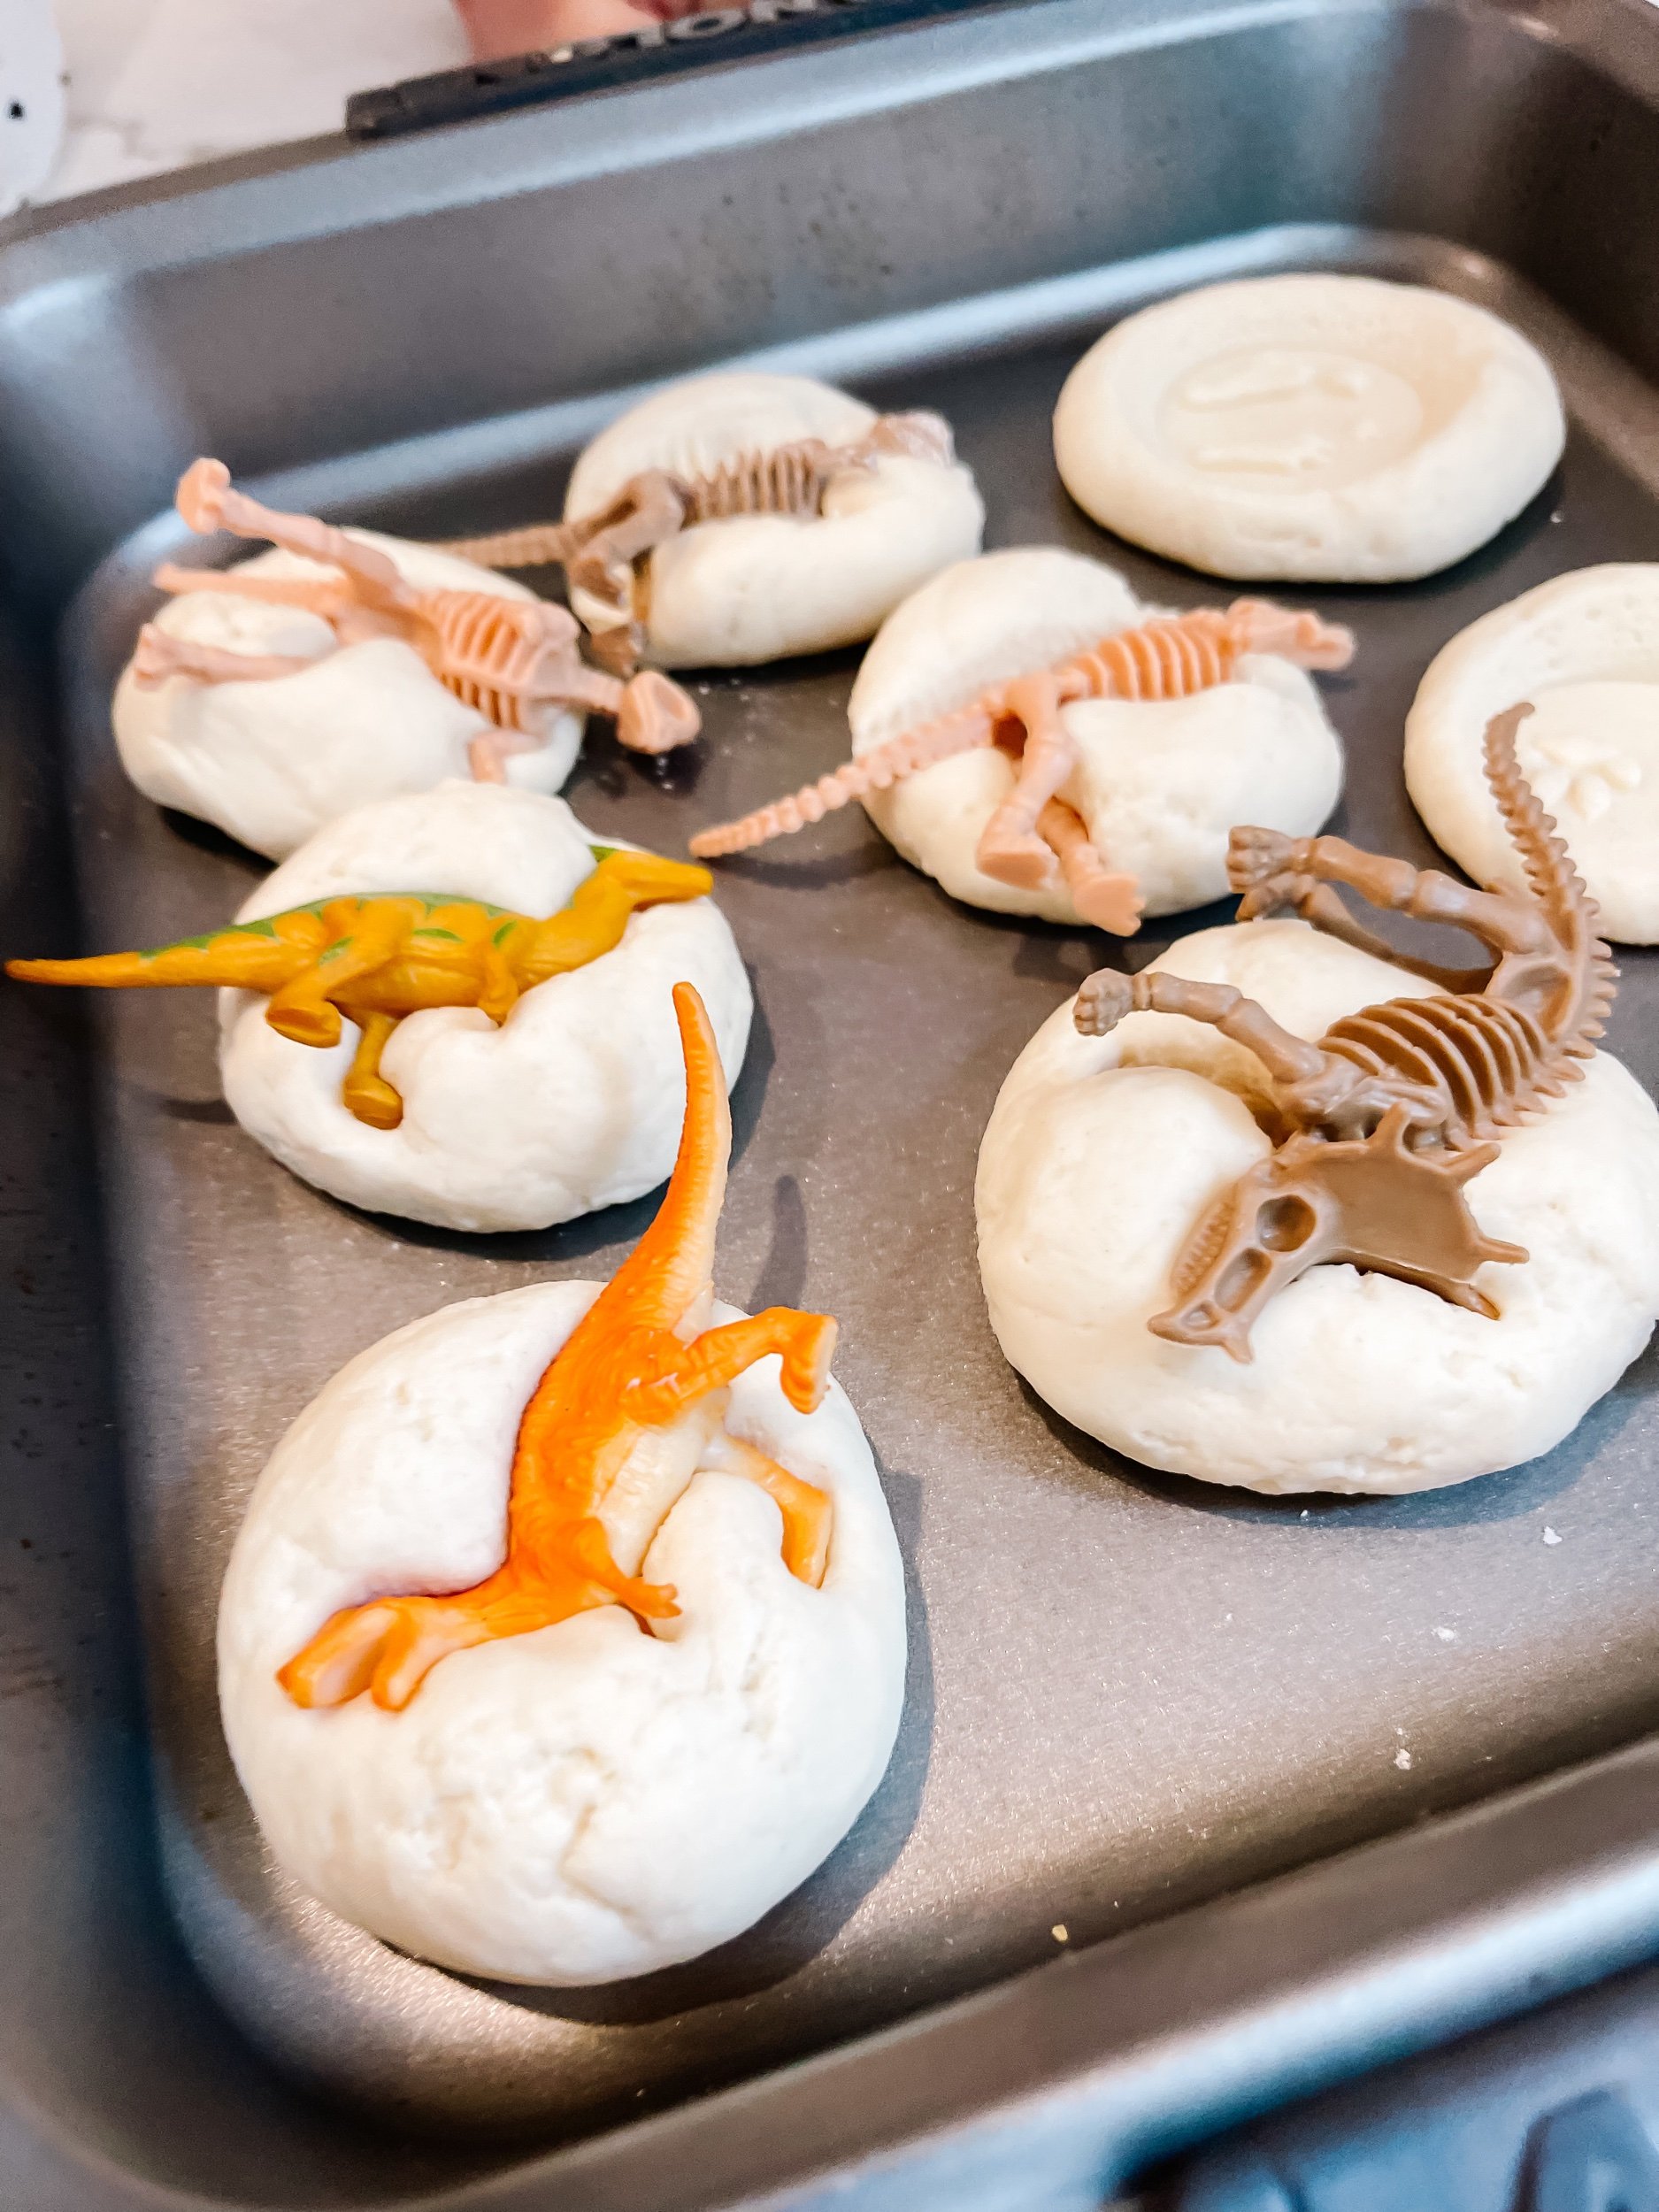
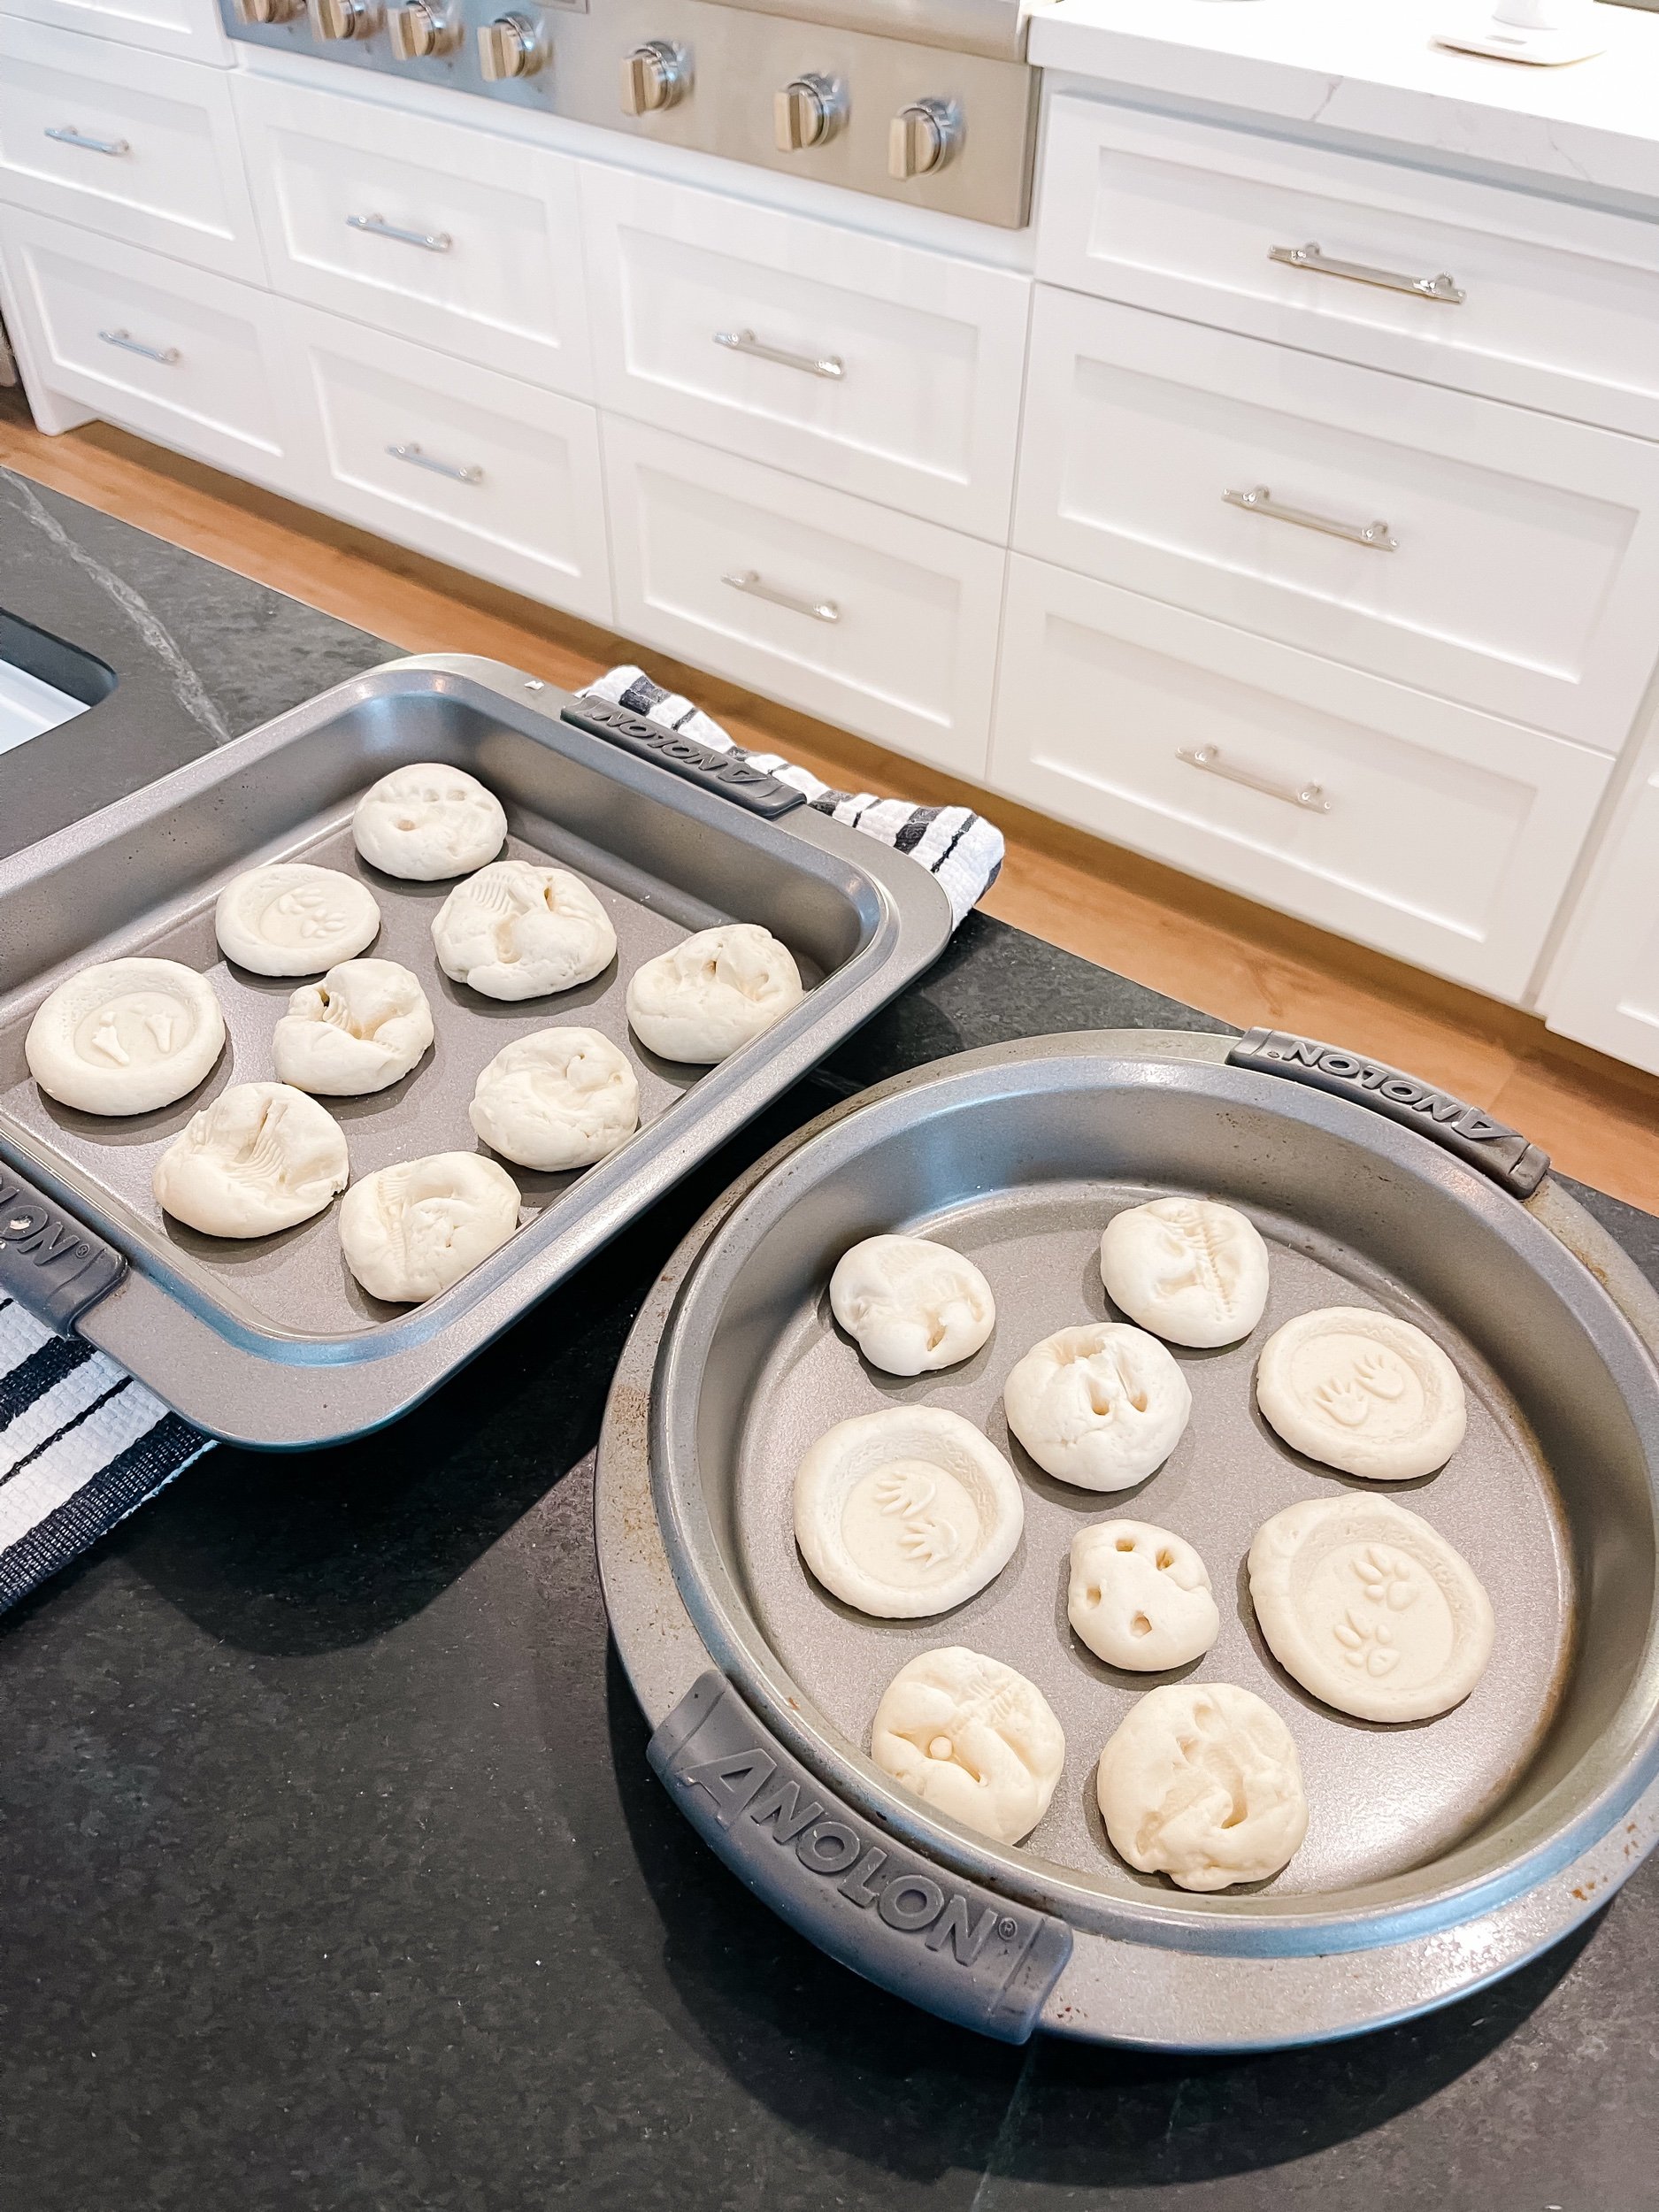
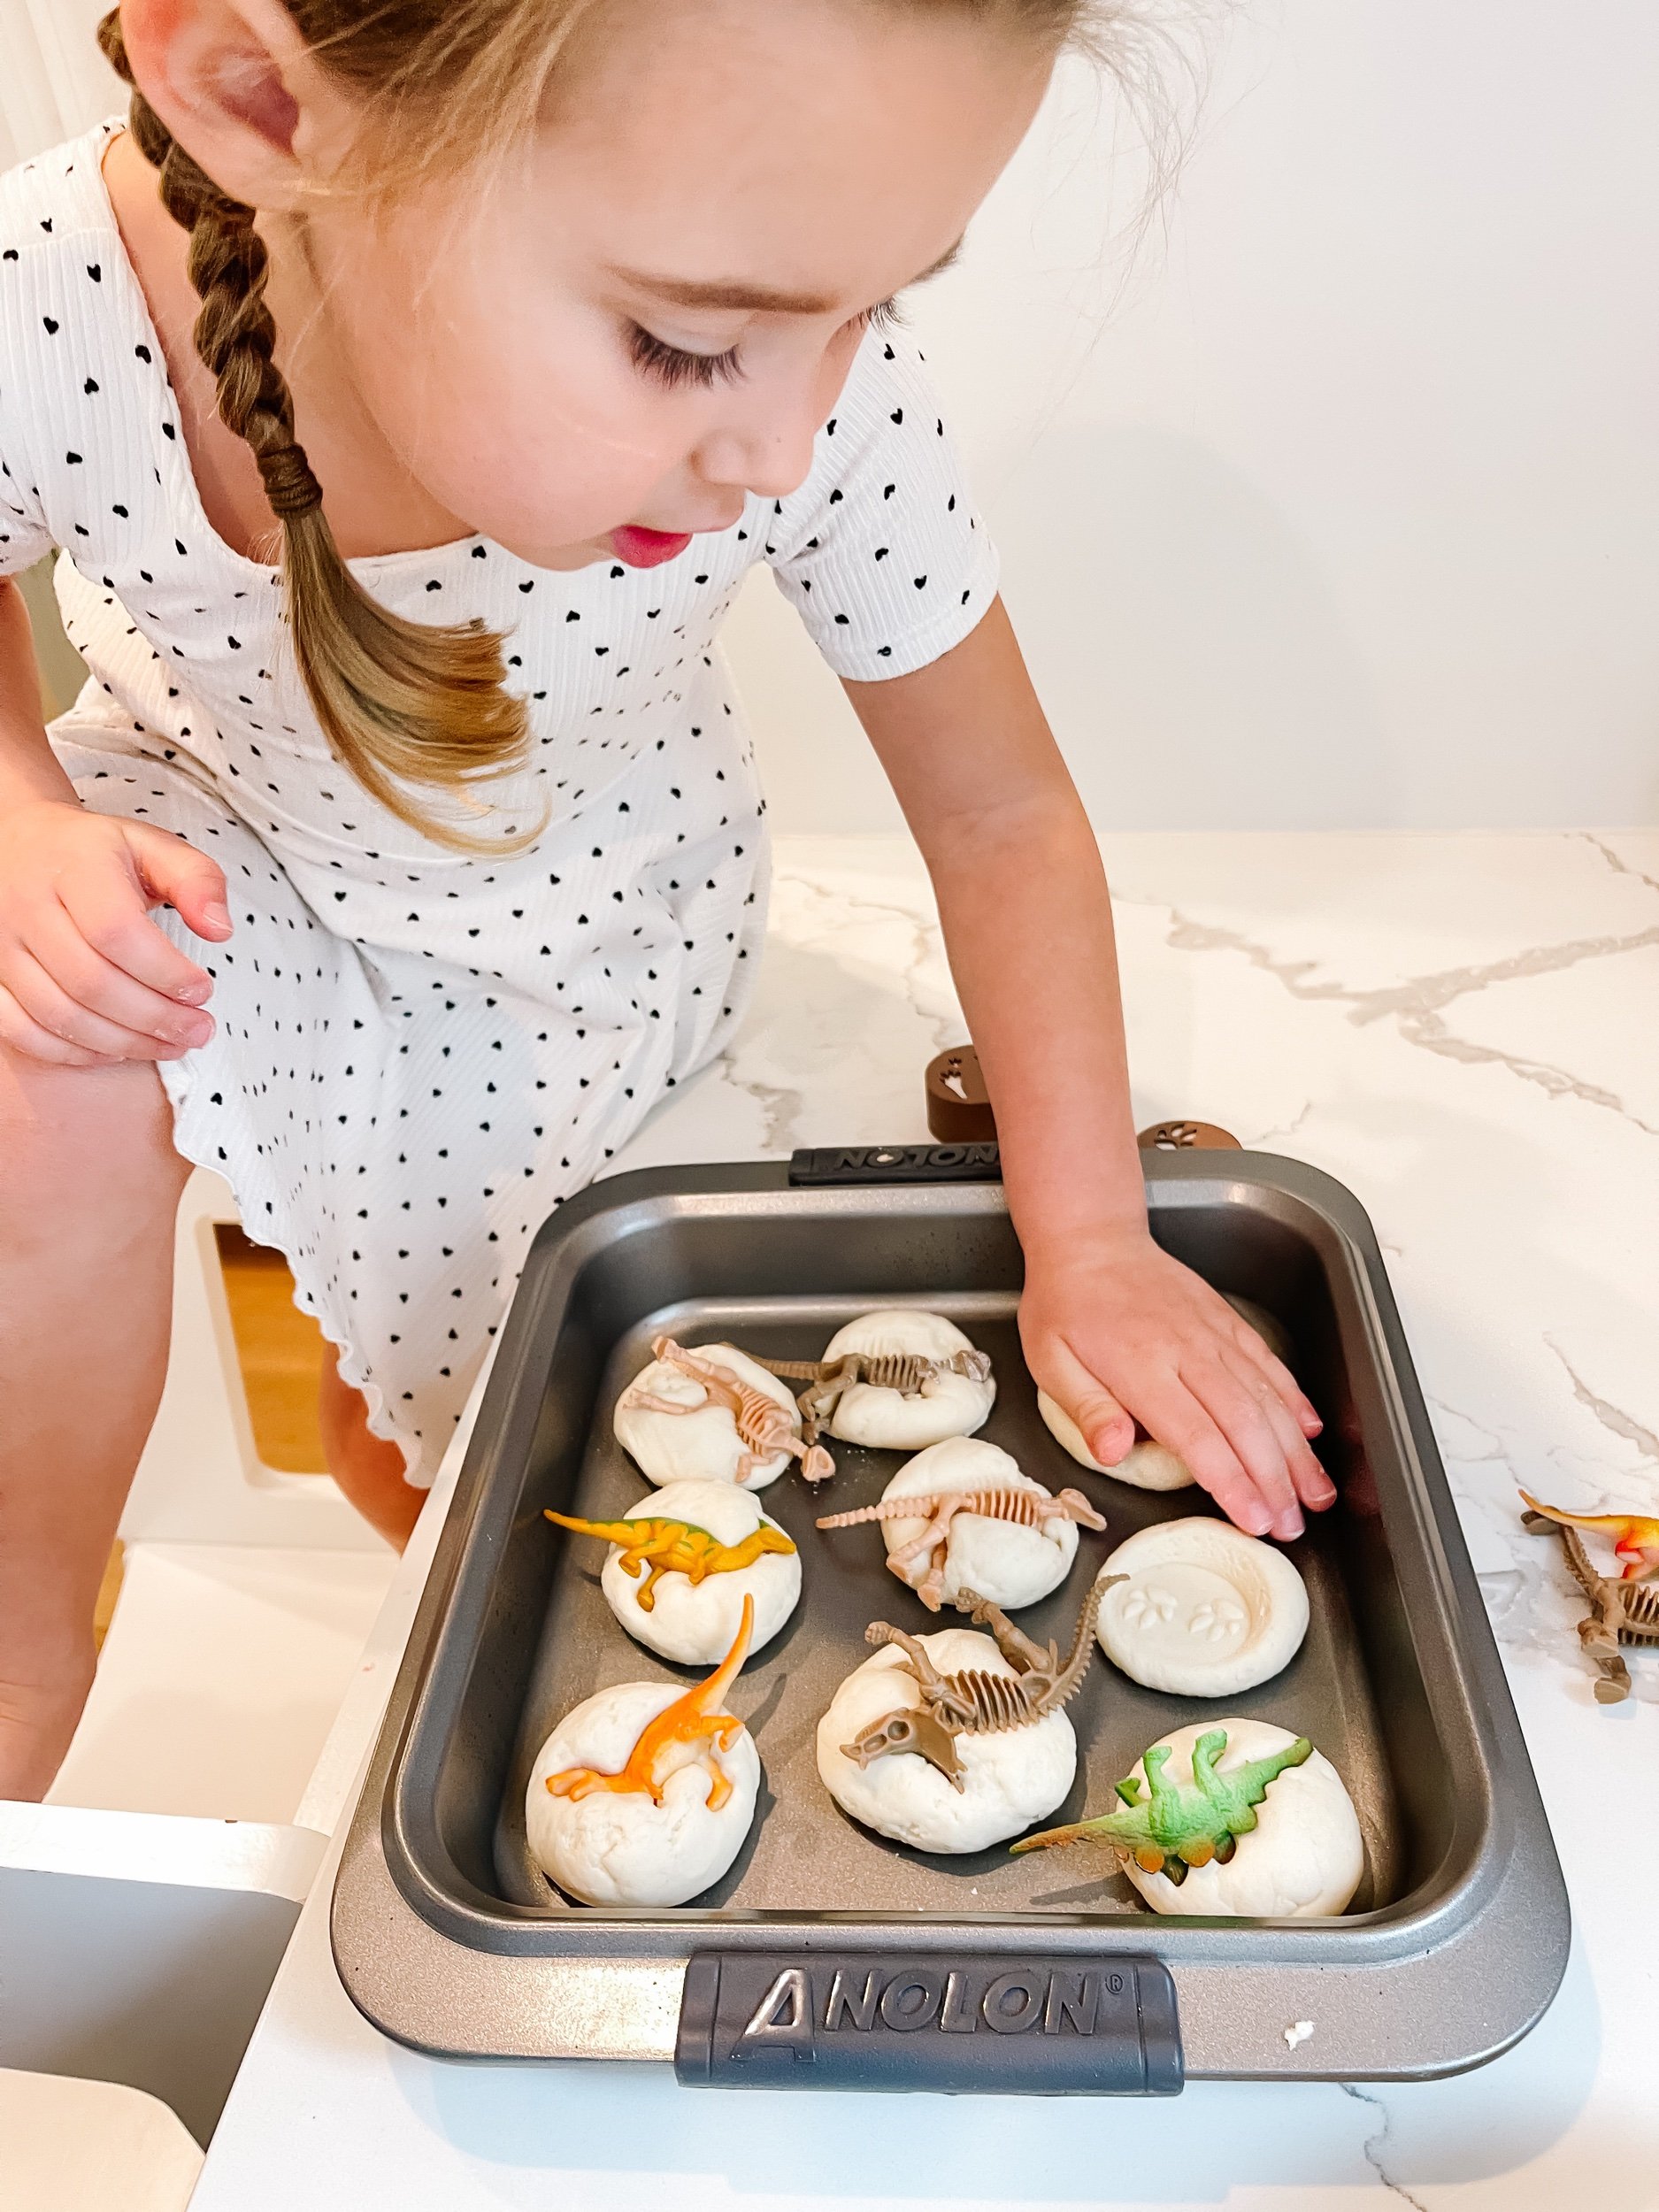
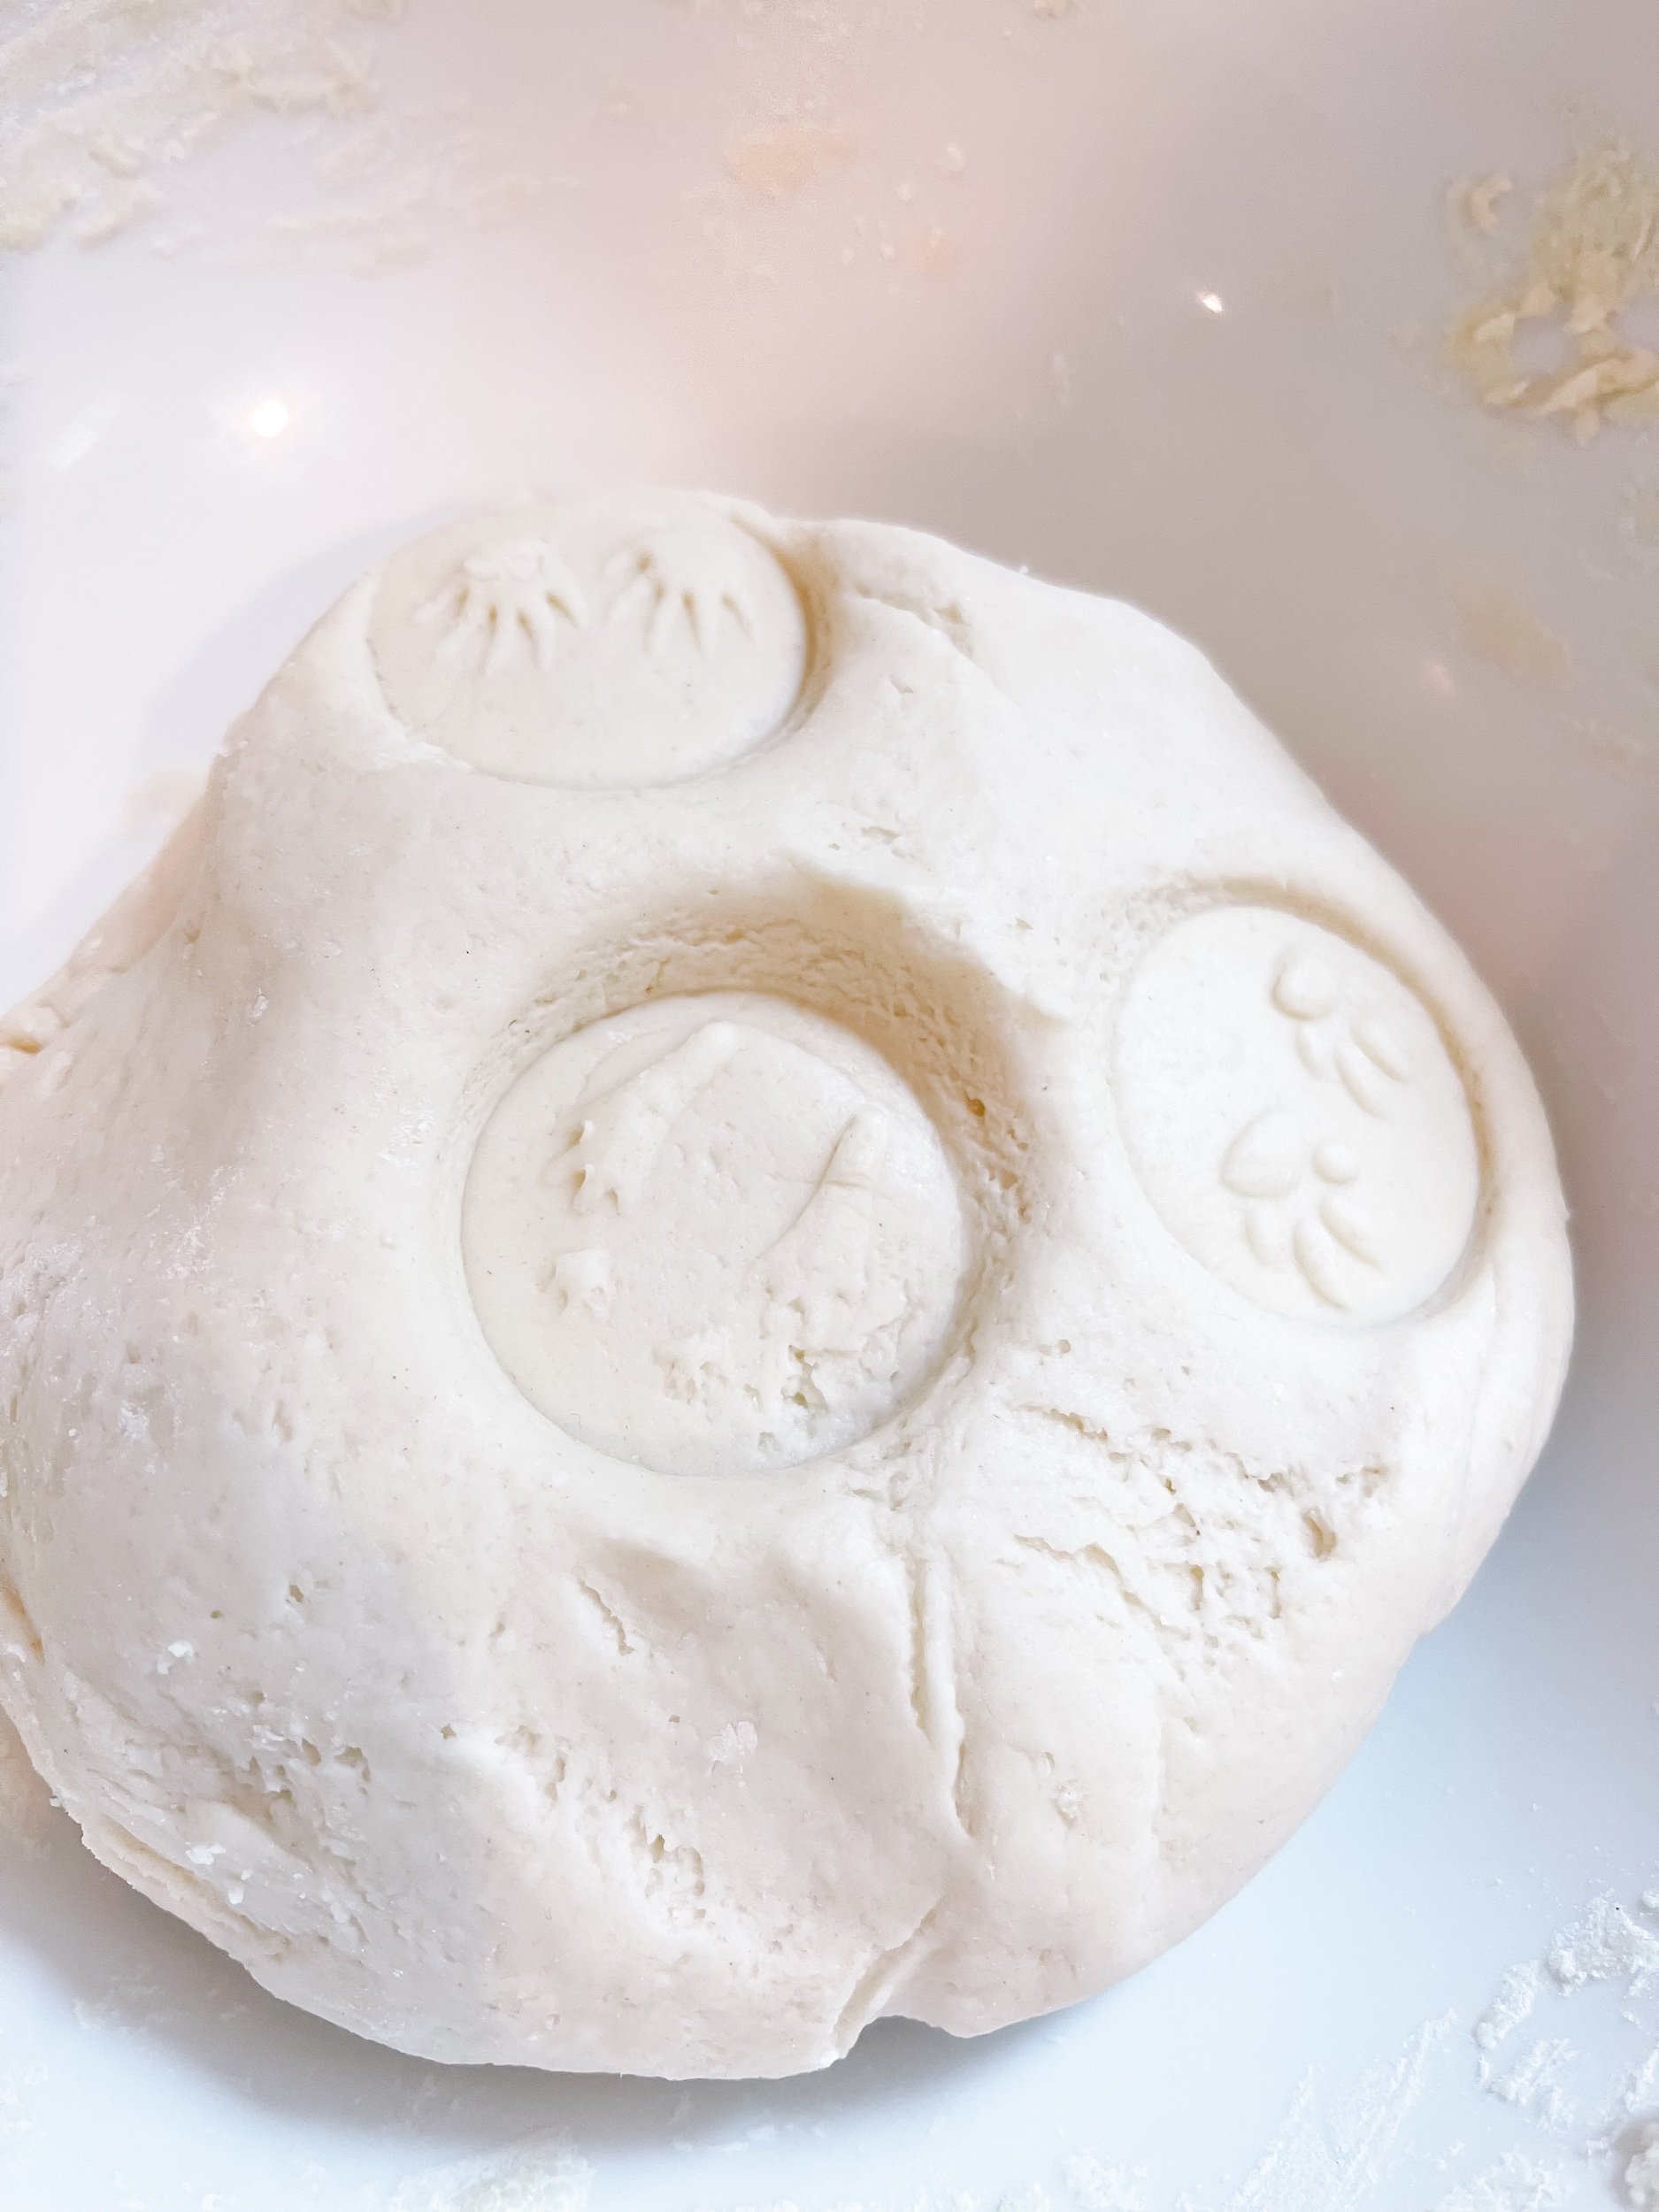
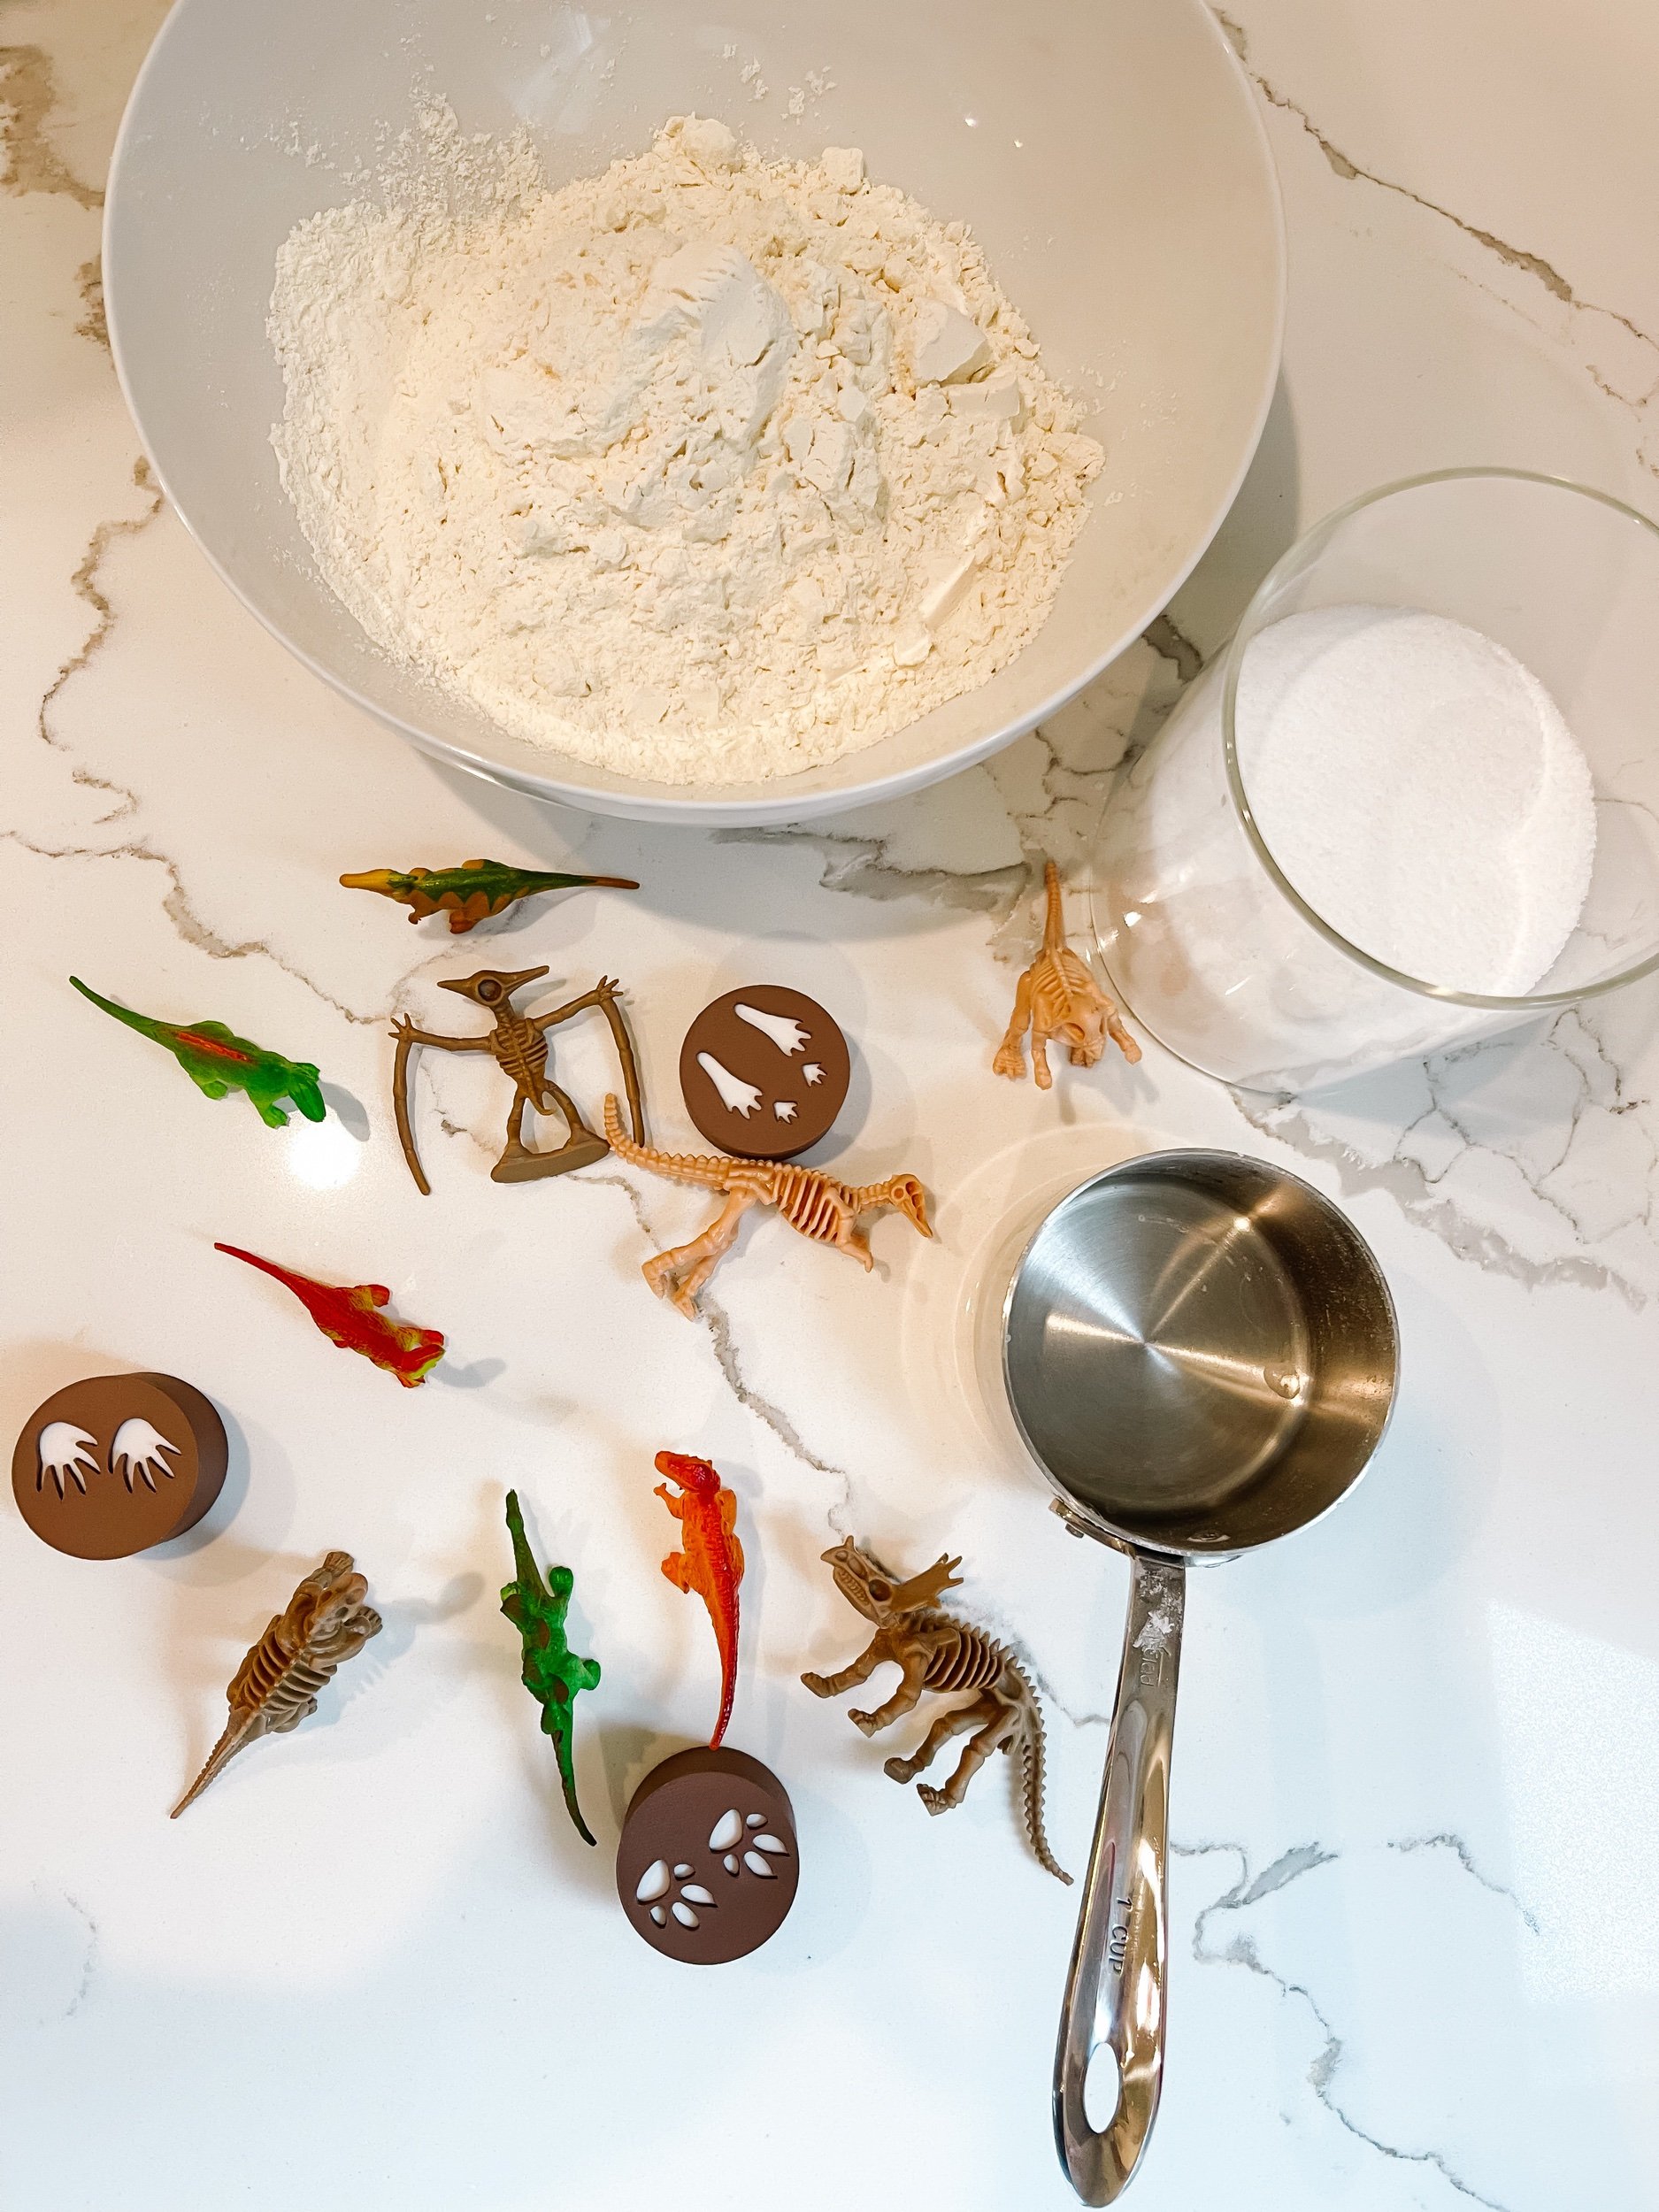
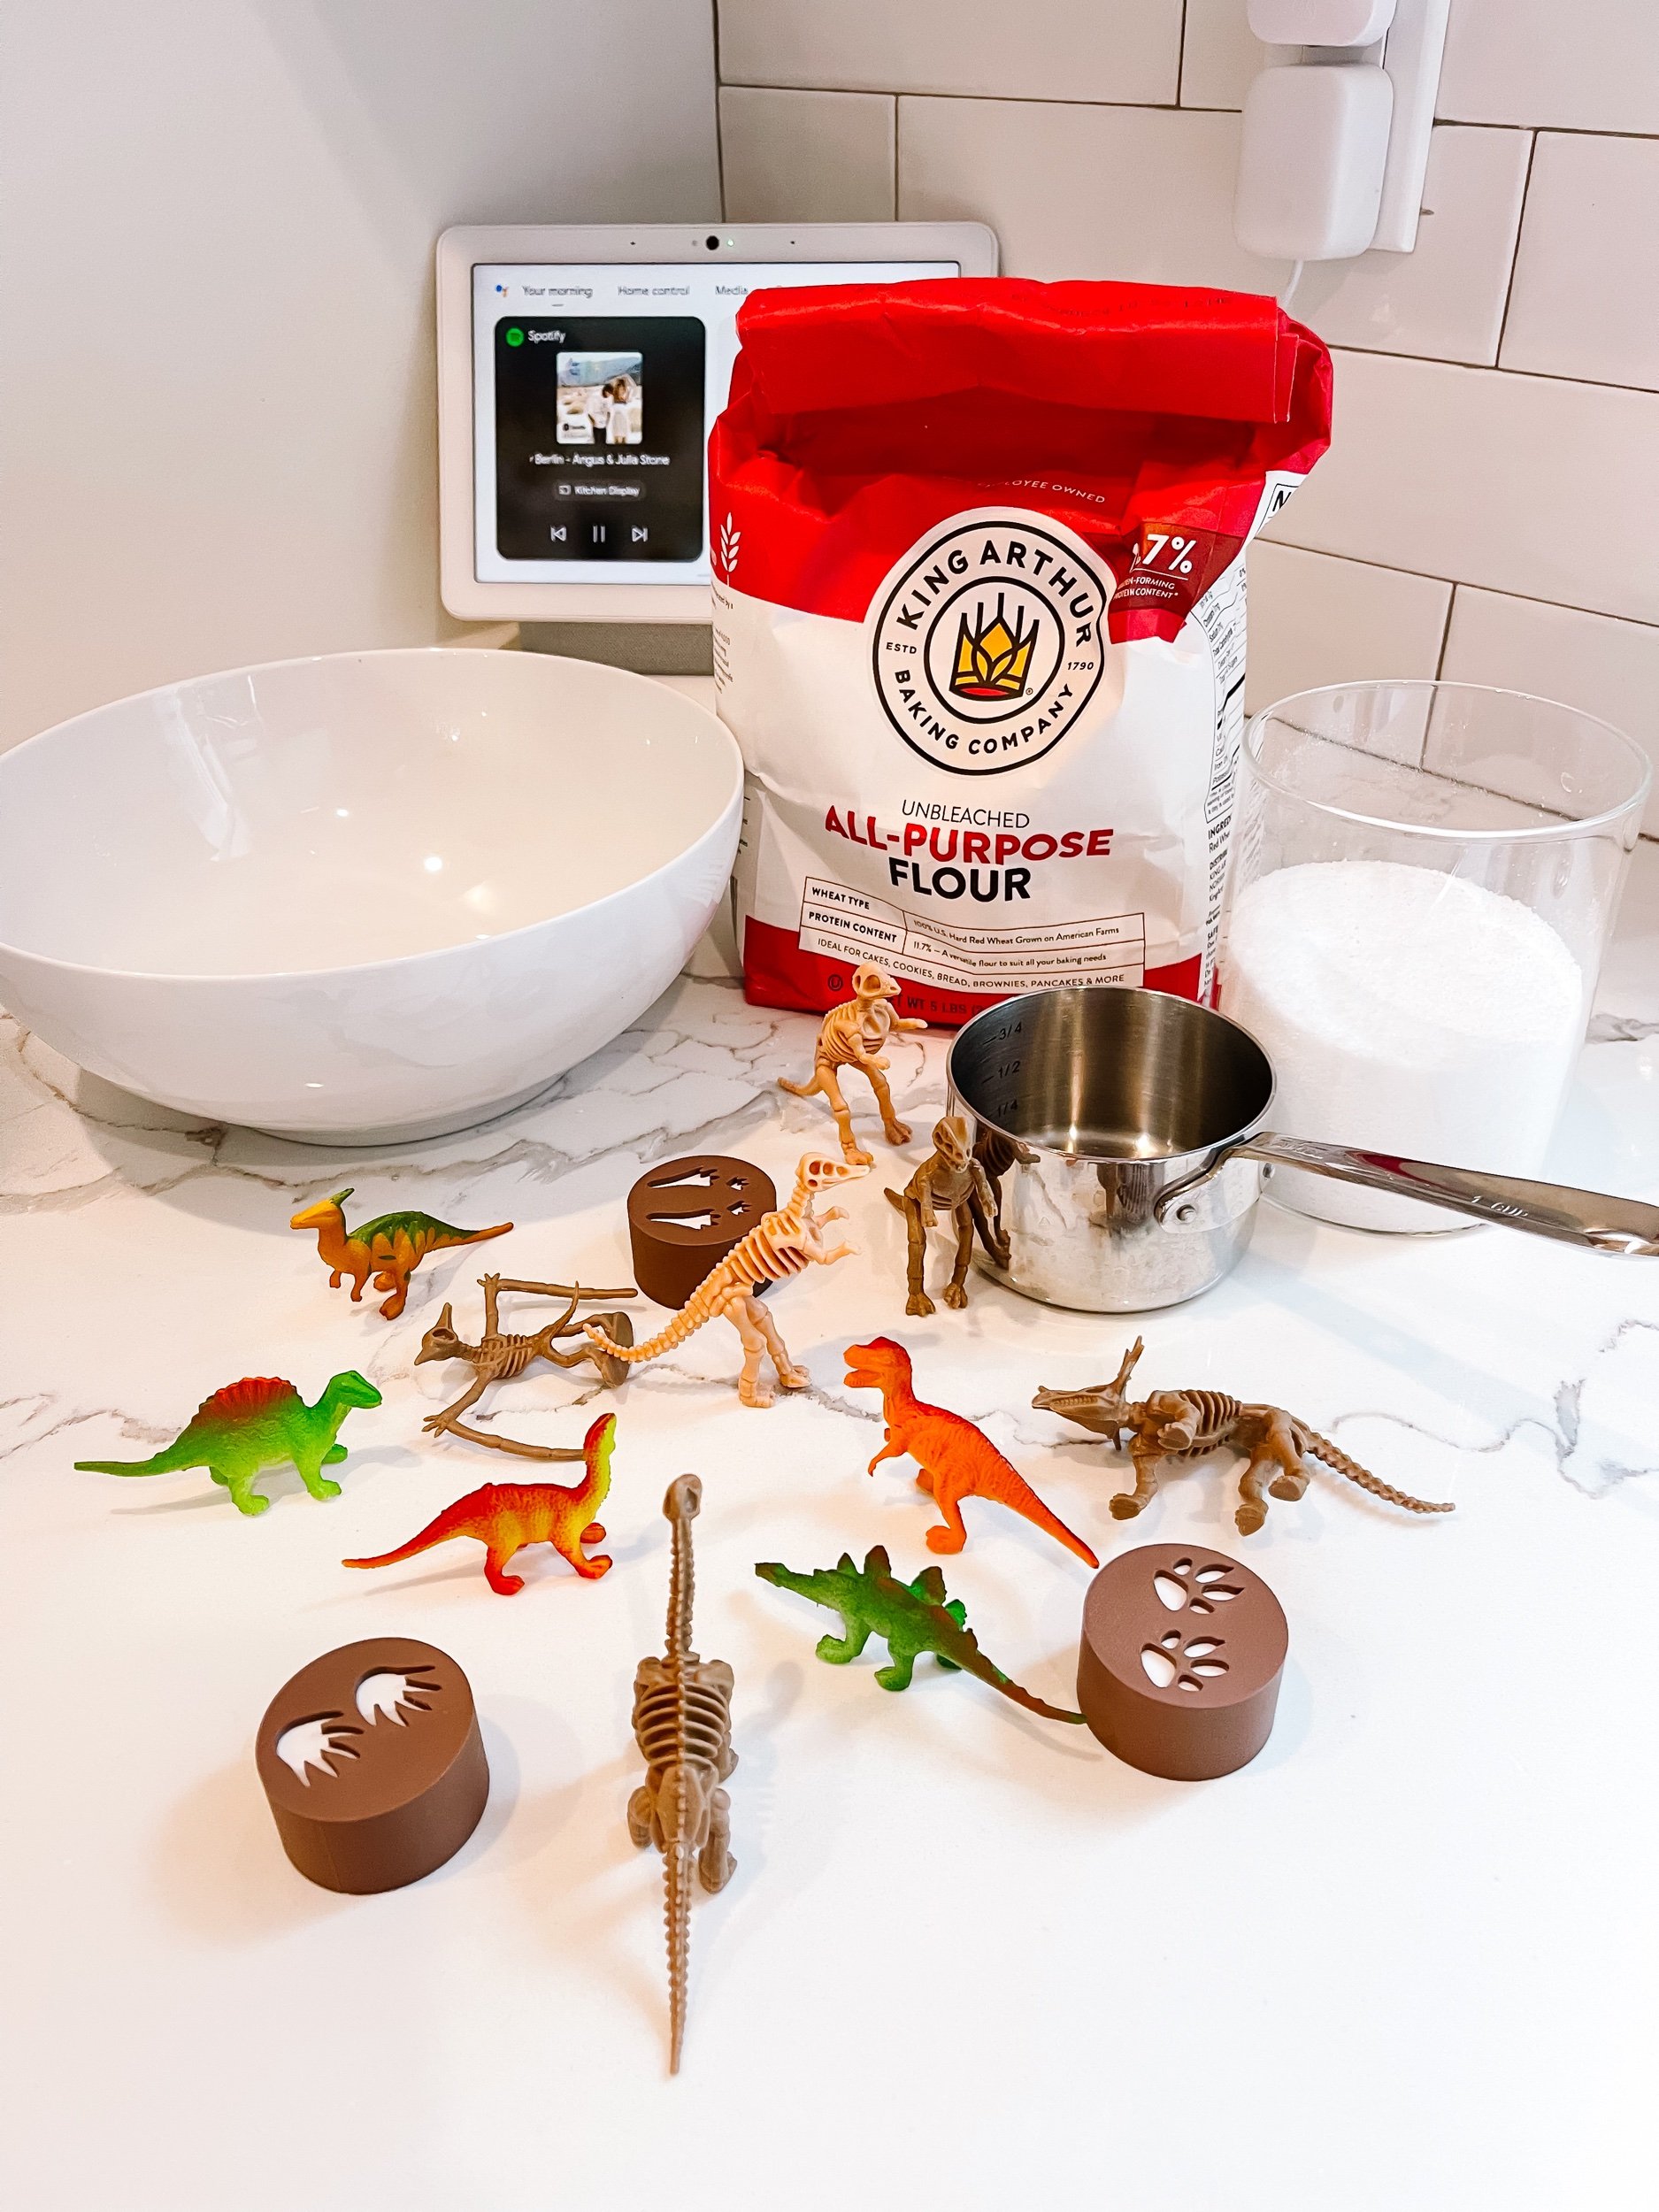
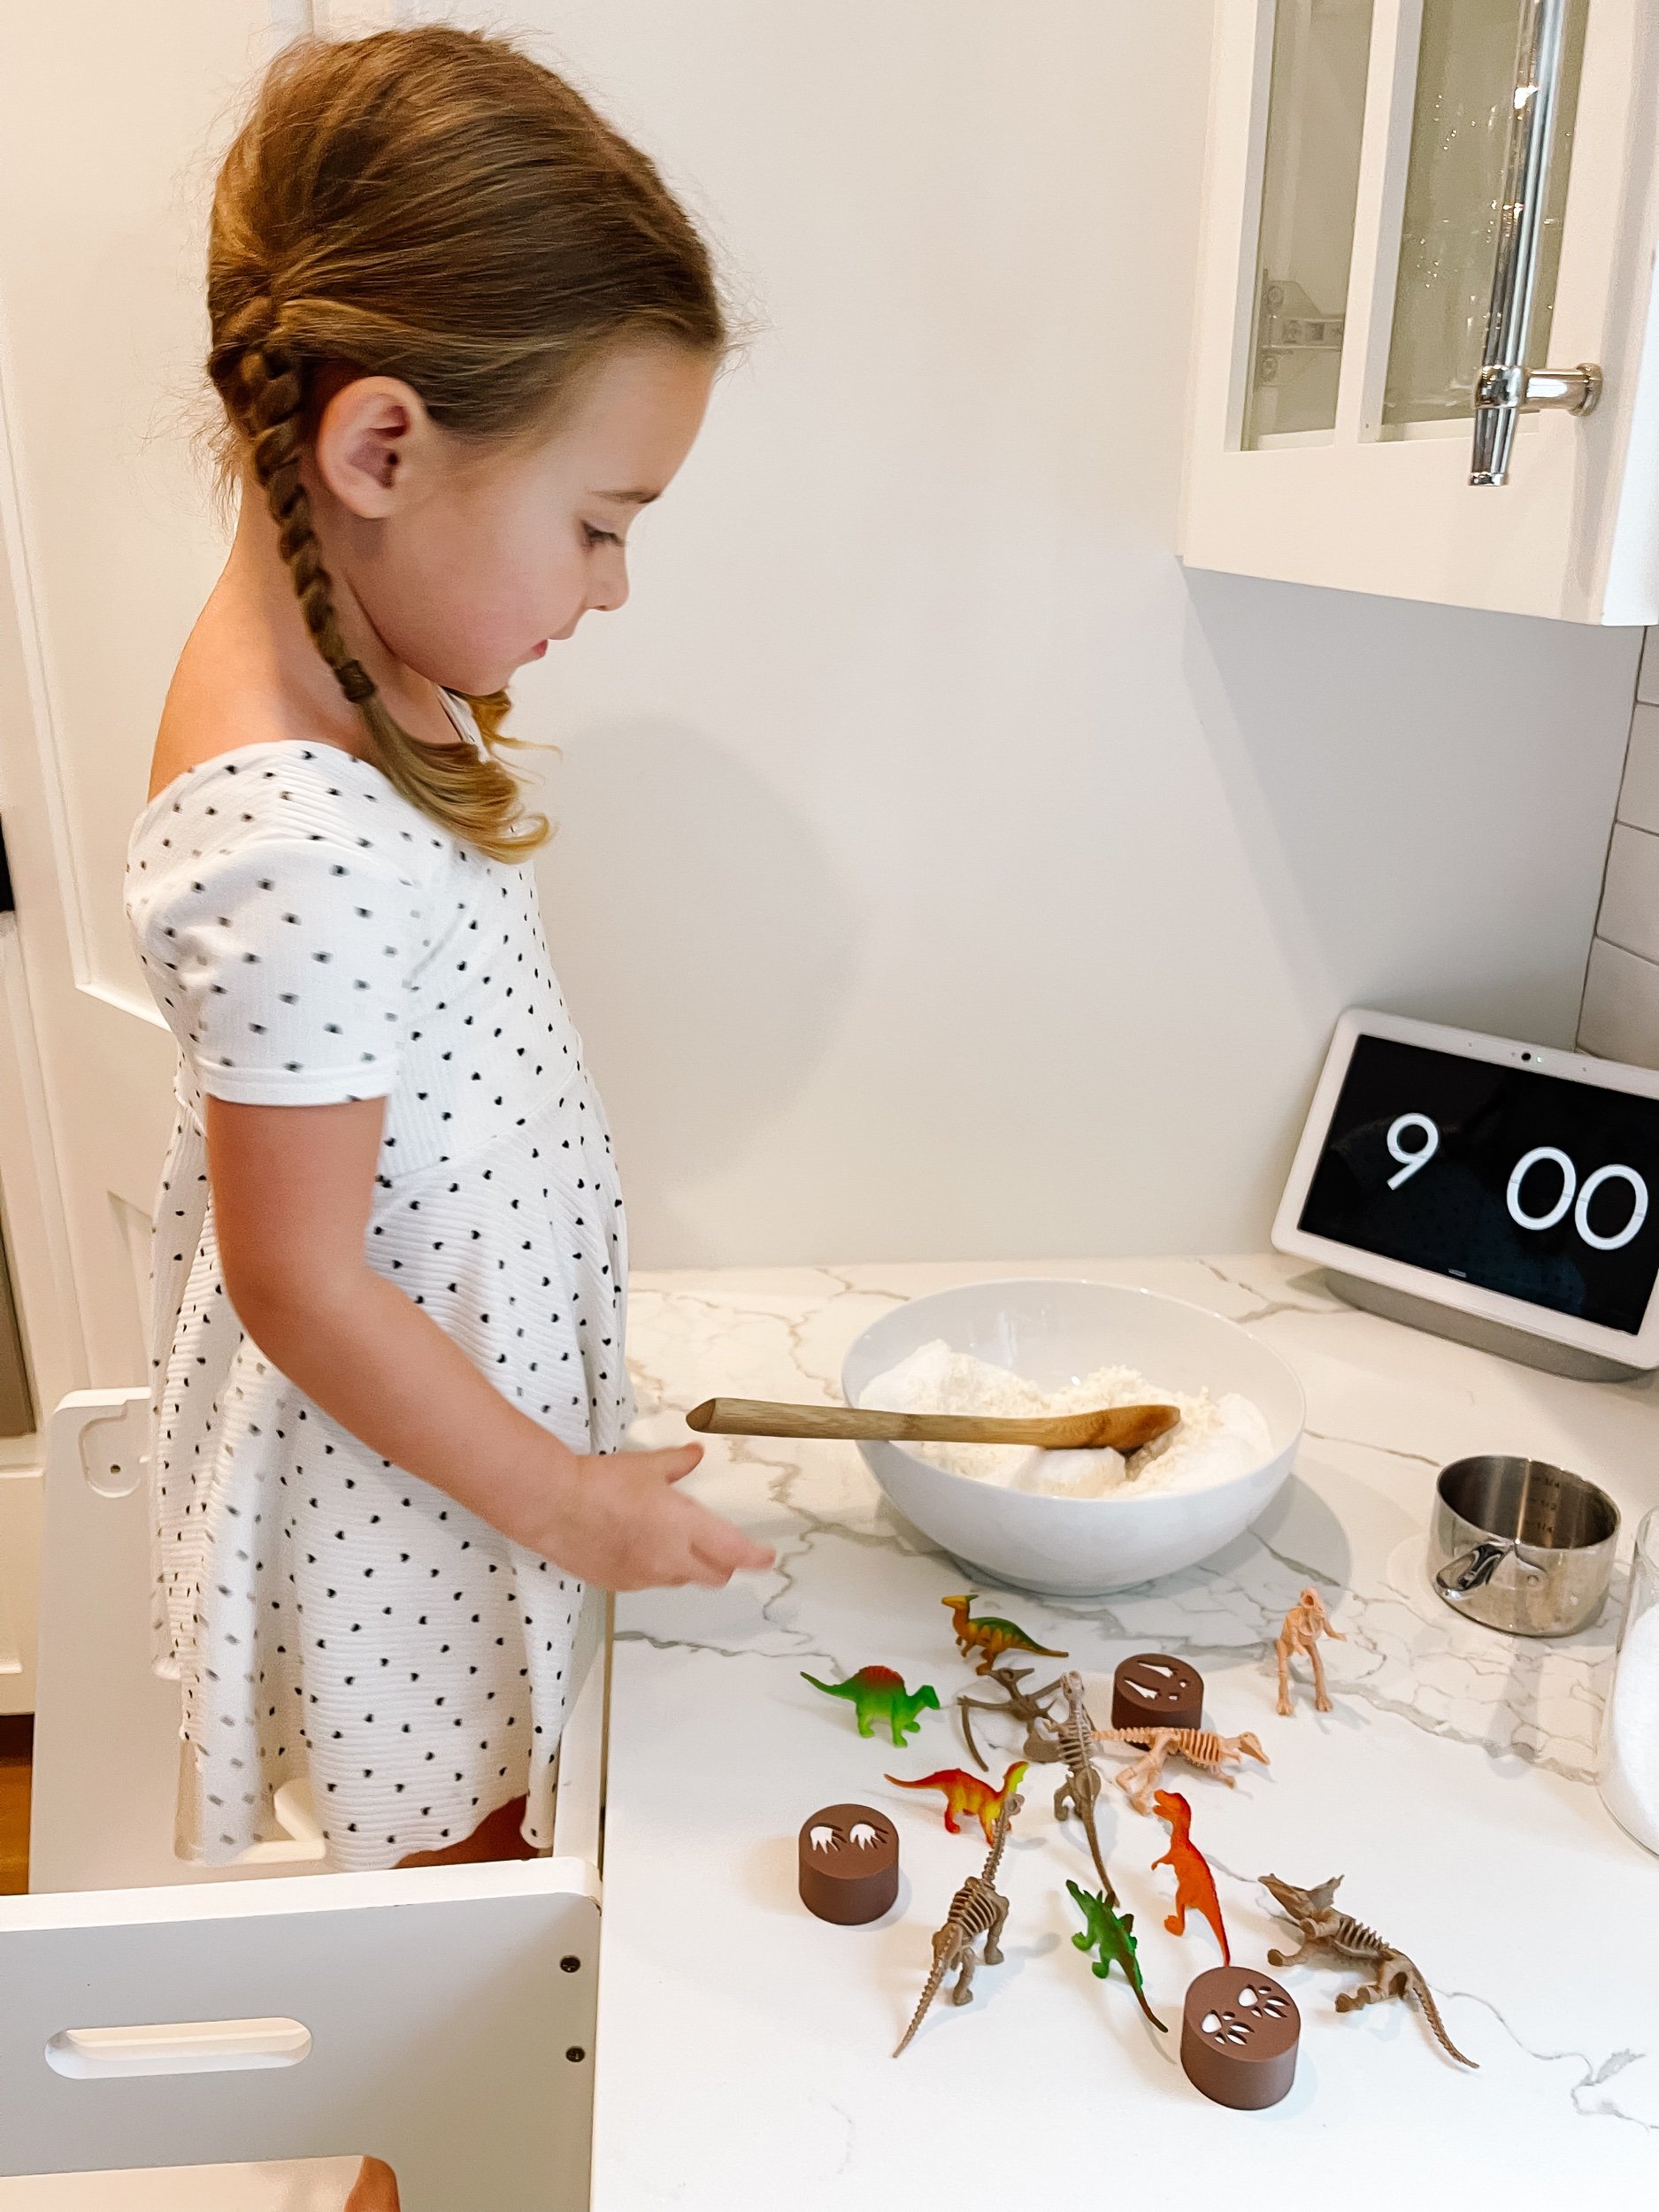
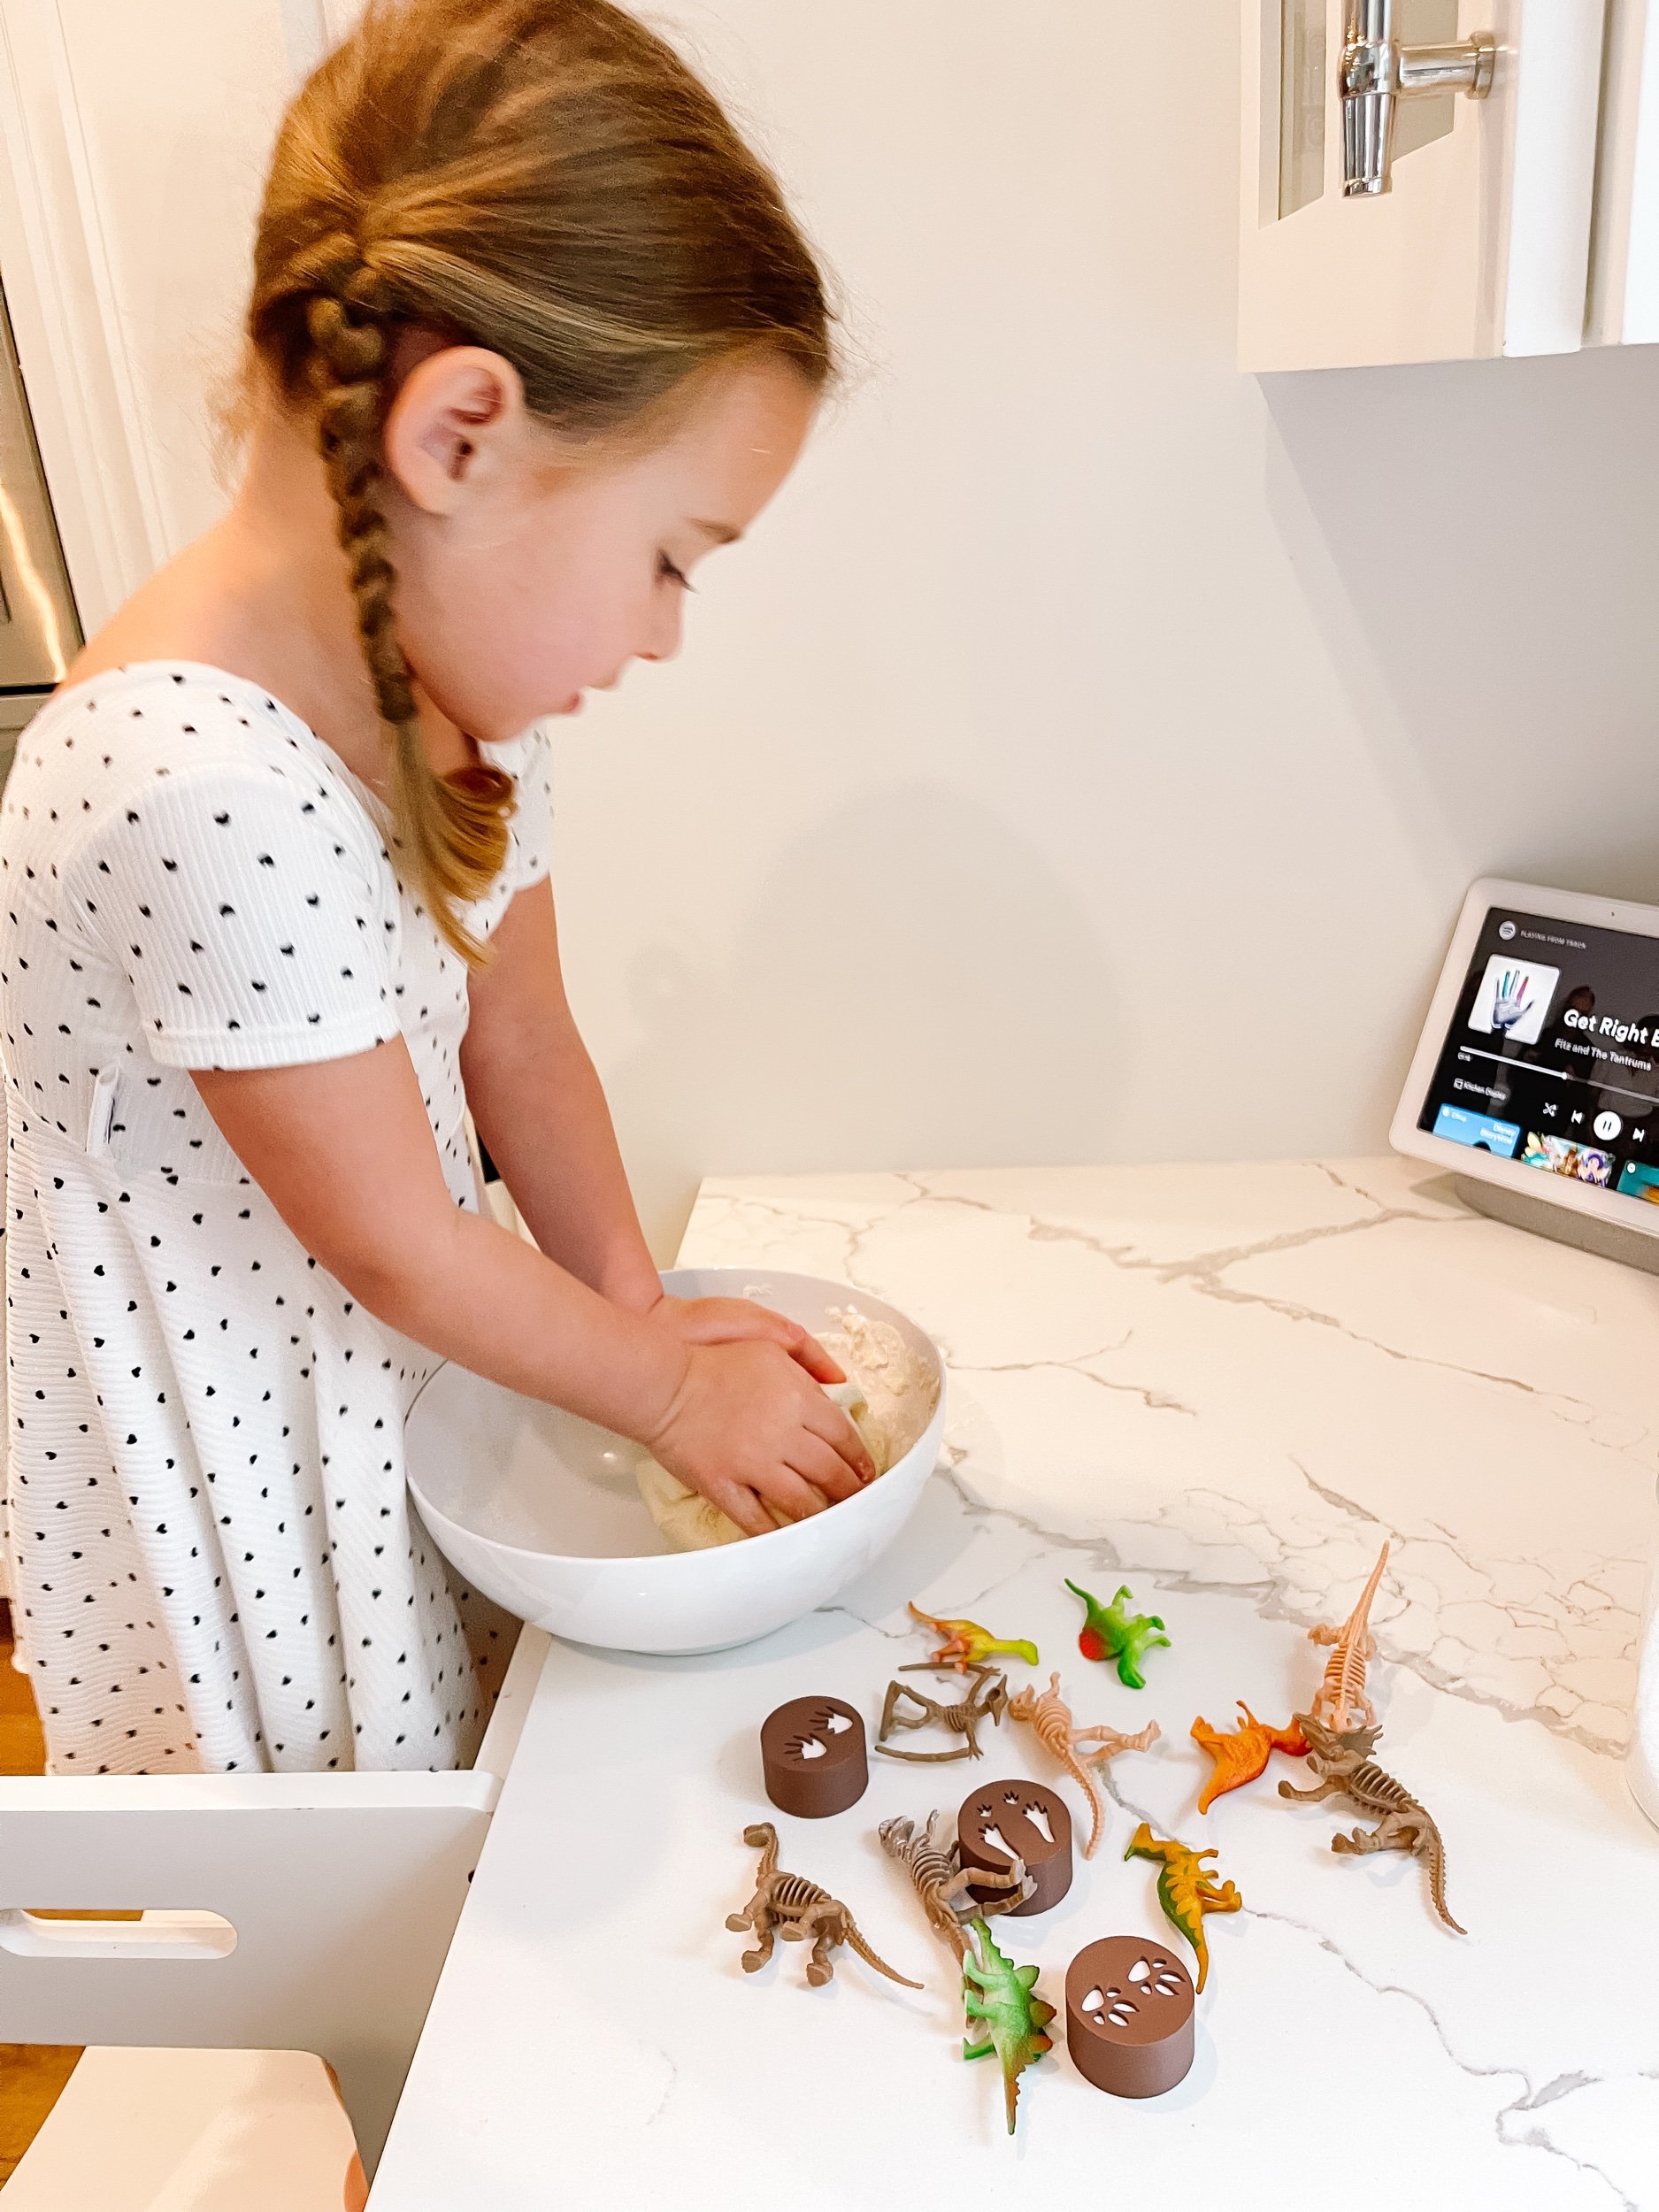
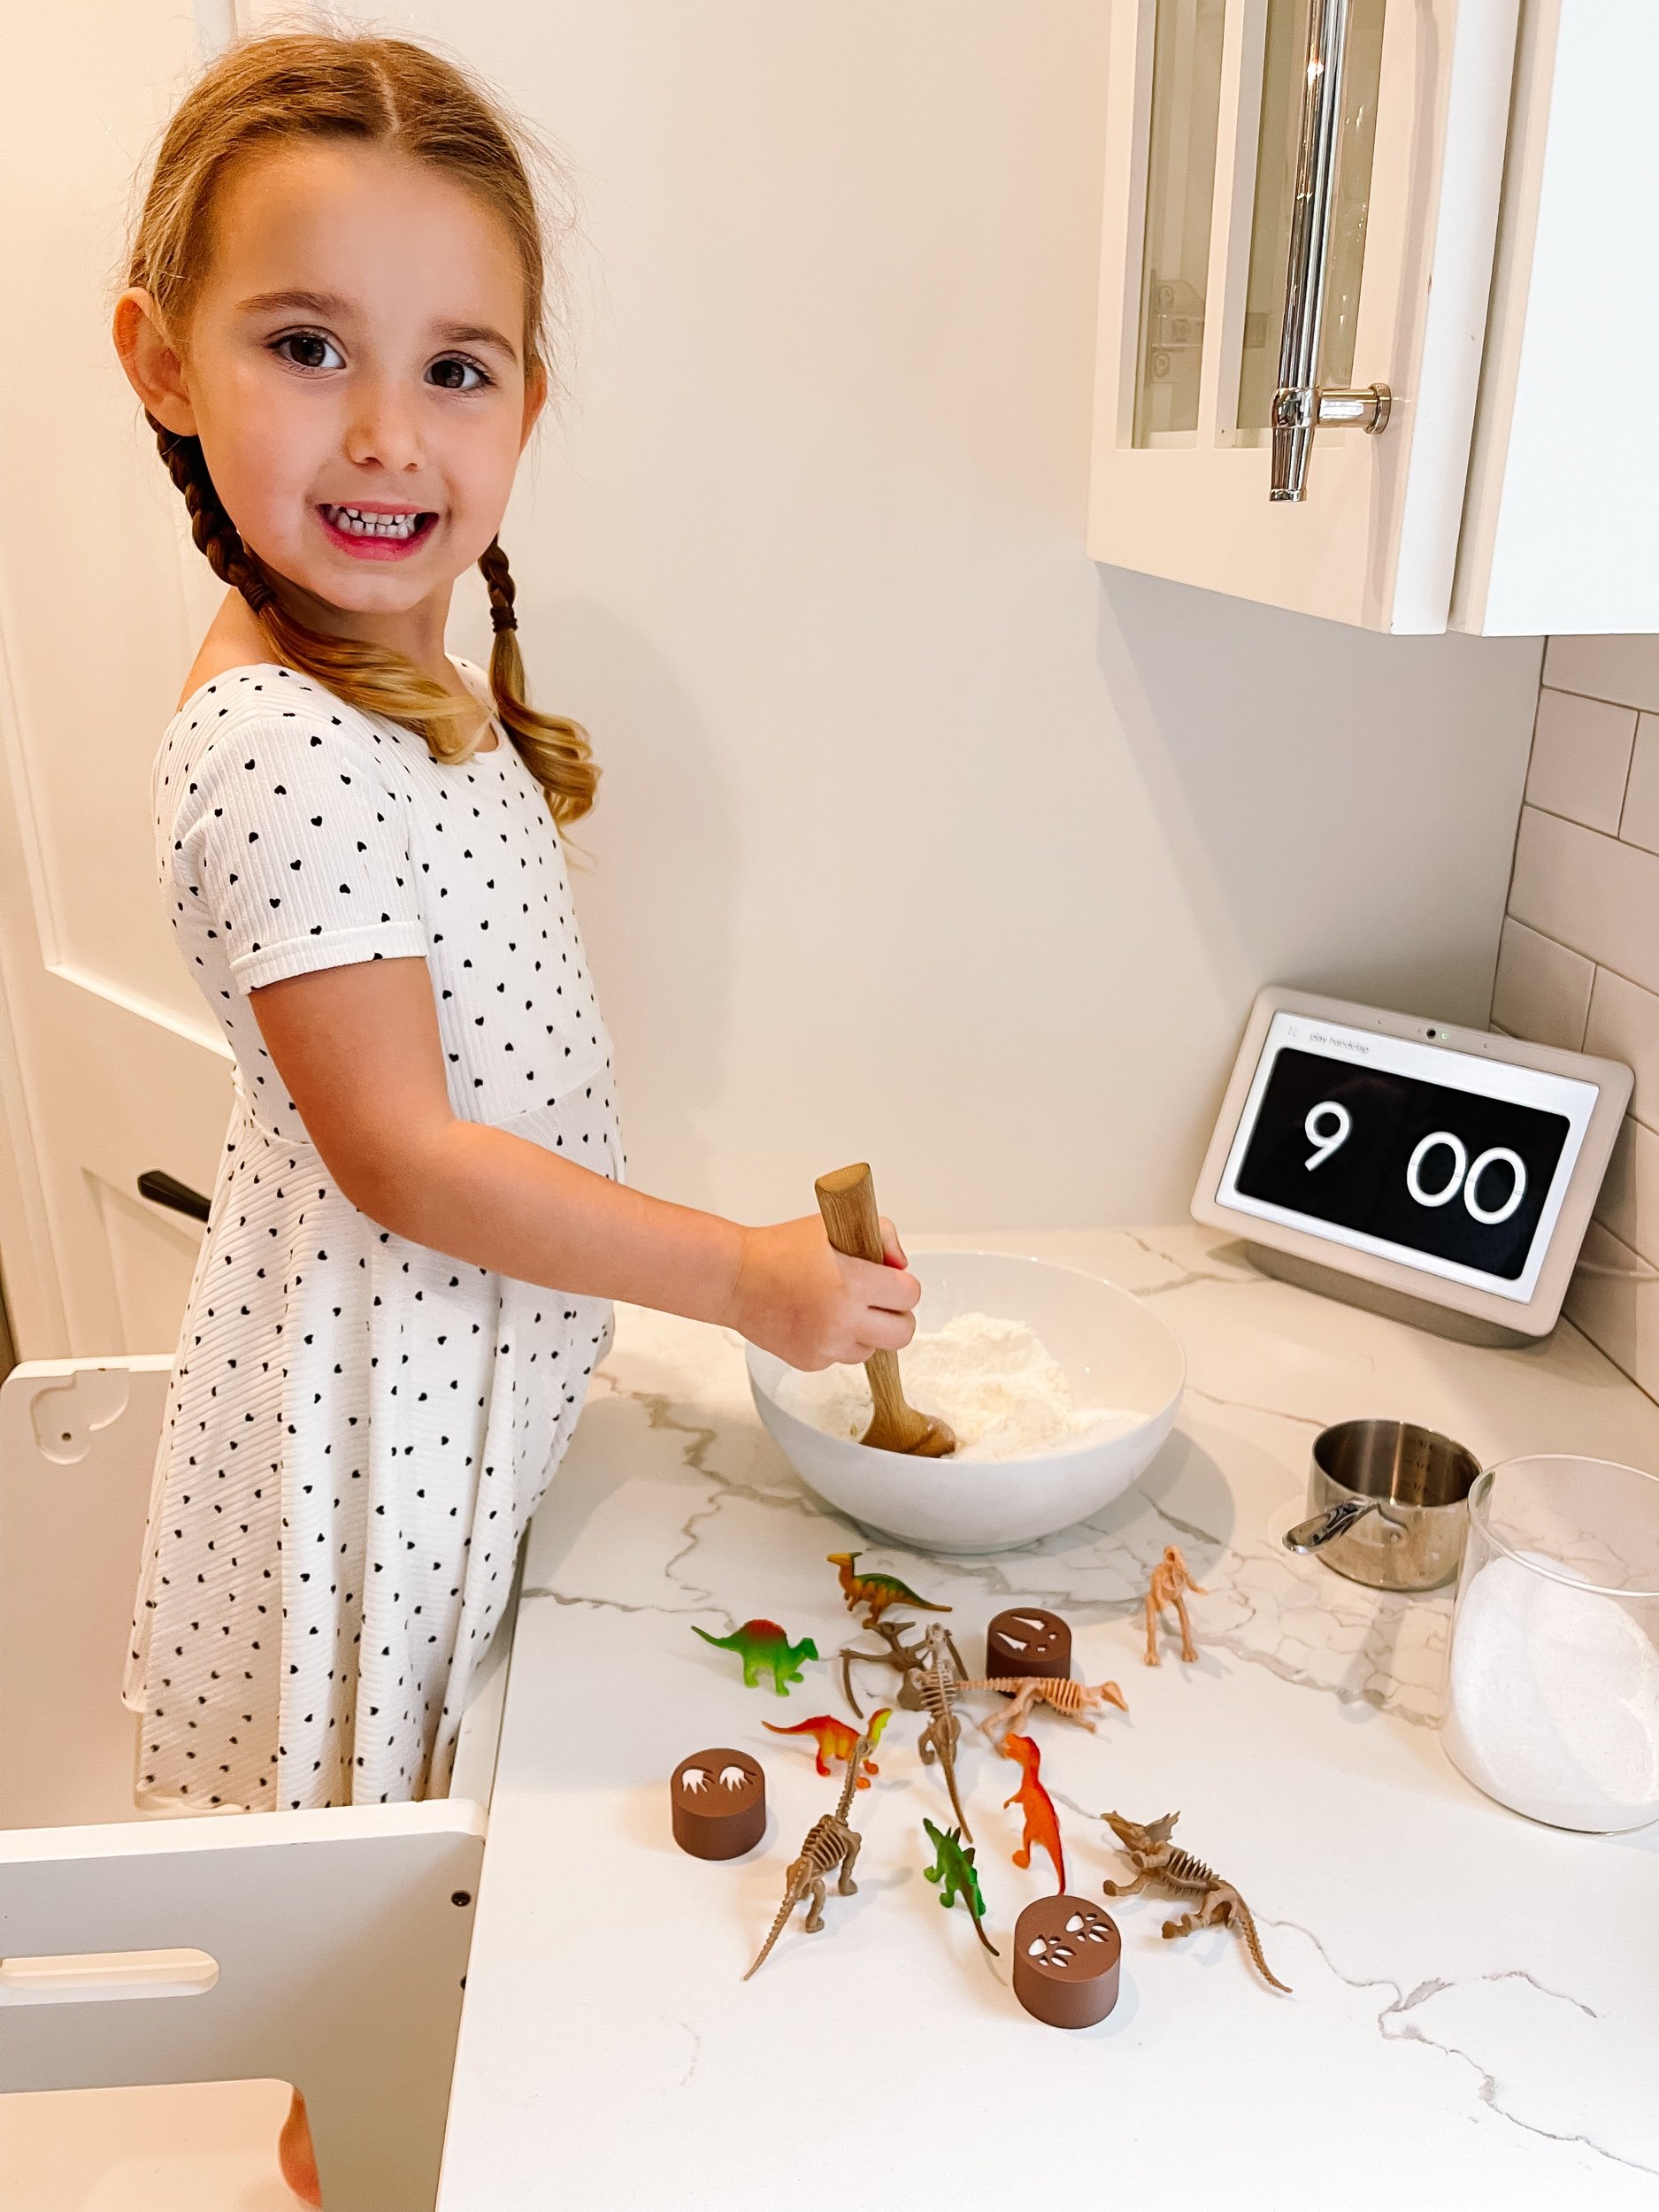
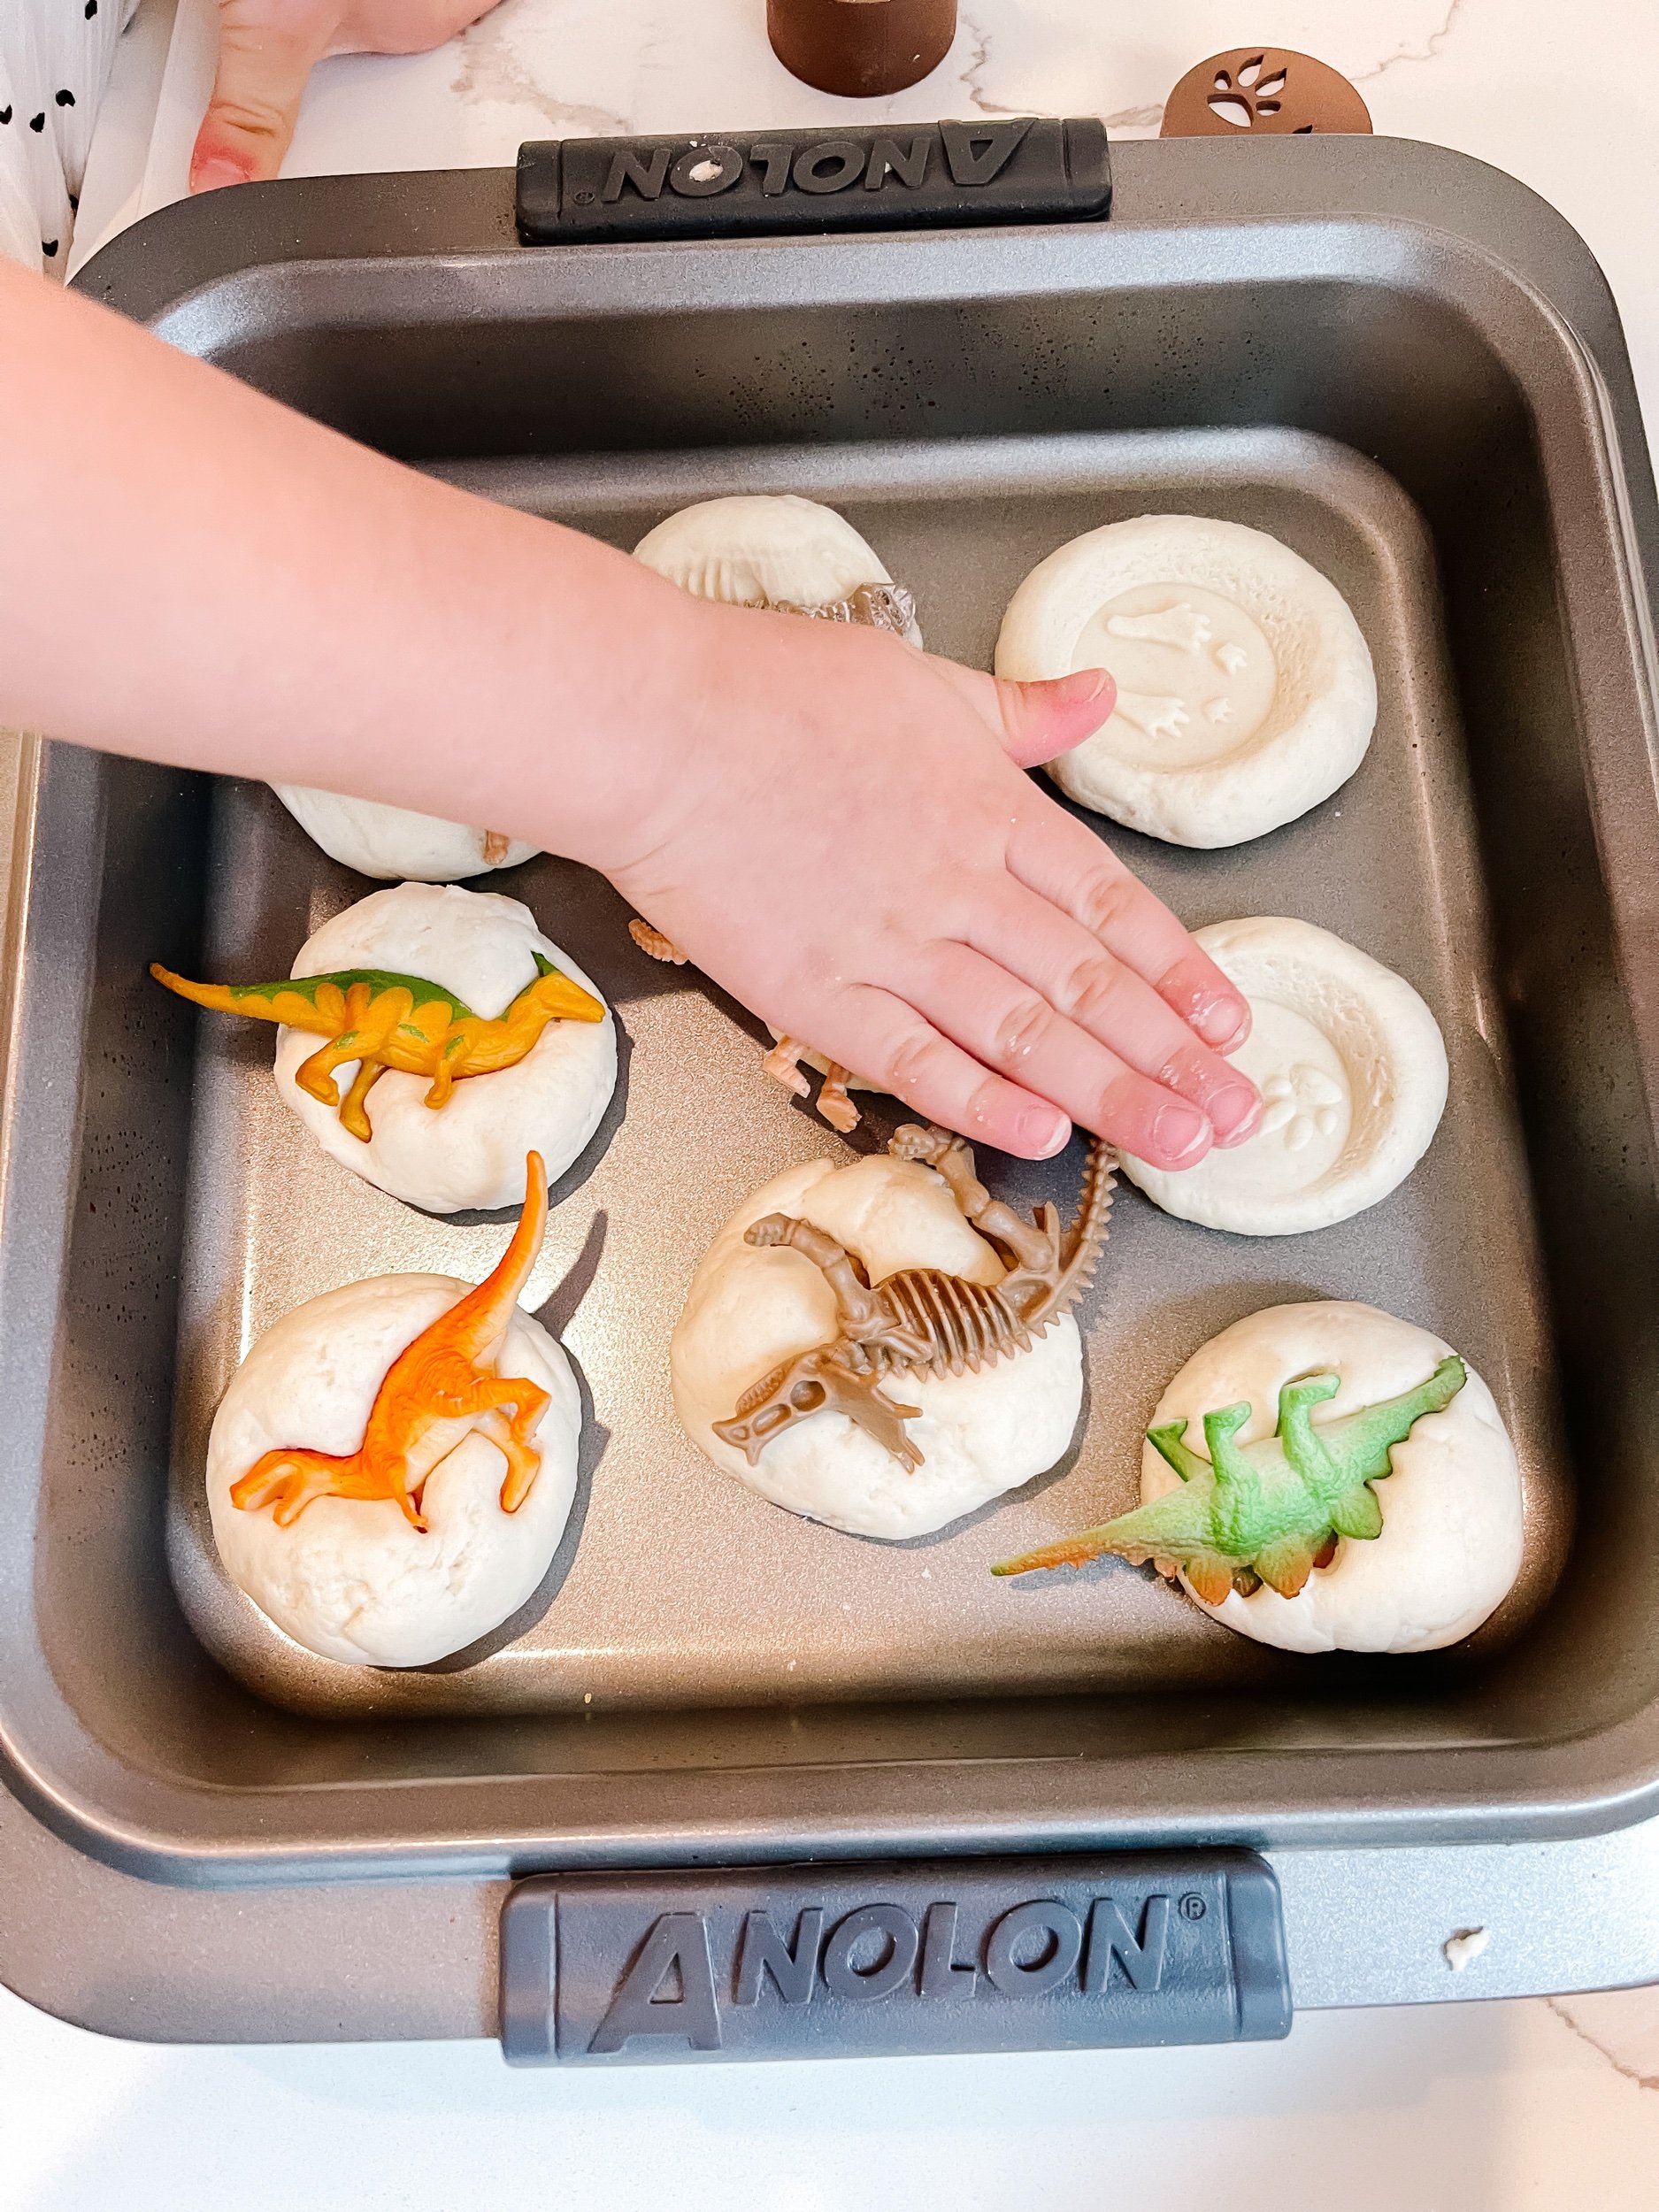
Stamping these fossils was so much fun and it’s like two activities in one! You can start by mixing and playing with the doh. We spent time just kneading it and enjoying the texture. It was so much fun. Then we rolled out little balls to make the rocks or fossils. Then we starting stamping them out using our dinosaur skeletons, dinosaur toys, and stampers from T.C. Play.
Follow these step-by-step instructions:
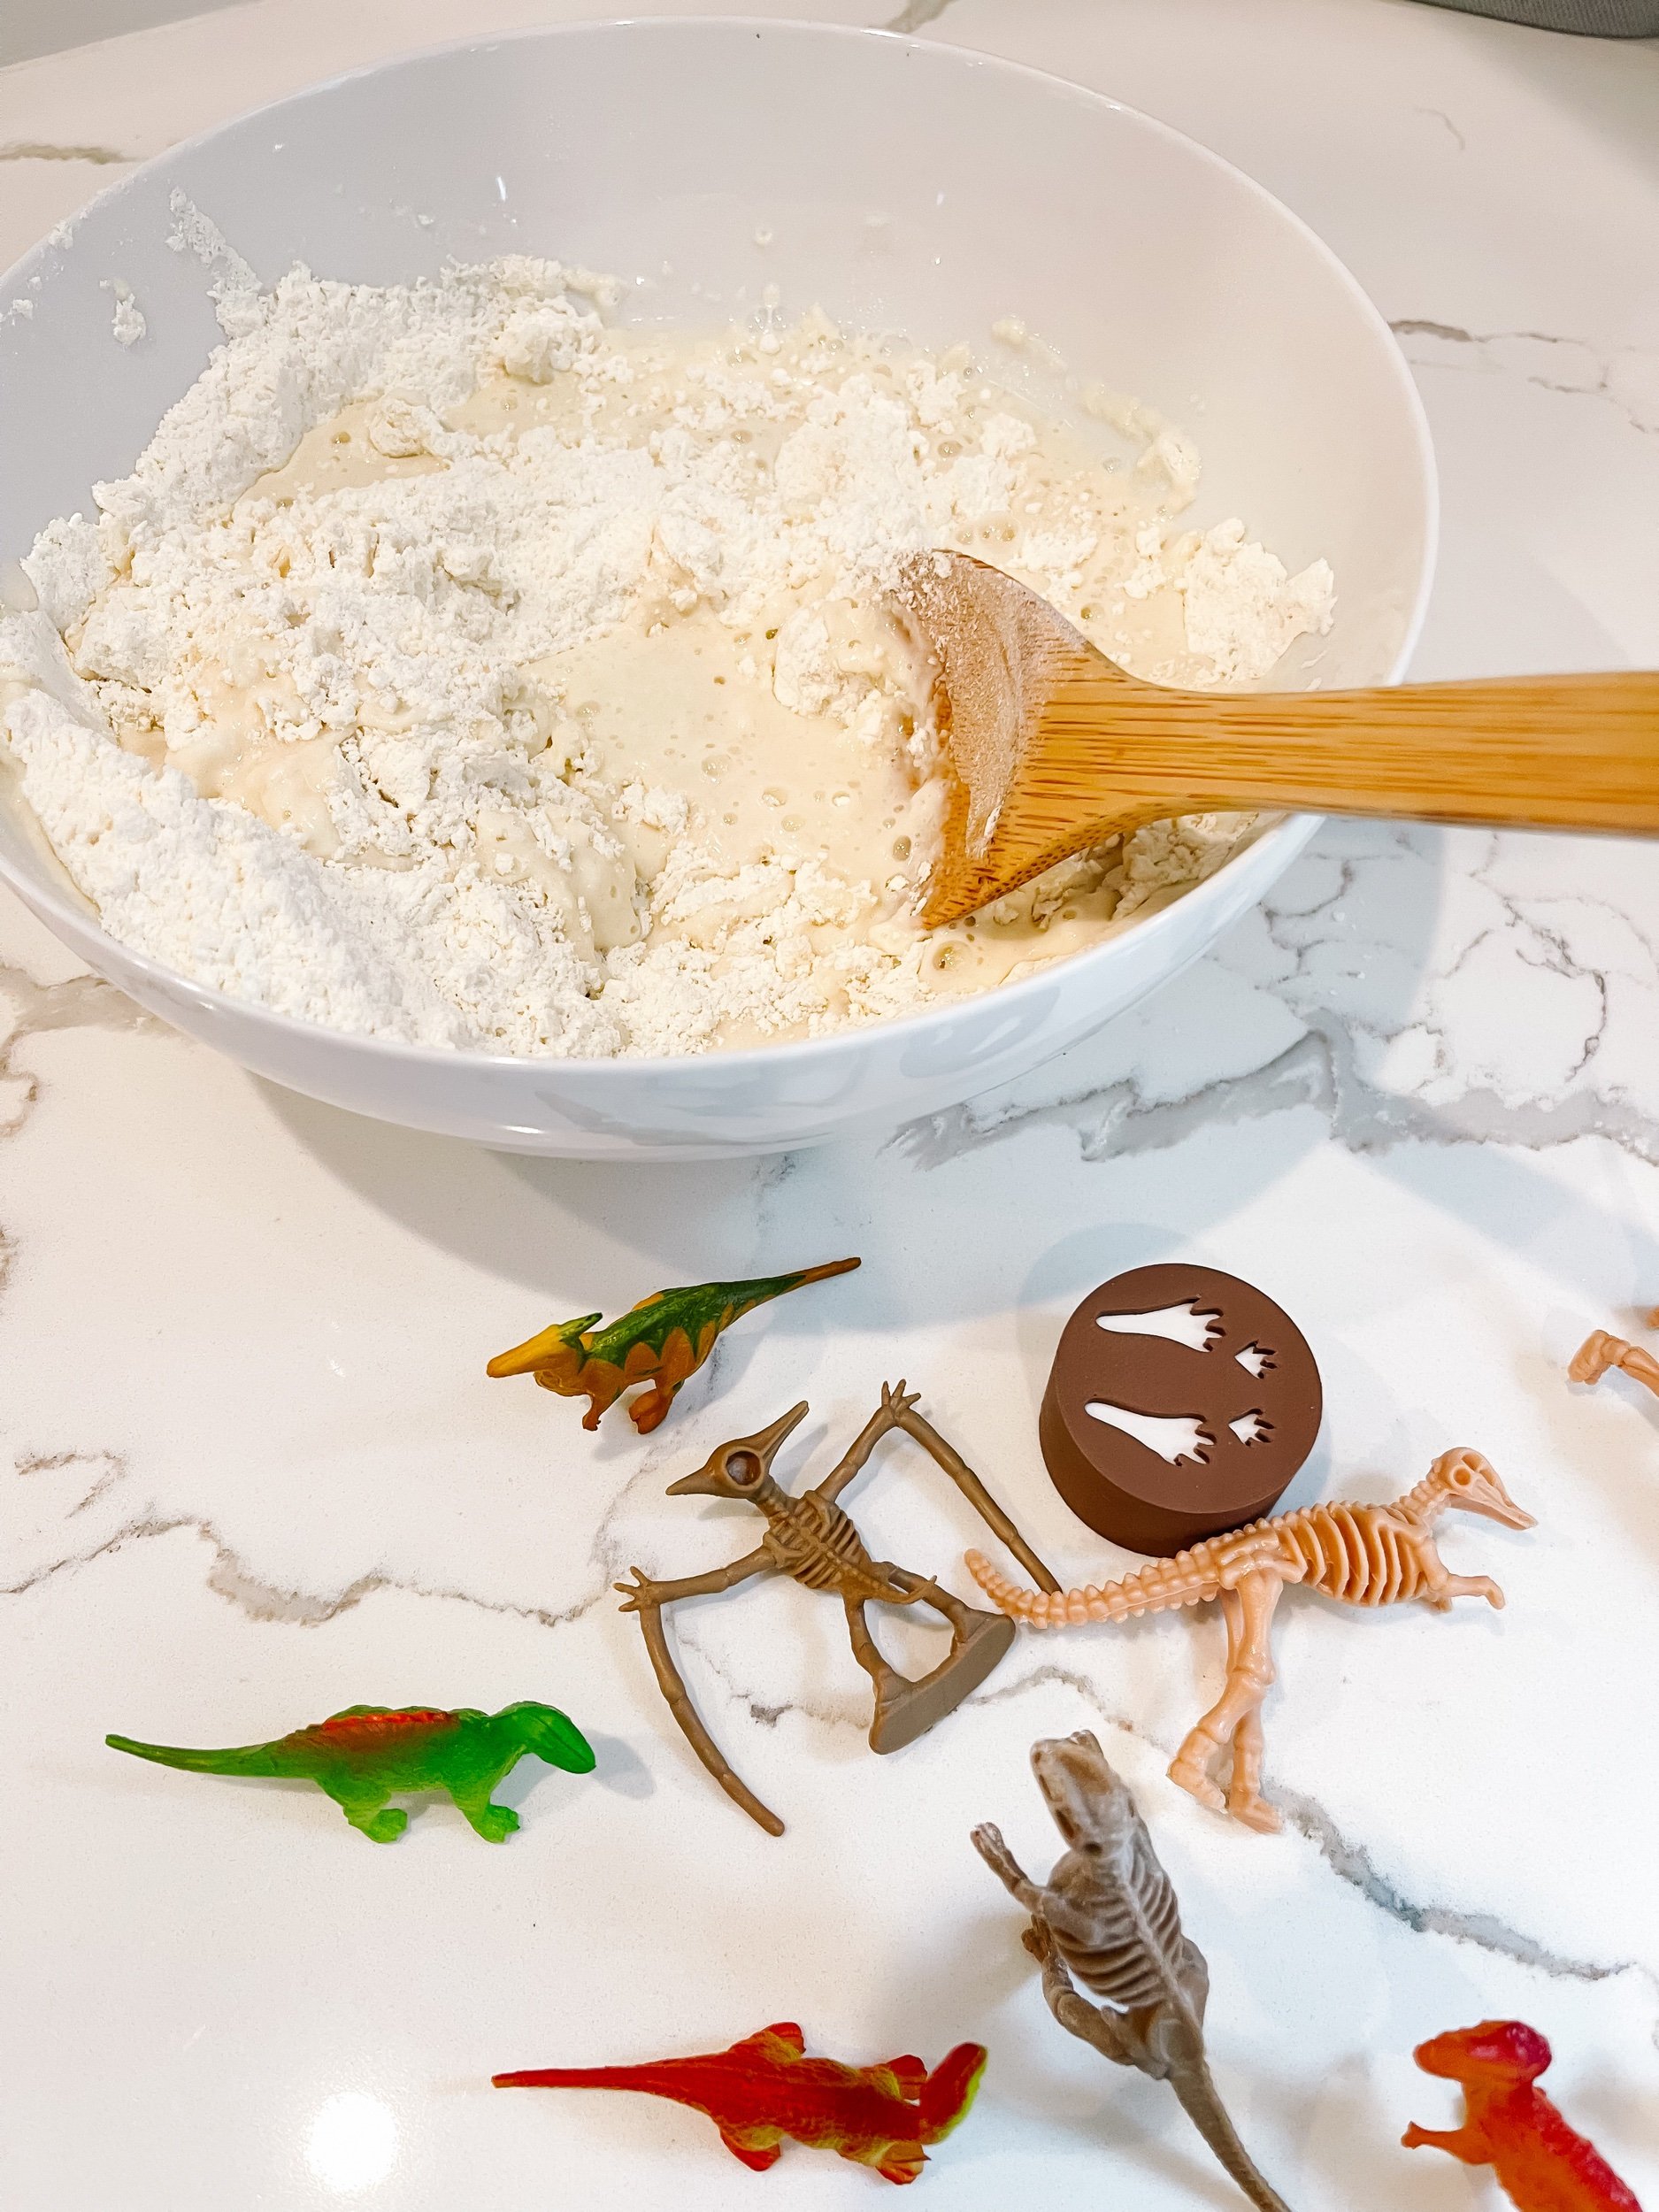
Step 1: In a bowl, mix 2 cups of all-purpose flour, 1 cup of salt, and 1 cup of water until you achieve a smooth dough consistency.
Step 2: Roll out the dough on a flat surface and encourage your child to press dinosaur footprints or skeletons into the dough using plastic toy figures. We used these amazing stampers from T.C. Play.
Step 3: Bake the imprints on a parchment-lined baking sheet at a low temperature (around 200°F or 95°C) for approximately 2-3 hours or until the dough hardens.
The resulting salt dough fossils will serve as tangible remnants of the past, triggering sensory engagement and imaginative play.
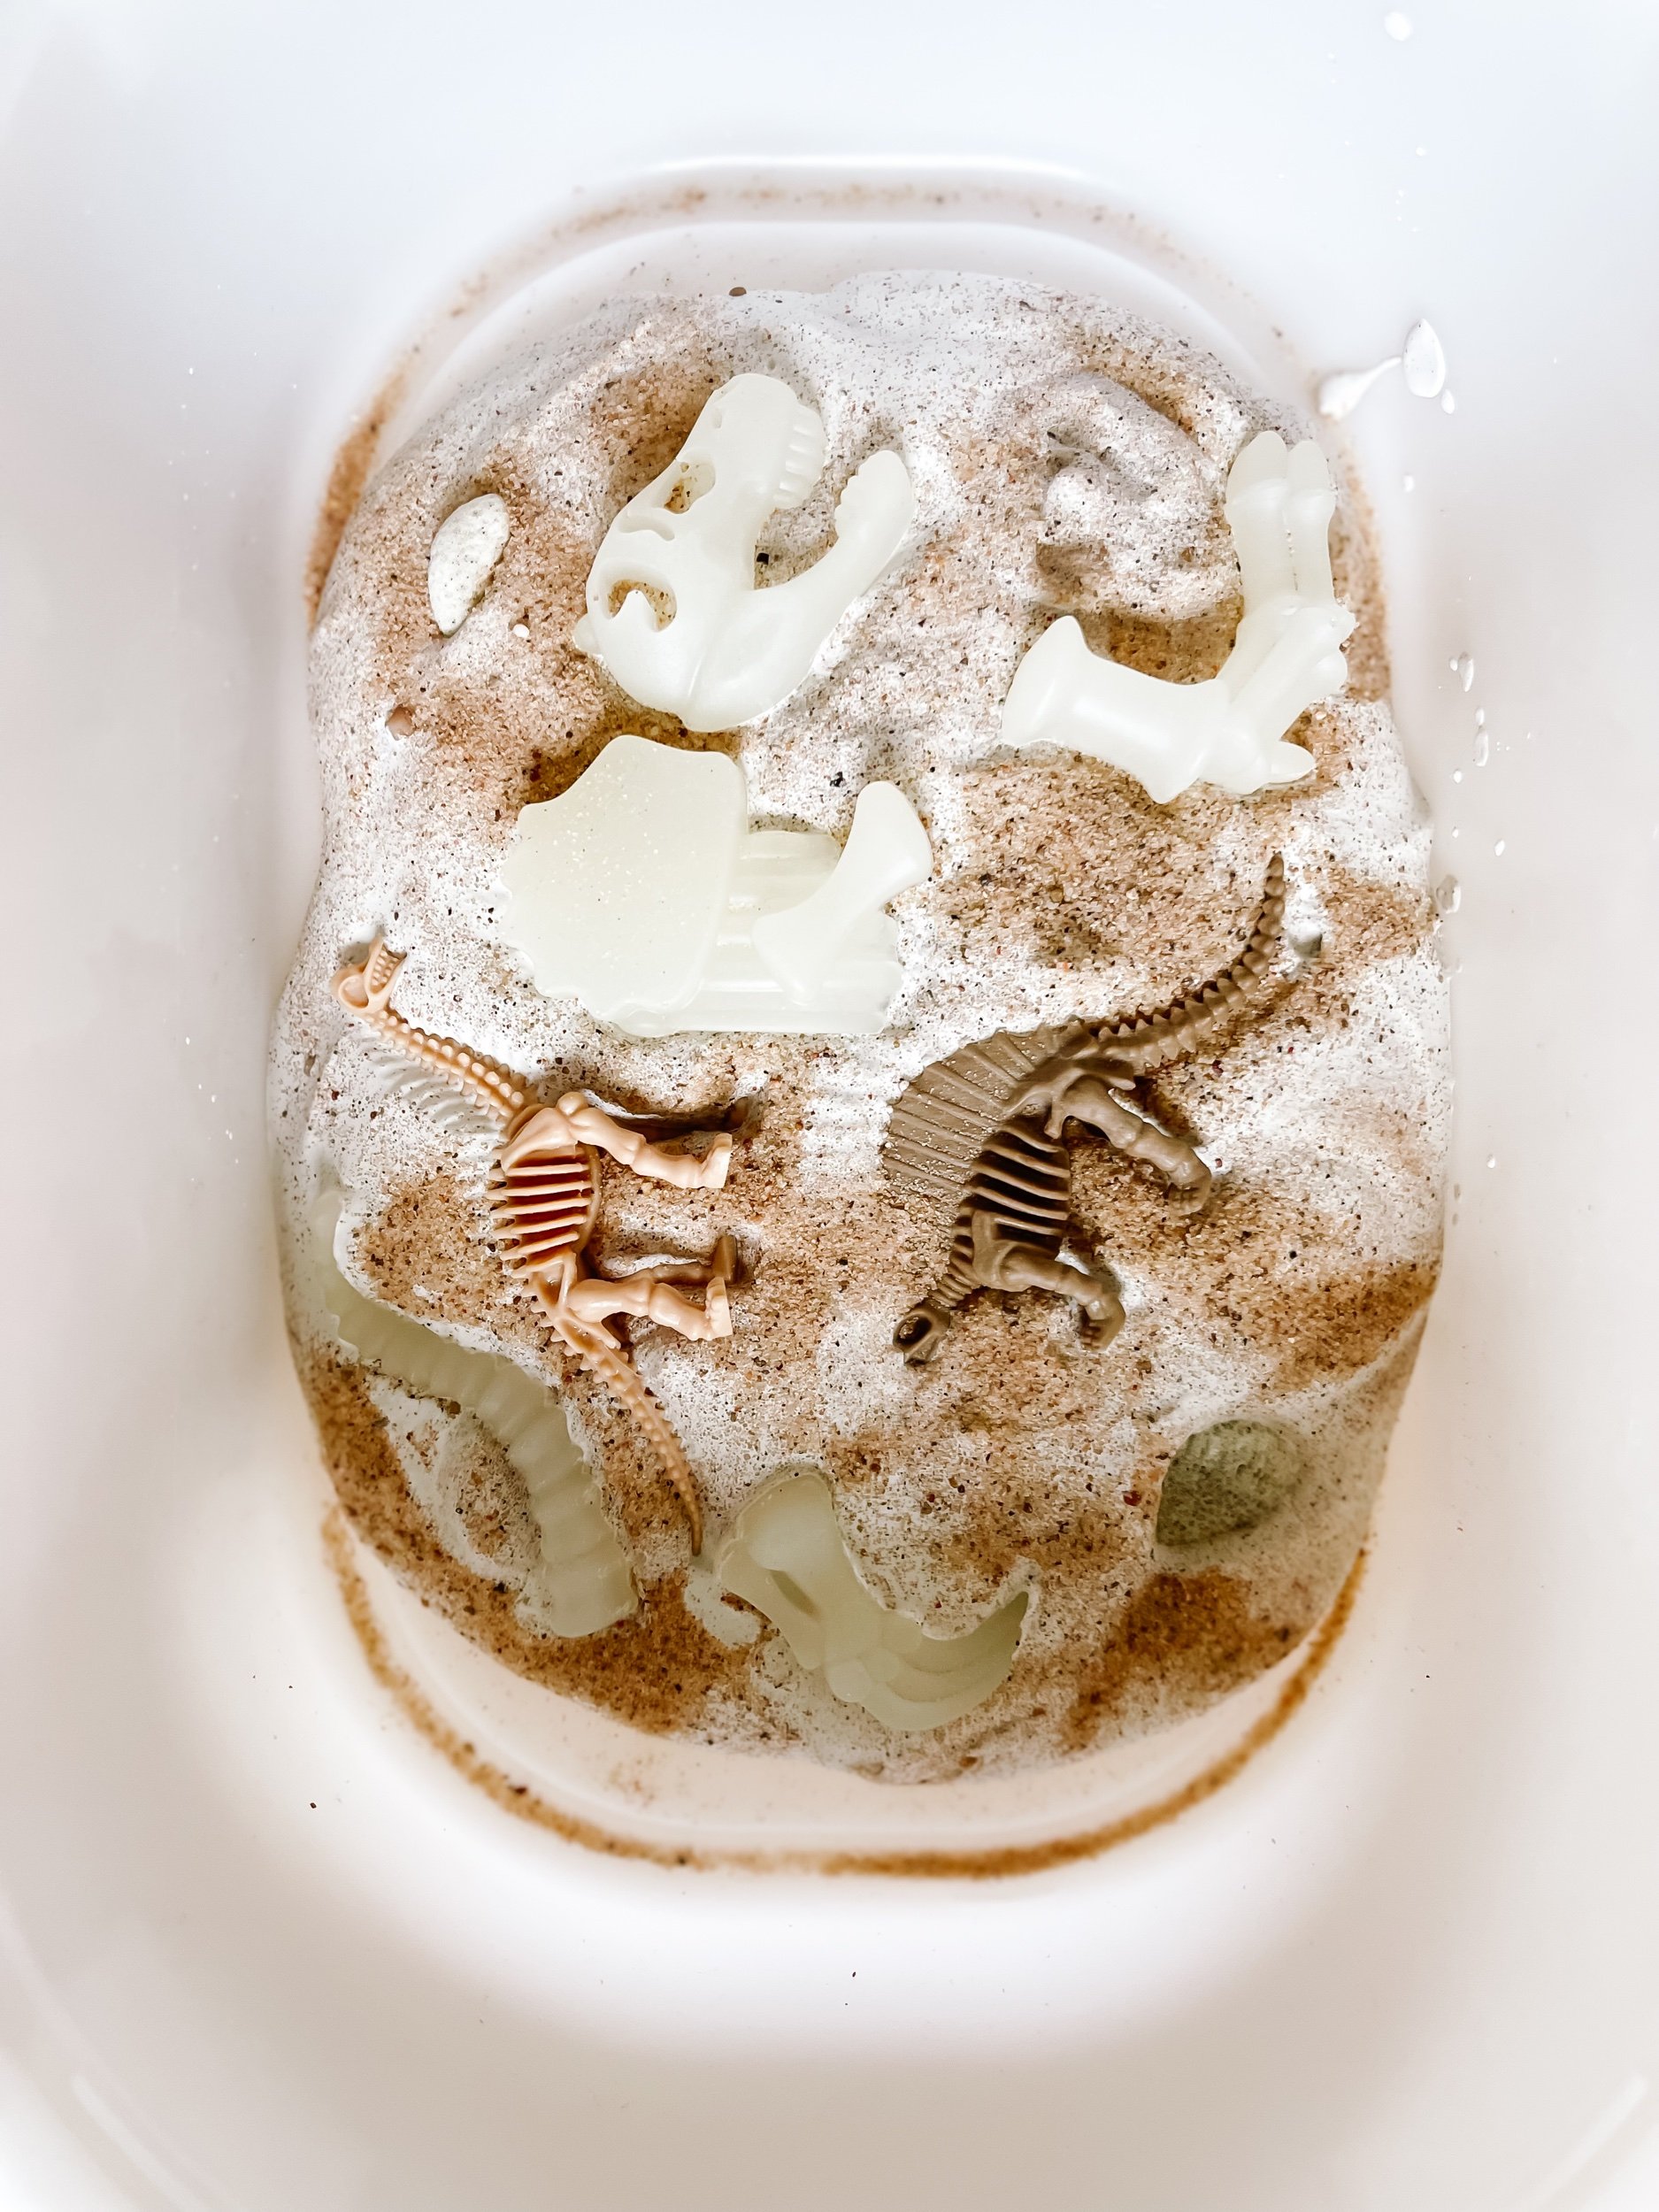
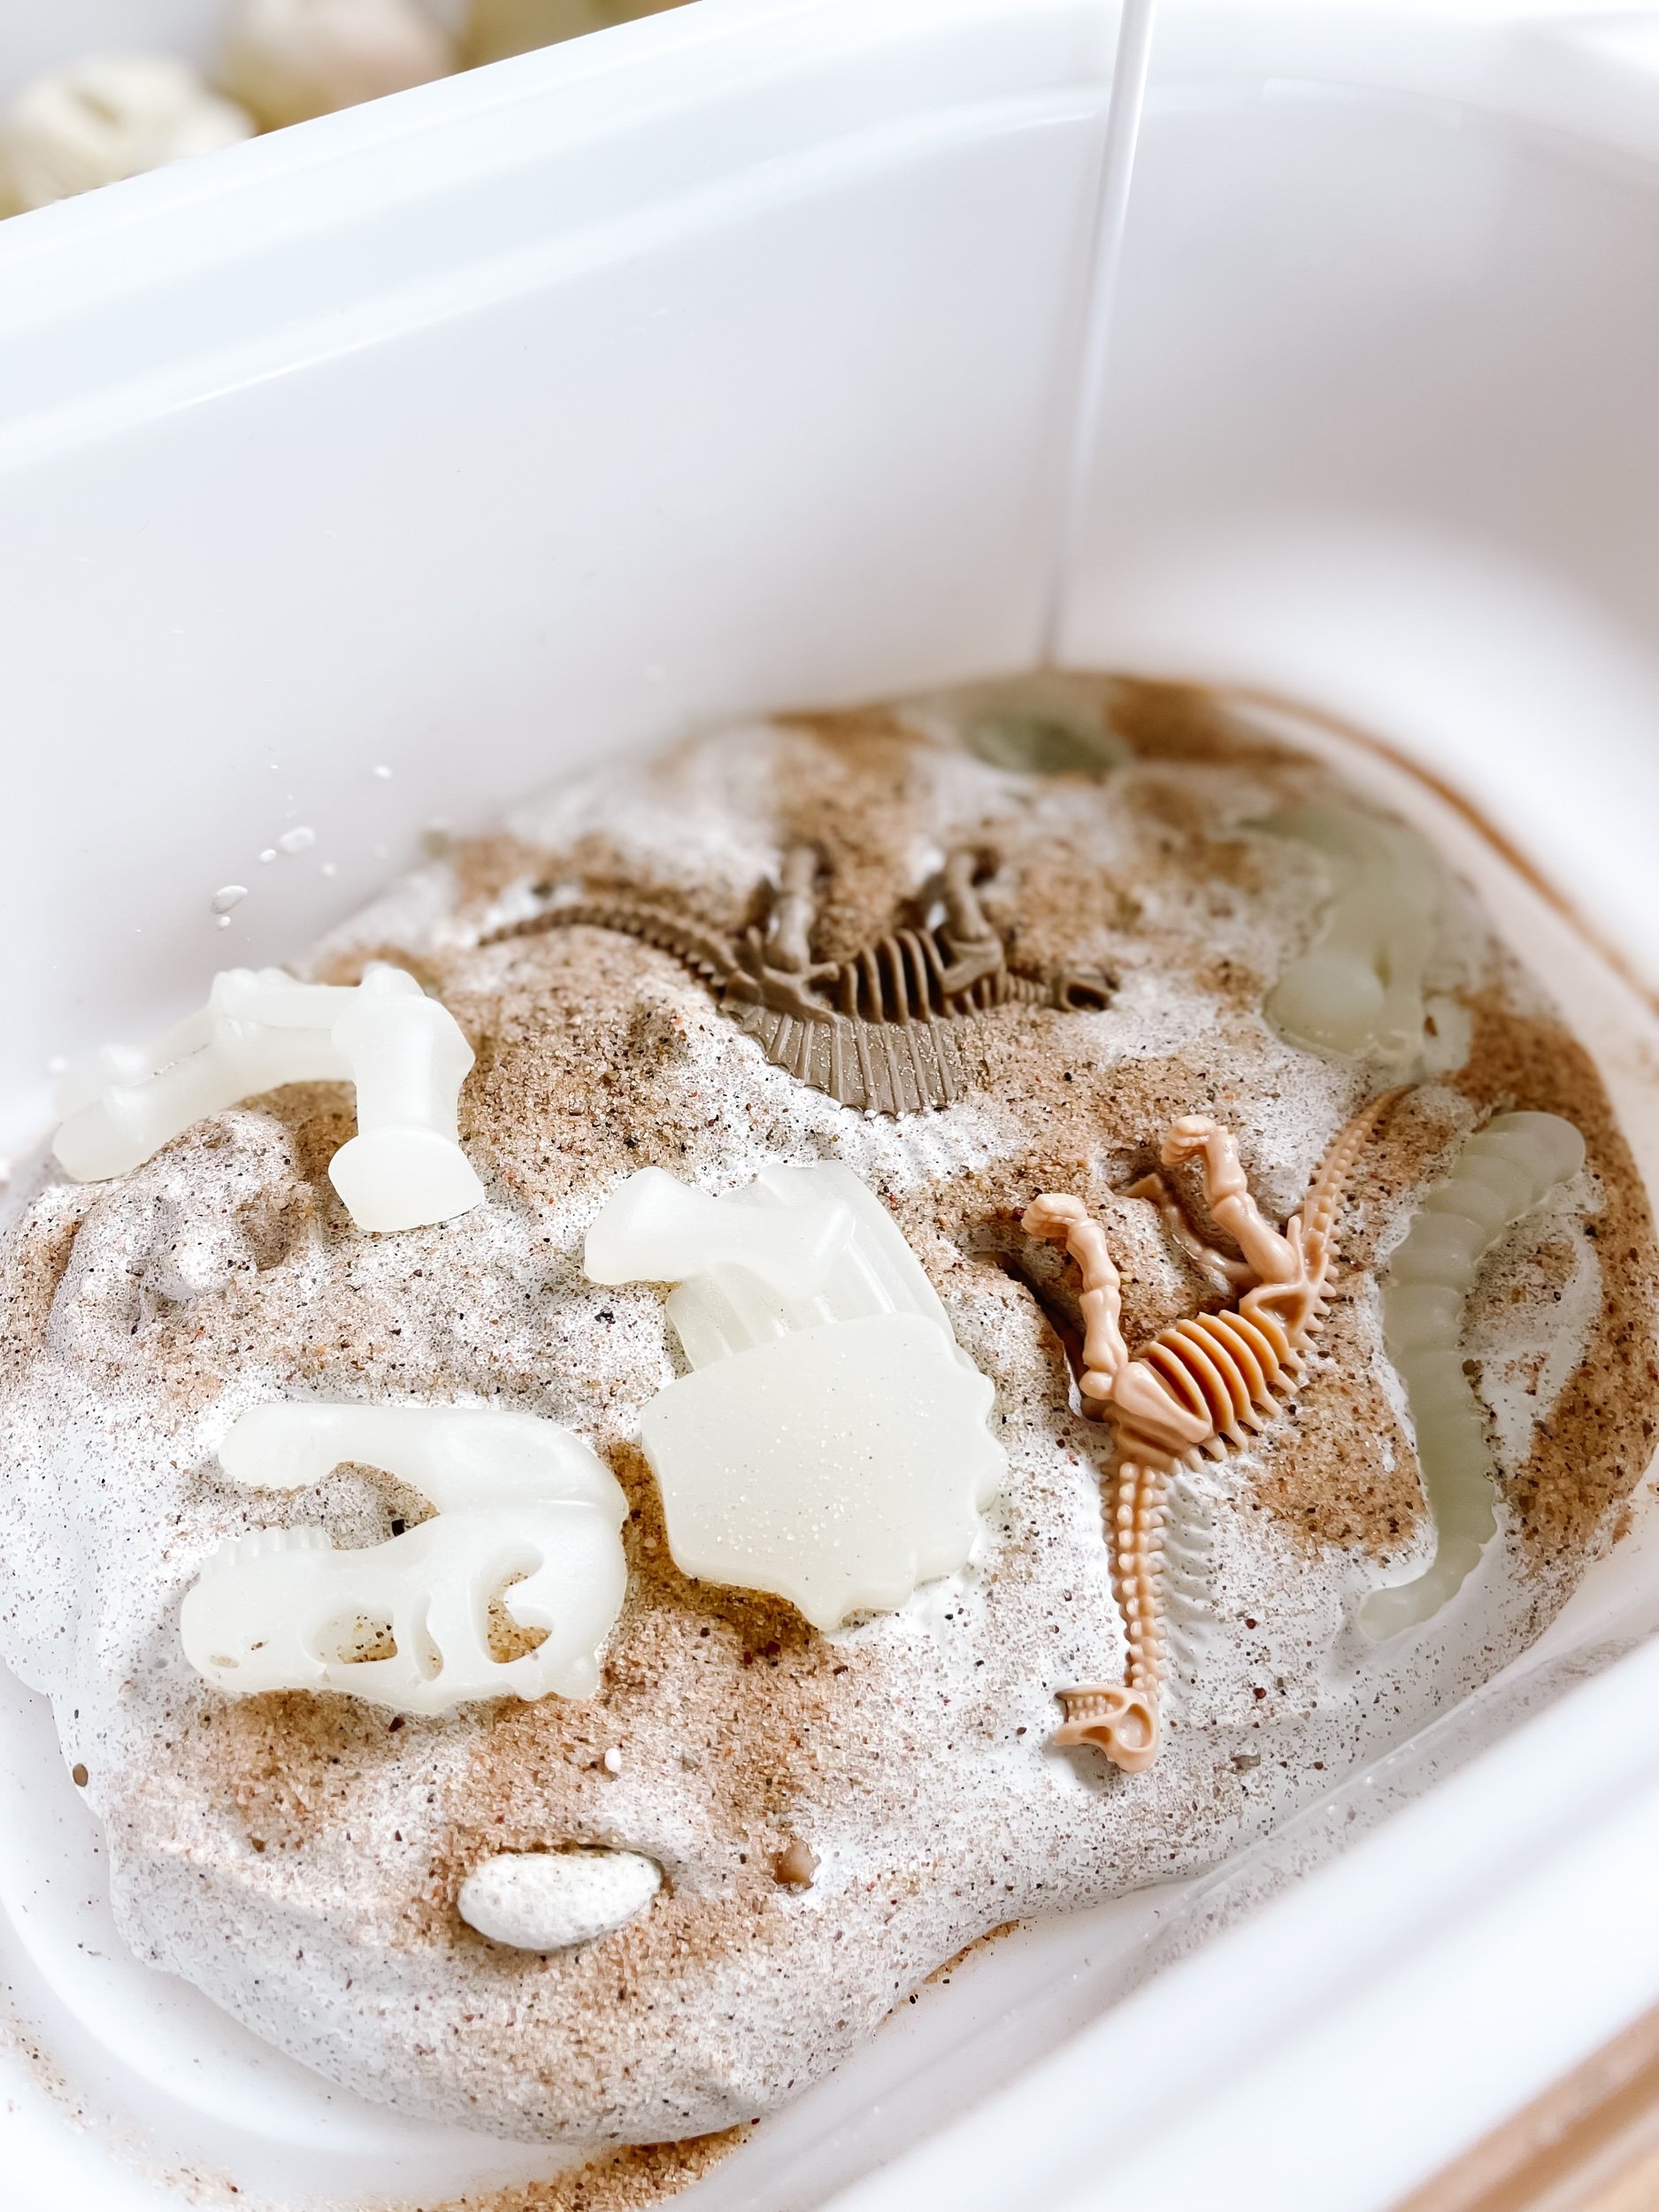
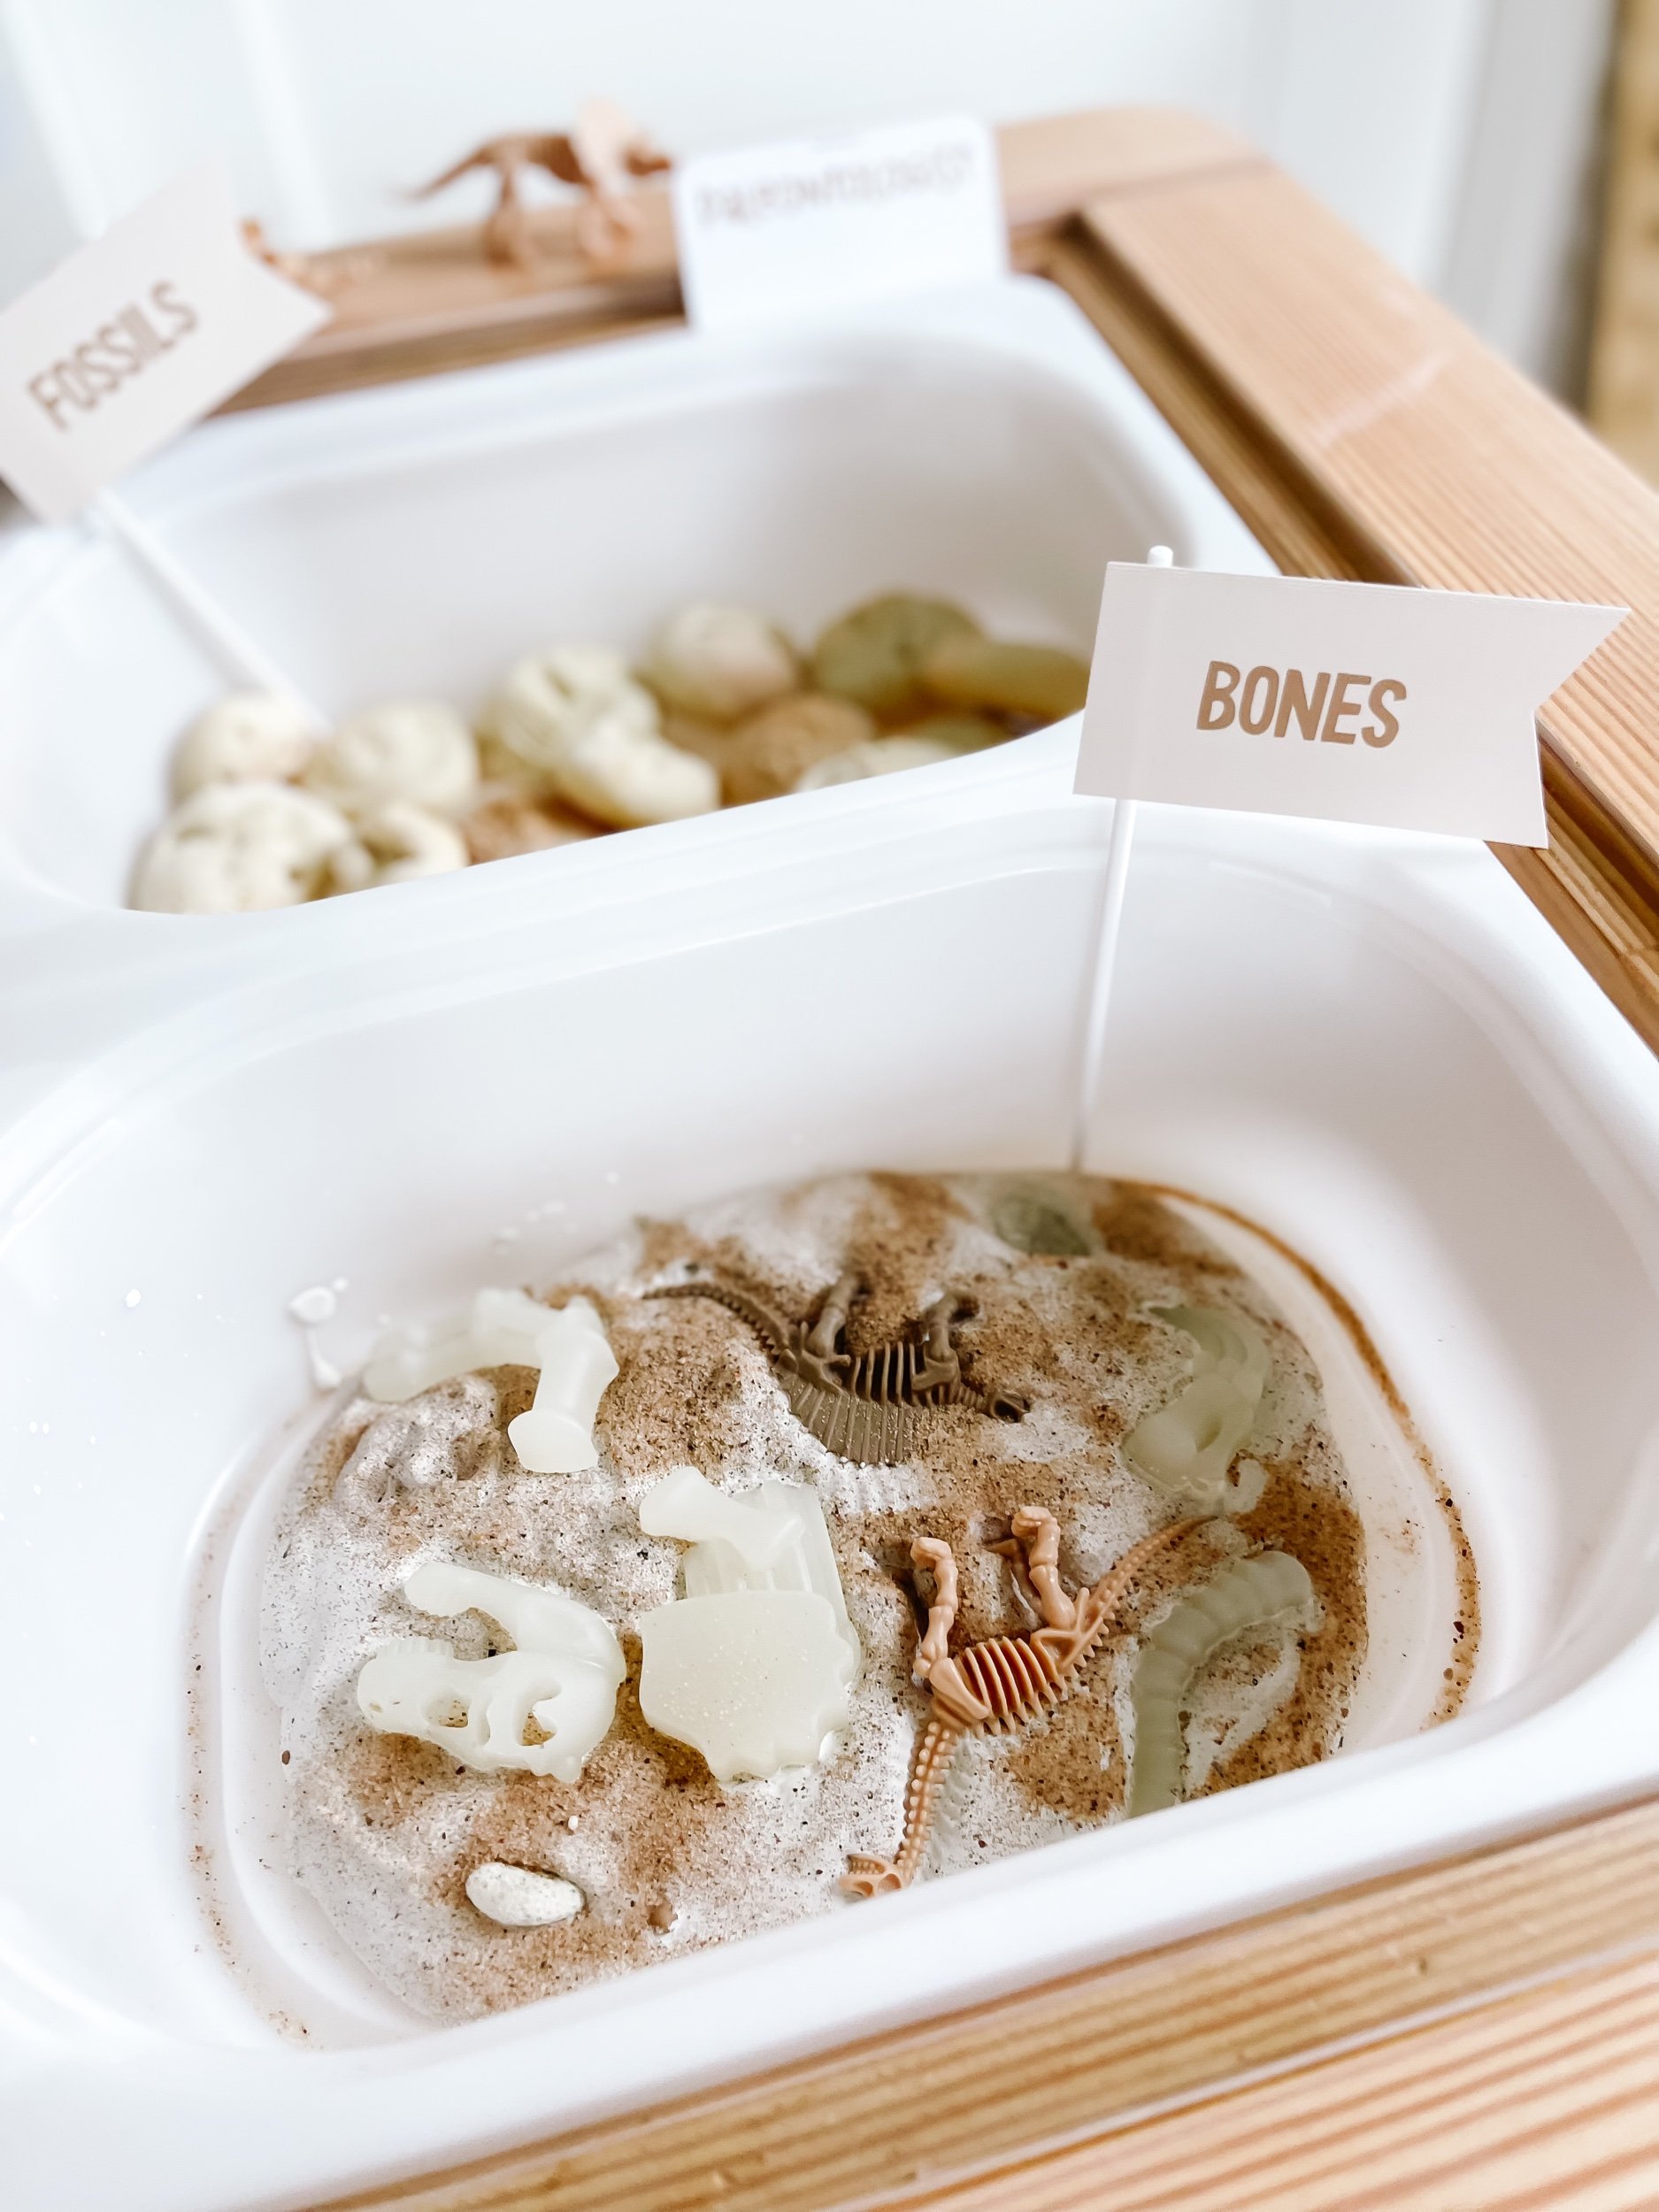
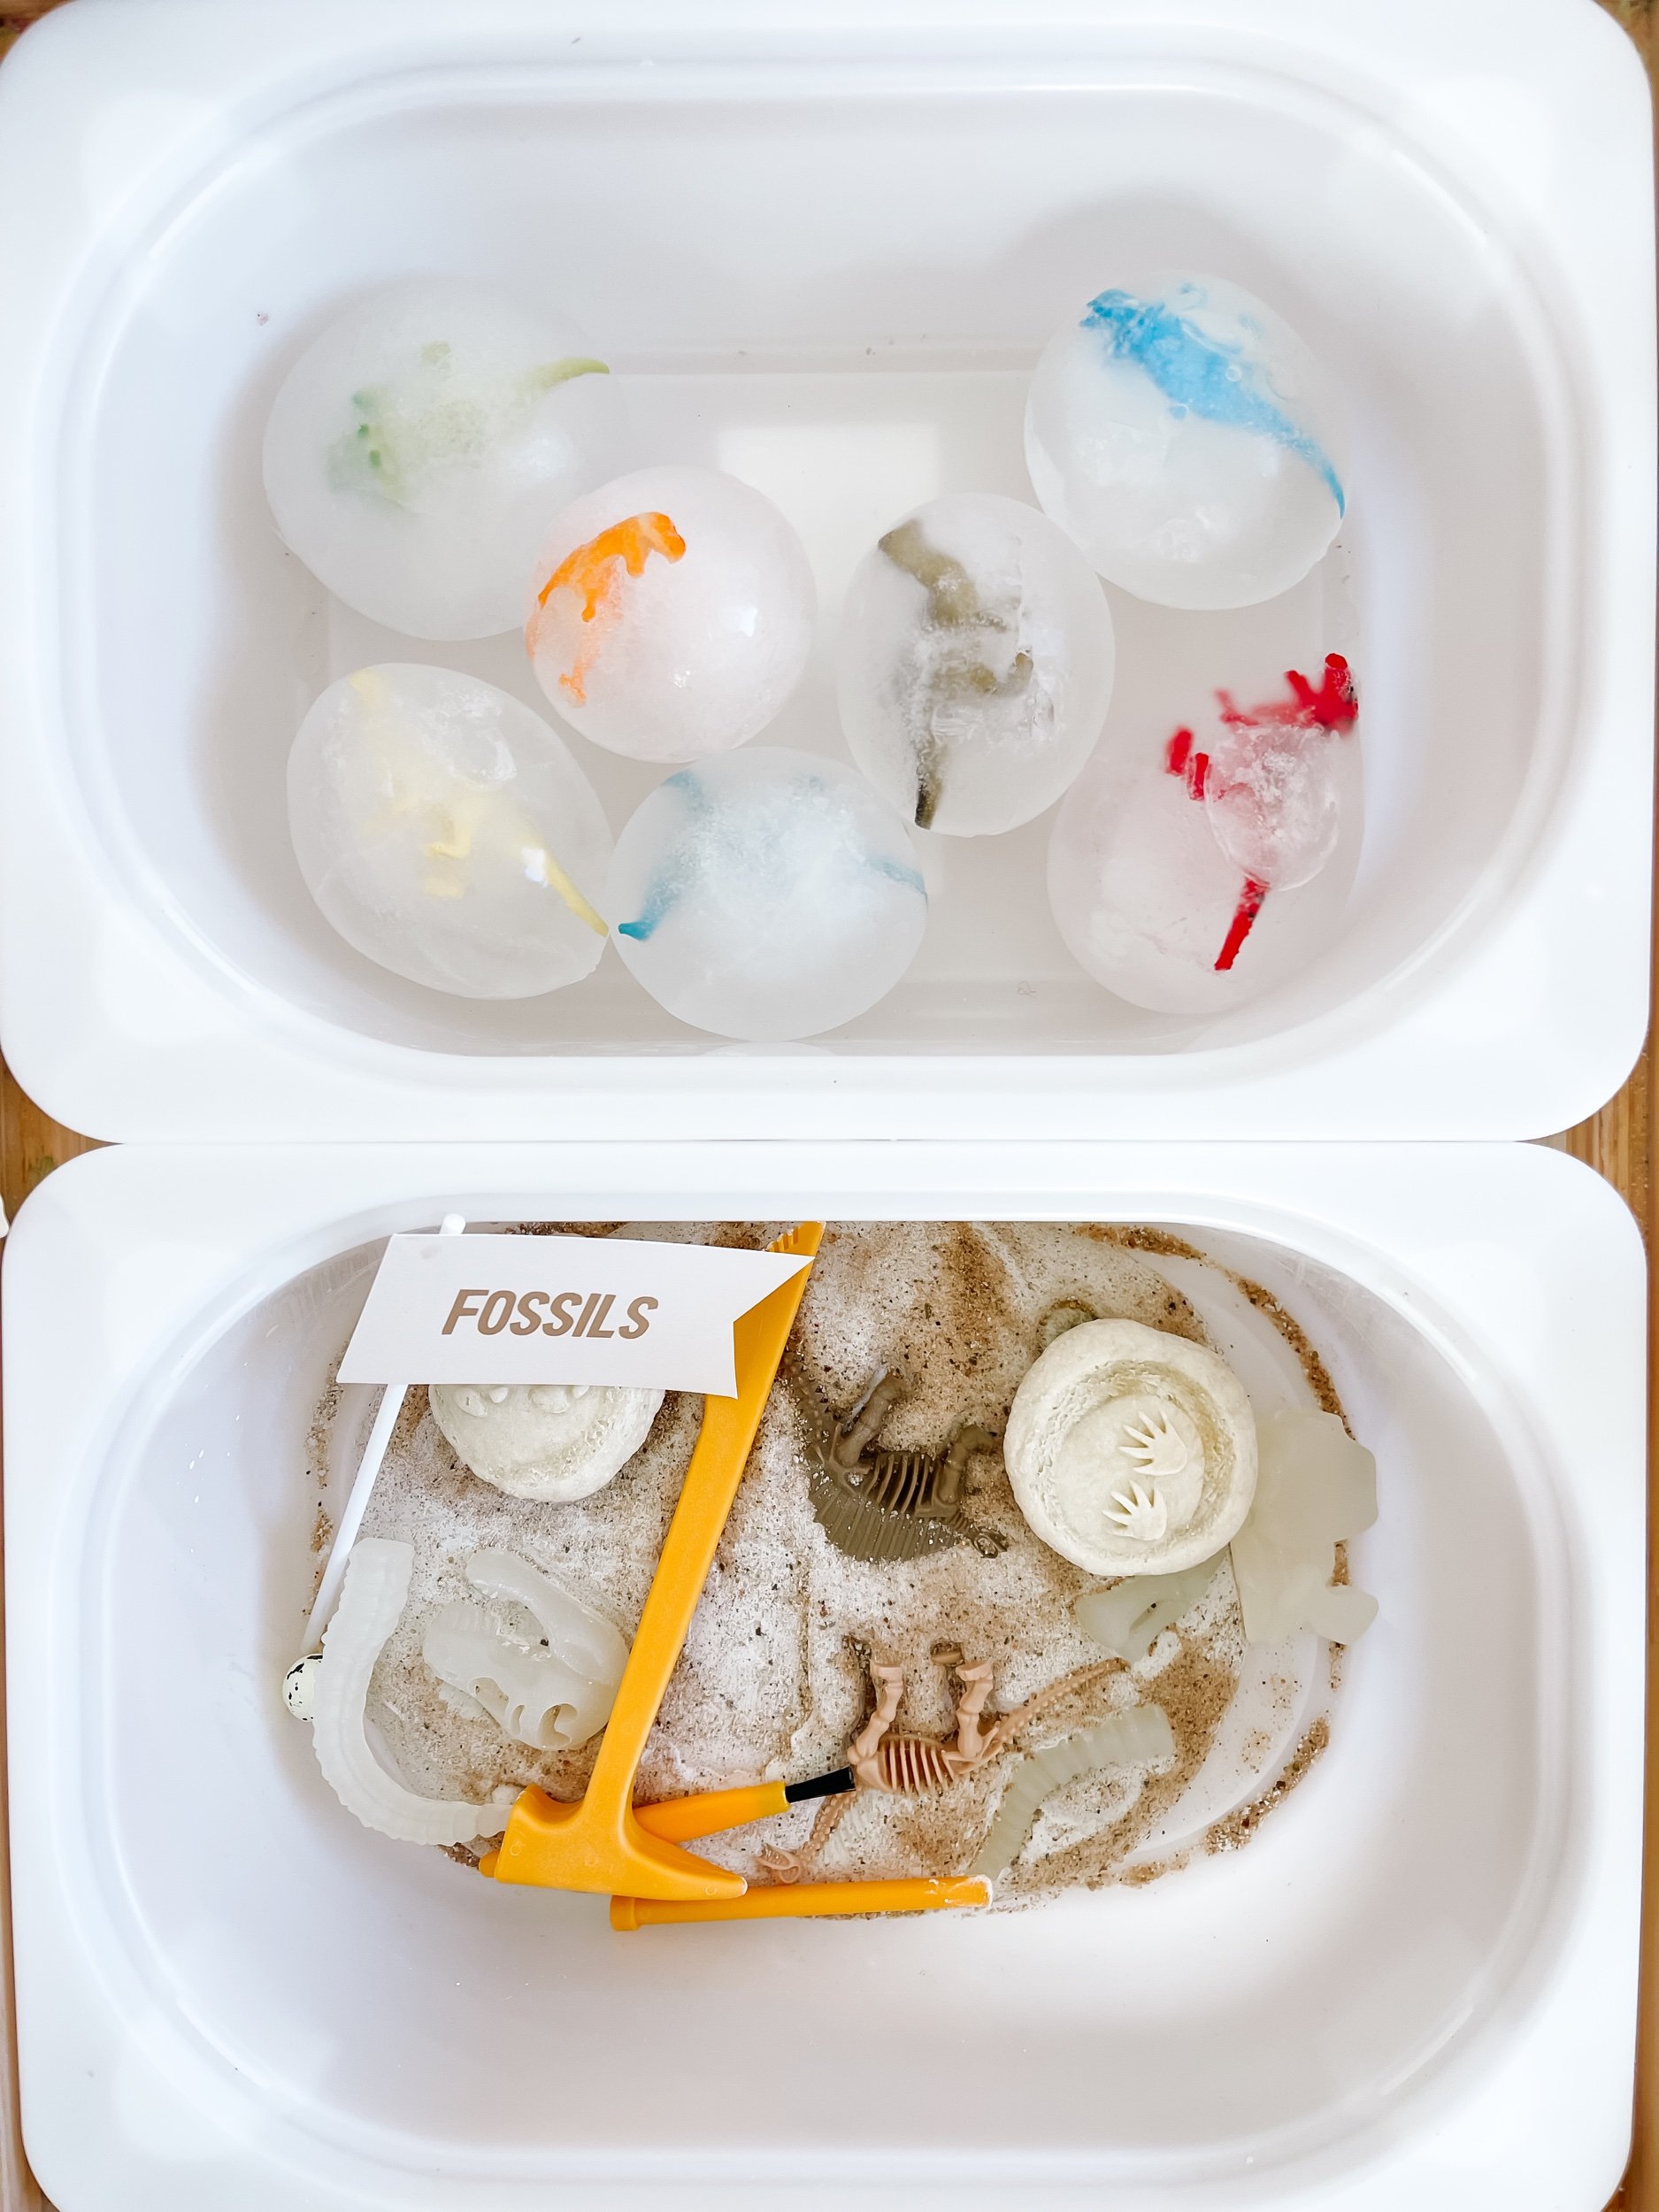
2. Resin Dinosaur Bones Excavation
For an archaeological experience, create a sensory filler material by embedding resin dinosaur bones. Here's how you can make it:
Step 1: Purchase resin dinosaur bones from Creating Adventures Co
Step 2: Prepare the Plaster of Paris by mixing 2 parts plaster, 1 part water in a large bowl. Mix and use within 6-10minutes. Pour the plaster directly into your sensory bin. And don’t worry, it won’t ruin your bin!
Step 3: Add sand and rocks to create multiple layers to dig from. Add more plaster to the top.
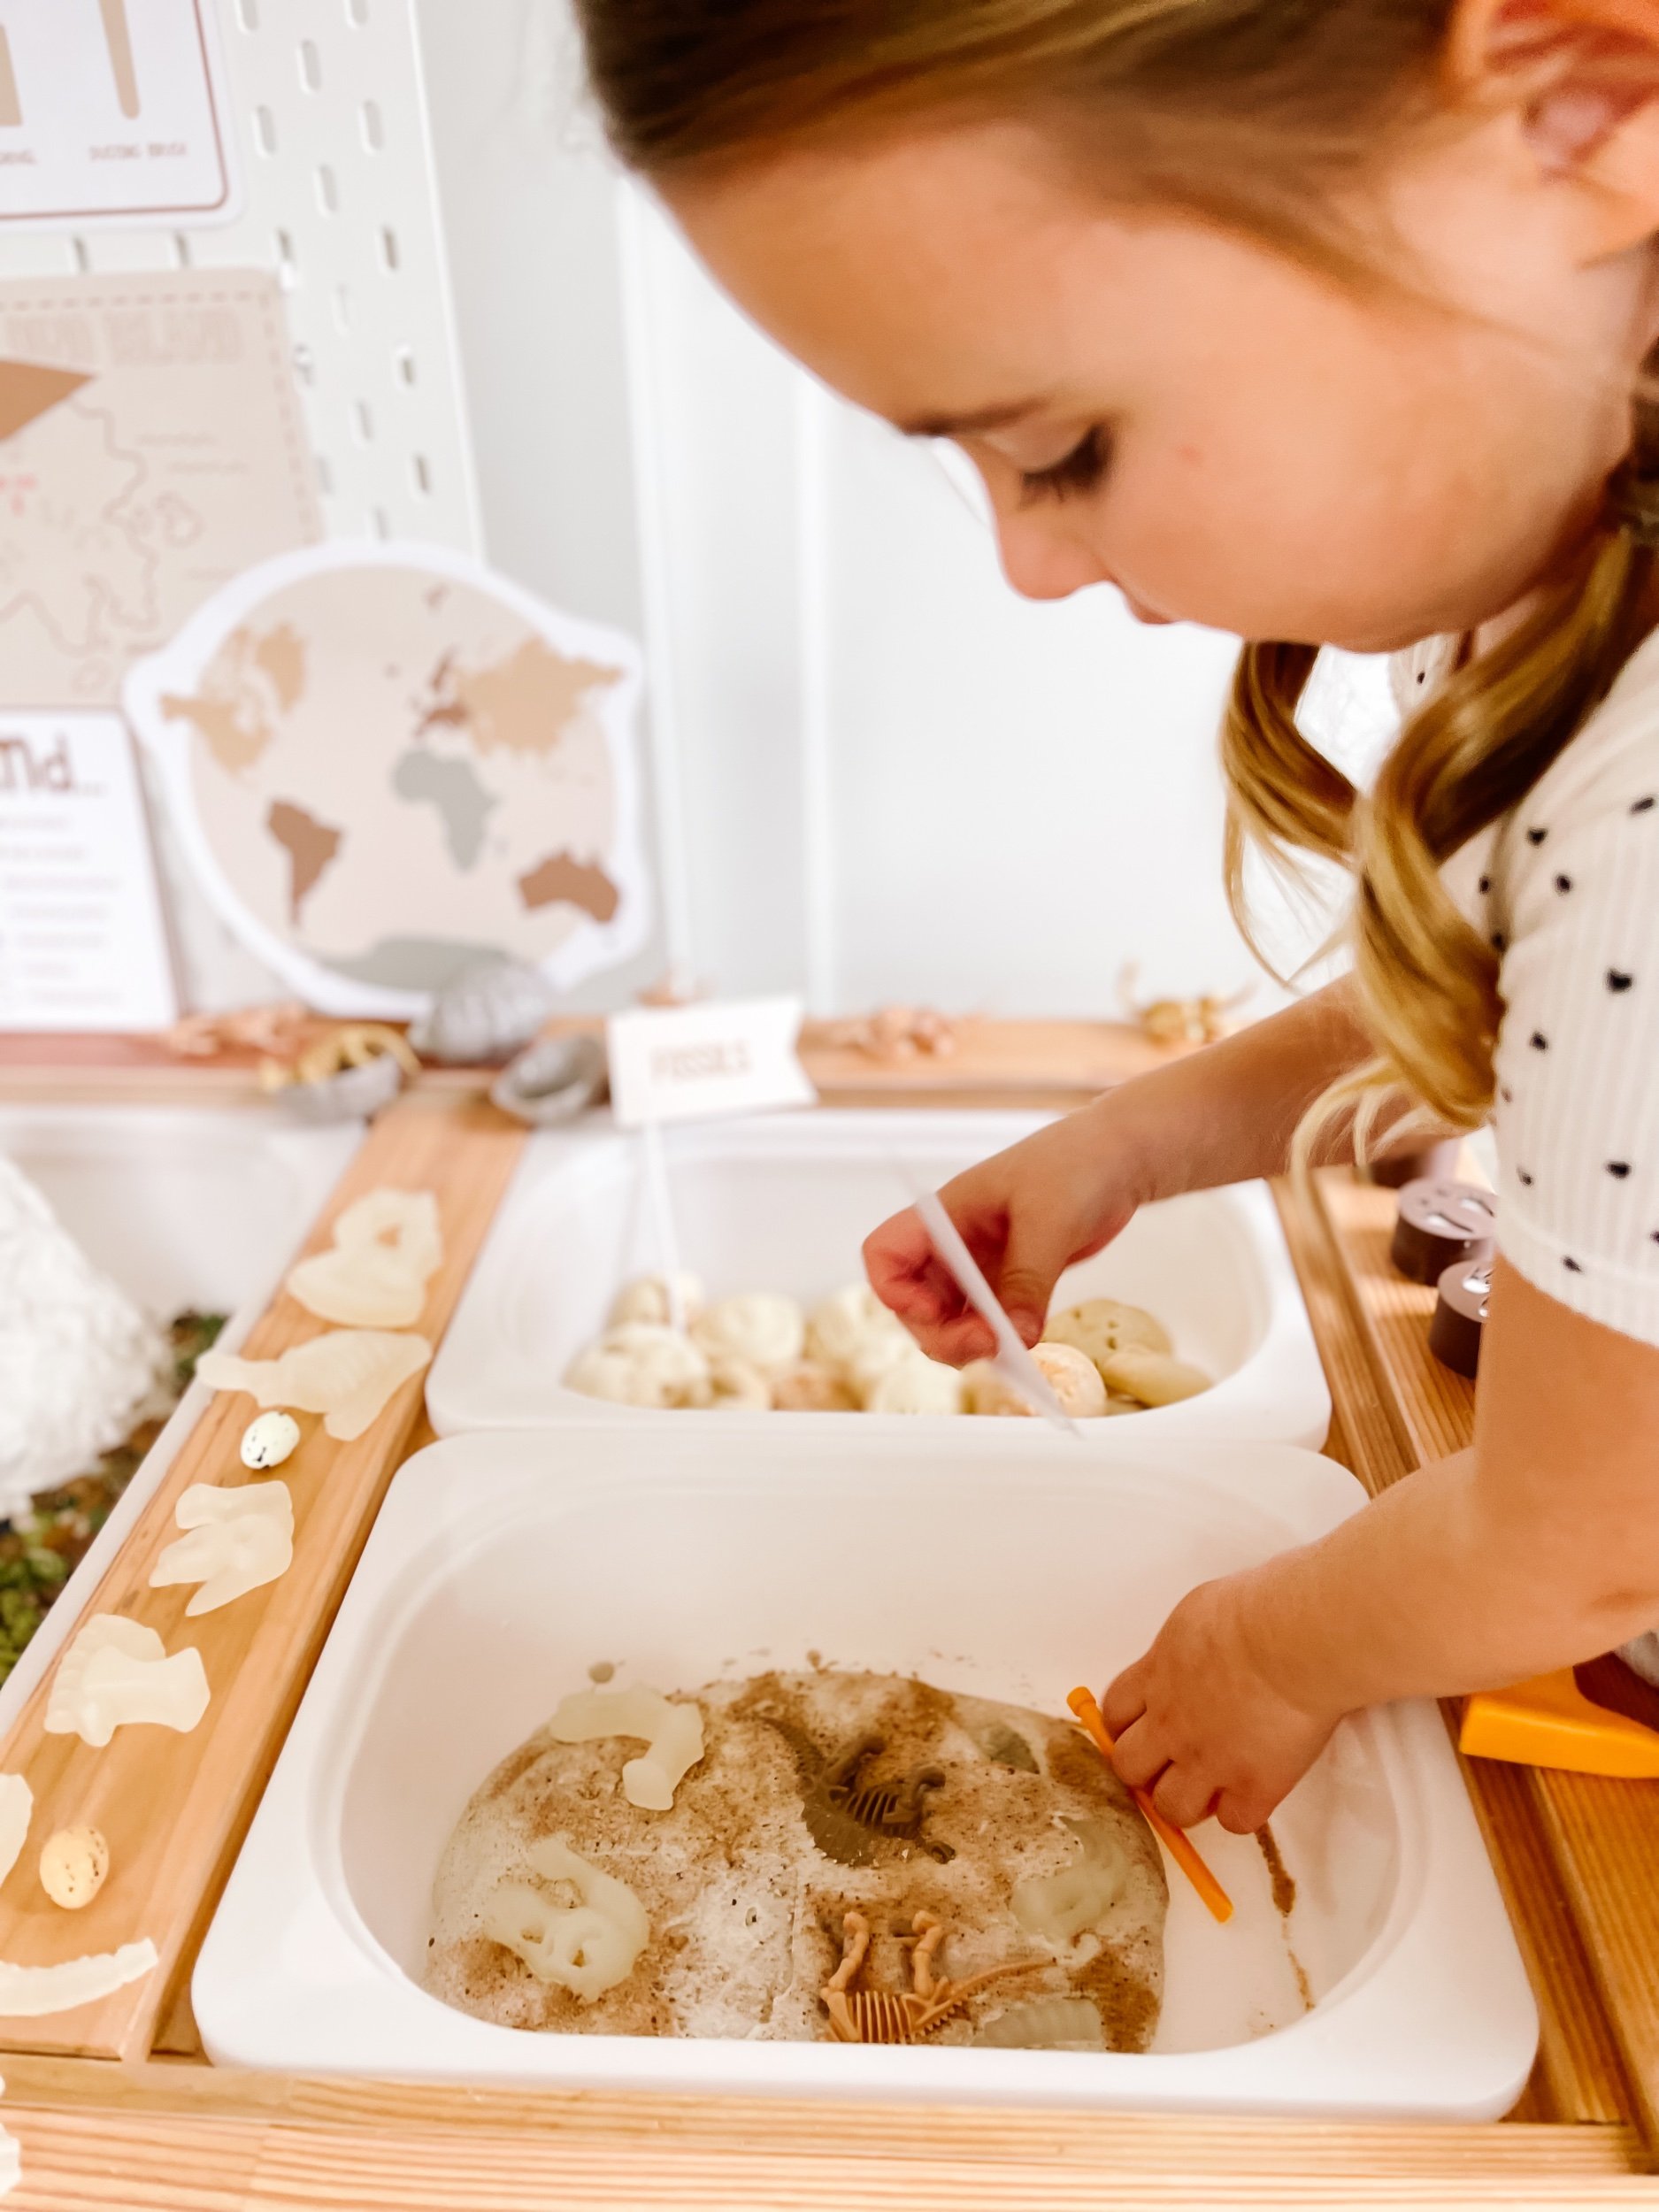
Step 4: Bury the resin dinosaur bones in the sensory material and encourage your child to excavate the bones using their dig tools from the play kit.
Exploring the sensory filler material will not only provide a tactile experience but also introduce an element of surprise as your little one uncovers the hidden dinosaur bones. Sofia had so much fun digging and chiseling — I think this was the longest lasting sensory play setup I’ve ever done.
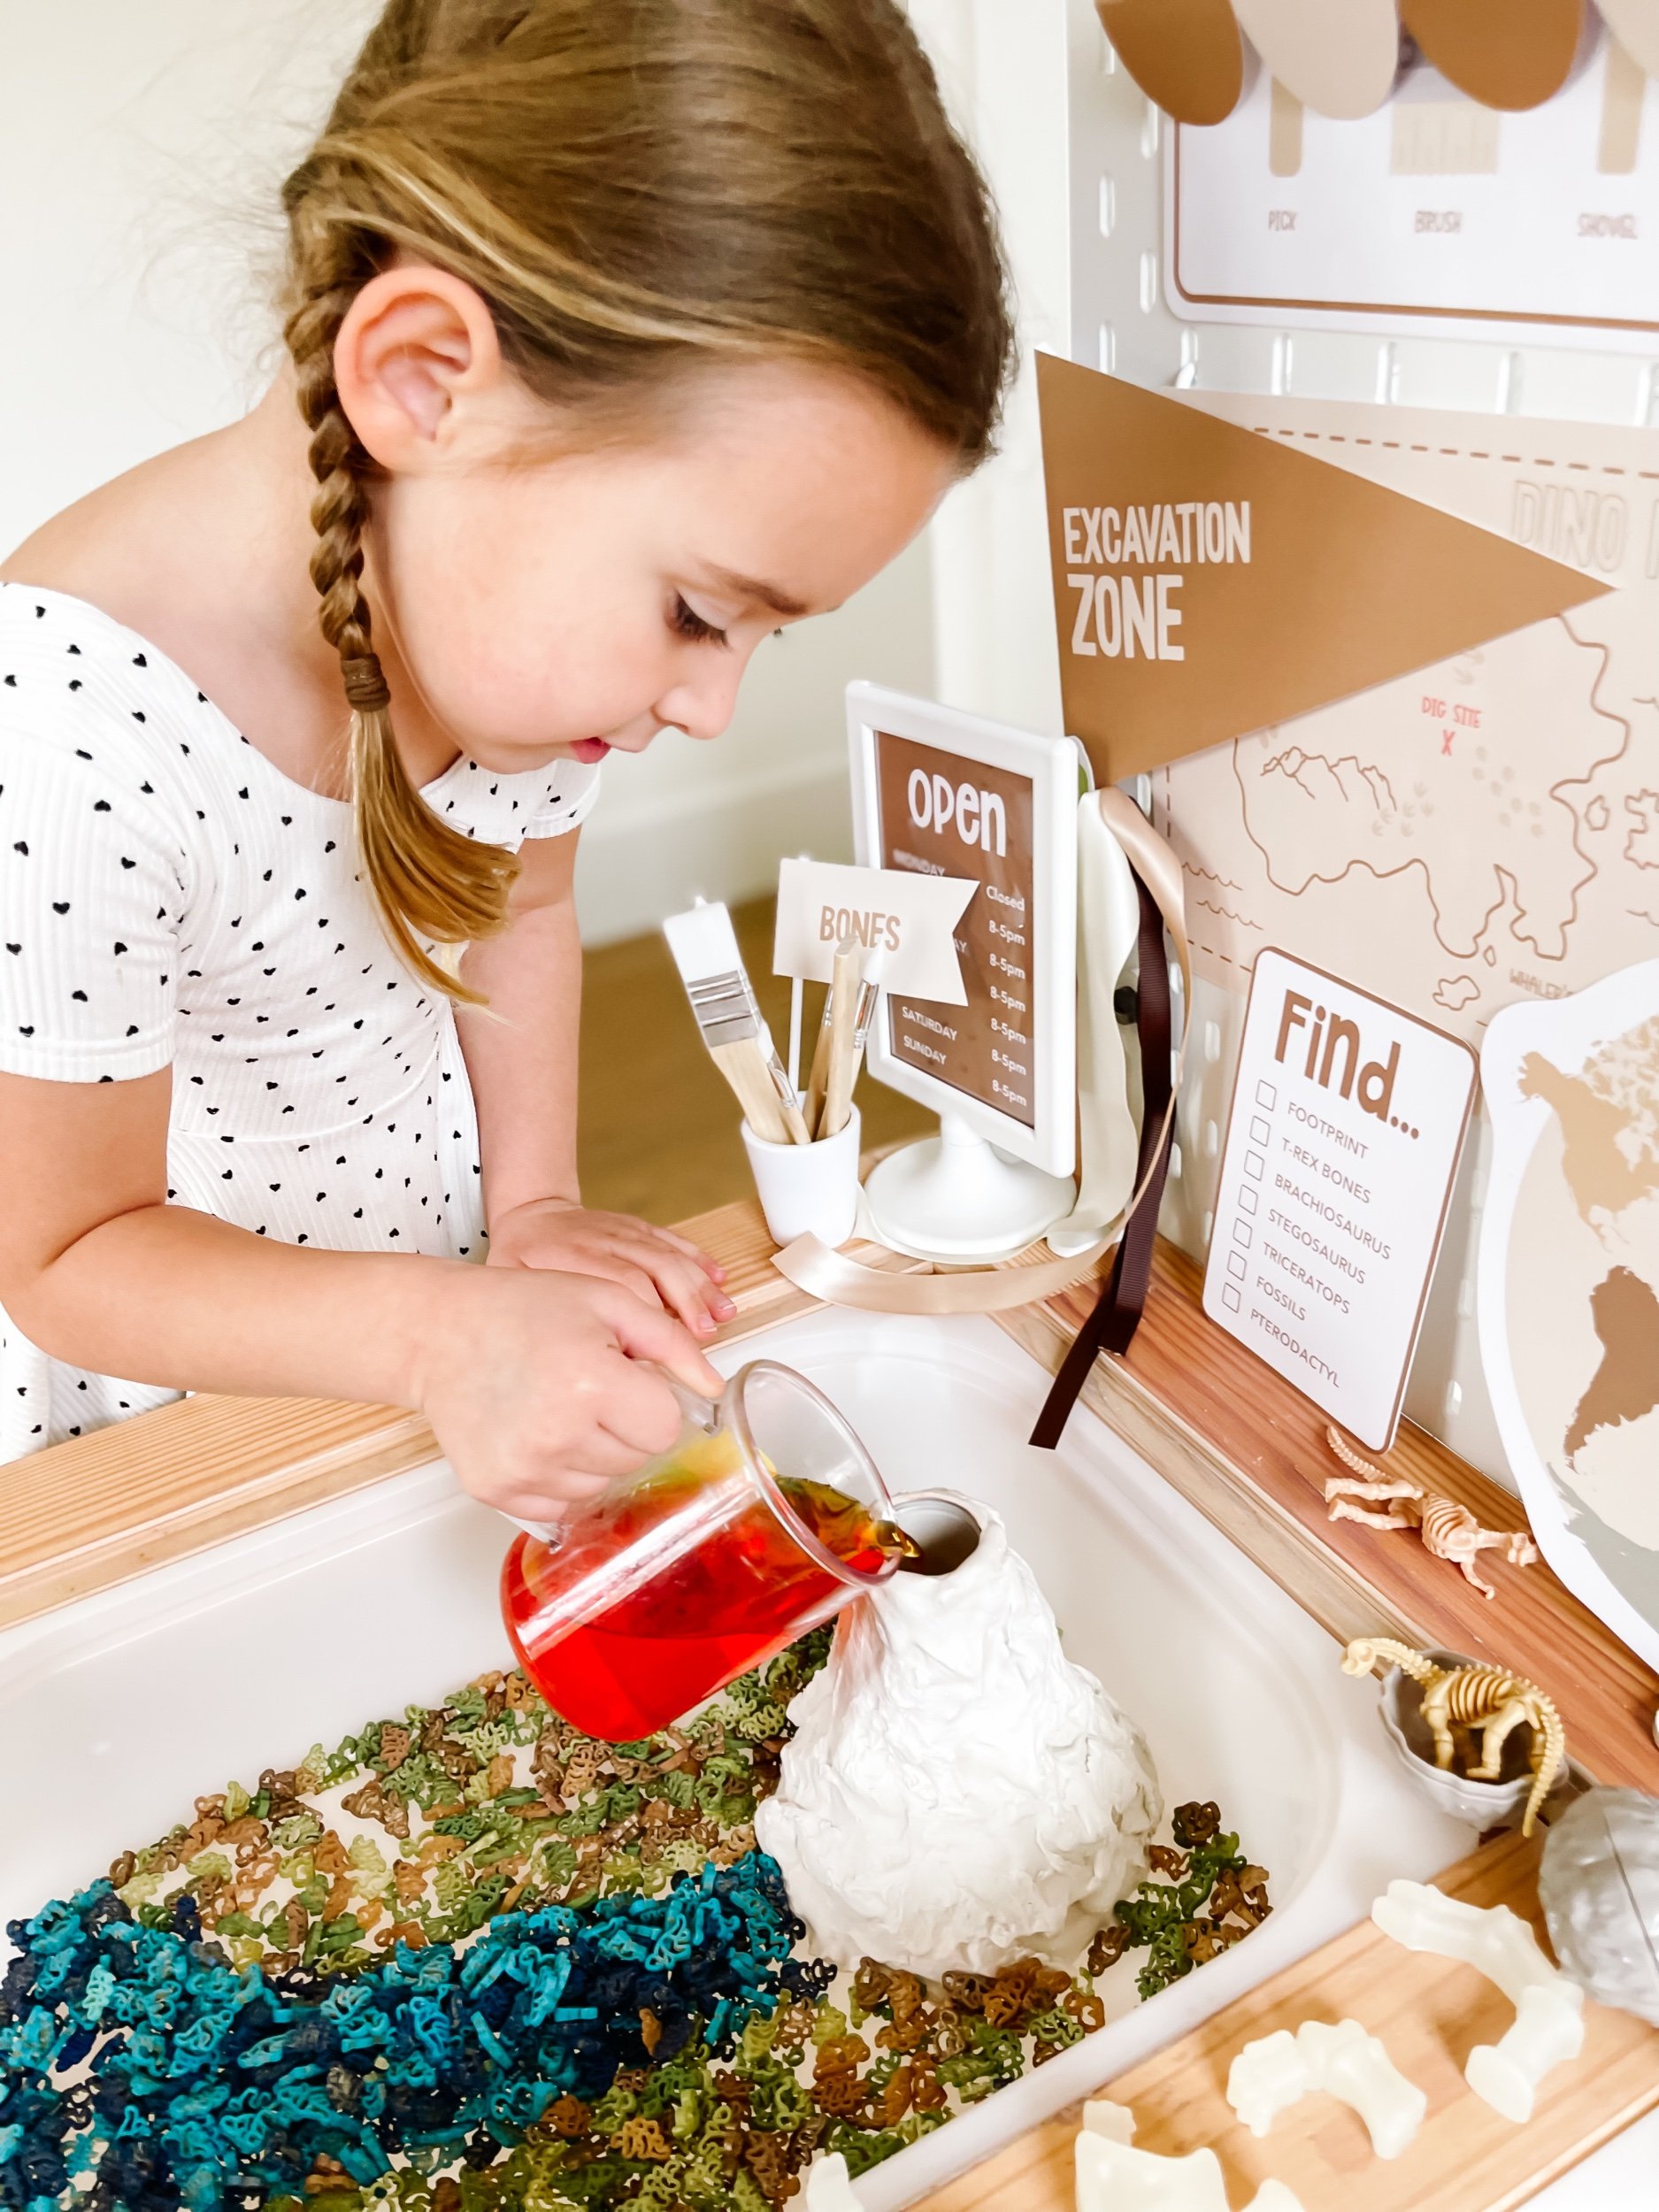
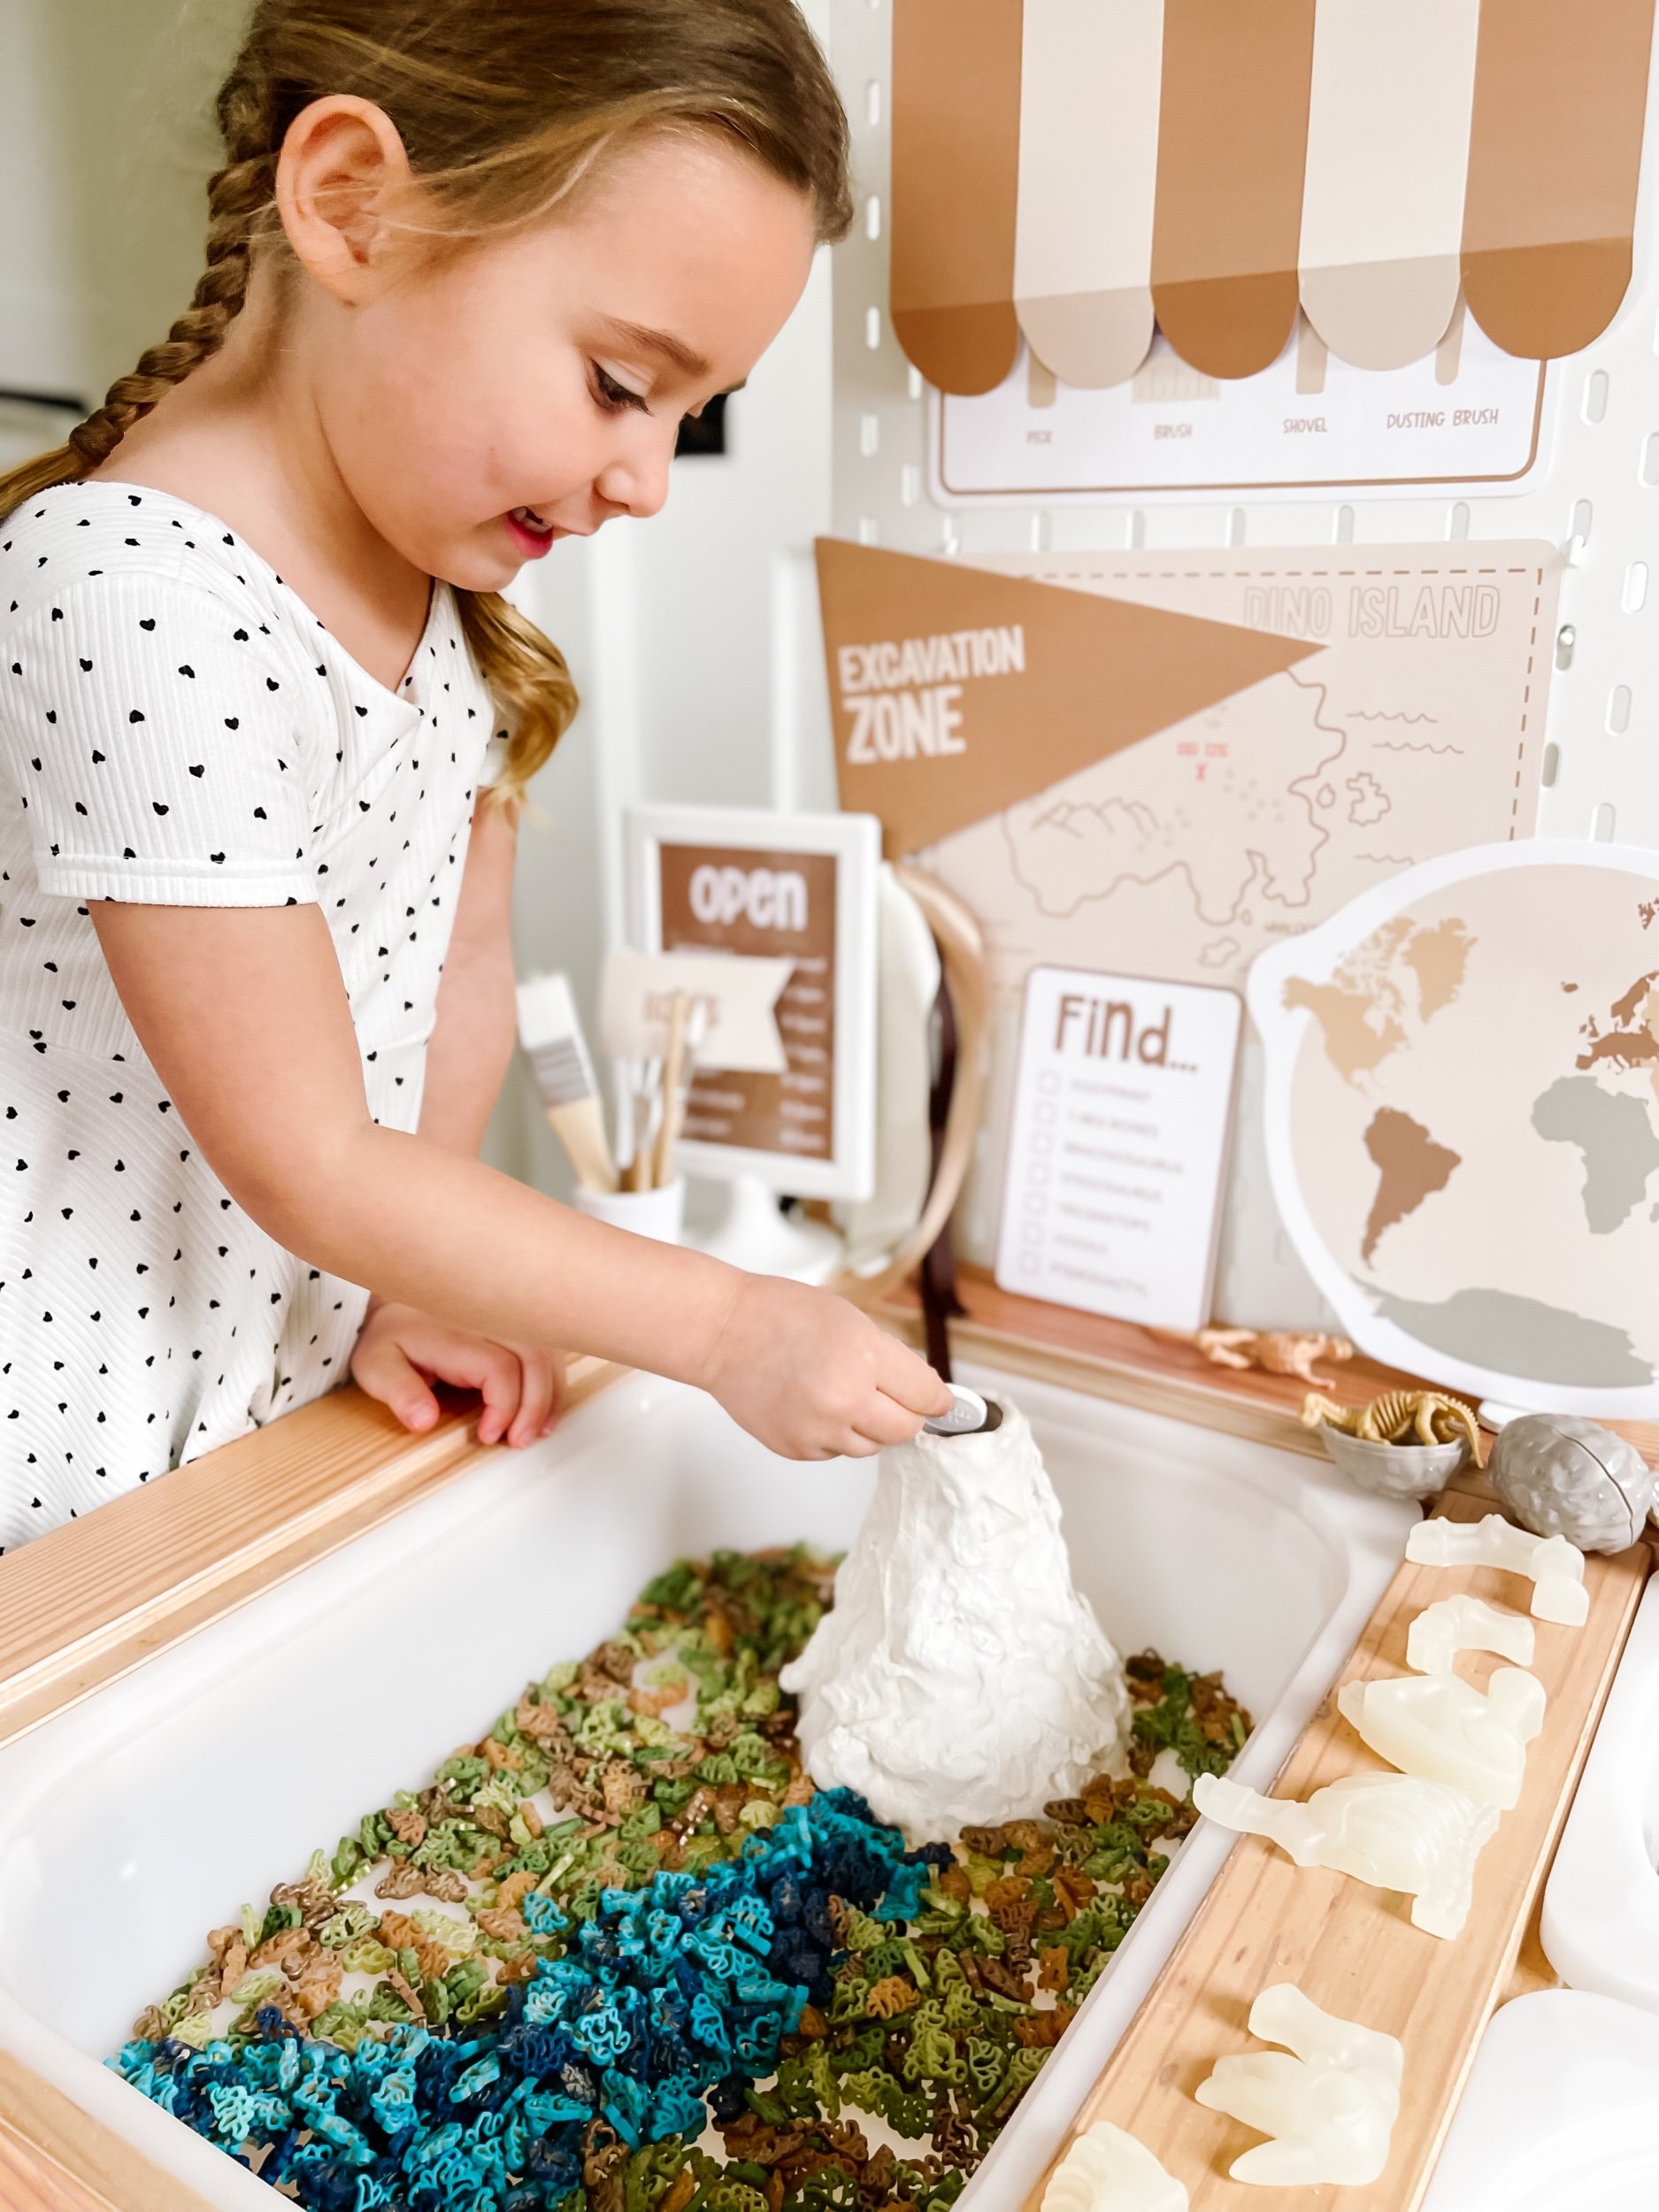
3. Small World Play Bin with a Volcano and Water
To encourage imaginative play, create a small world play bin where dinosaurs can roam freely. Here's how:
Materials Needed:
Large plastic container or sensory bin
Pebbles or smooth rocks
Green moss or fake grass
Plastic trees or plants
Small dinosaur figurines
Blue colored water (for sensory effect)
Sensory Filler (colored dinosaur filler by Hippie Hooray)
Sand or kinetic sand
Optional: Small rocks, twigs, and leaves for added realism
Steps to Set Up the Dinosaur Small World Play:
1. Select an appropriate container or sensory bin that is large enough to accommodate the dinosaur habitat elements and sensory materials. Ensure it has enough depth for the volcano feature.
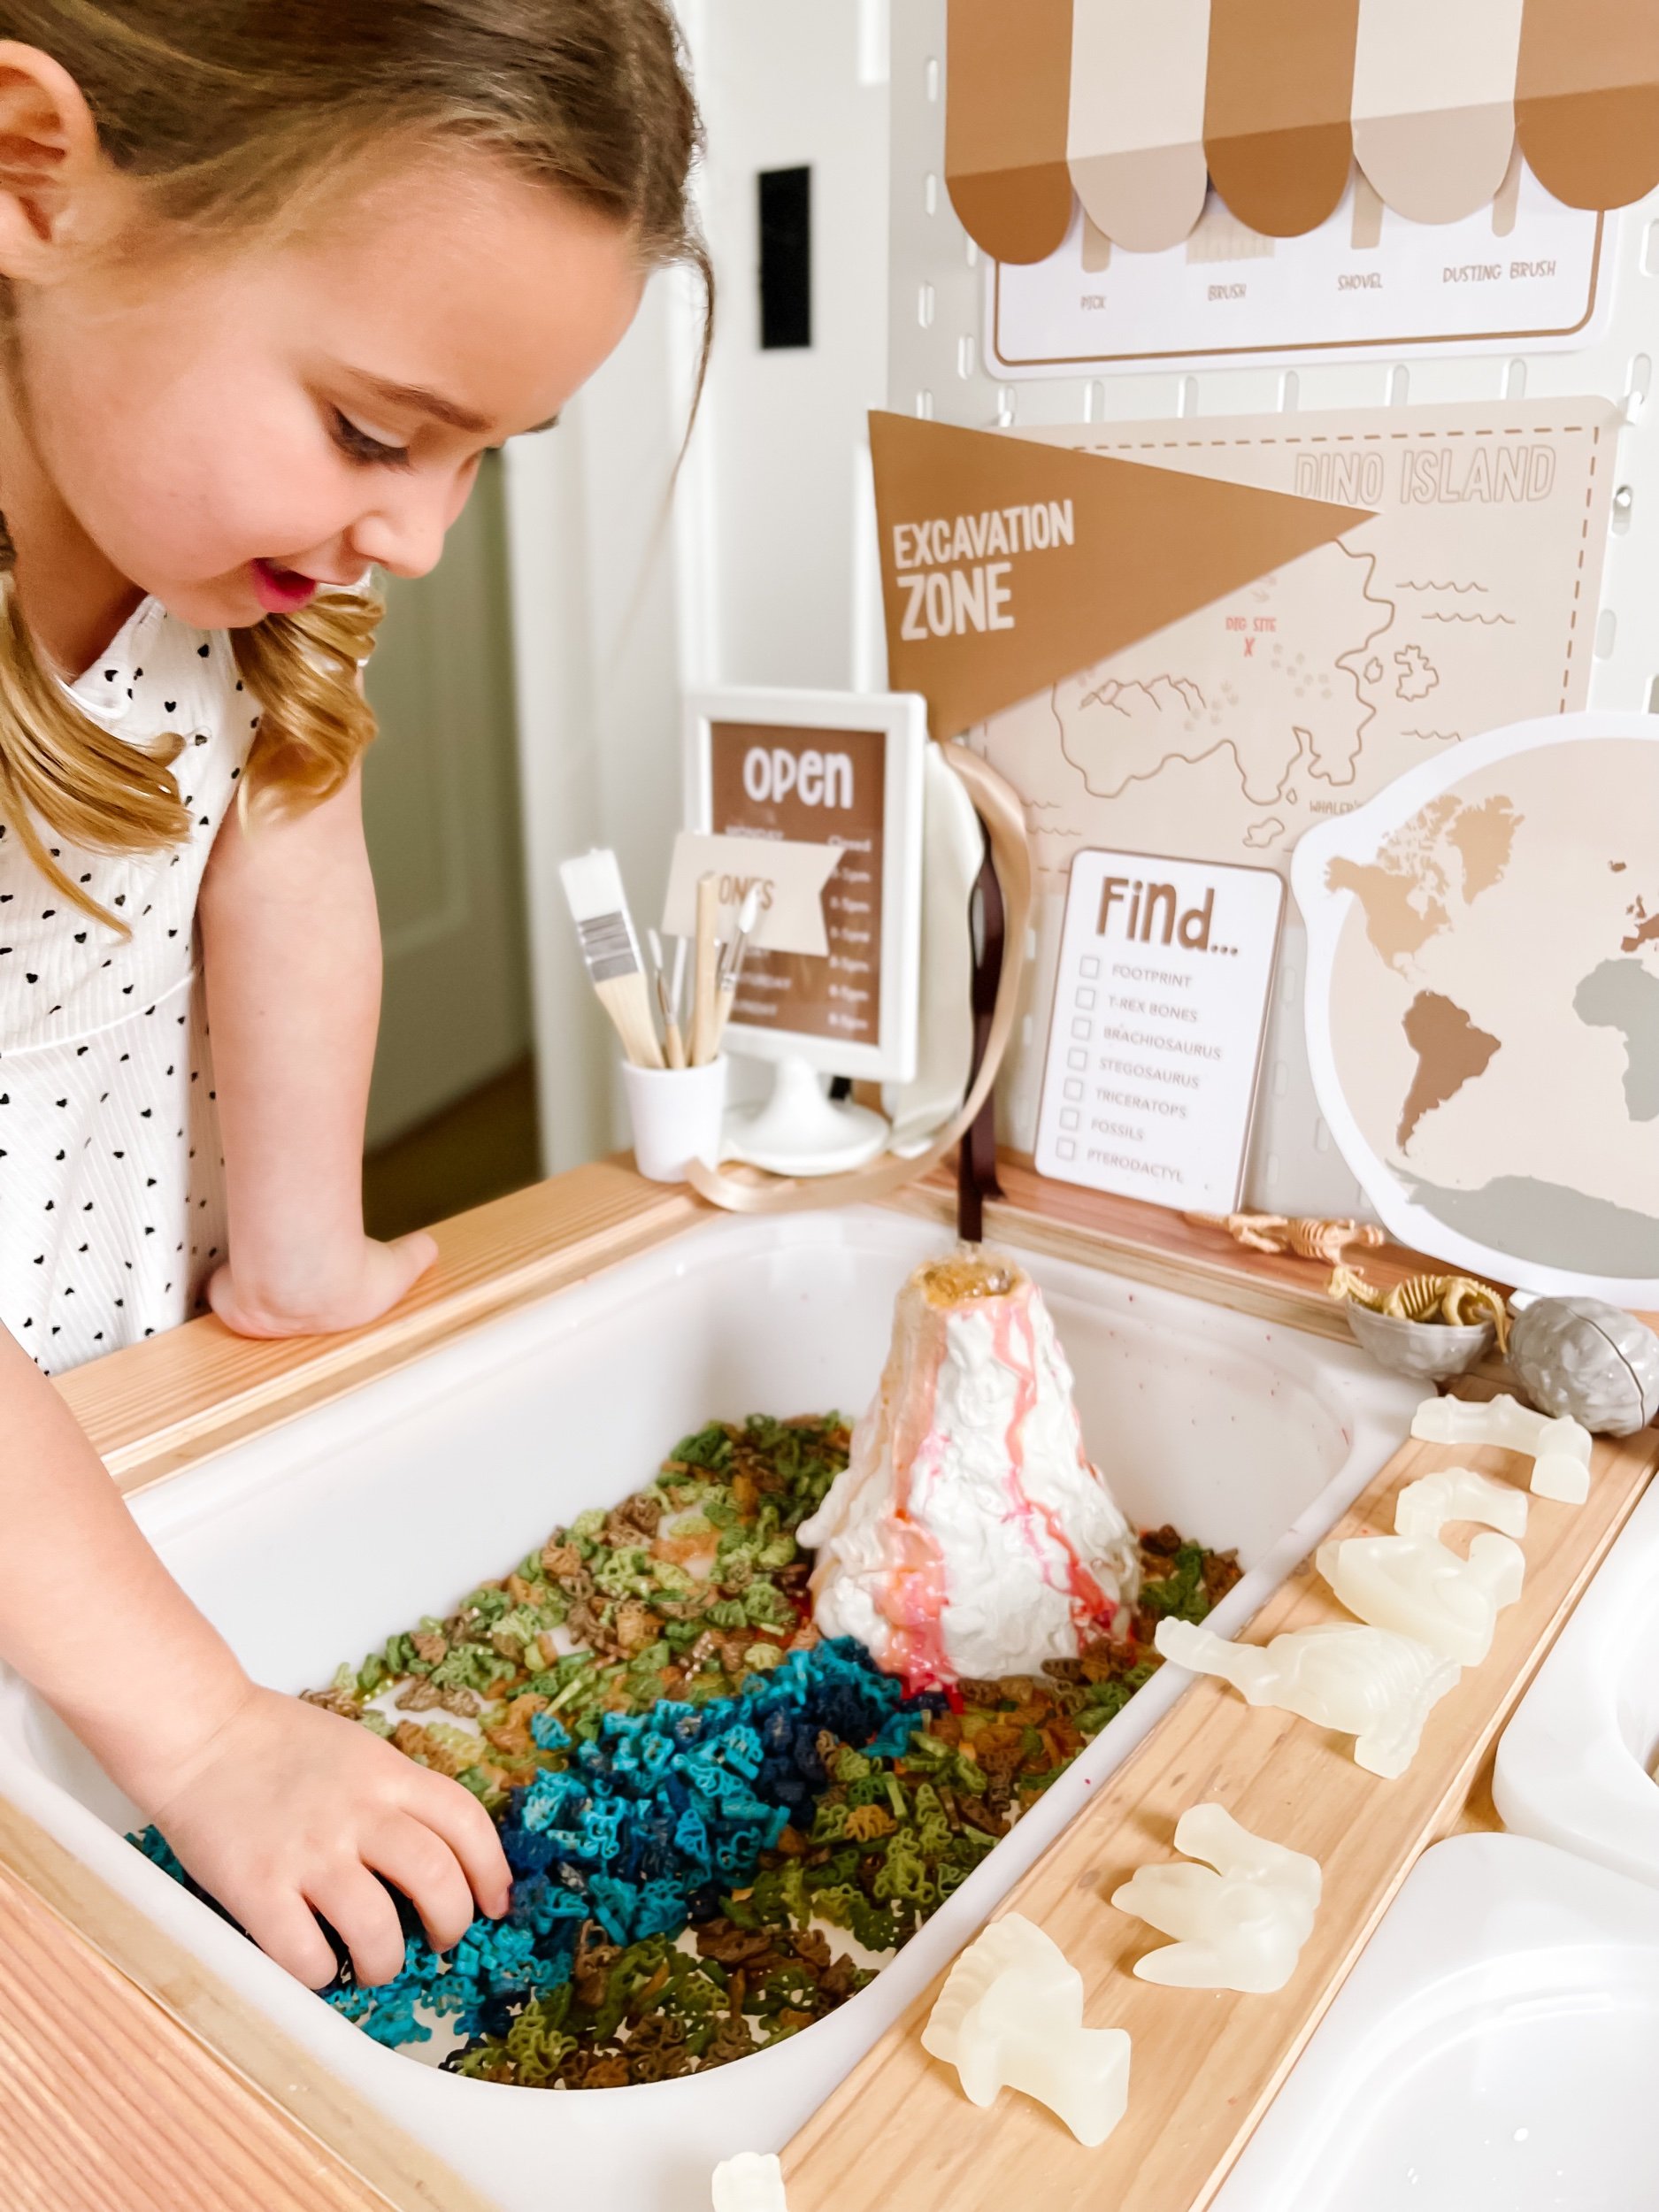
2. Start by lining the bottom of the bin with a layer of pebbles or an amazing dinosaur sensory filler by Hippie Hooray. These will represent the rugged terrain of the dinosaur habitat and add texture to the sensory experience.
3. Next, spread green moss or fake grass across the pebbles, covering the surface of the rocks. This will create the illusion of a lush environment that dinosaurs could have roamed in.
4. Arrange plastic trees or plants throughout the bin, placing them strategically to create a natural-looking landscape. You can use smaller trees towards the foreground and larger ones towards the back to add a sense of depth and perspective.
5. Introduce the small dinosaur figurines into the bin, positioning them in different areas of the habitat. Encourage imaginative play by positioning some dinosaurs near the plants, others near the water, and some even at the base of the volcano for added excitement.
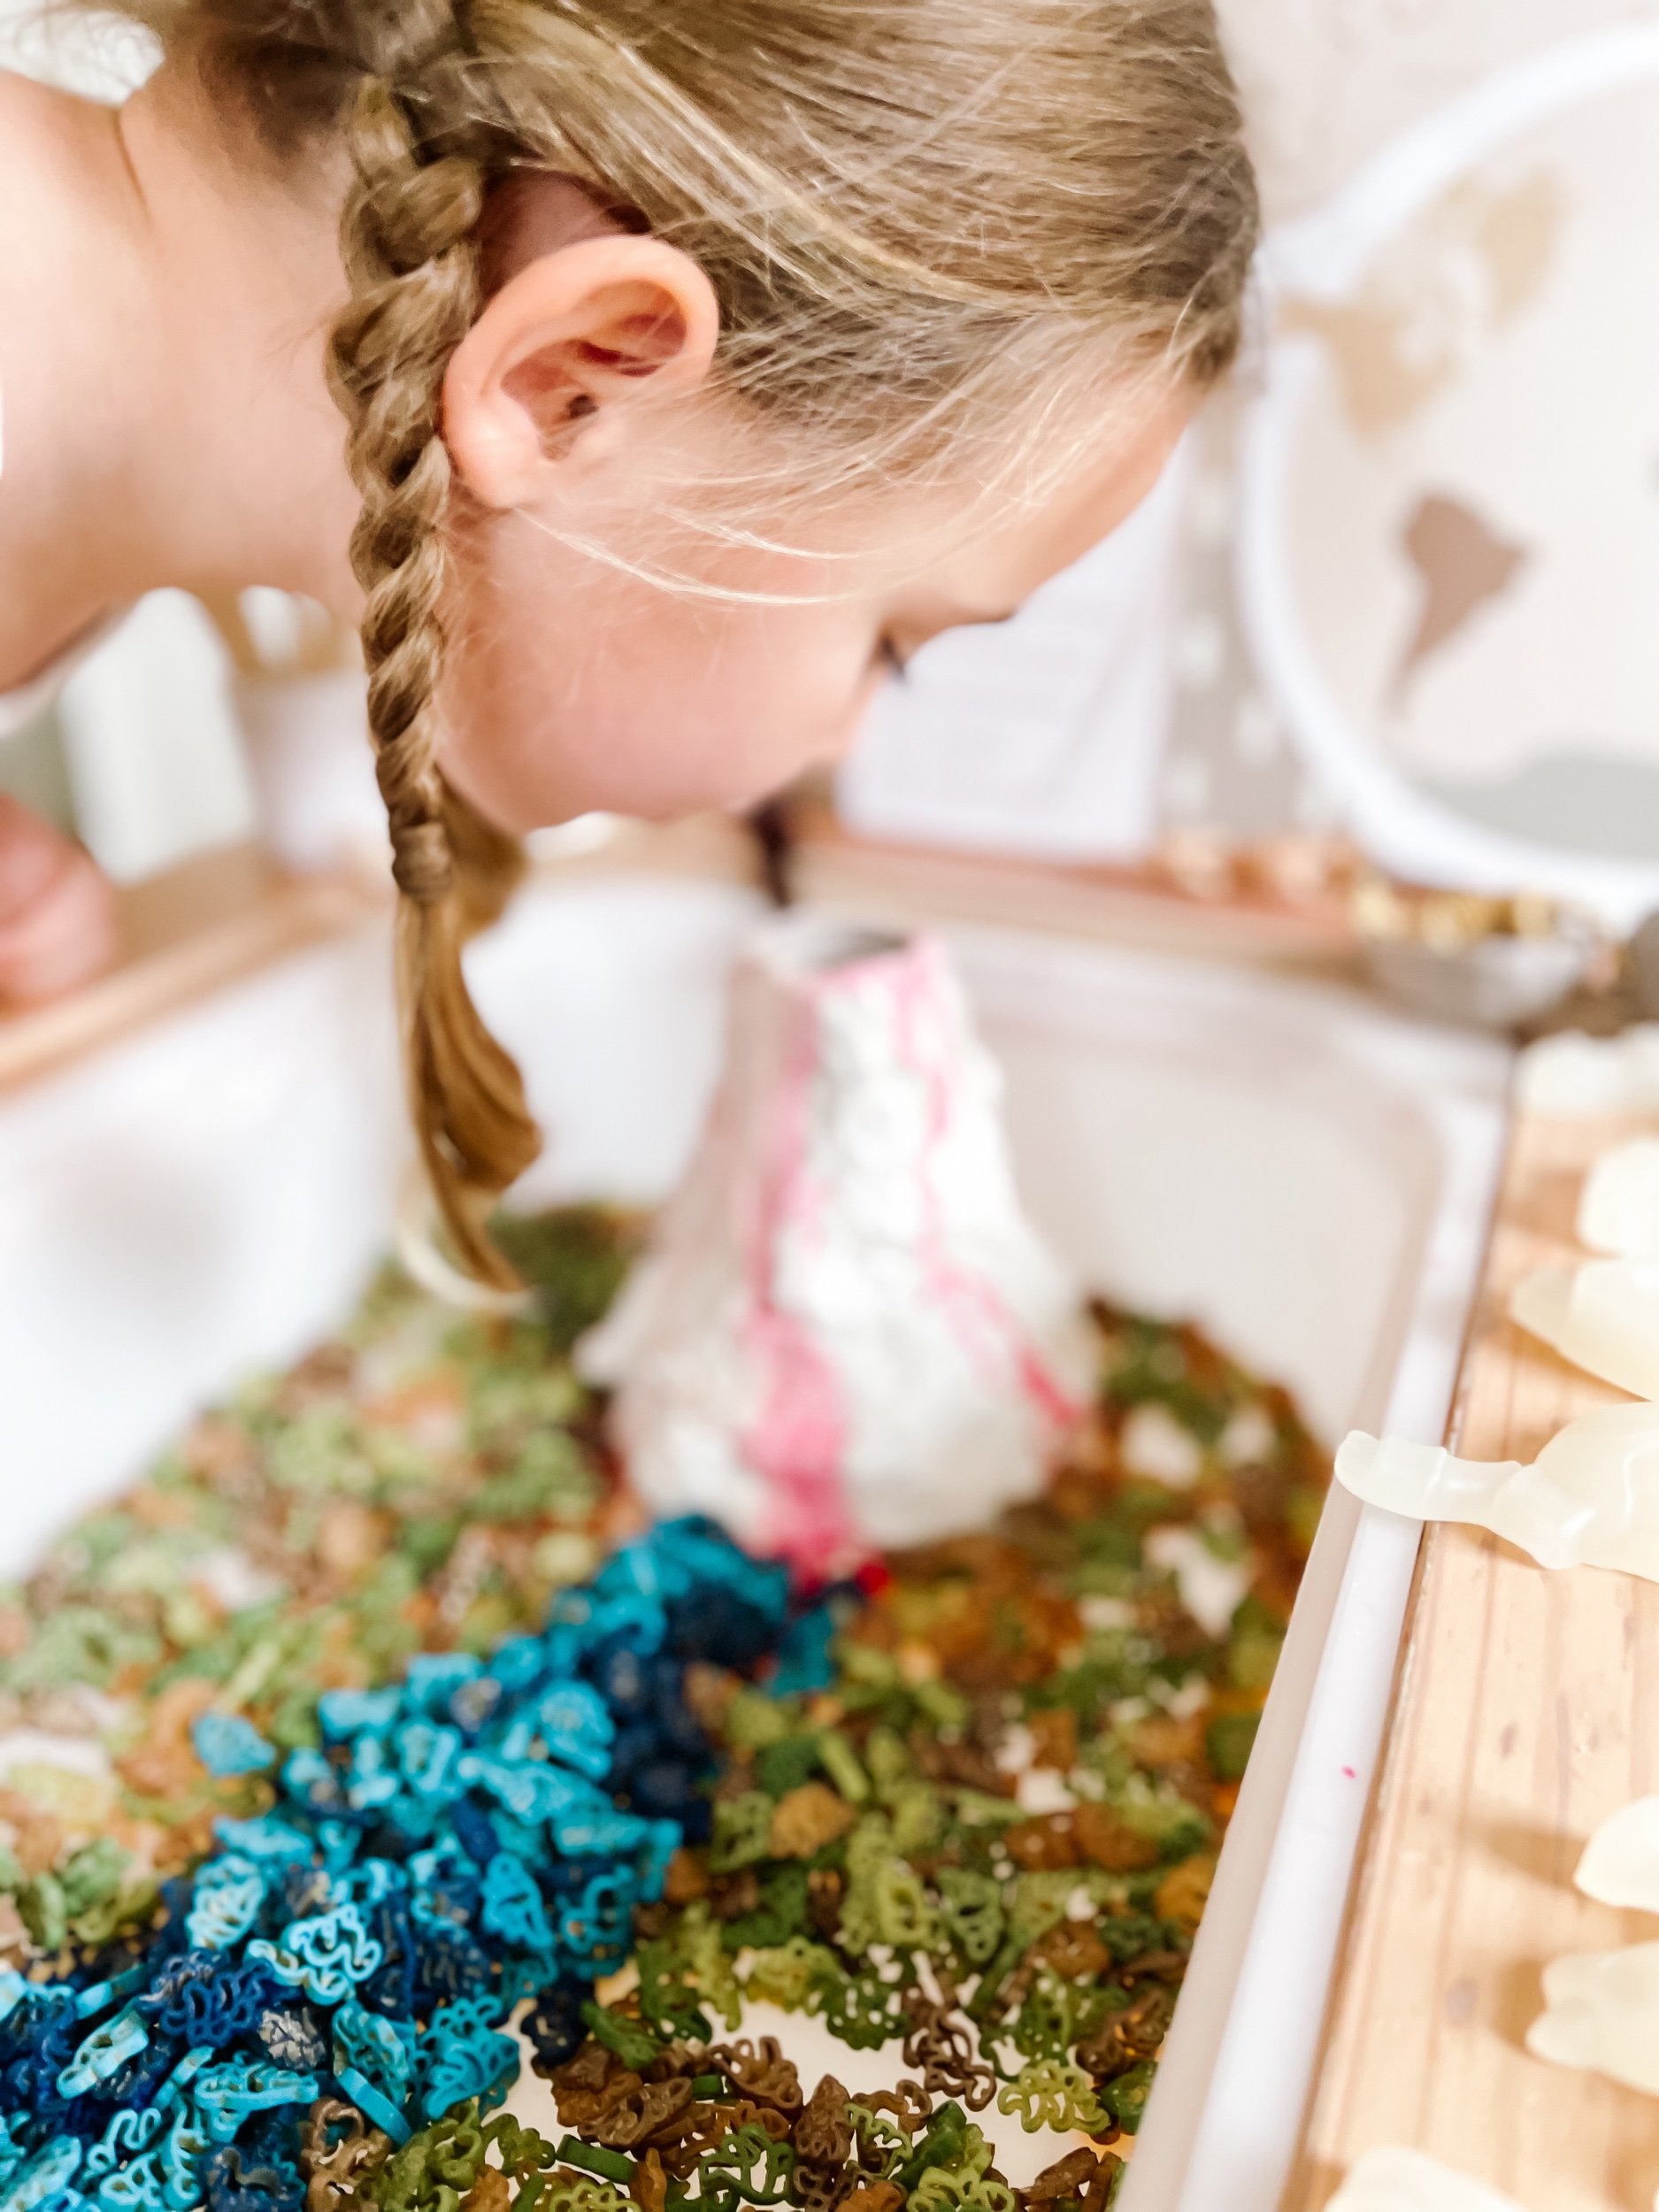
6. Incorporate the volcano playset into the sensory bin. Position it towards one side of the bin, making sure it has enough space to erupt and spill its contents. This can serve as a thrilling centerpiece and a point of interest for adventurous play.
7. Create the volcanic eruption effect by pouring red/orange colored water into the beaker. Use alka seltzer tablets to make the volcano explode and erupt!
8. Finally, sprinkle sand or kinetic sand around the terrain to mimic the ground and to enhance the sensory experience.
9. As an optional step, you can add small rocks, twigs, and leaves to the bin to further enhance the authenticity of the dinosaur habitat.
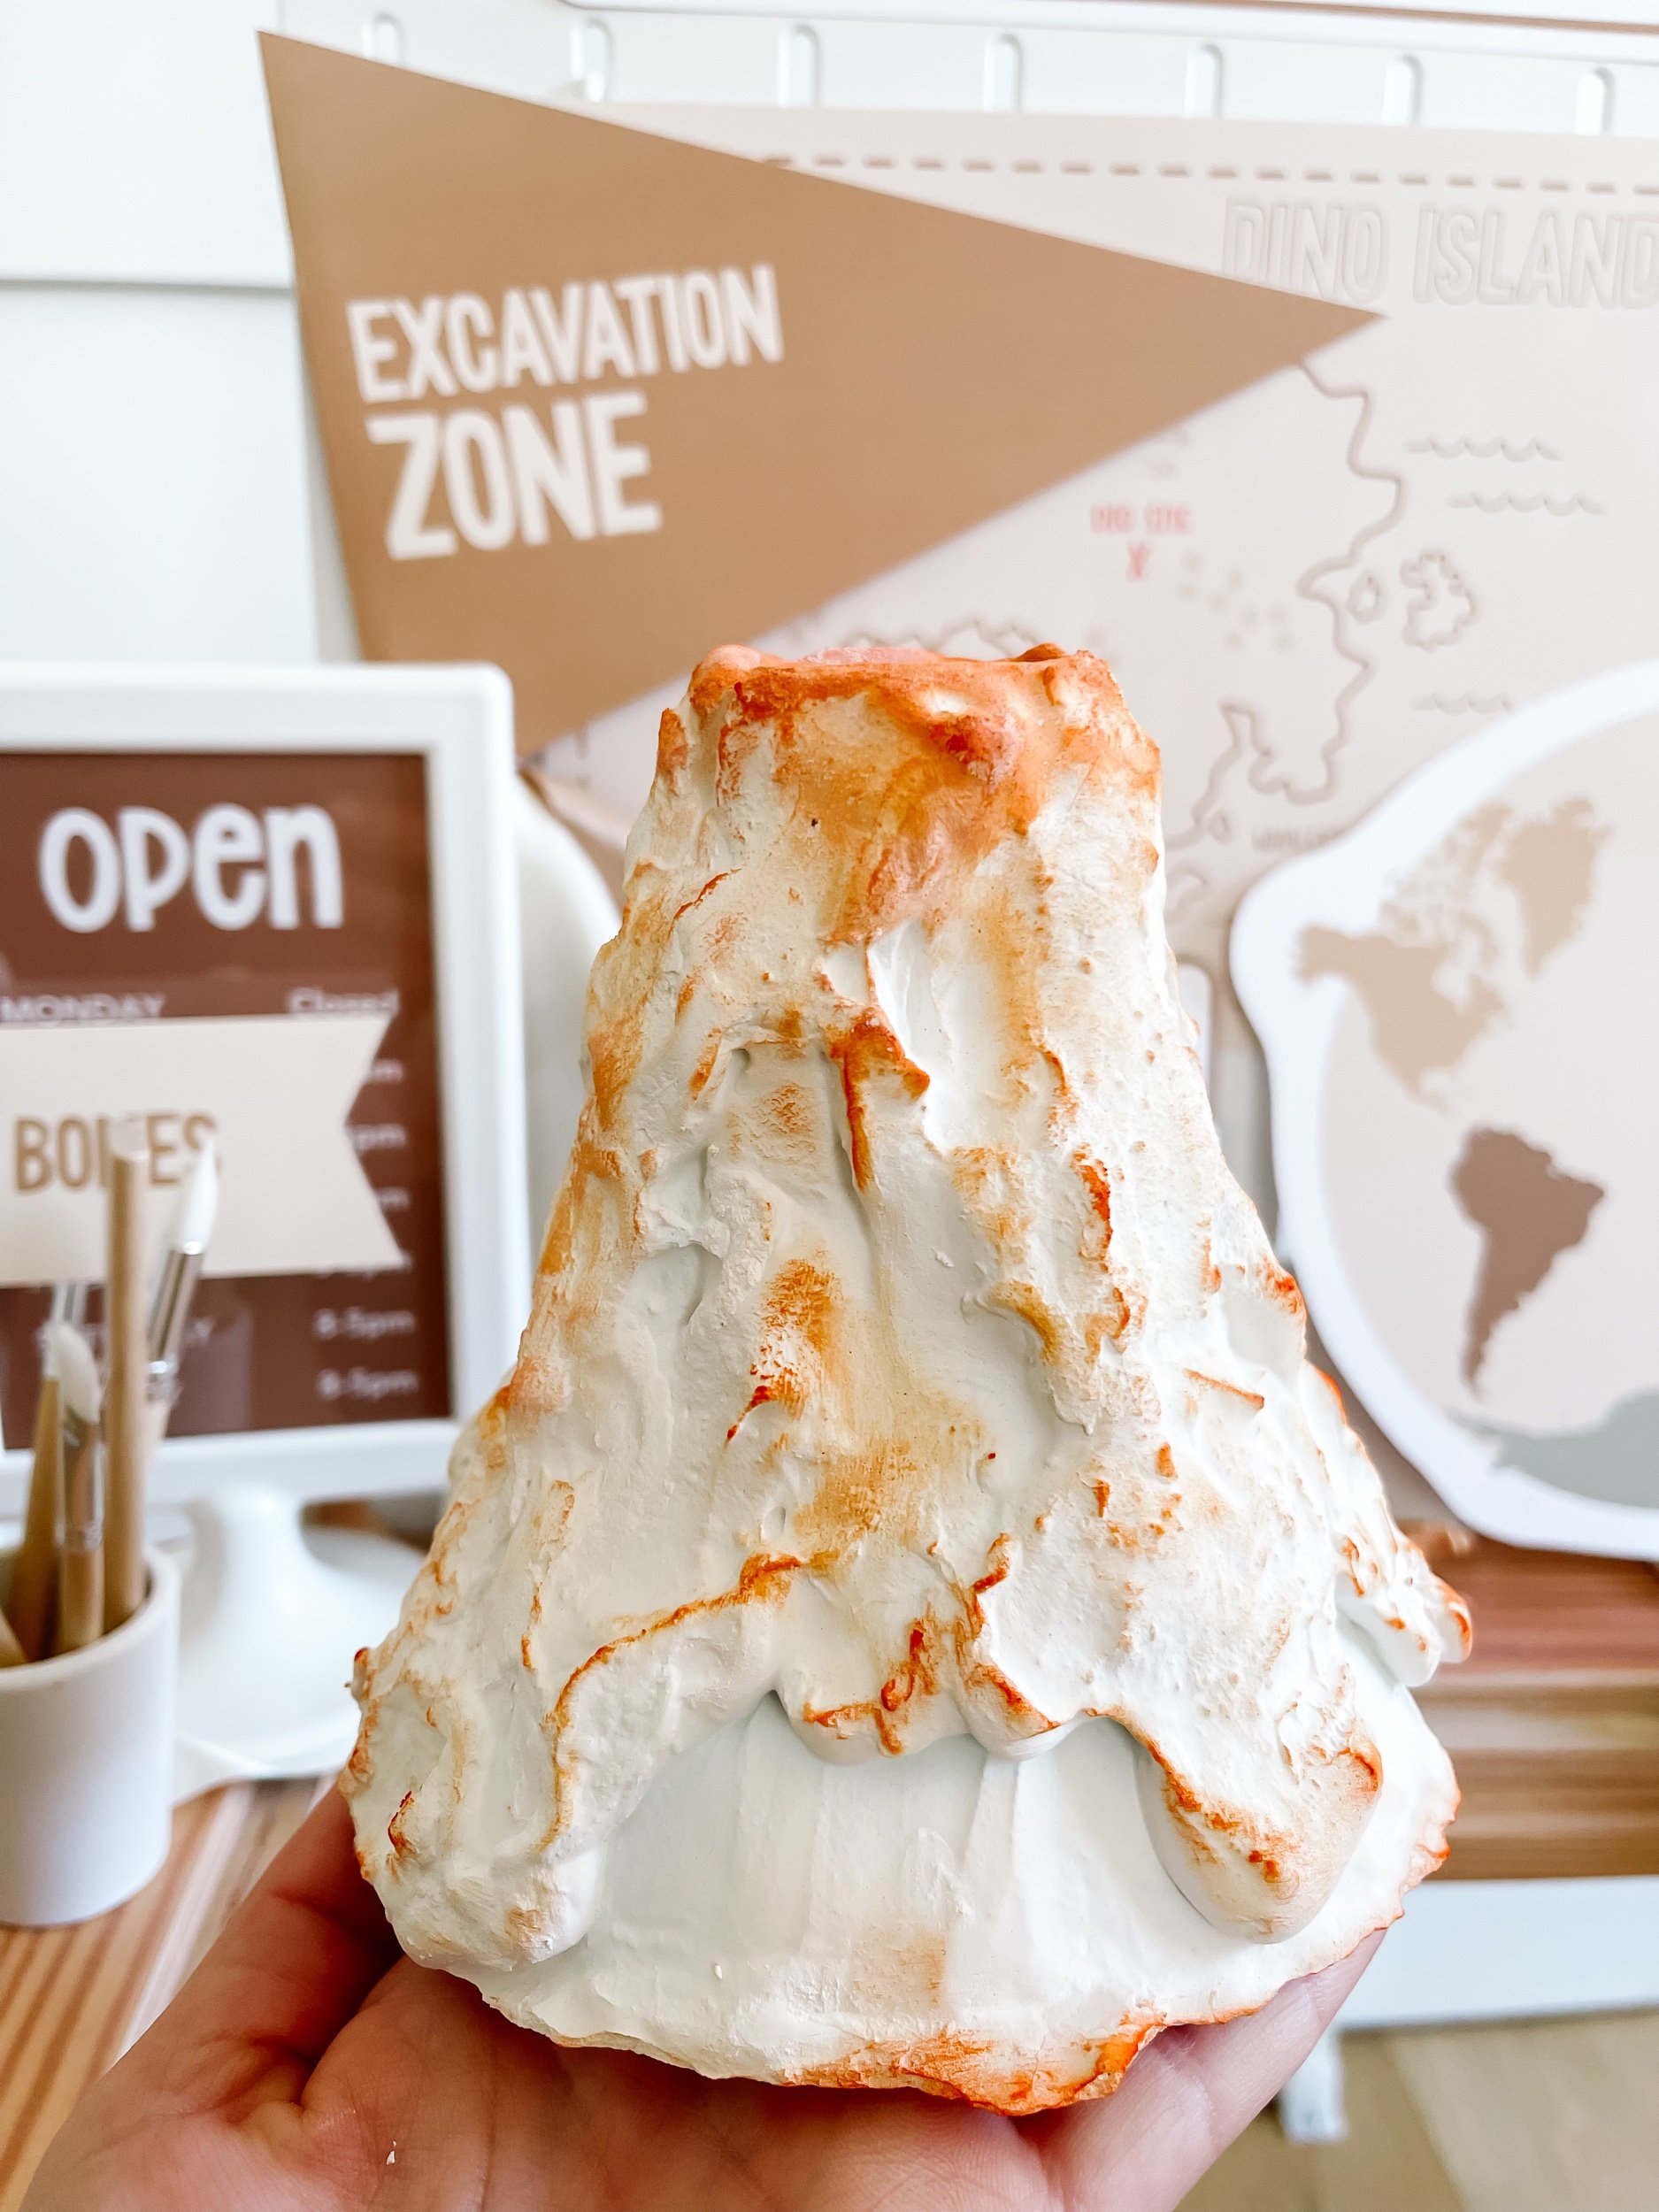
Steps To make the Plaster Volcano:
Use the Beaker from the Lovevery Play kit
Mix a bowl of Plaster of Paris using 2 parts plaster to 1 part water. Combine until smooth.
Let it rest of 3 minutes so that it gets to be a sludgy texture
Pour the plaster around the beaker. It took me about 4 cups of plaster to cover the entire thing.
As the mixture slides down the sides, use a spoon or spatula to scoop it up and smush it along the sides until you’re able to form a volcano / mountain look. Continue to do this as the plaster dries and hardens.
If you want a smoother look, use a little bit of water to smooth out the plaster after it dries.
With these steps completed, the volcano adventure sensory bin, featuring a dinosaur habitat, is ready to captivate children's imaginations. Encourage them to explore the terrain, engage in pretend play with the dinosaurs, and be thrilled by the eruption of the volcano. This sensory bin will provide an exciting and educational experience, fostering creativity, sensory development, and an appreciation for our prehistoric friends. Enjoy the adventure!
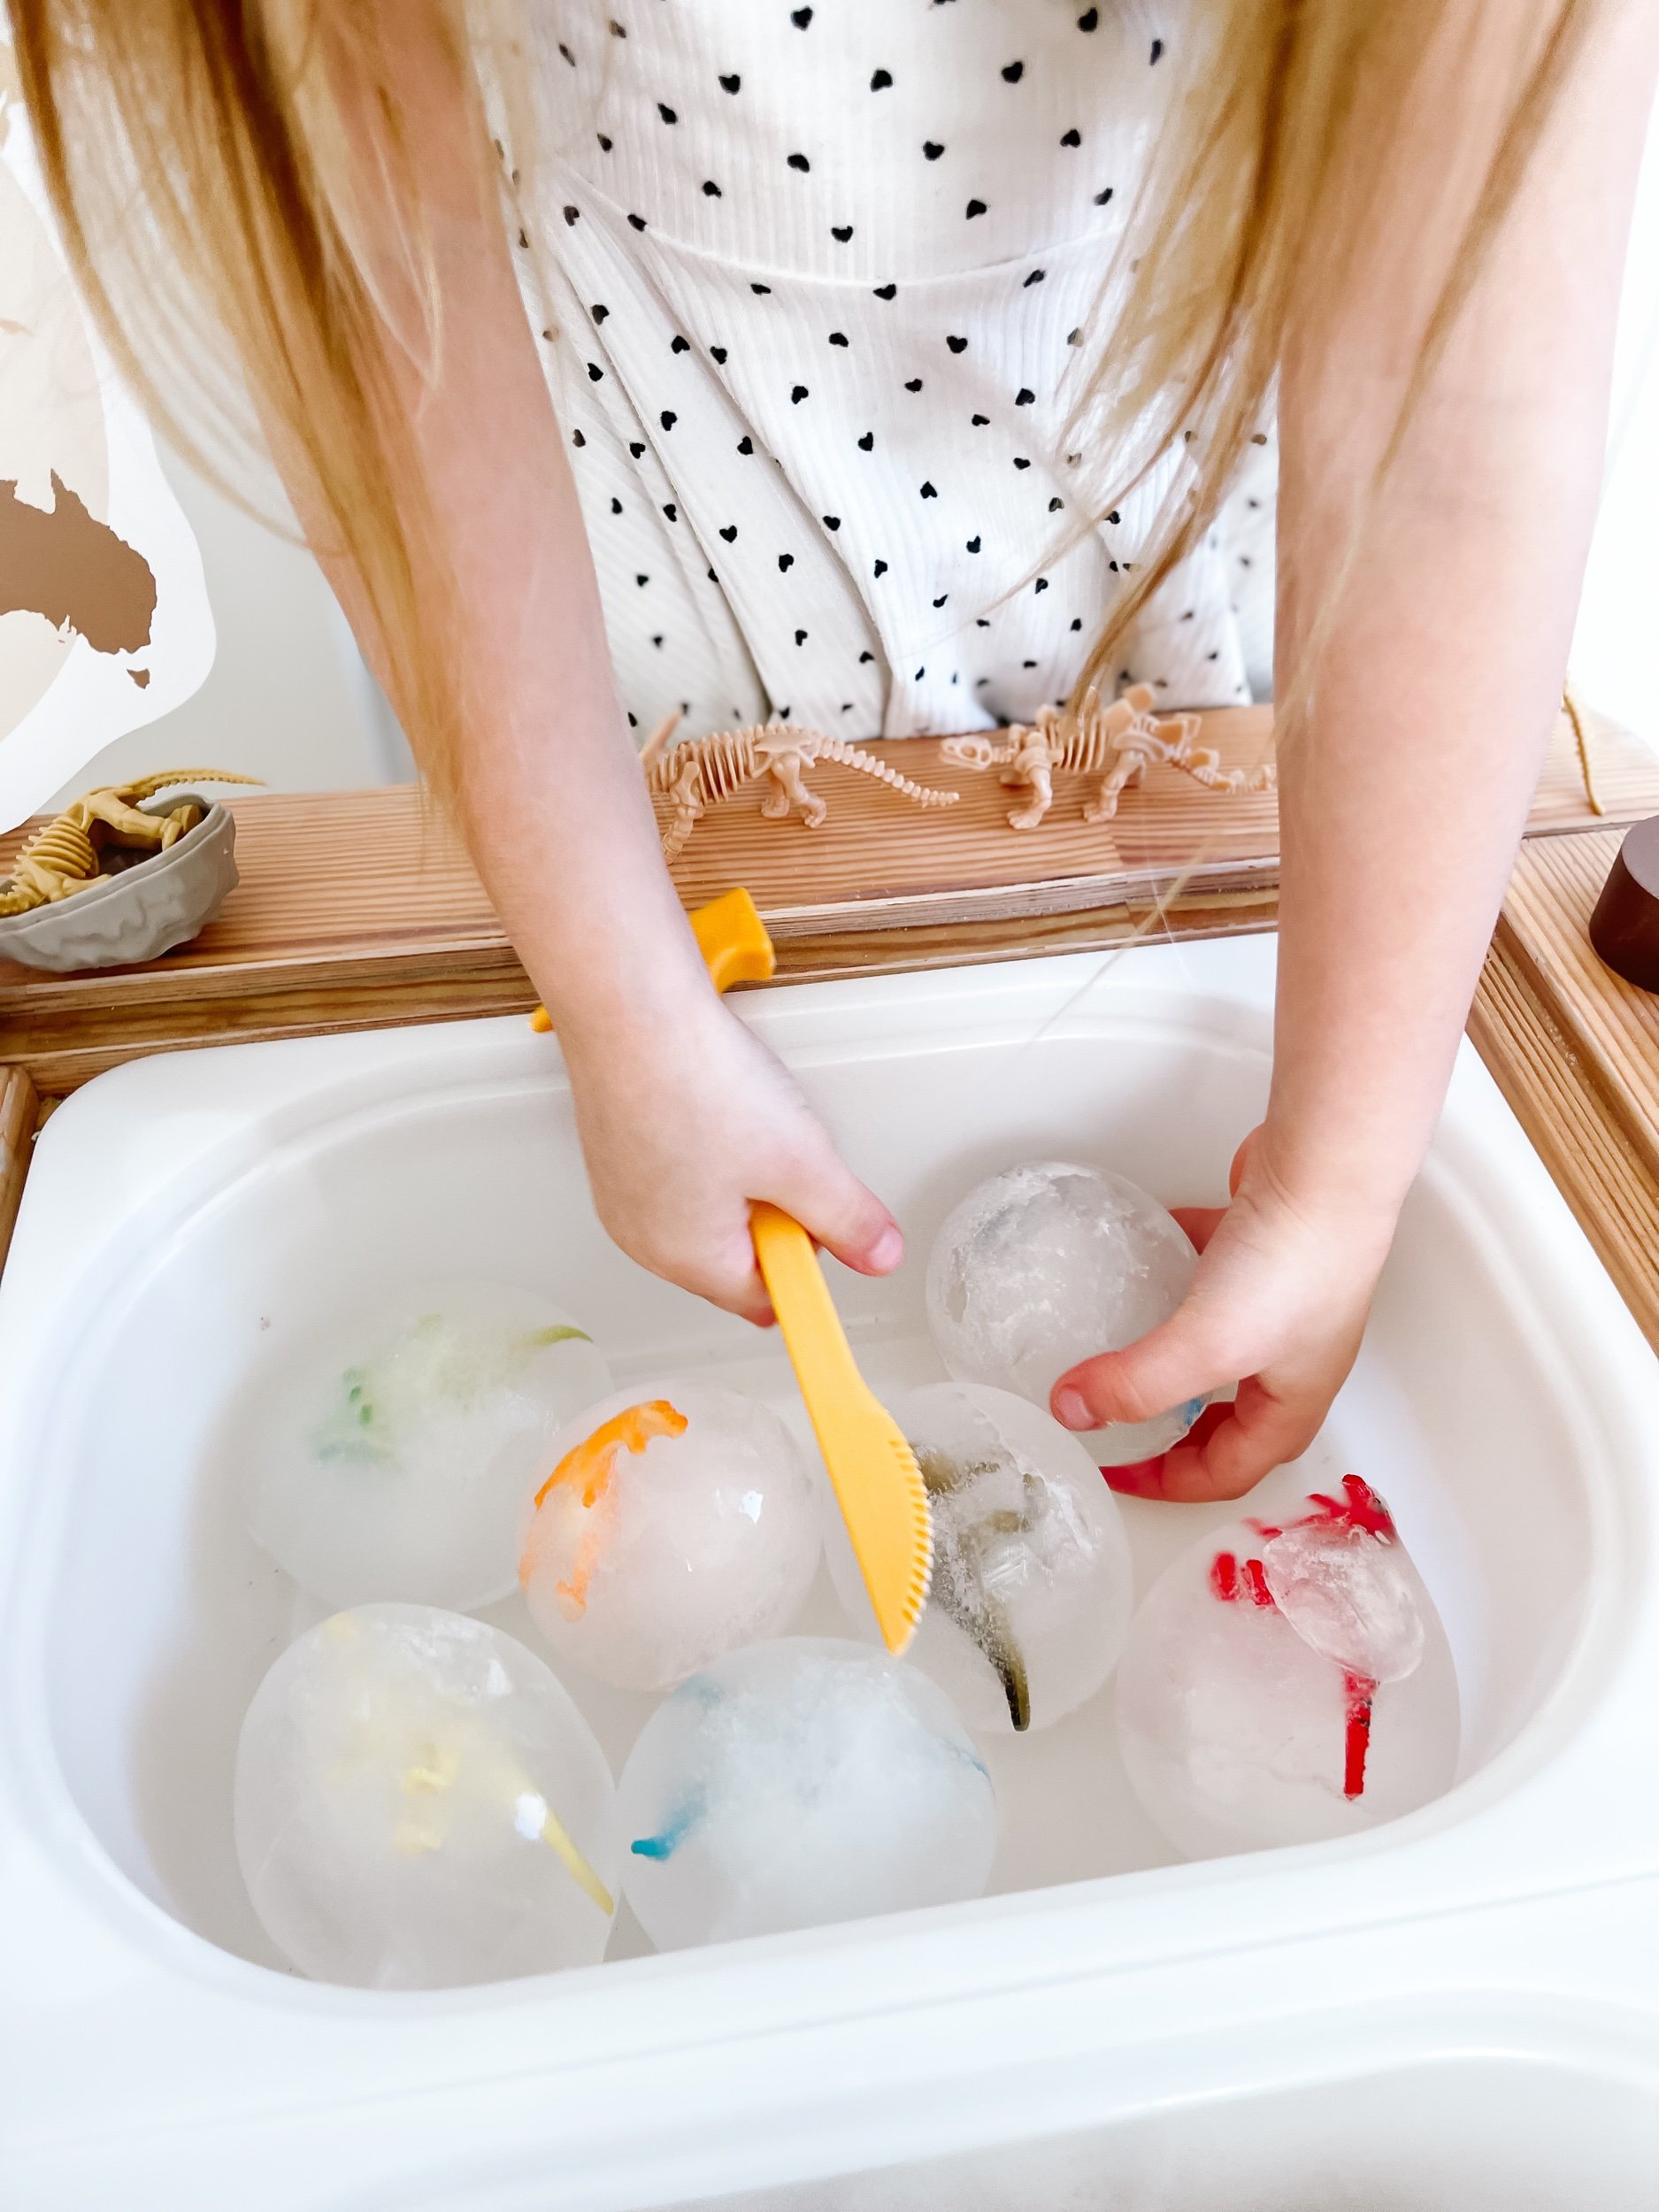
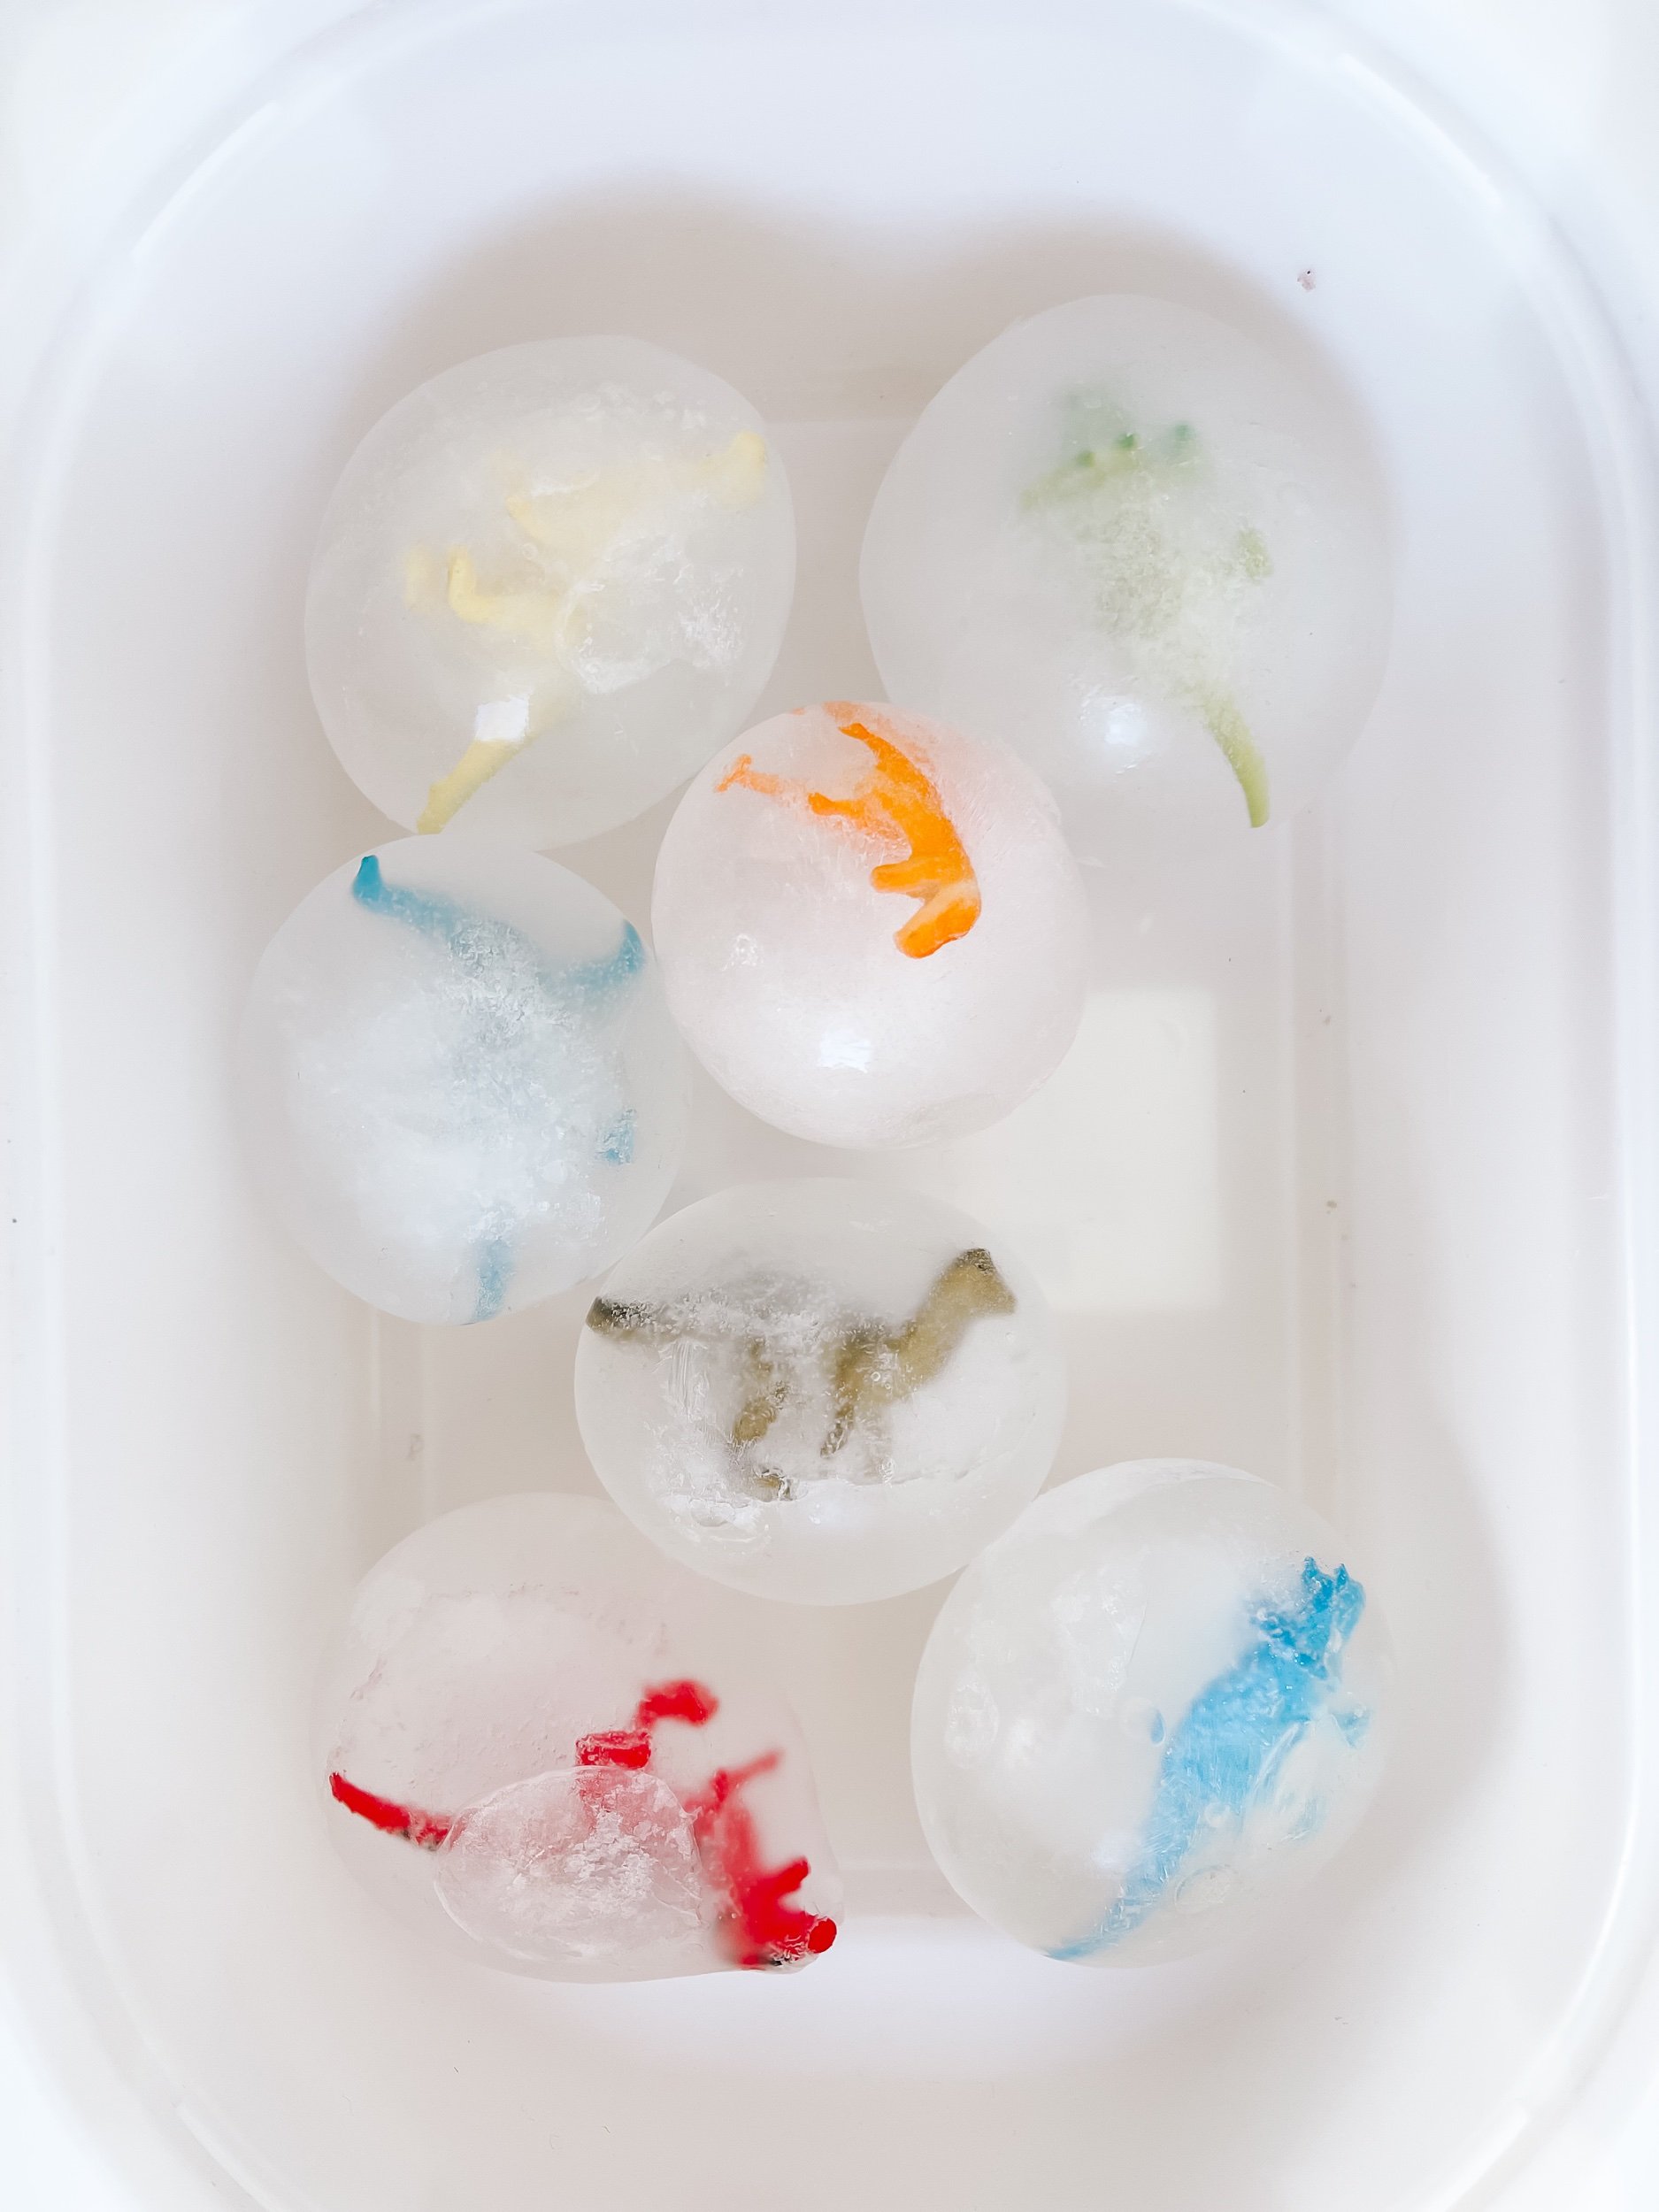
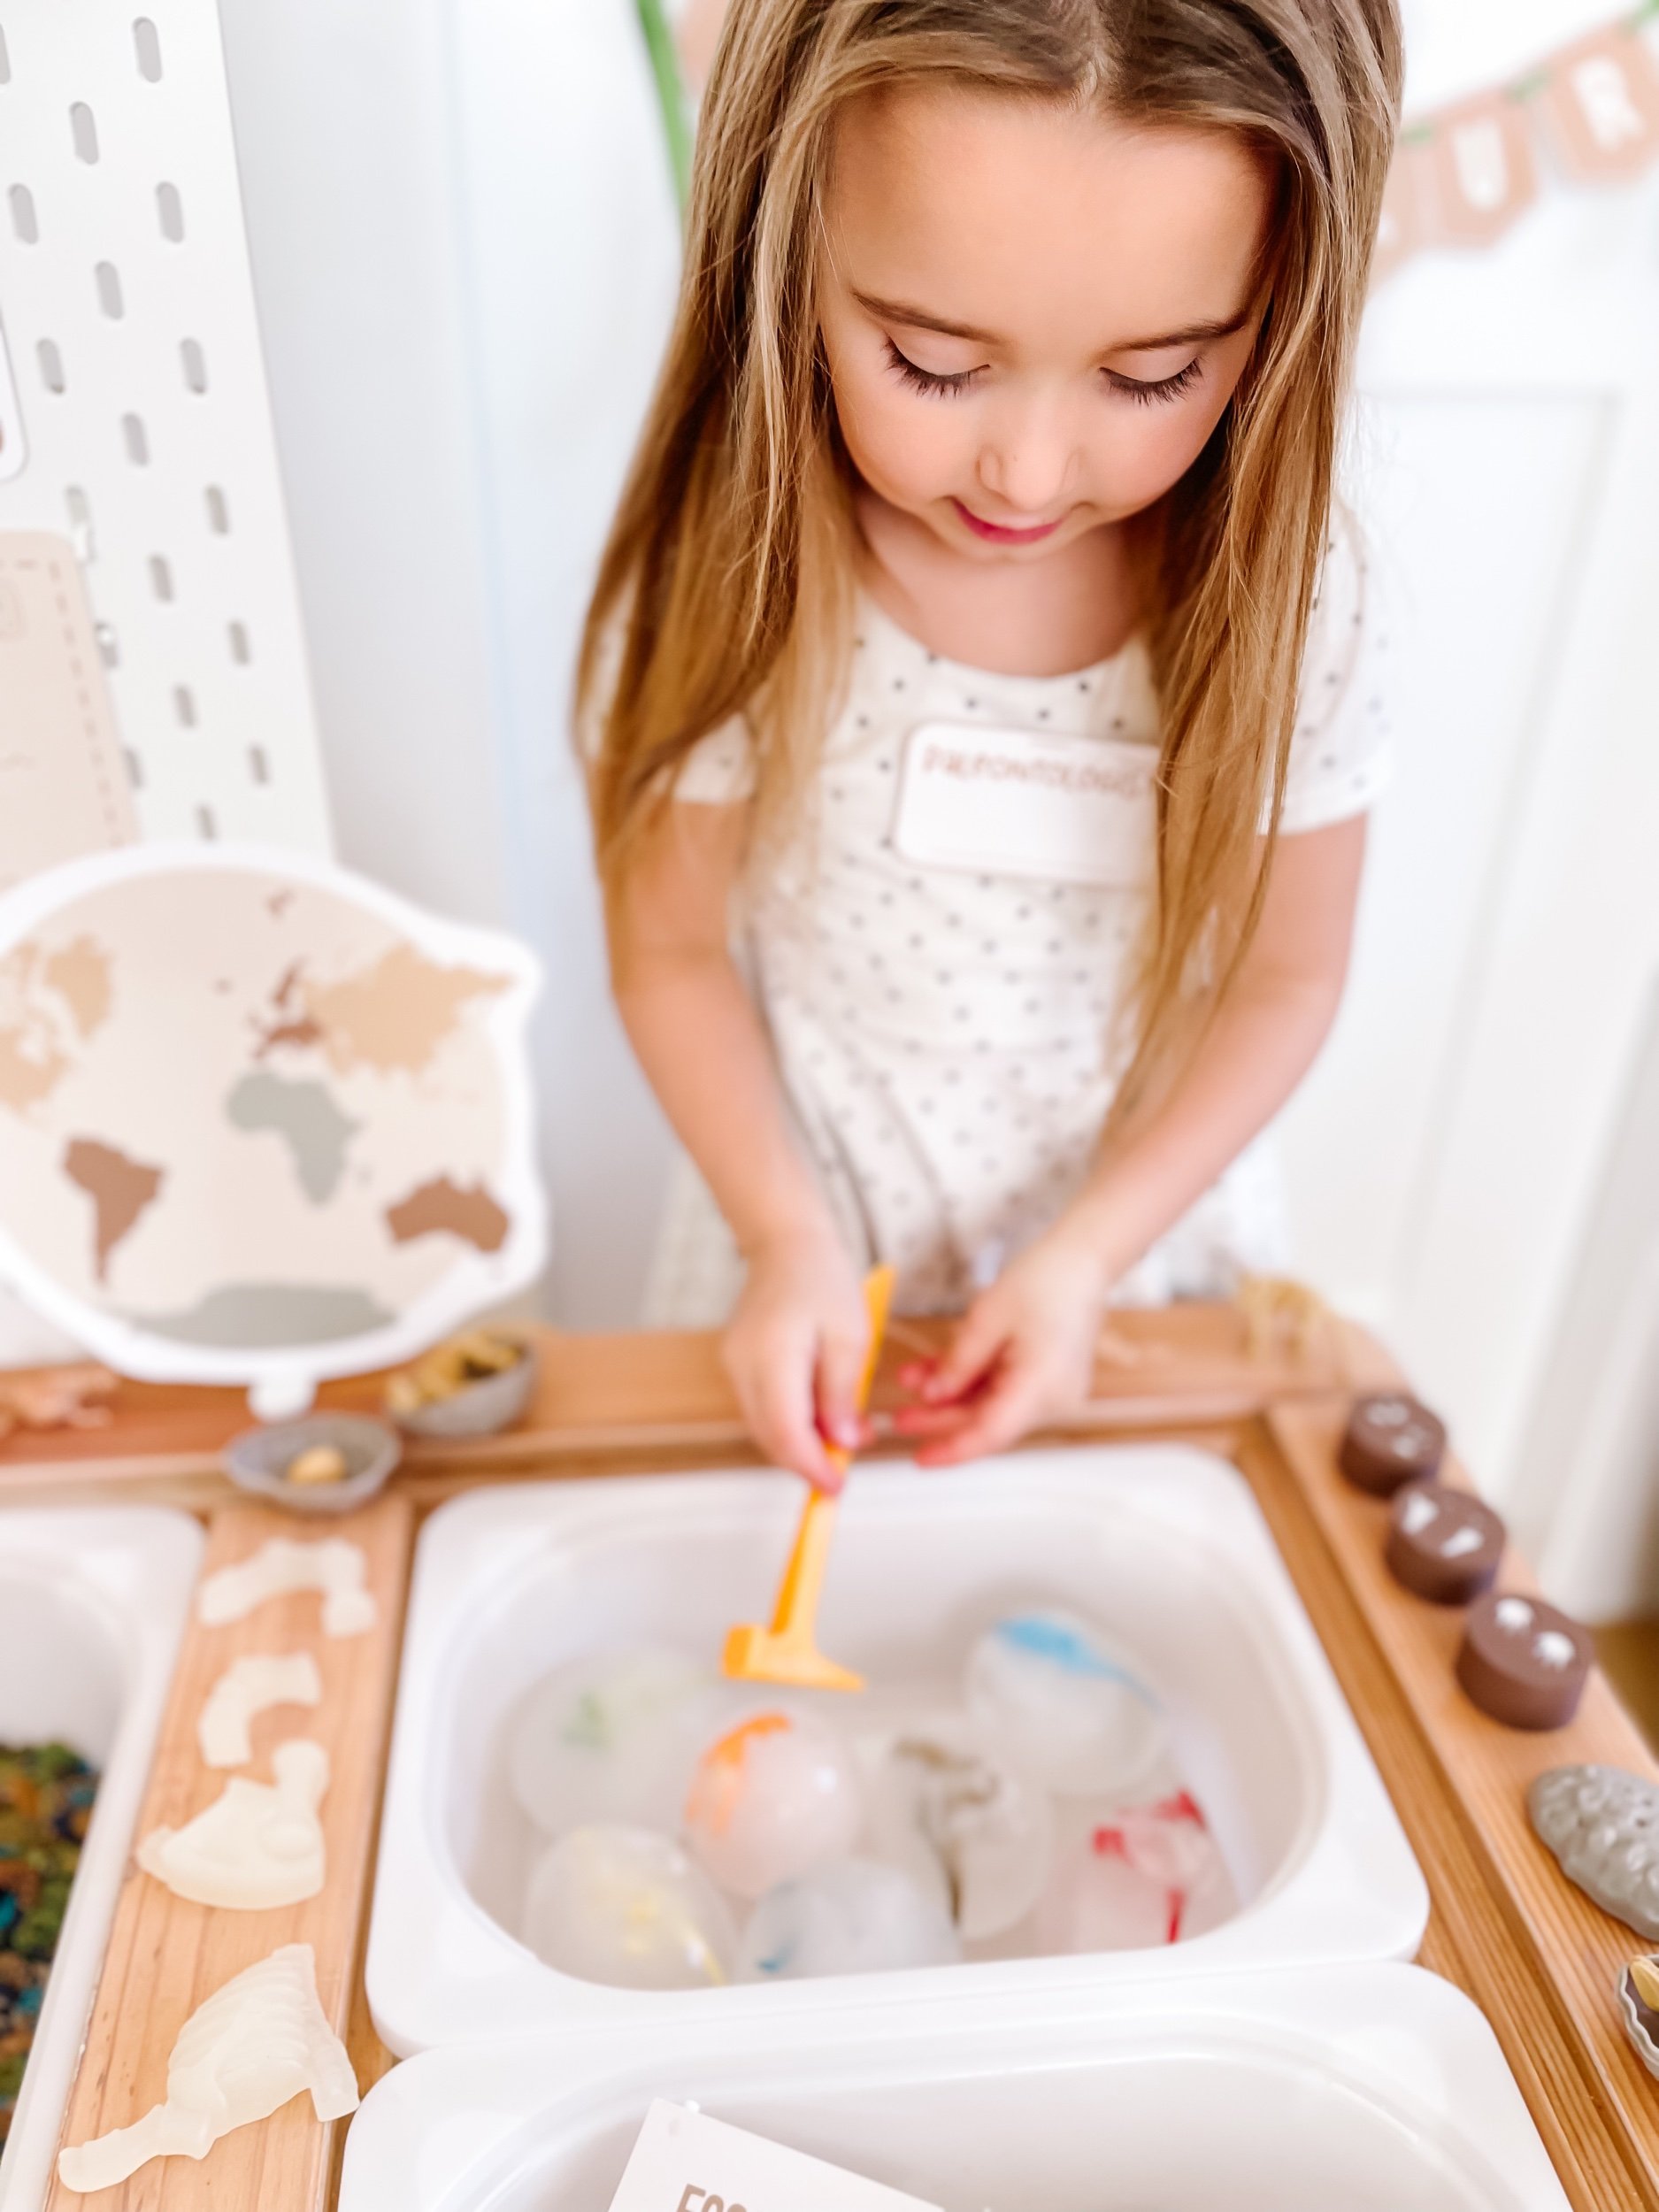
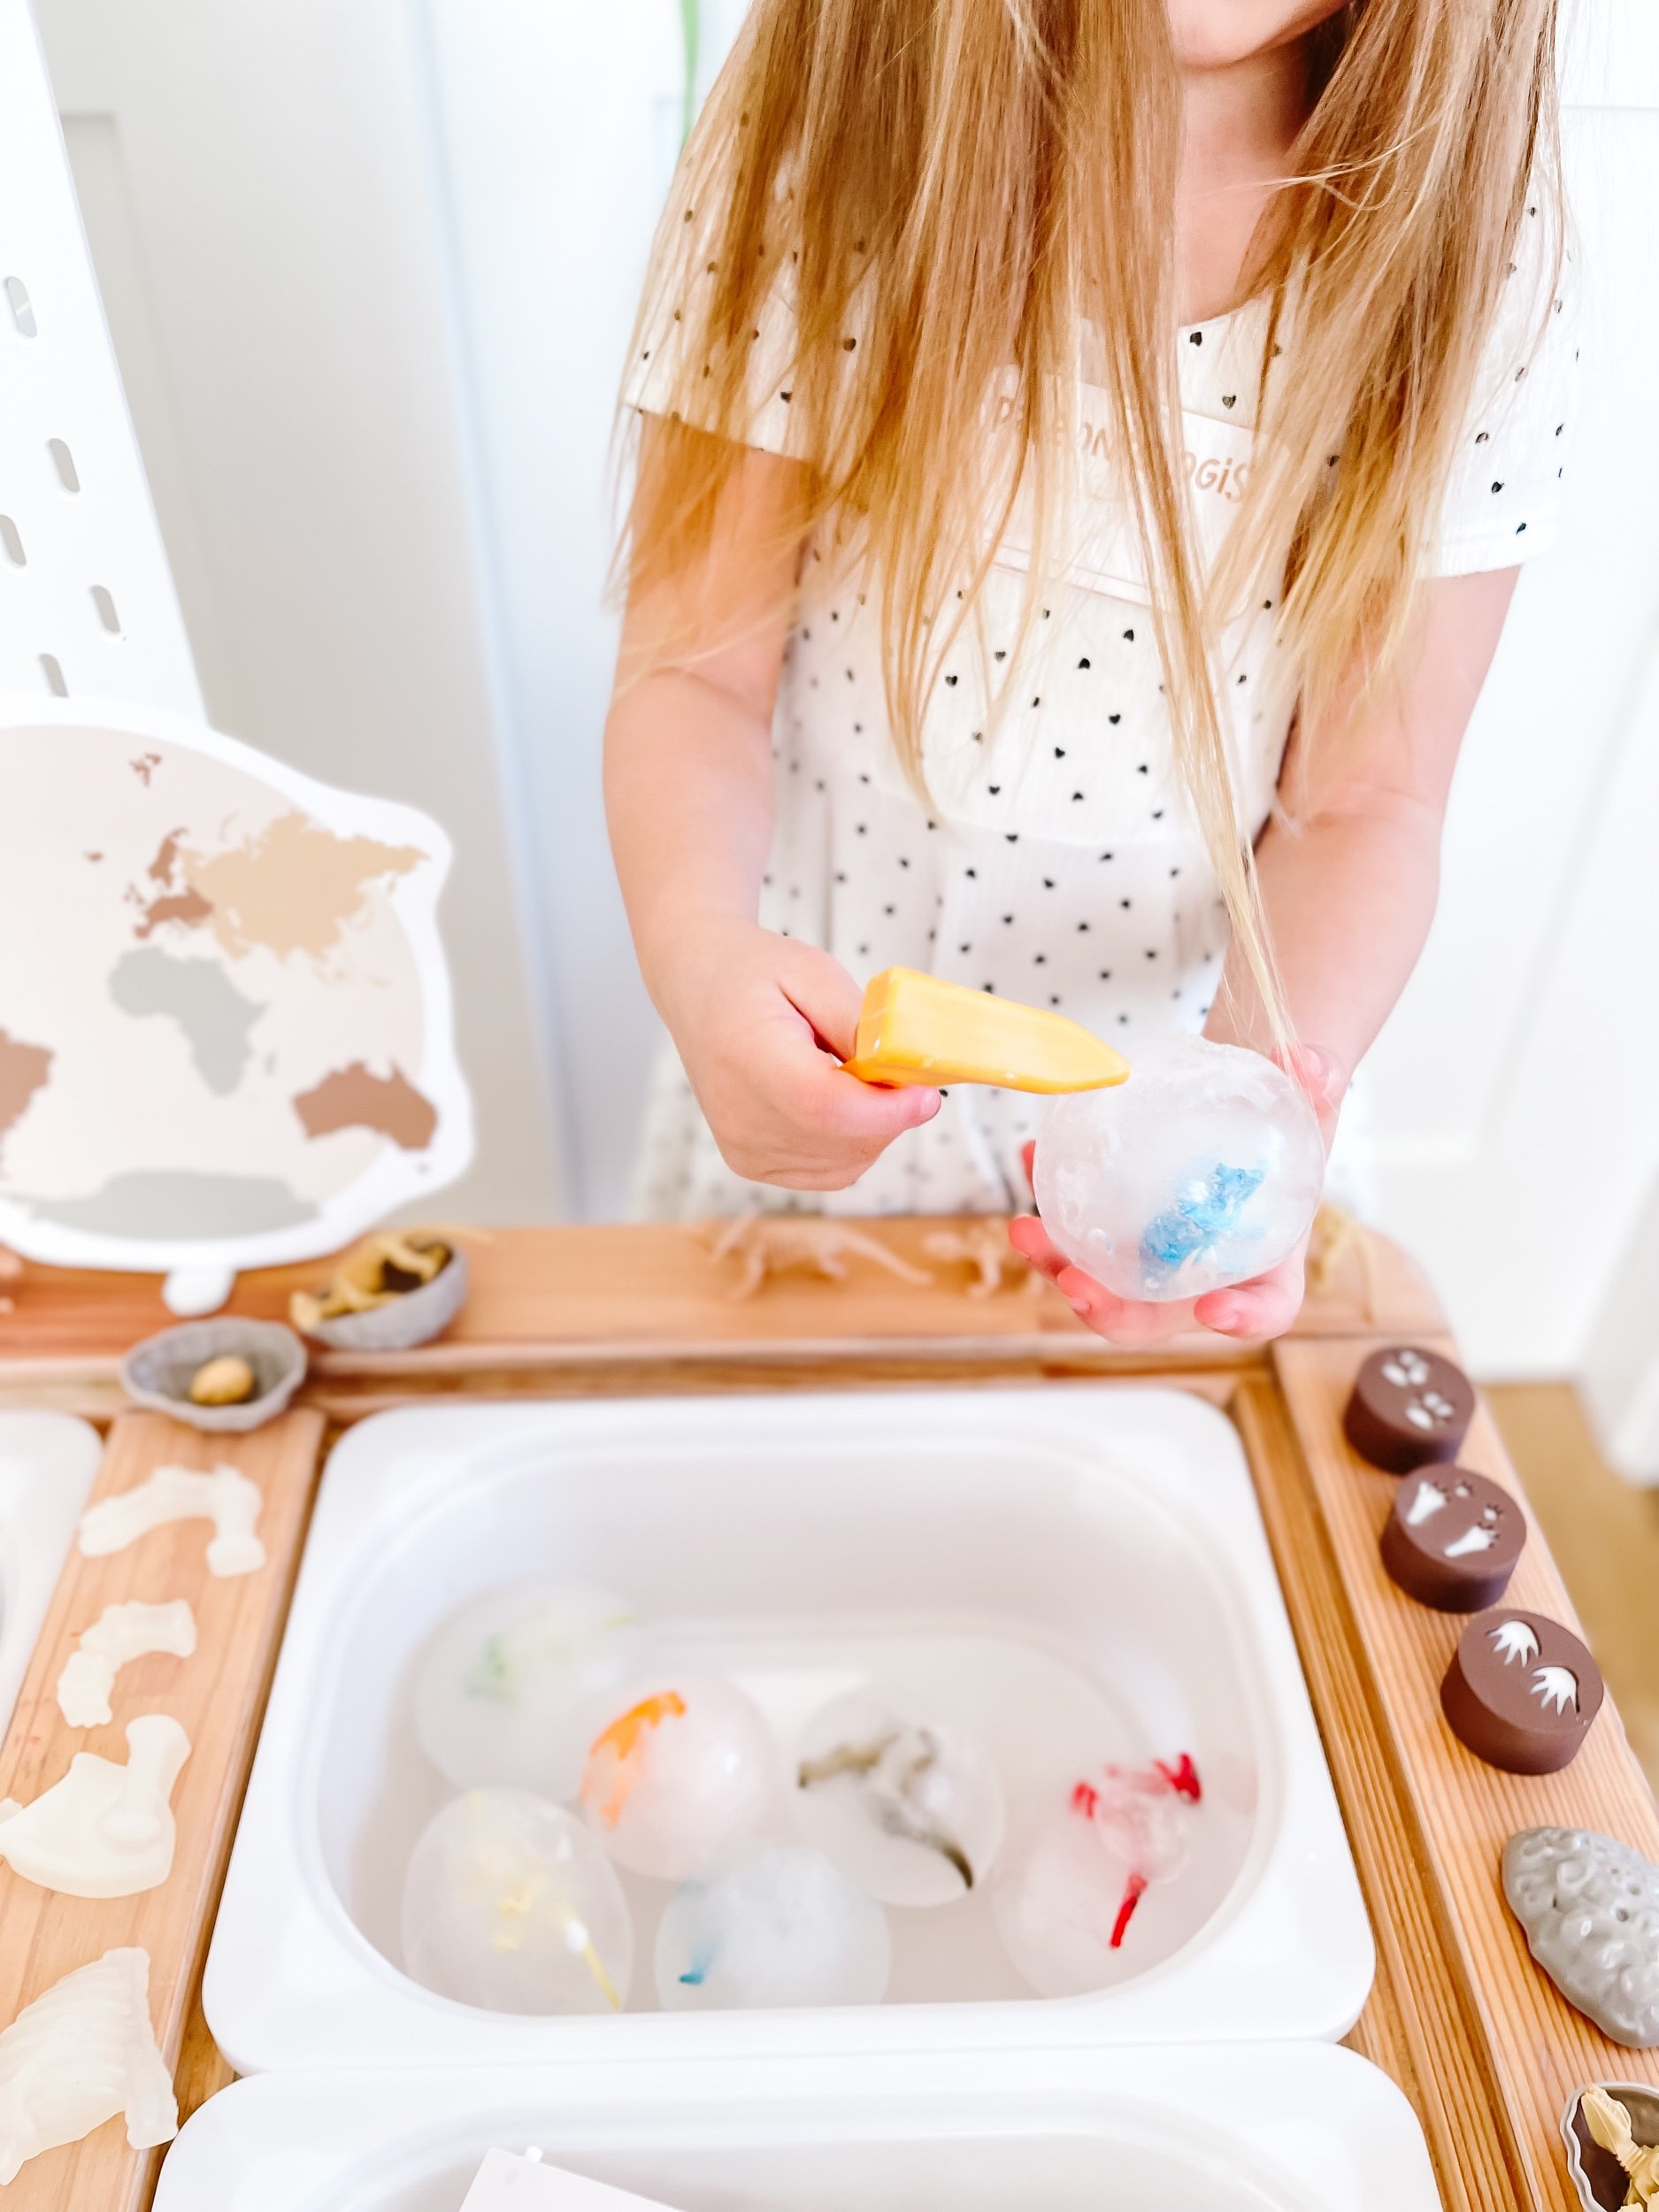
4. Ice Dinosaur Eggs
To encourage imaginative play, create a small world play bin where dinosaurs can roam freely. Here's how:
Materials Needed:
Water
Balloons
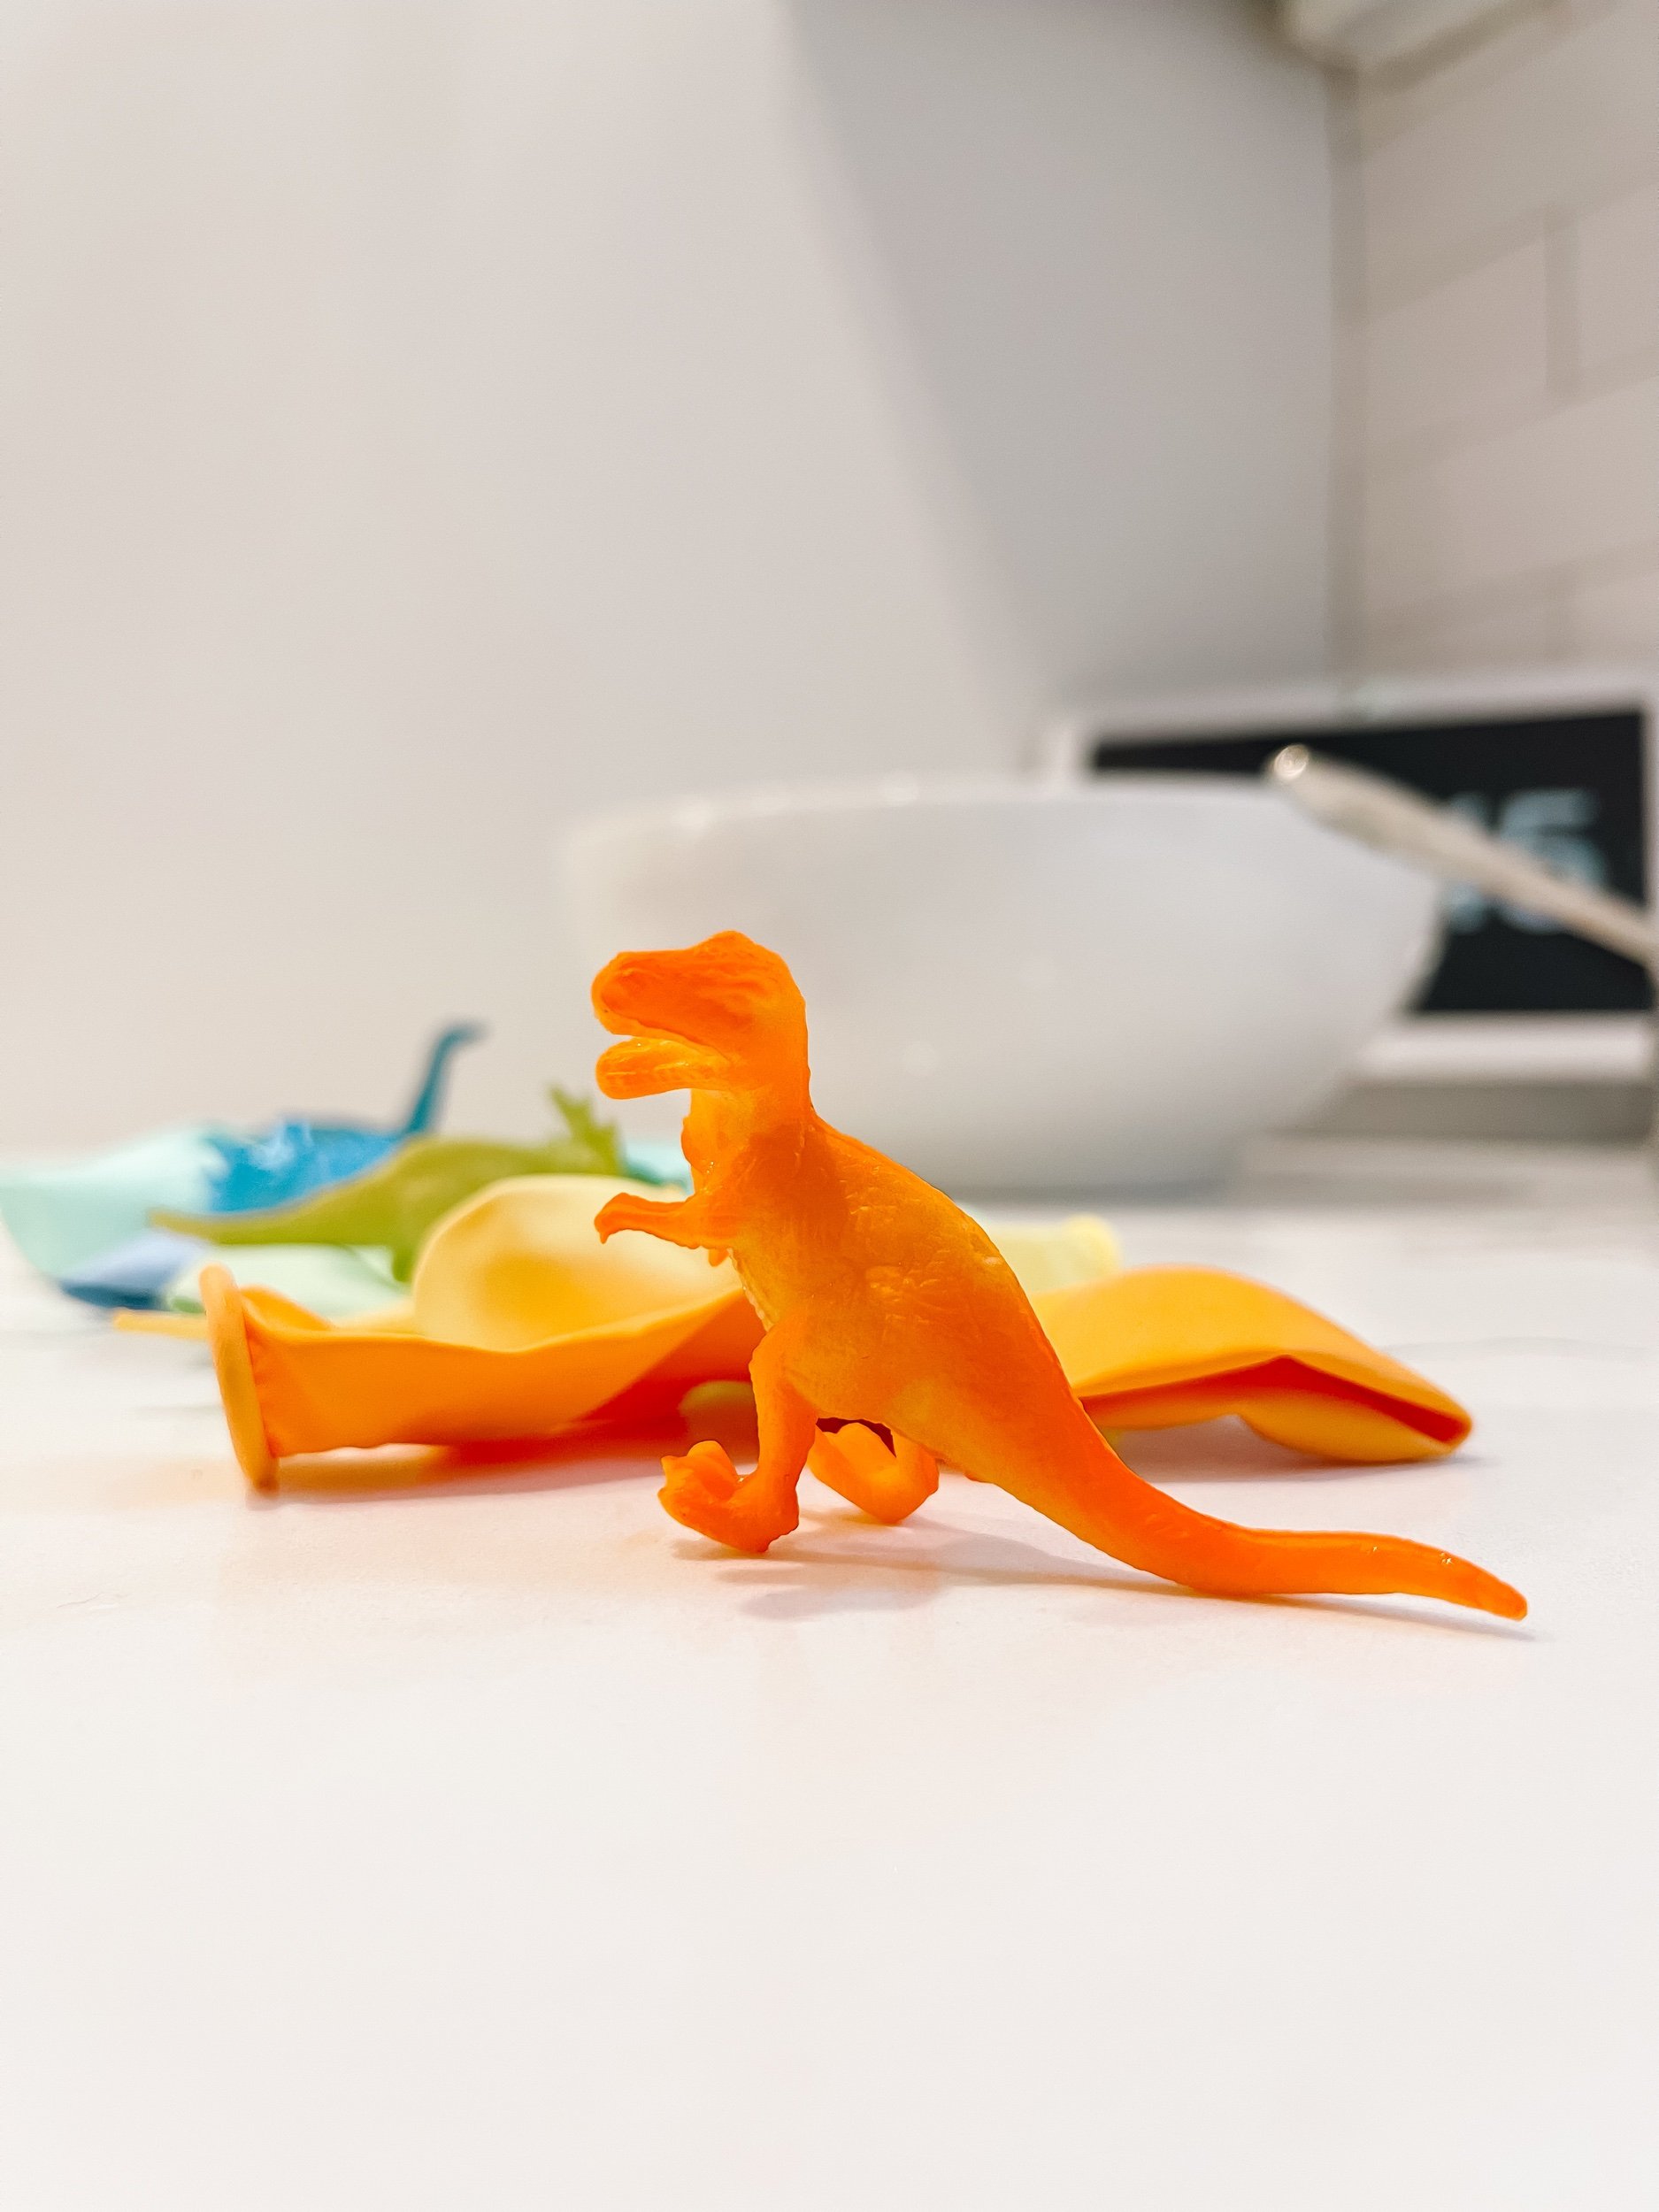
Plastic Dinosaur Toys
Eye Dropper, Chisel, etc.
Steps to Set Up:
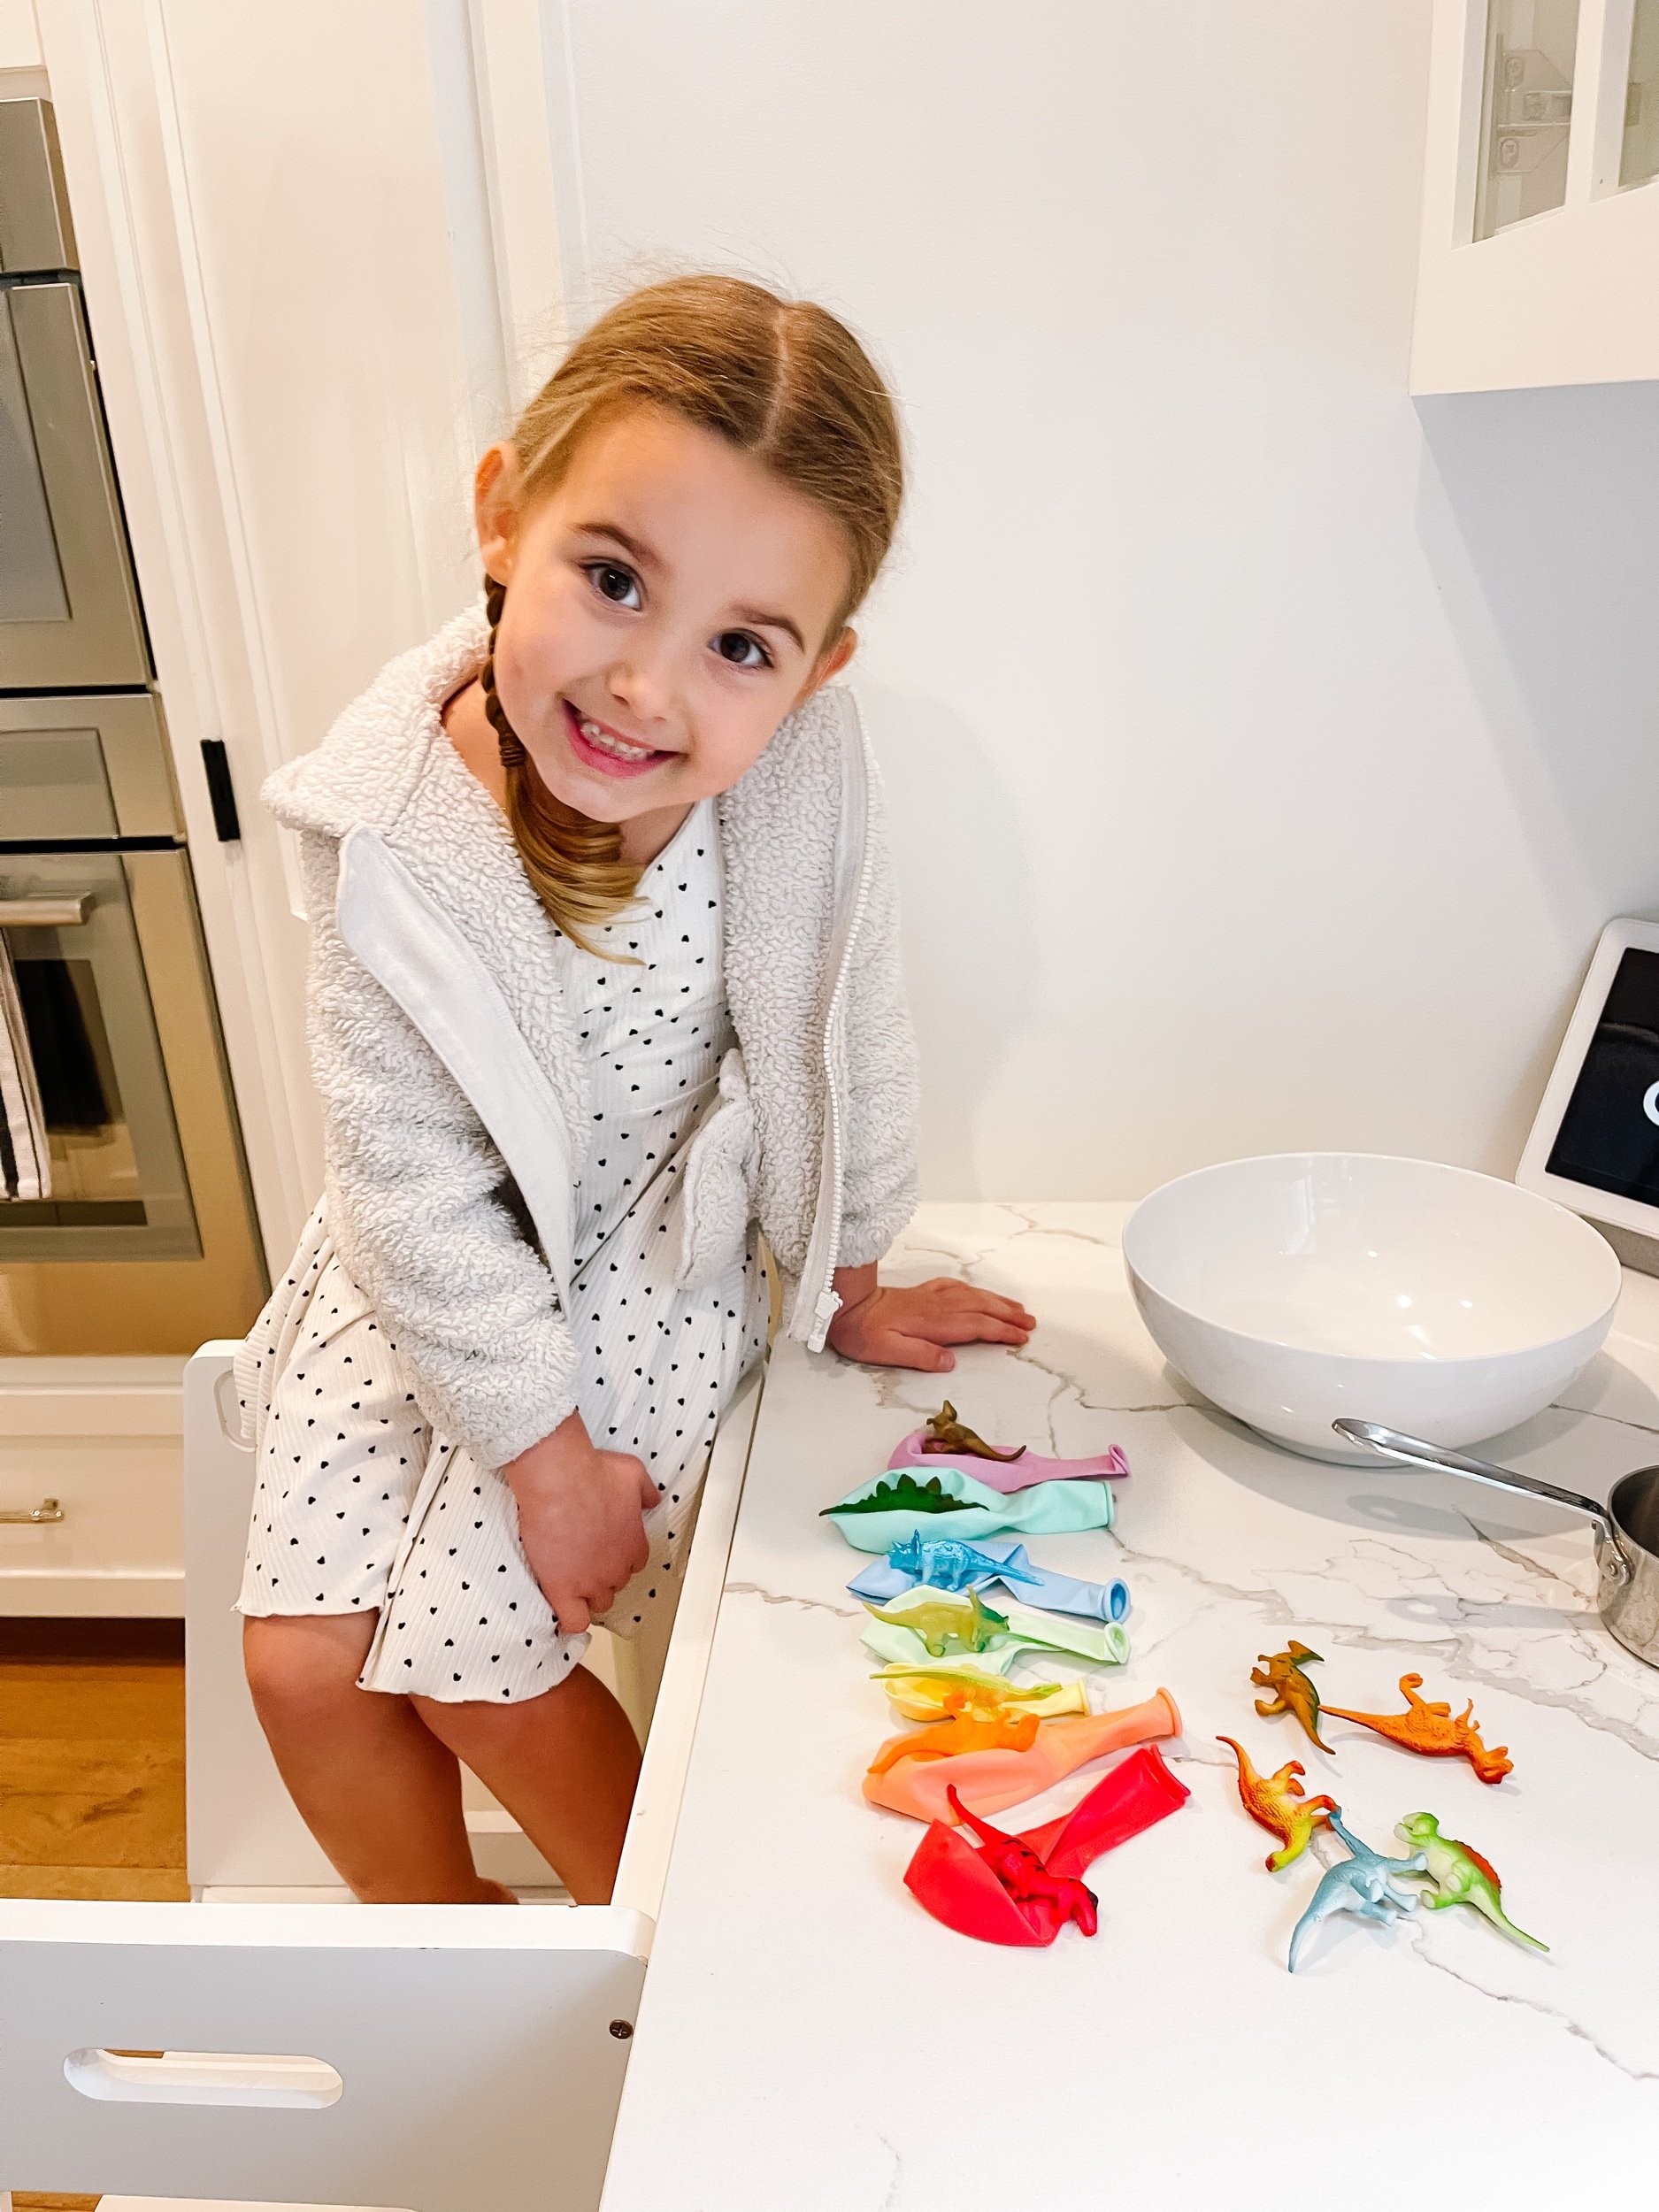
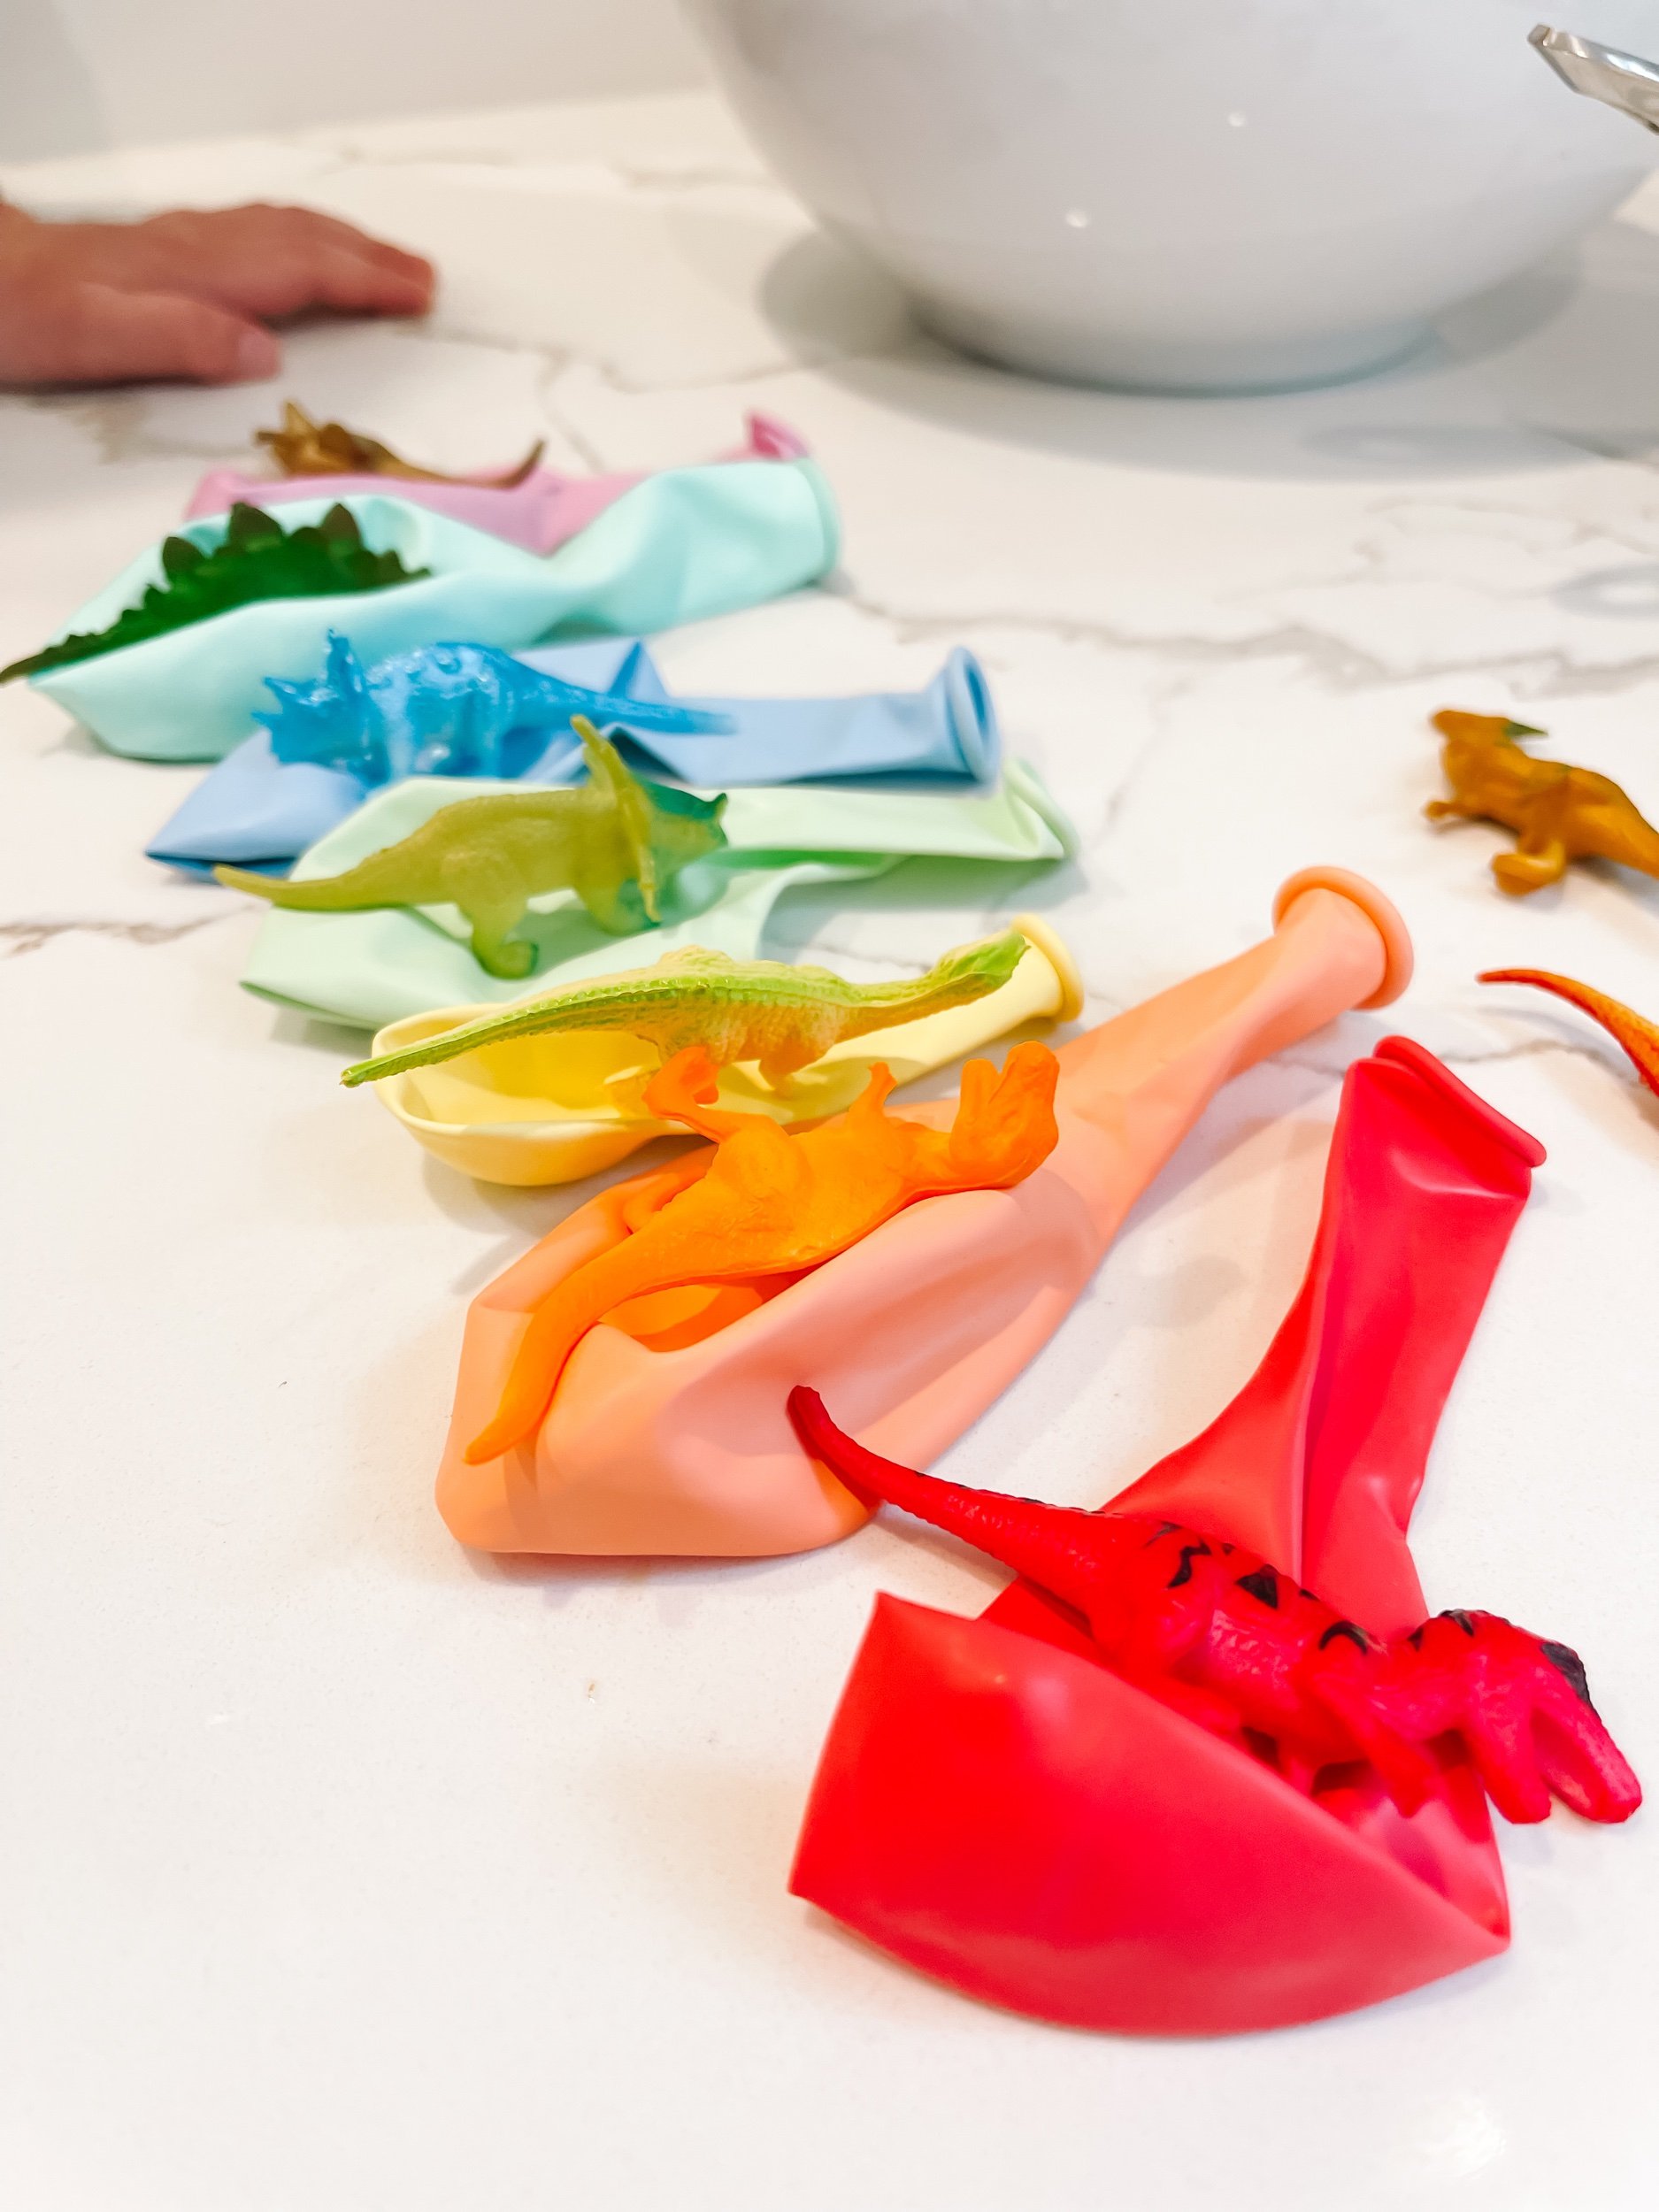
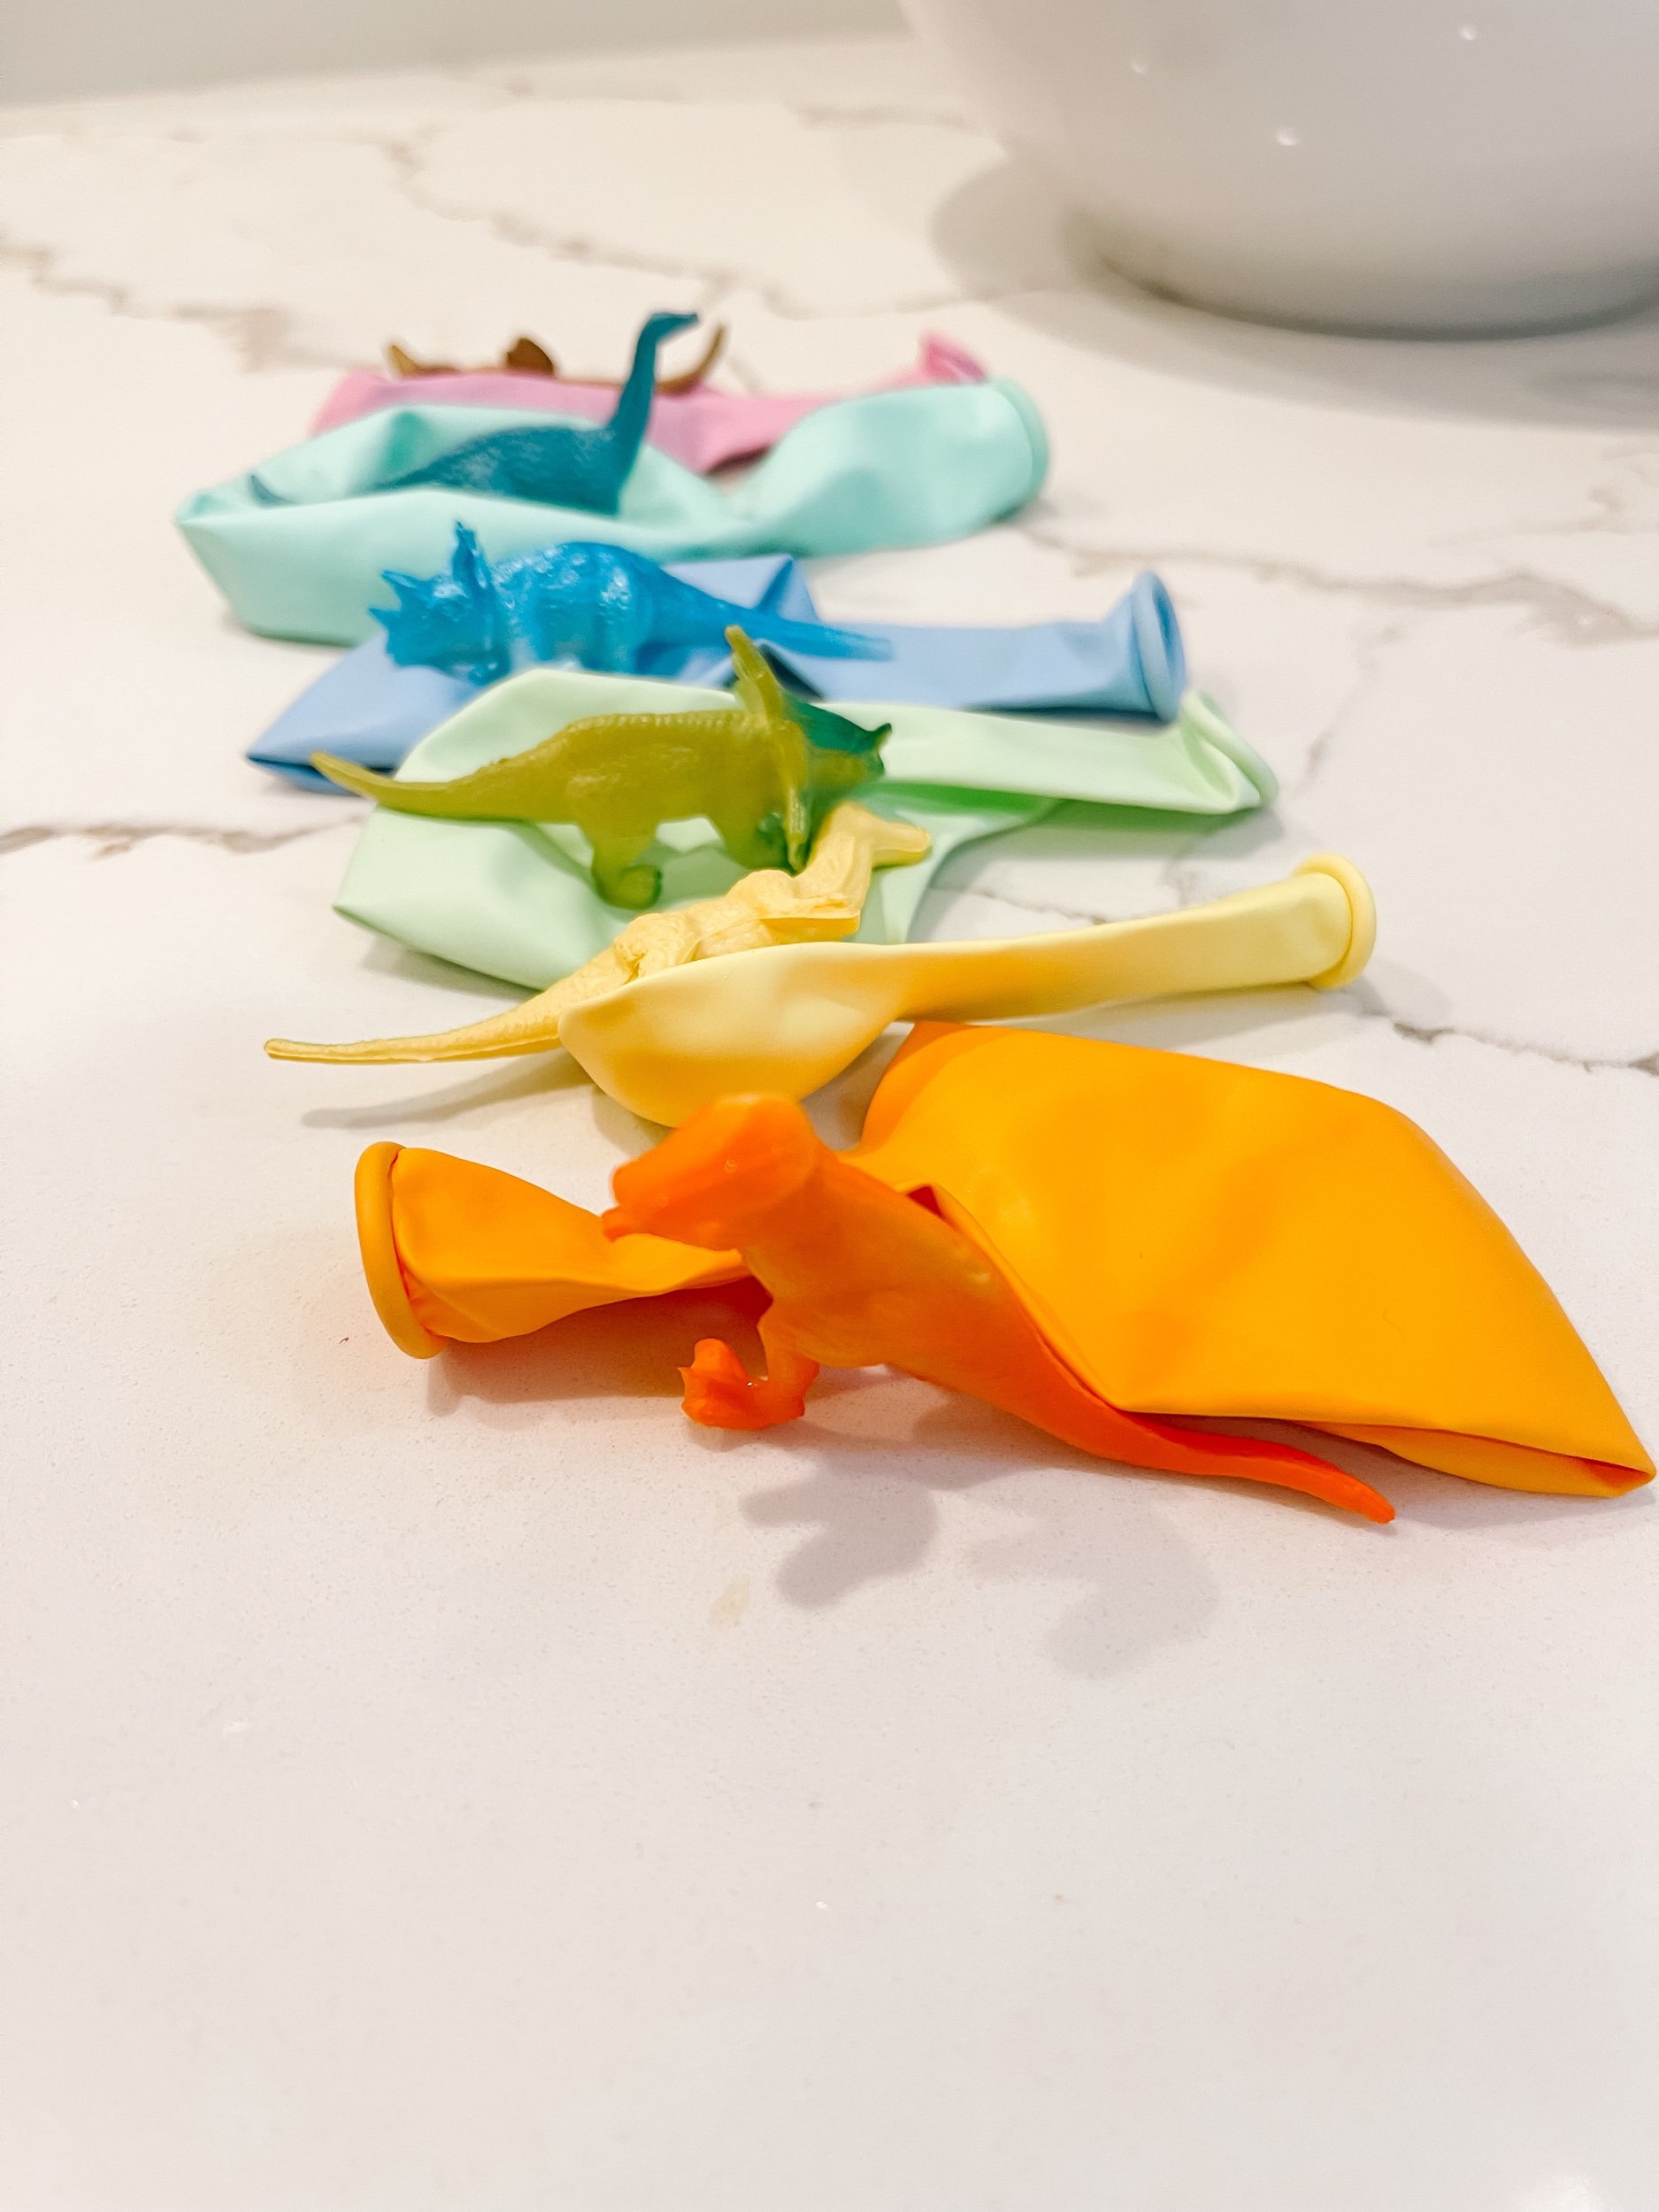
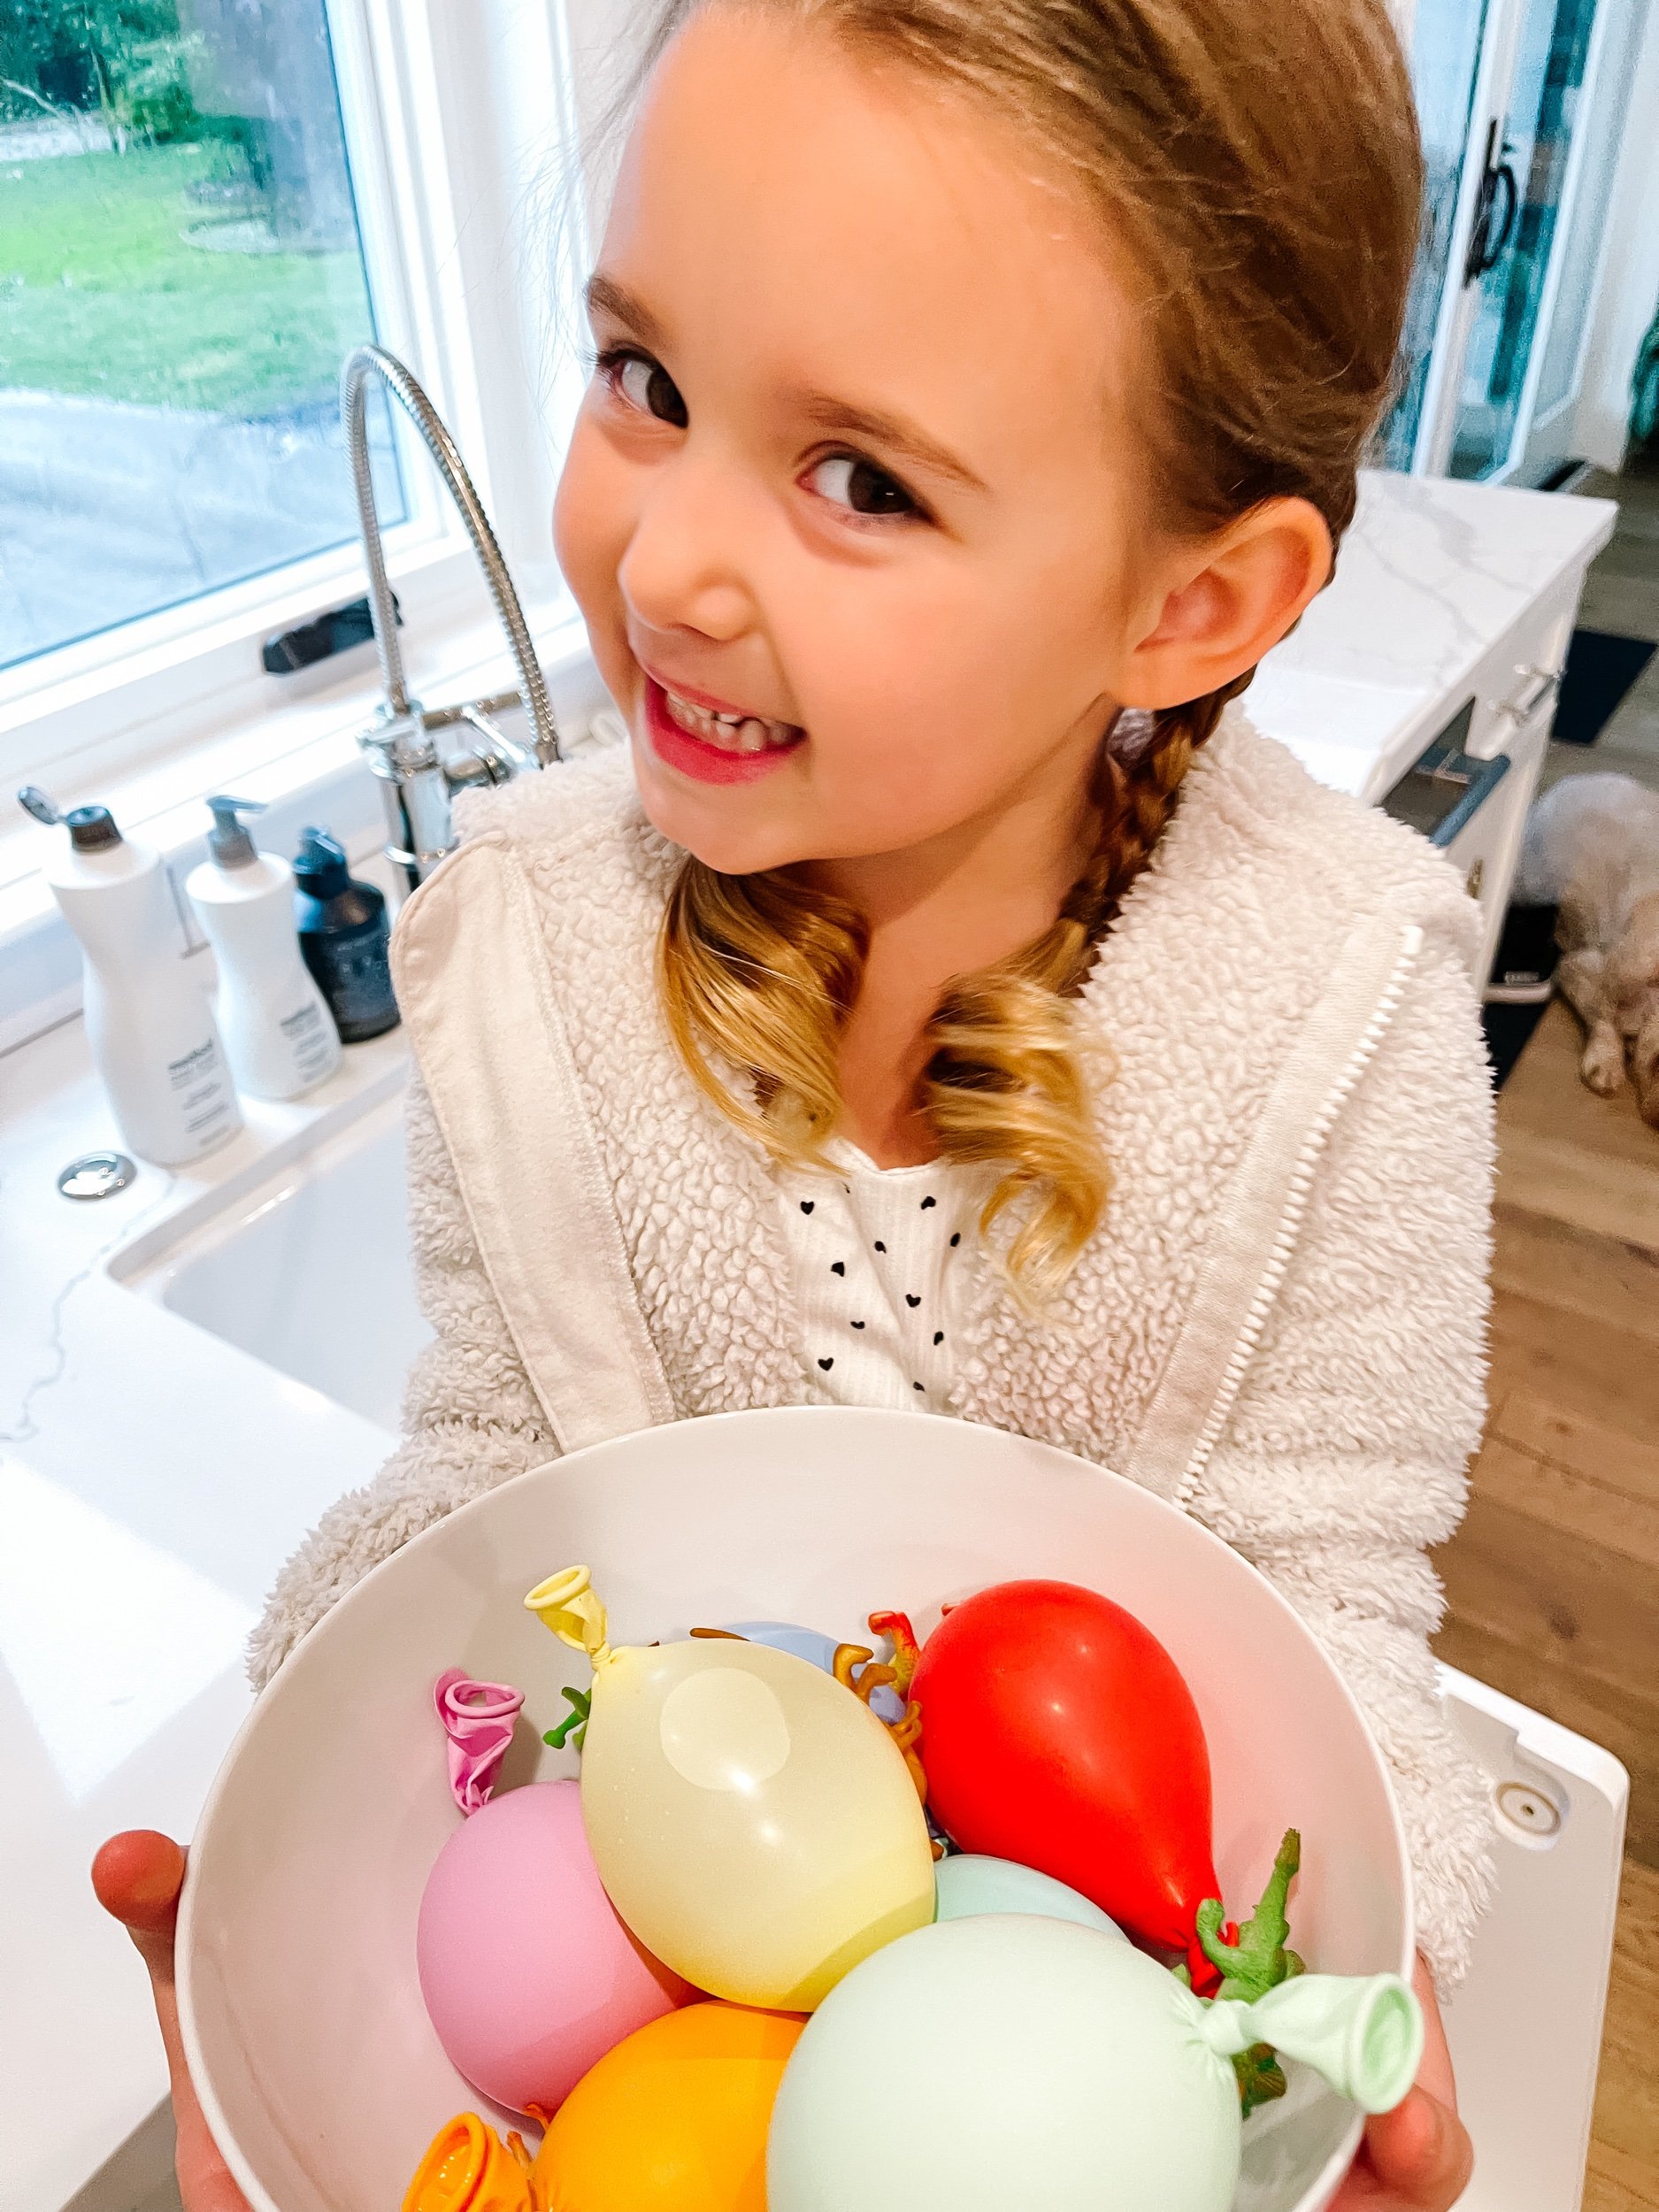
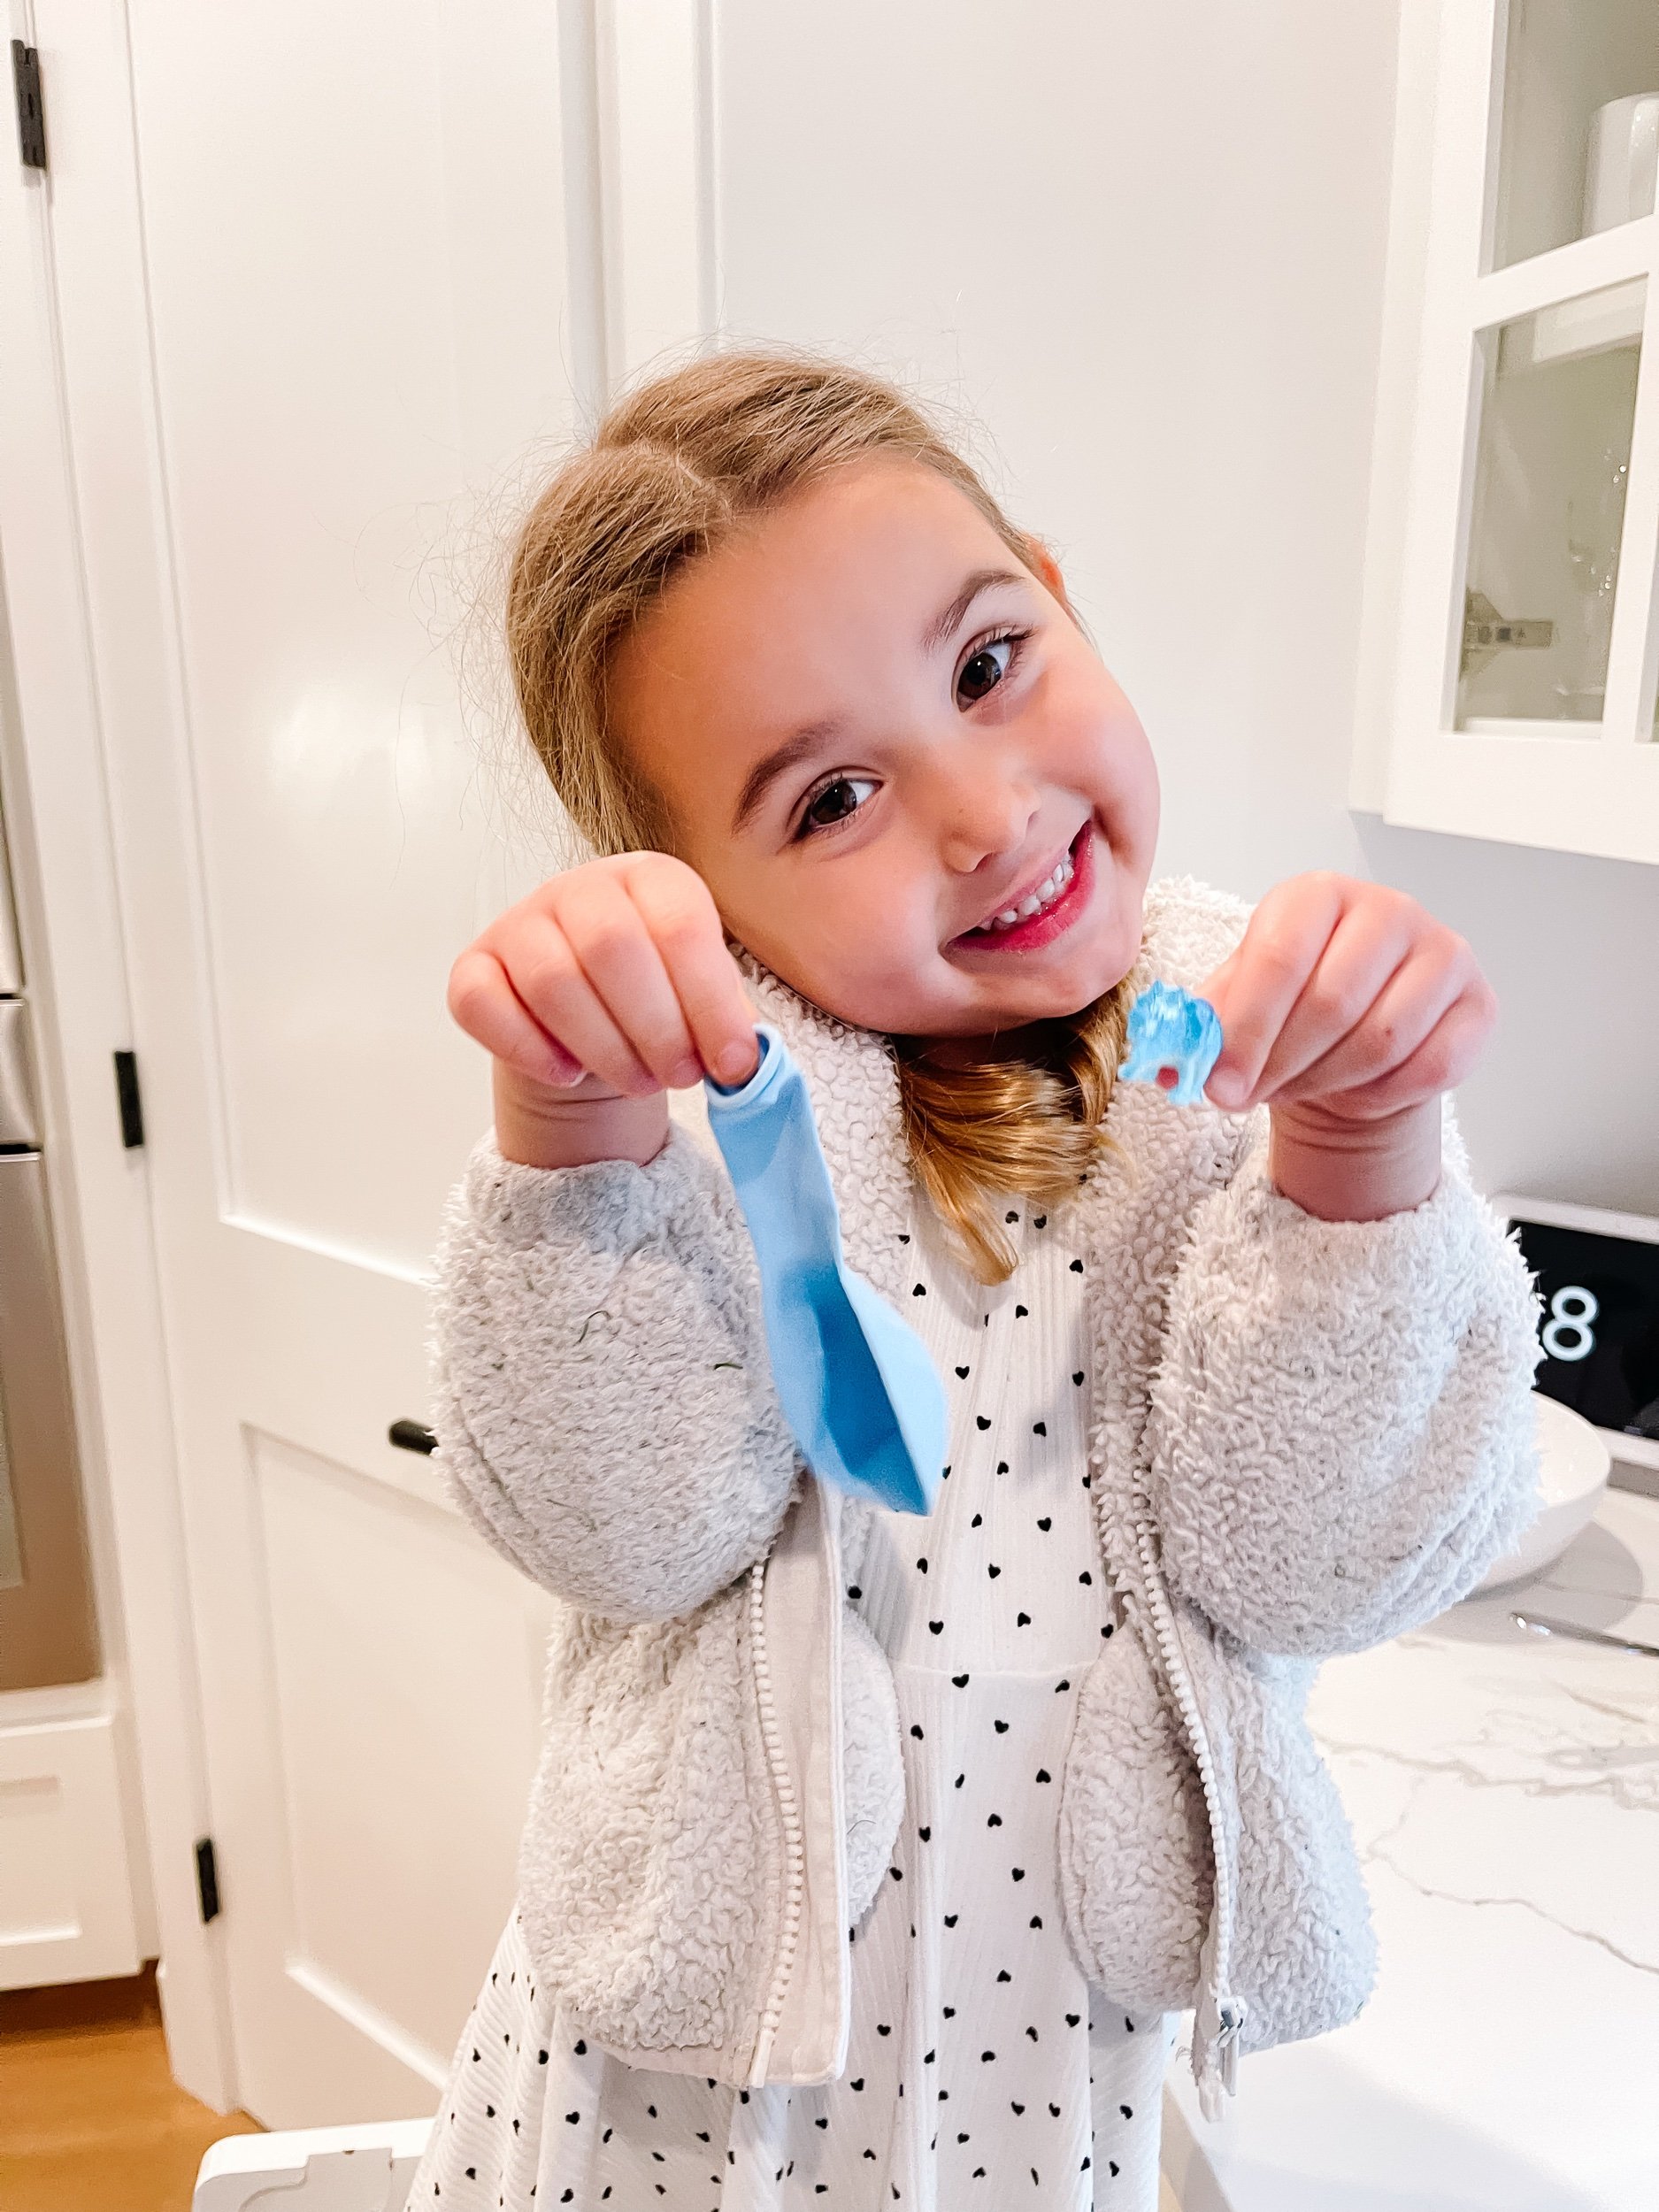
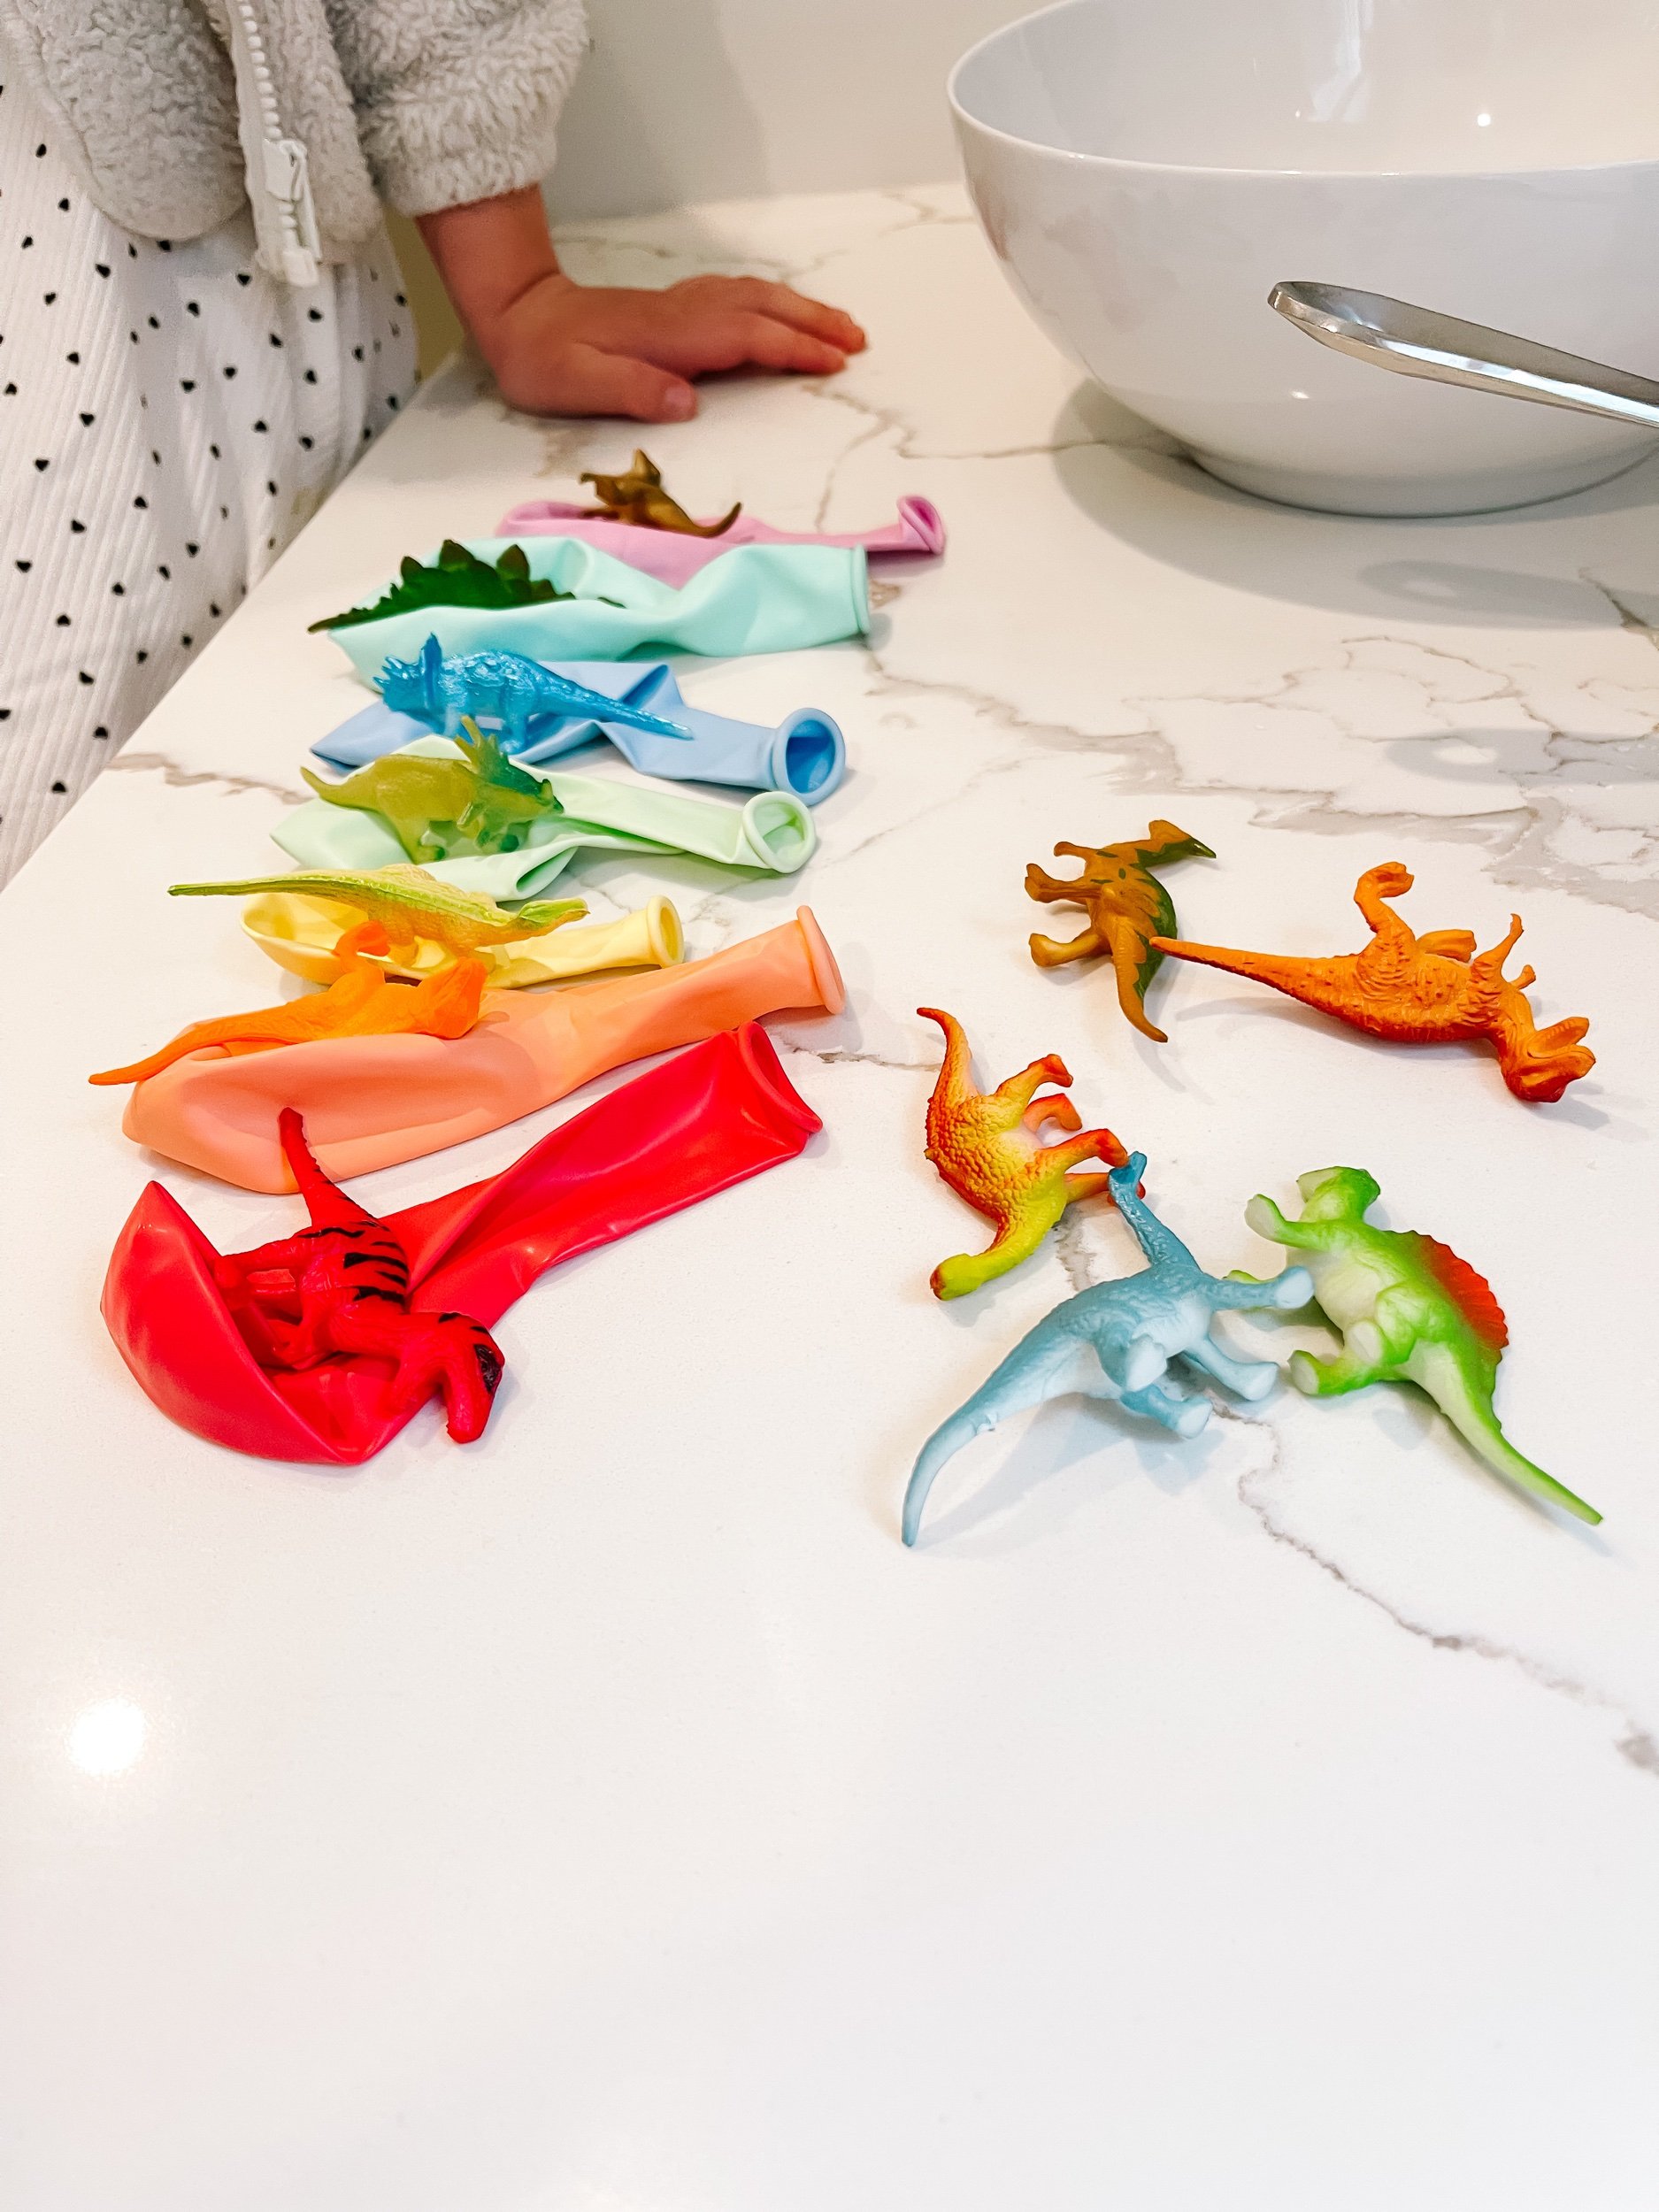
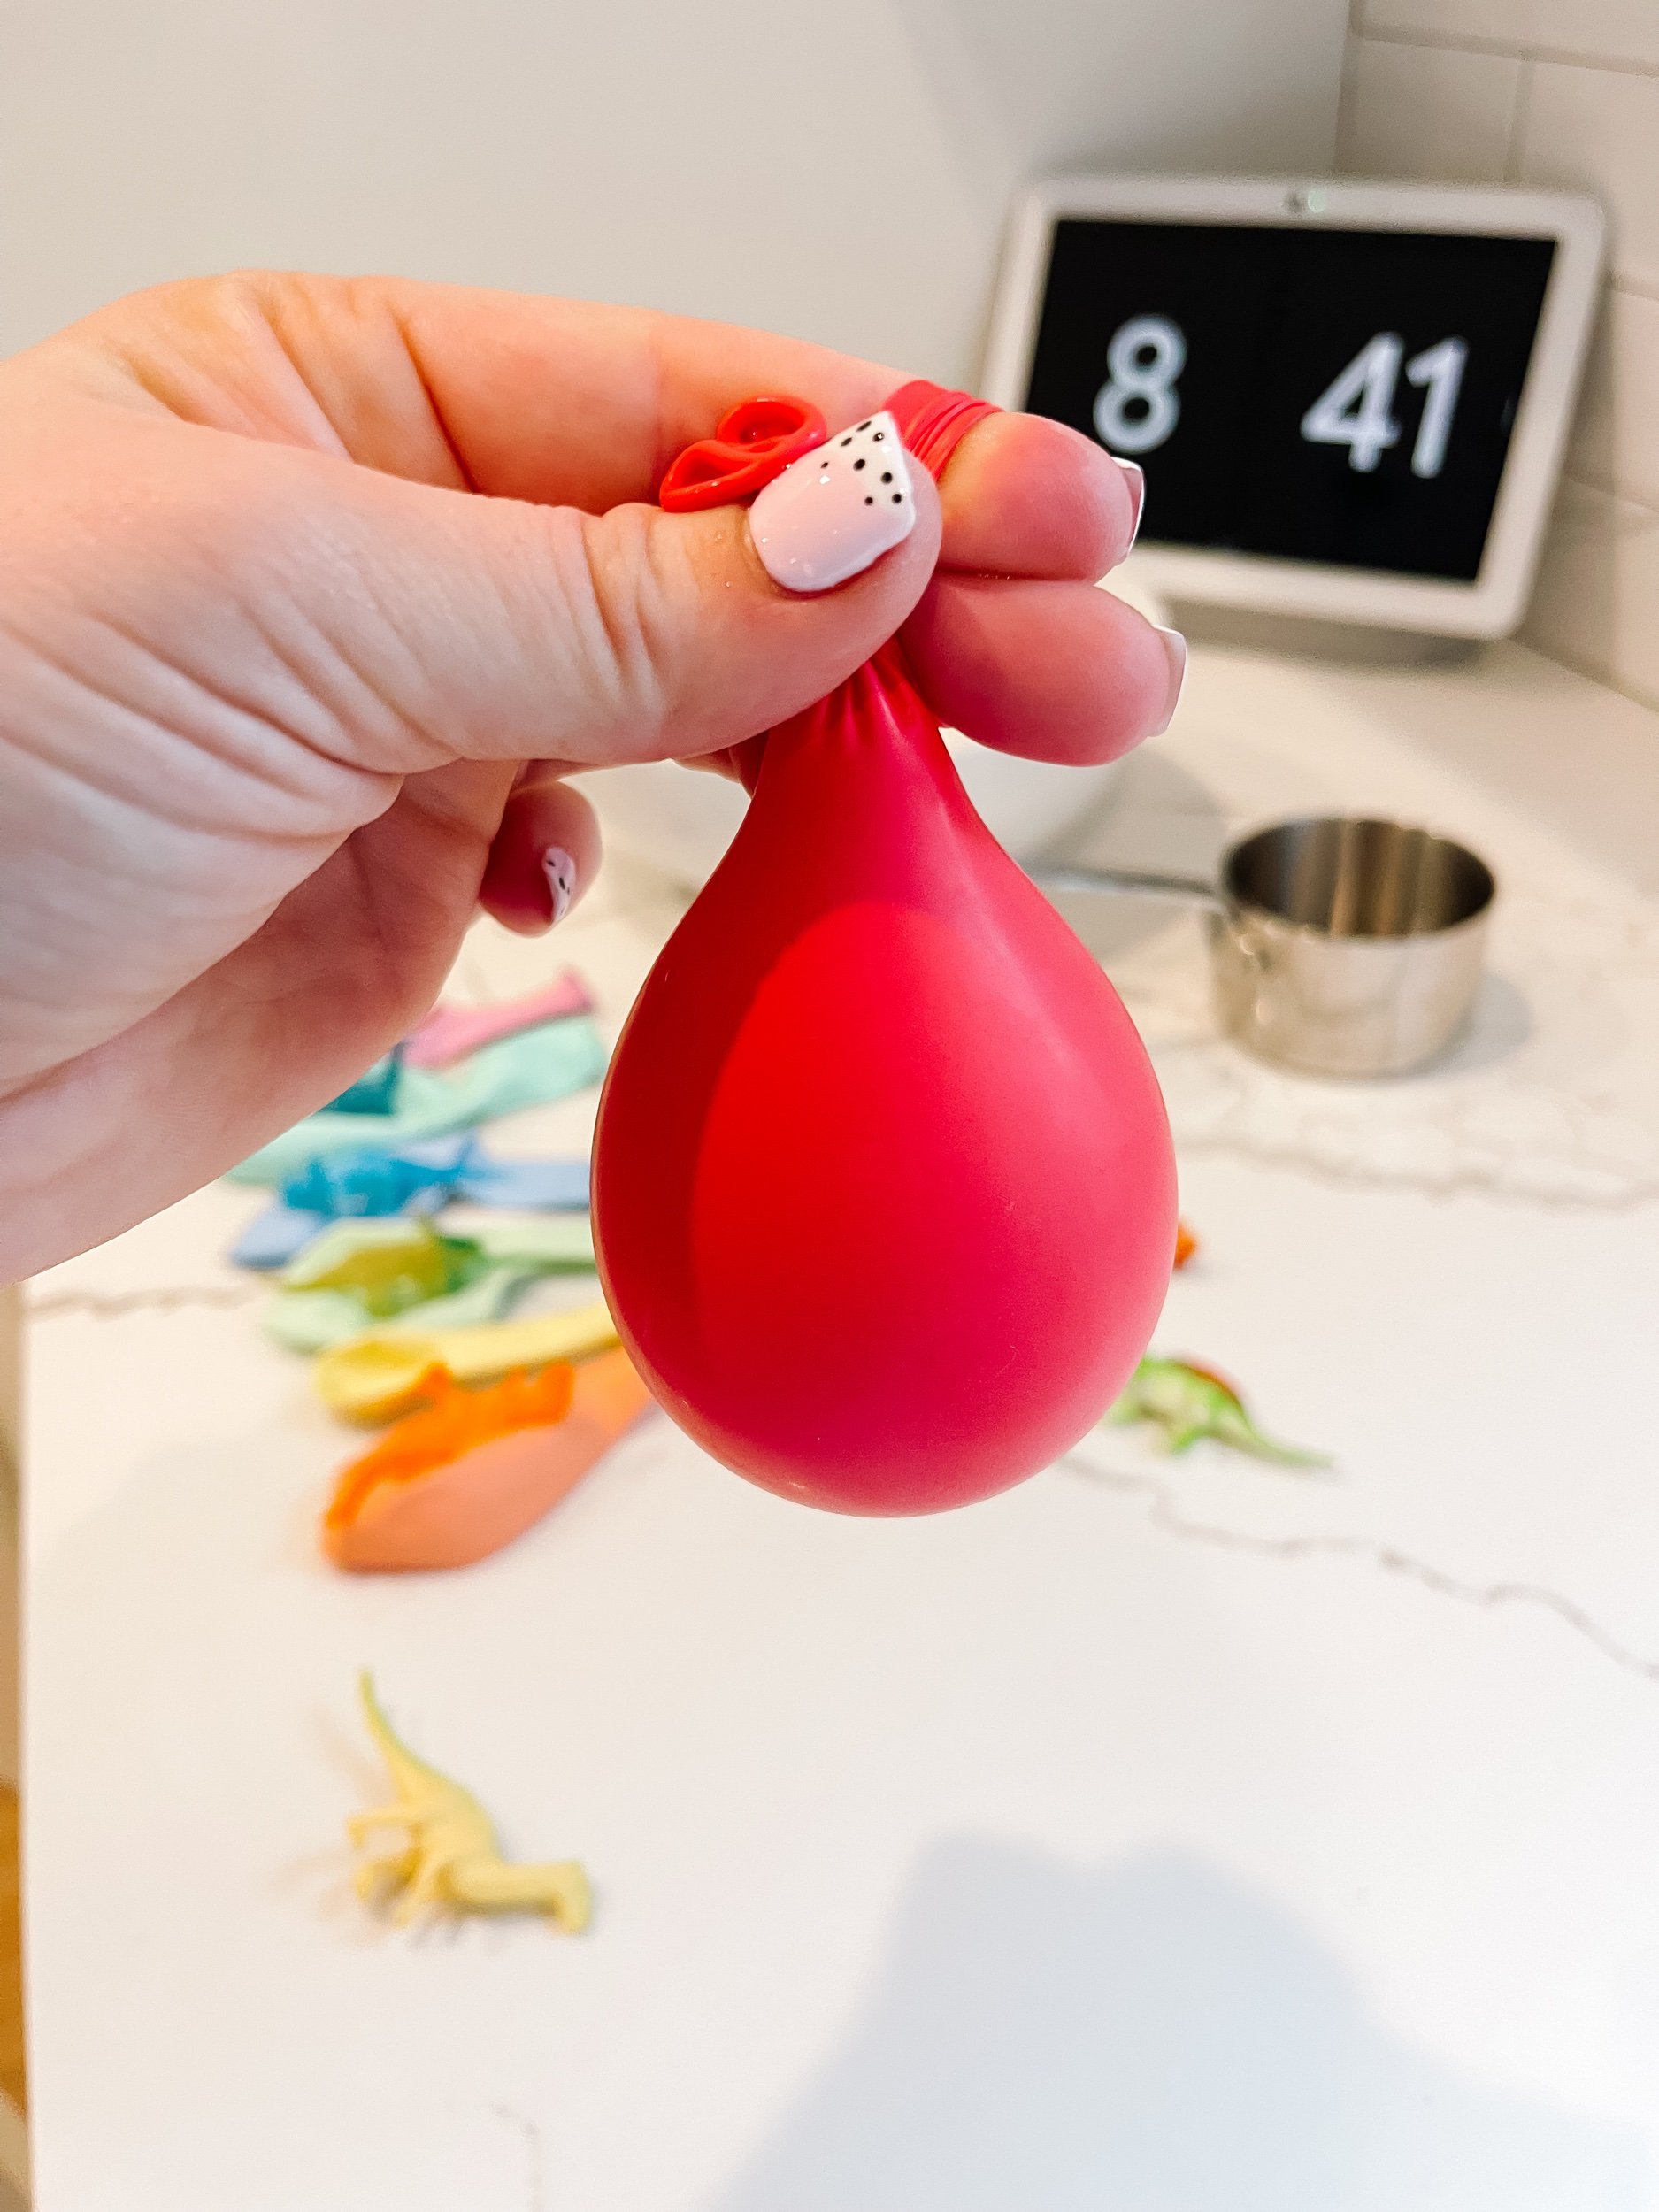
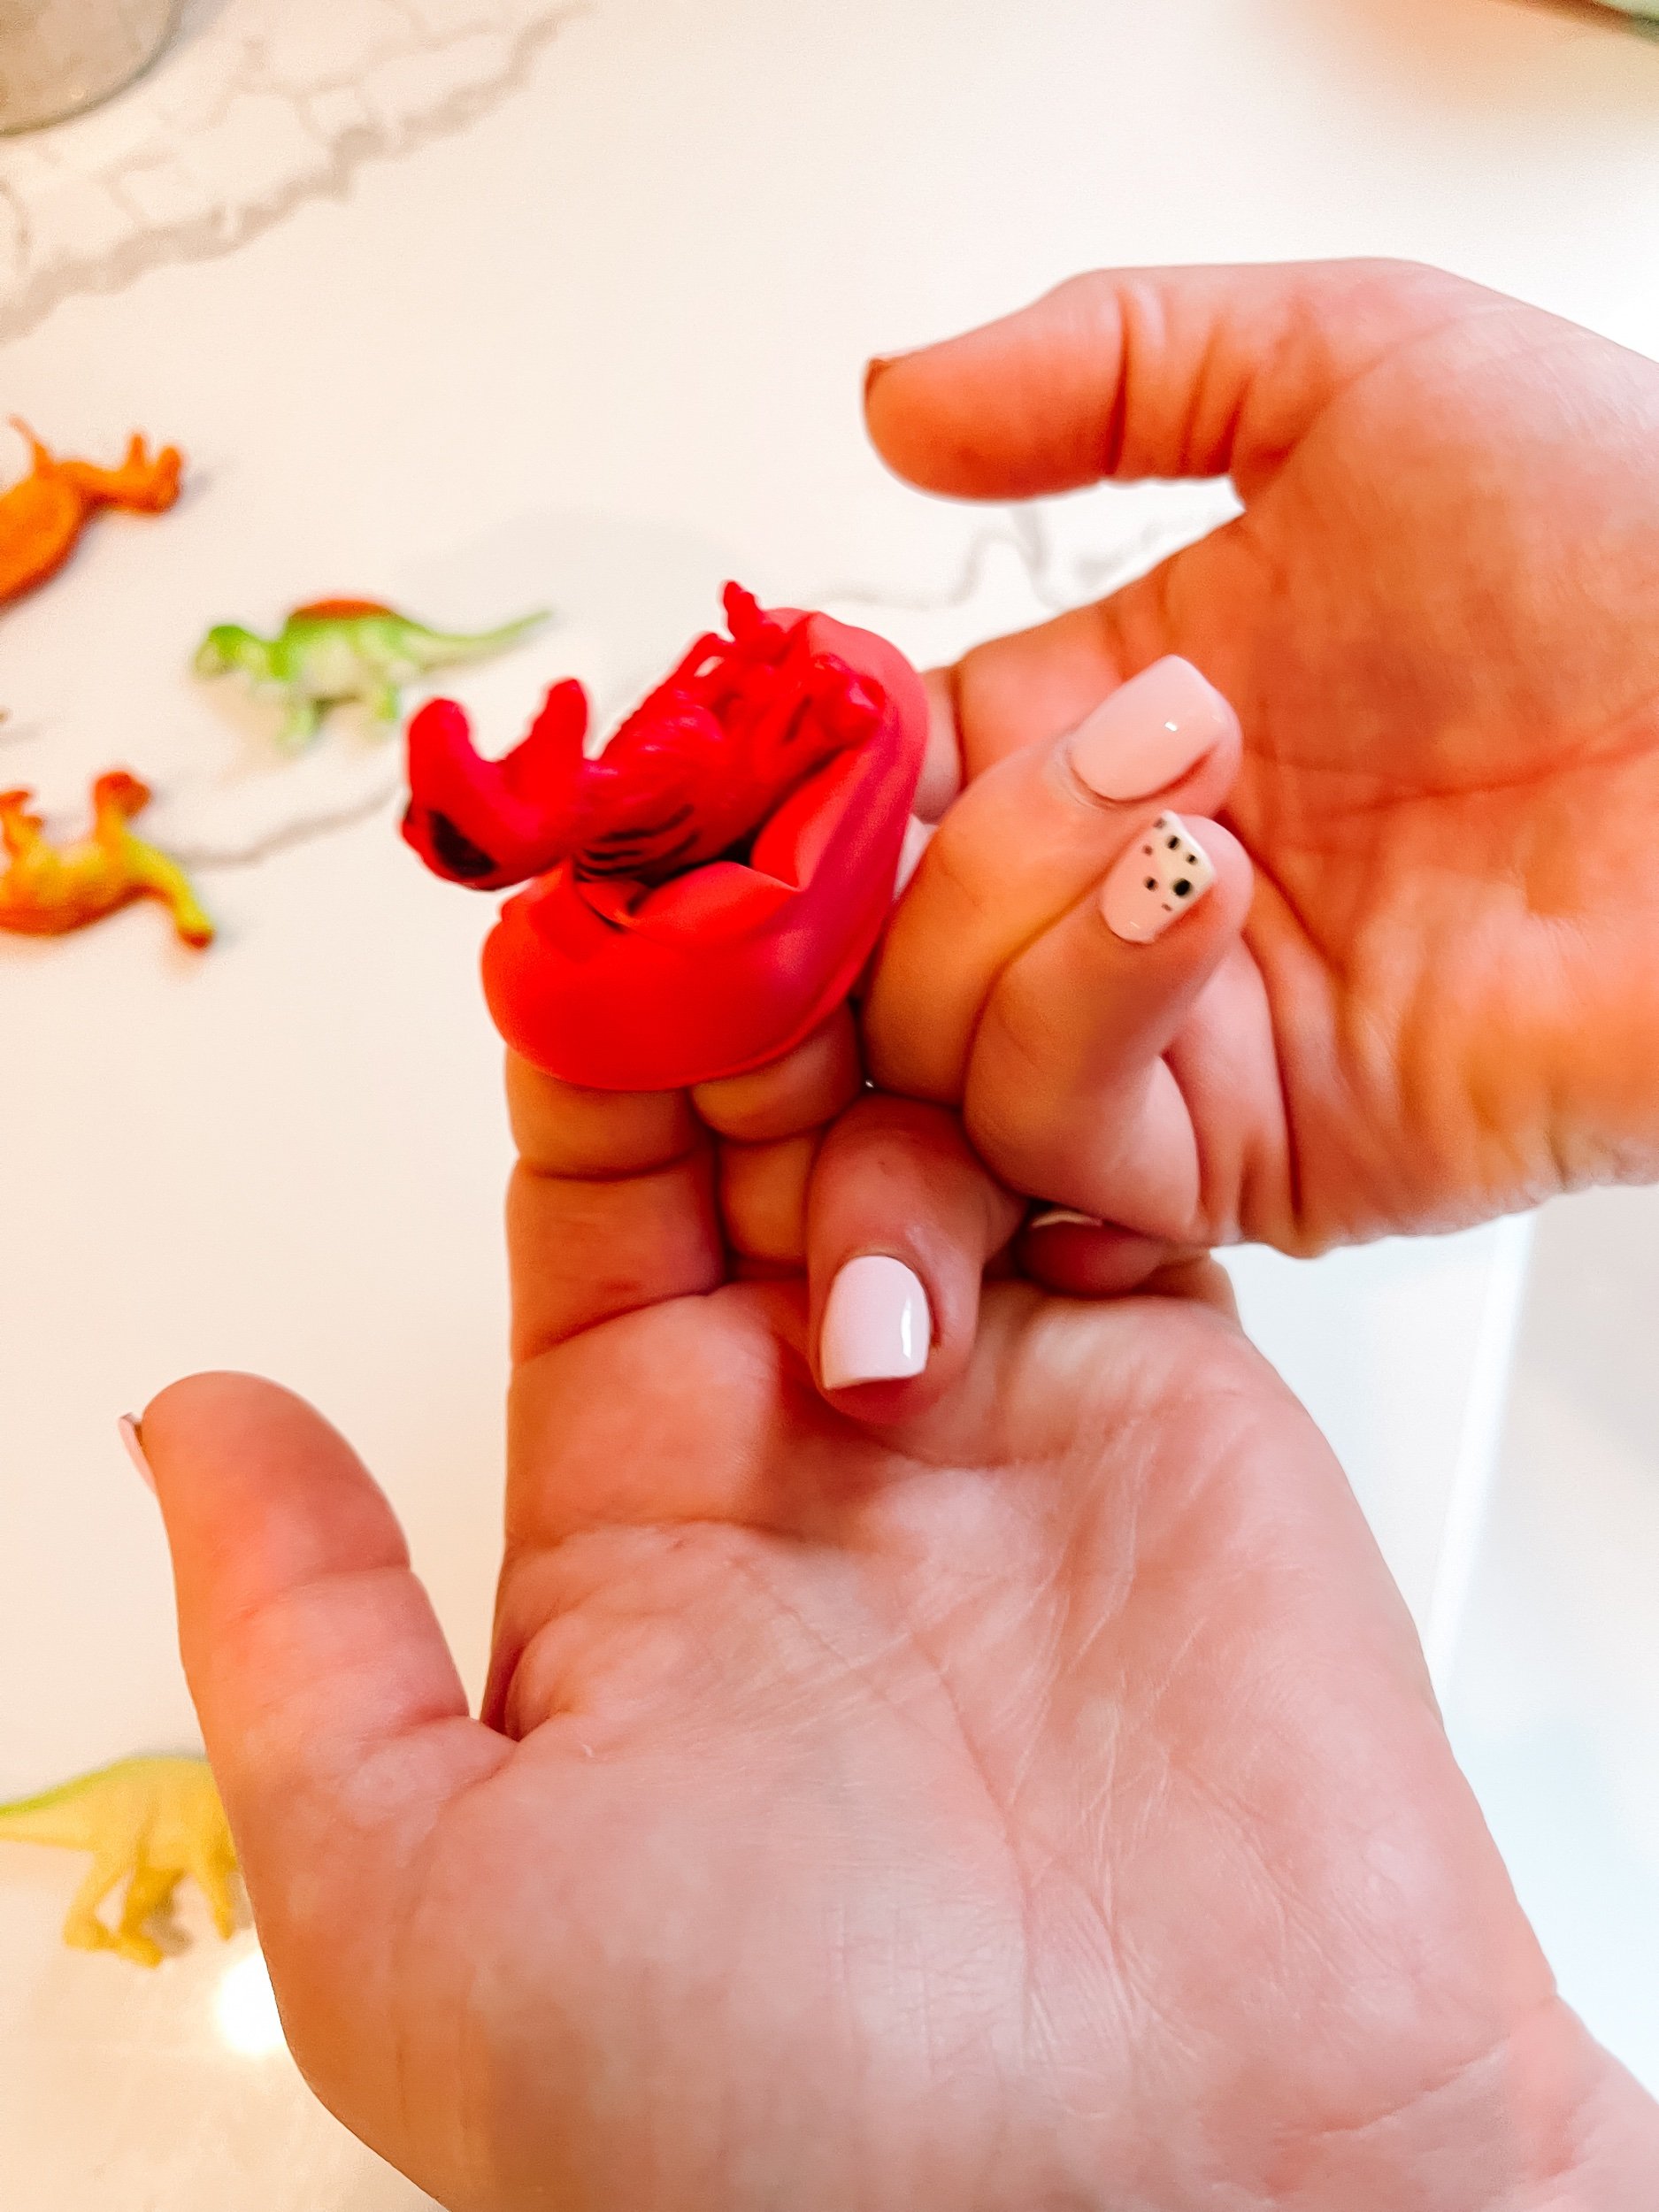
Hold a balloon open by flipping the next inside out. Have your little one push a dinosaur down inside.
Put the neck of the balloon around your sink faucet and turn on the water slowly to fill the balloon.
Fill the balloon with water until it’s the size of a large egg.
Place the balloons in the freezer to freeze them over night.
Use scissors to cut the neck of the ballon and peel the balloon off to reveal the ice egg.
Use chisels and warm water to help the dinosaurs escape from the ice!
Dinosaur Sensory Play Kit Vocabulary Words for Kids Ages 3-6:
1. Dinosaur
2. Fossil
3. Paleontologist
4. Extinct
5. Herbivore
6. Carnivore
7. Omnivore
8. Roar
9. Tyrannosaurus Rex
10. Velociraptor
11. Stegosaurus
12. Brachiosaurus
13. Triceratops
14. Pterodactyl
15. Ankylosaurus
16. Spinosaurus
17. Archaeopteryx
18. Apatosaurus
19. Diplodocus
20. Geologist
21. Prehistoric
22. Ecosystem
23. Excavation
24. Imprint
25. Discover


