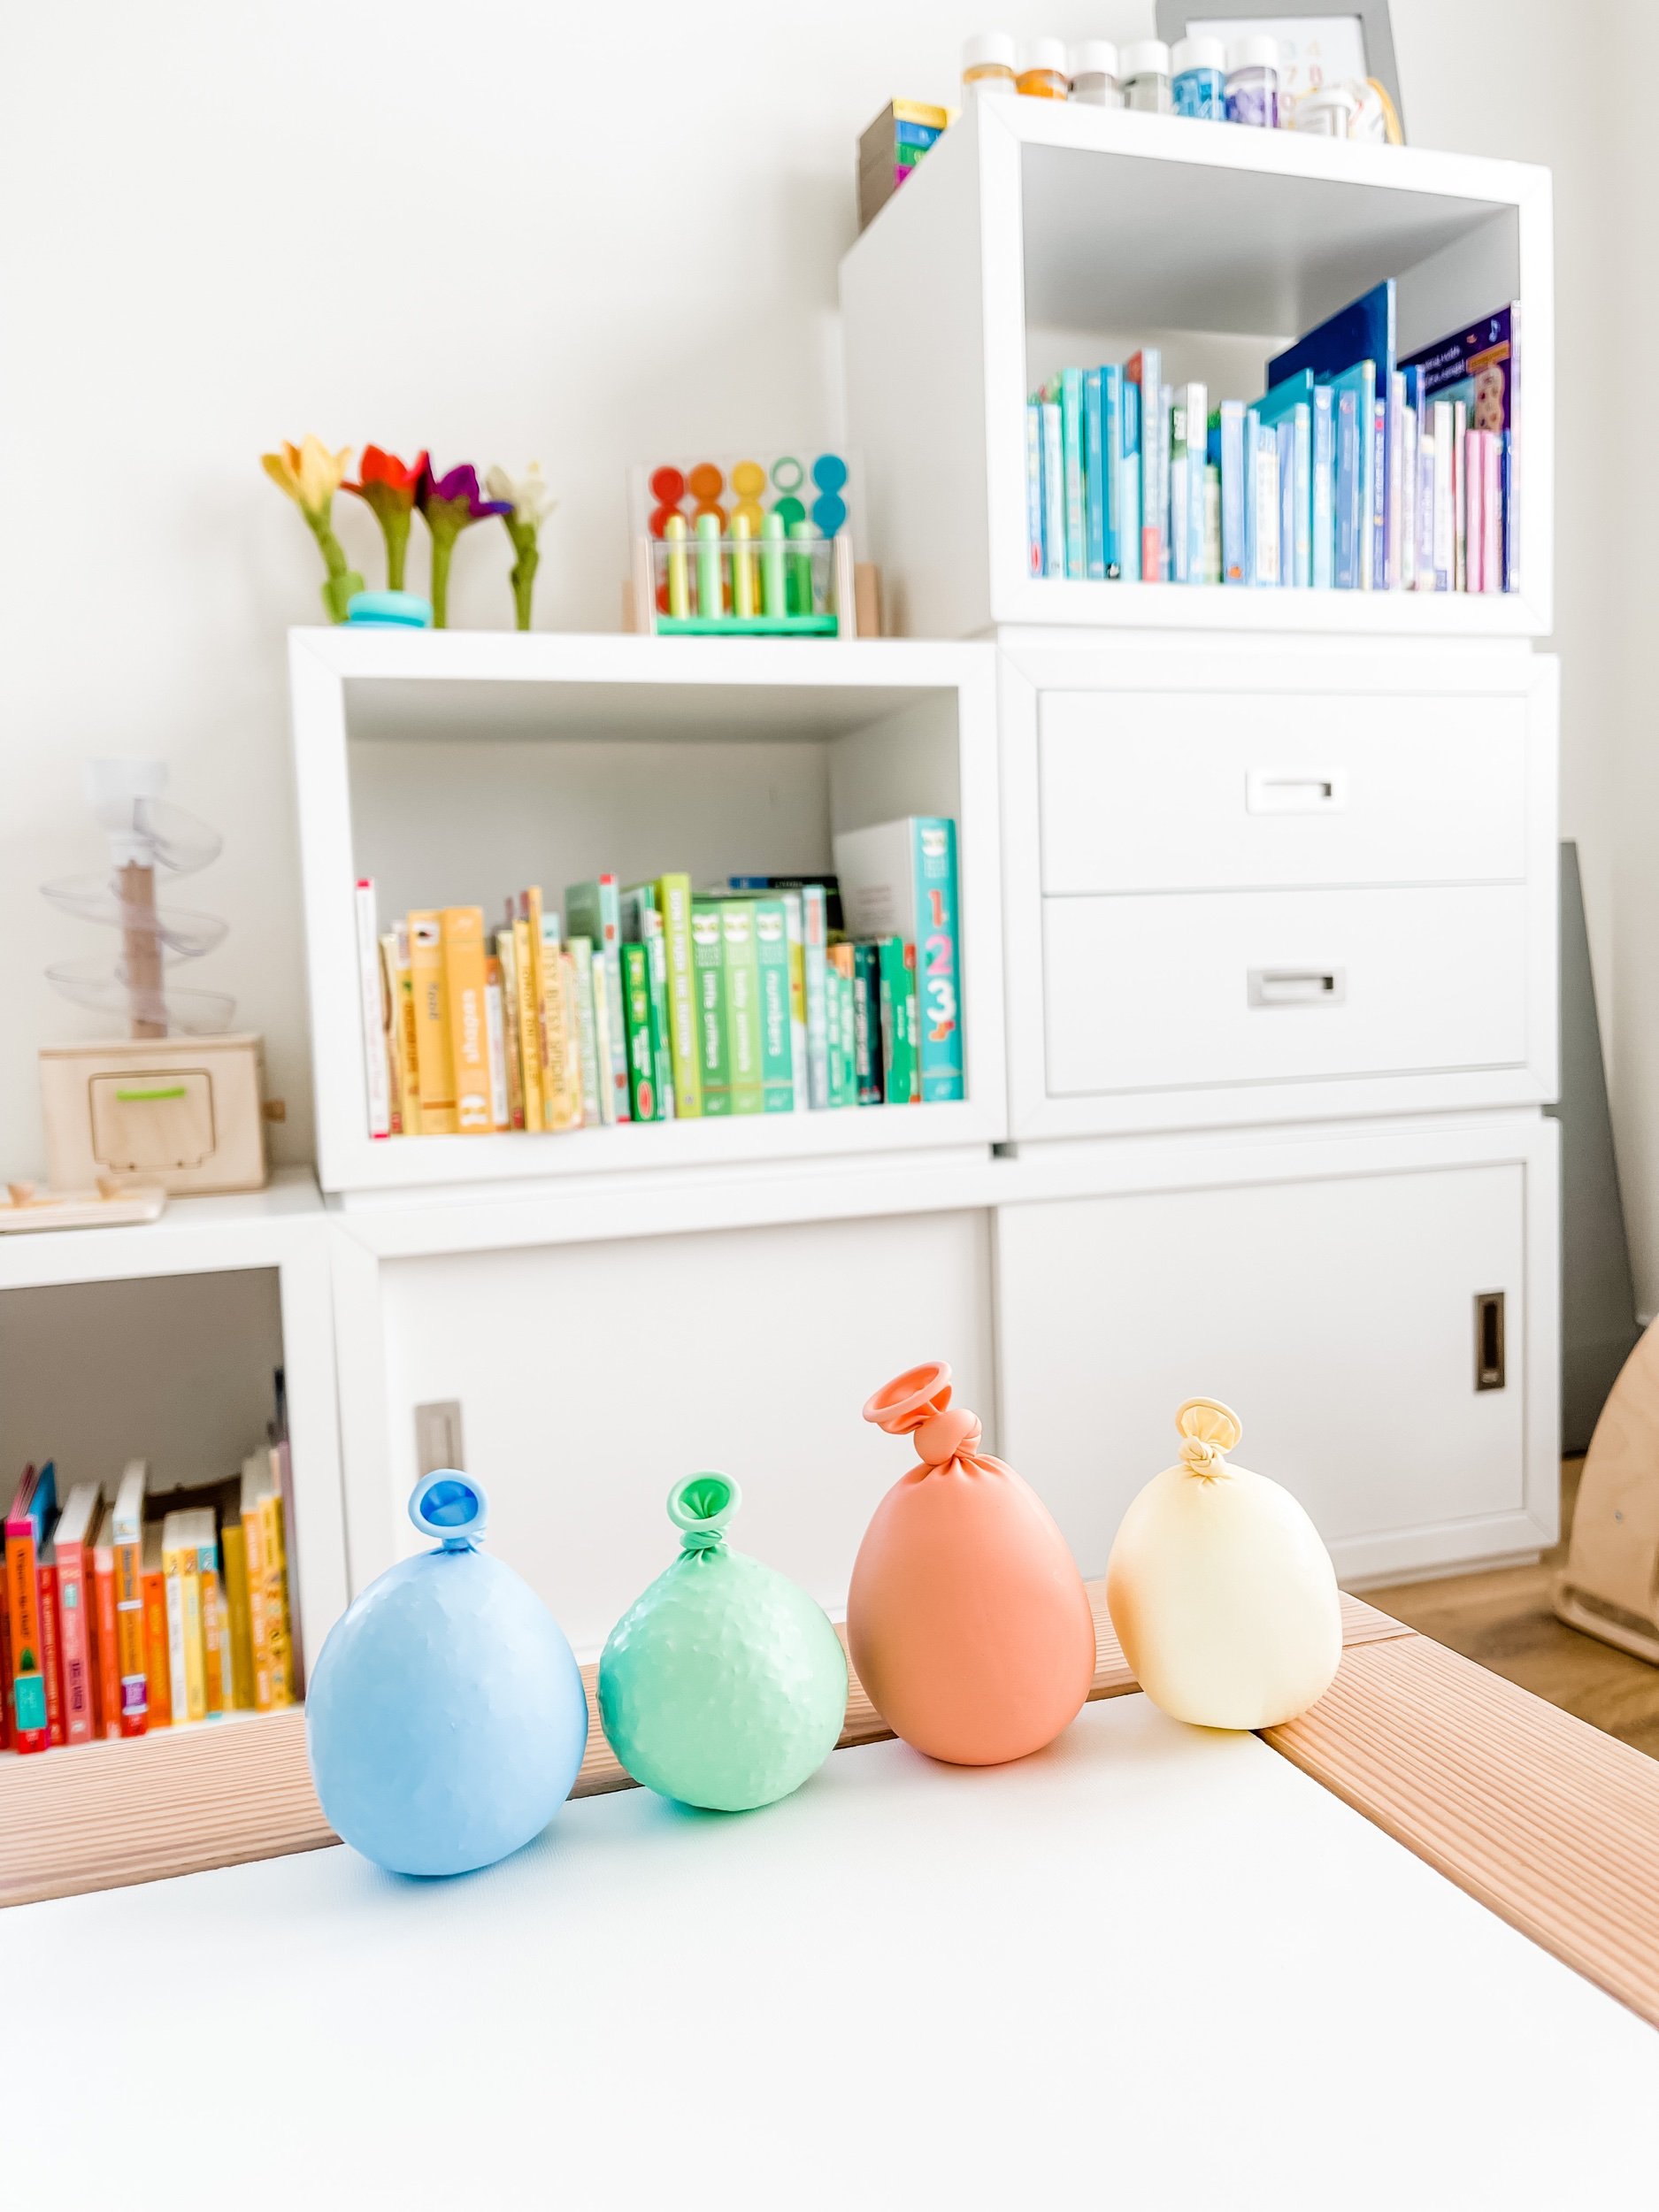
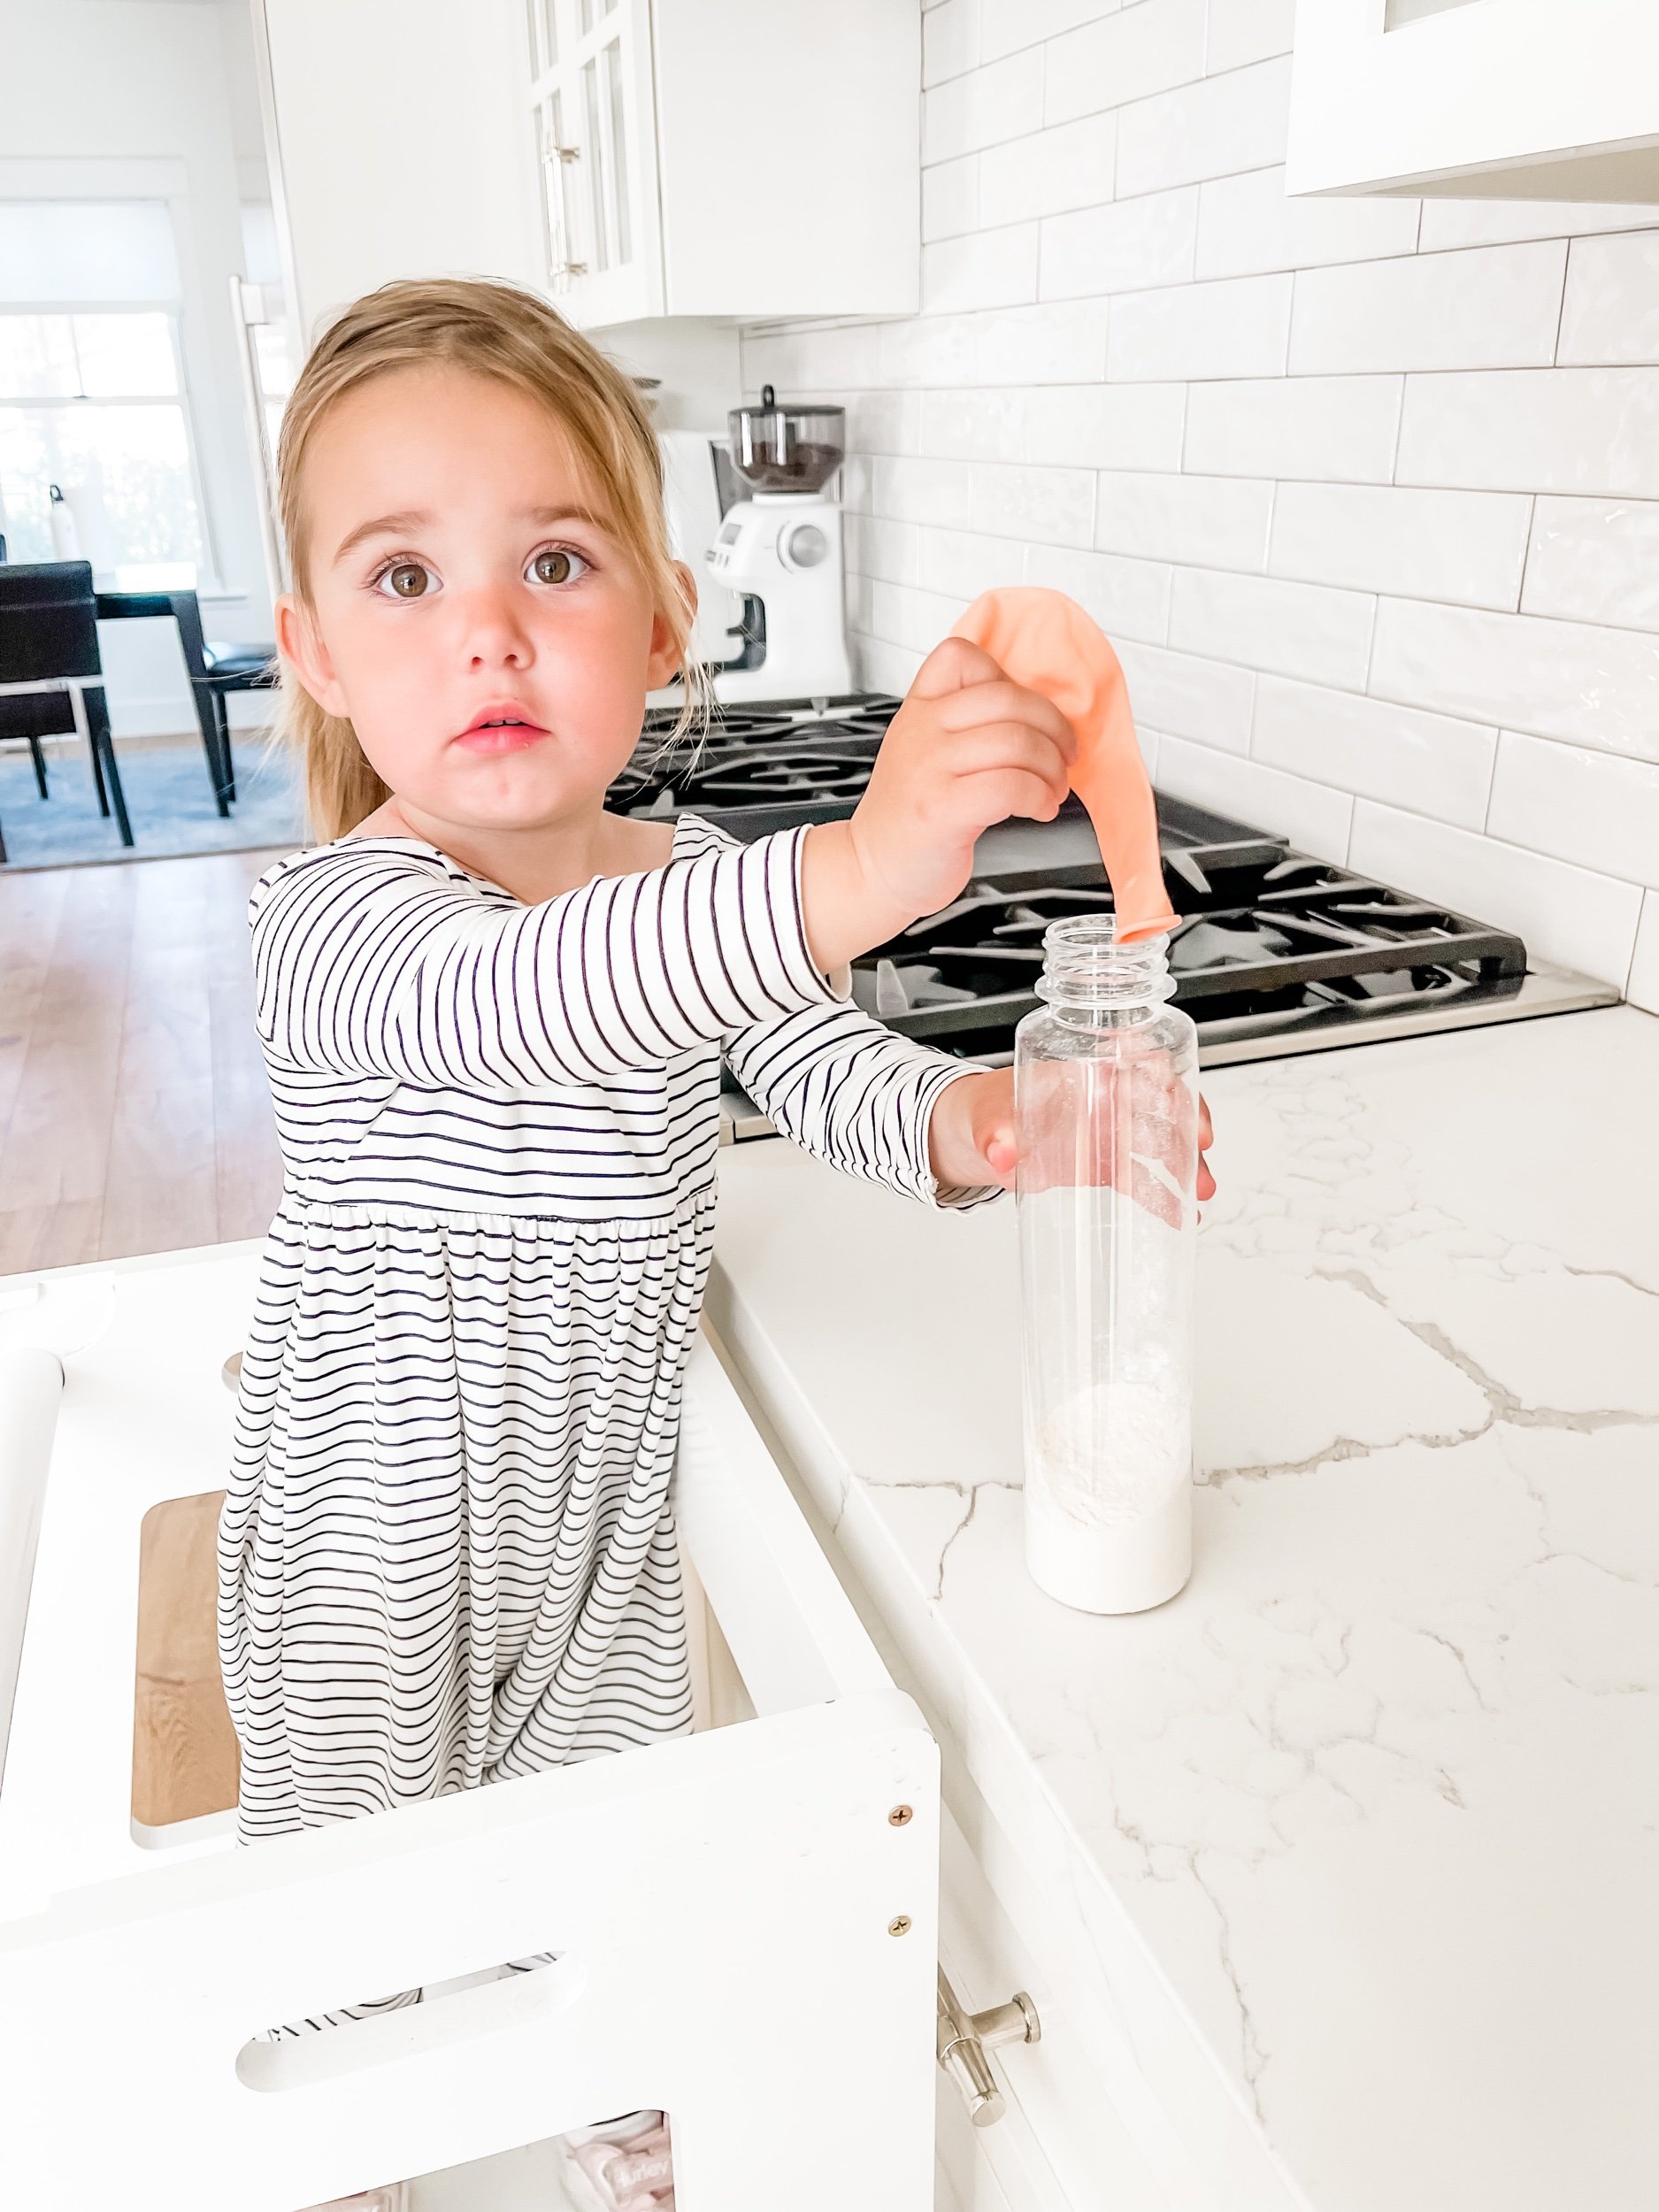
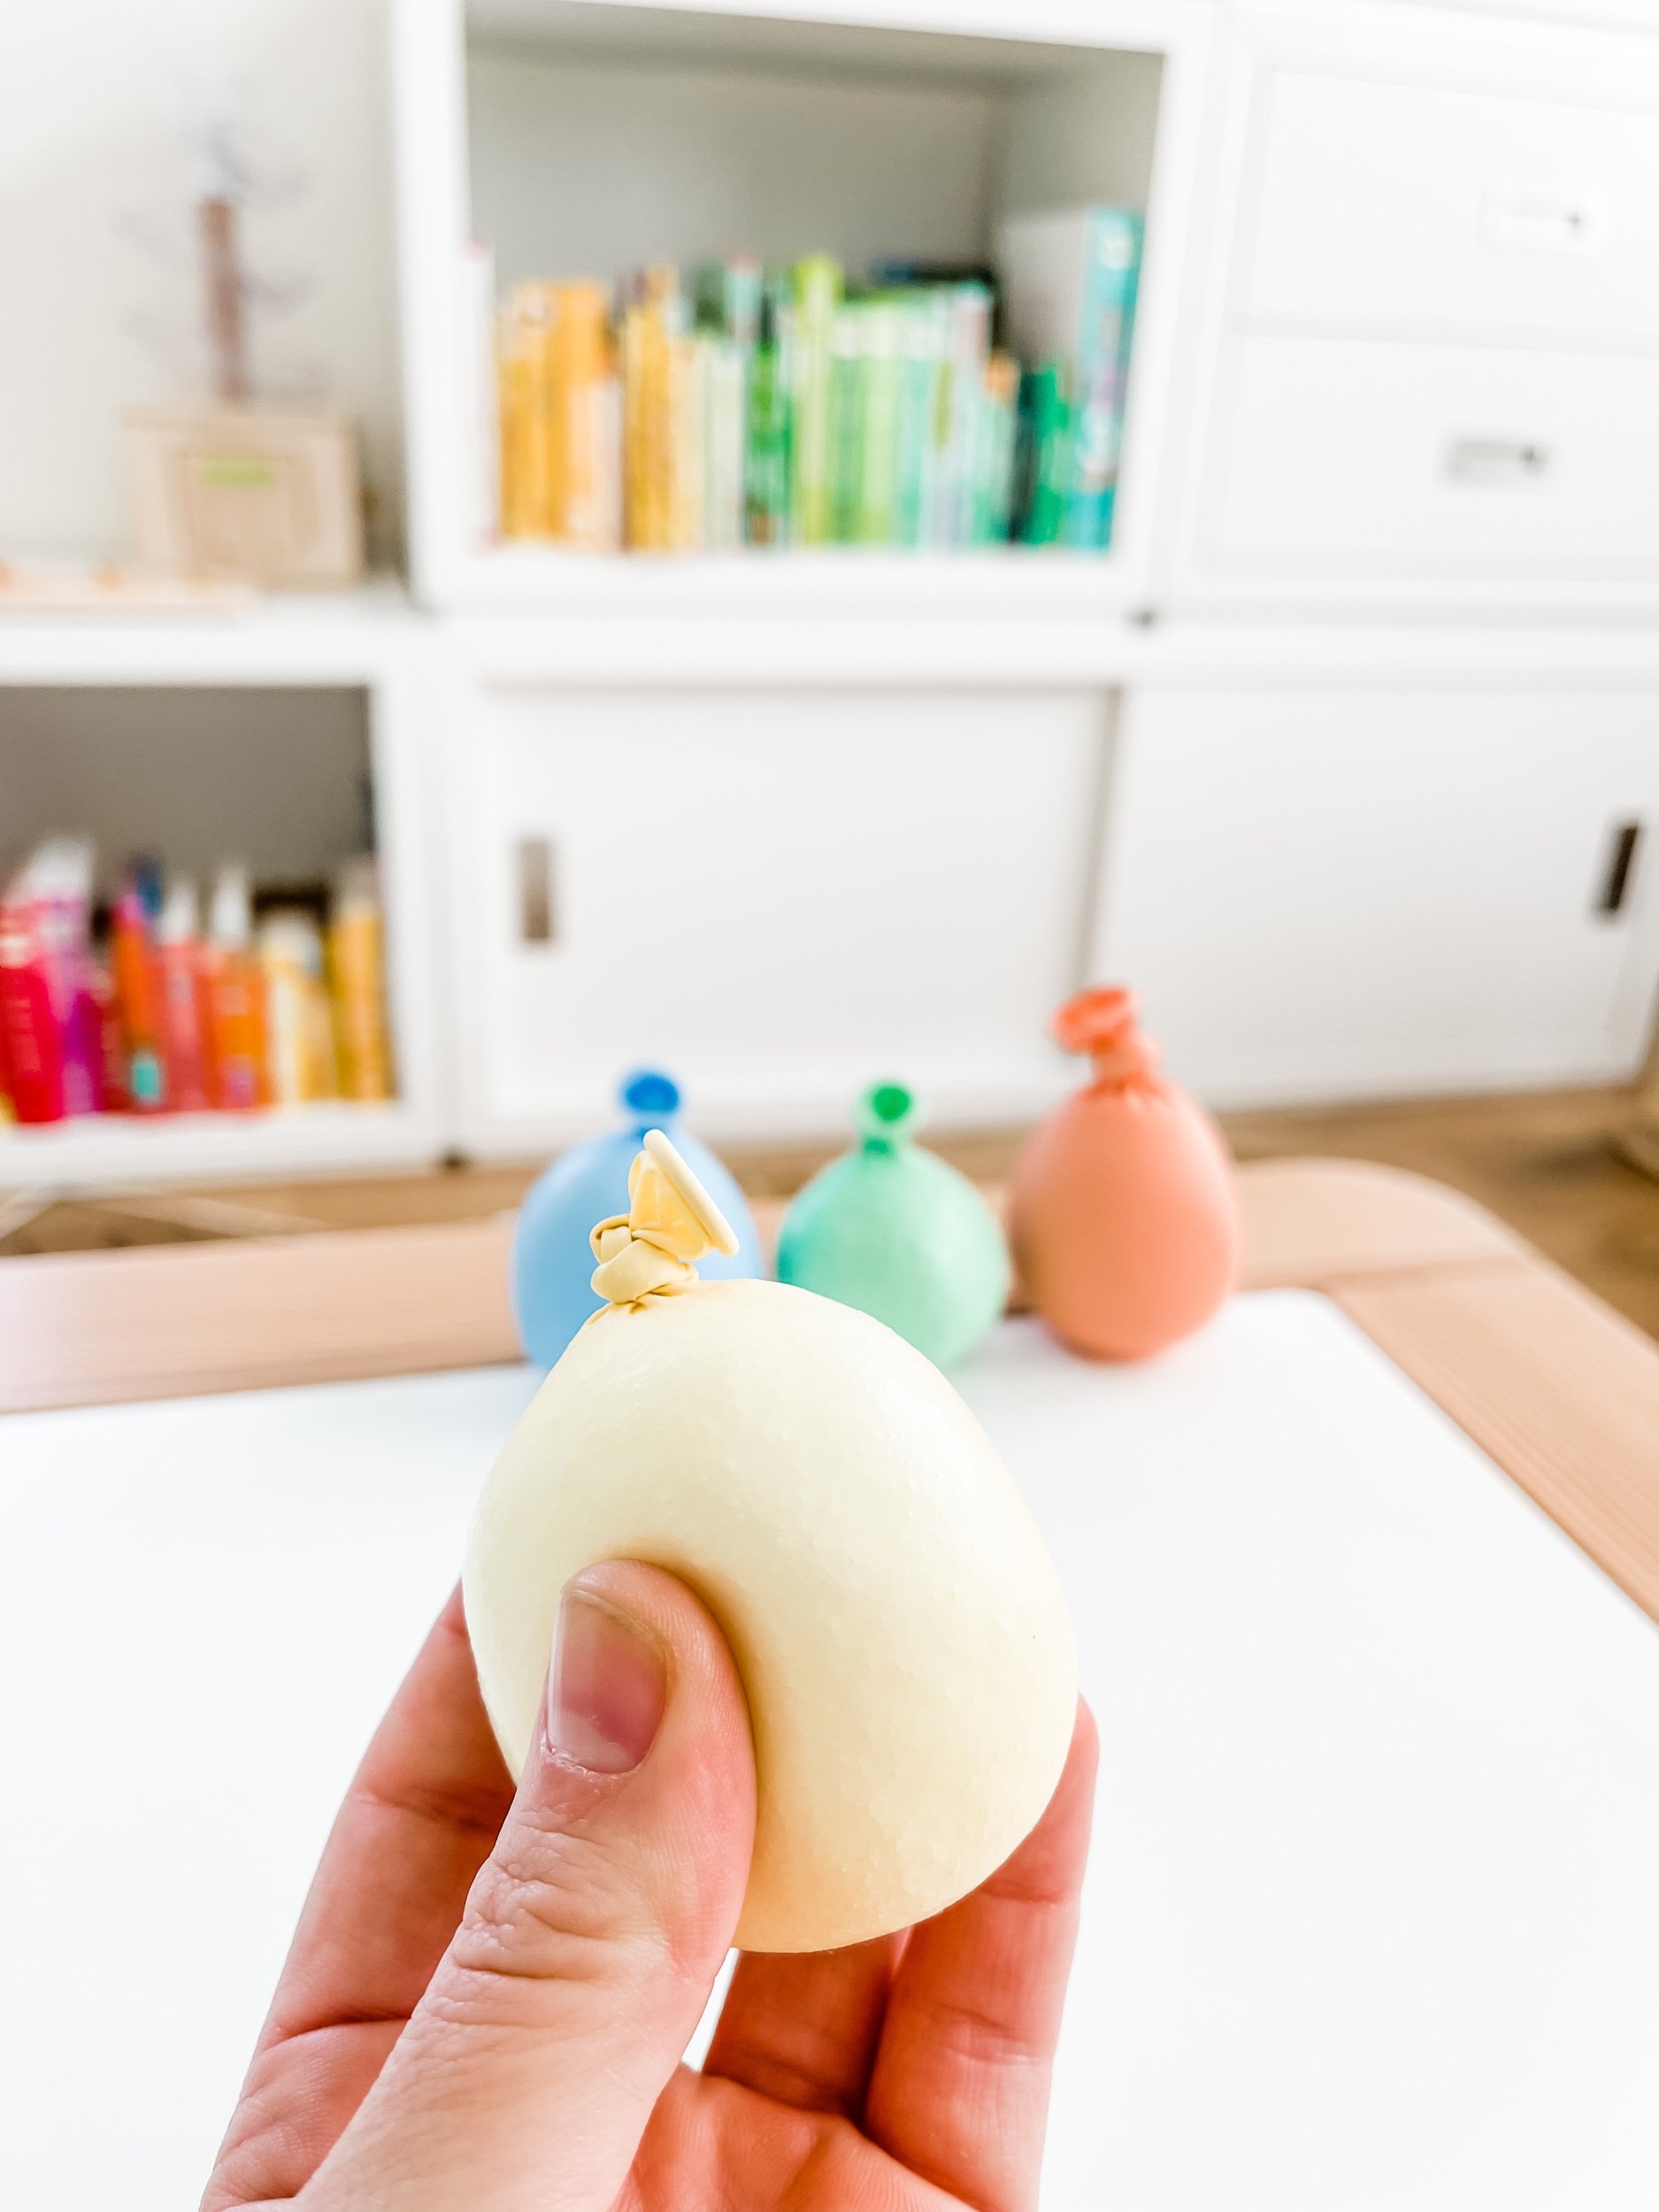
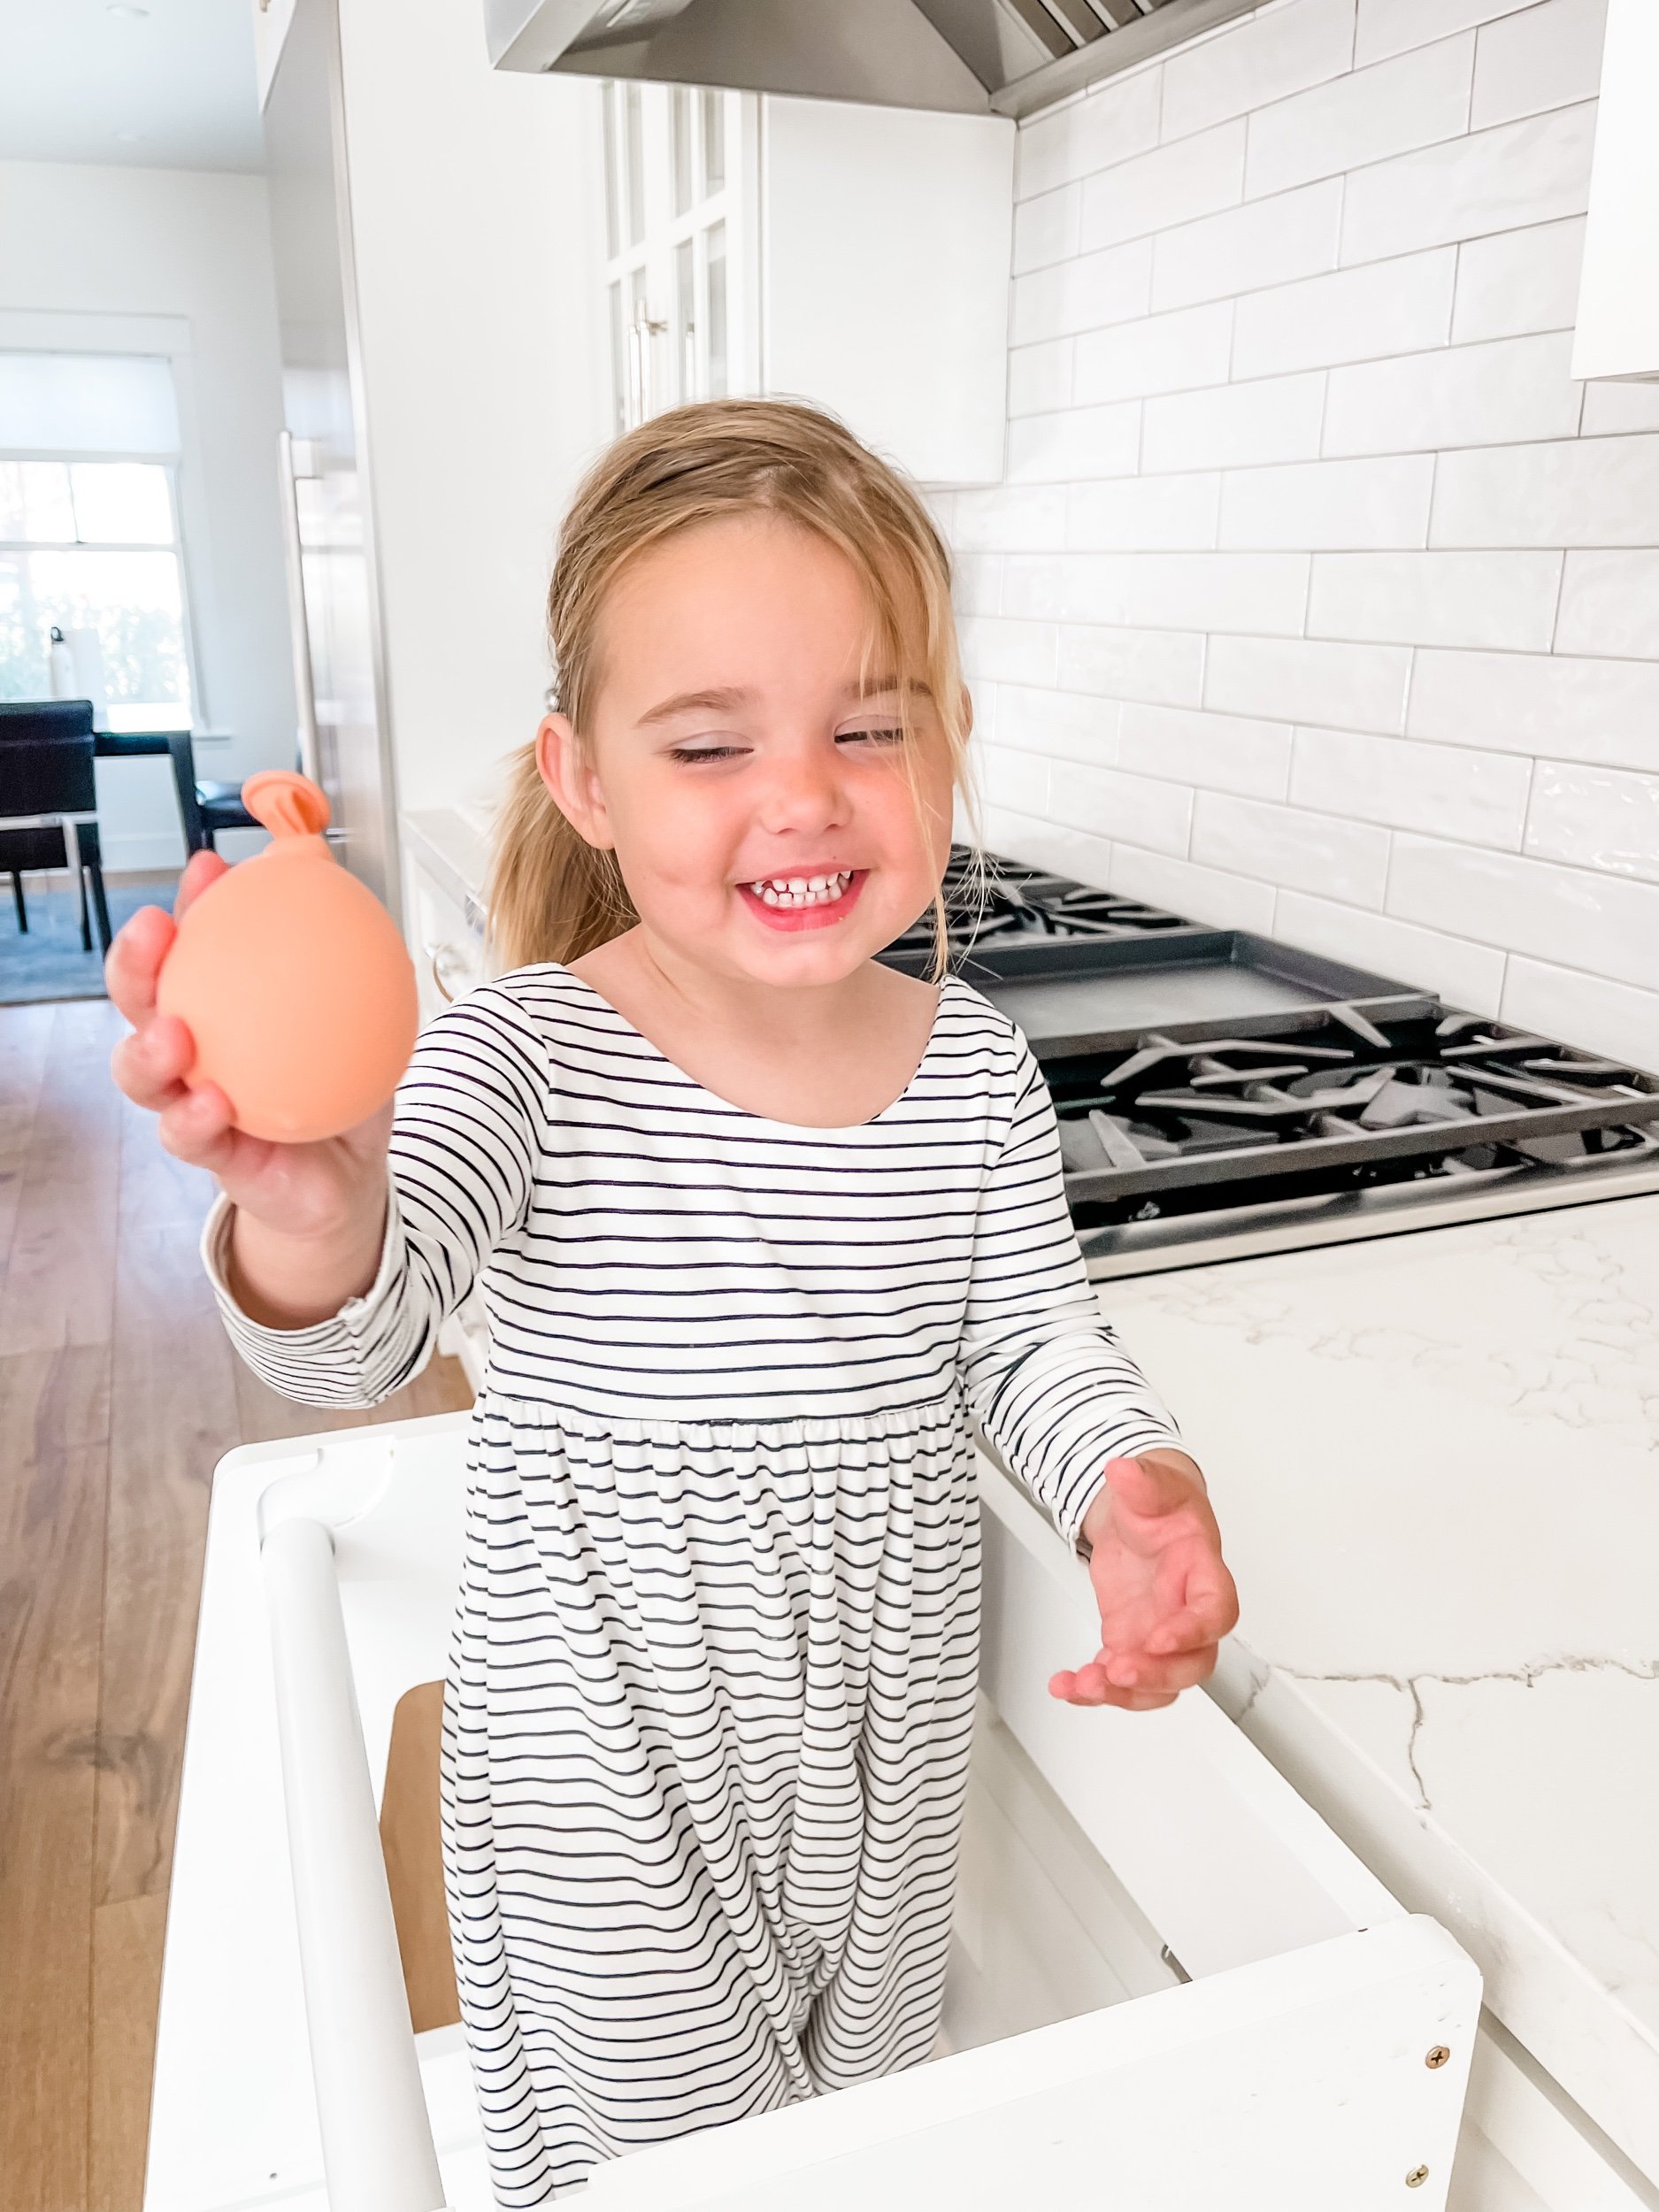
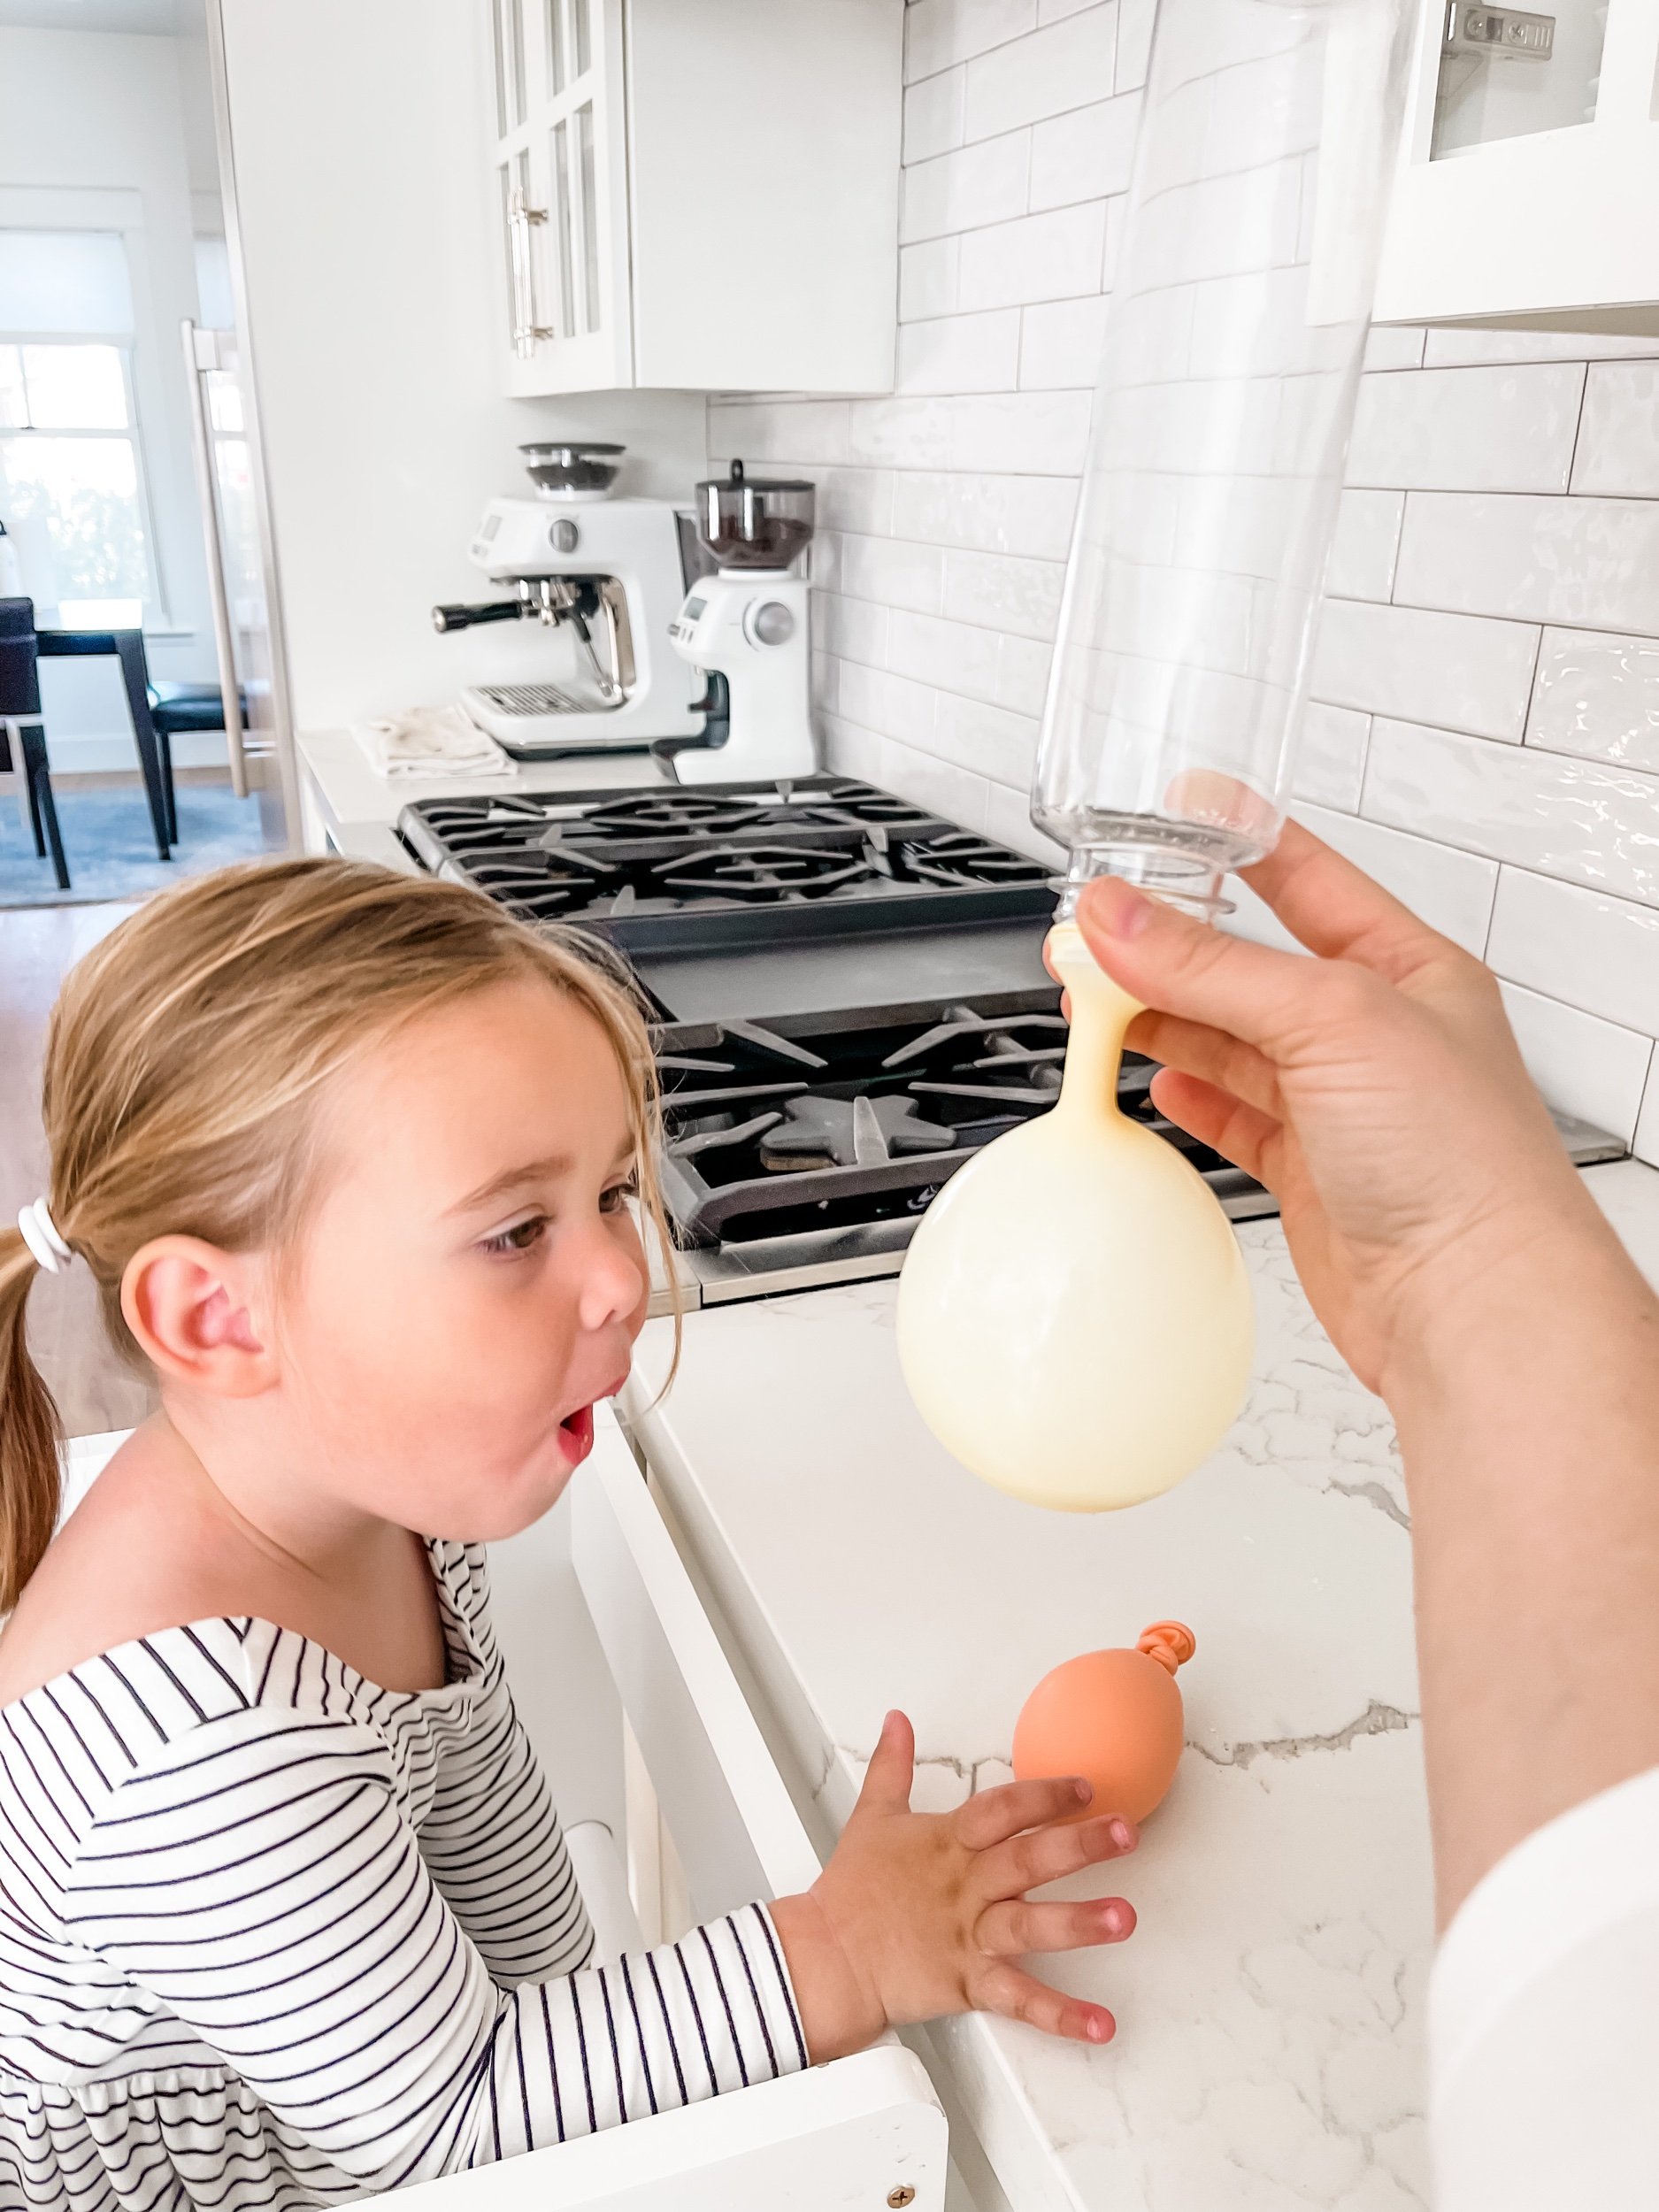
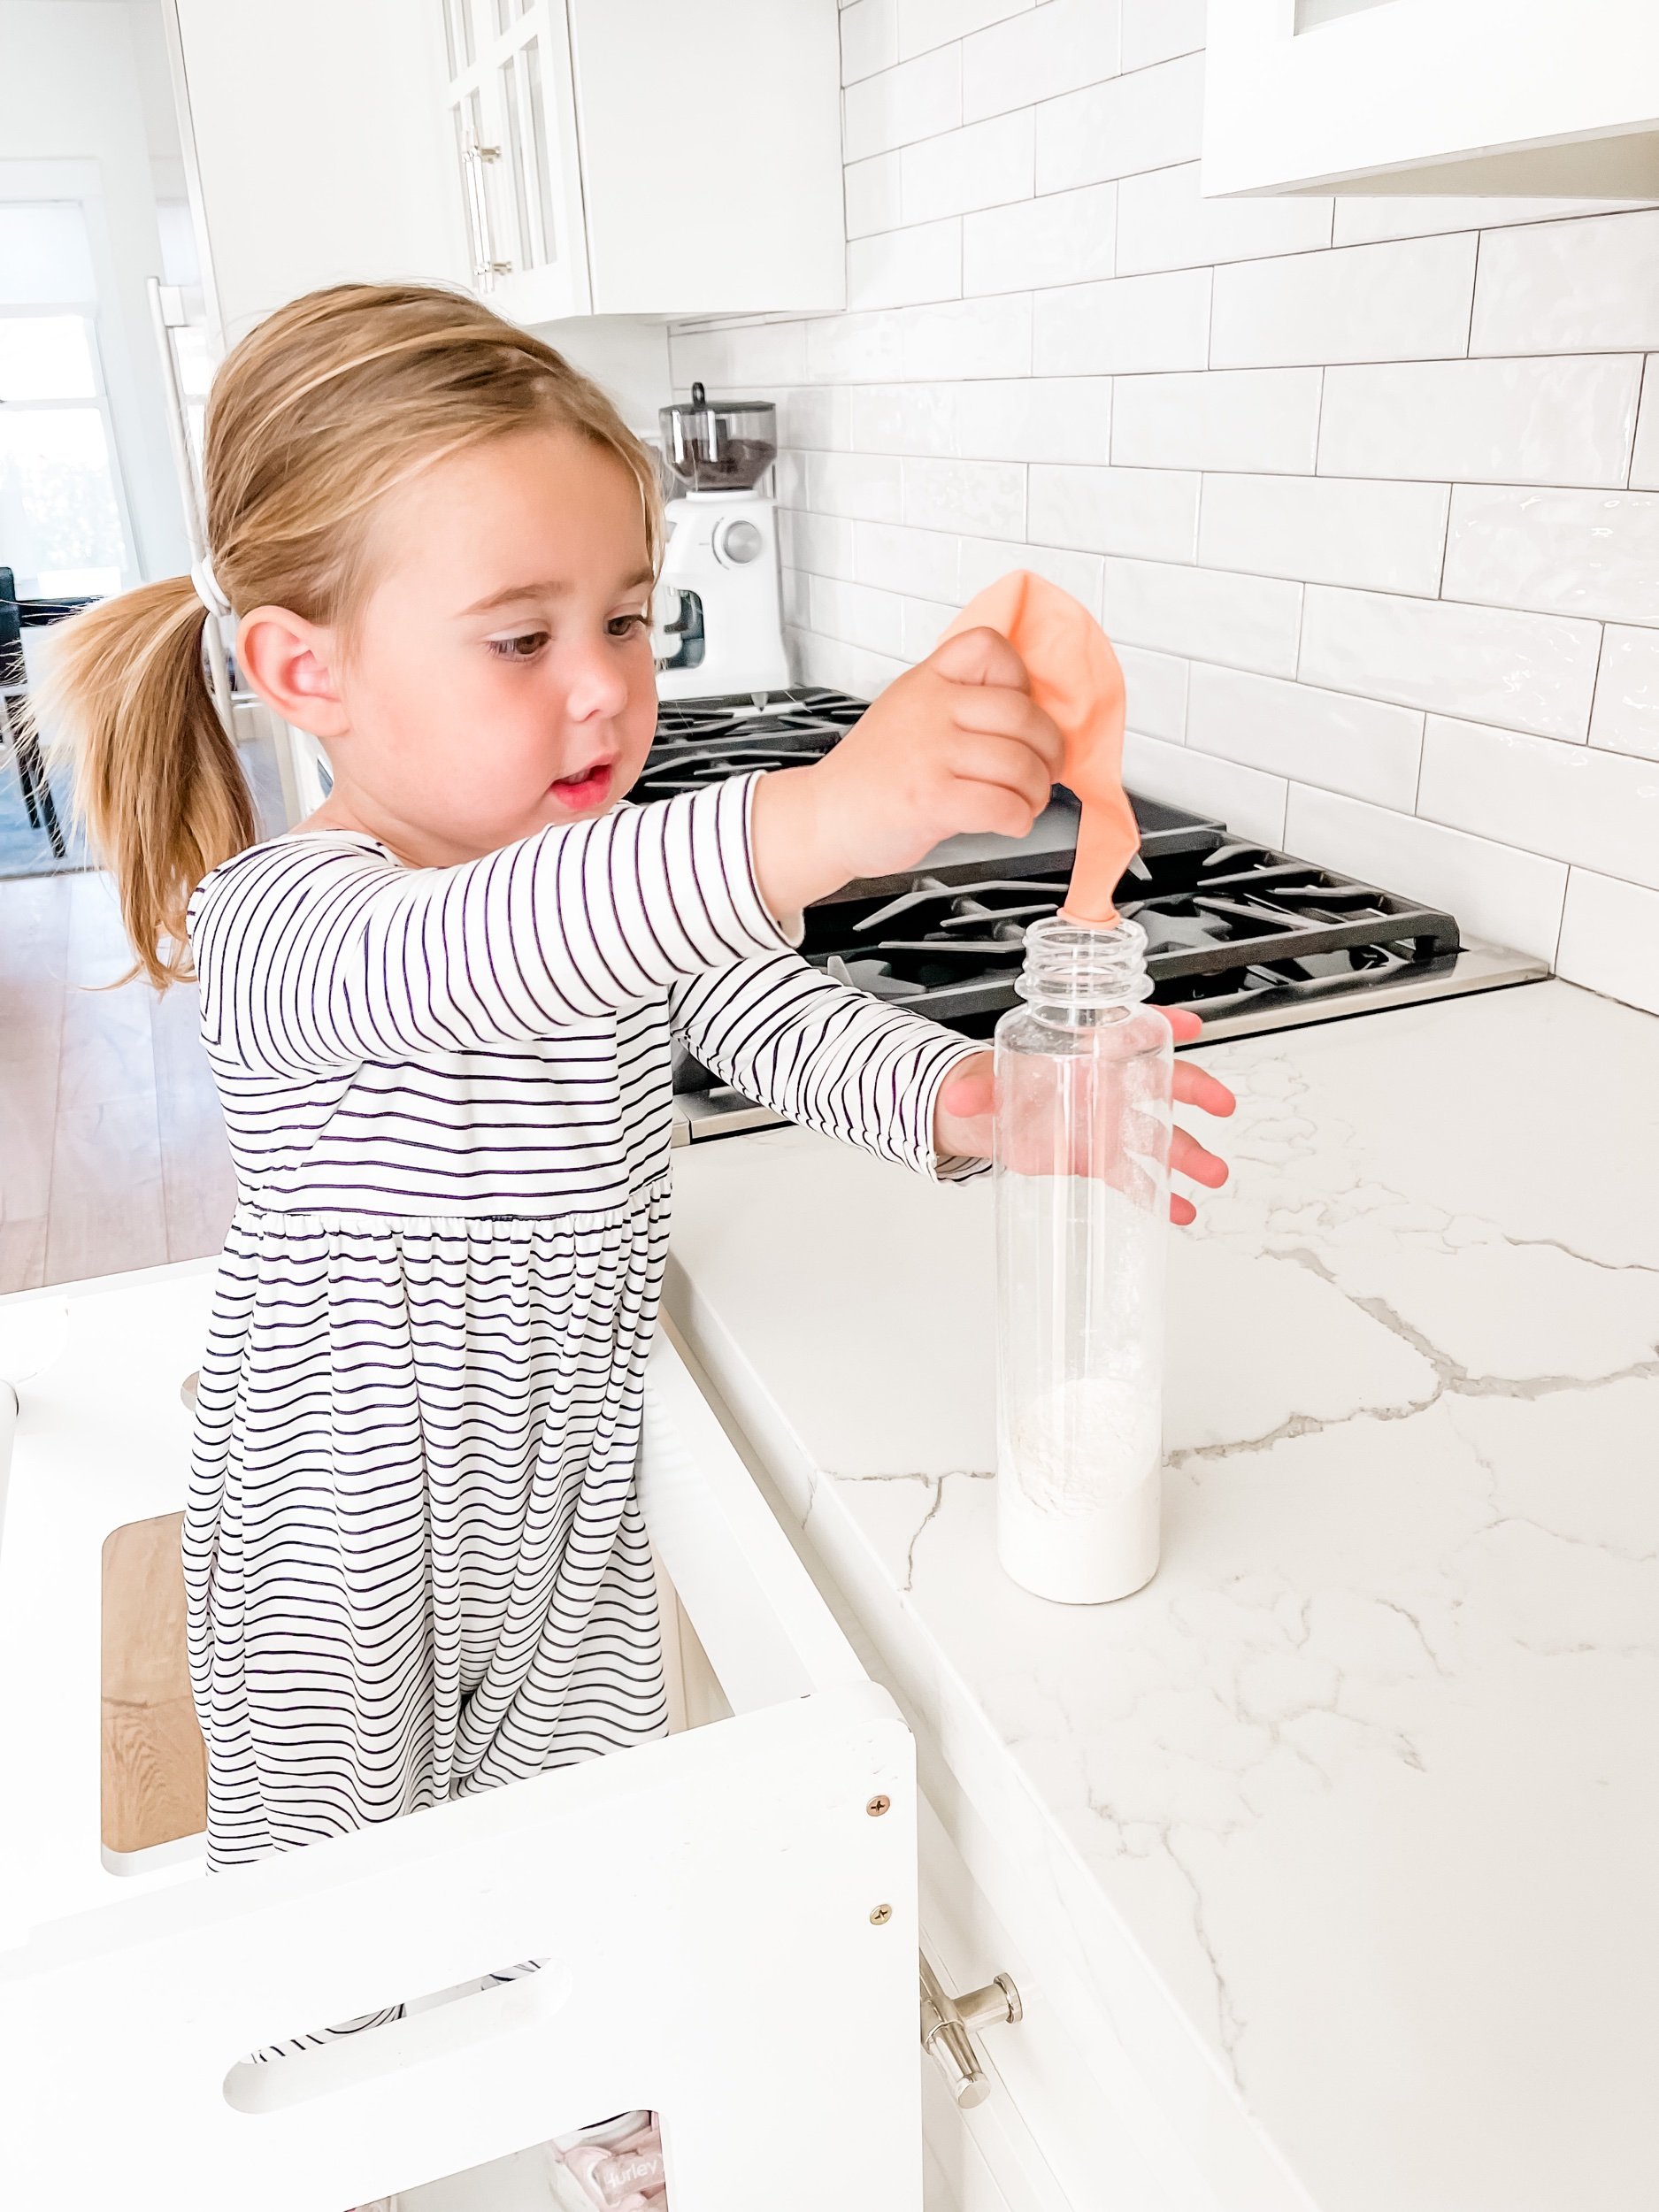
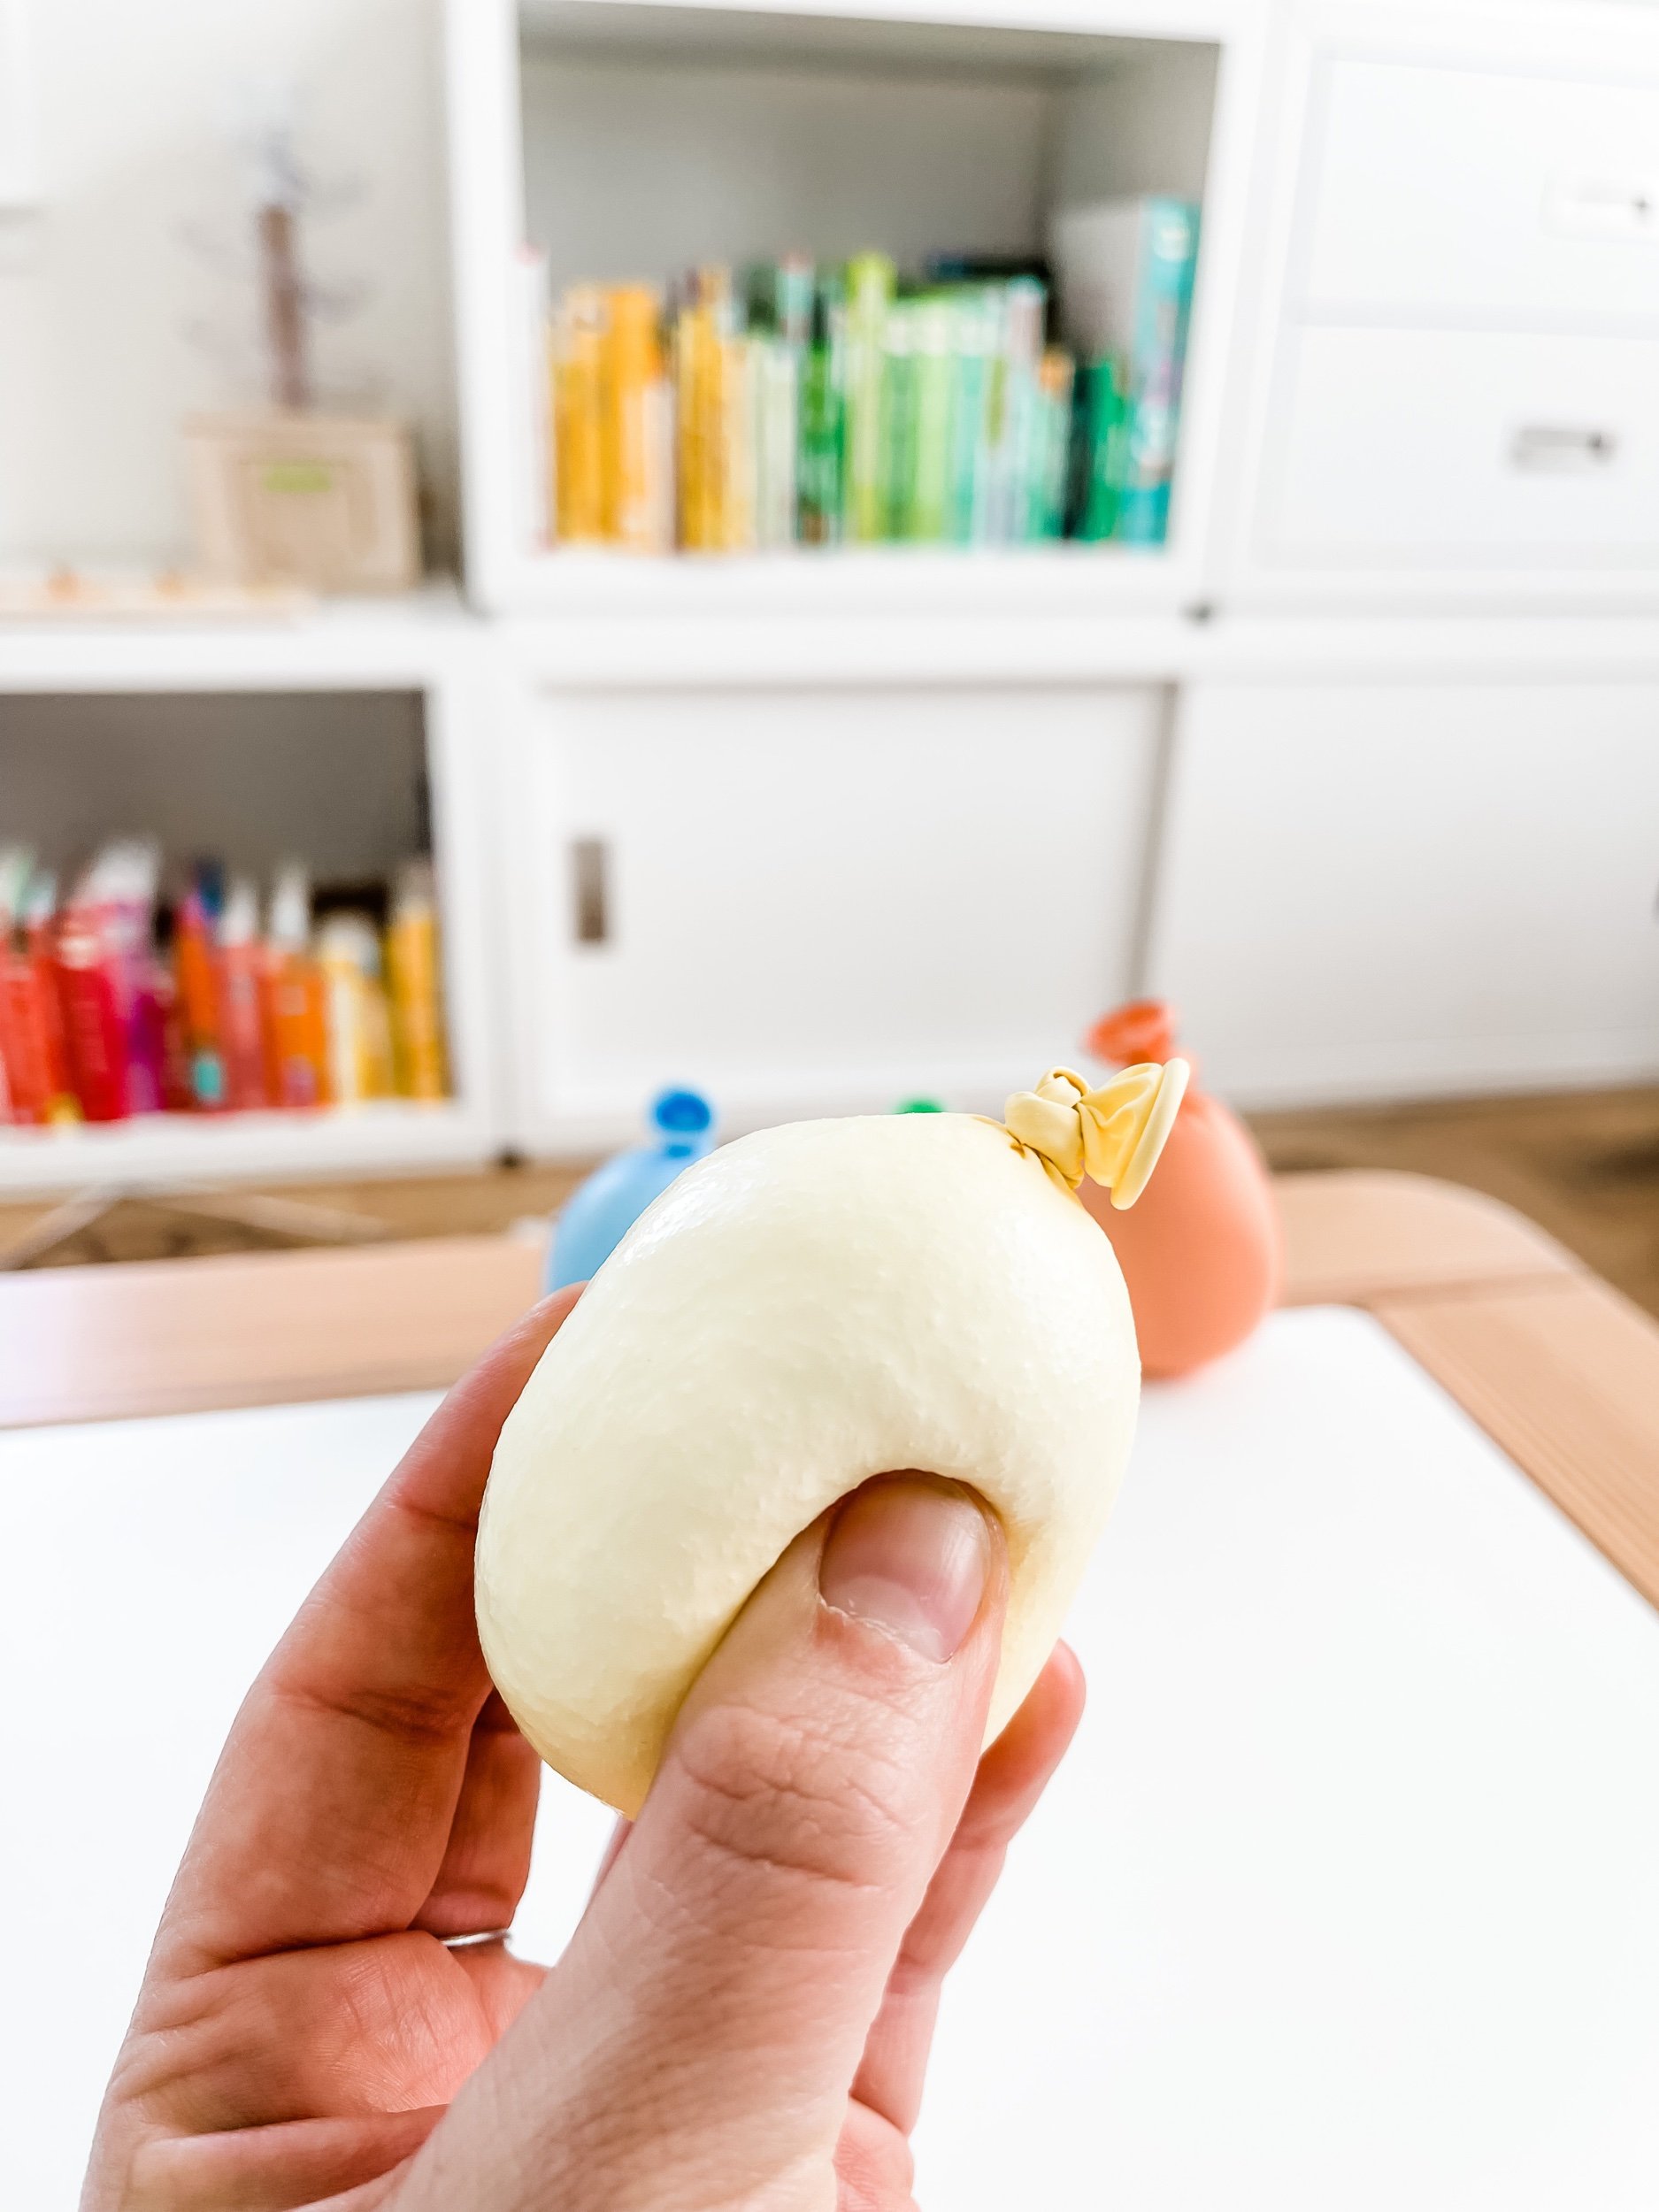
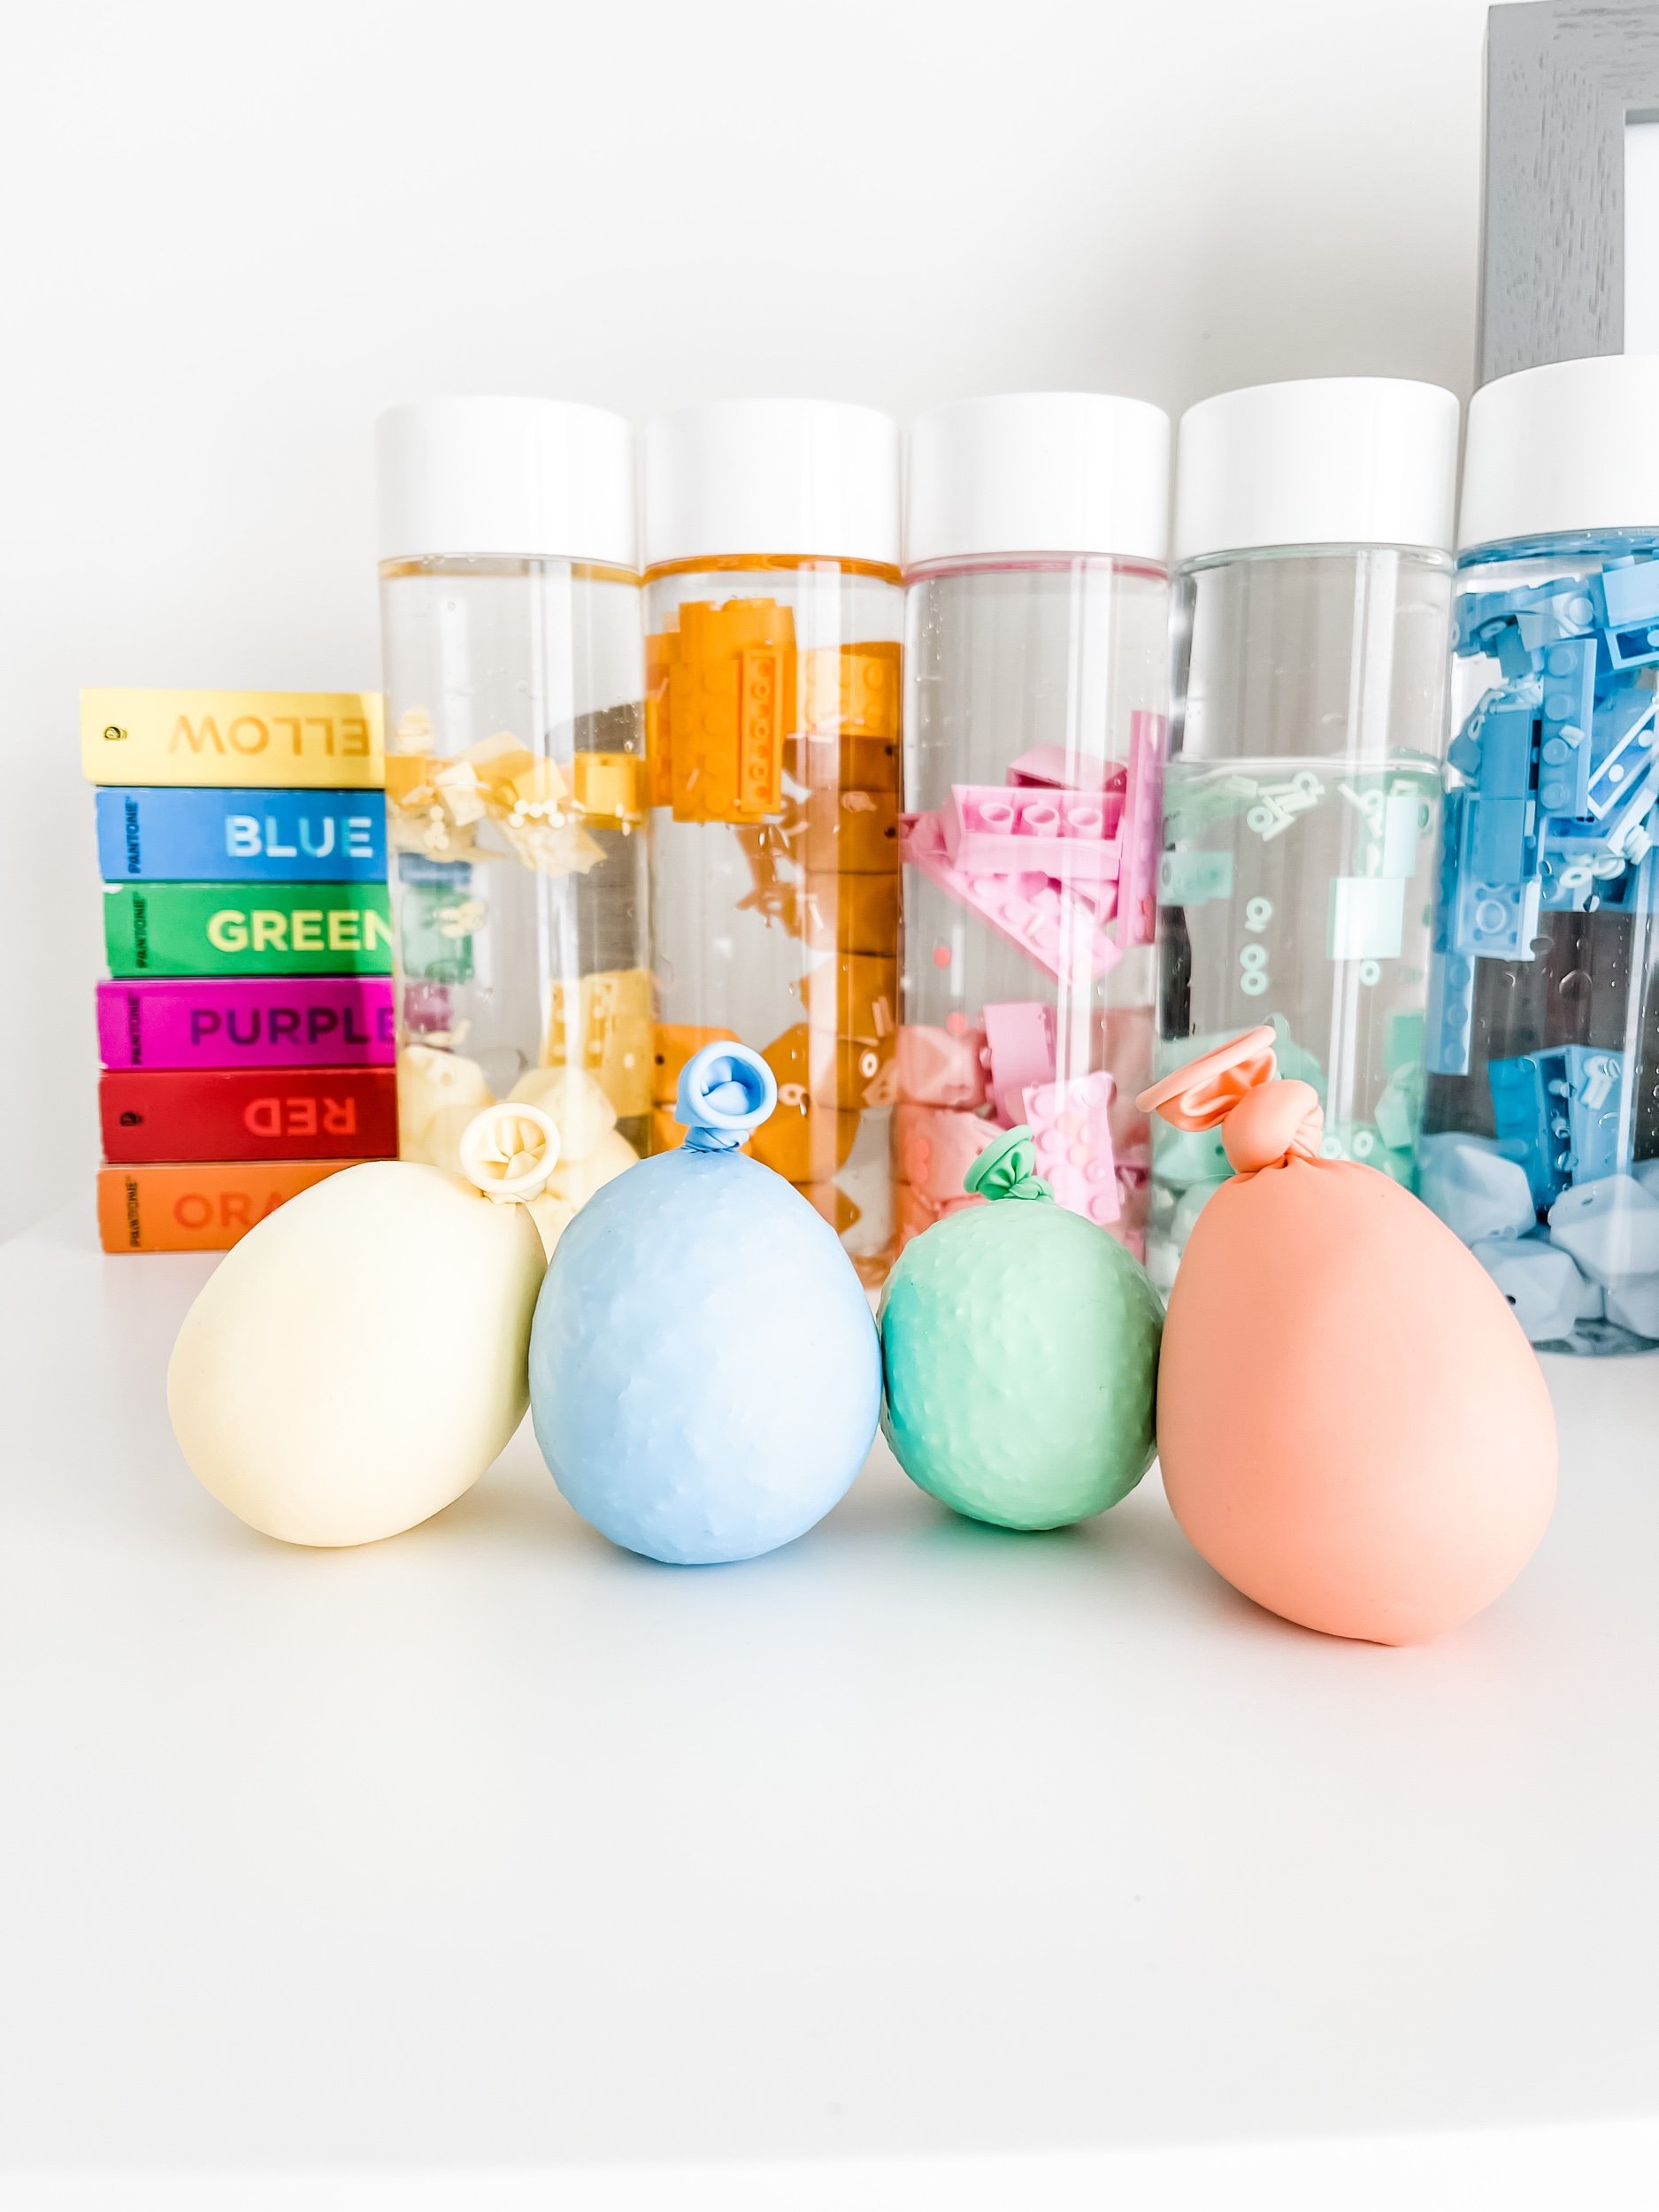
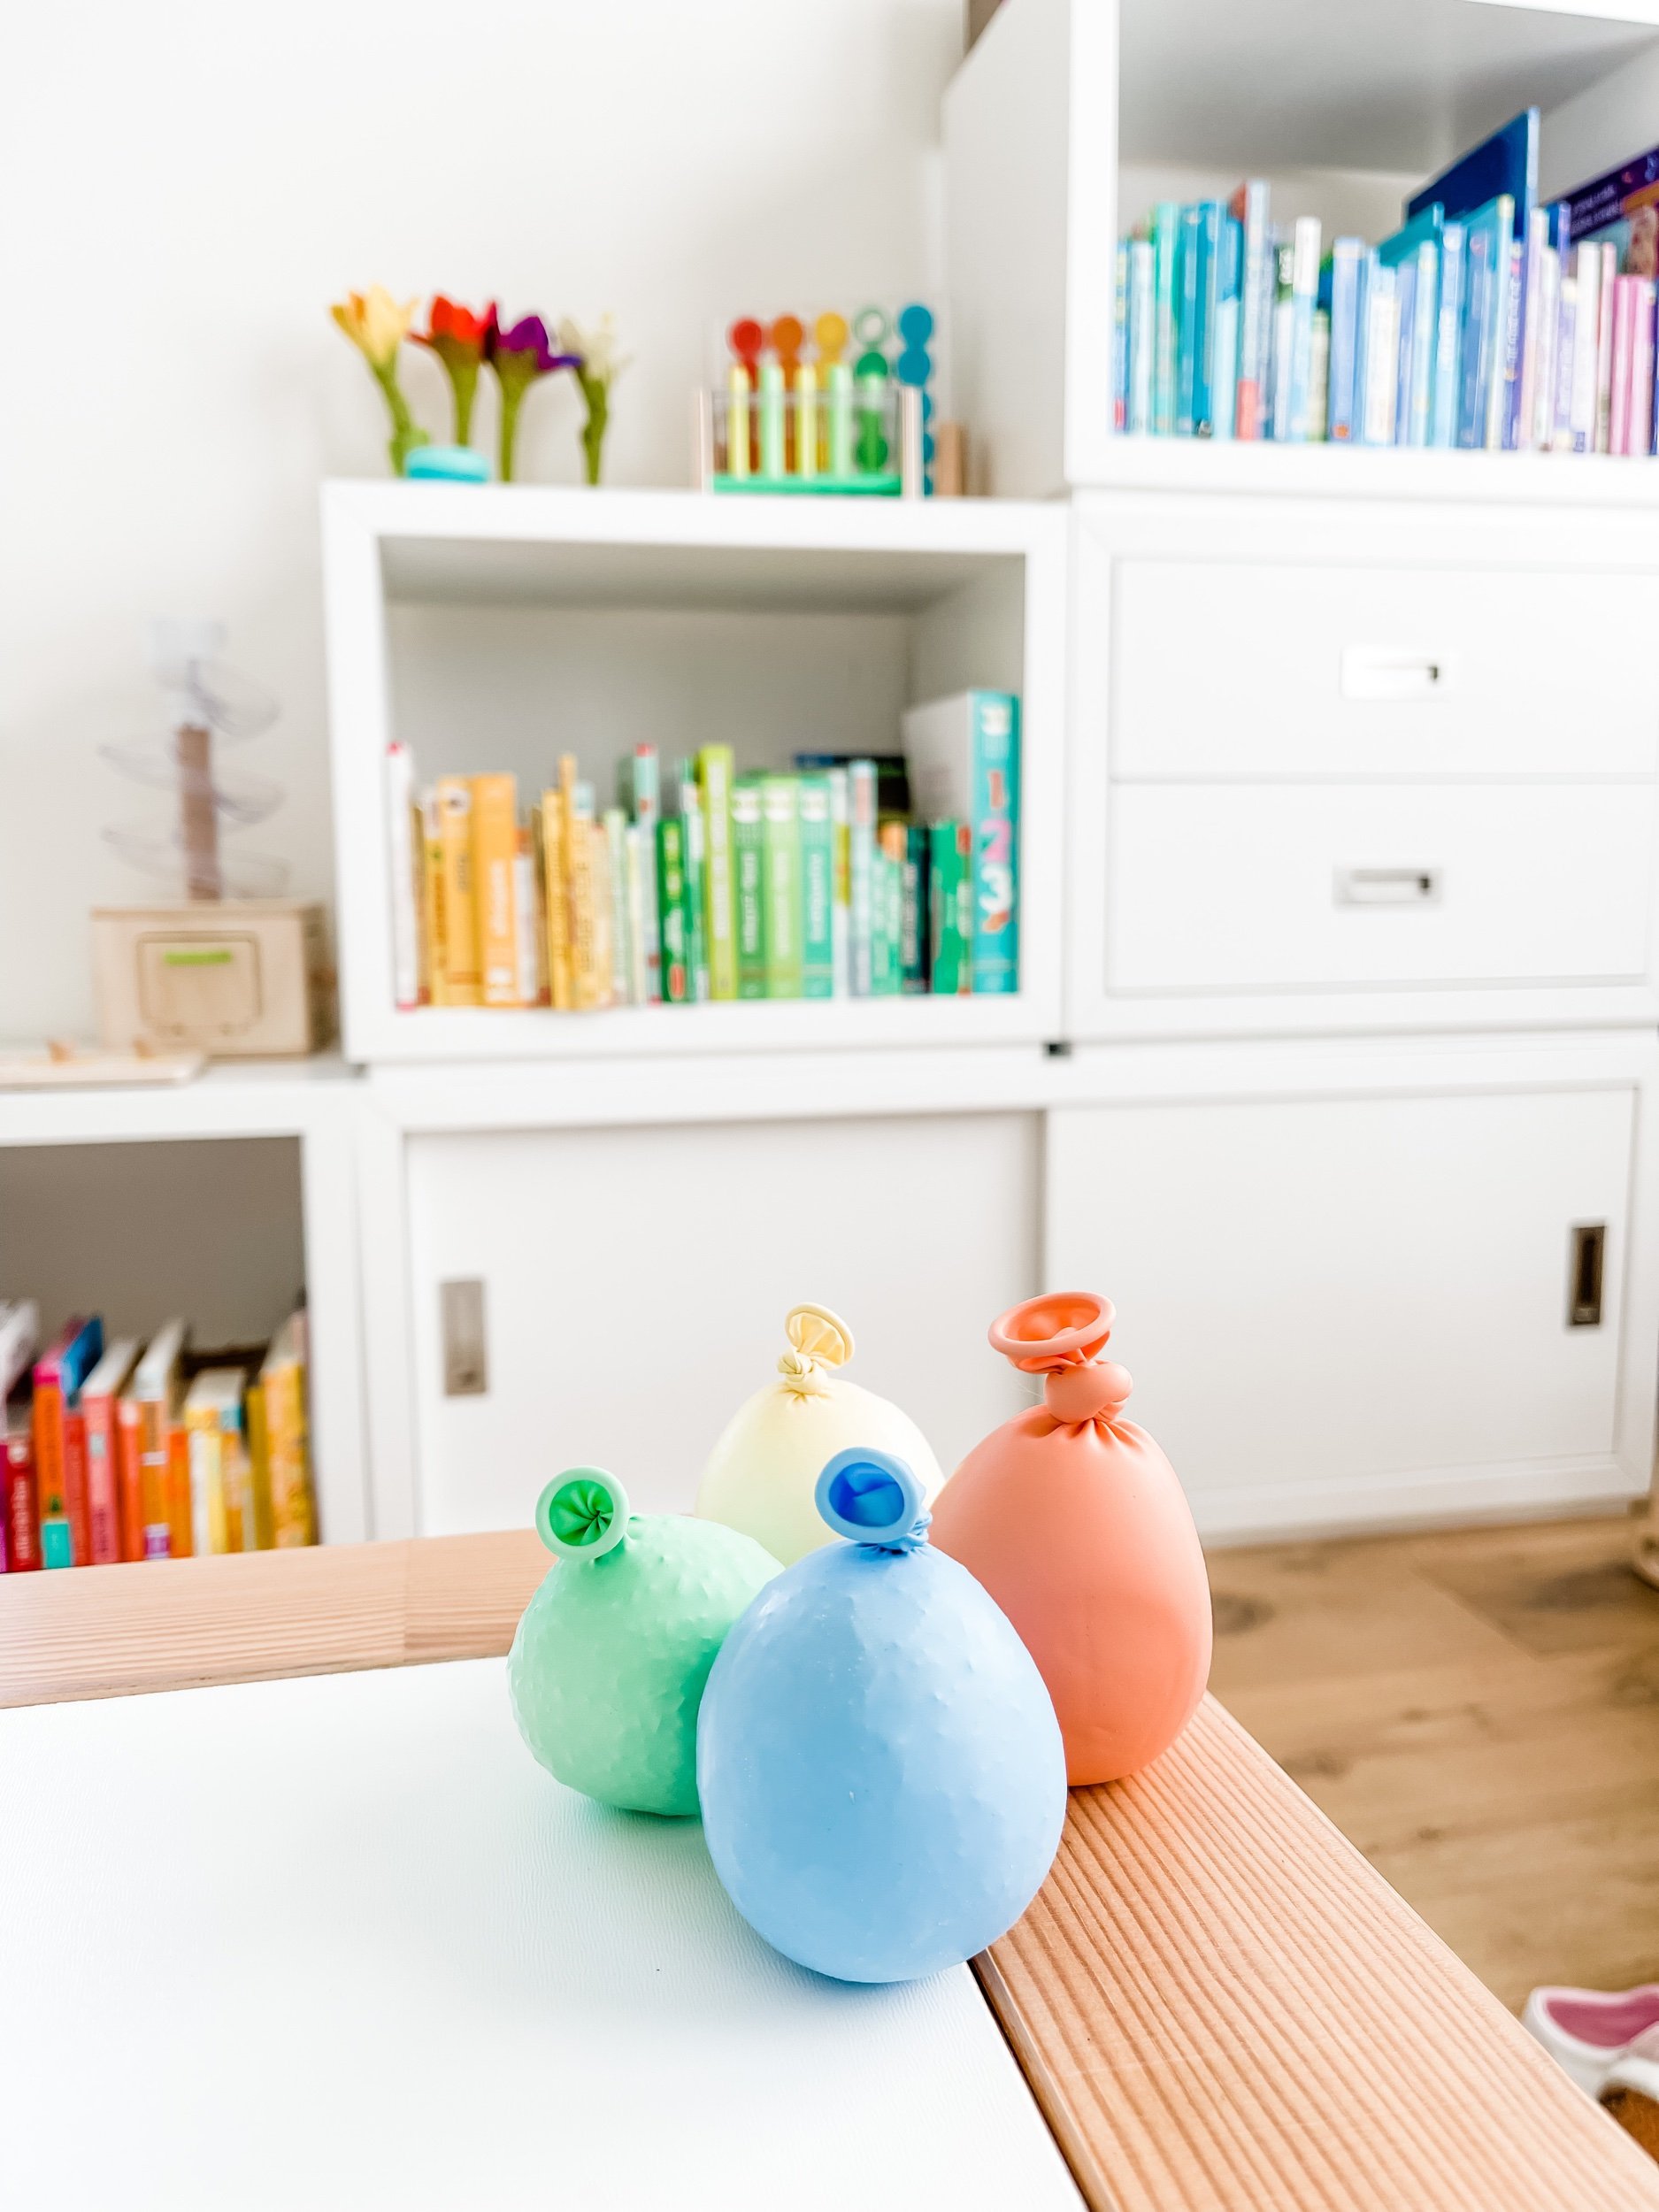
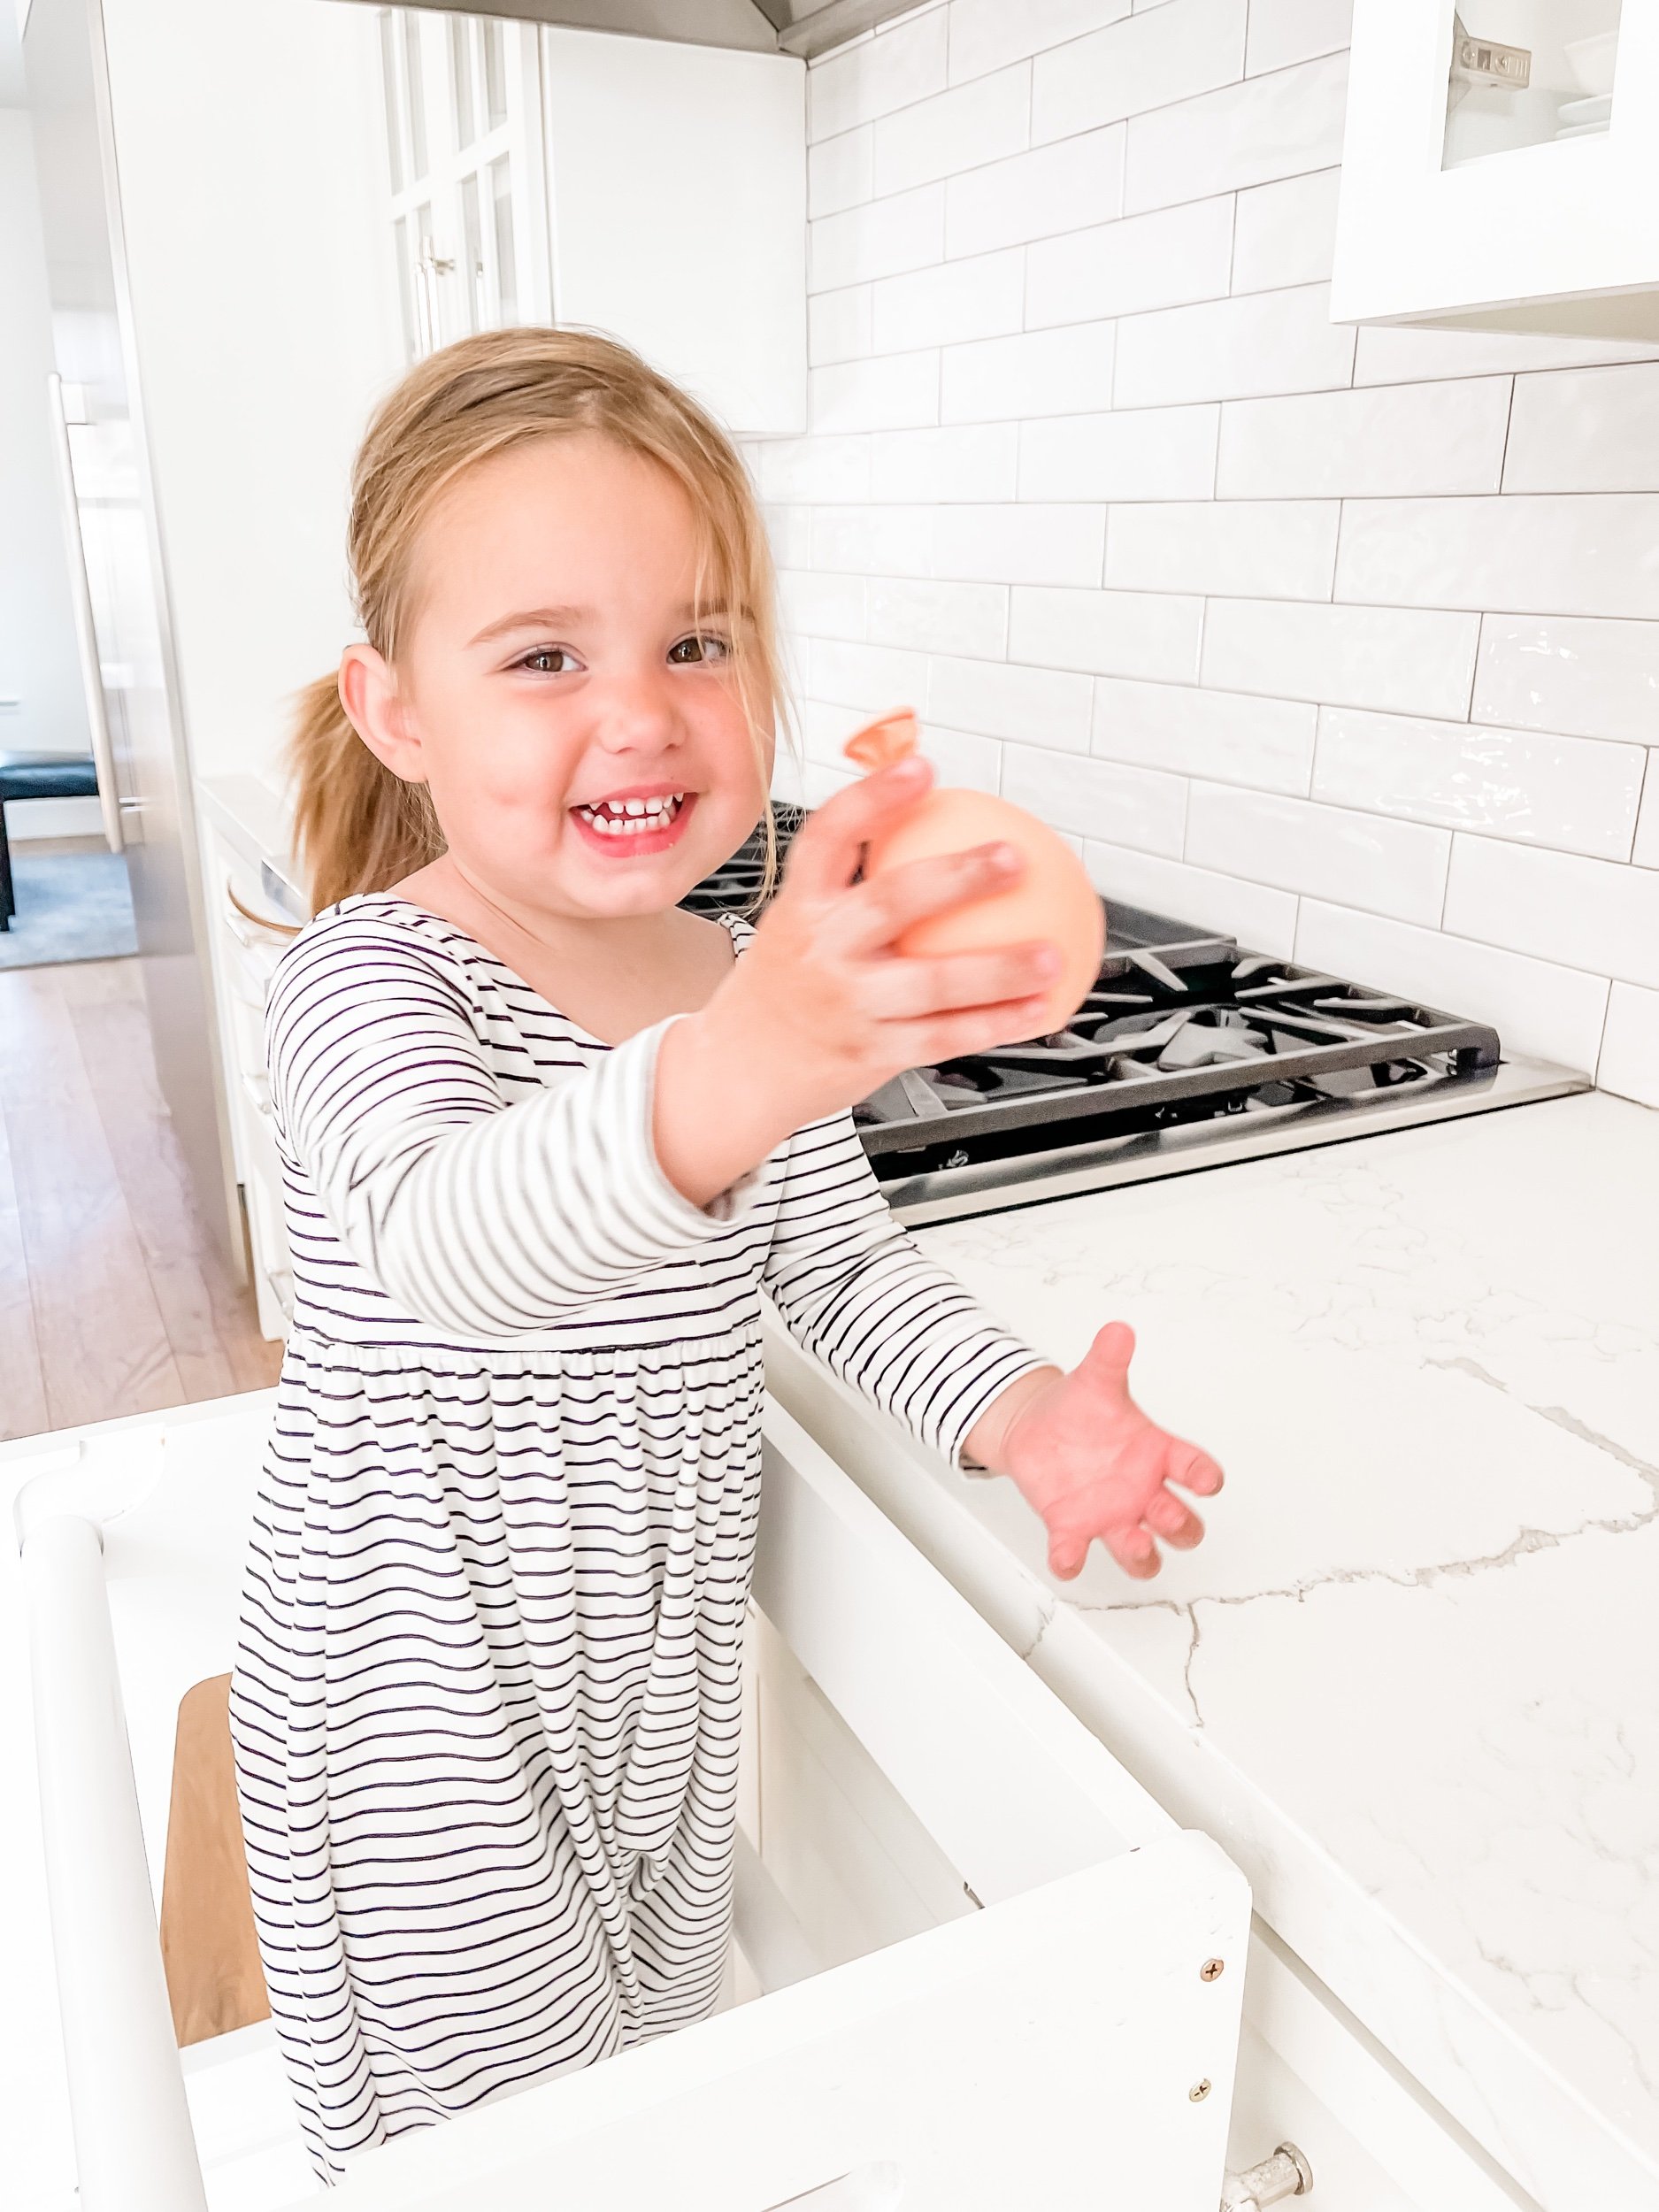
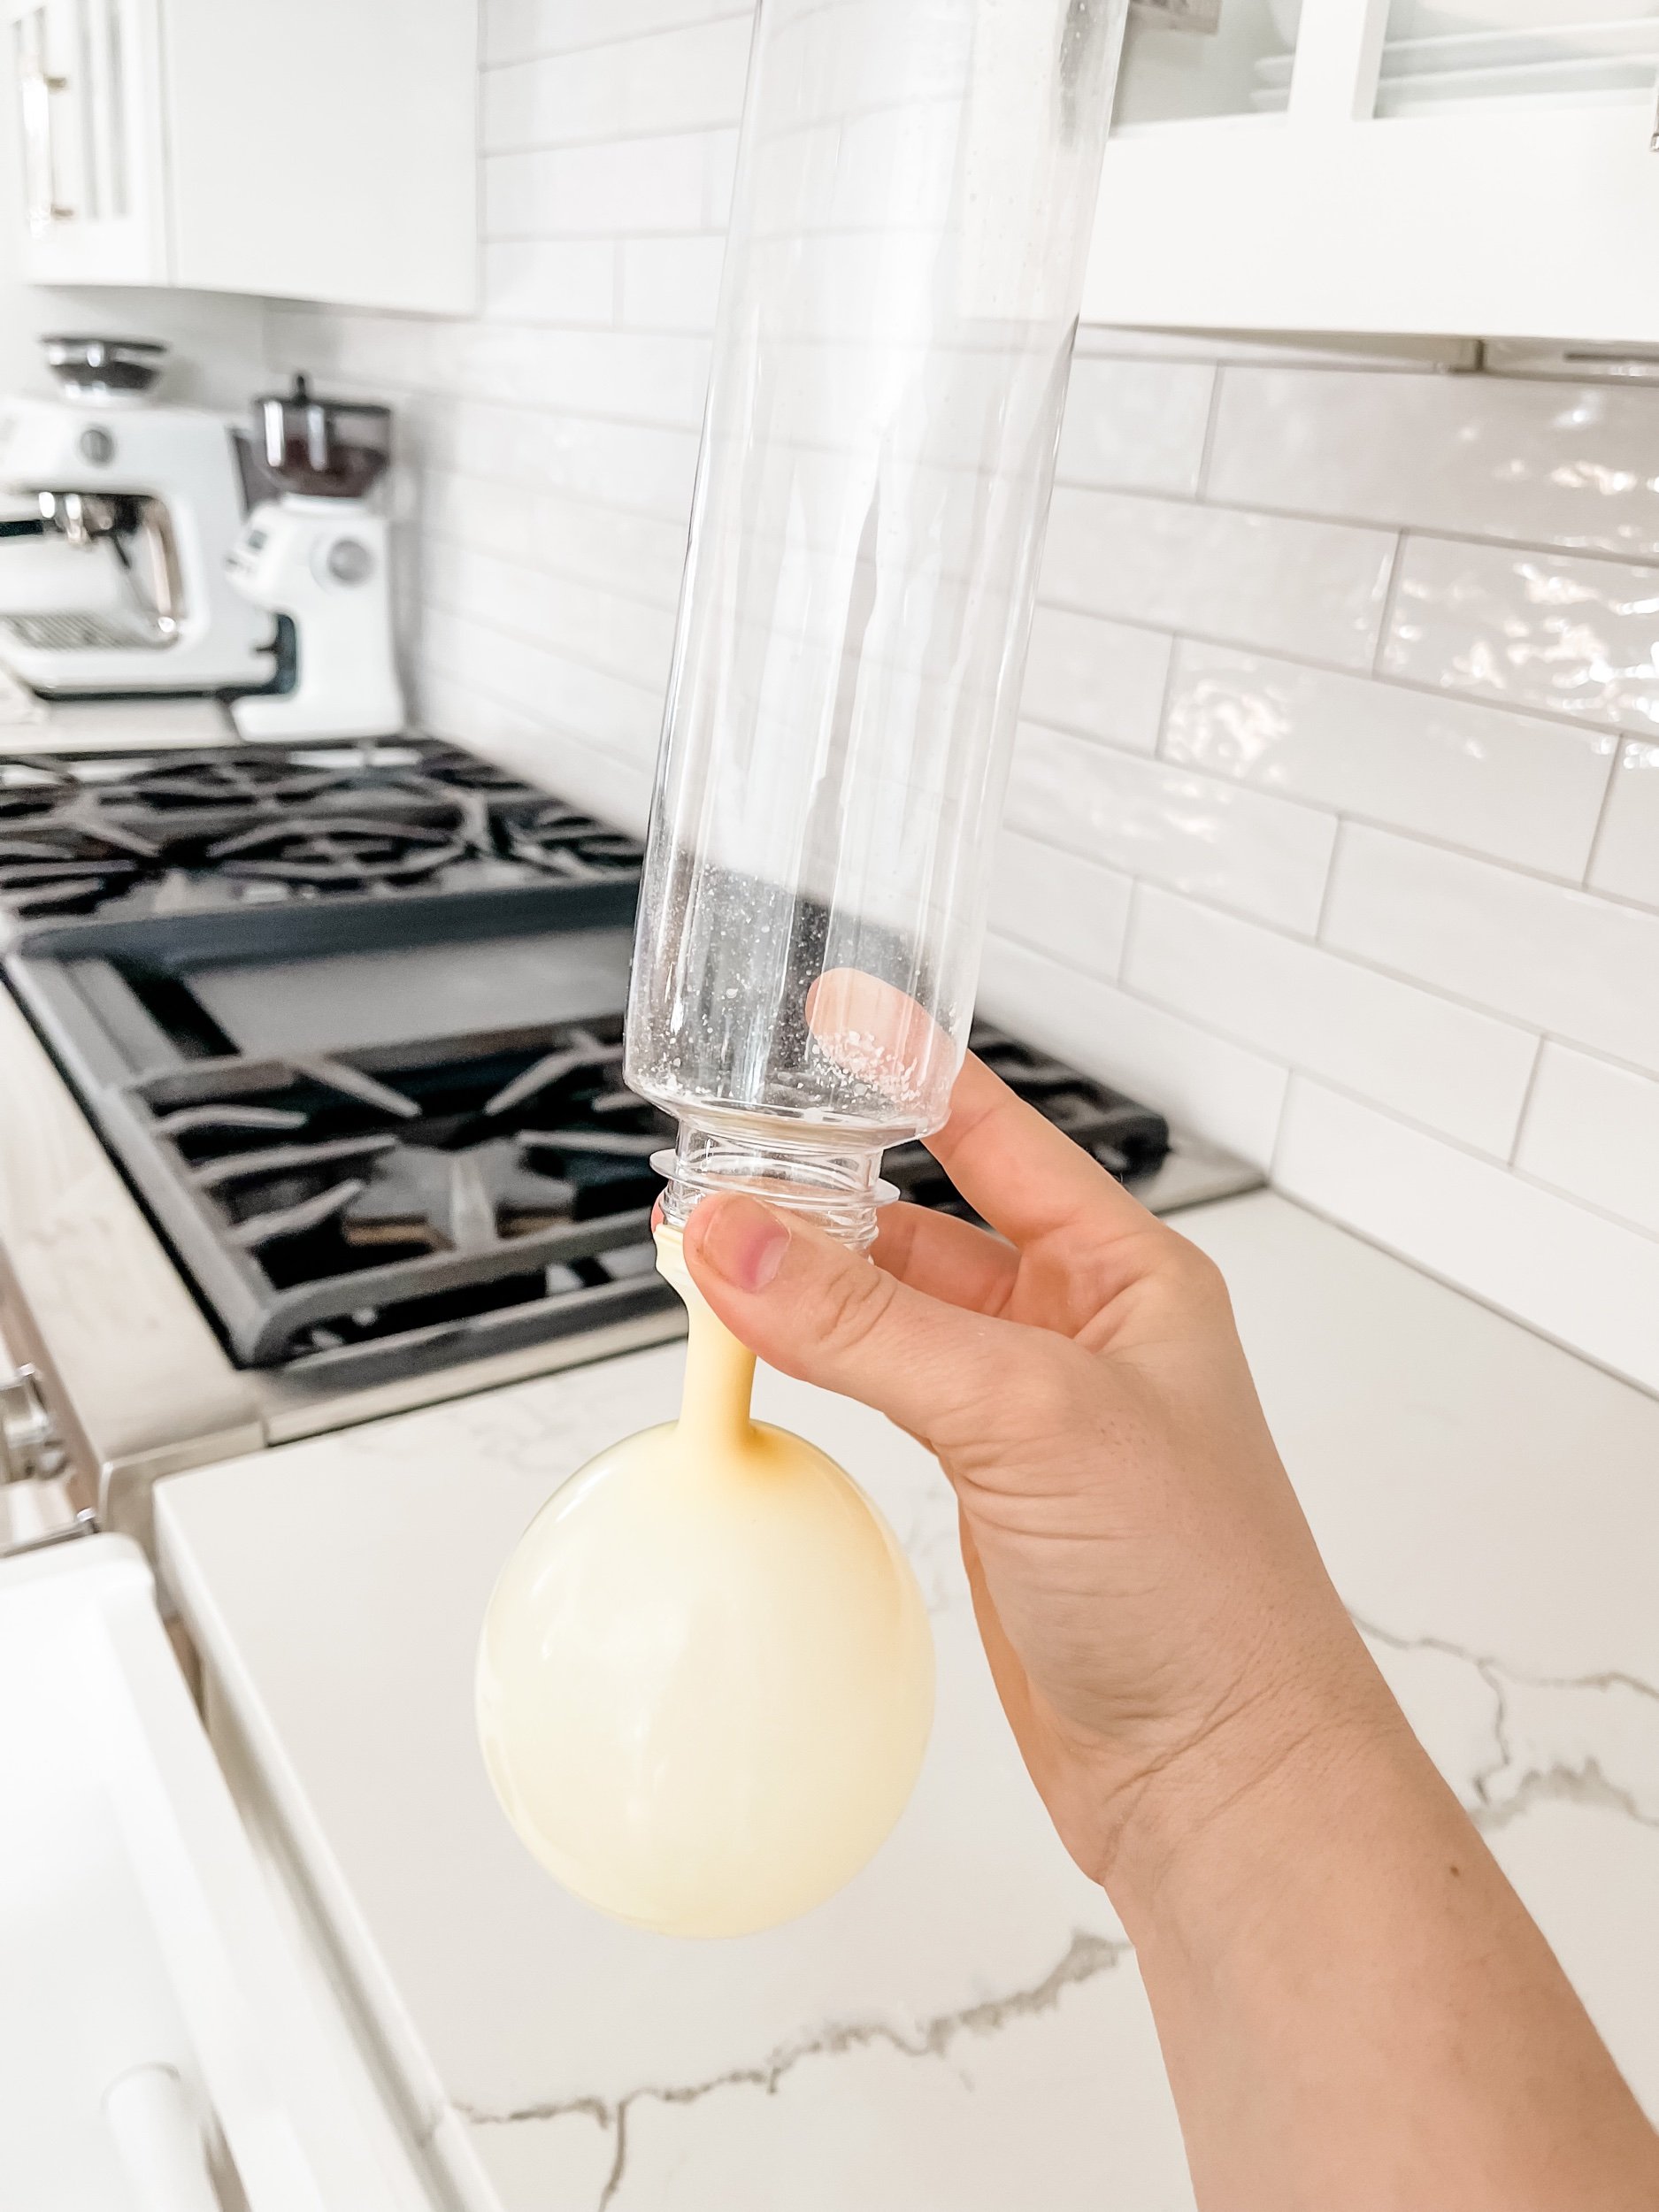
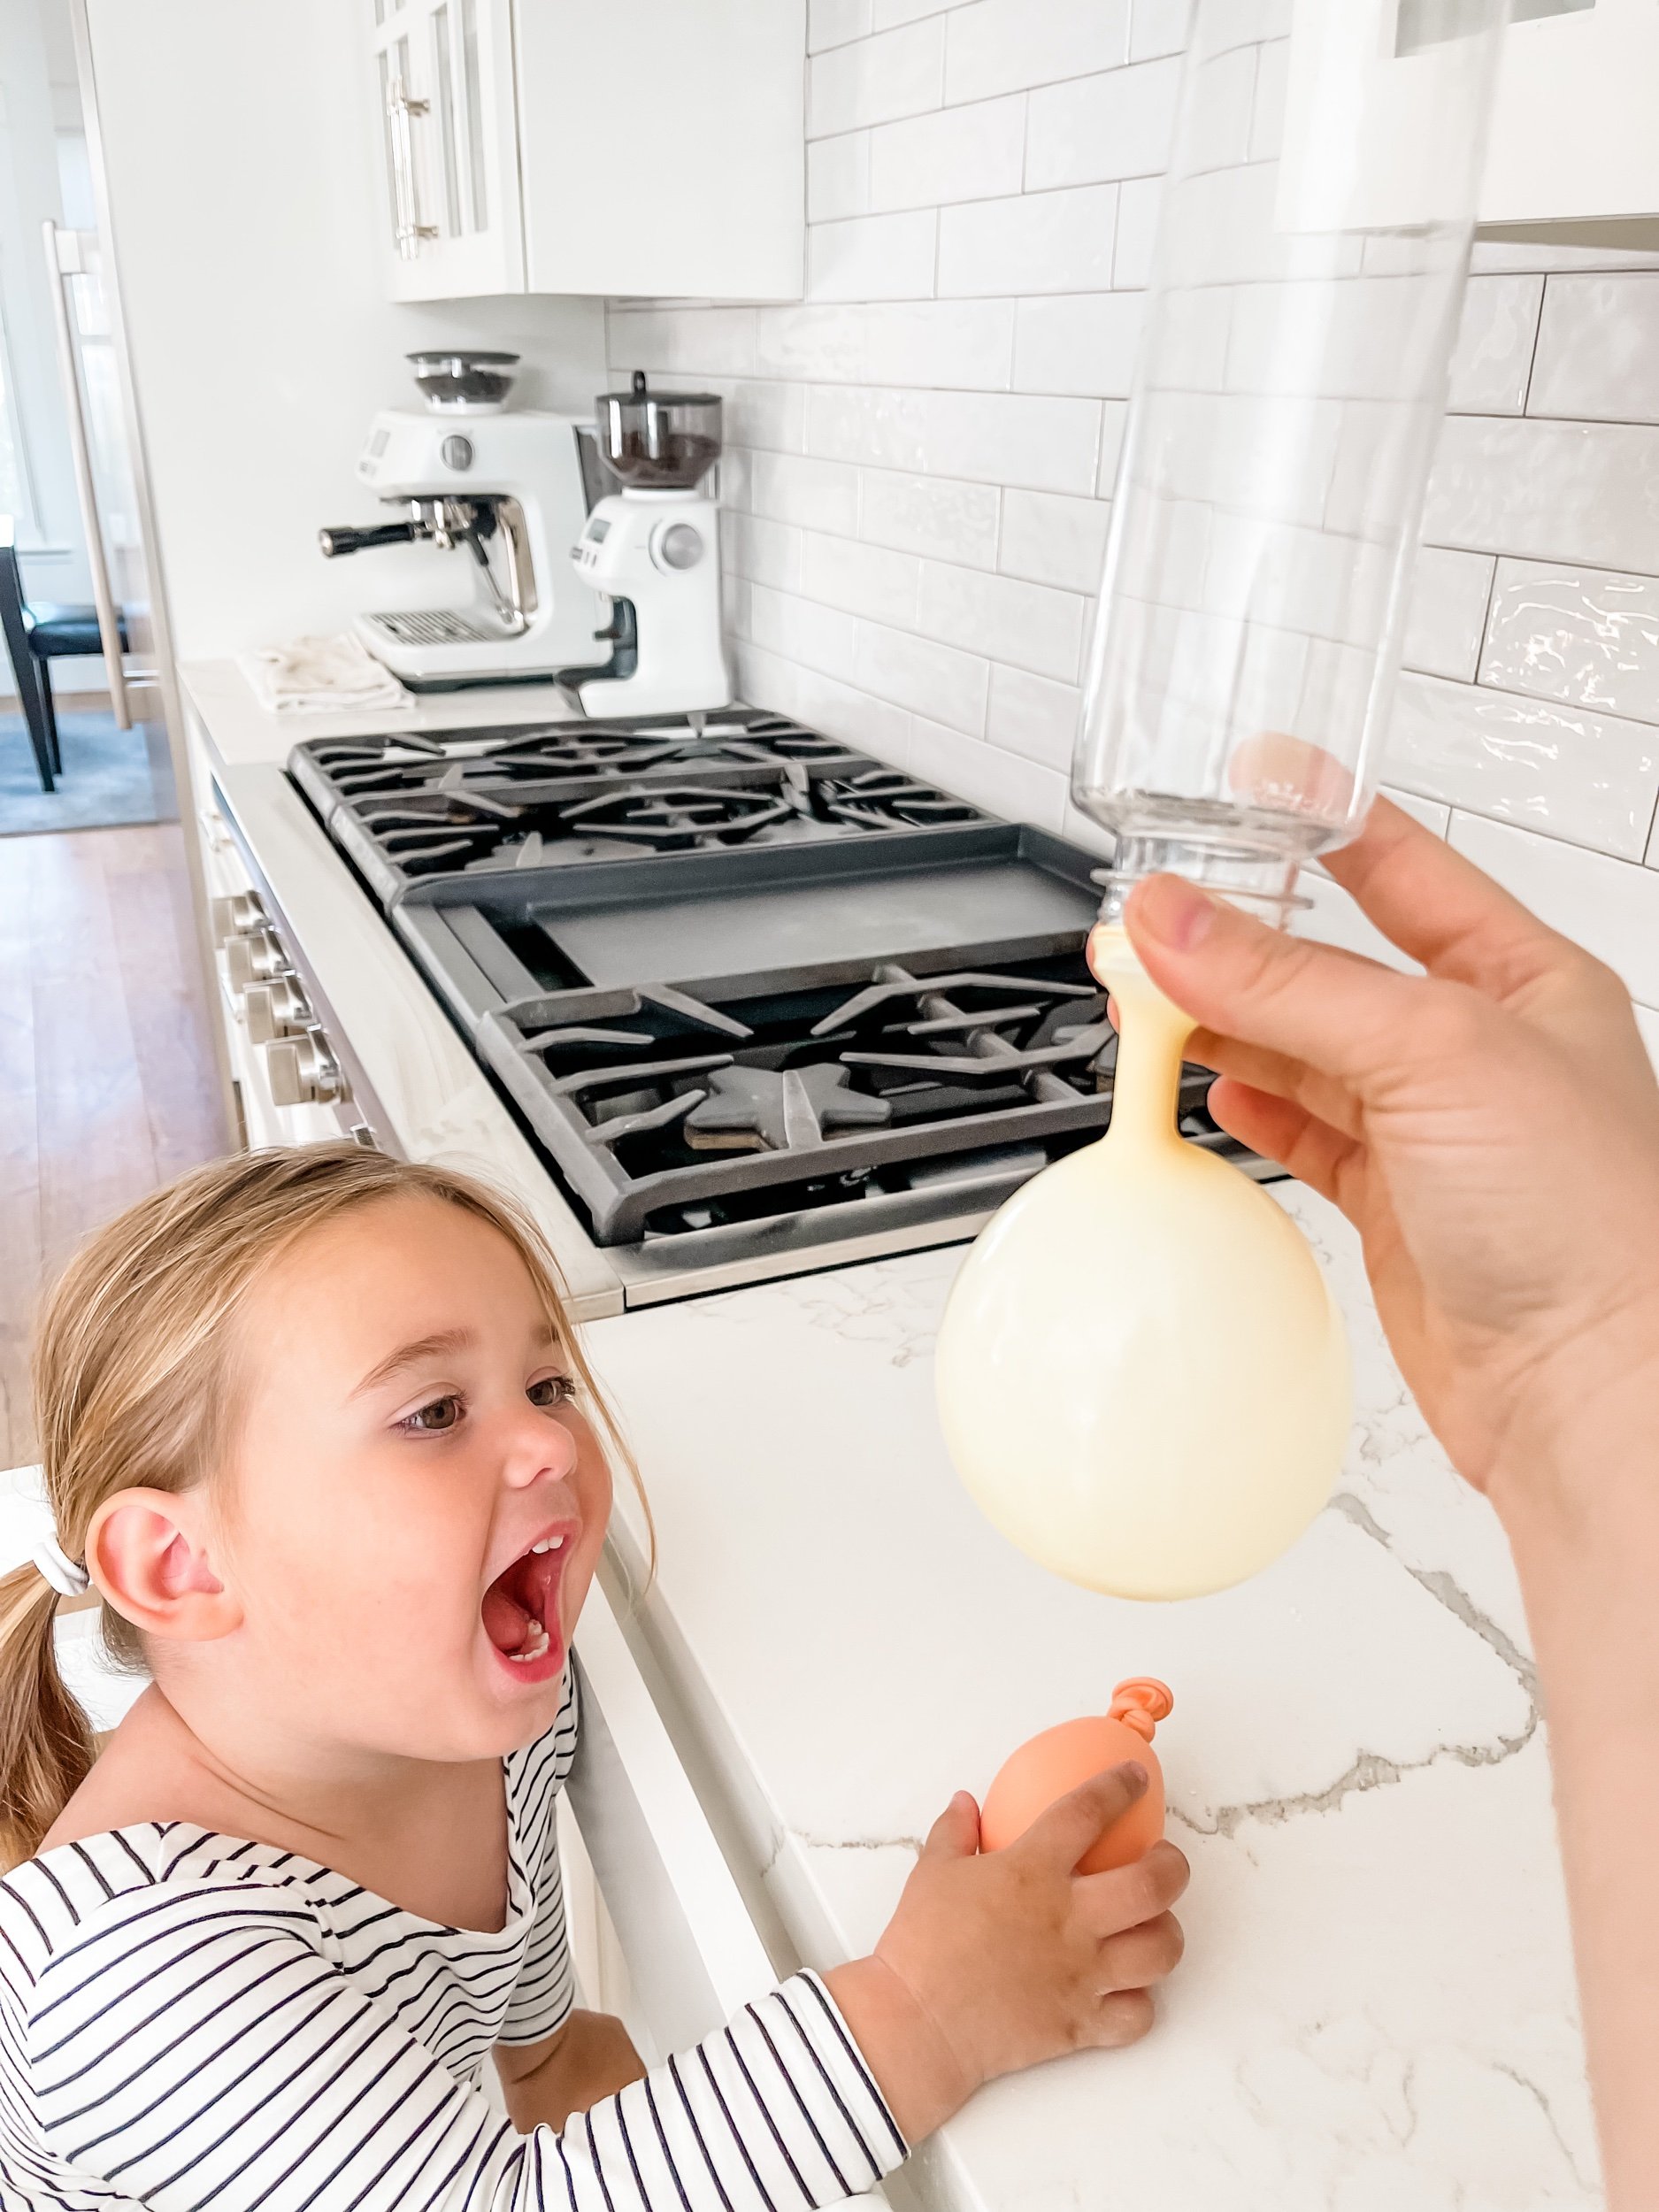
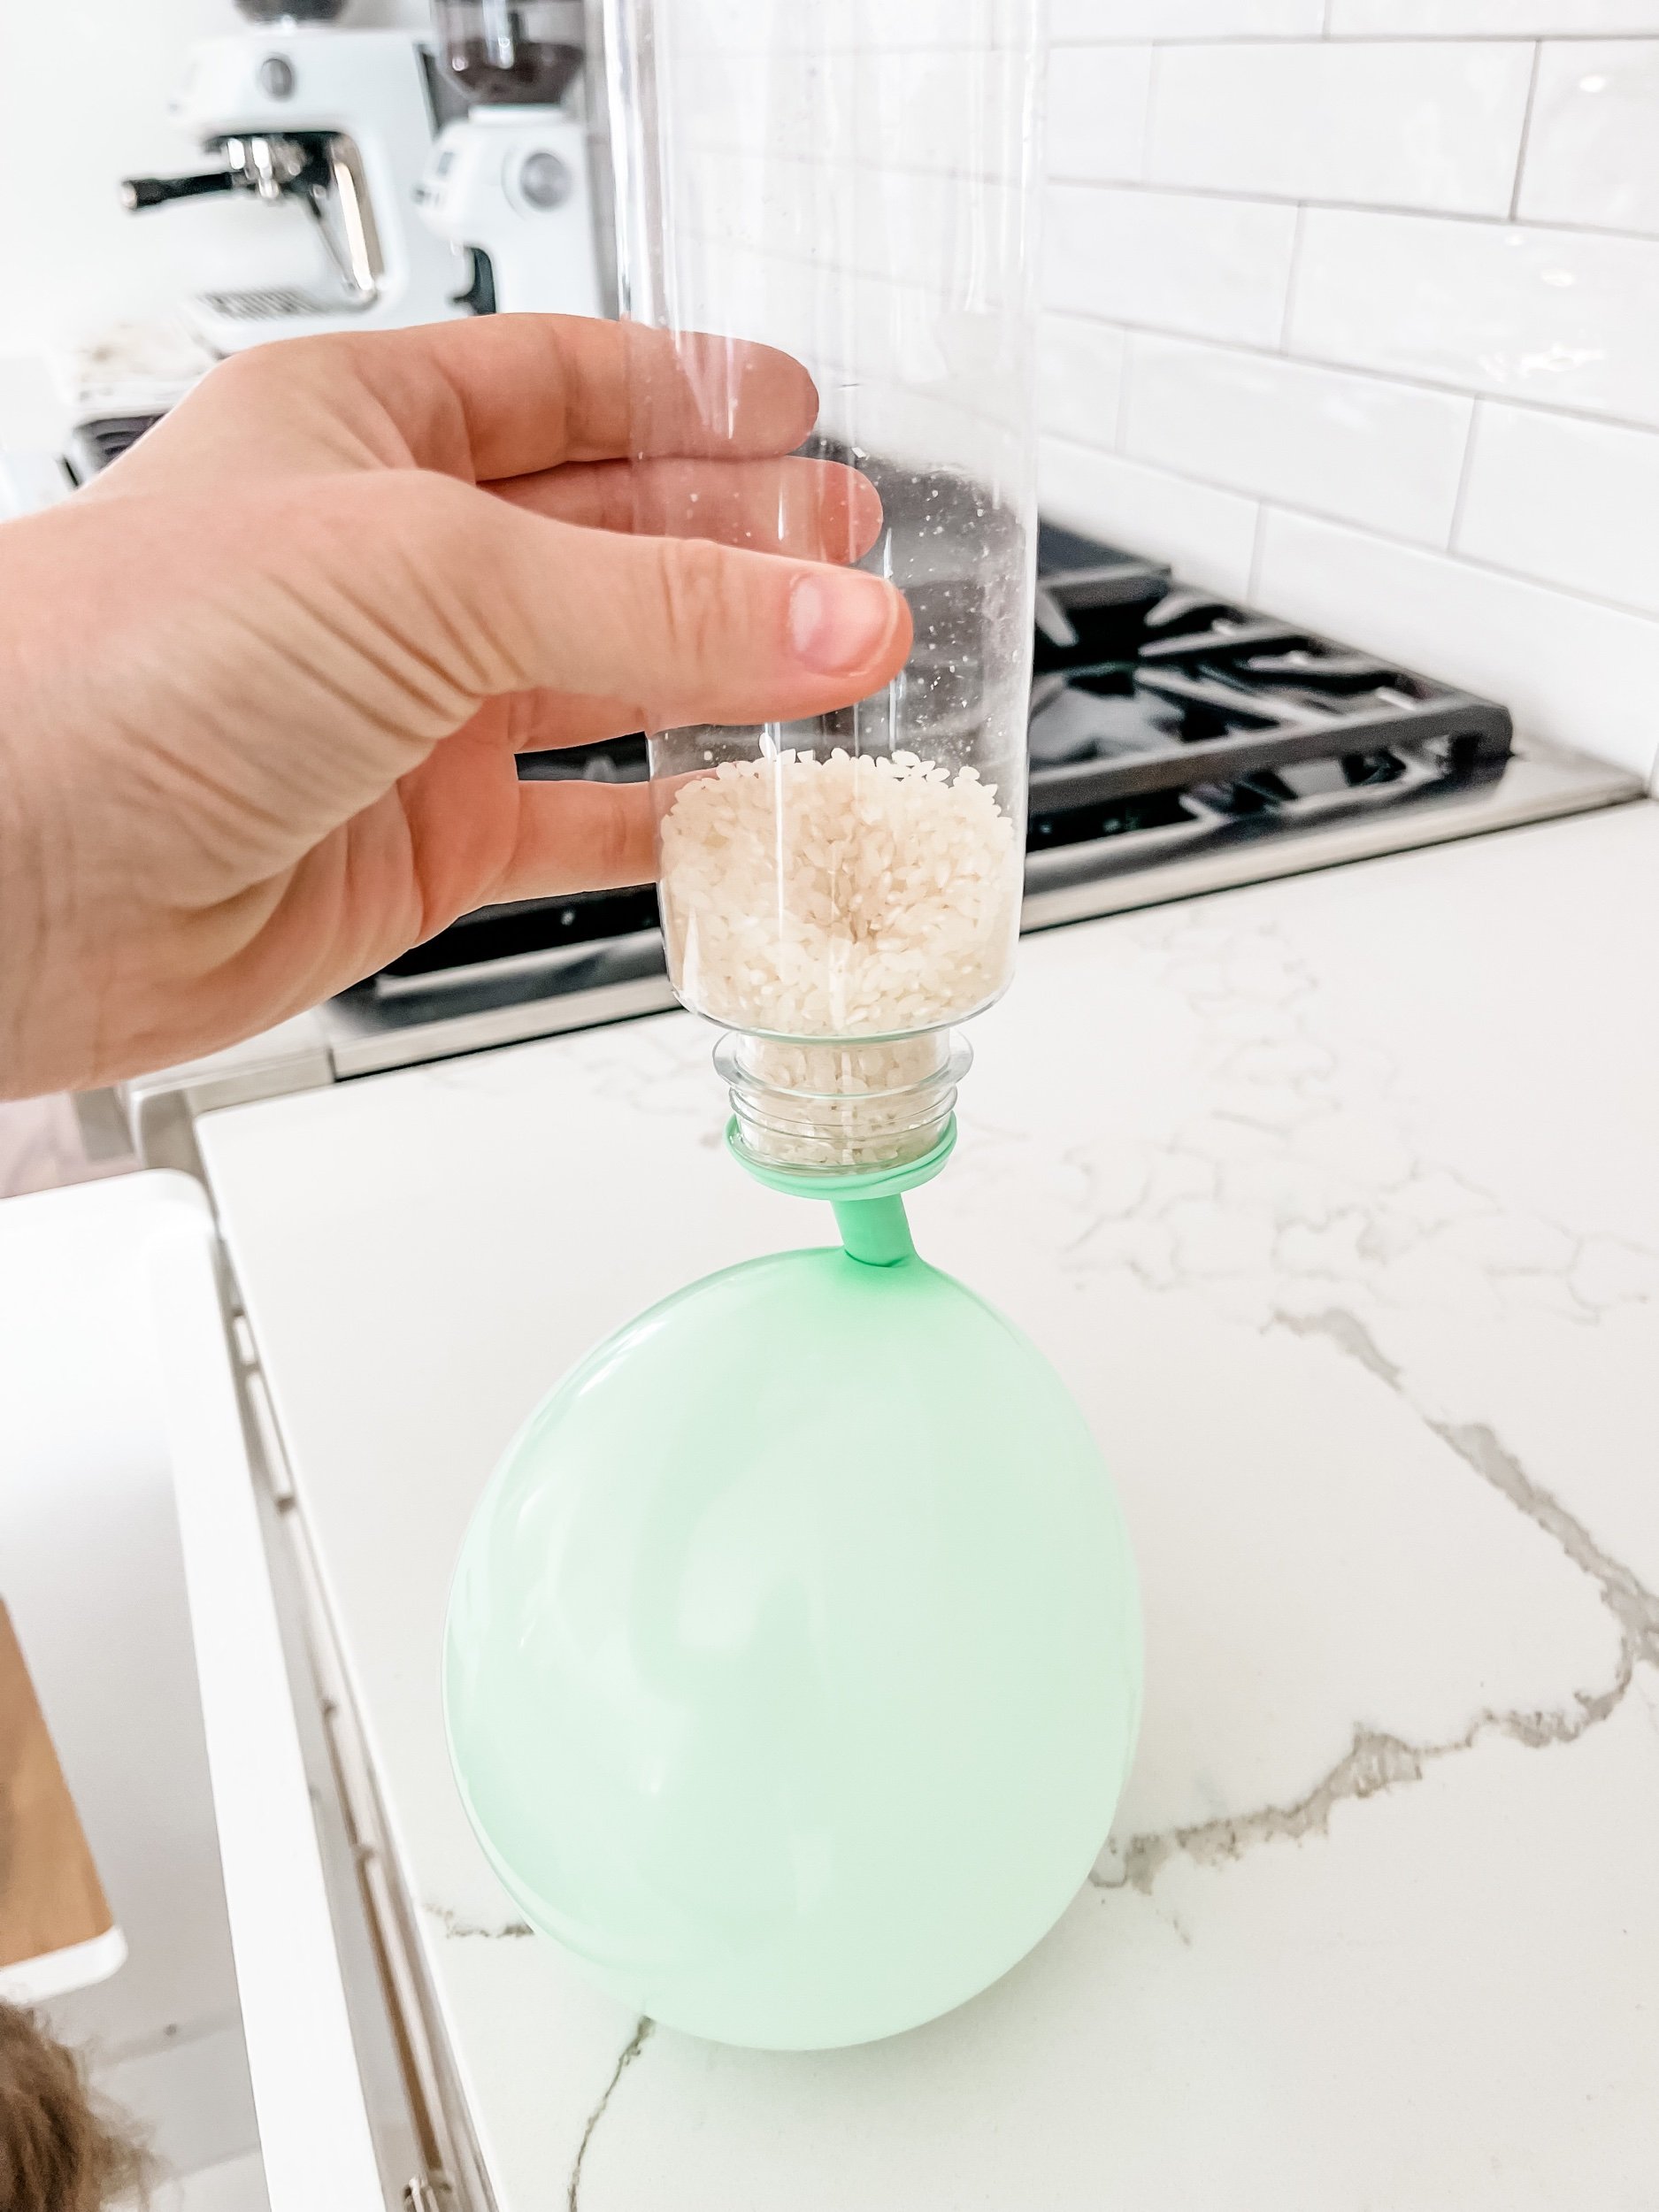
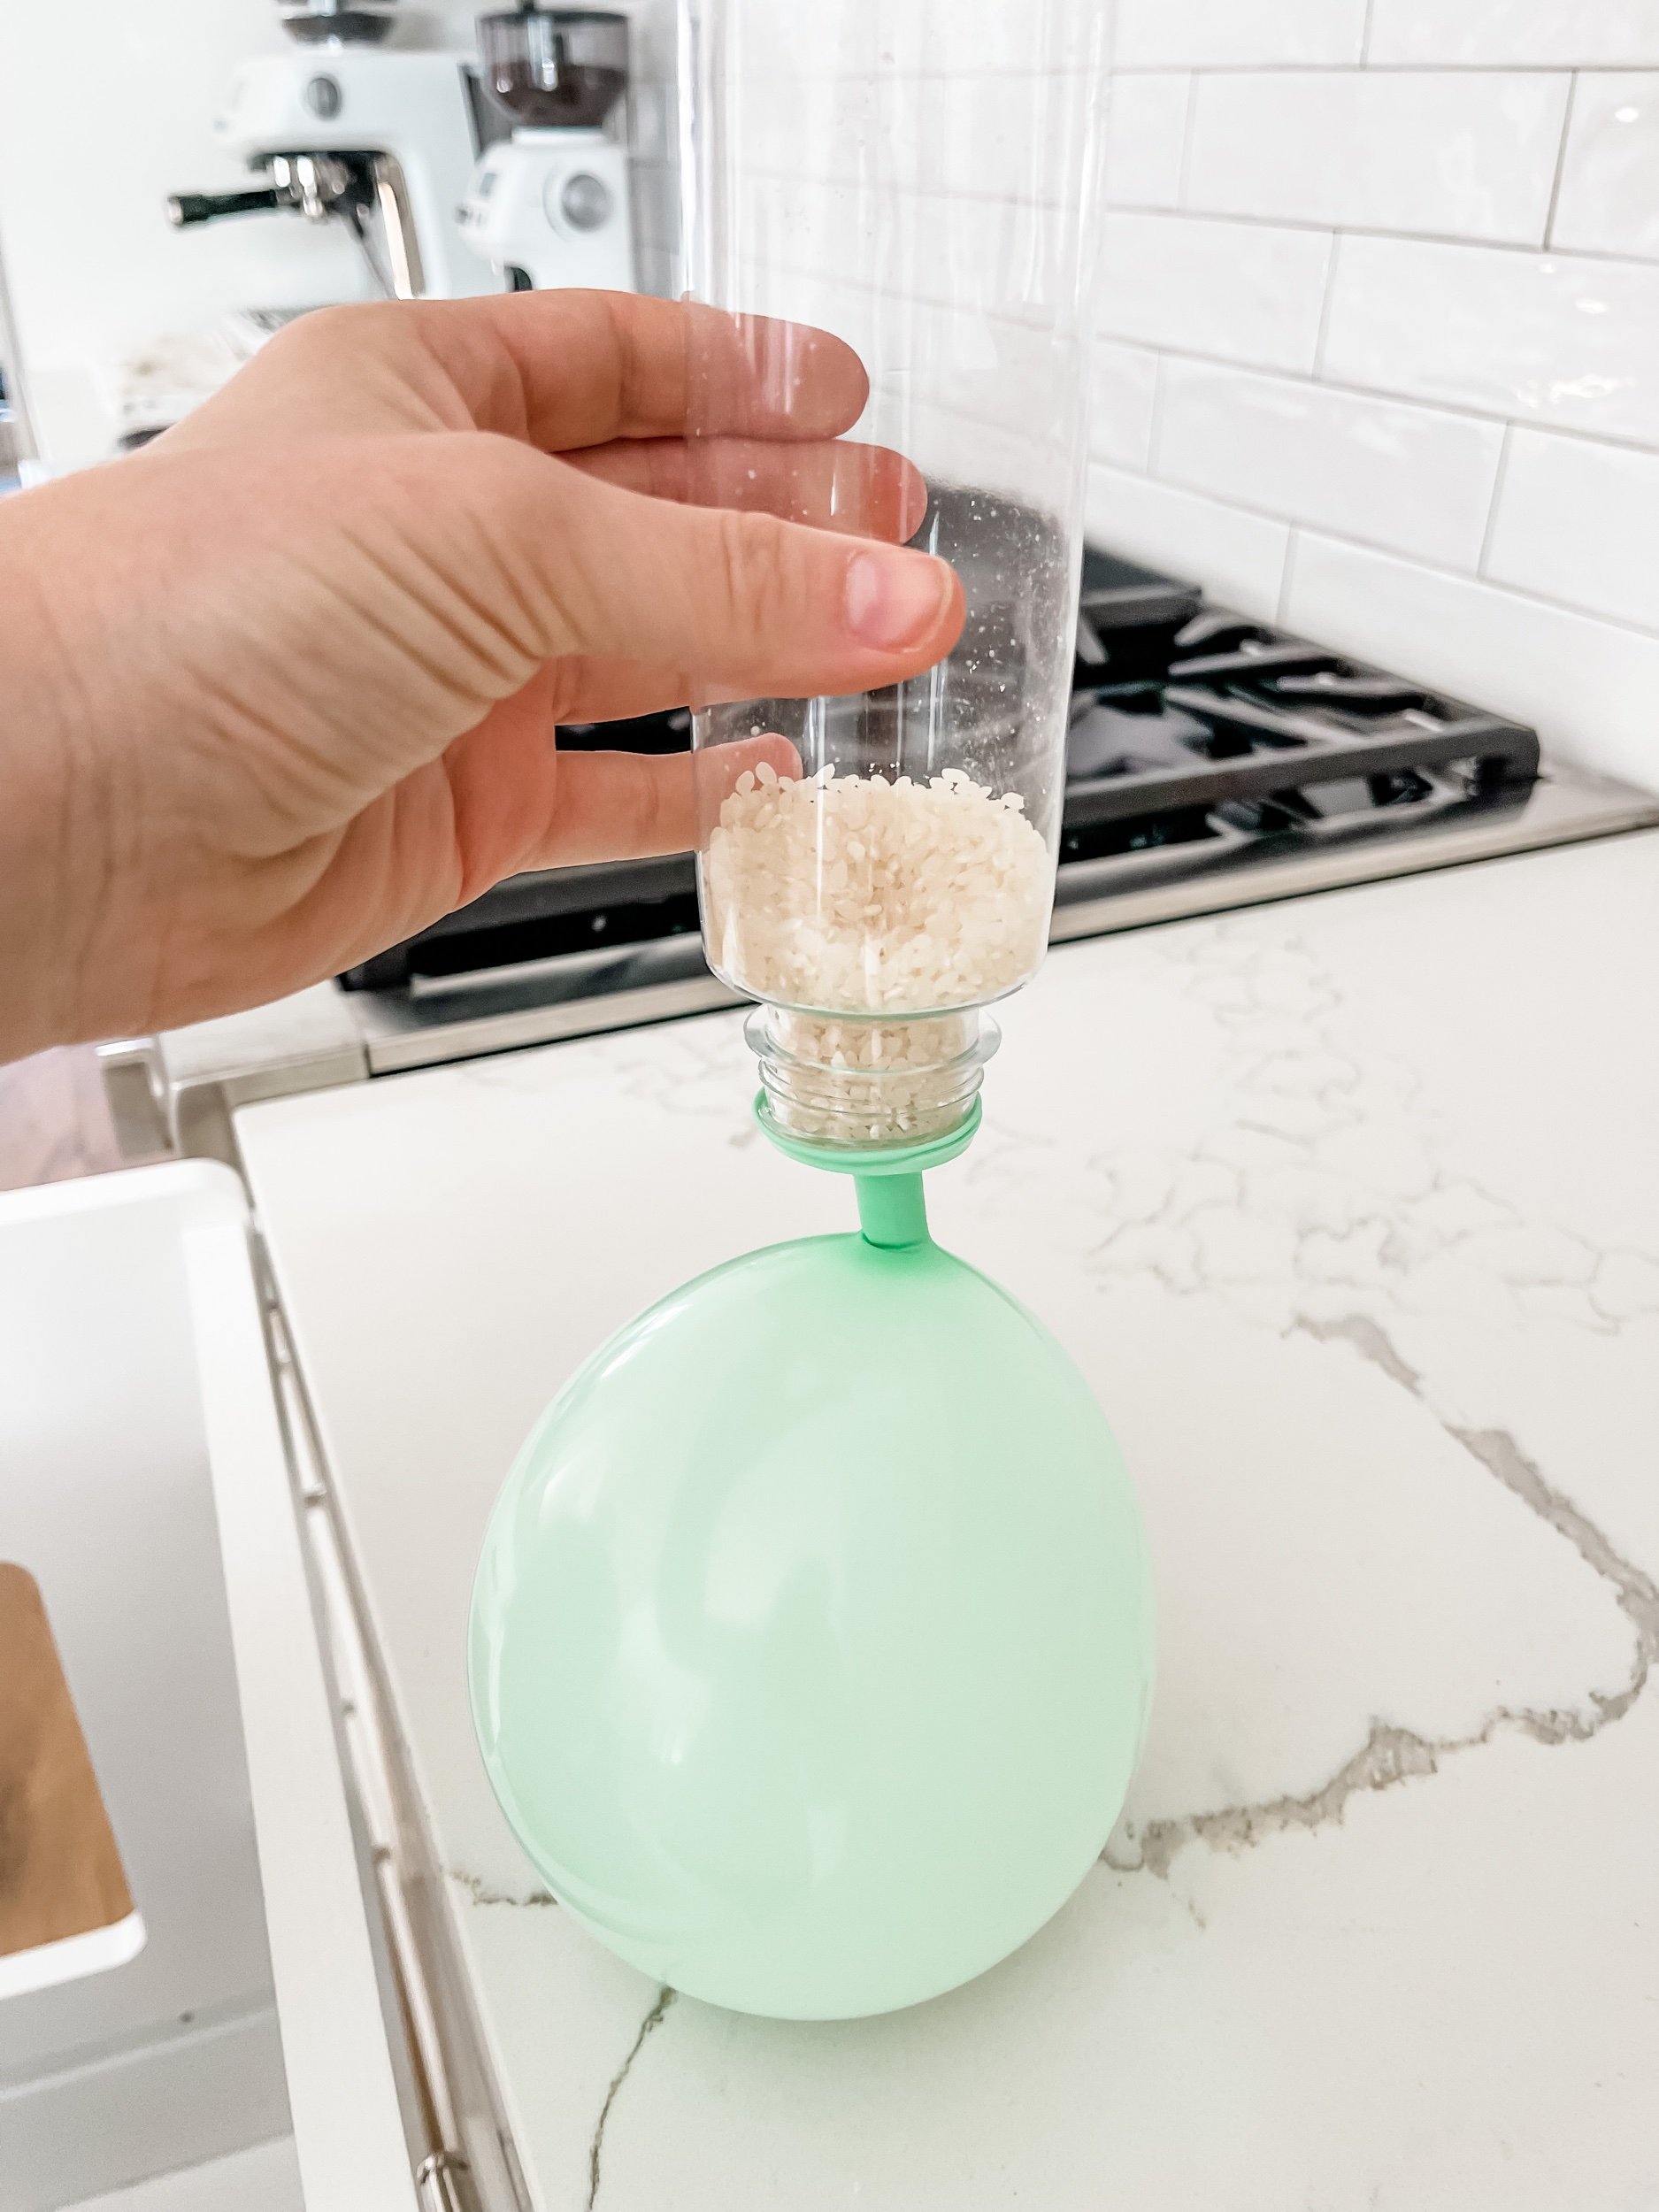
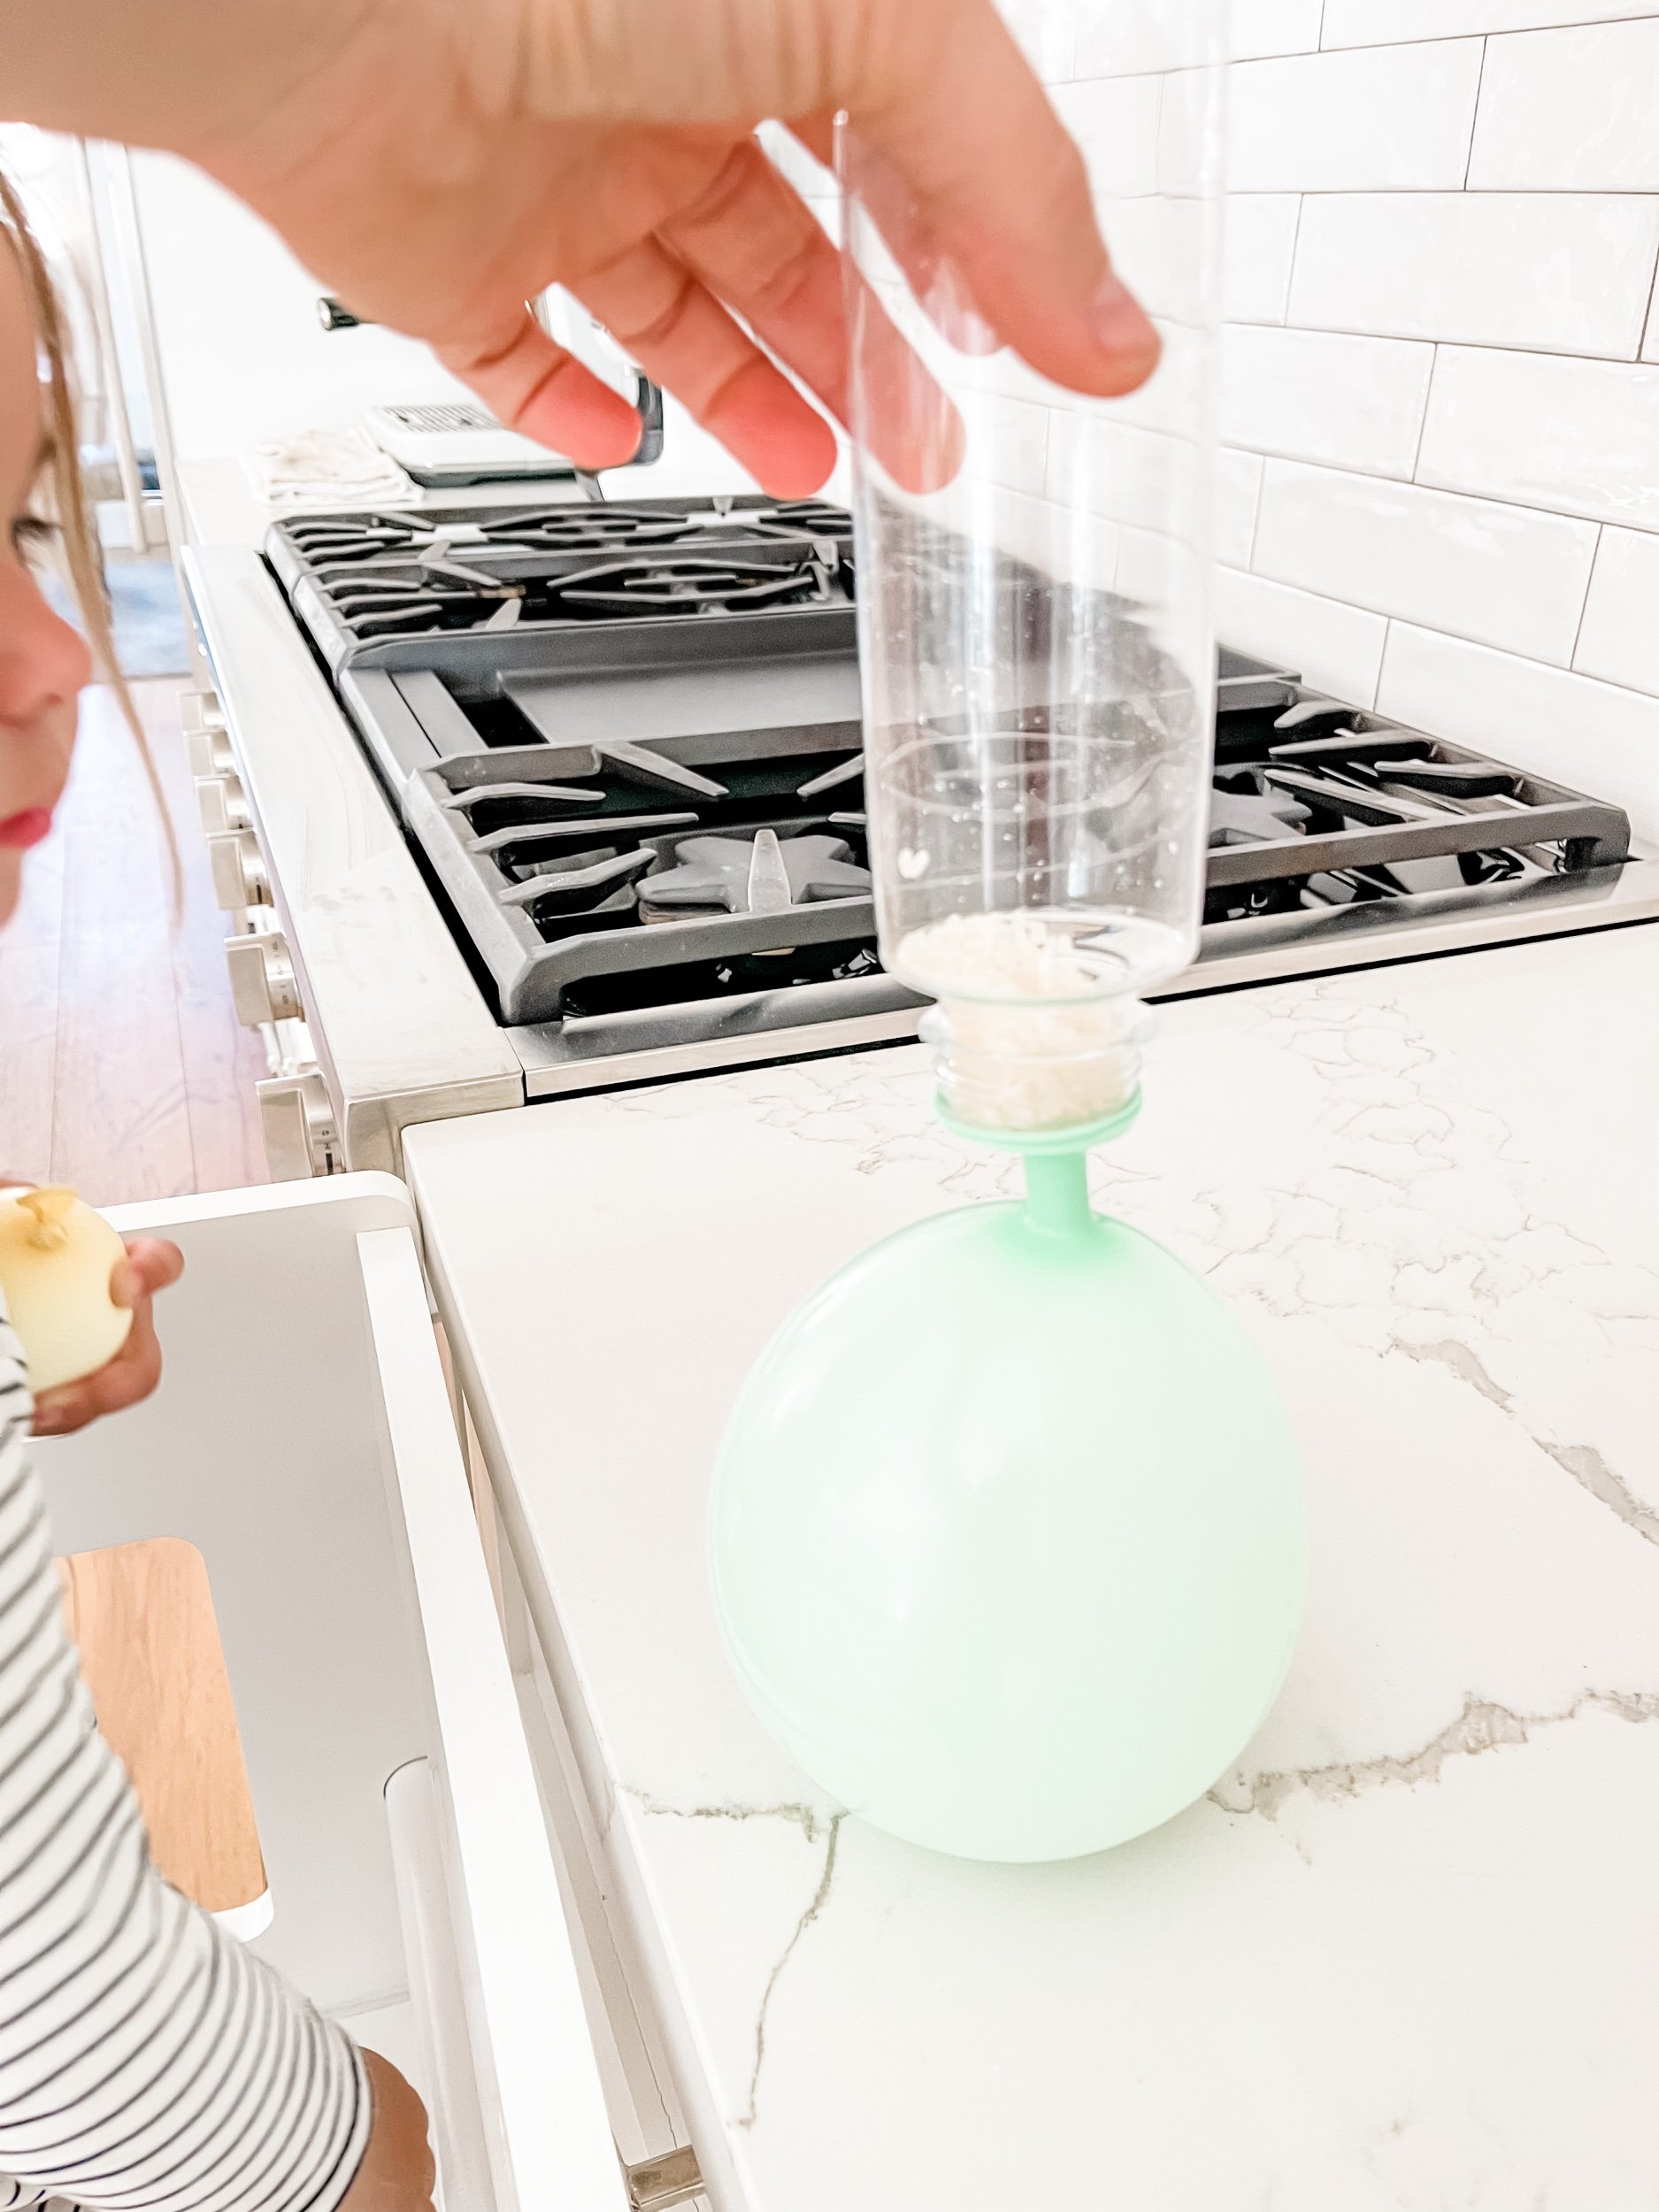
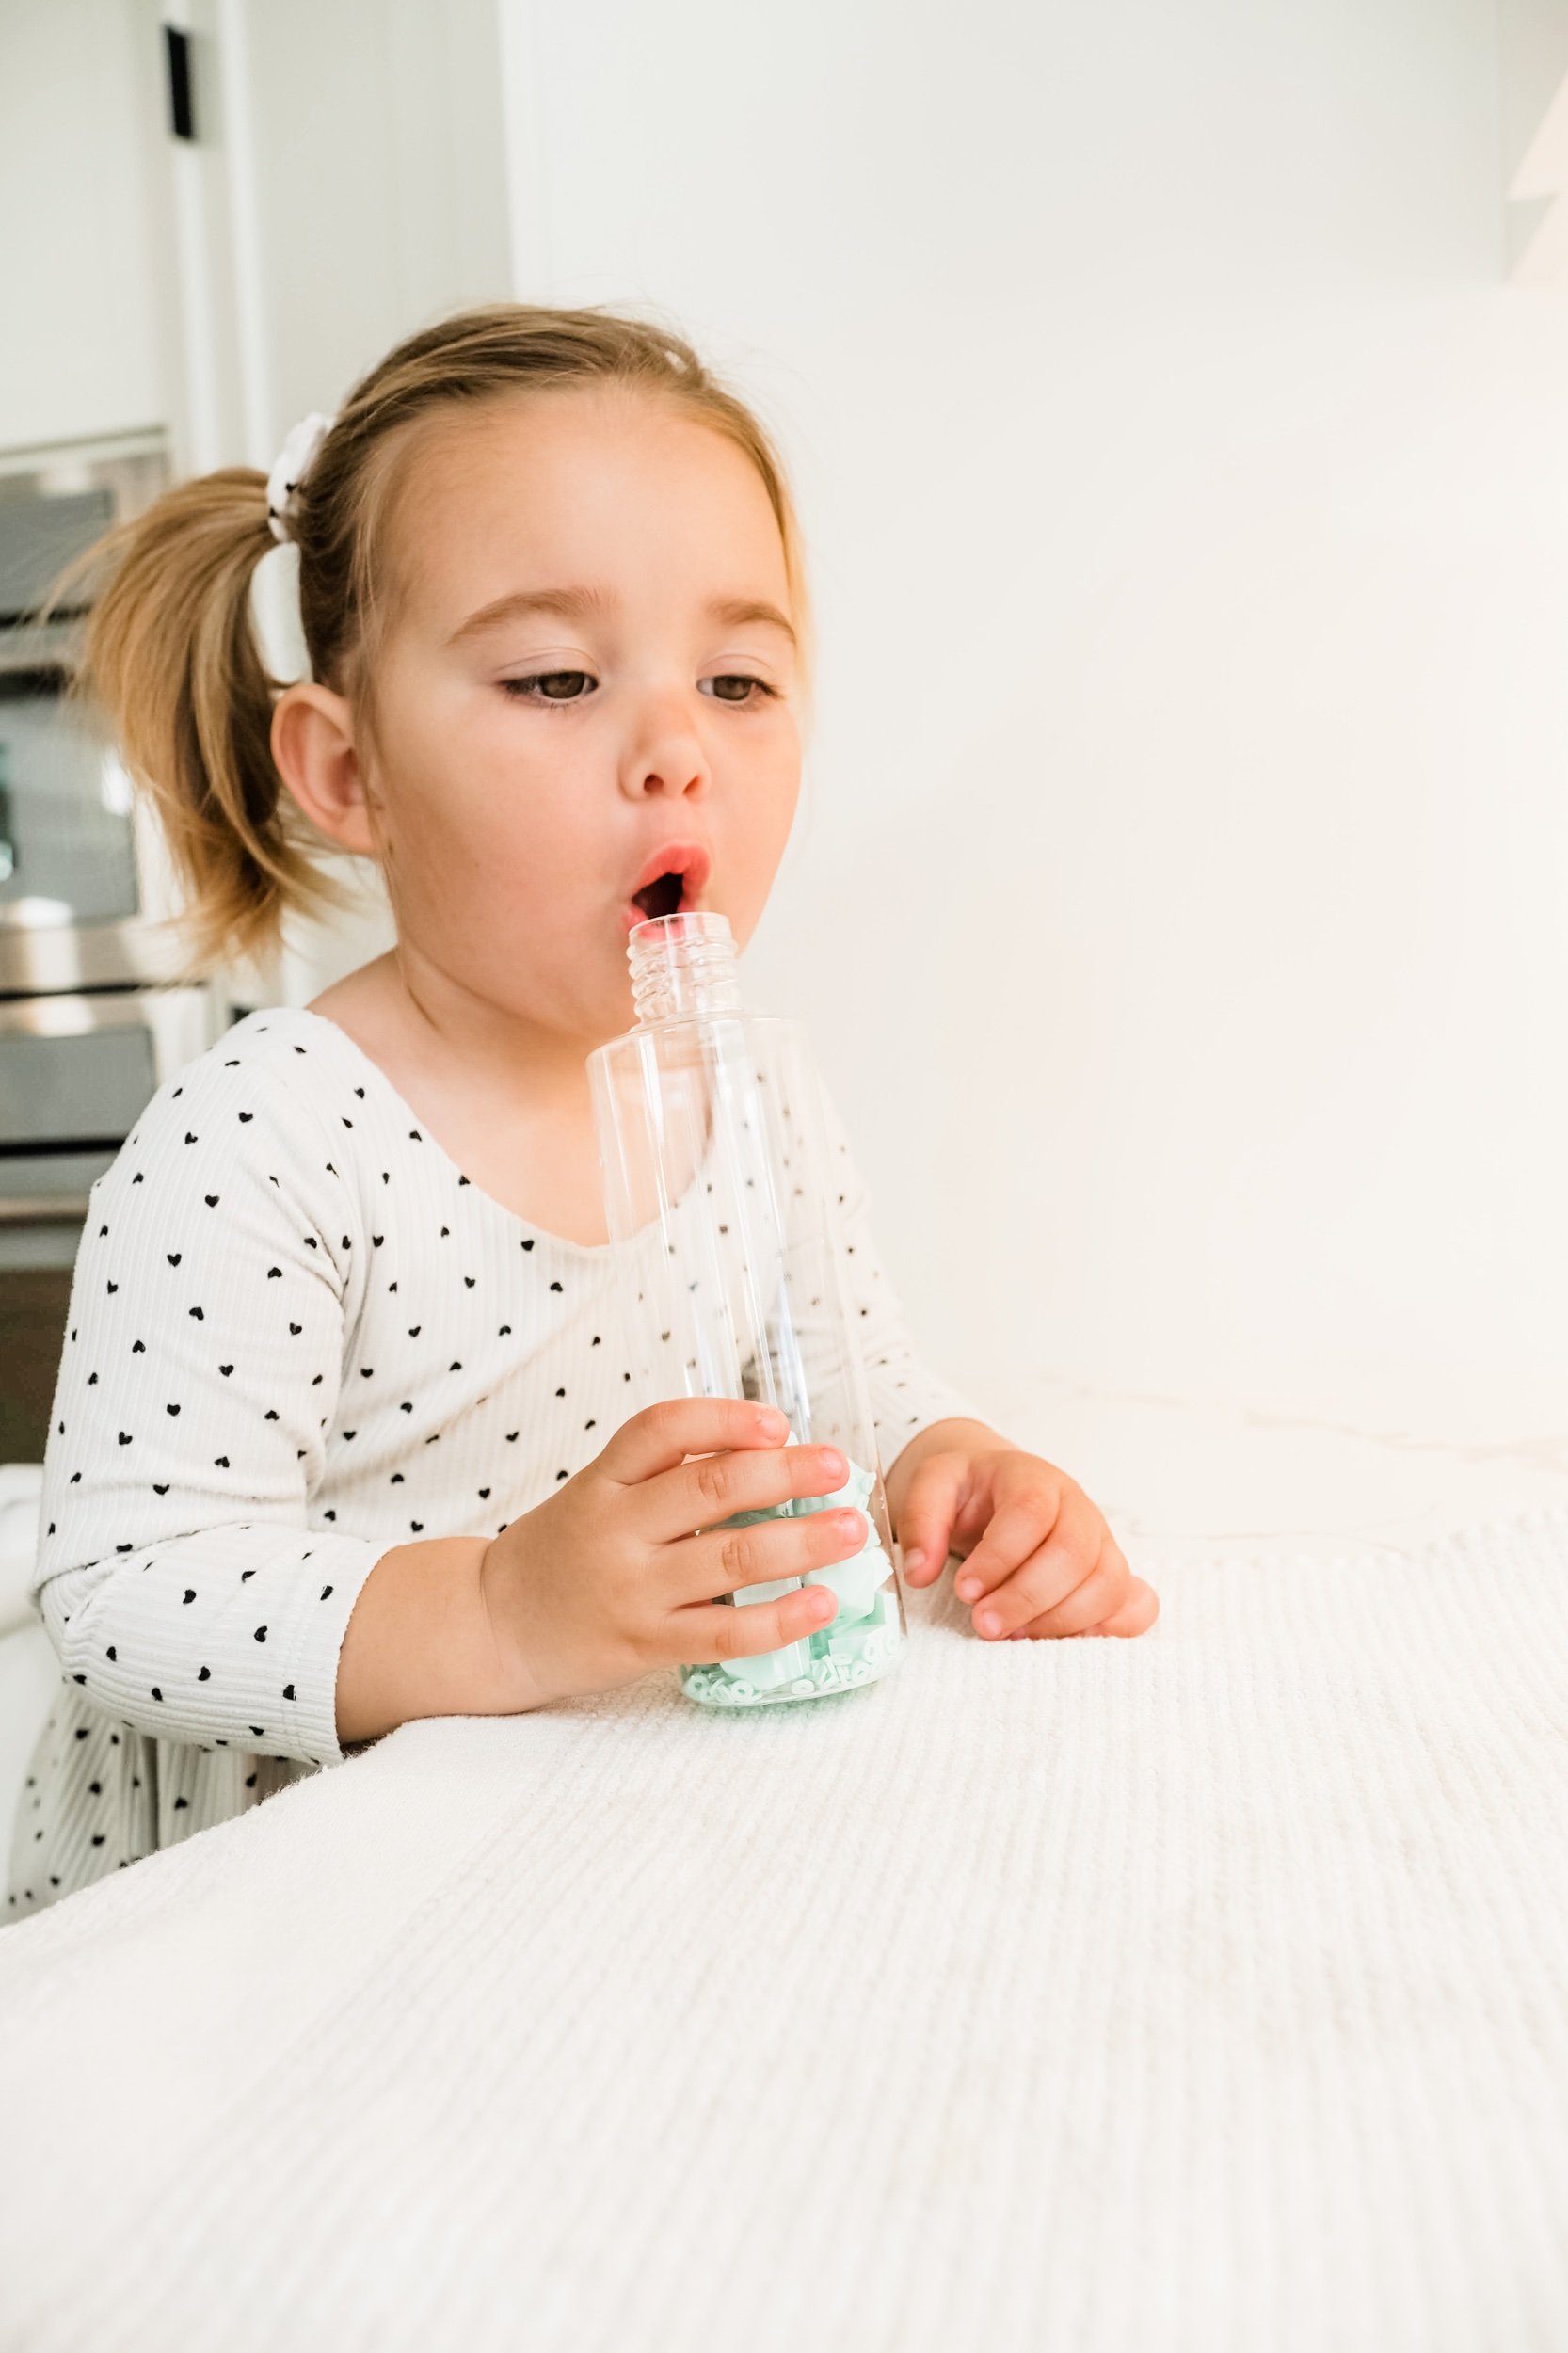
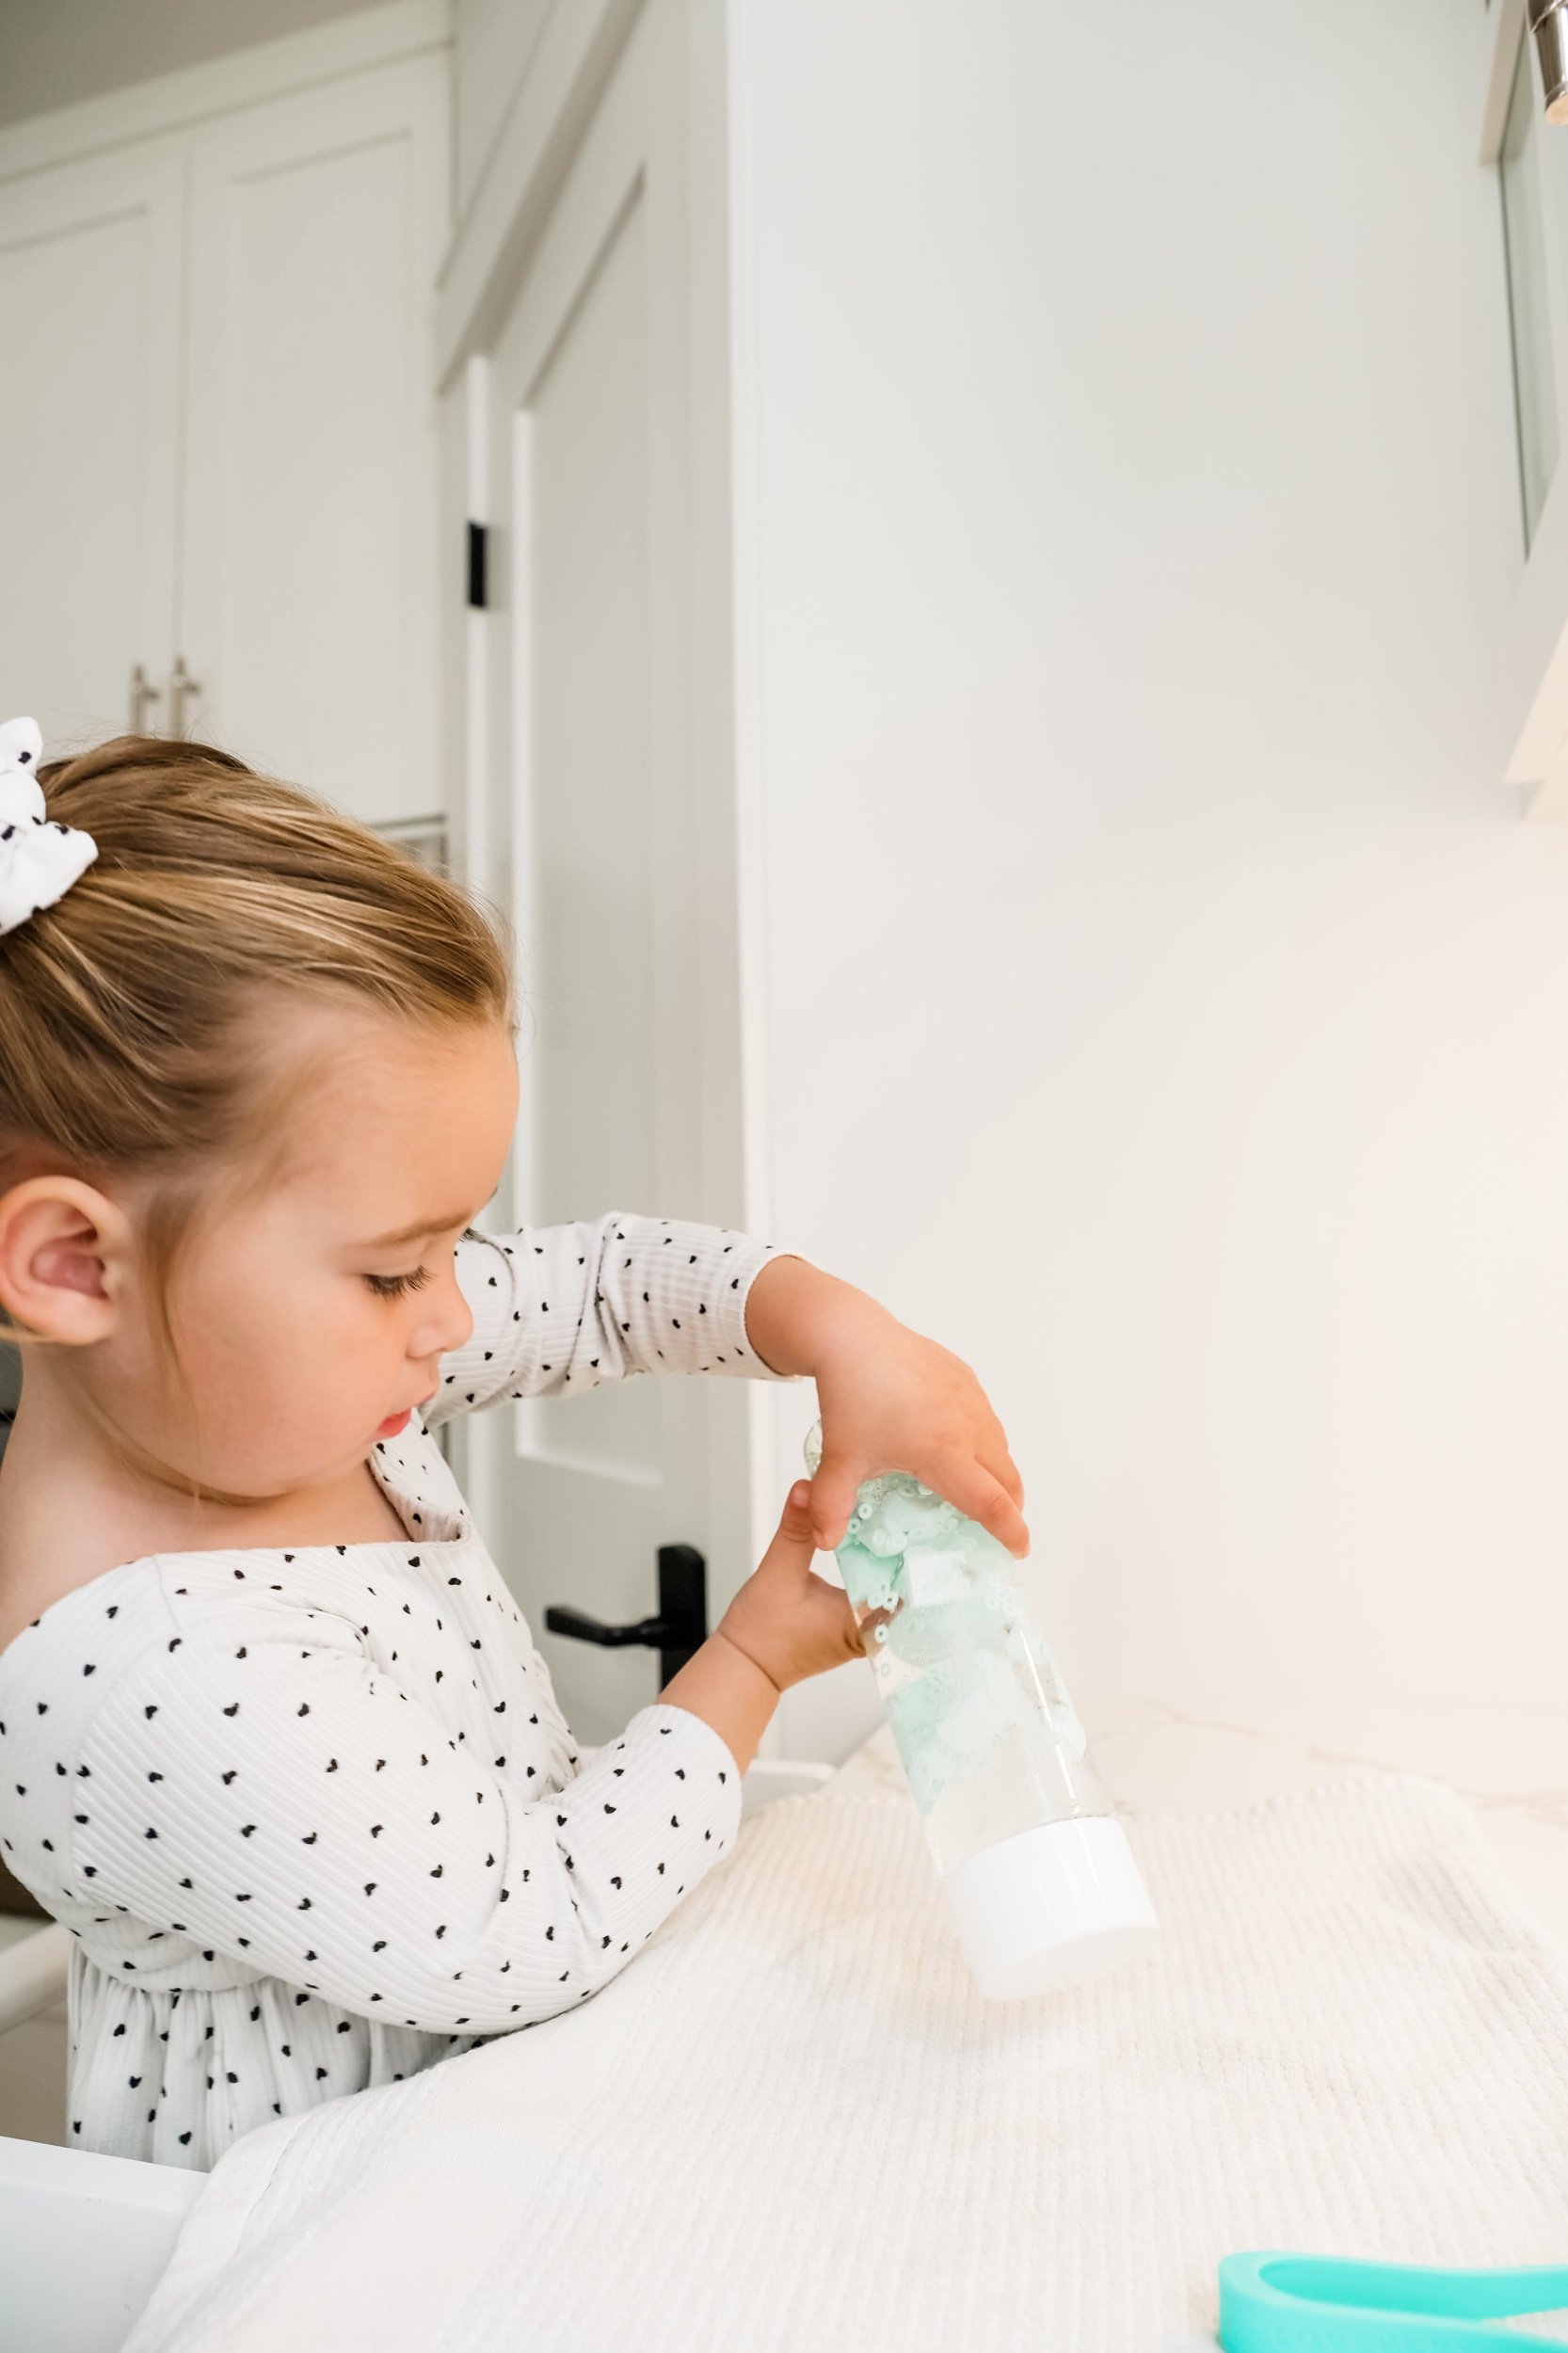
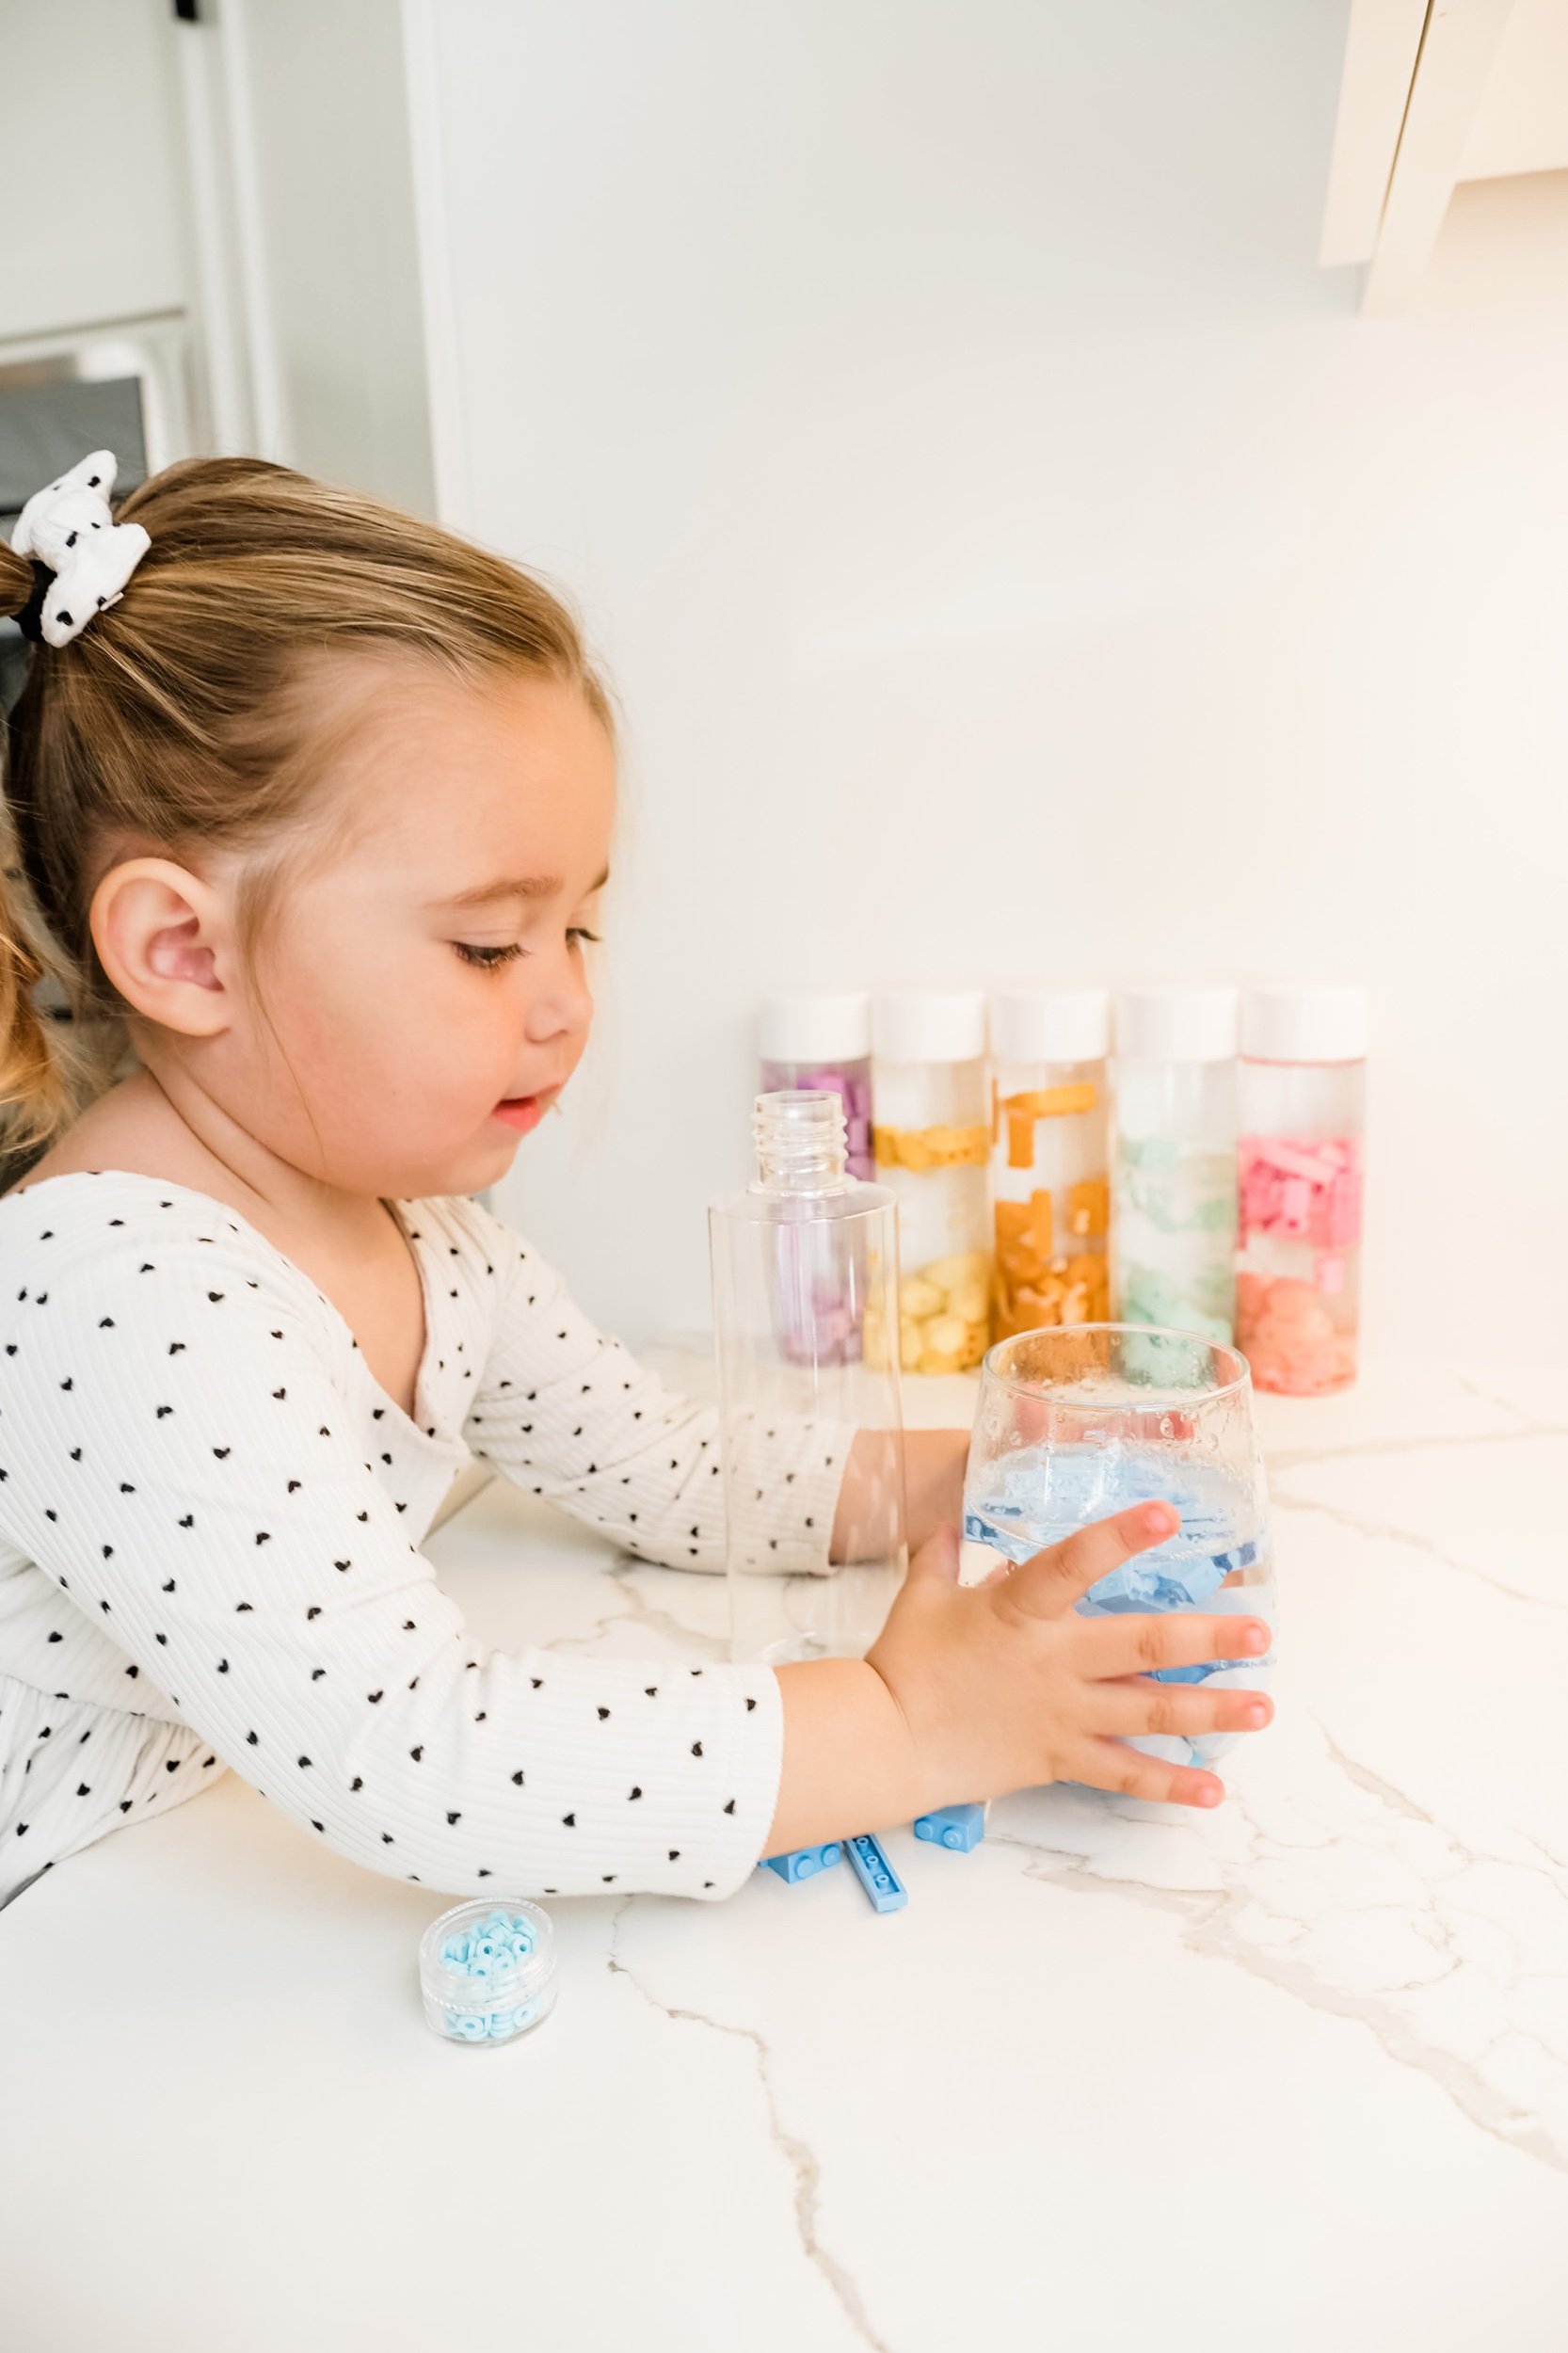
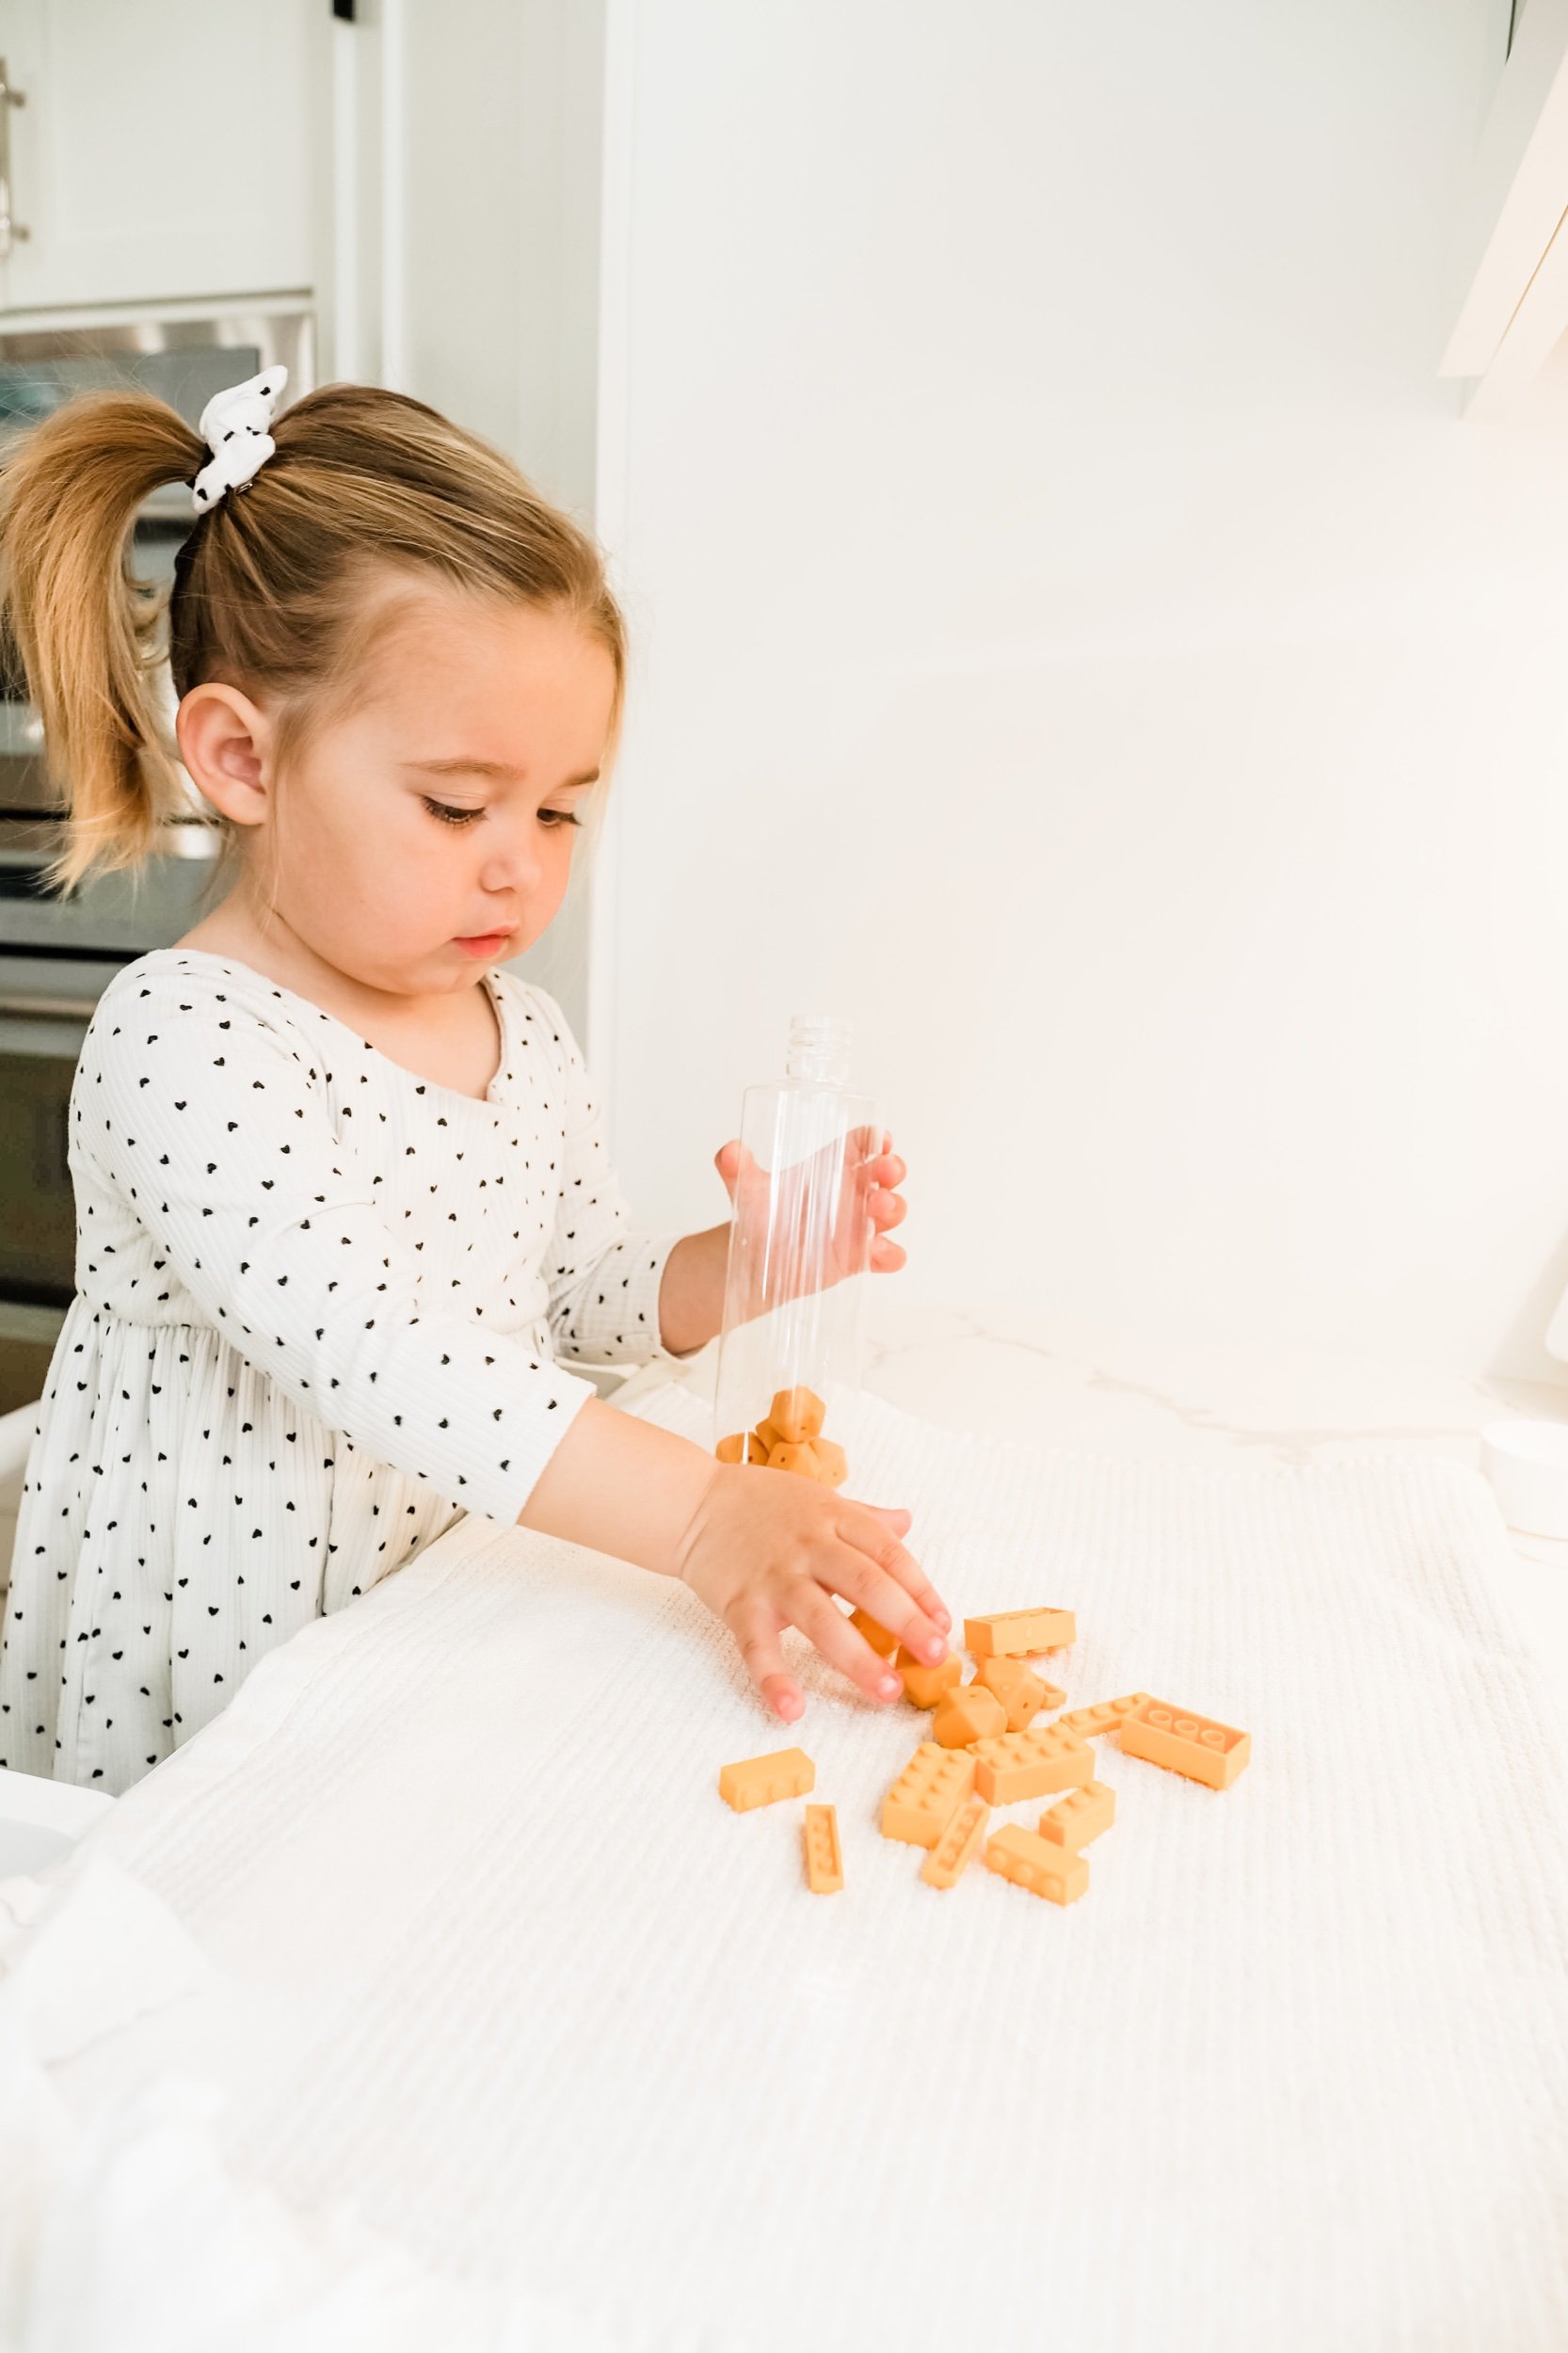
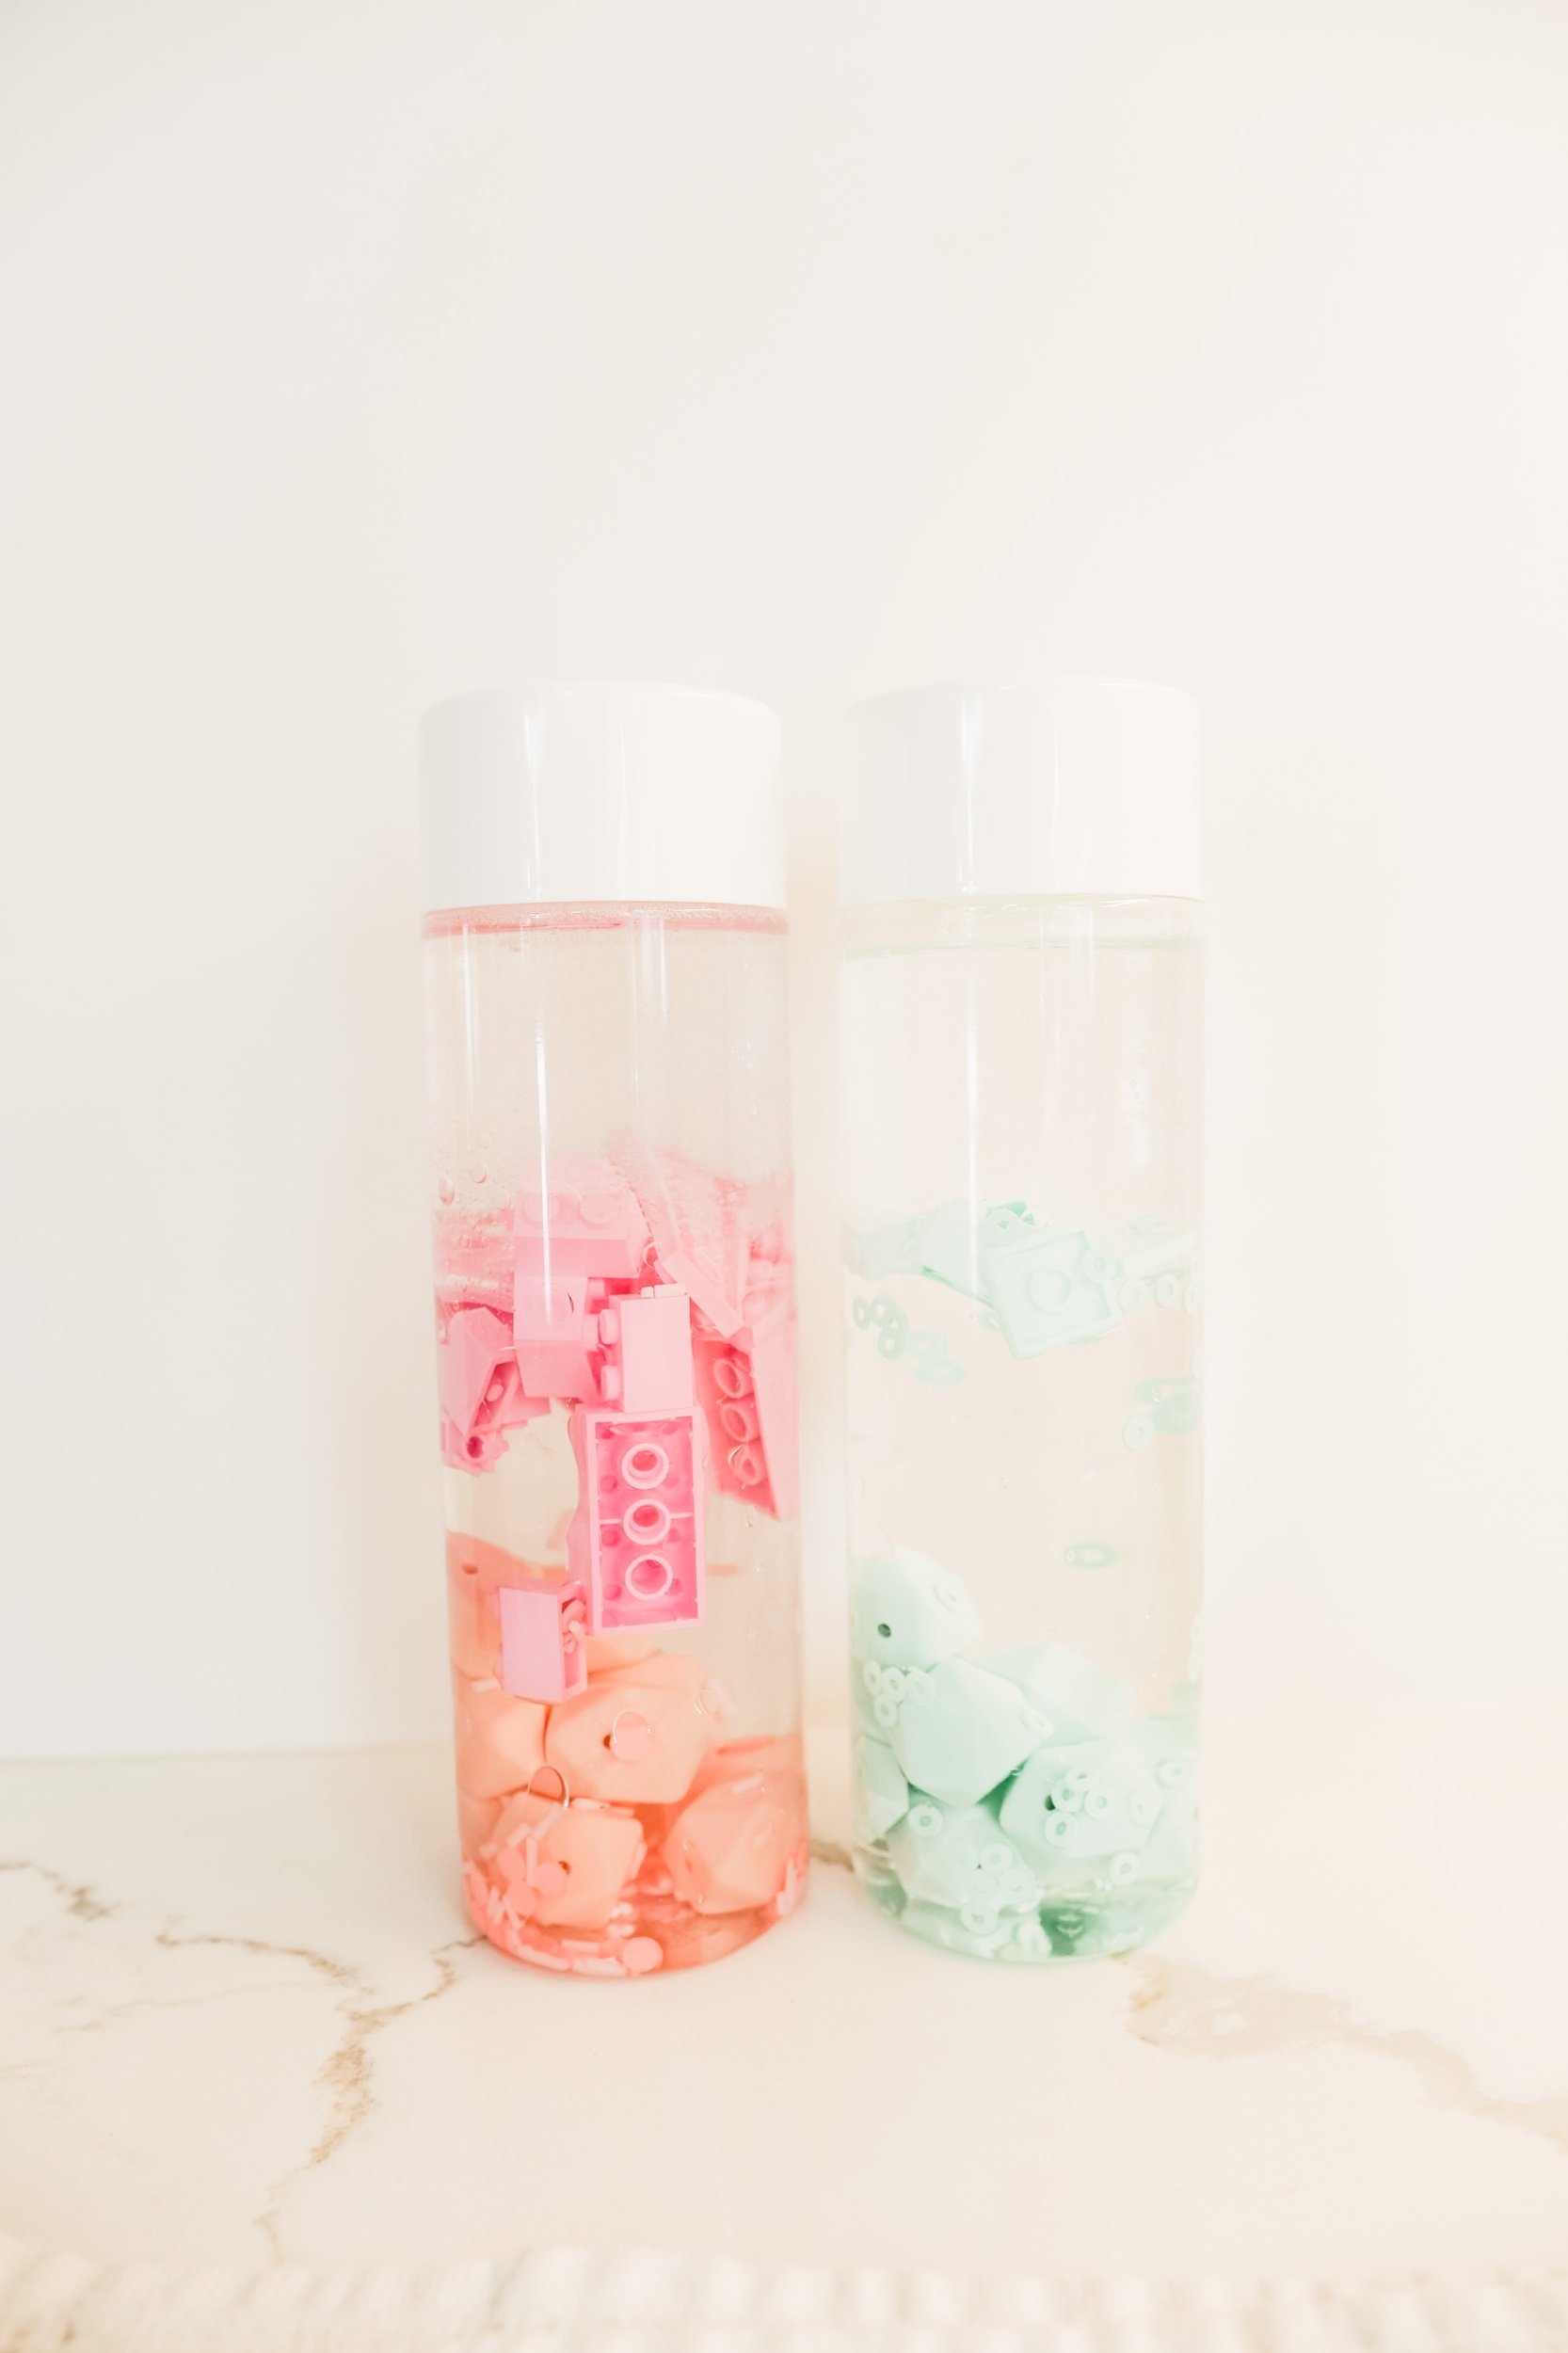
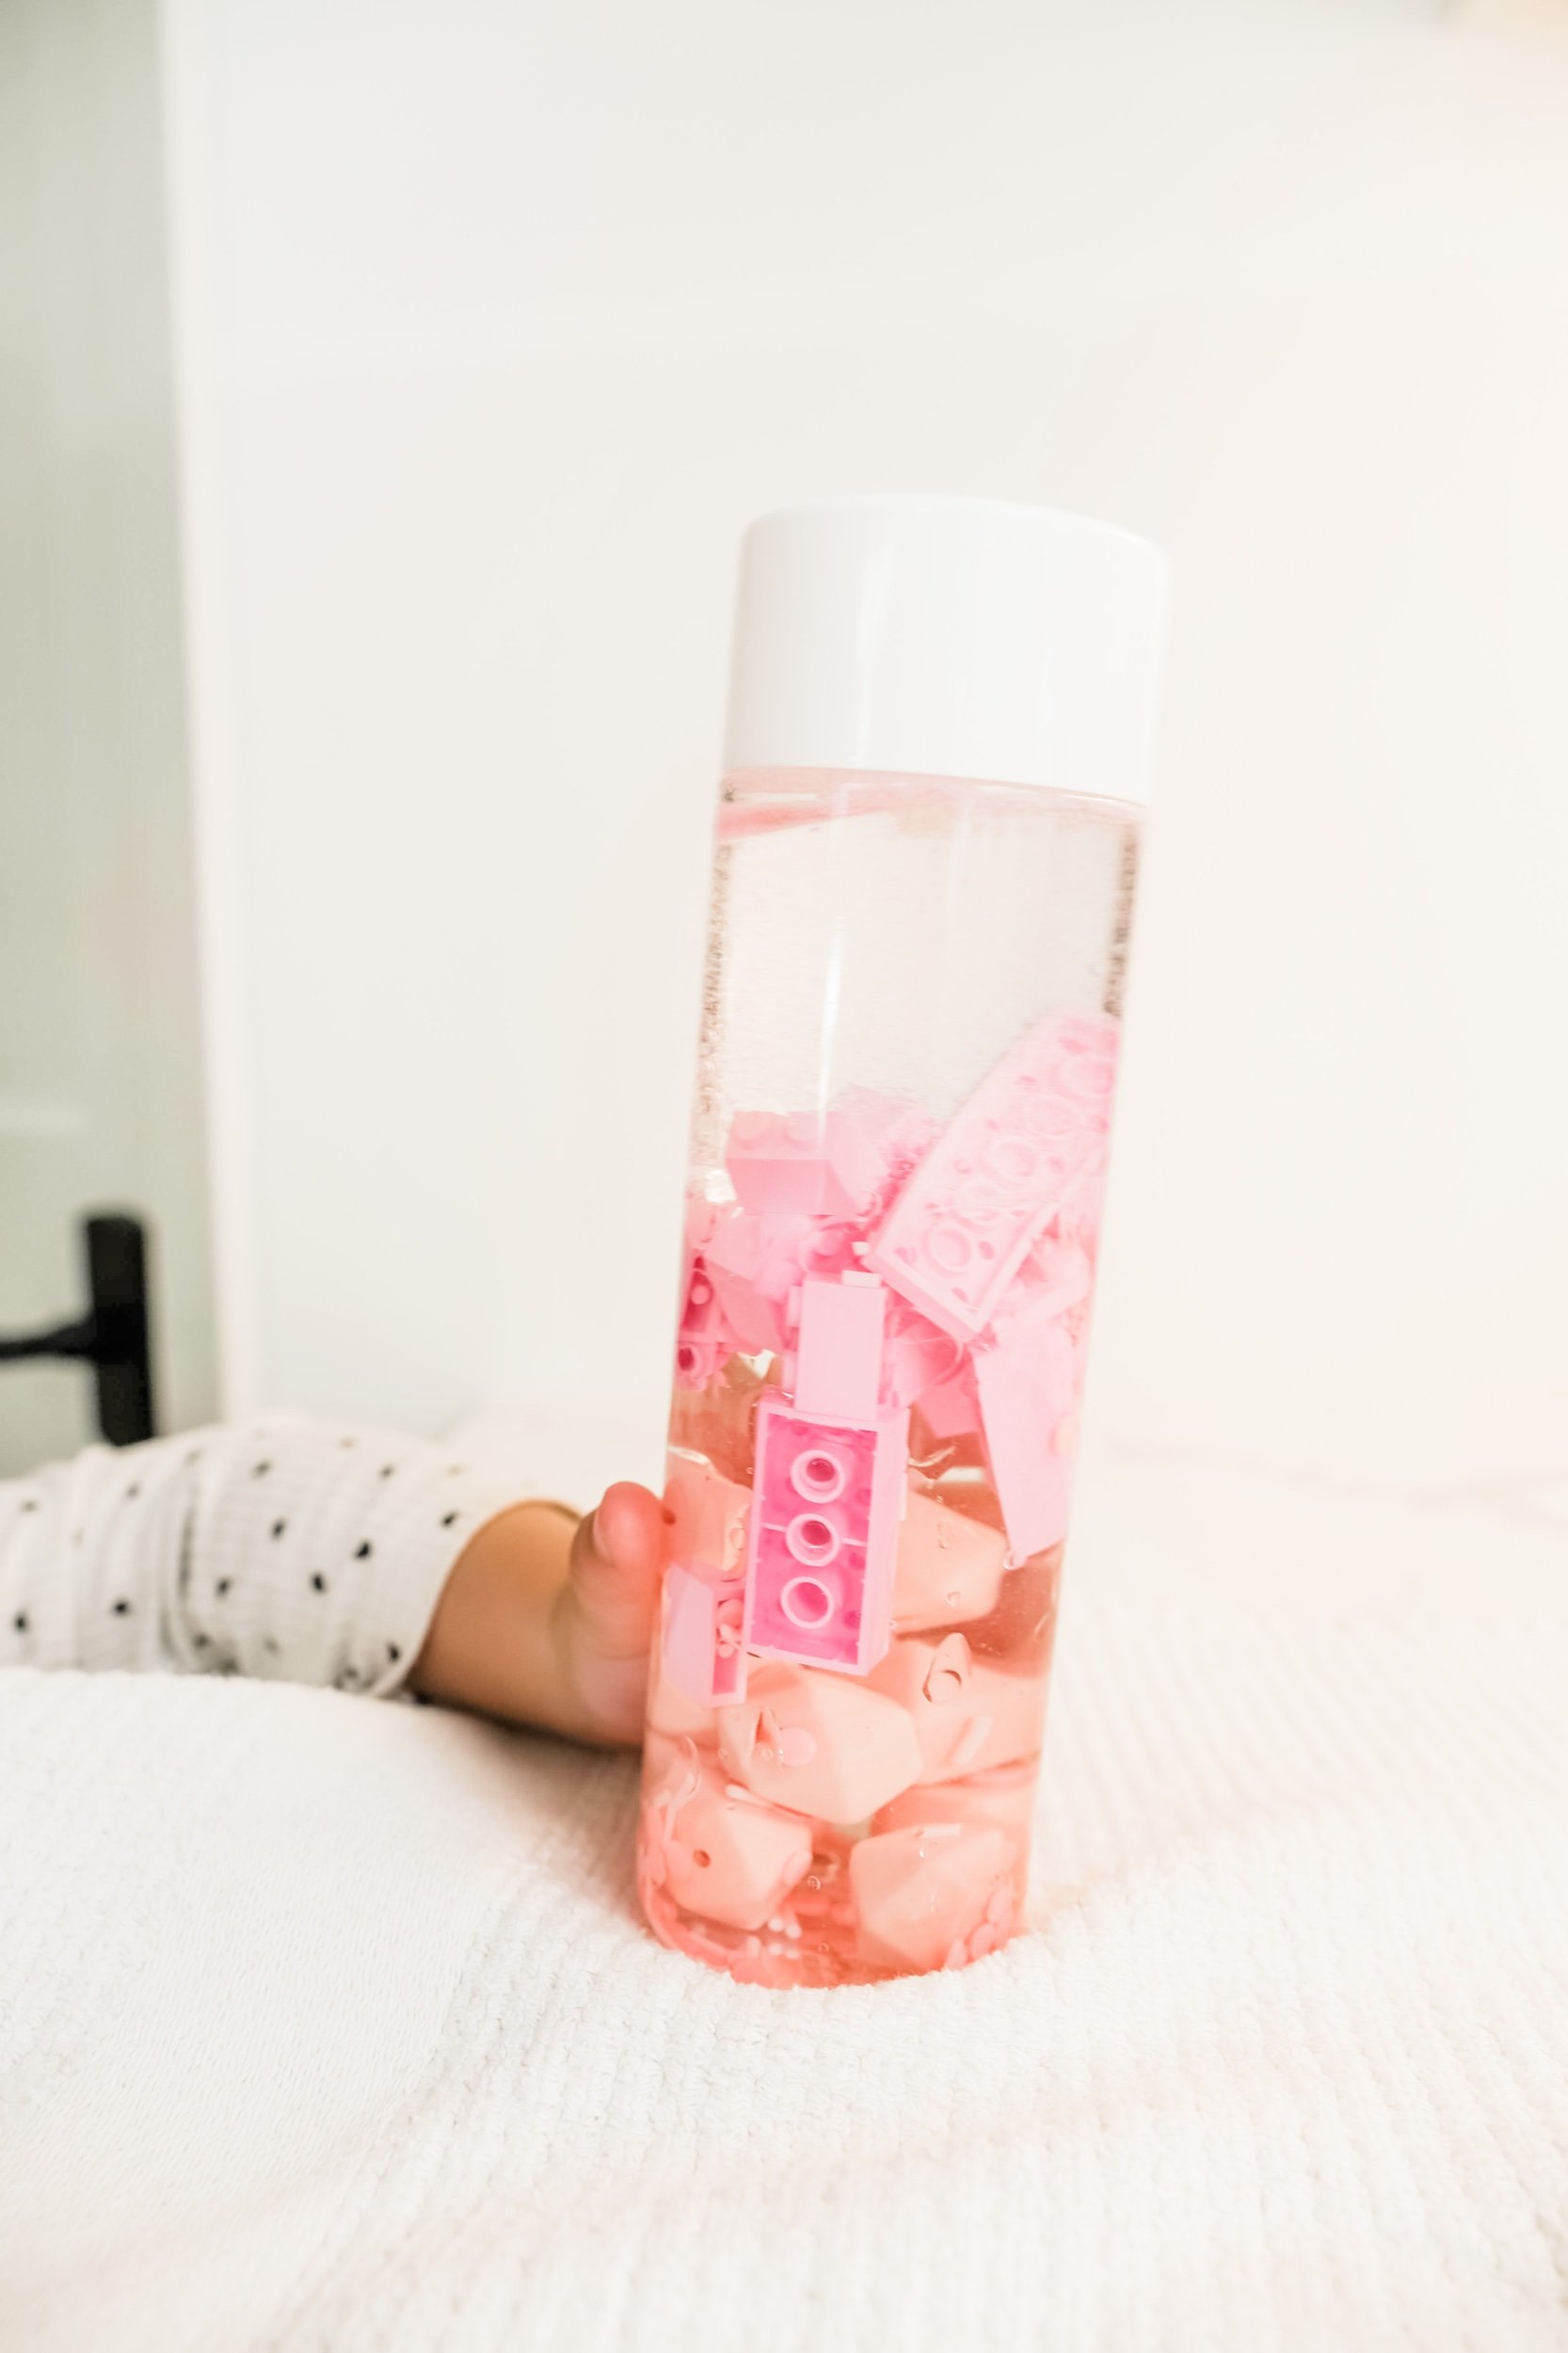
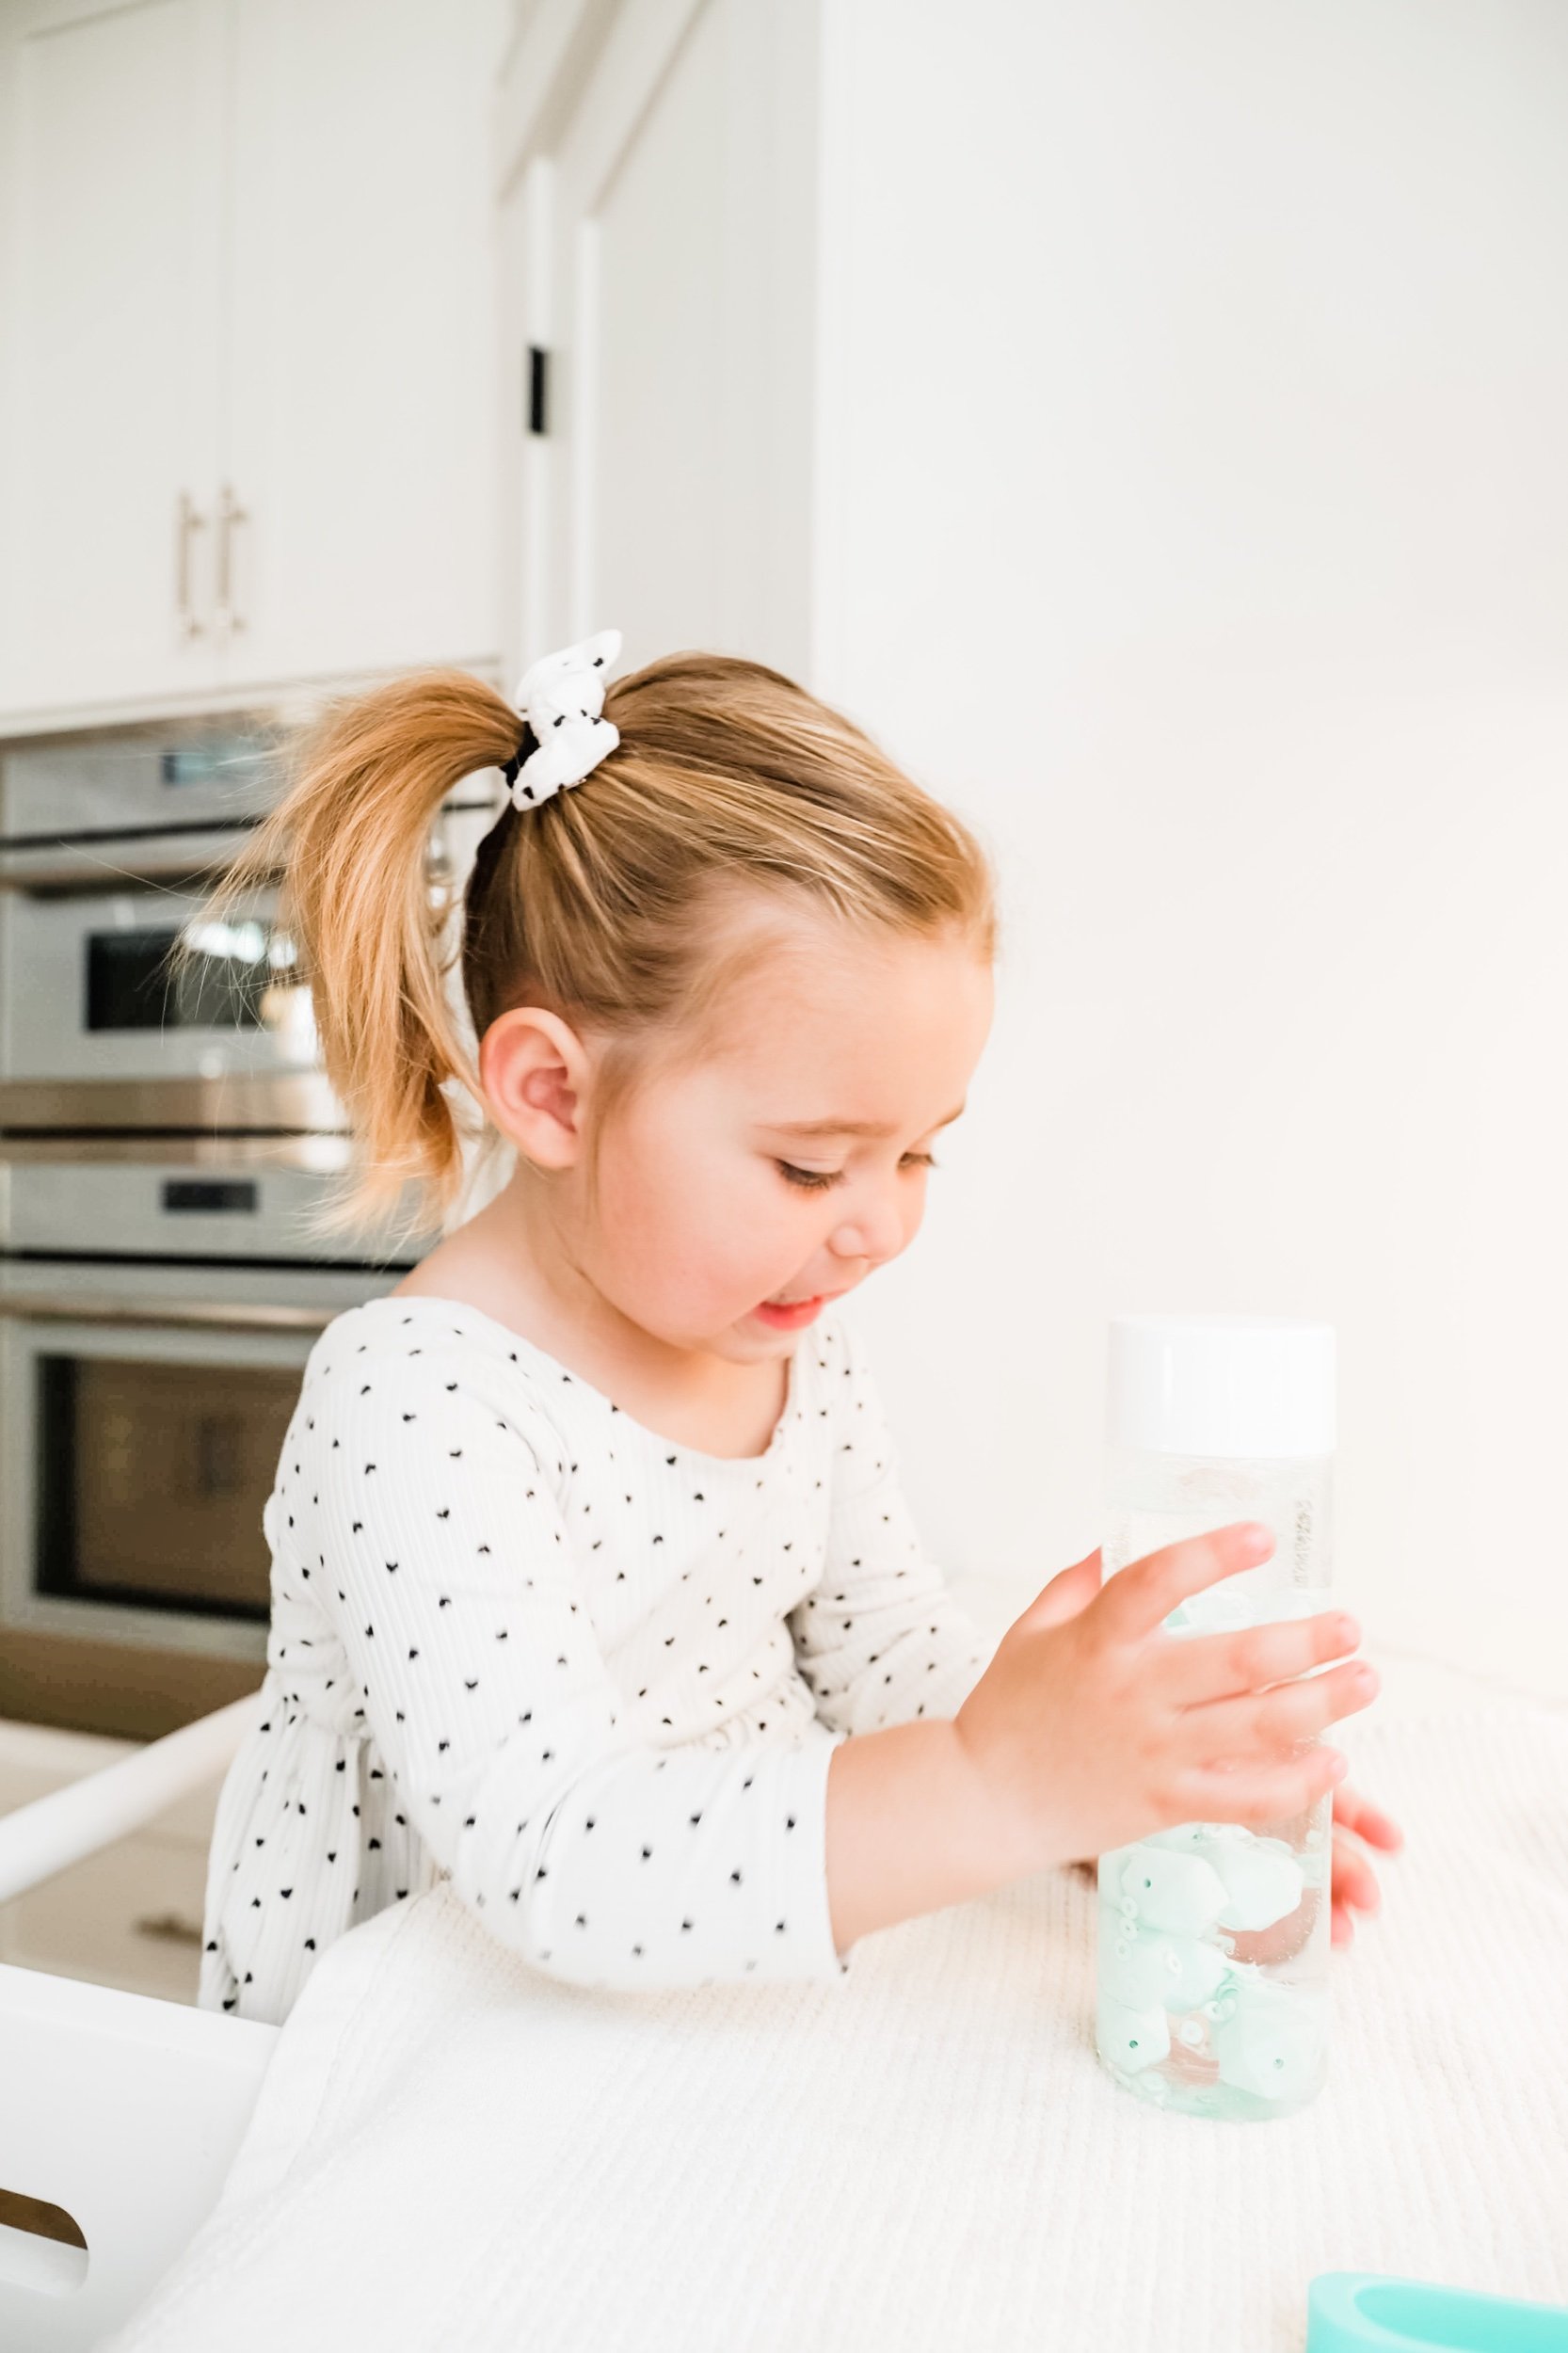
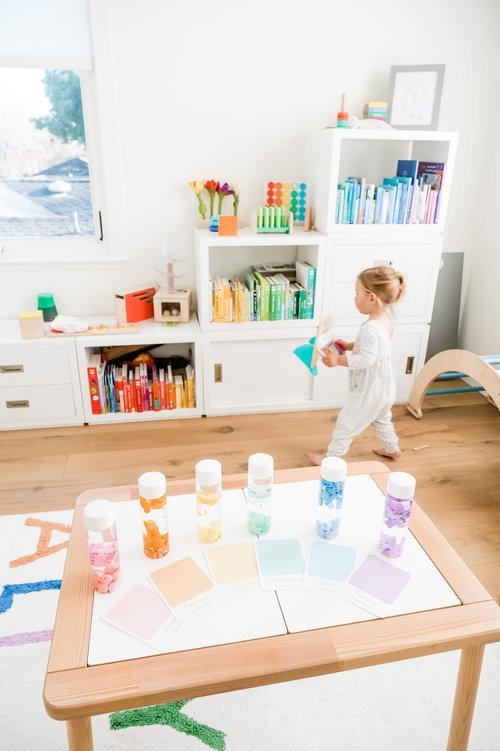
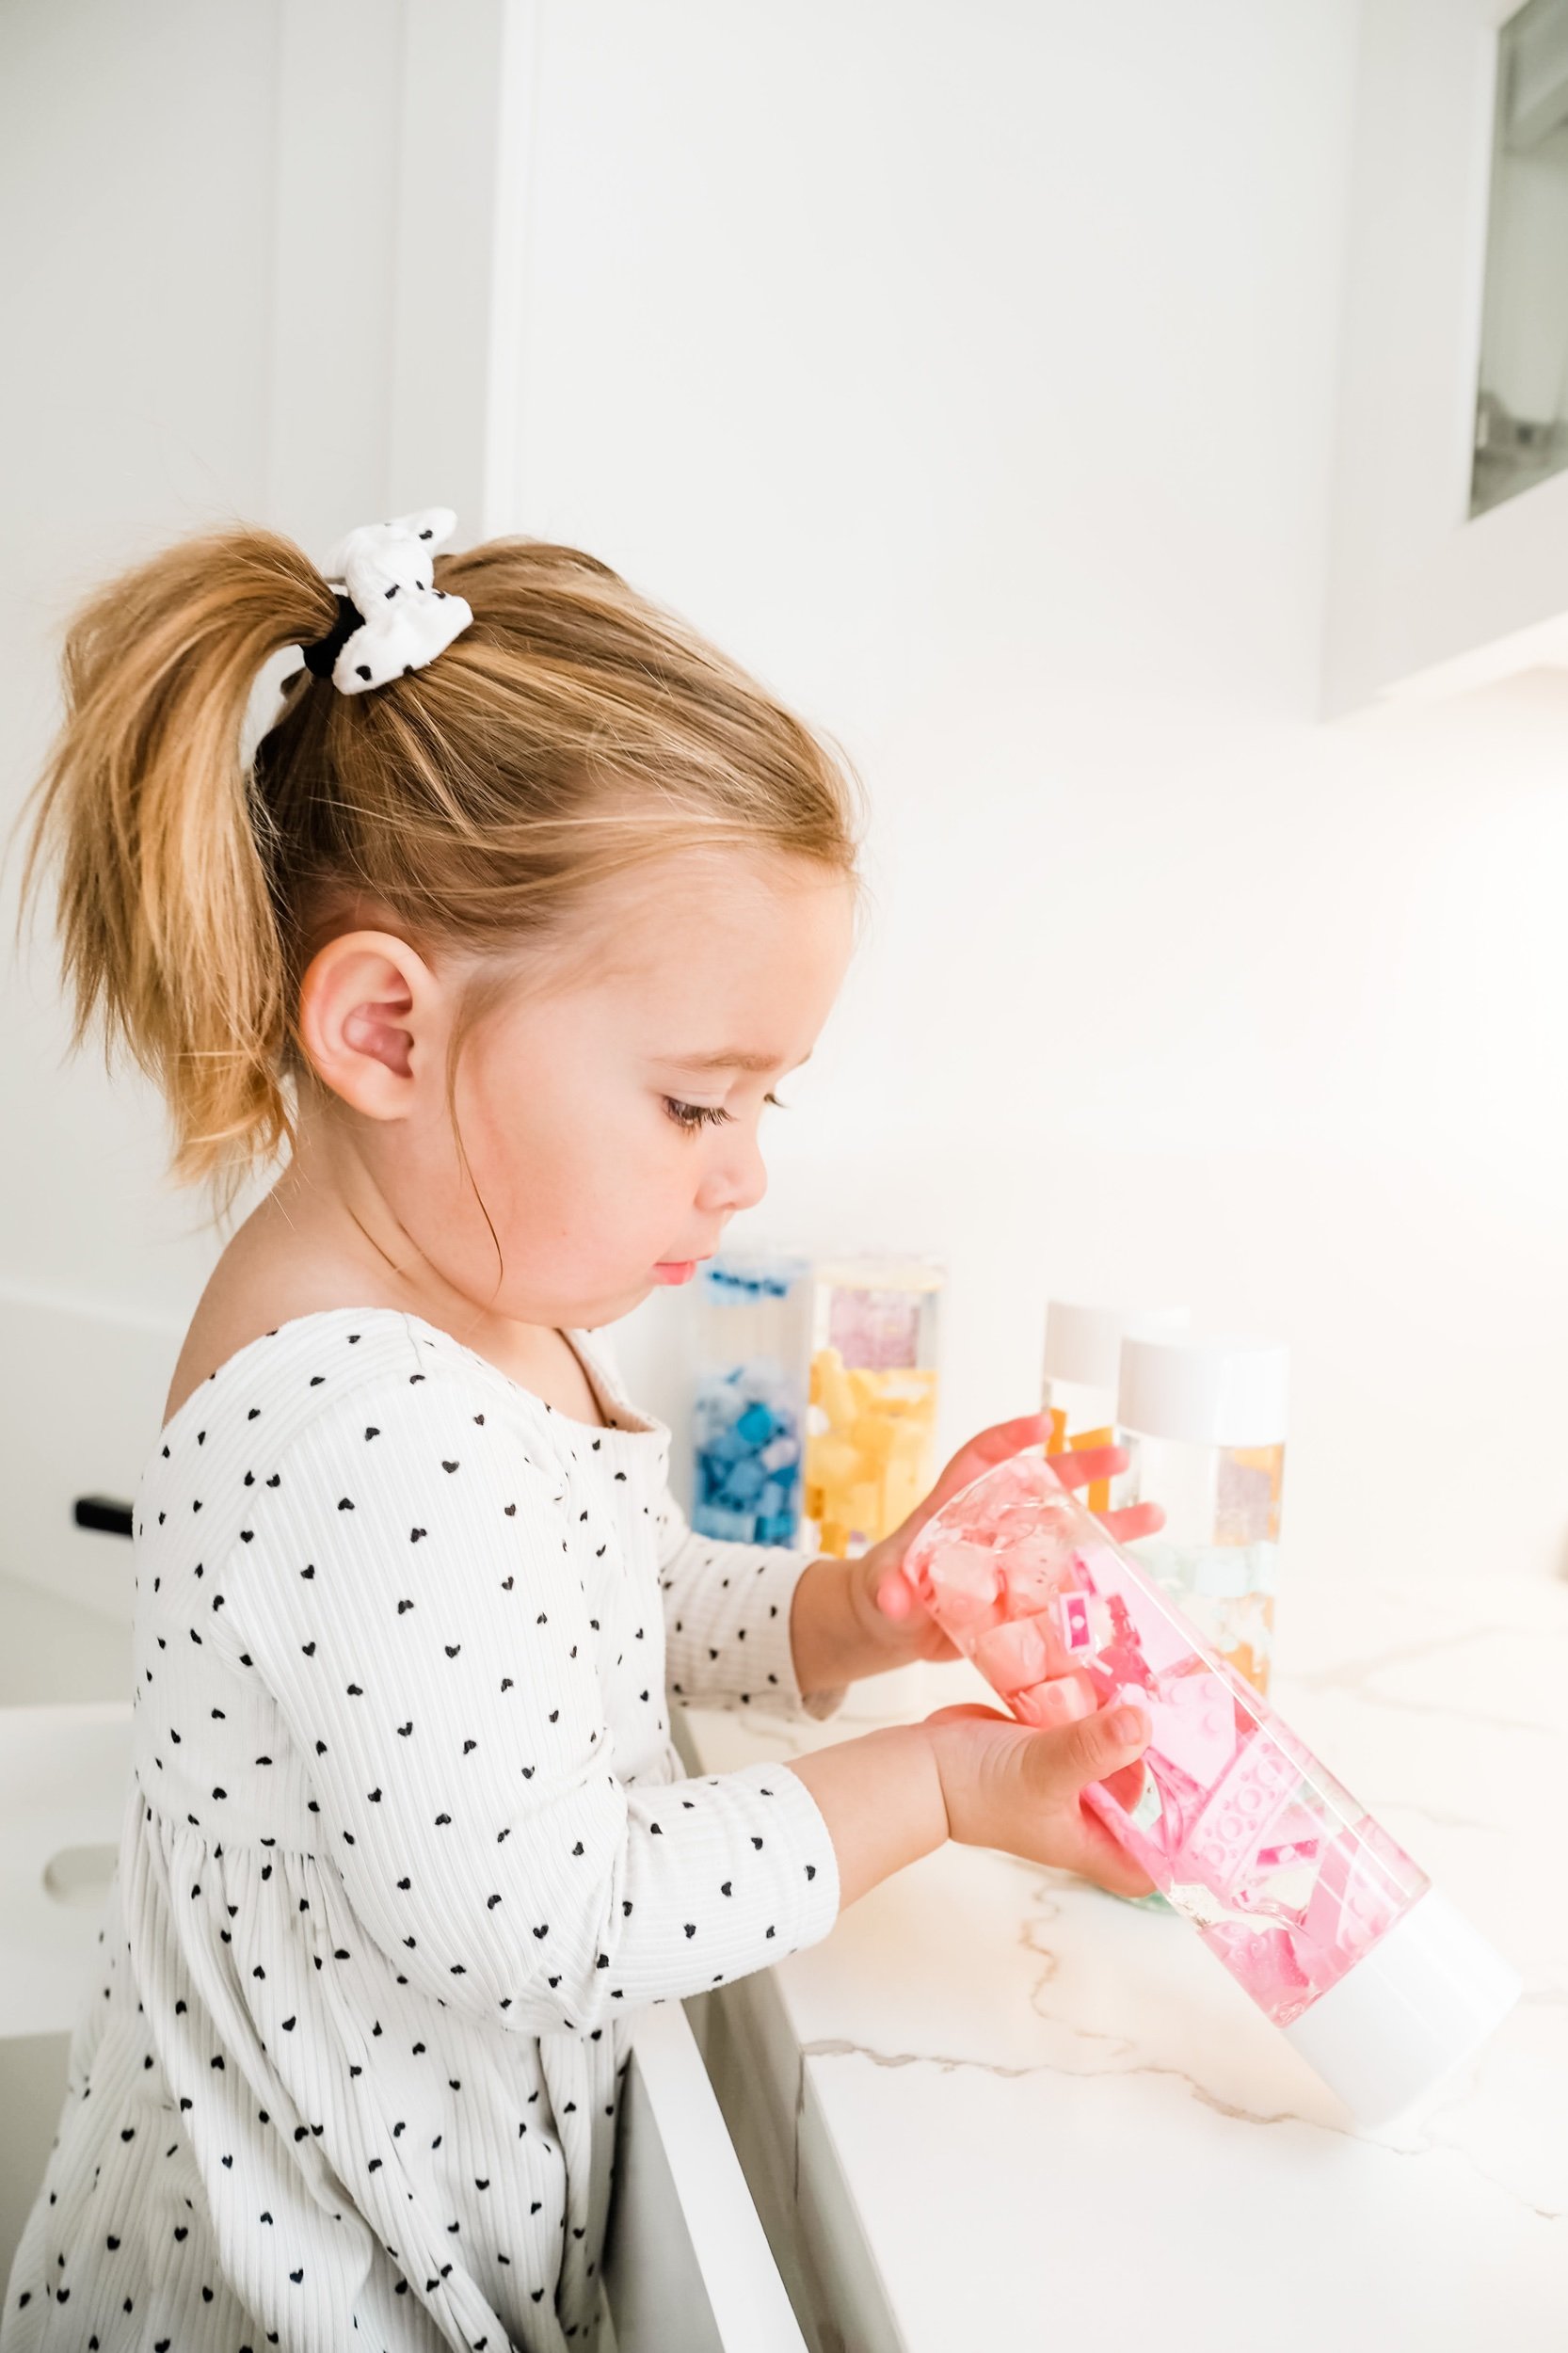
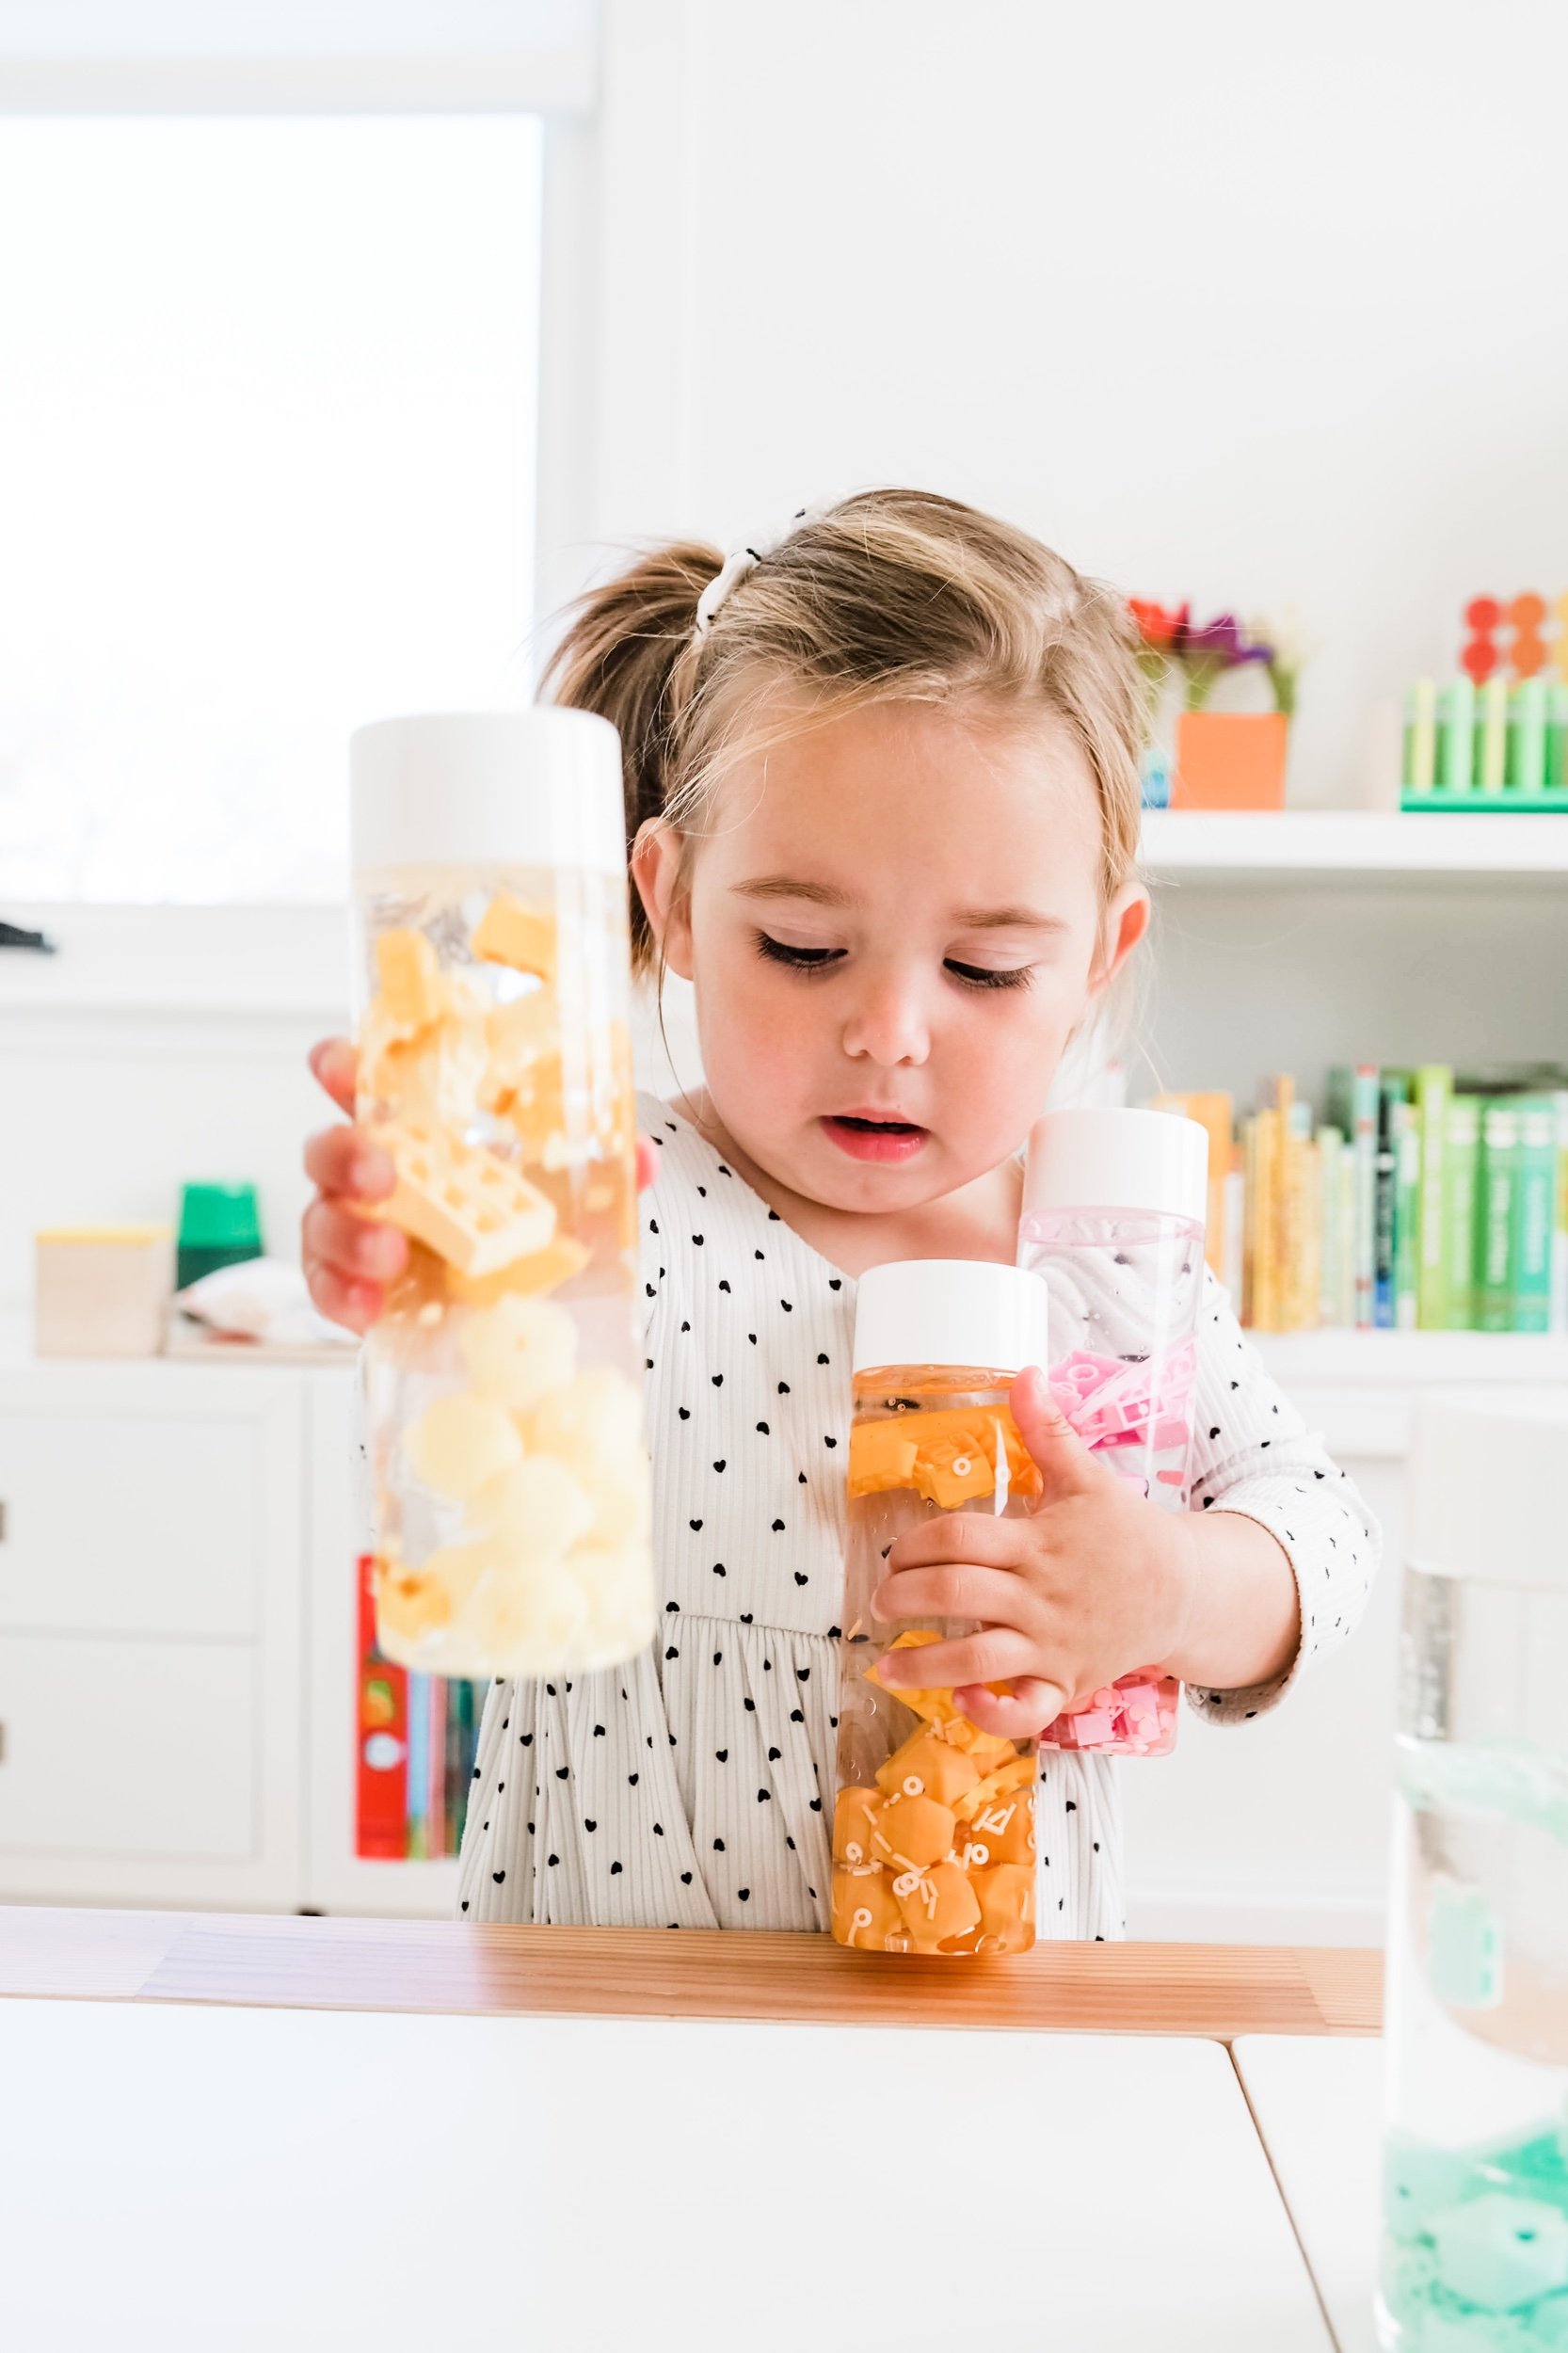
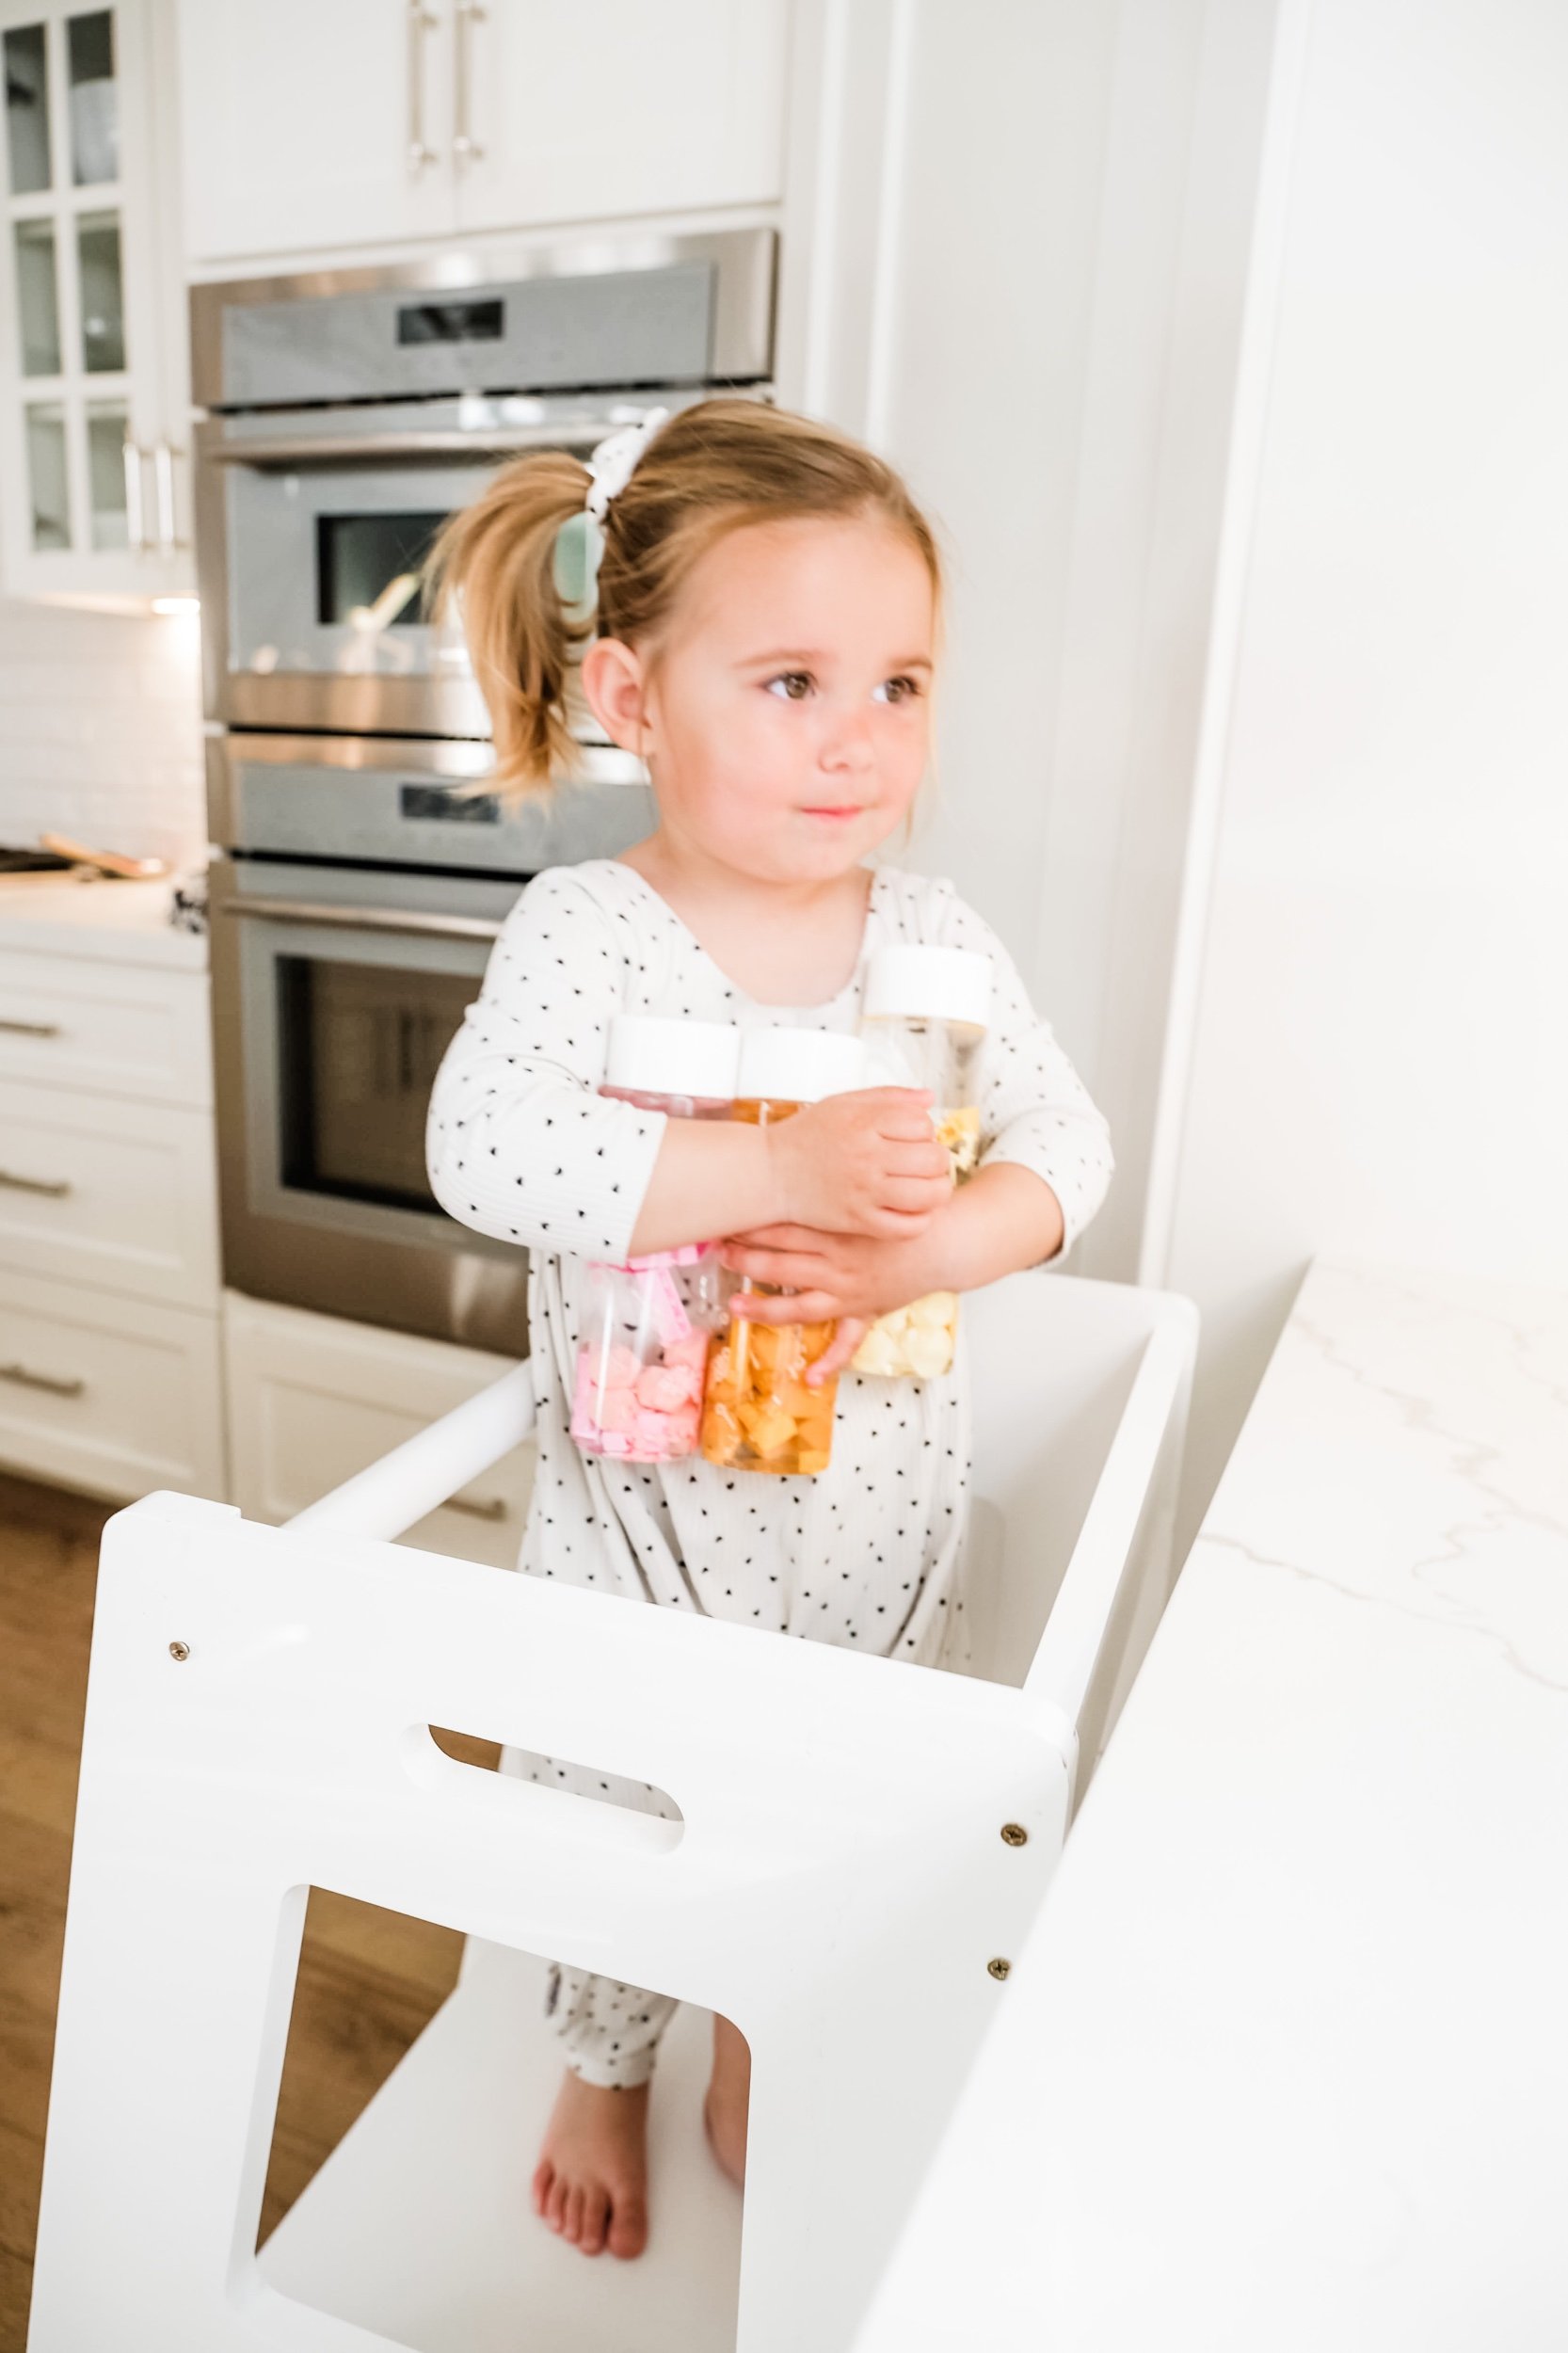
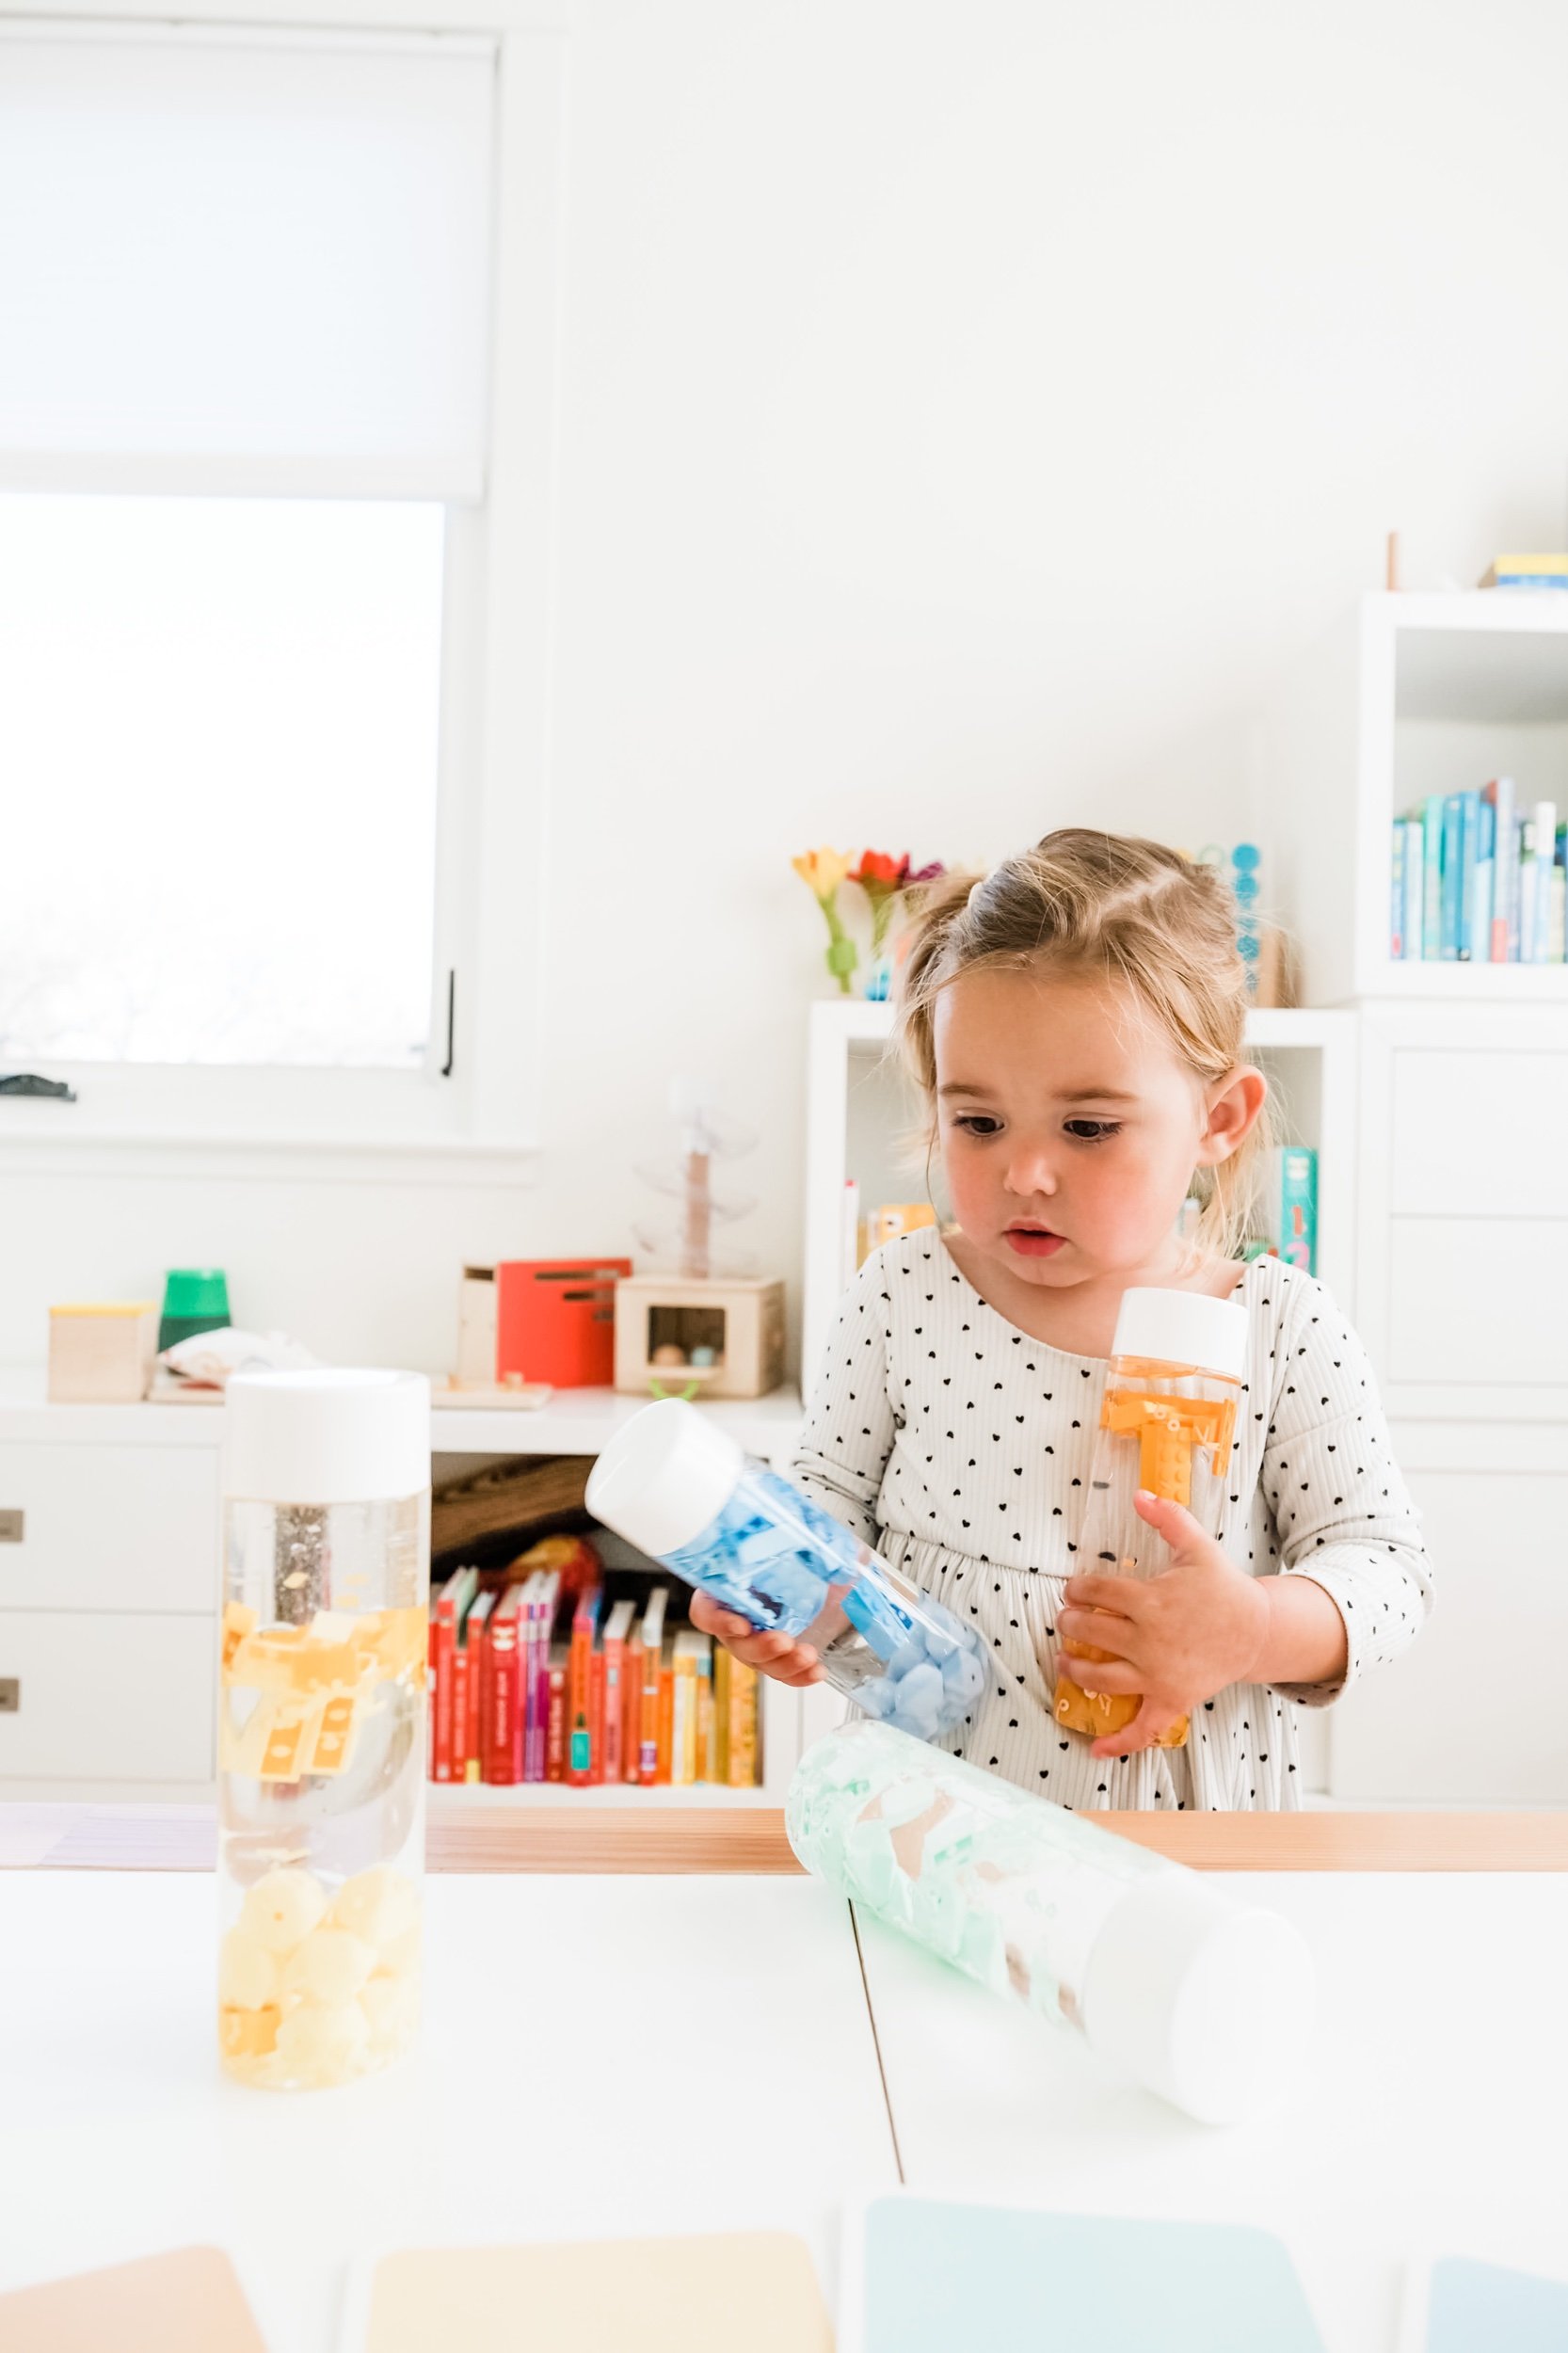
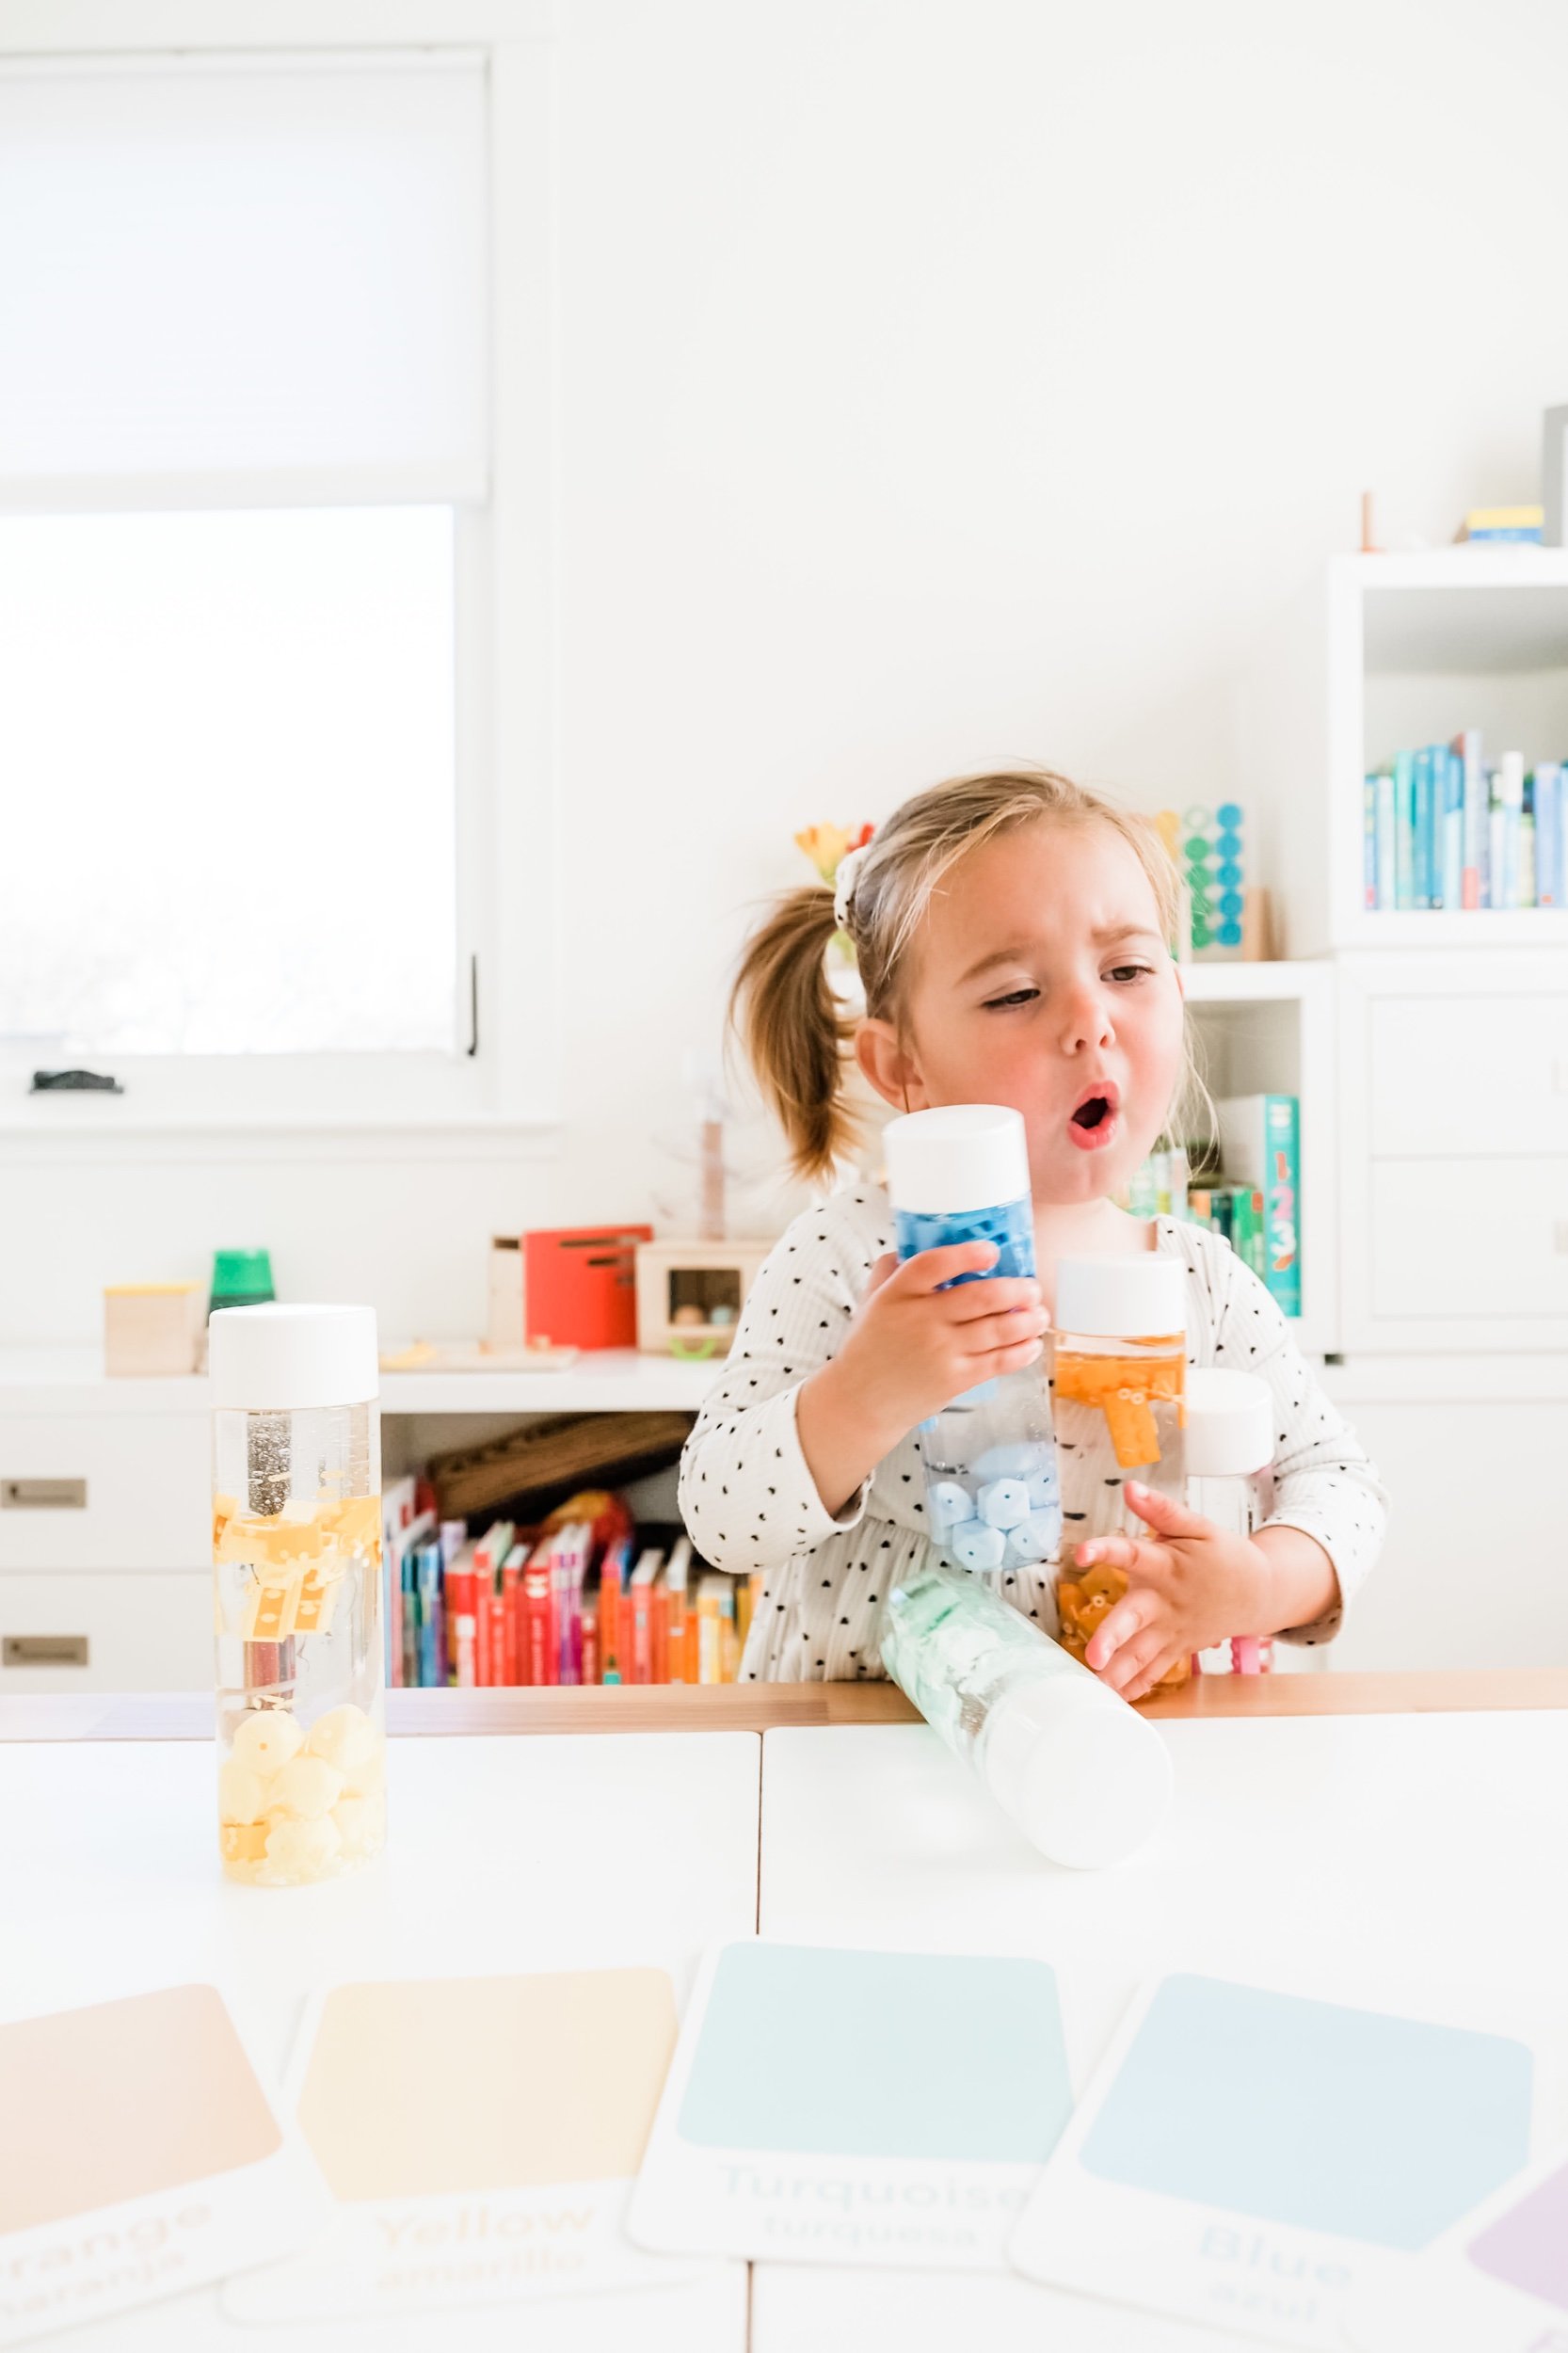
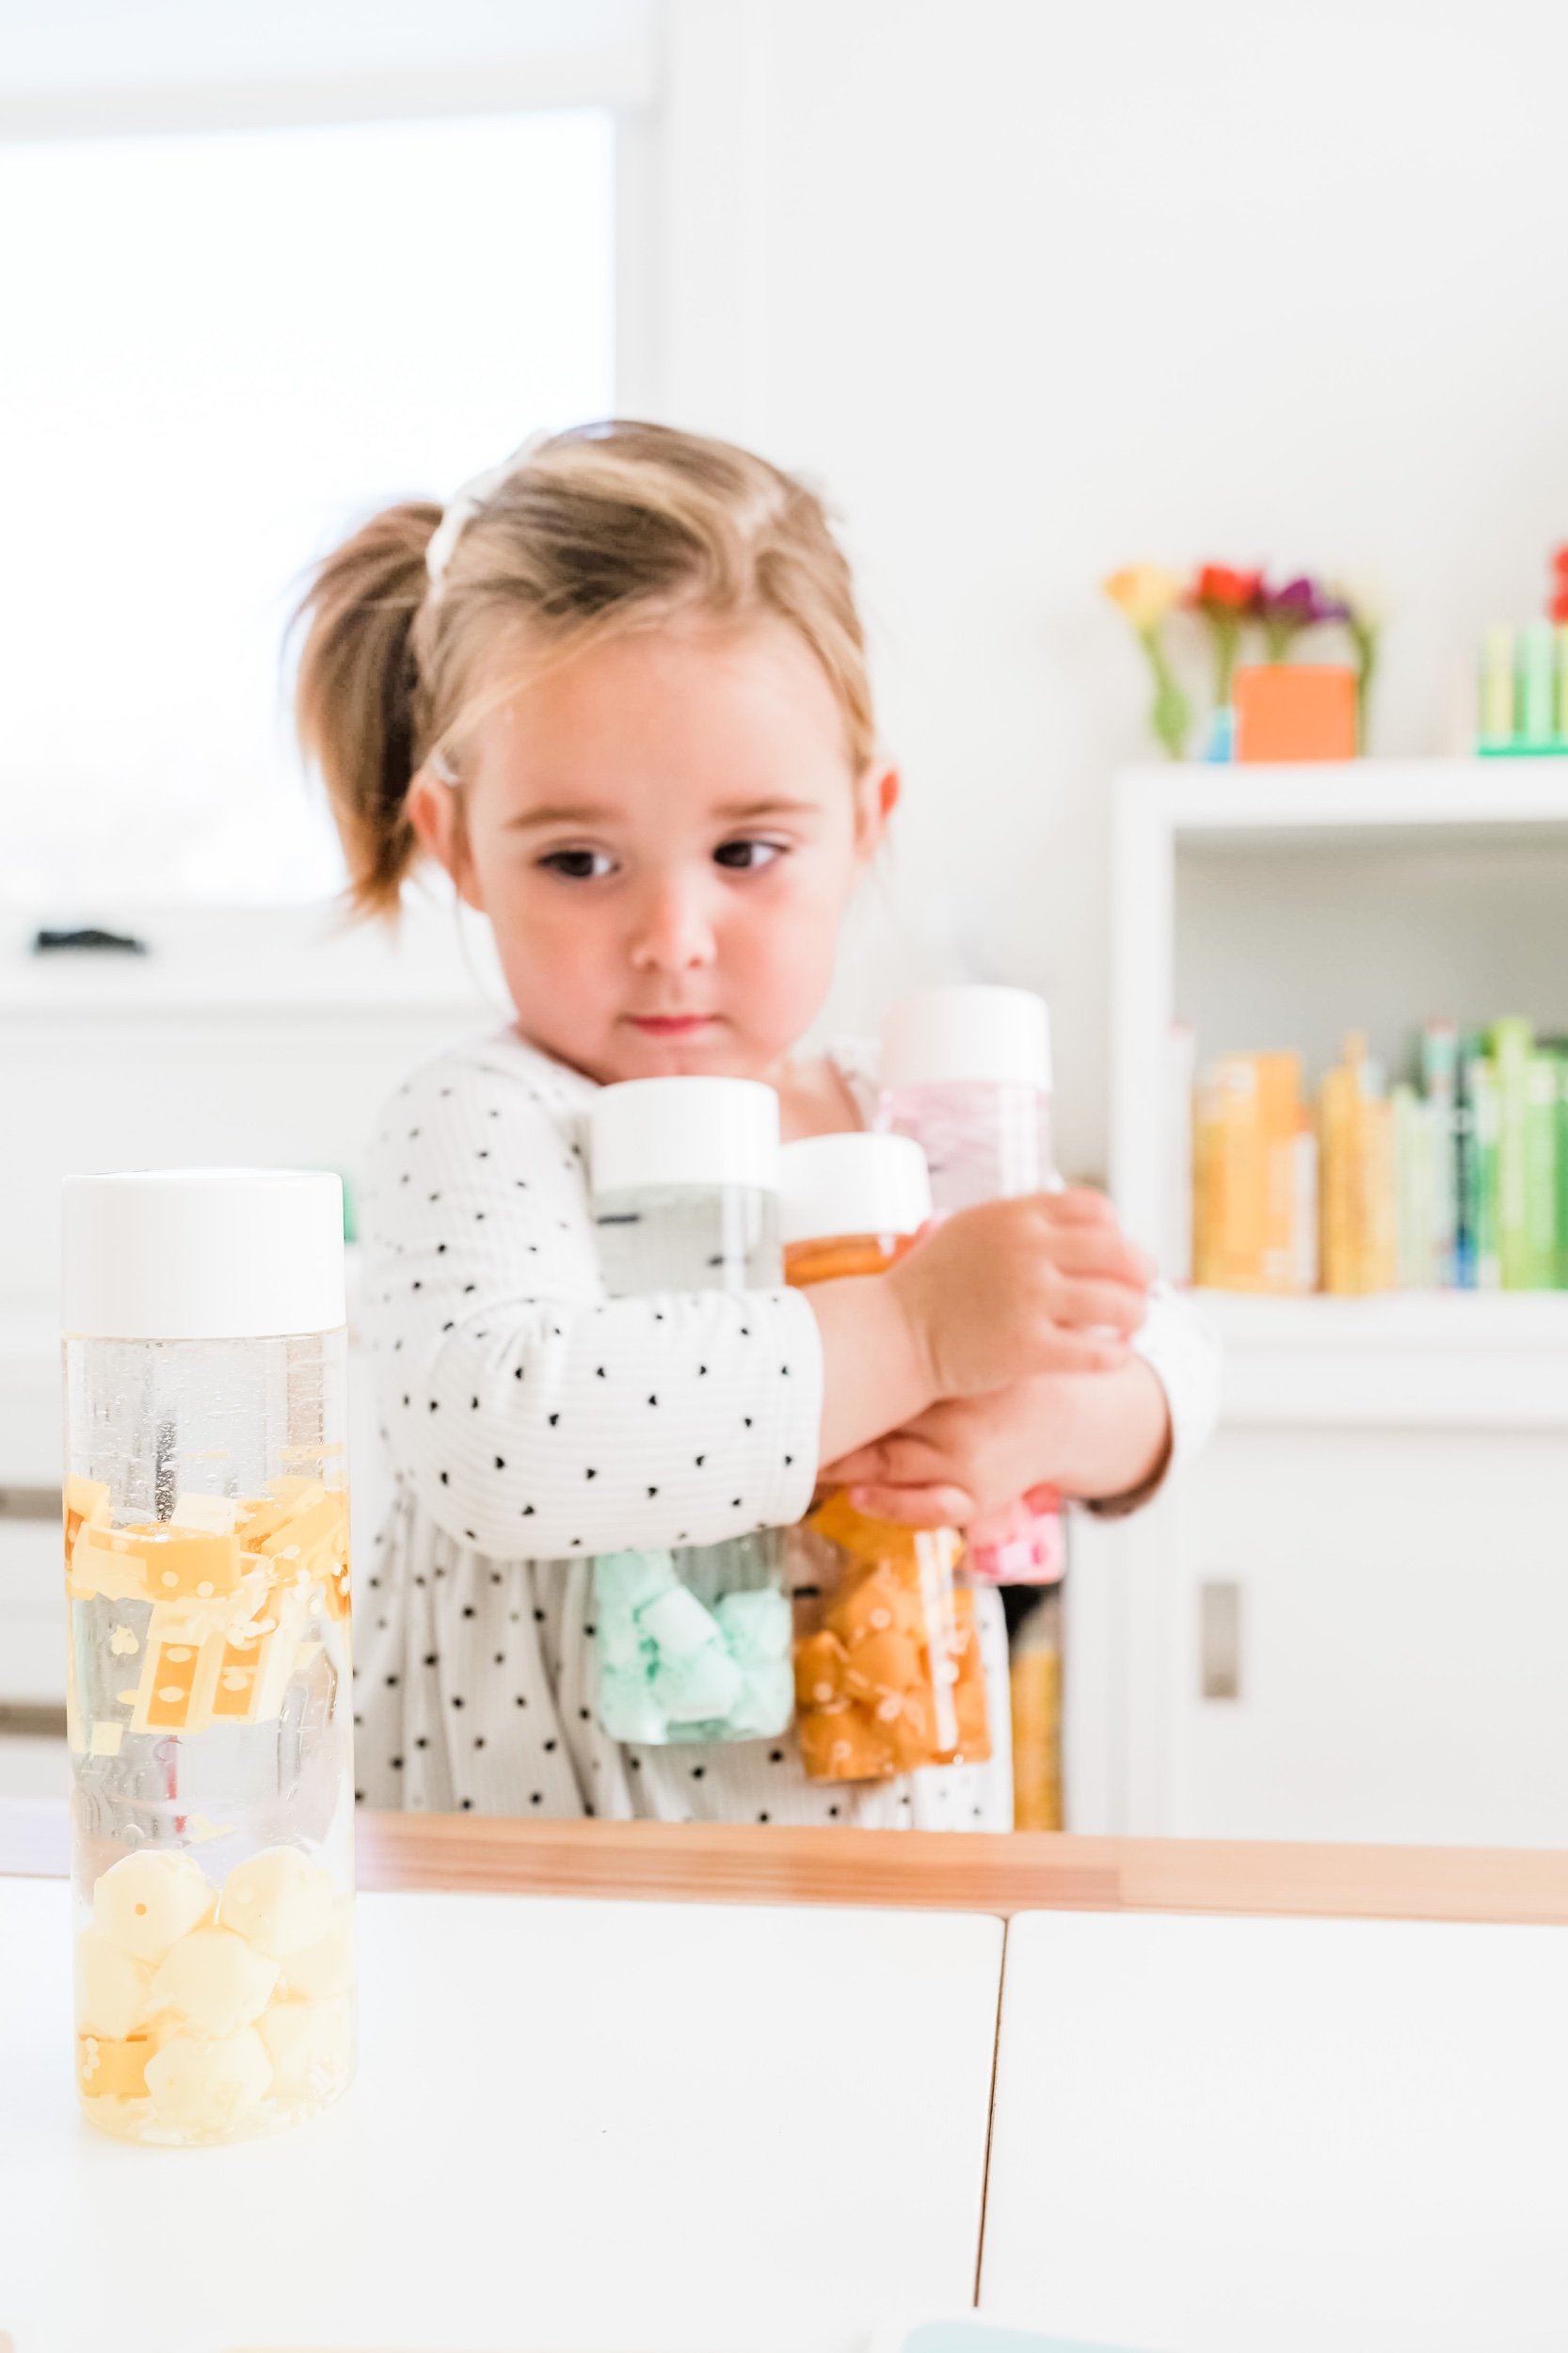
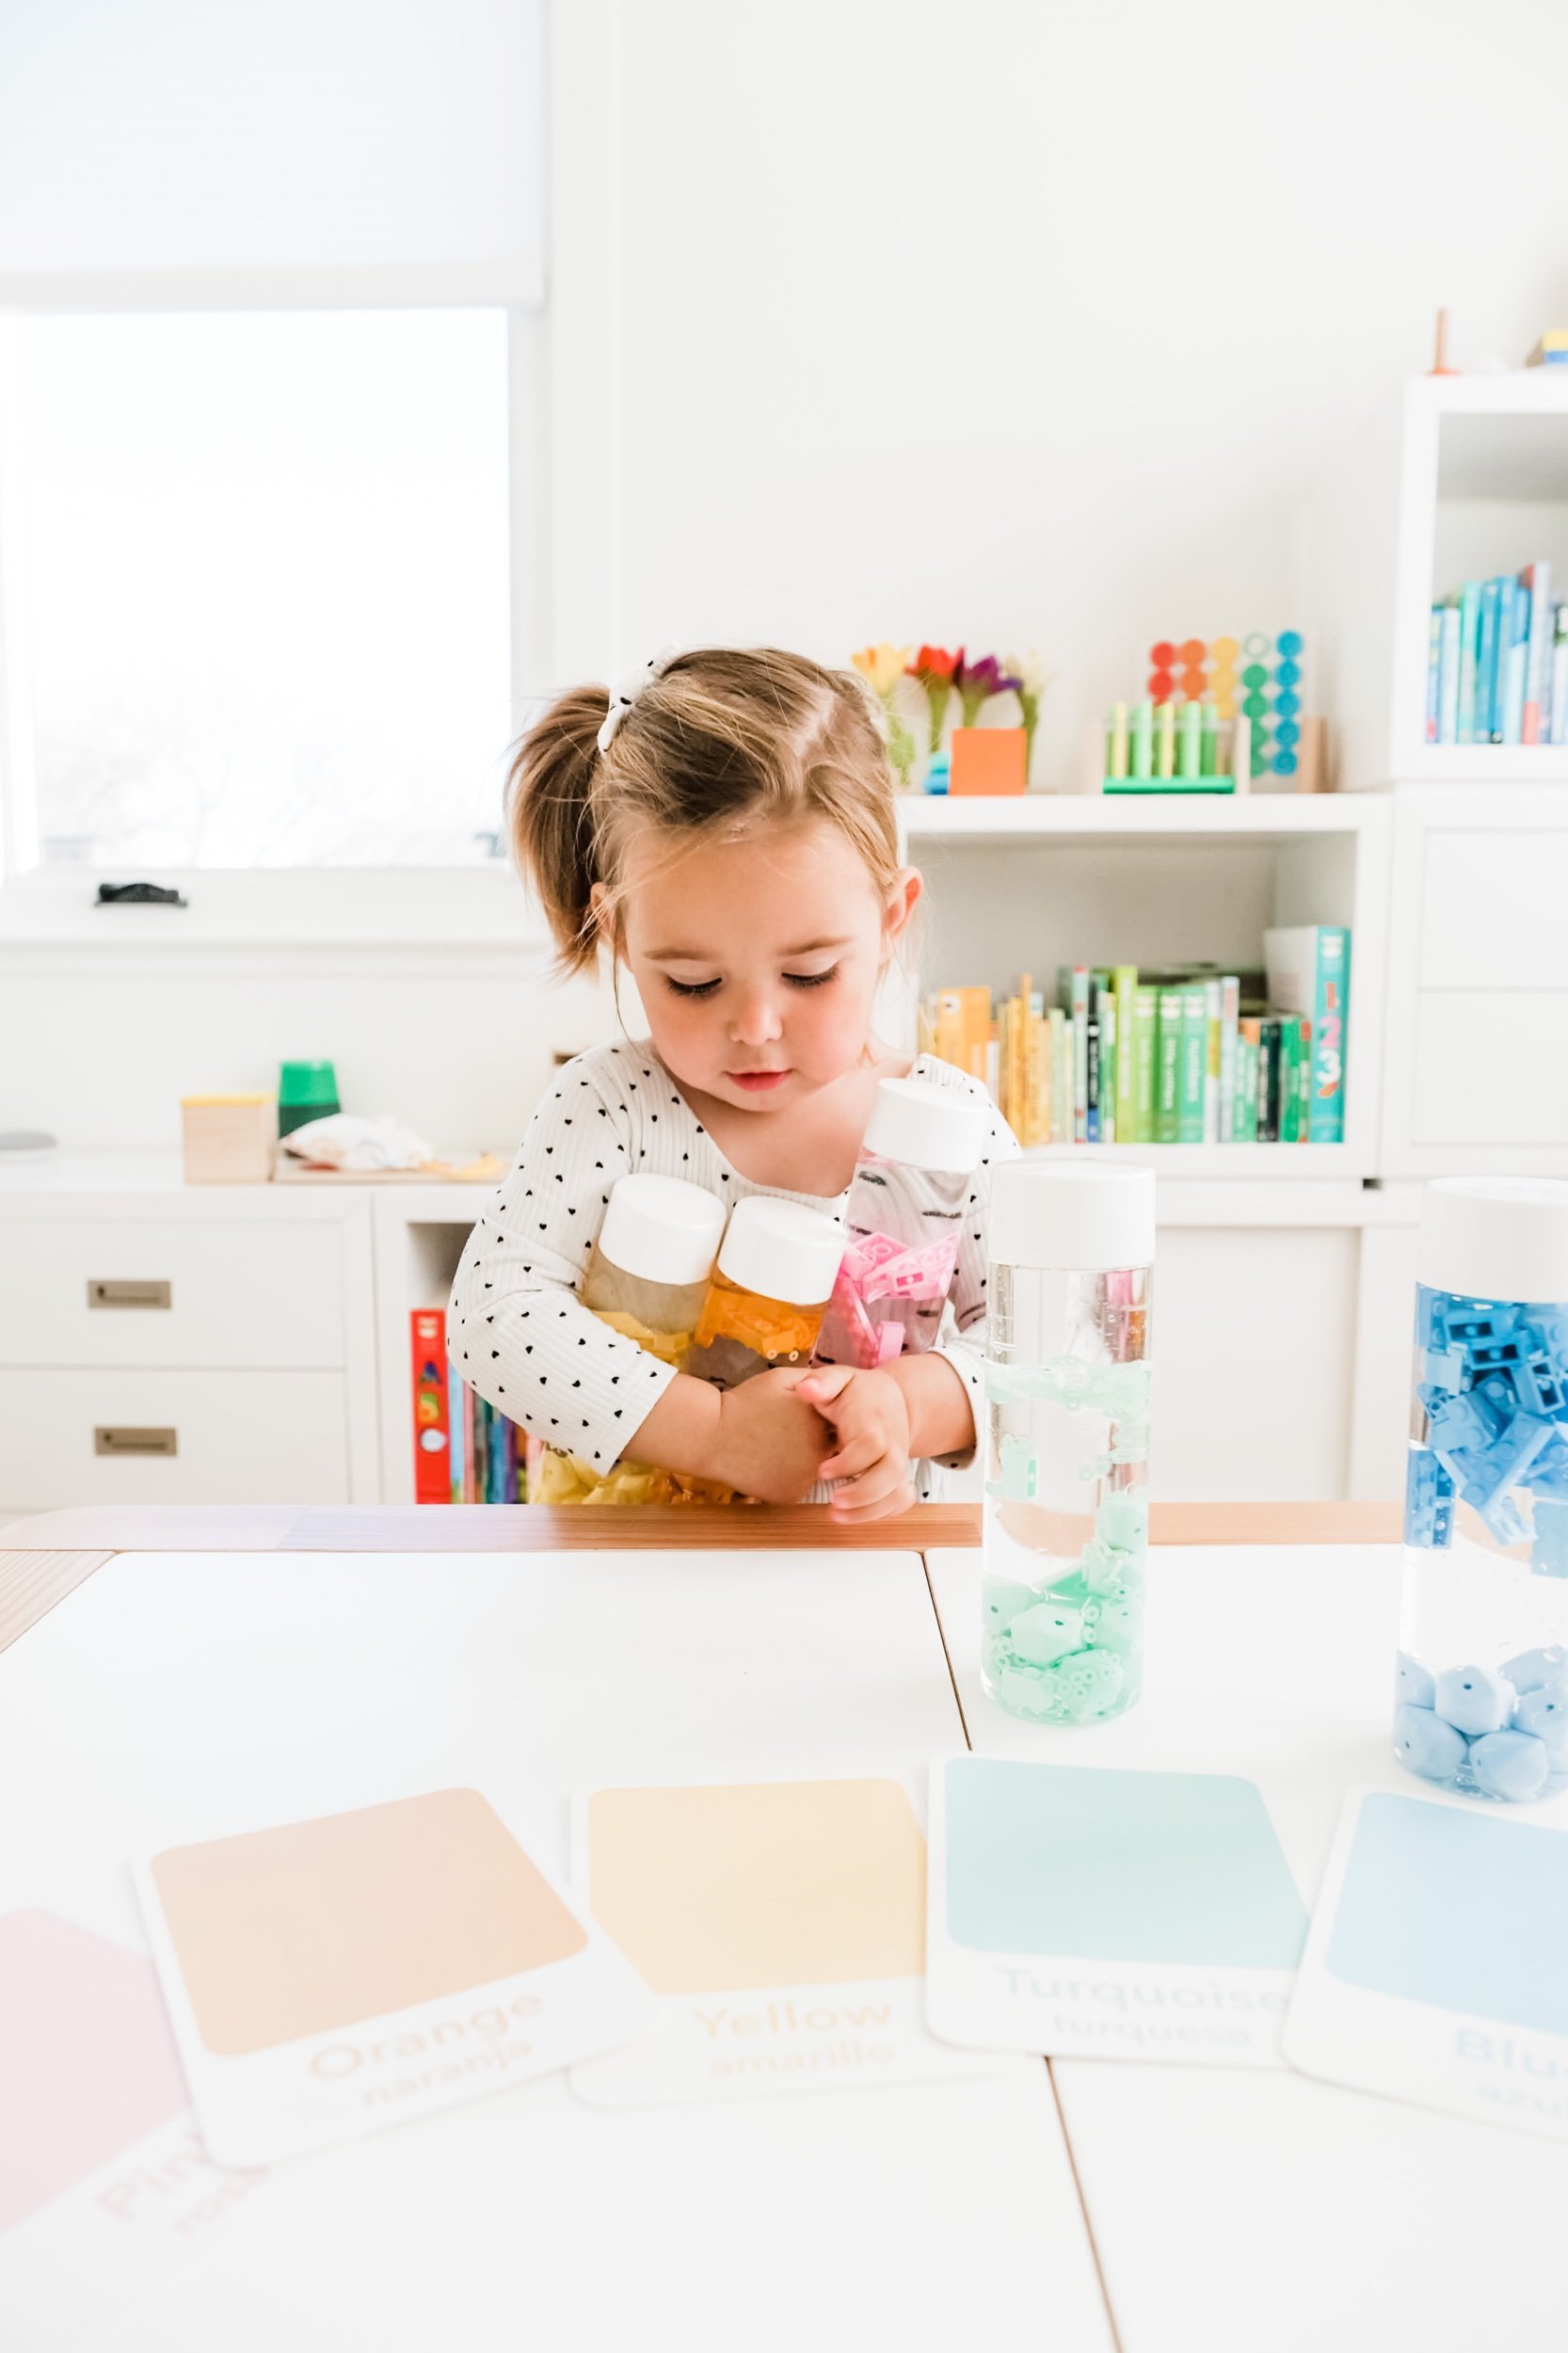
This was such a fun activity that I thought I’d share! We made these four different sensory stress balloon balls out of typical everyday fillers. You have to first fill a container with a small spout with the filler — we used salt, flour, sushi rice, and oatmeal. I didn’t double layer the balloons, but I’d highly recommend that so that they last longer. Then blow up the empty balloon and while holding the air in, wrap the neck around the bottle spout. Turn the bottle upside down and let the filler fall in. The thicker the filler, the more you will have to coax it through the neck of the balloon. Then take the balloon off and tie it and voila! Sofie loves squeezing these and playing with them whenever she’s frustrated.
Calm and Soothe: The Magic of Sensory Bottles for Kids
As a mom of a toddler, I understand the daily challenges of helping kids navigate through overwhelming feelings. In my journey, I've found sensory bottles to be a game-changer. Not only do they provide a calming effect, but they also offer a myriad of developmental benefits for little ones. In this post, I'll share the wonders of sensory bottles, how they assist kids with sensory issues, and provide a step-by-step guide on creating your own sensory bottles at home.
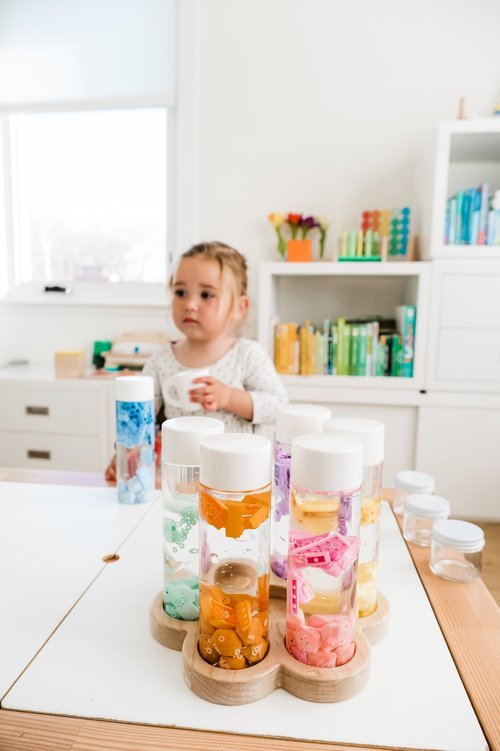
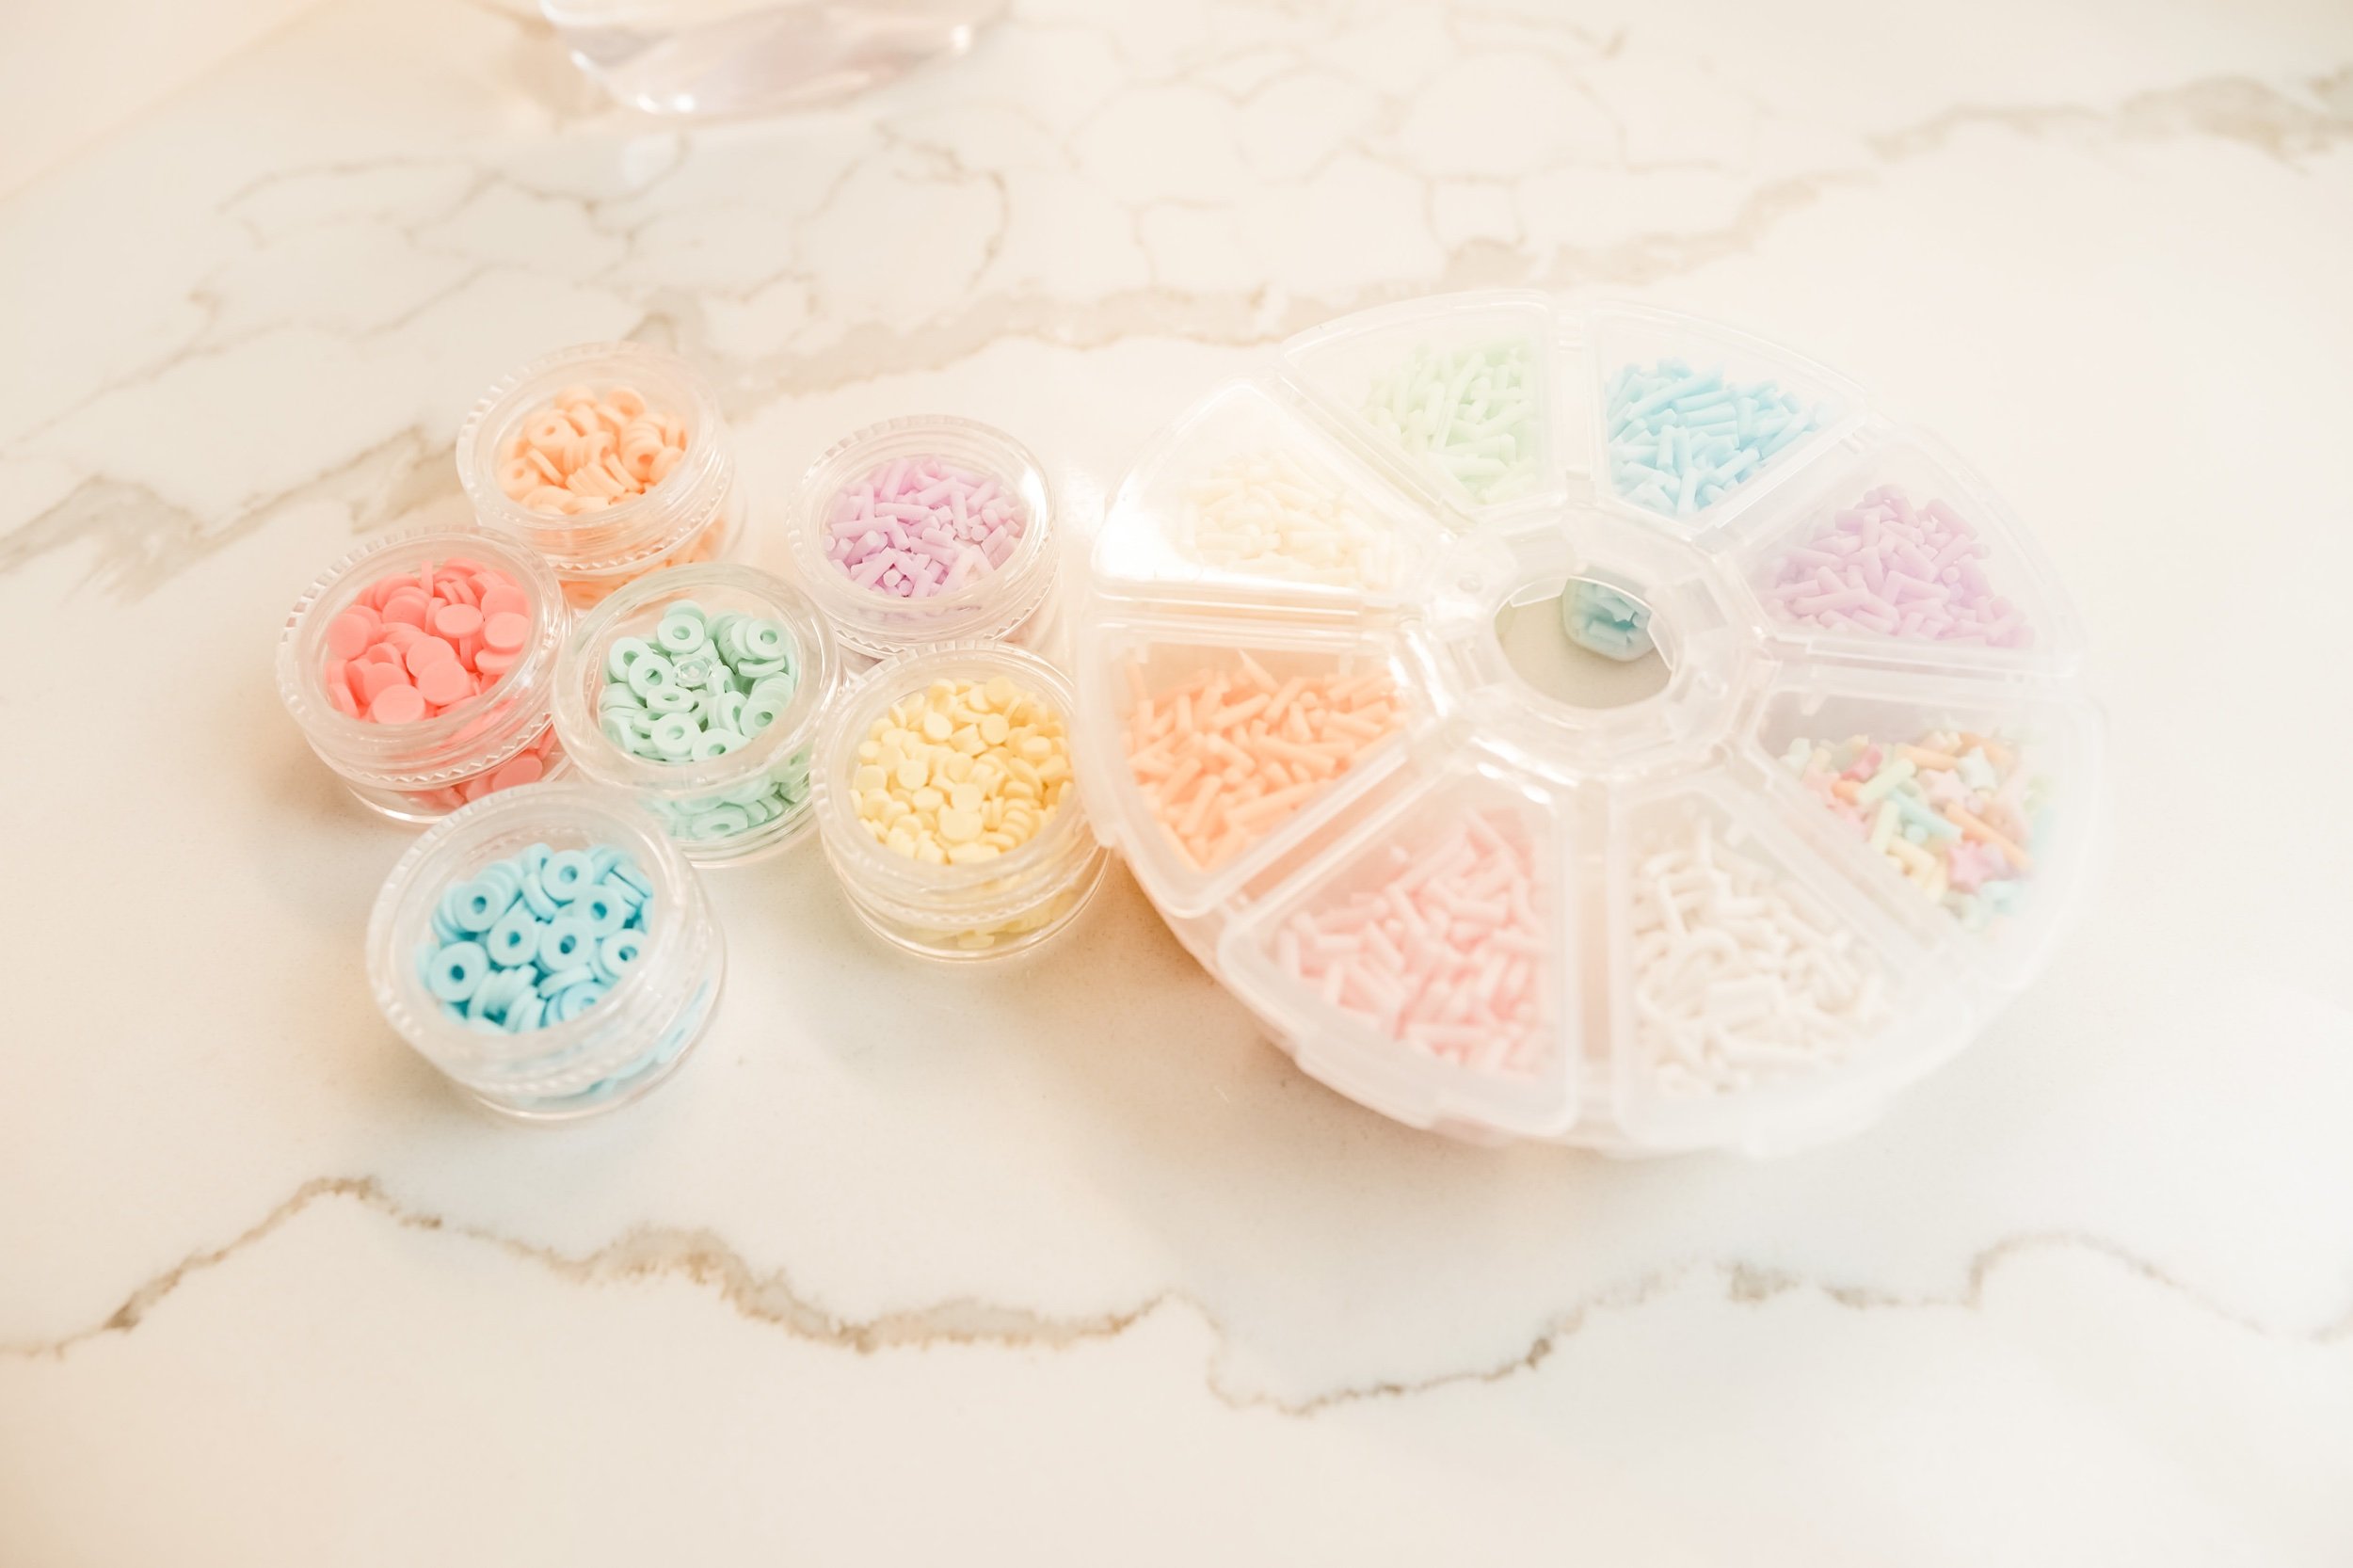
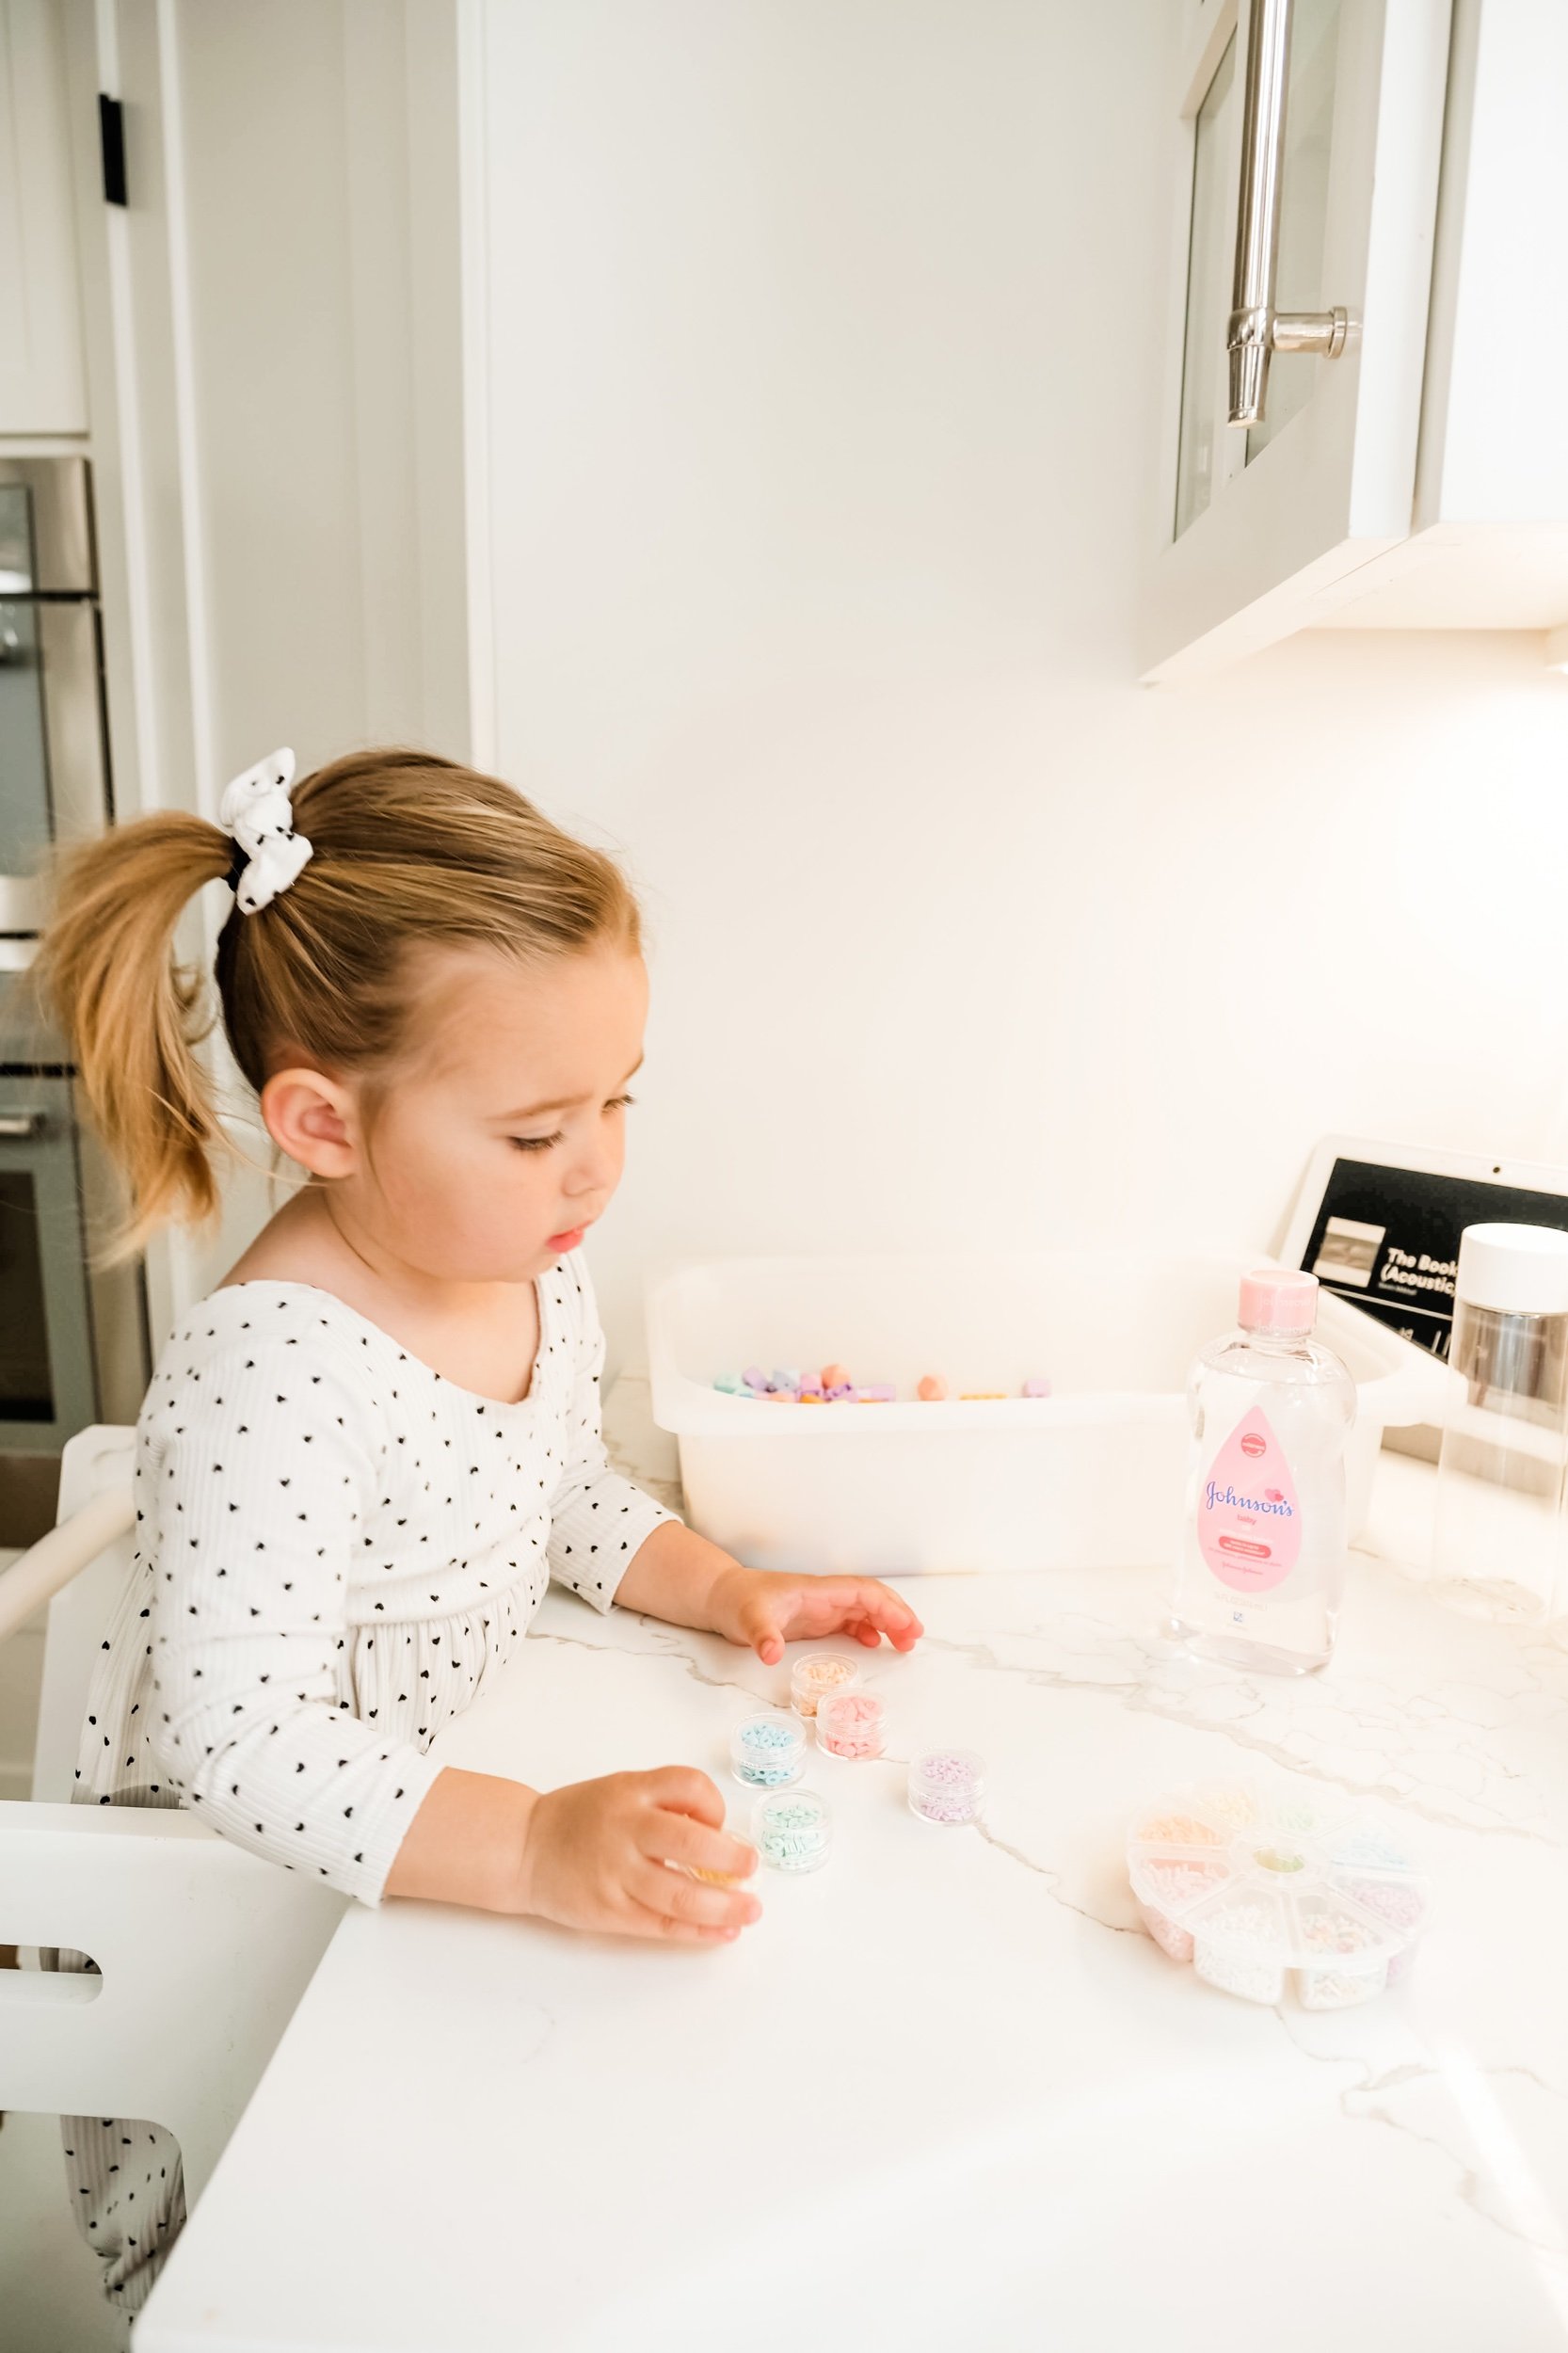
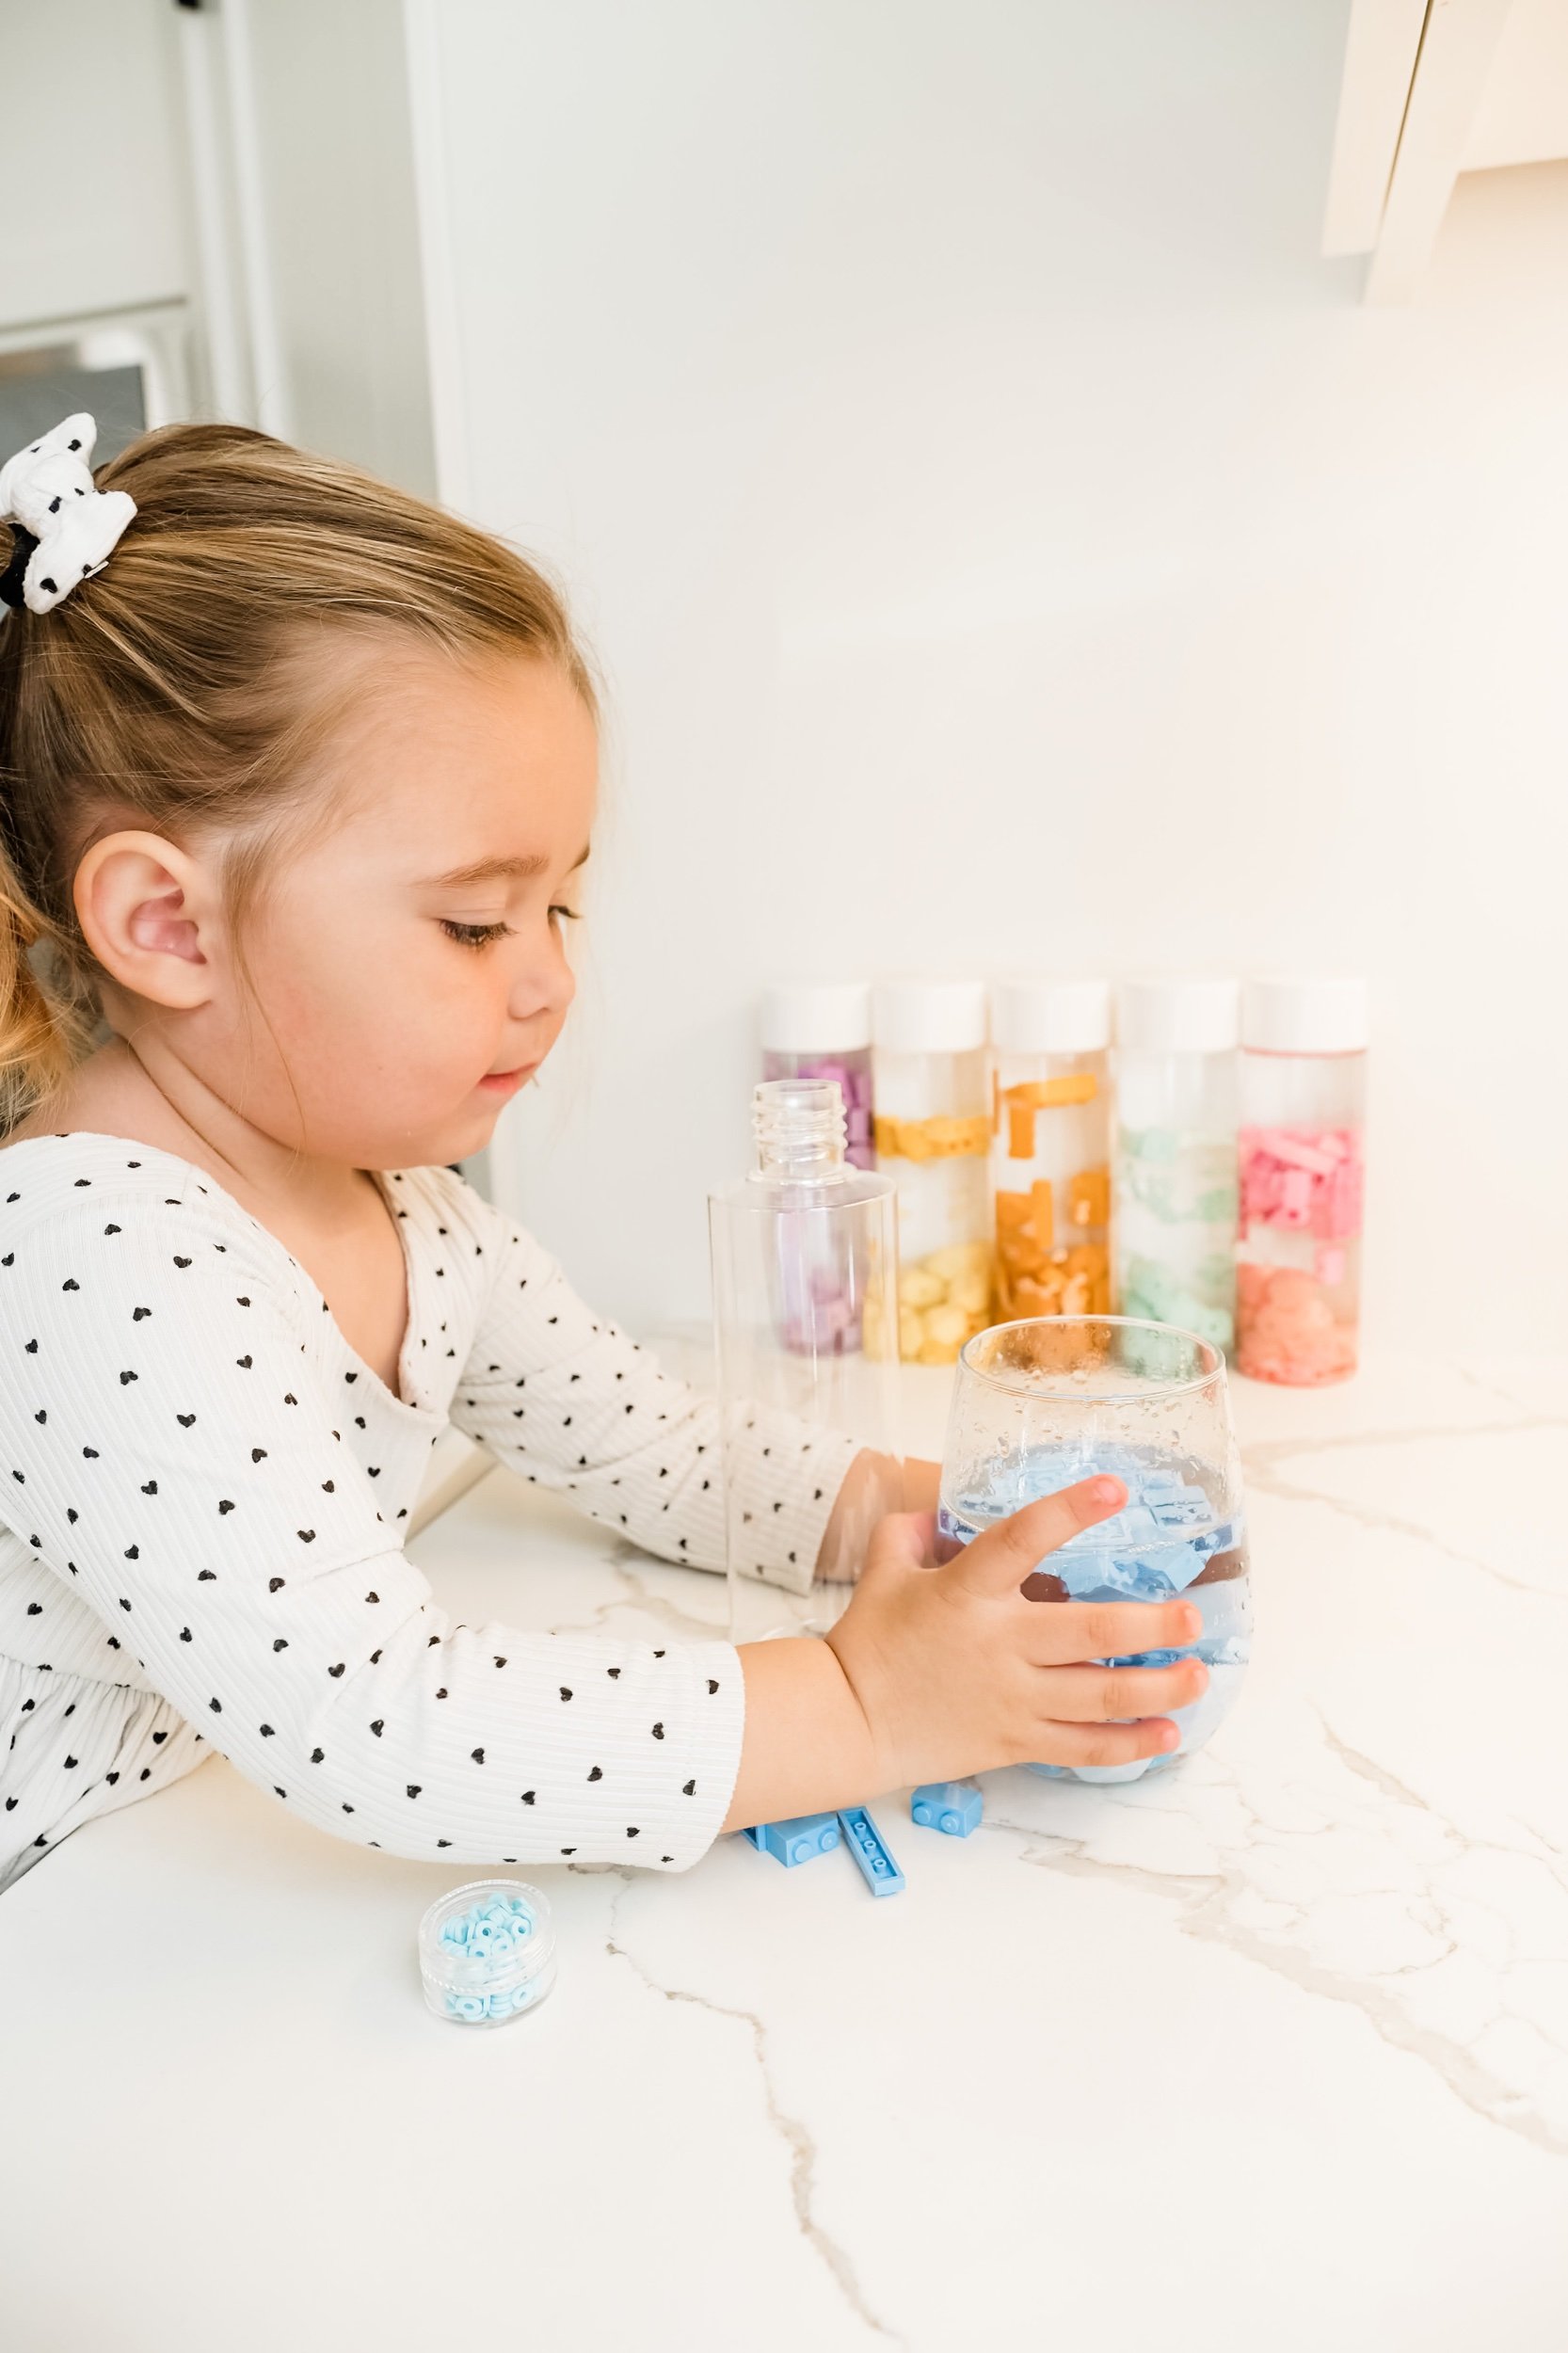
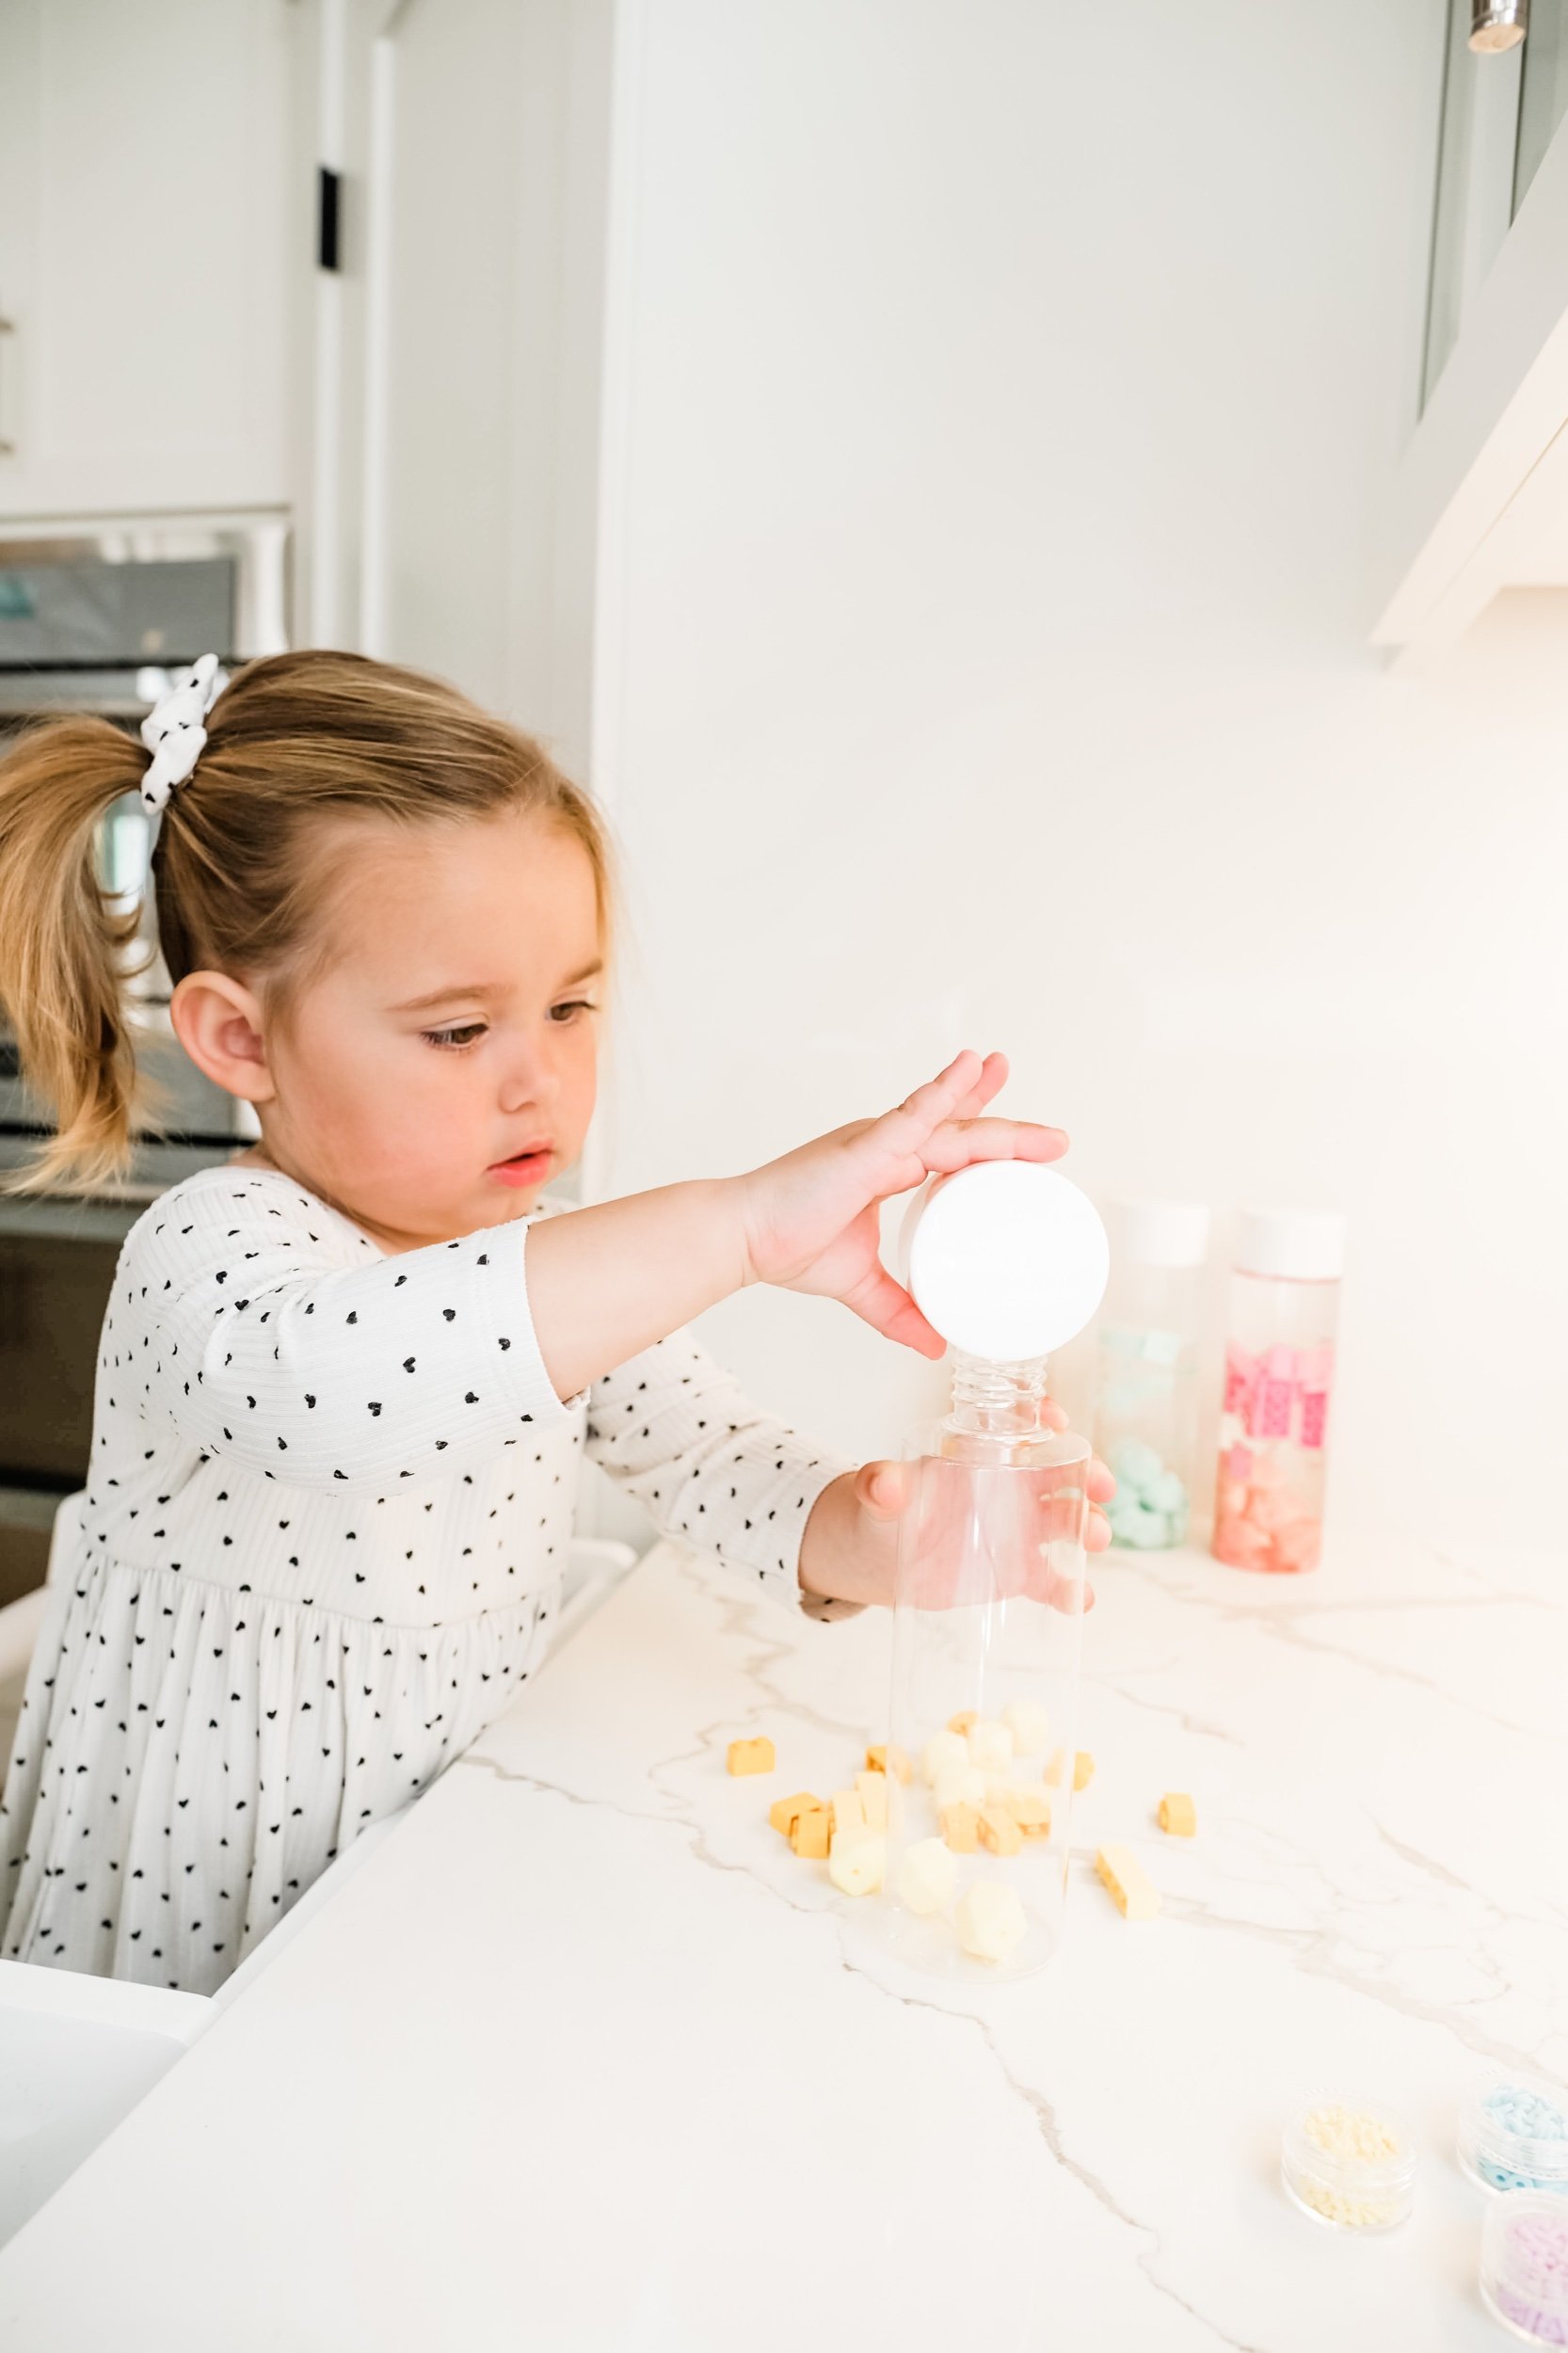
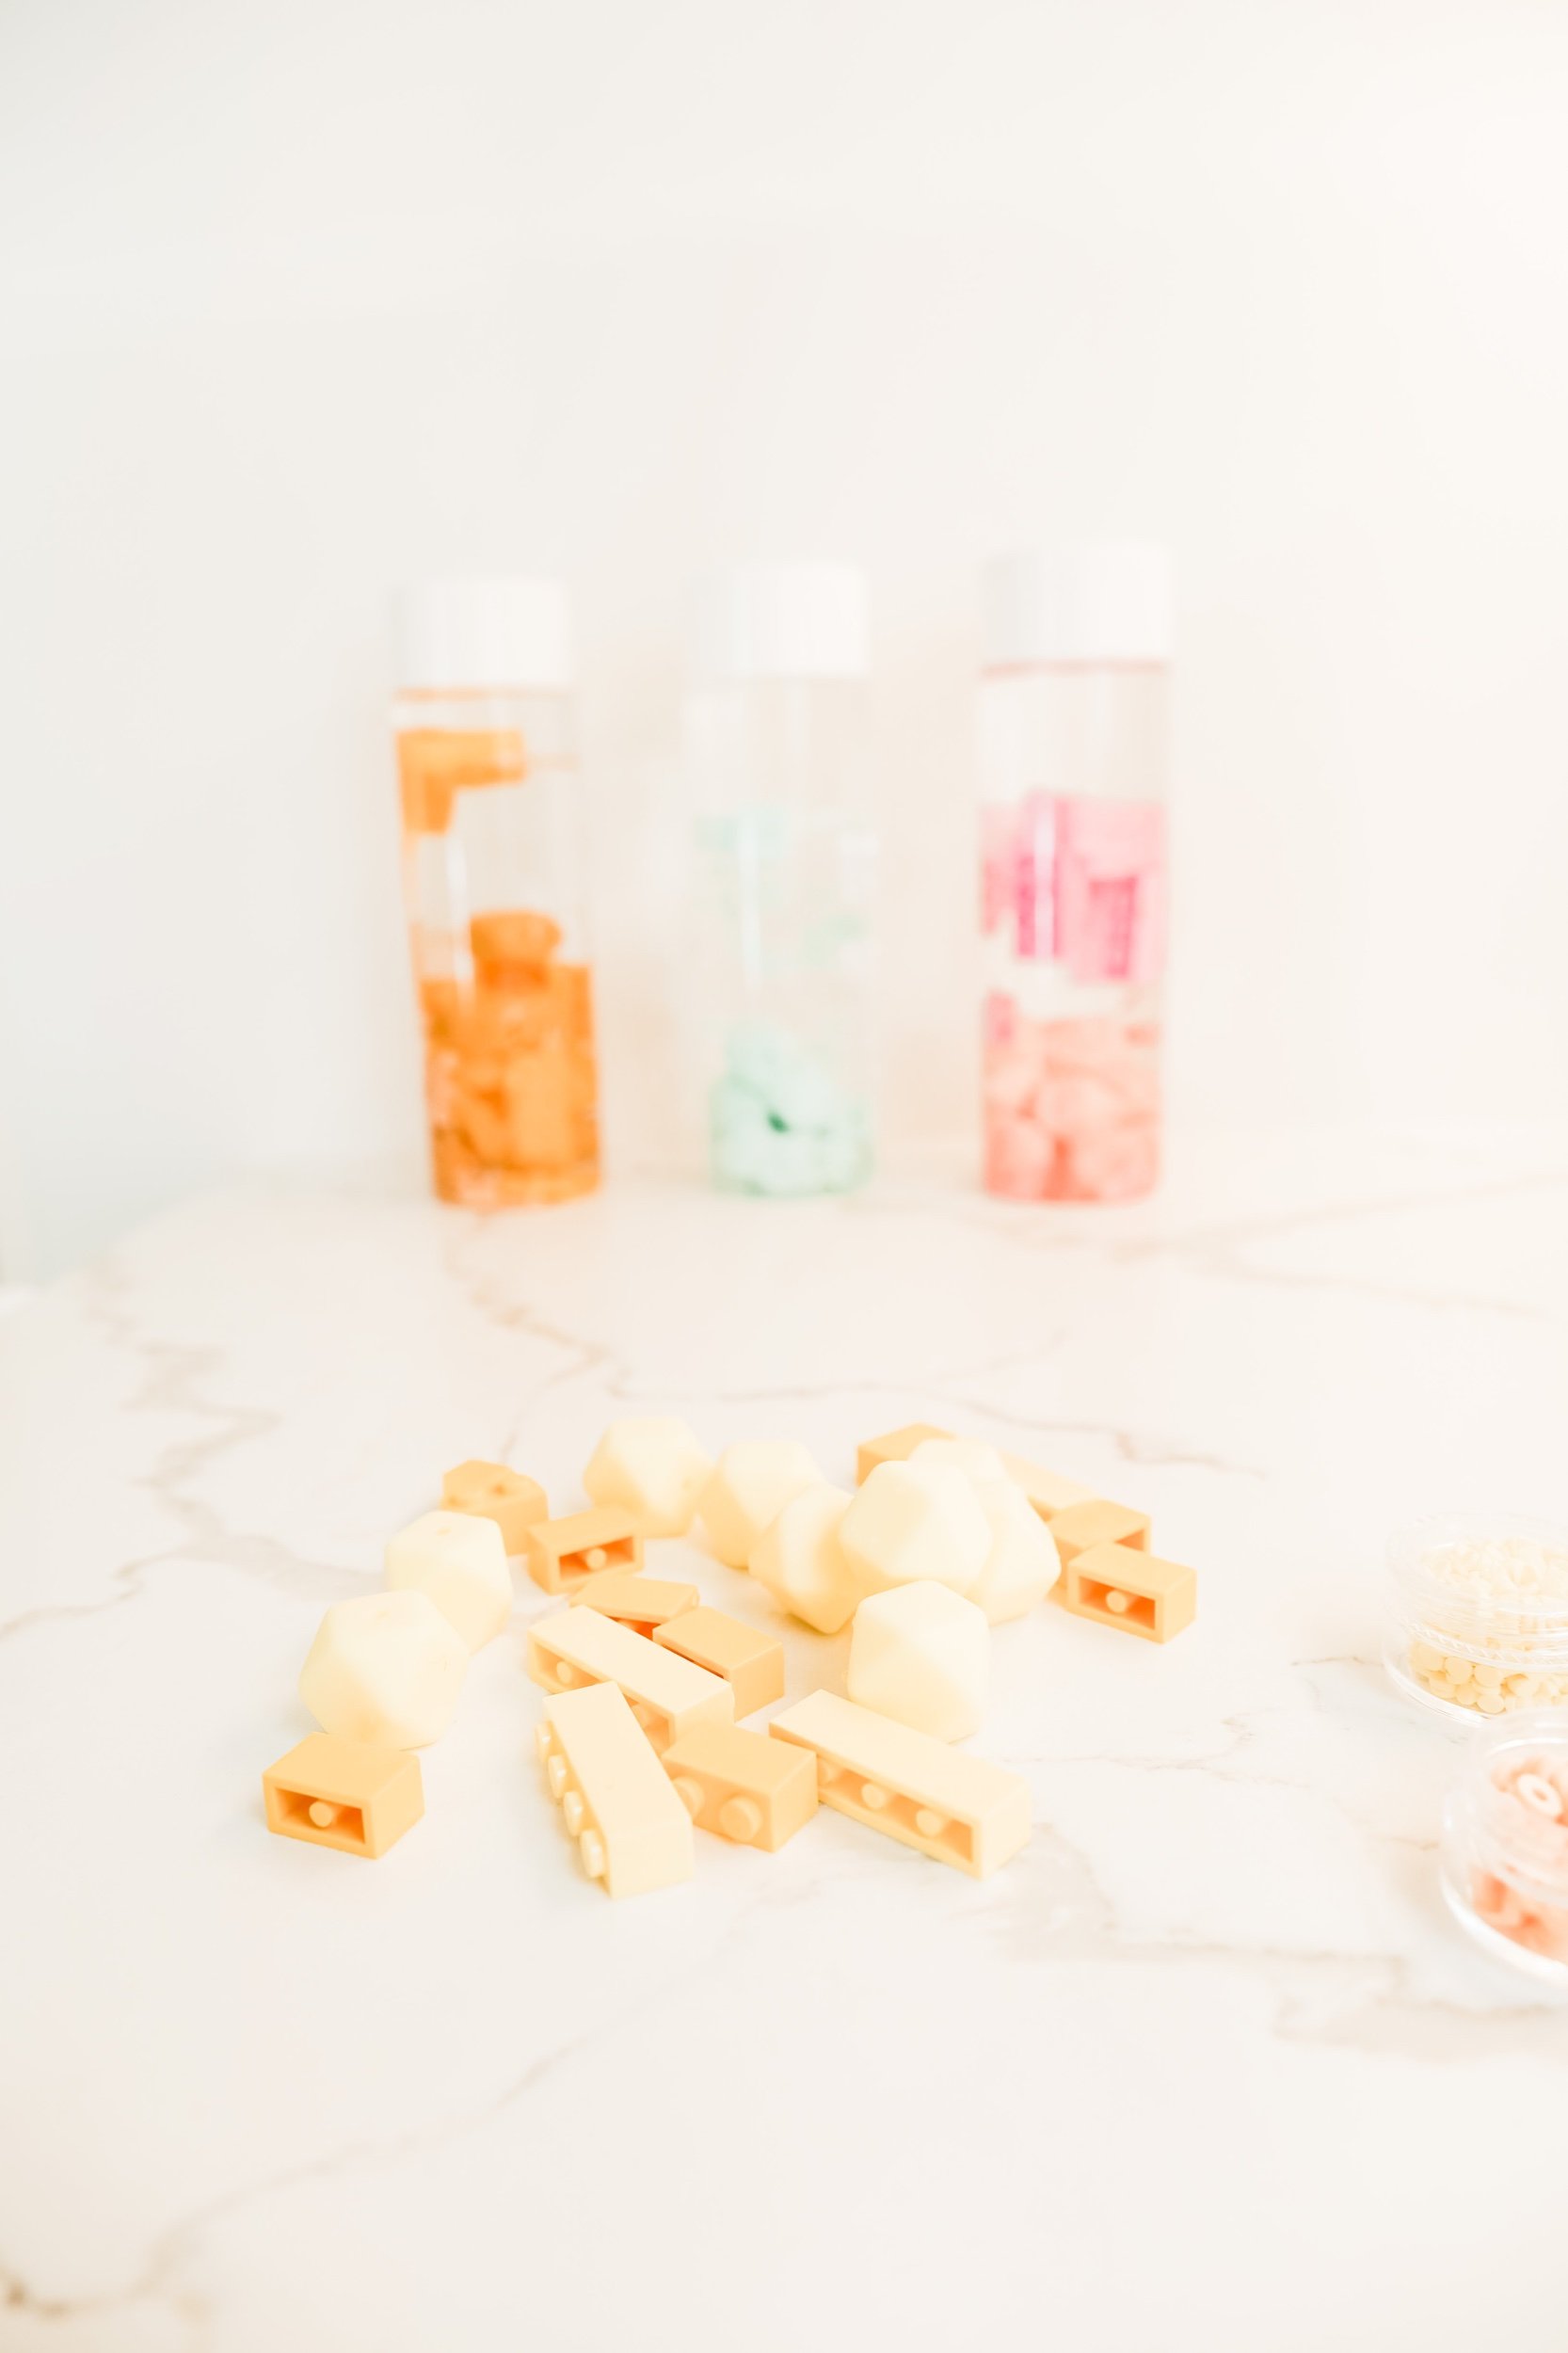
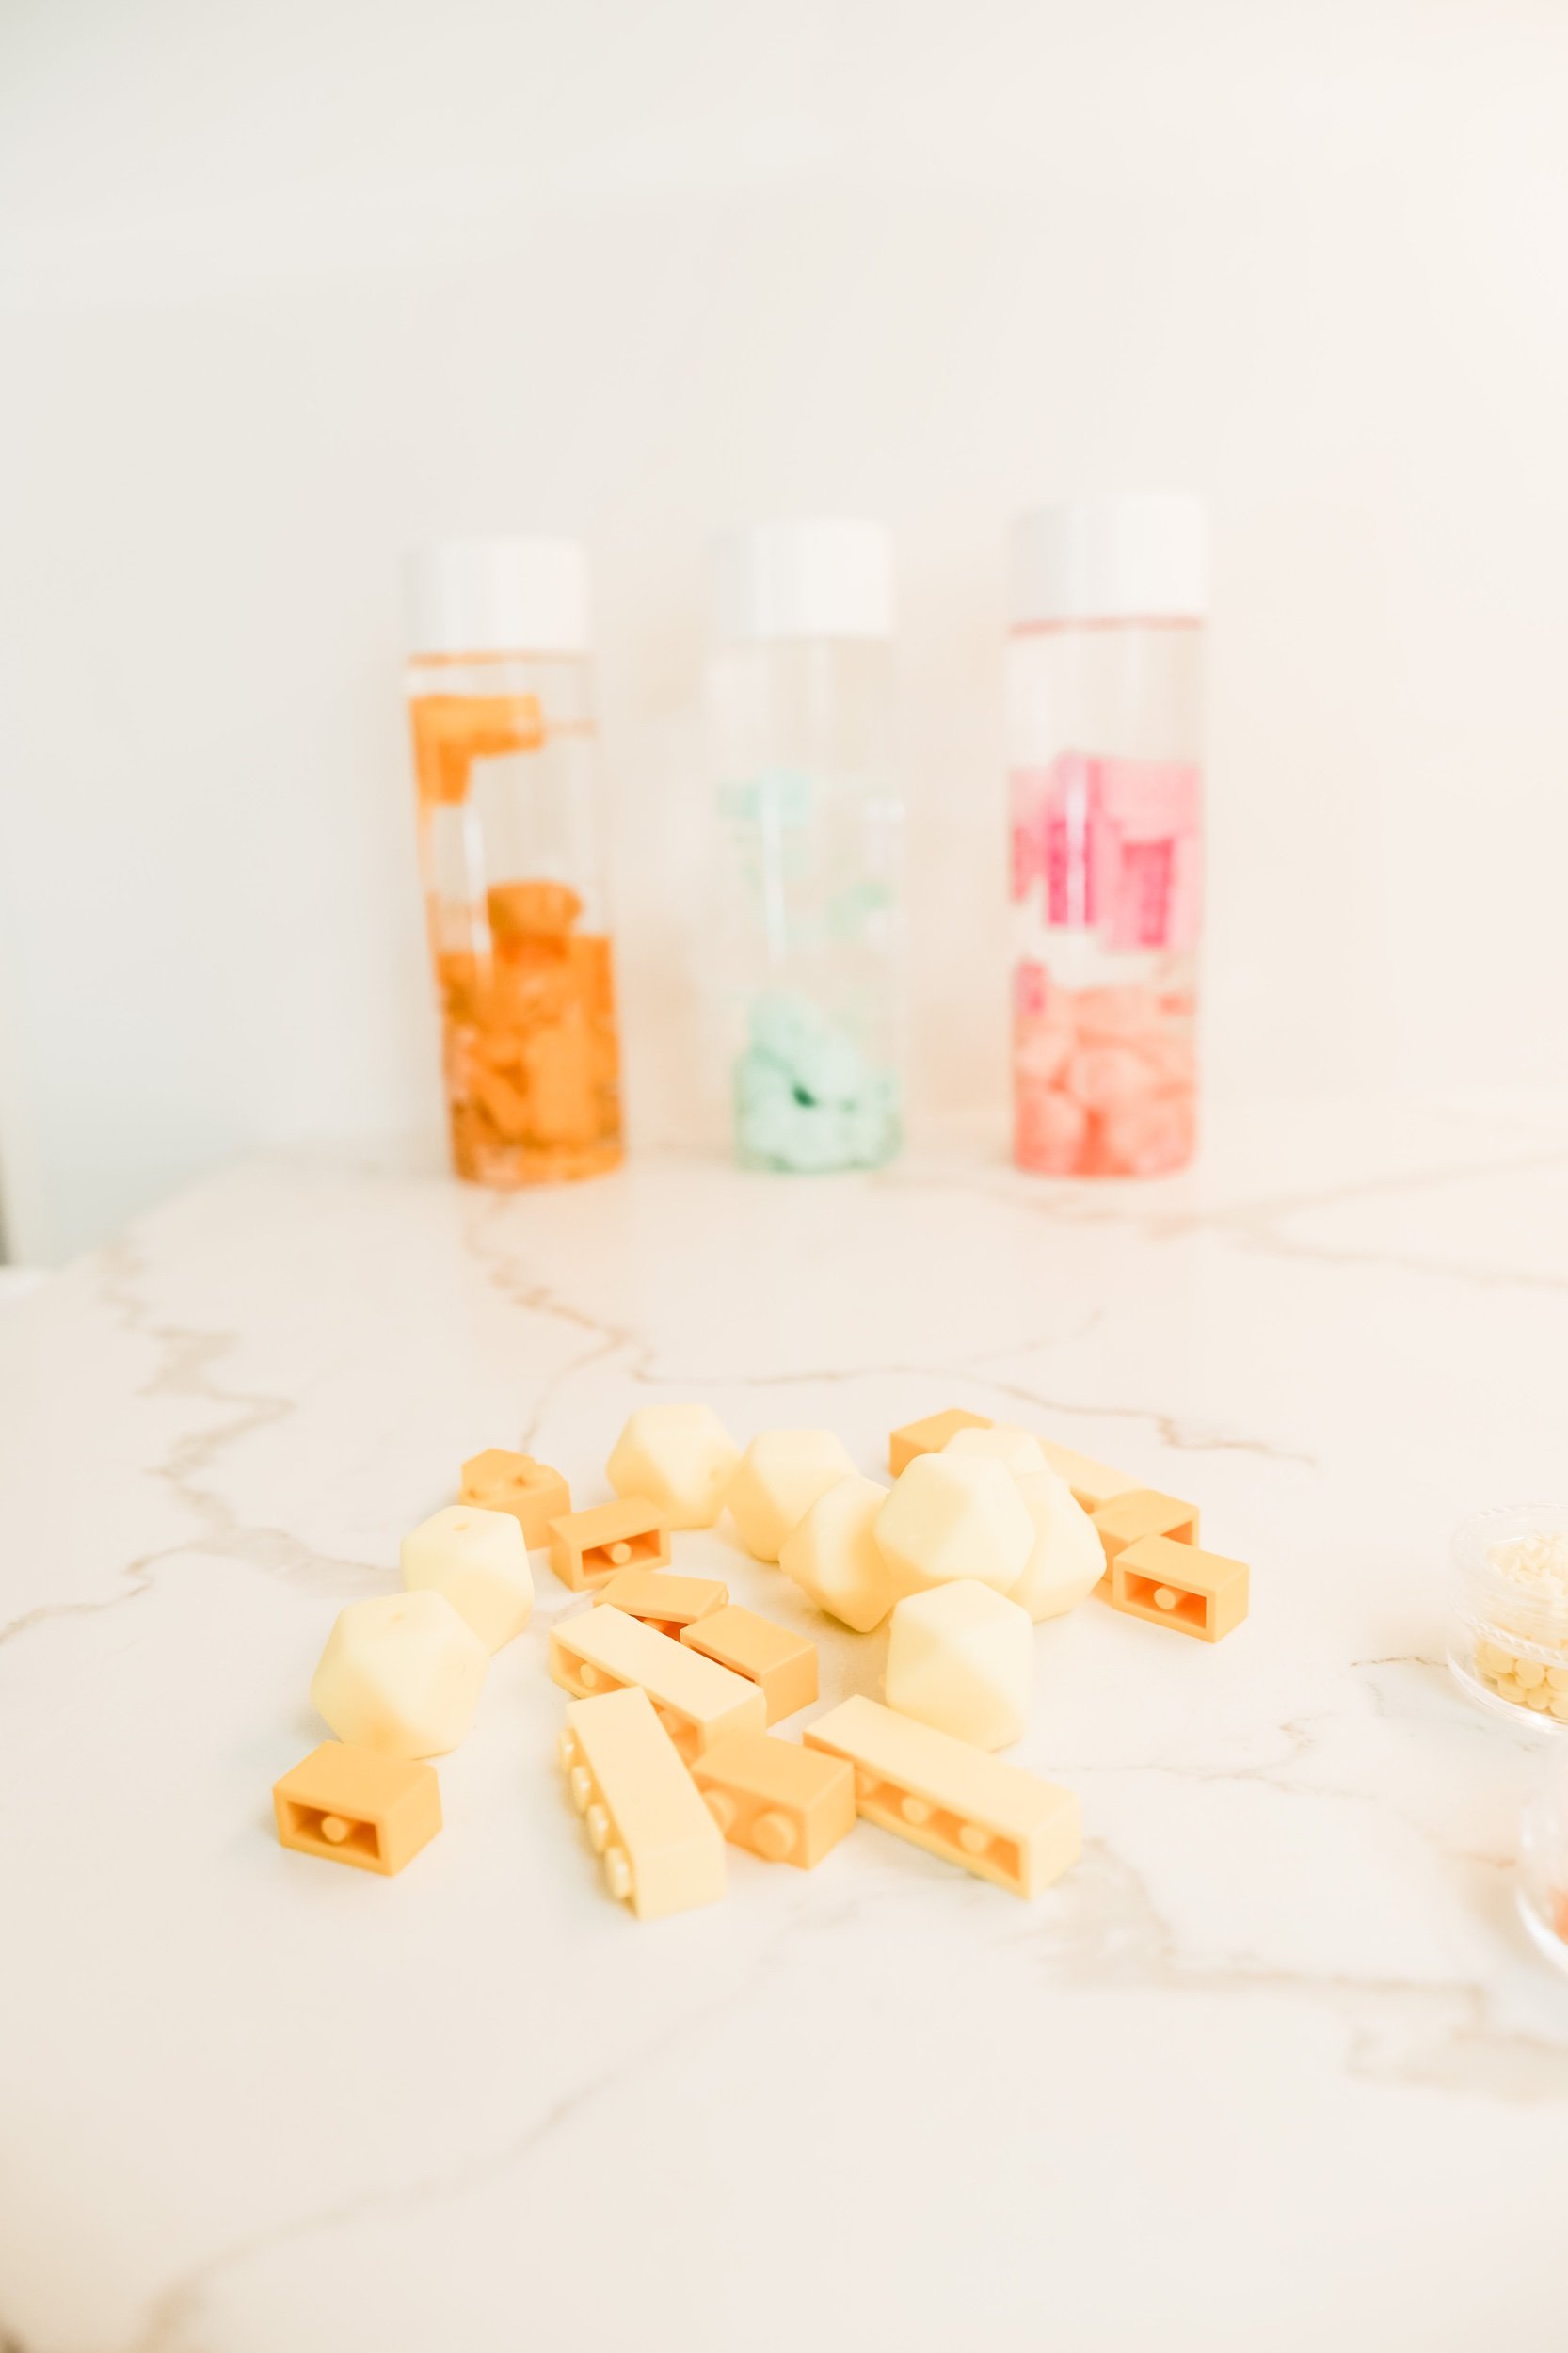
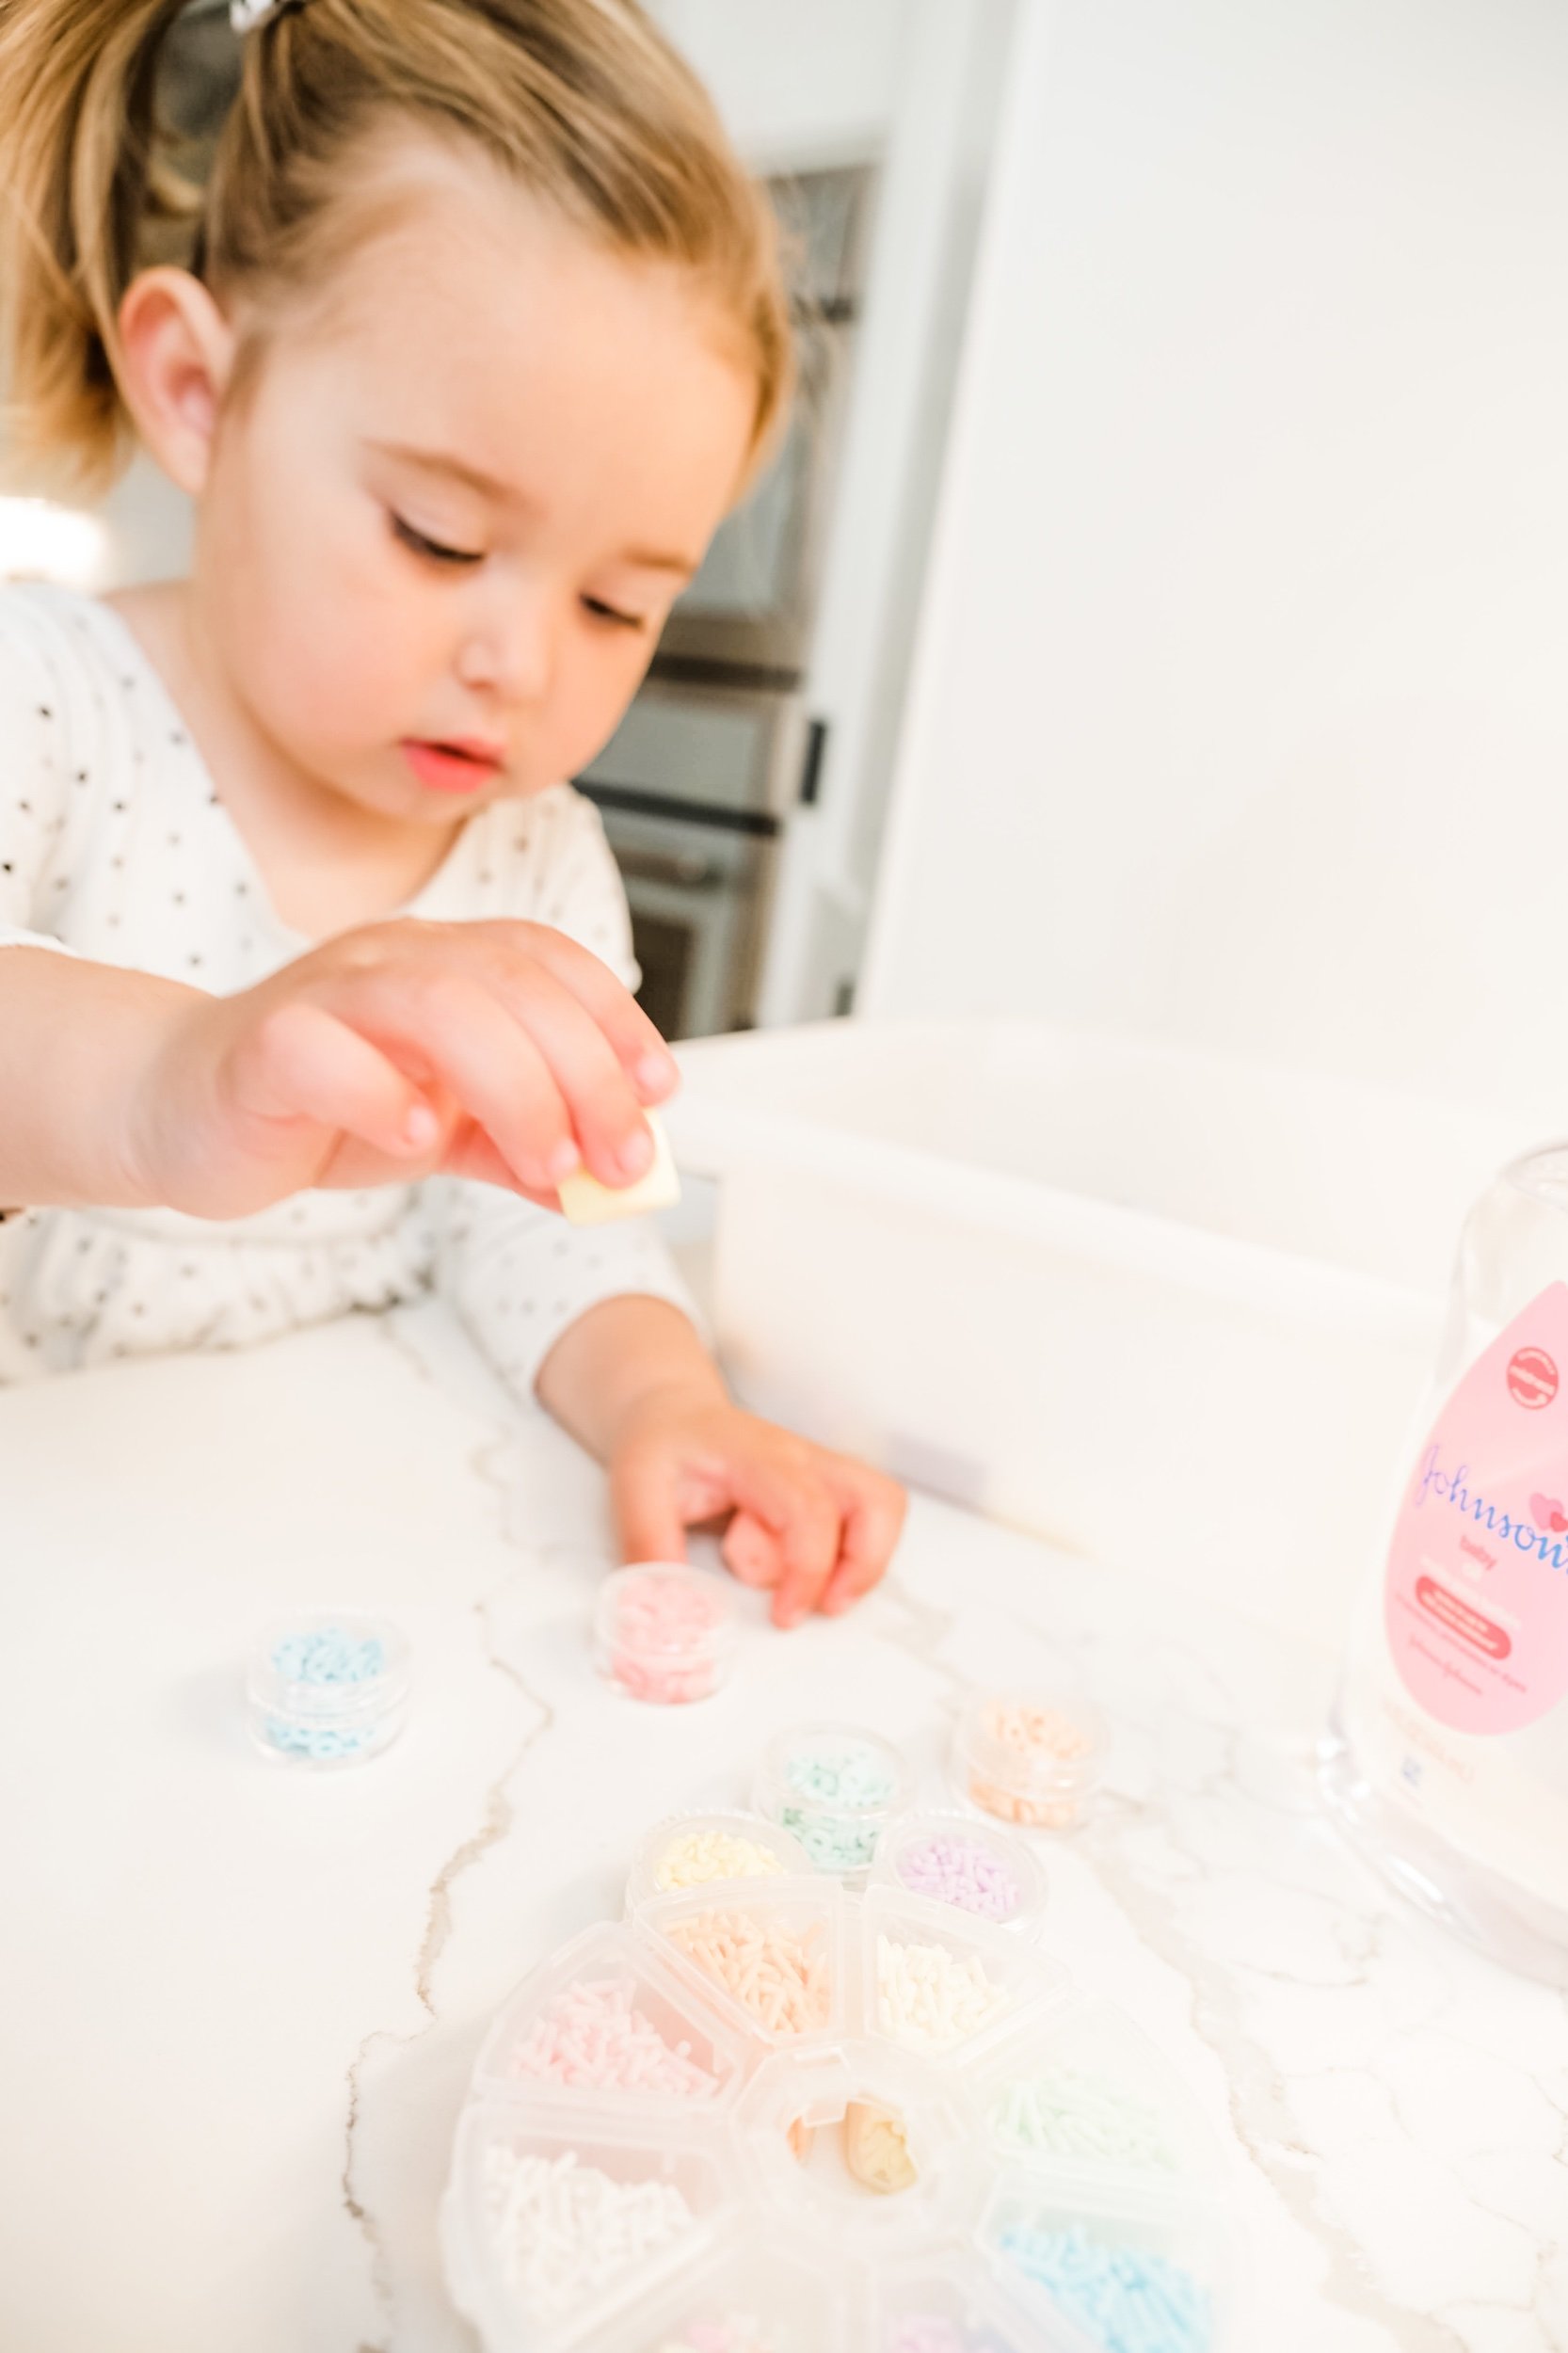
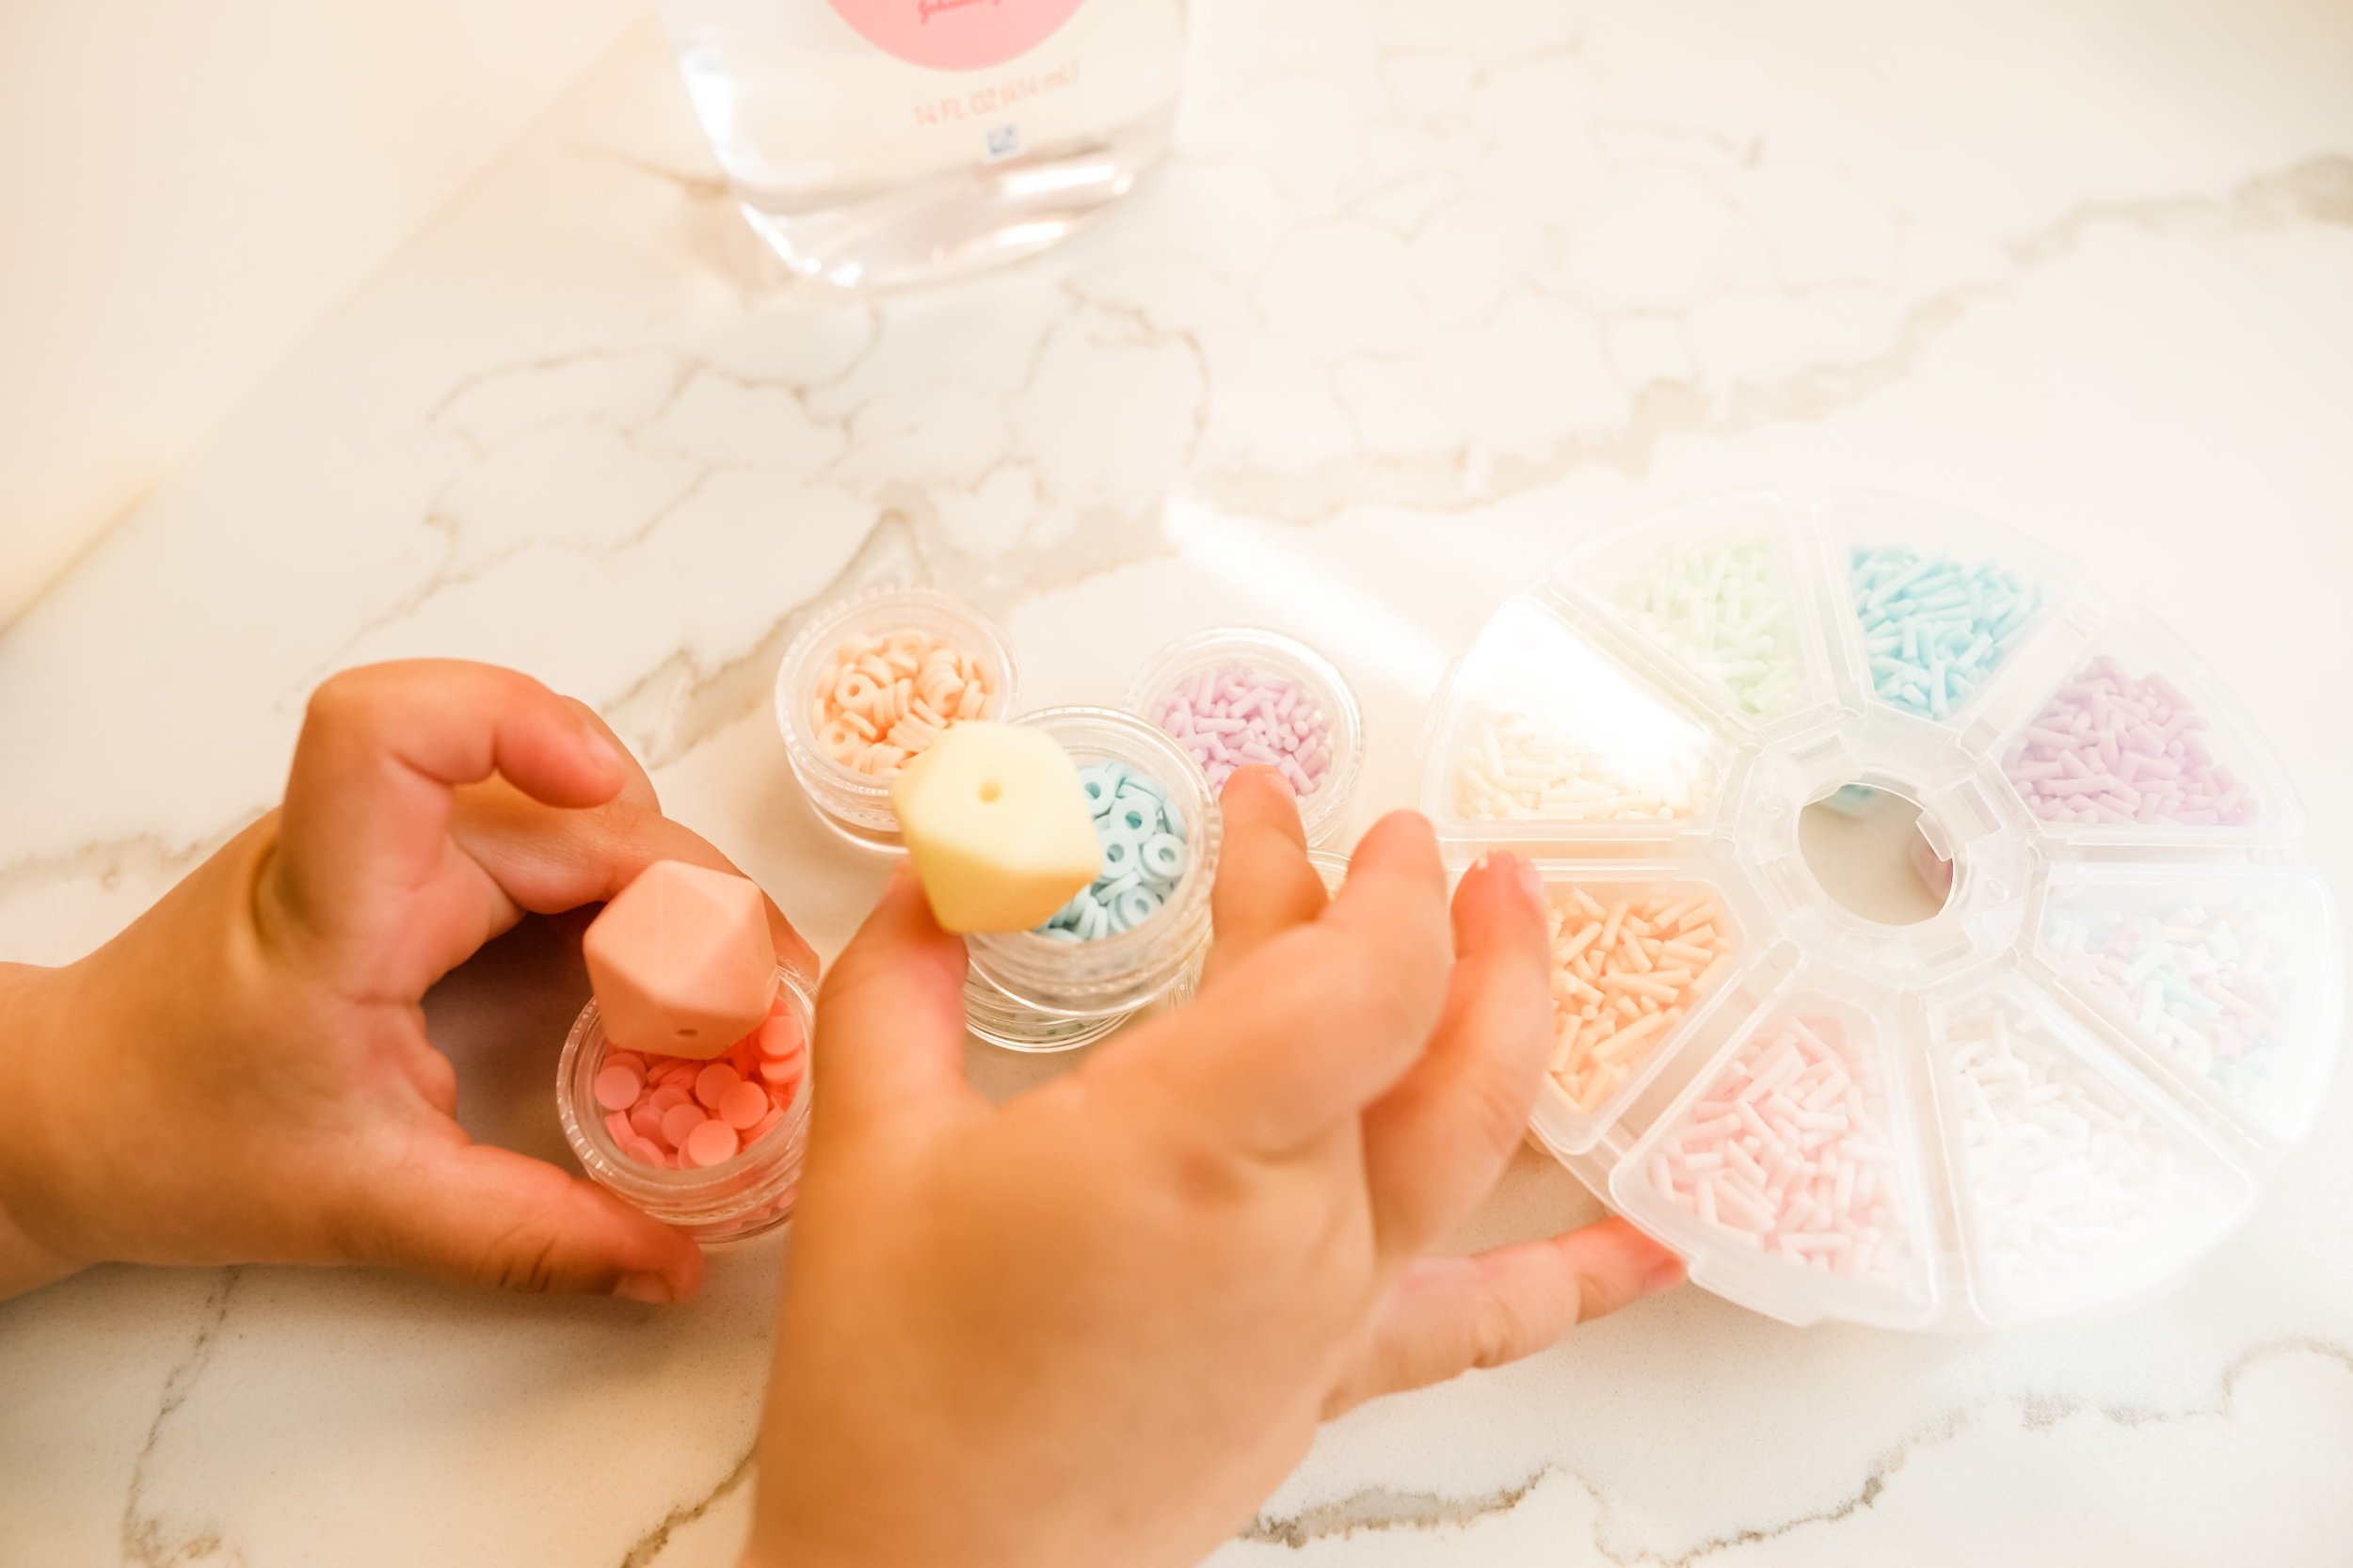
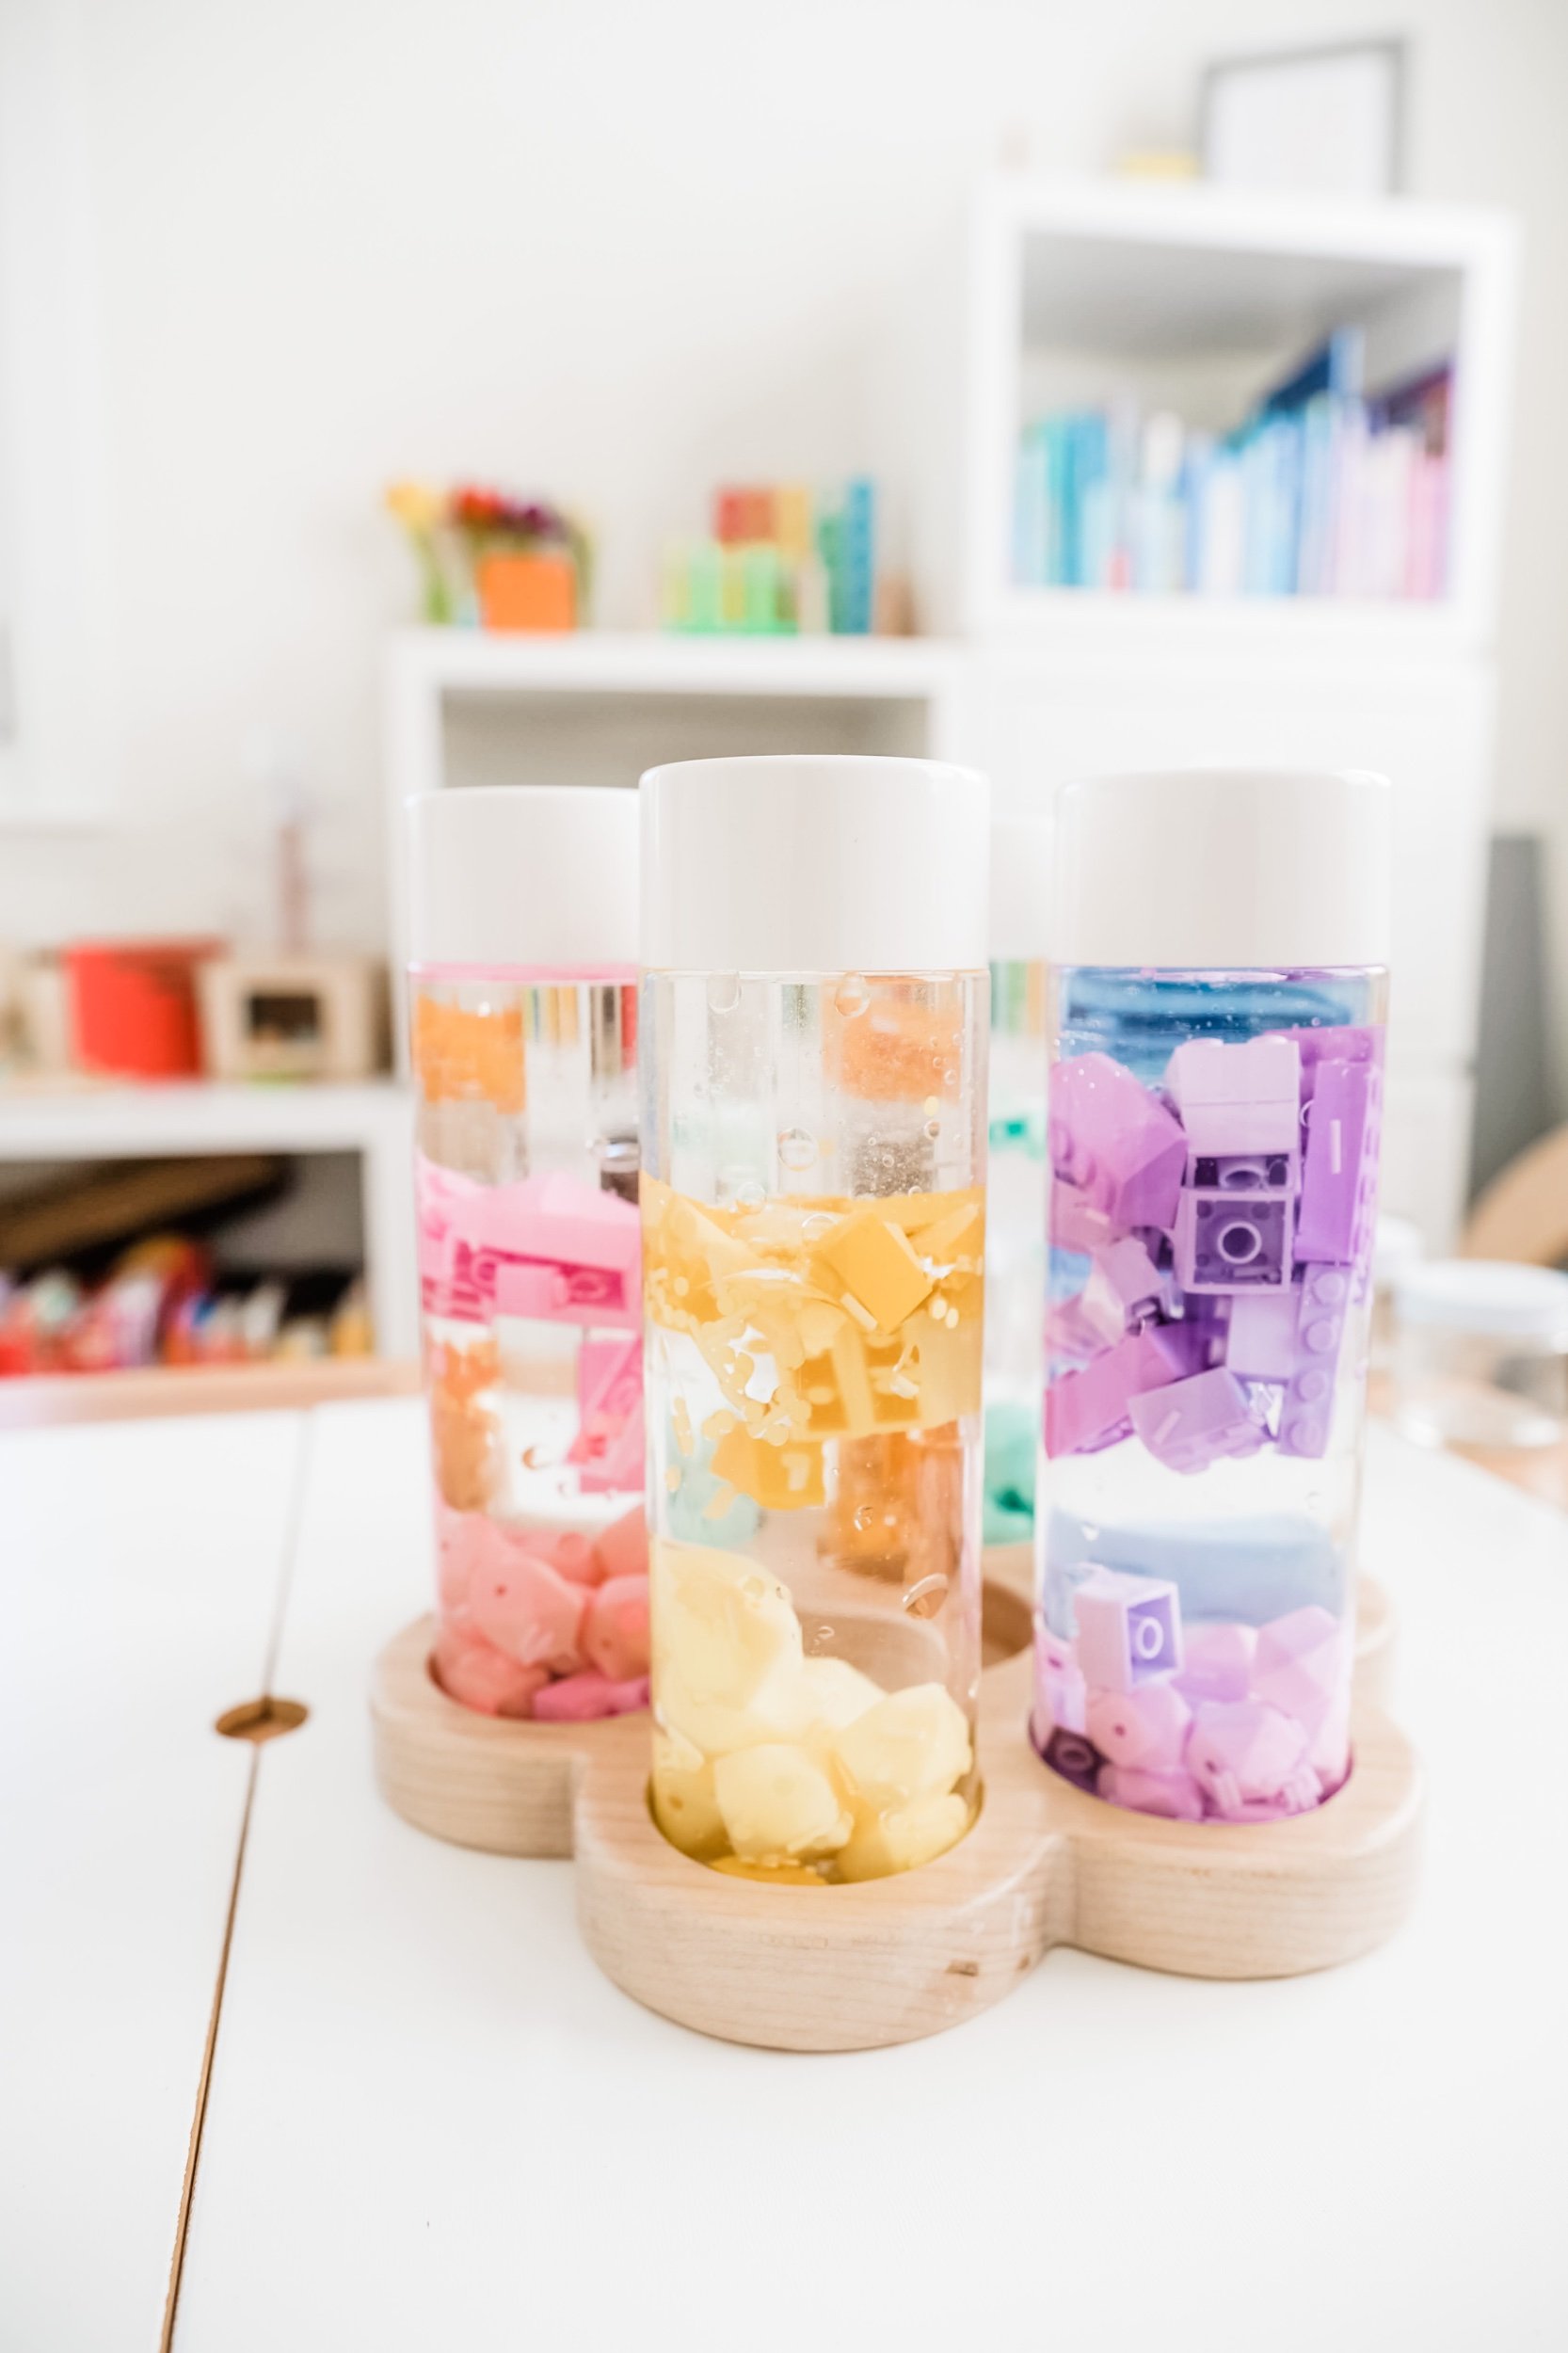
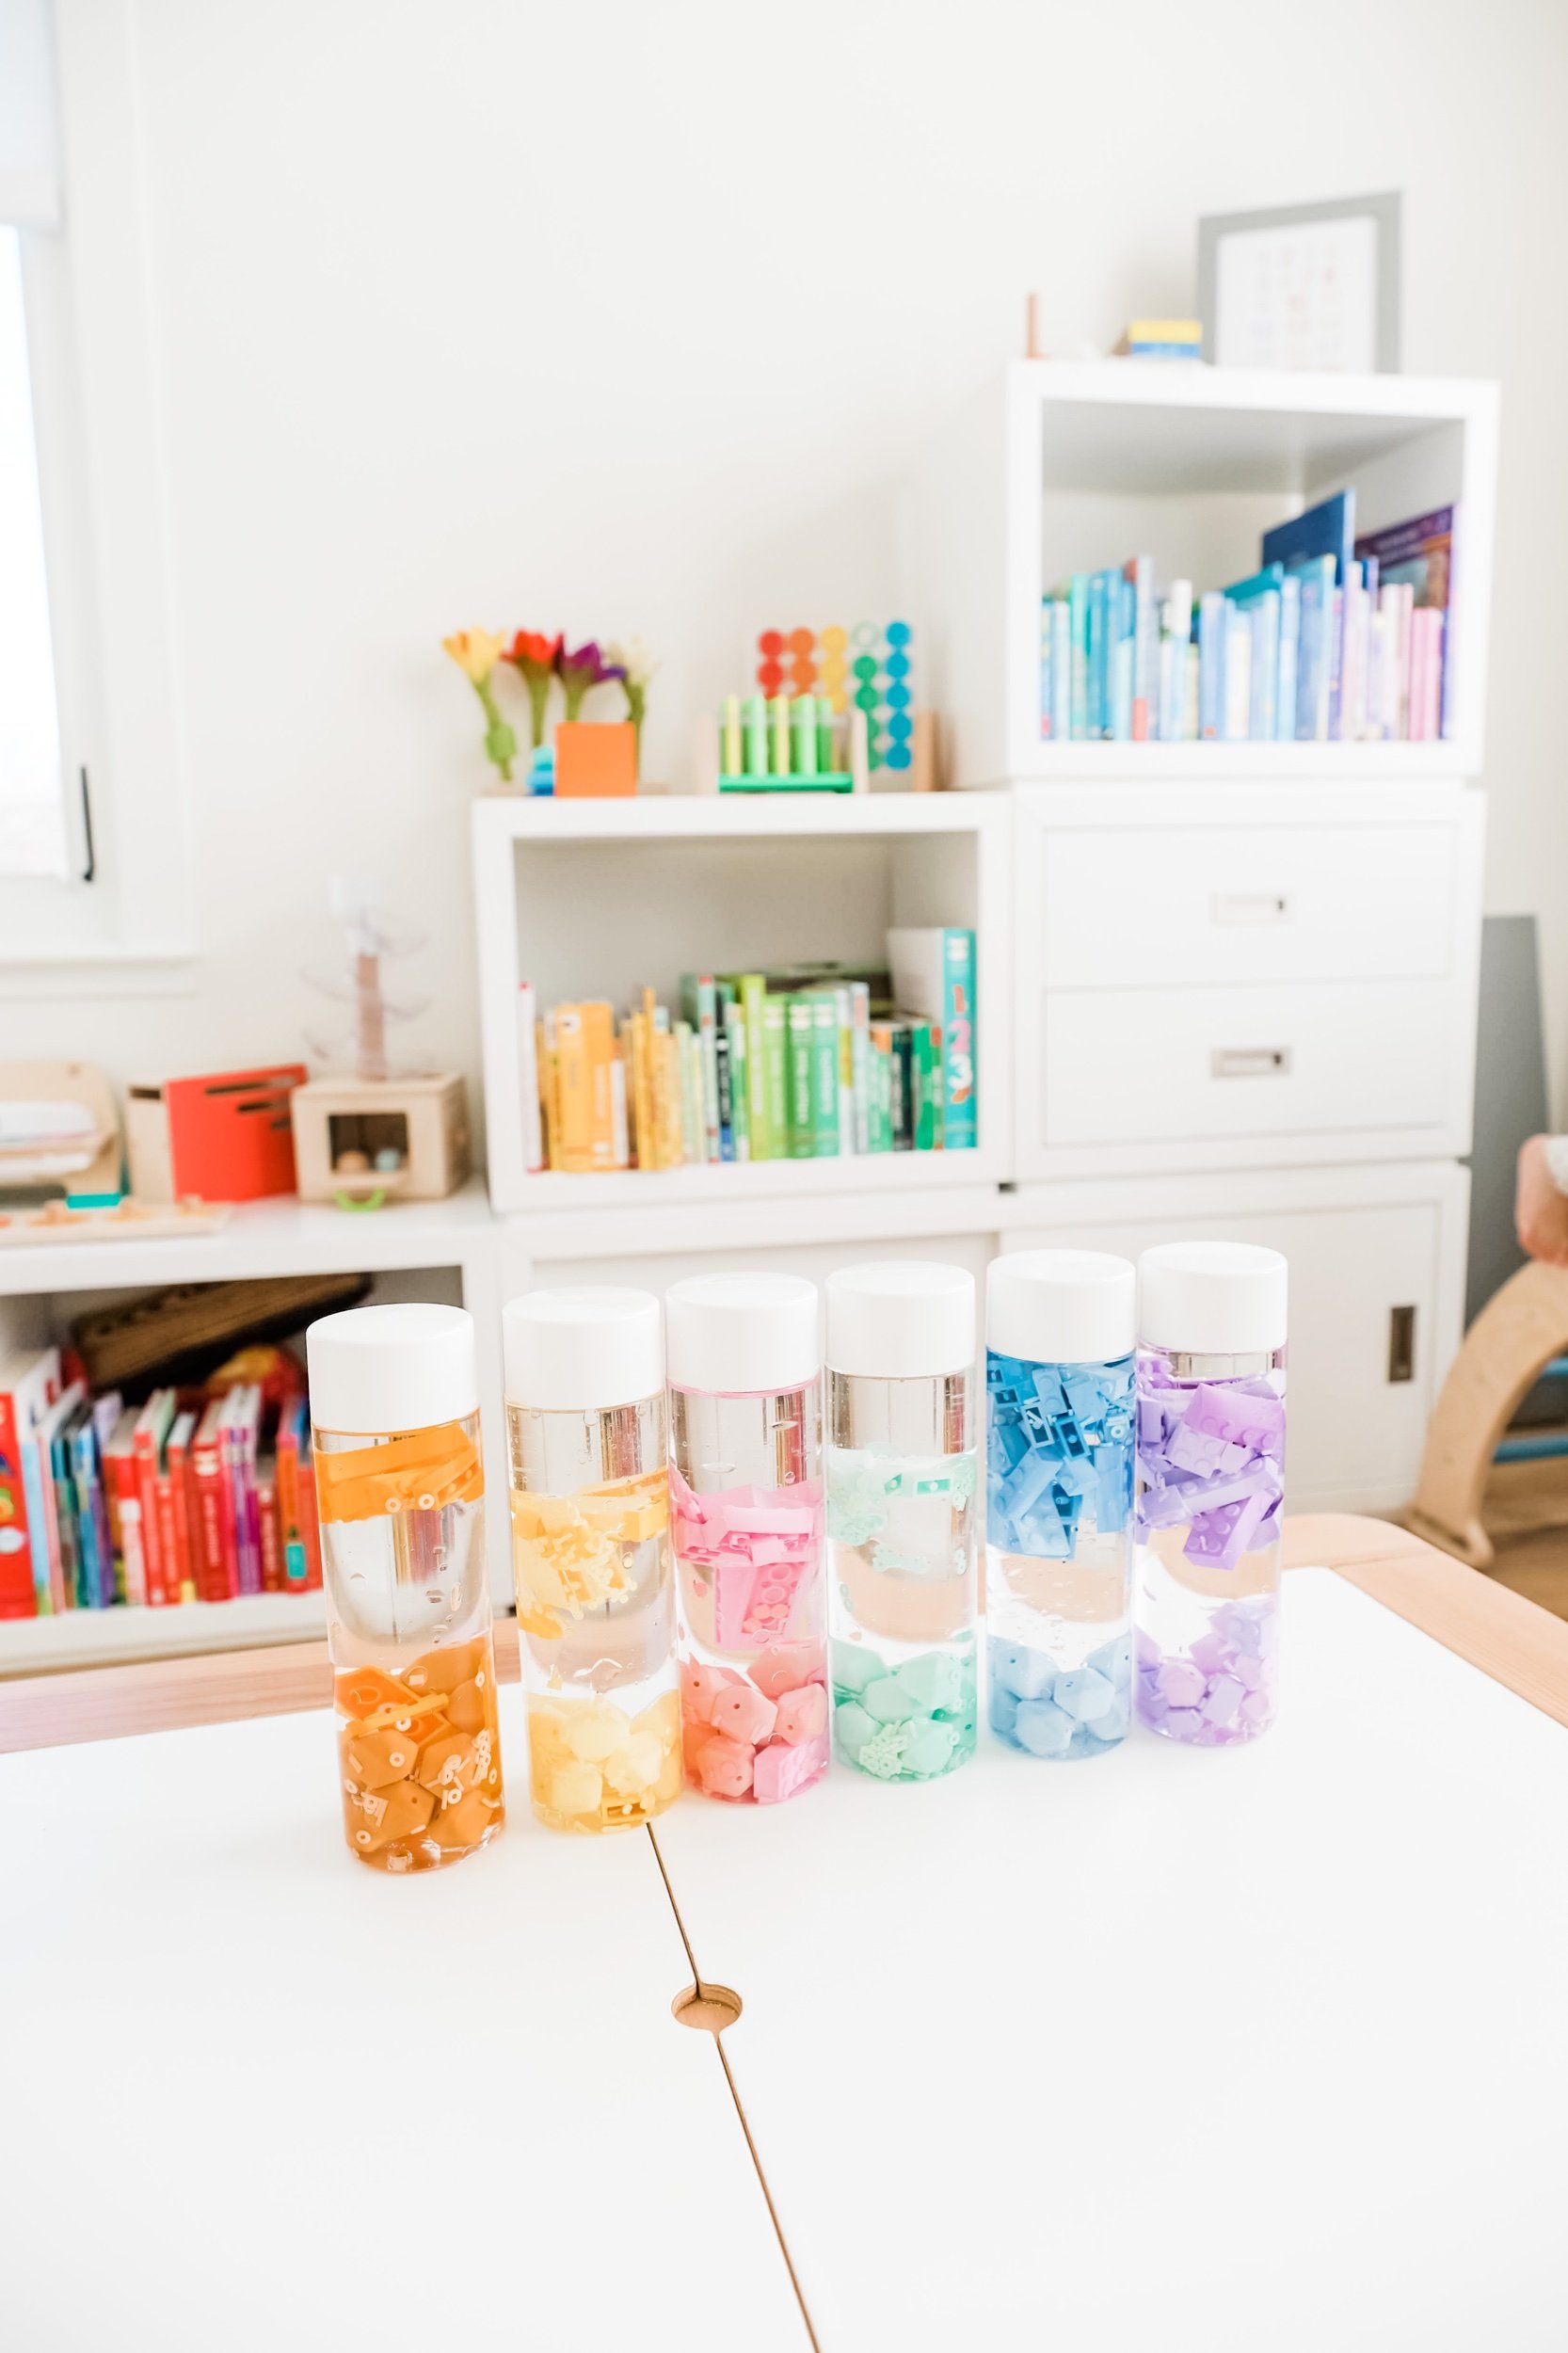
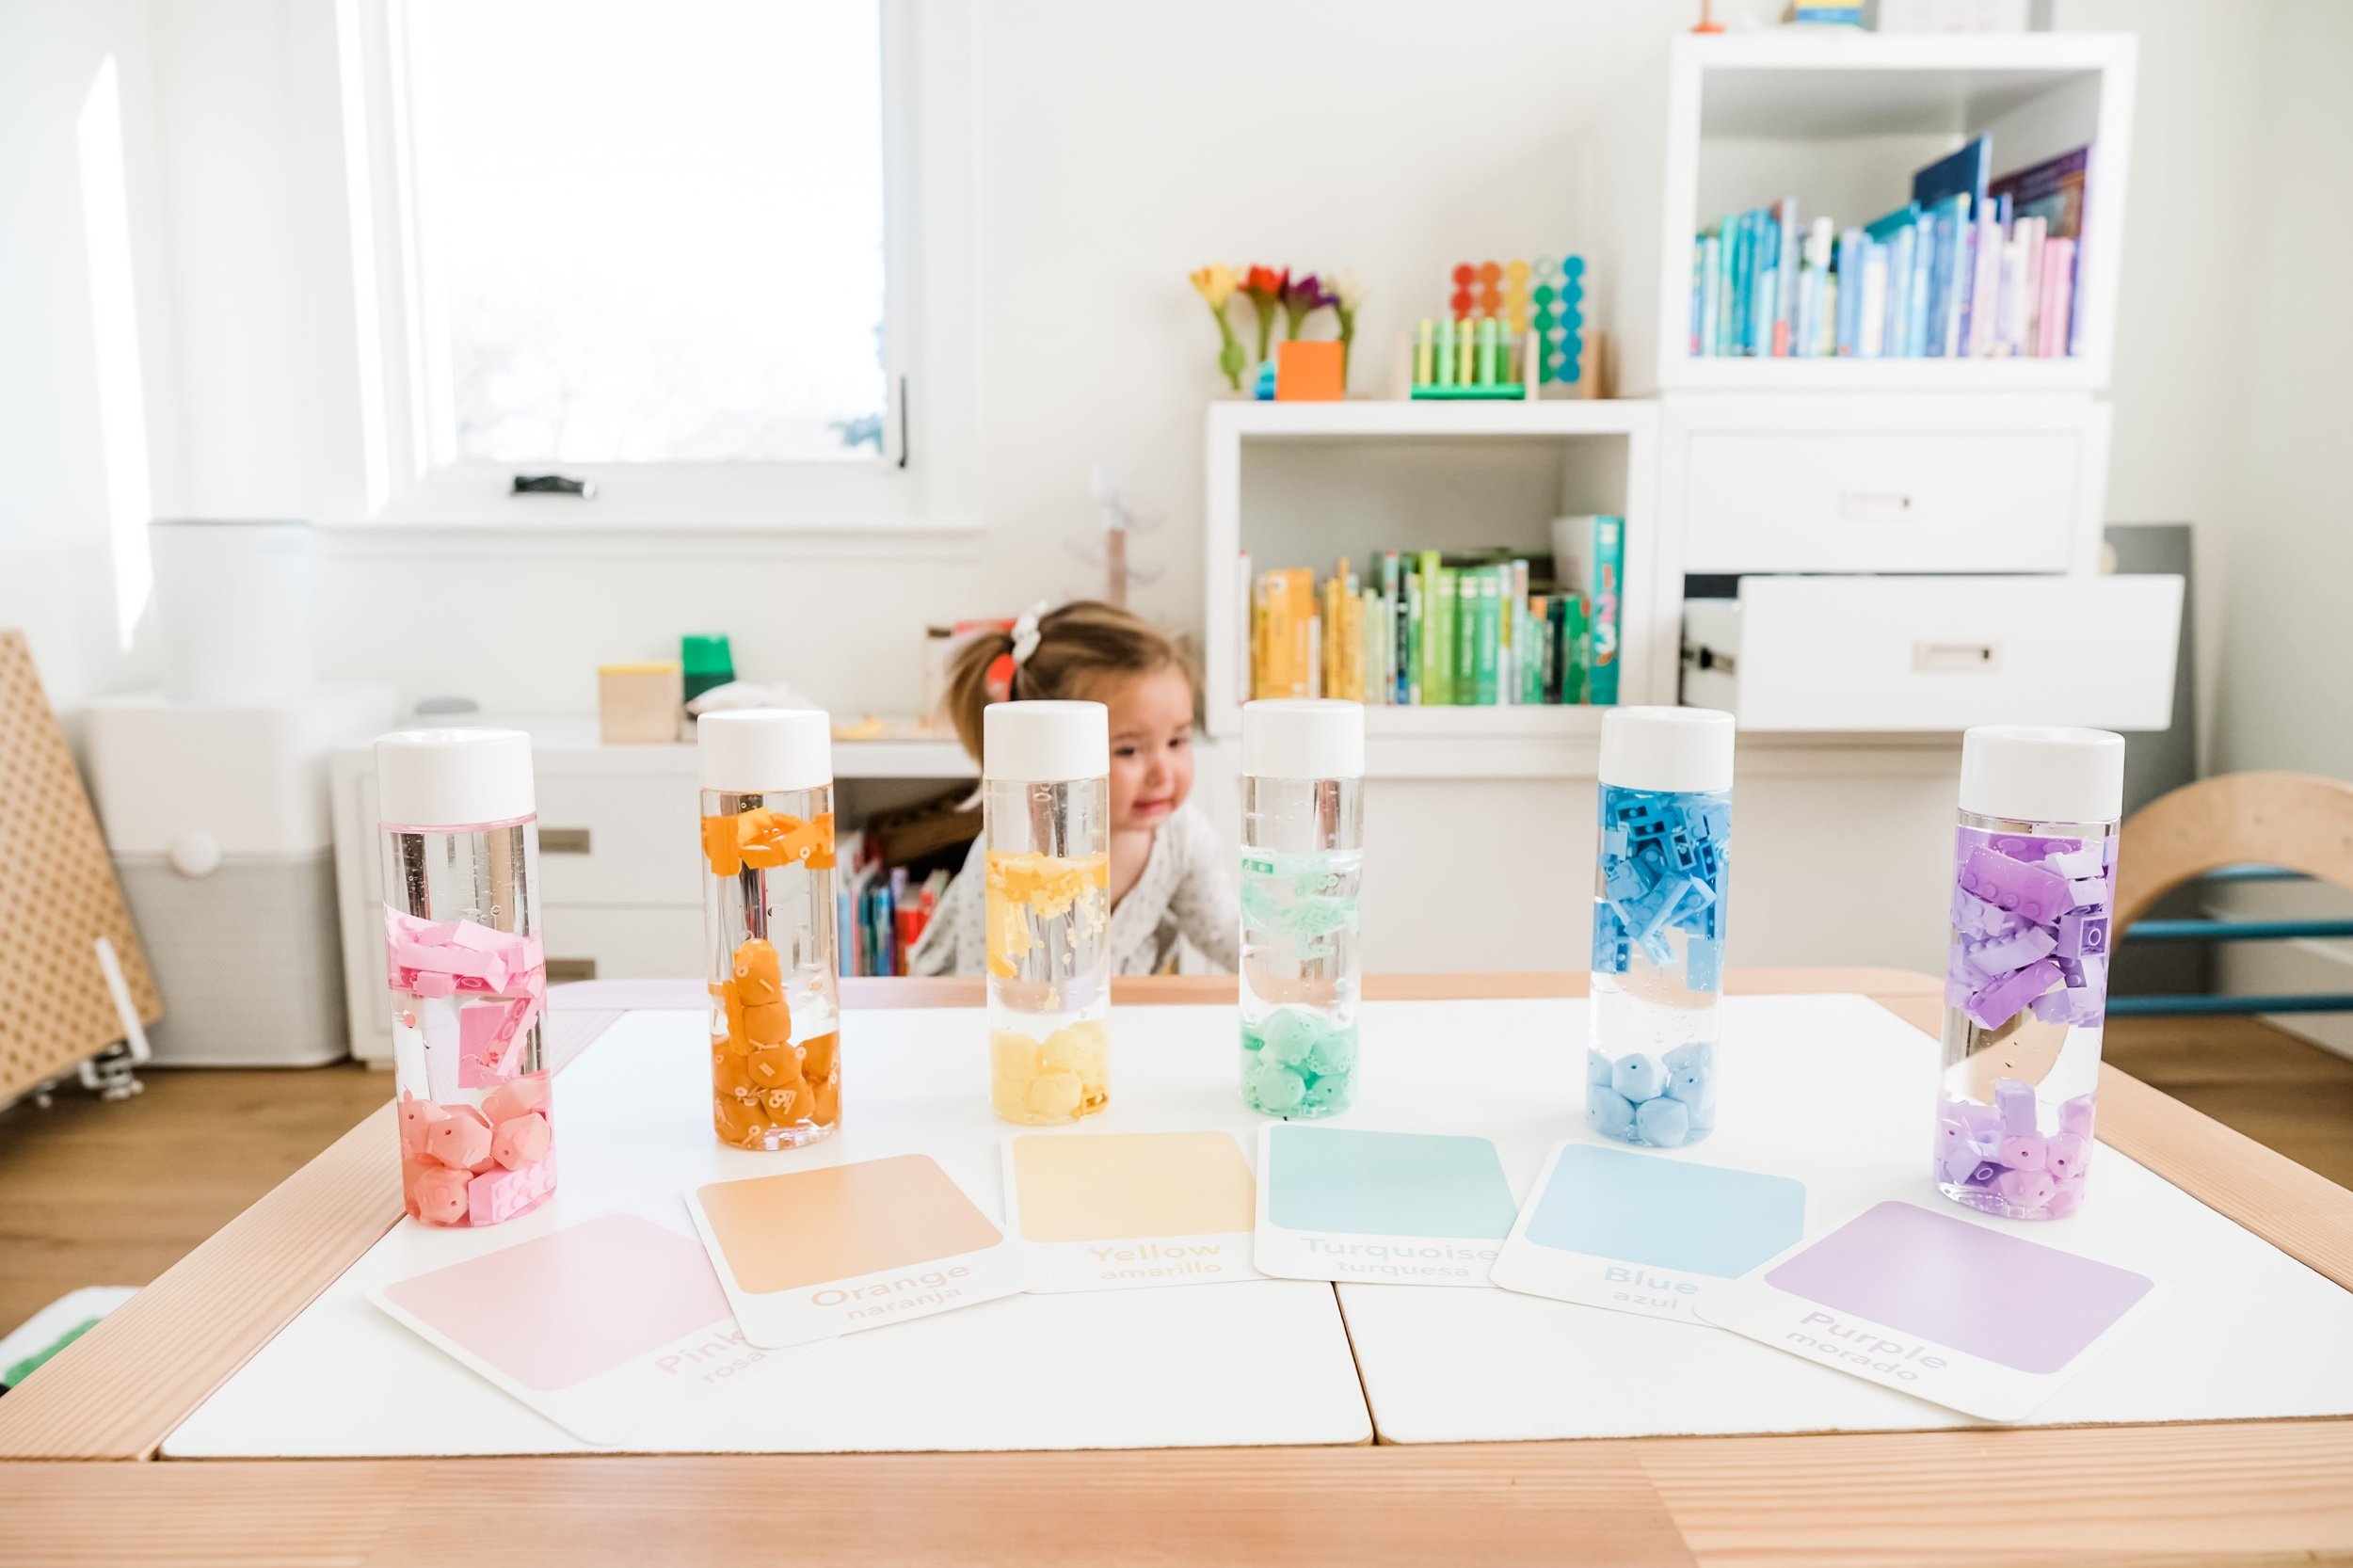
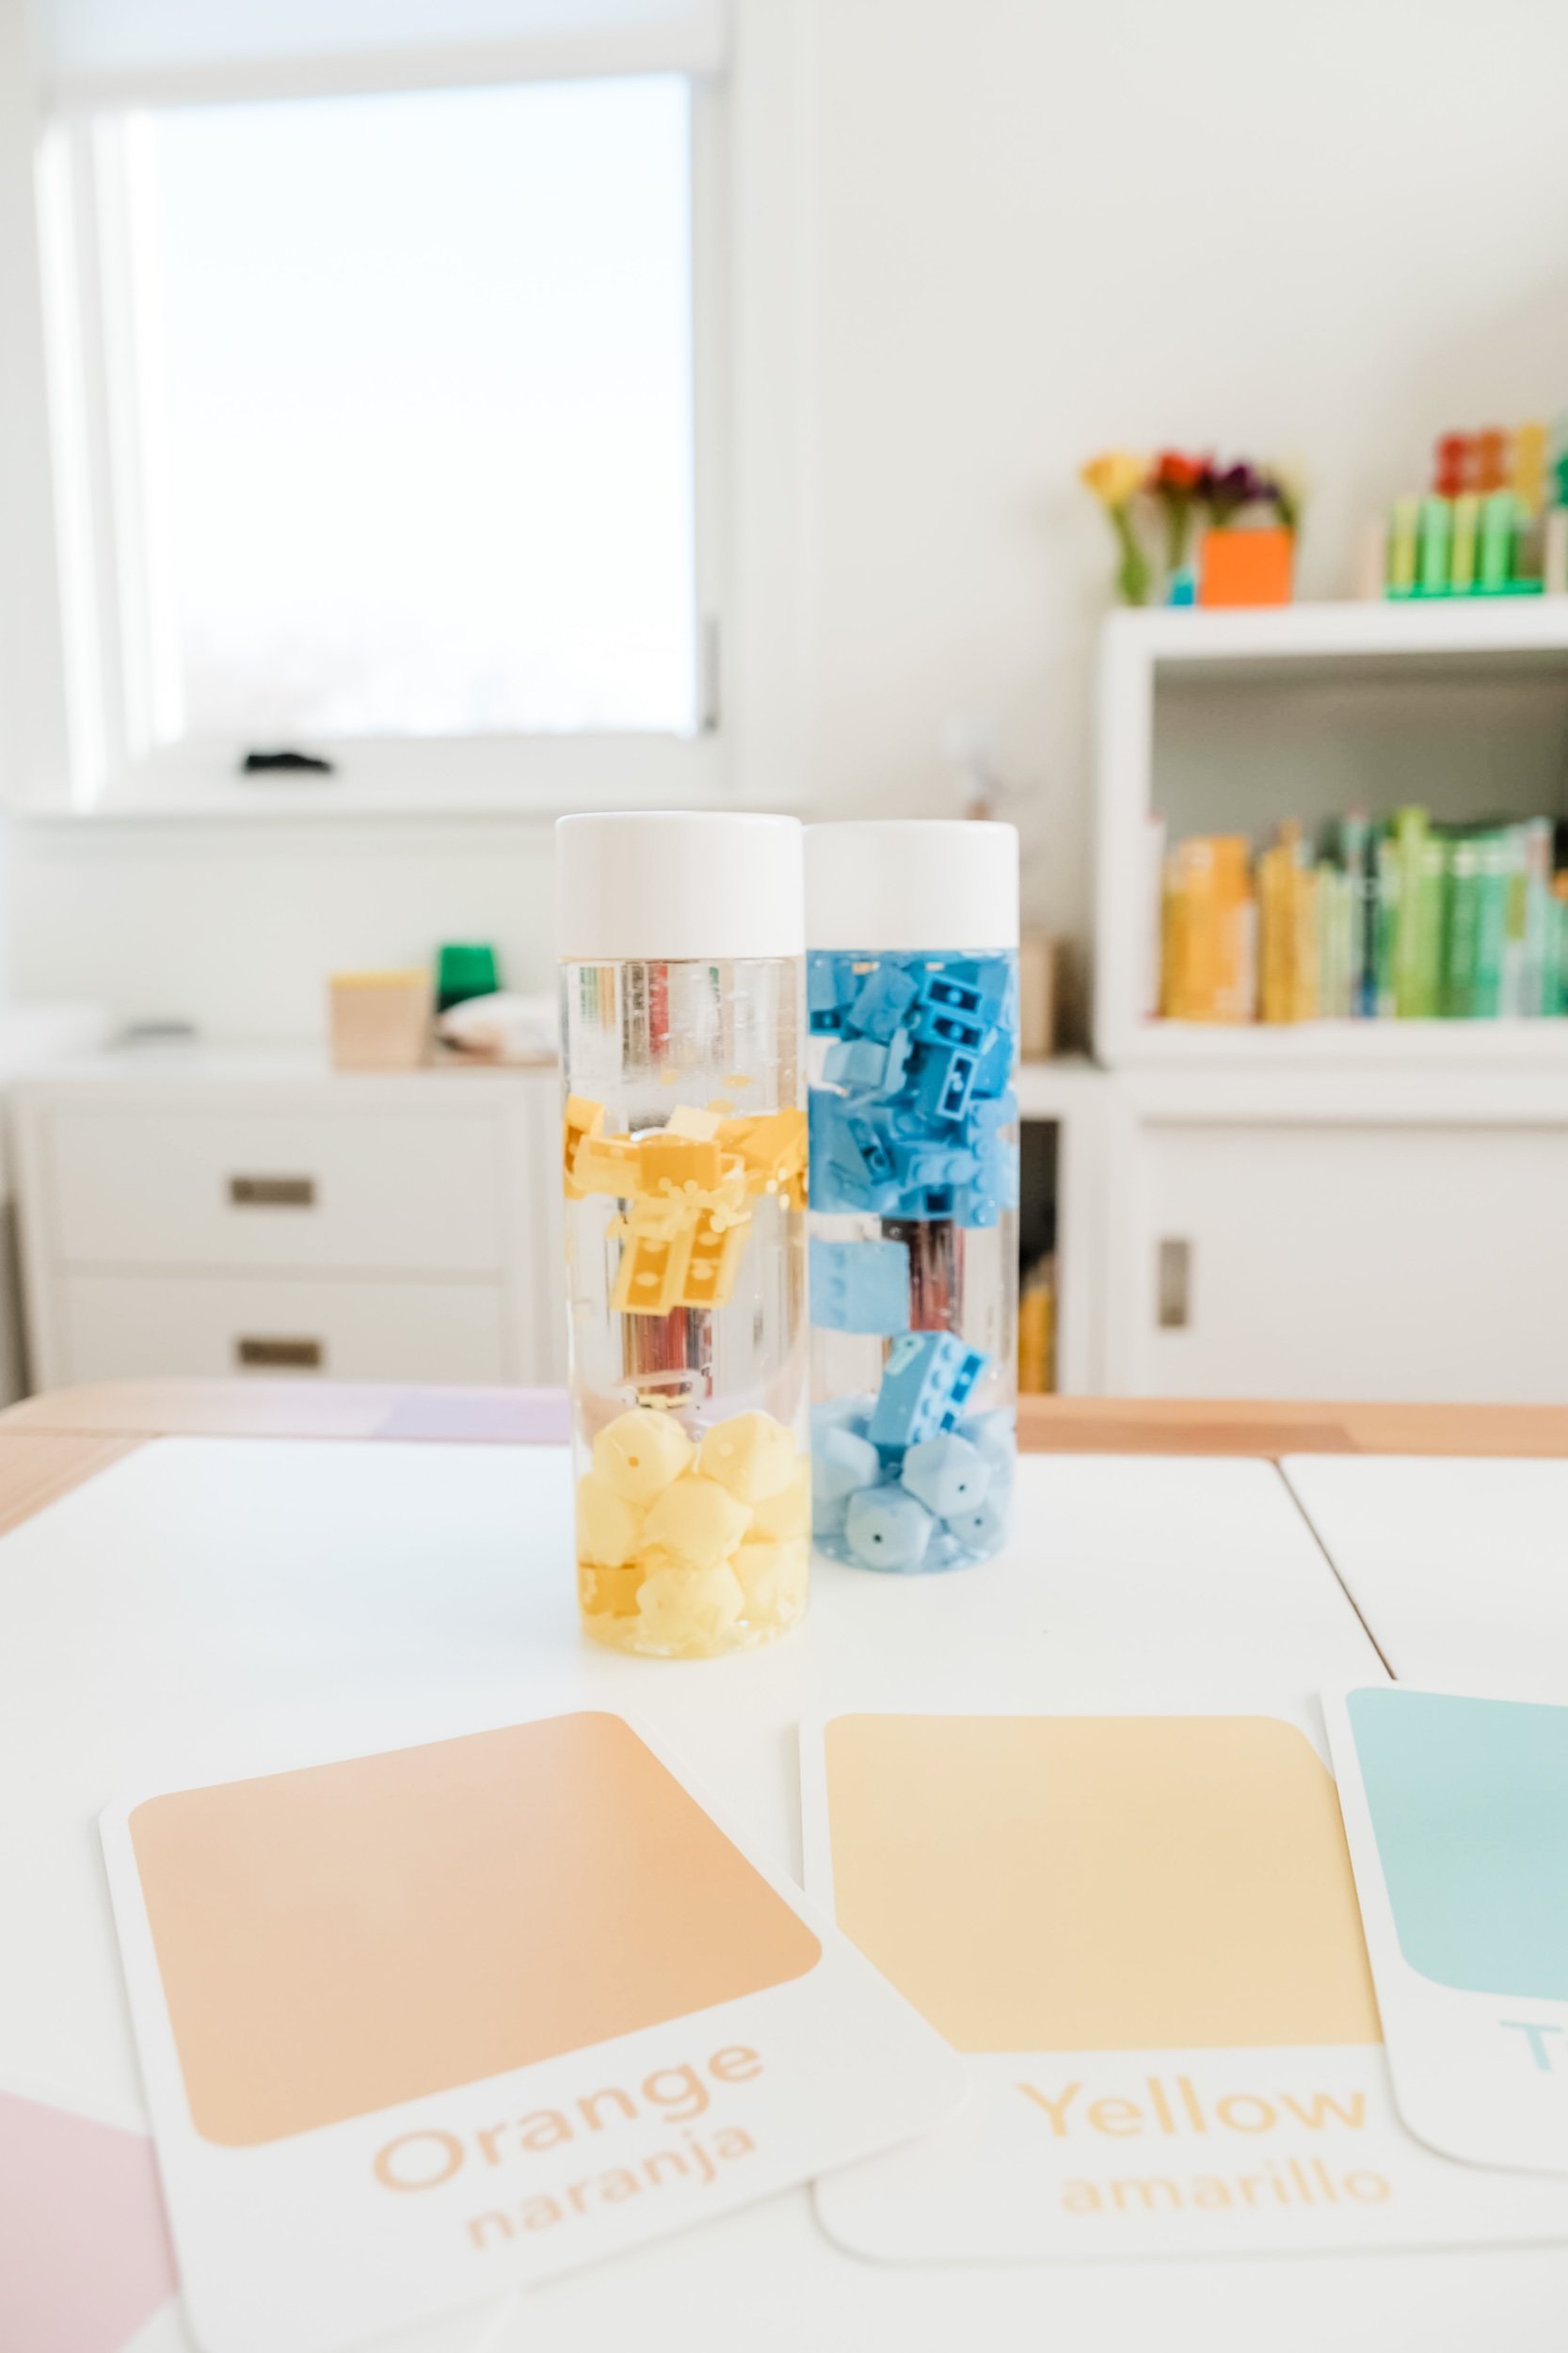
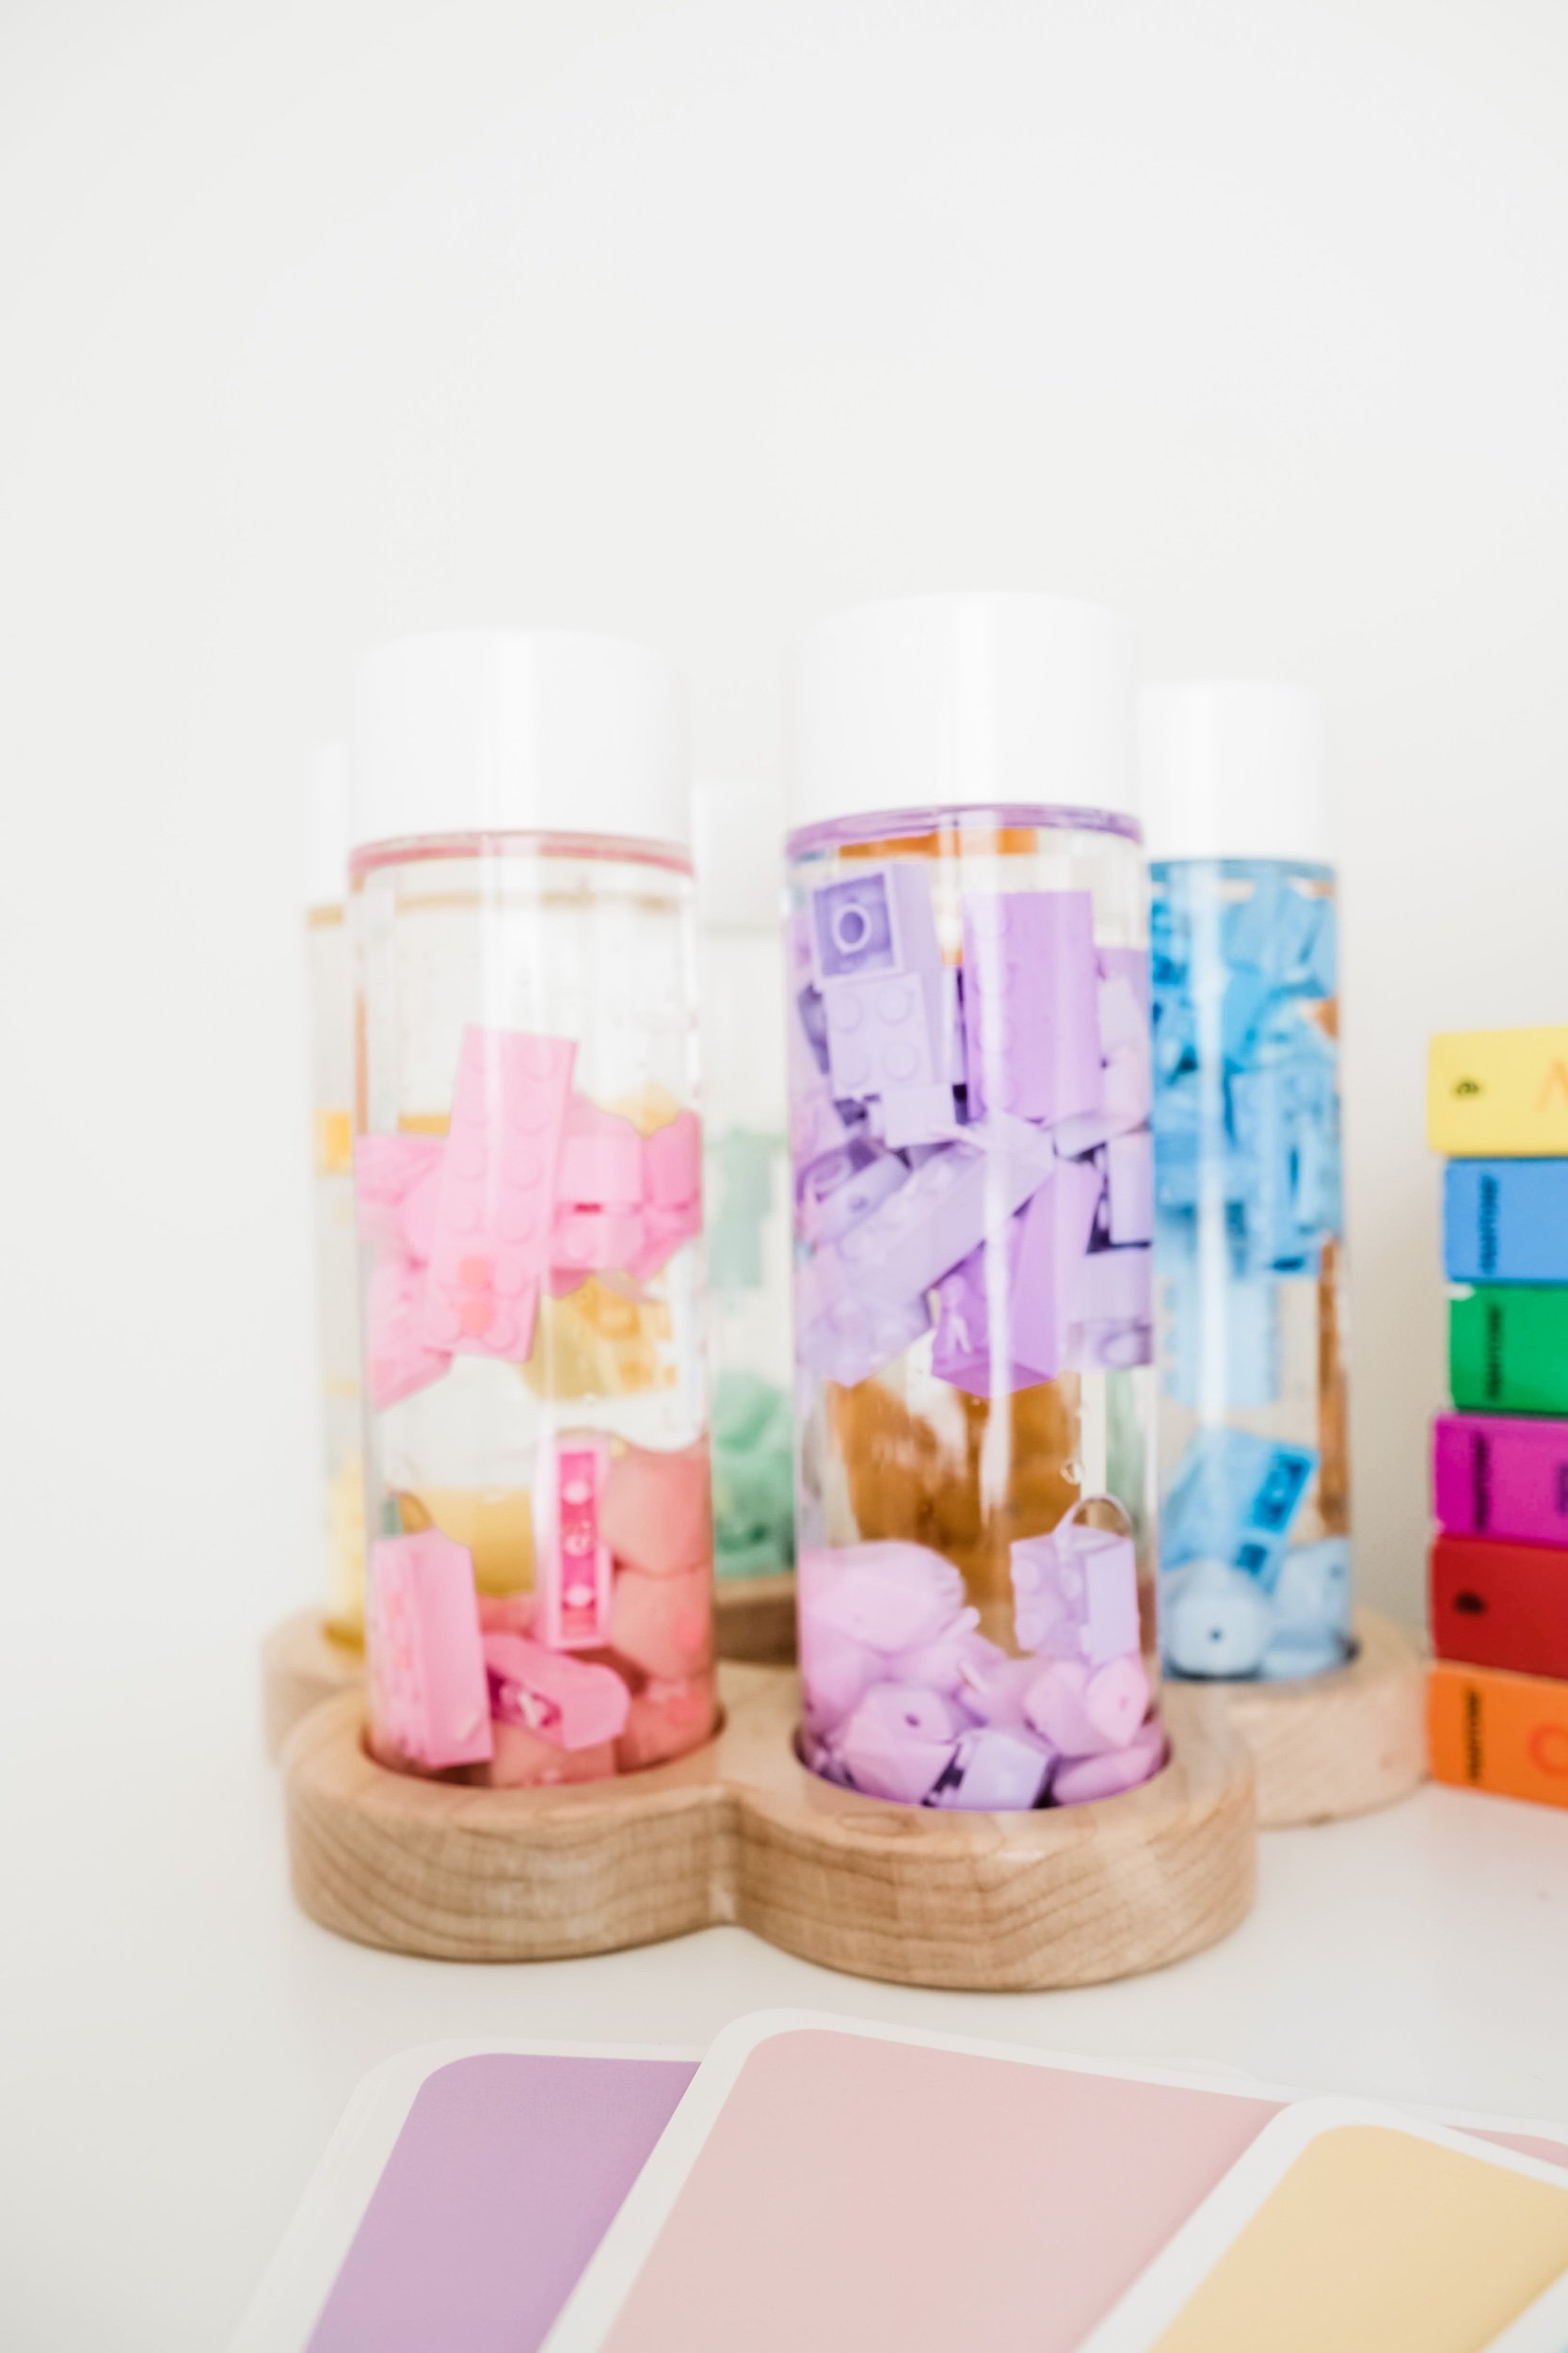
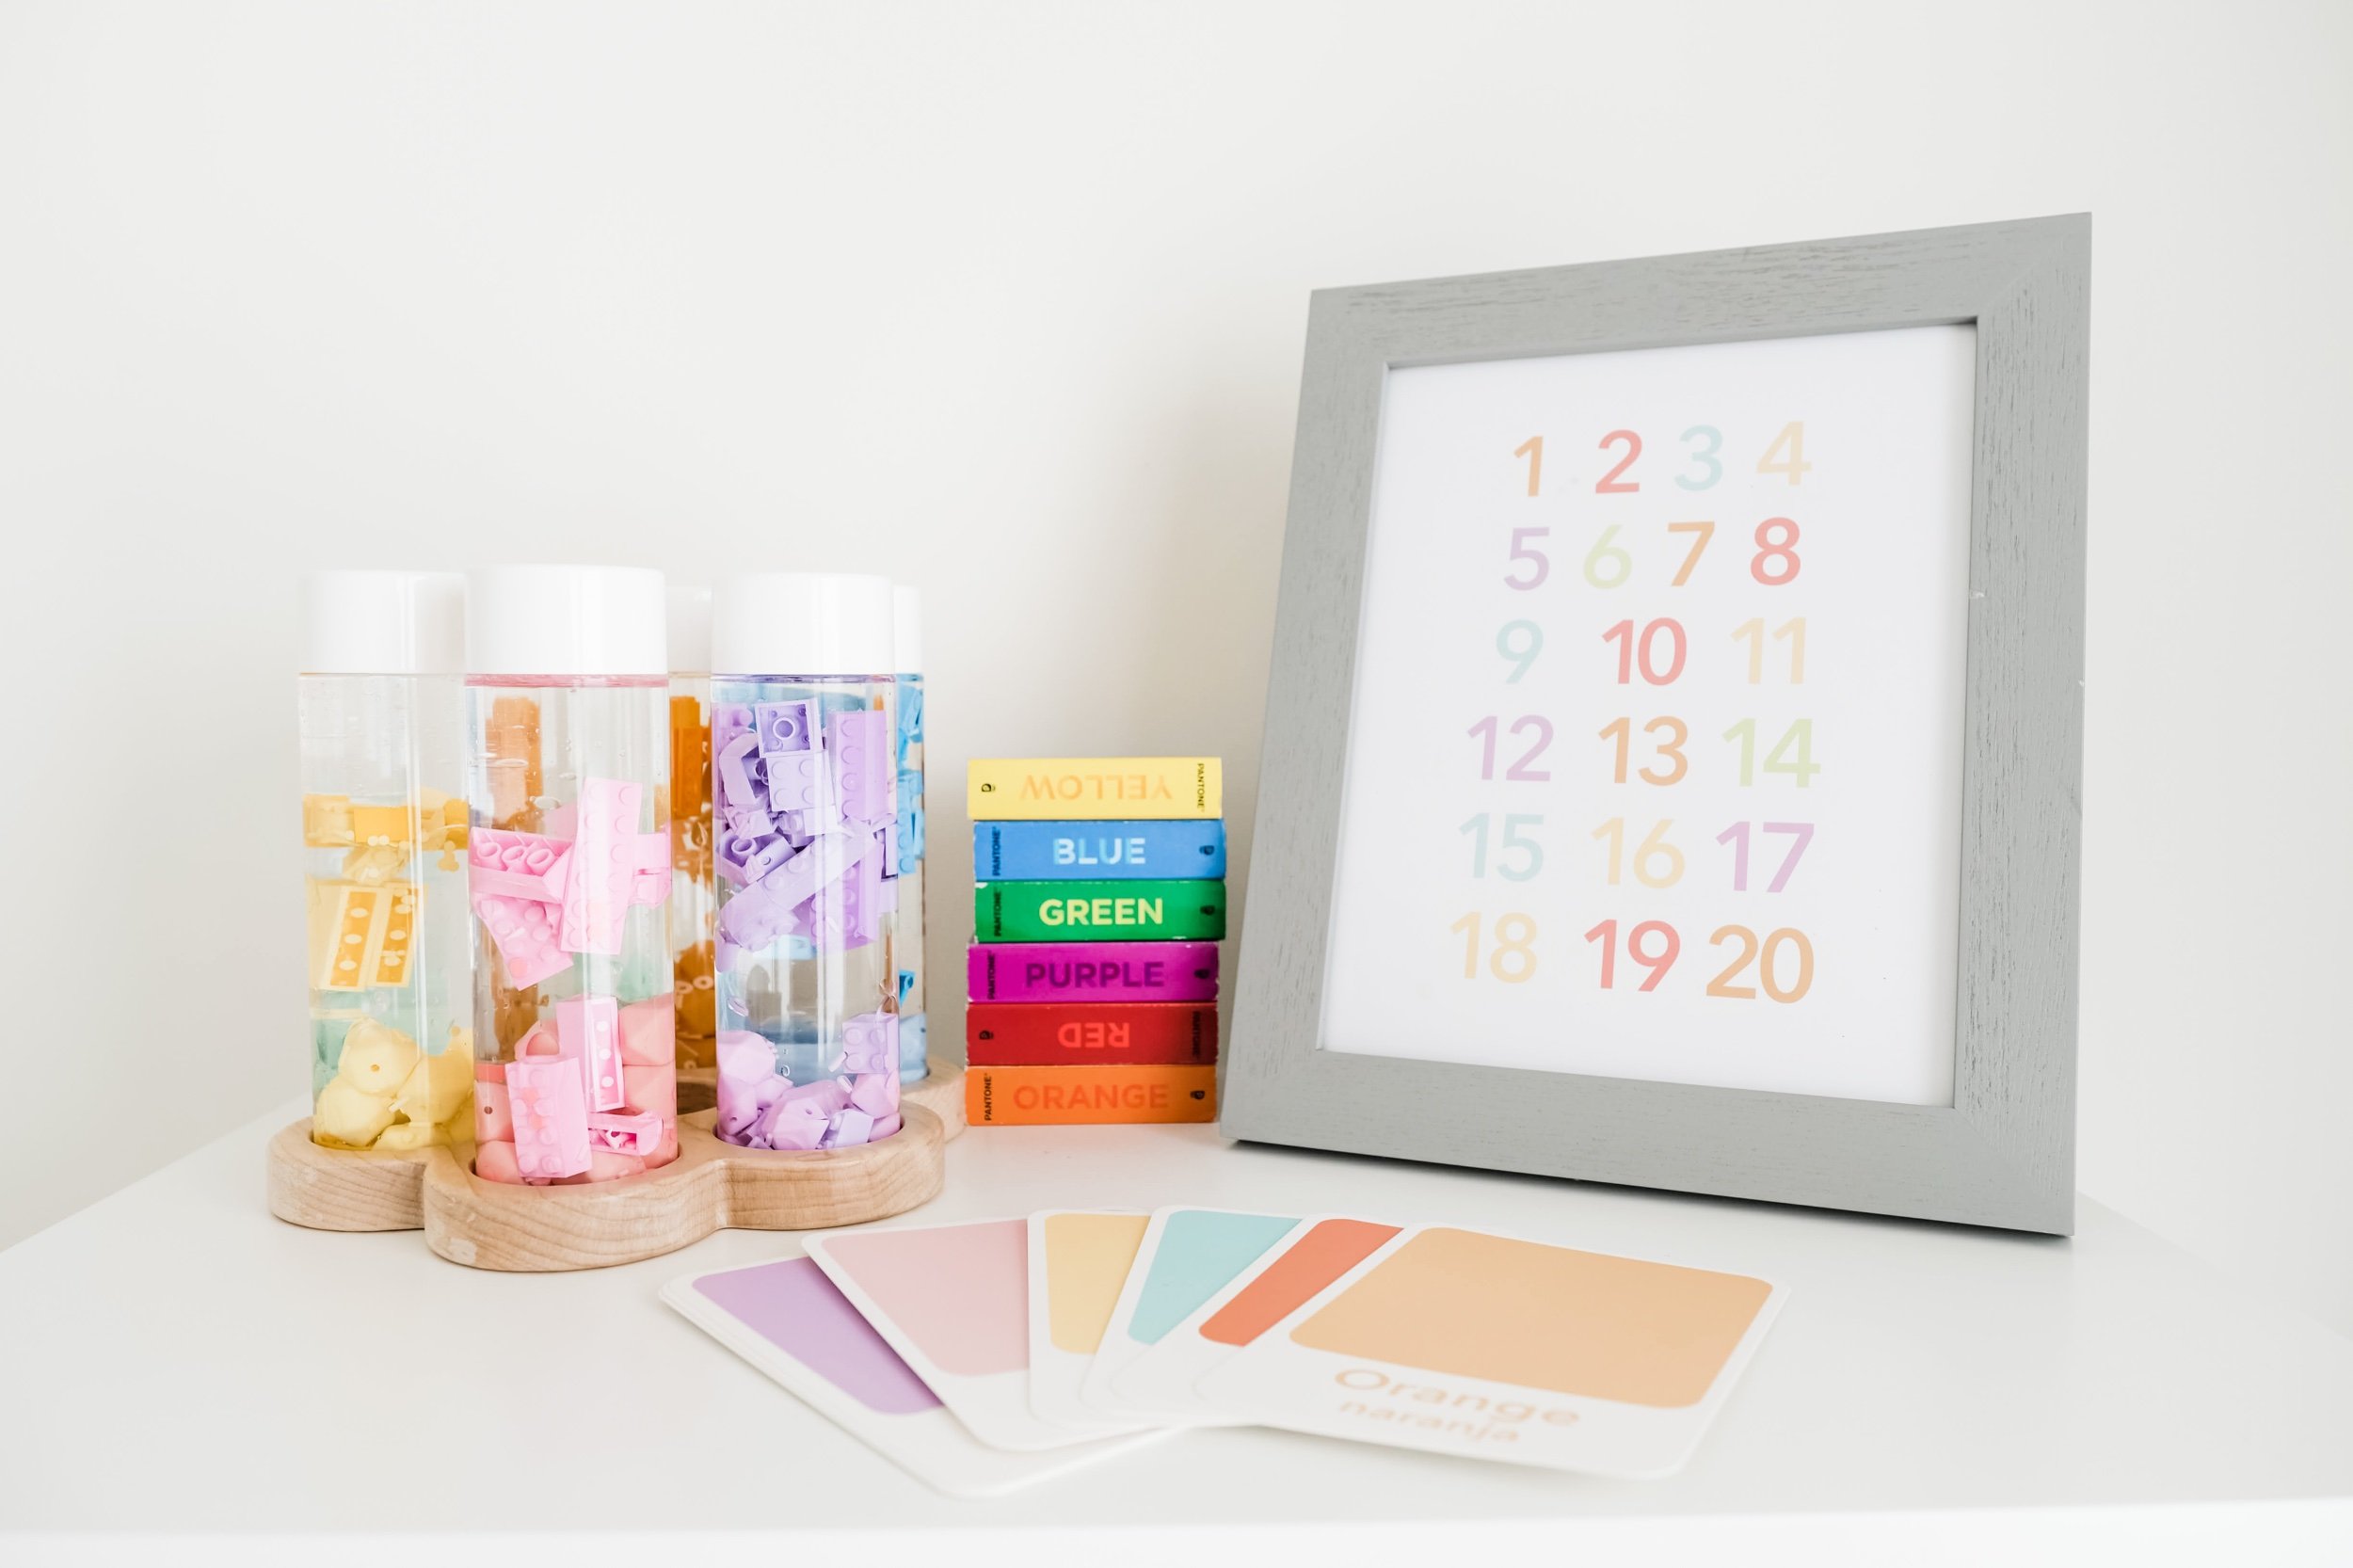
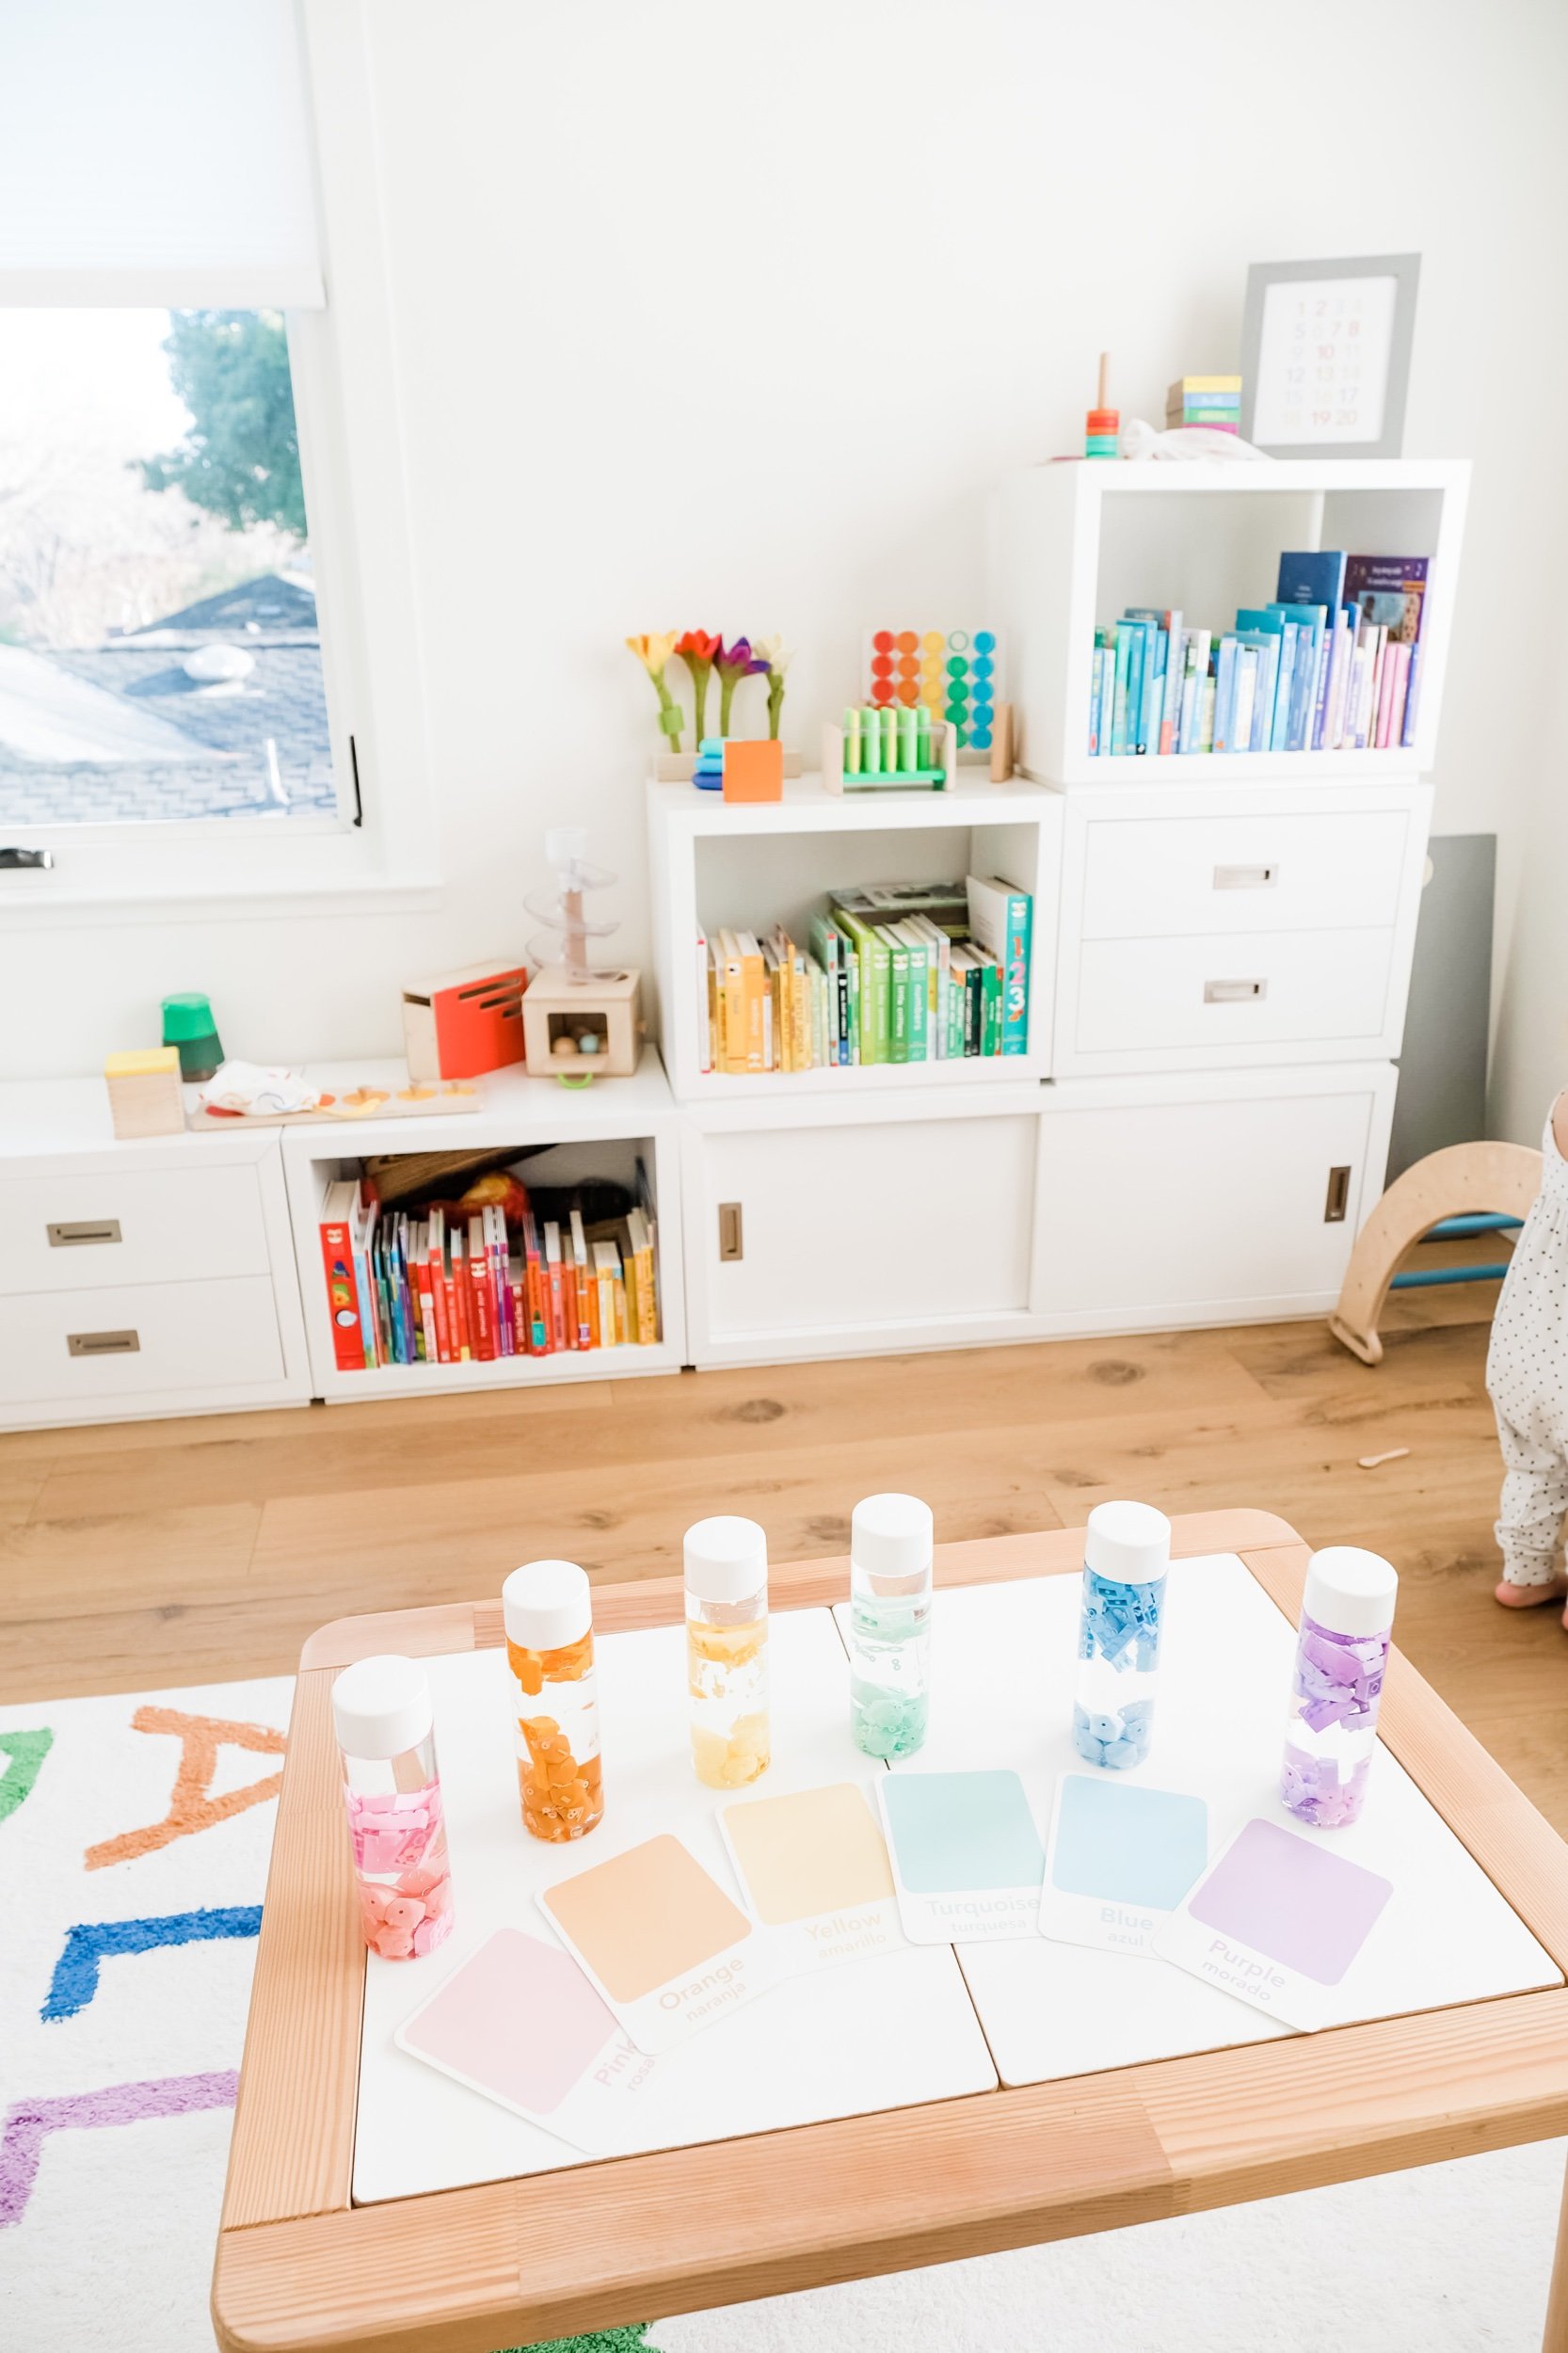
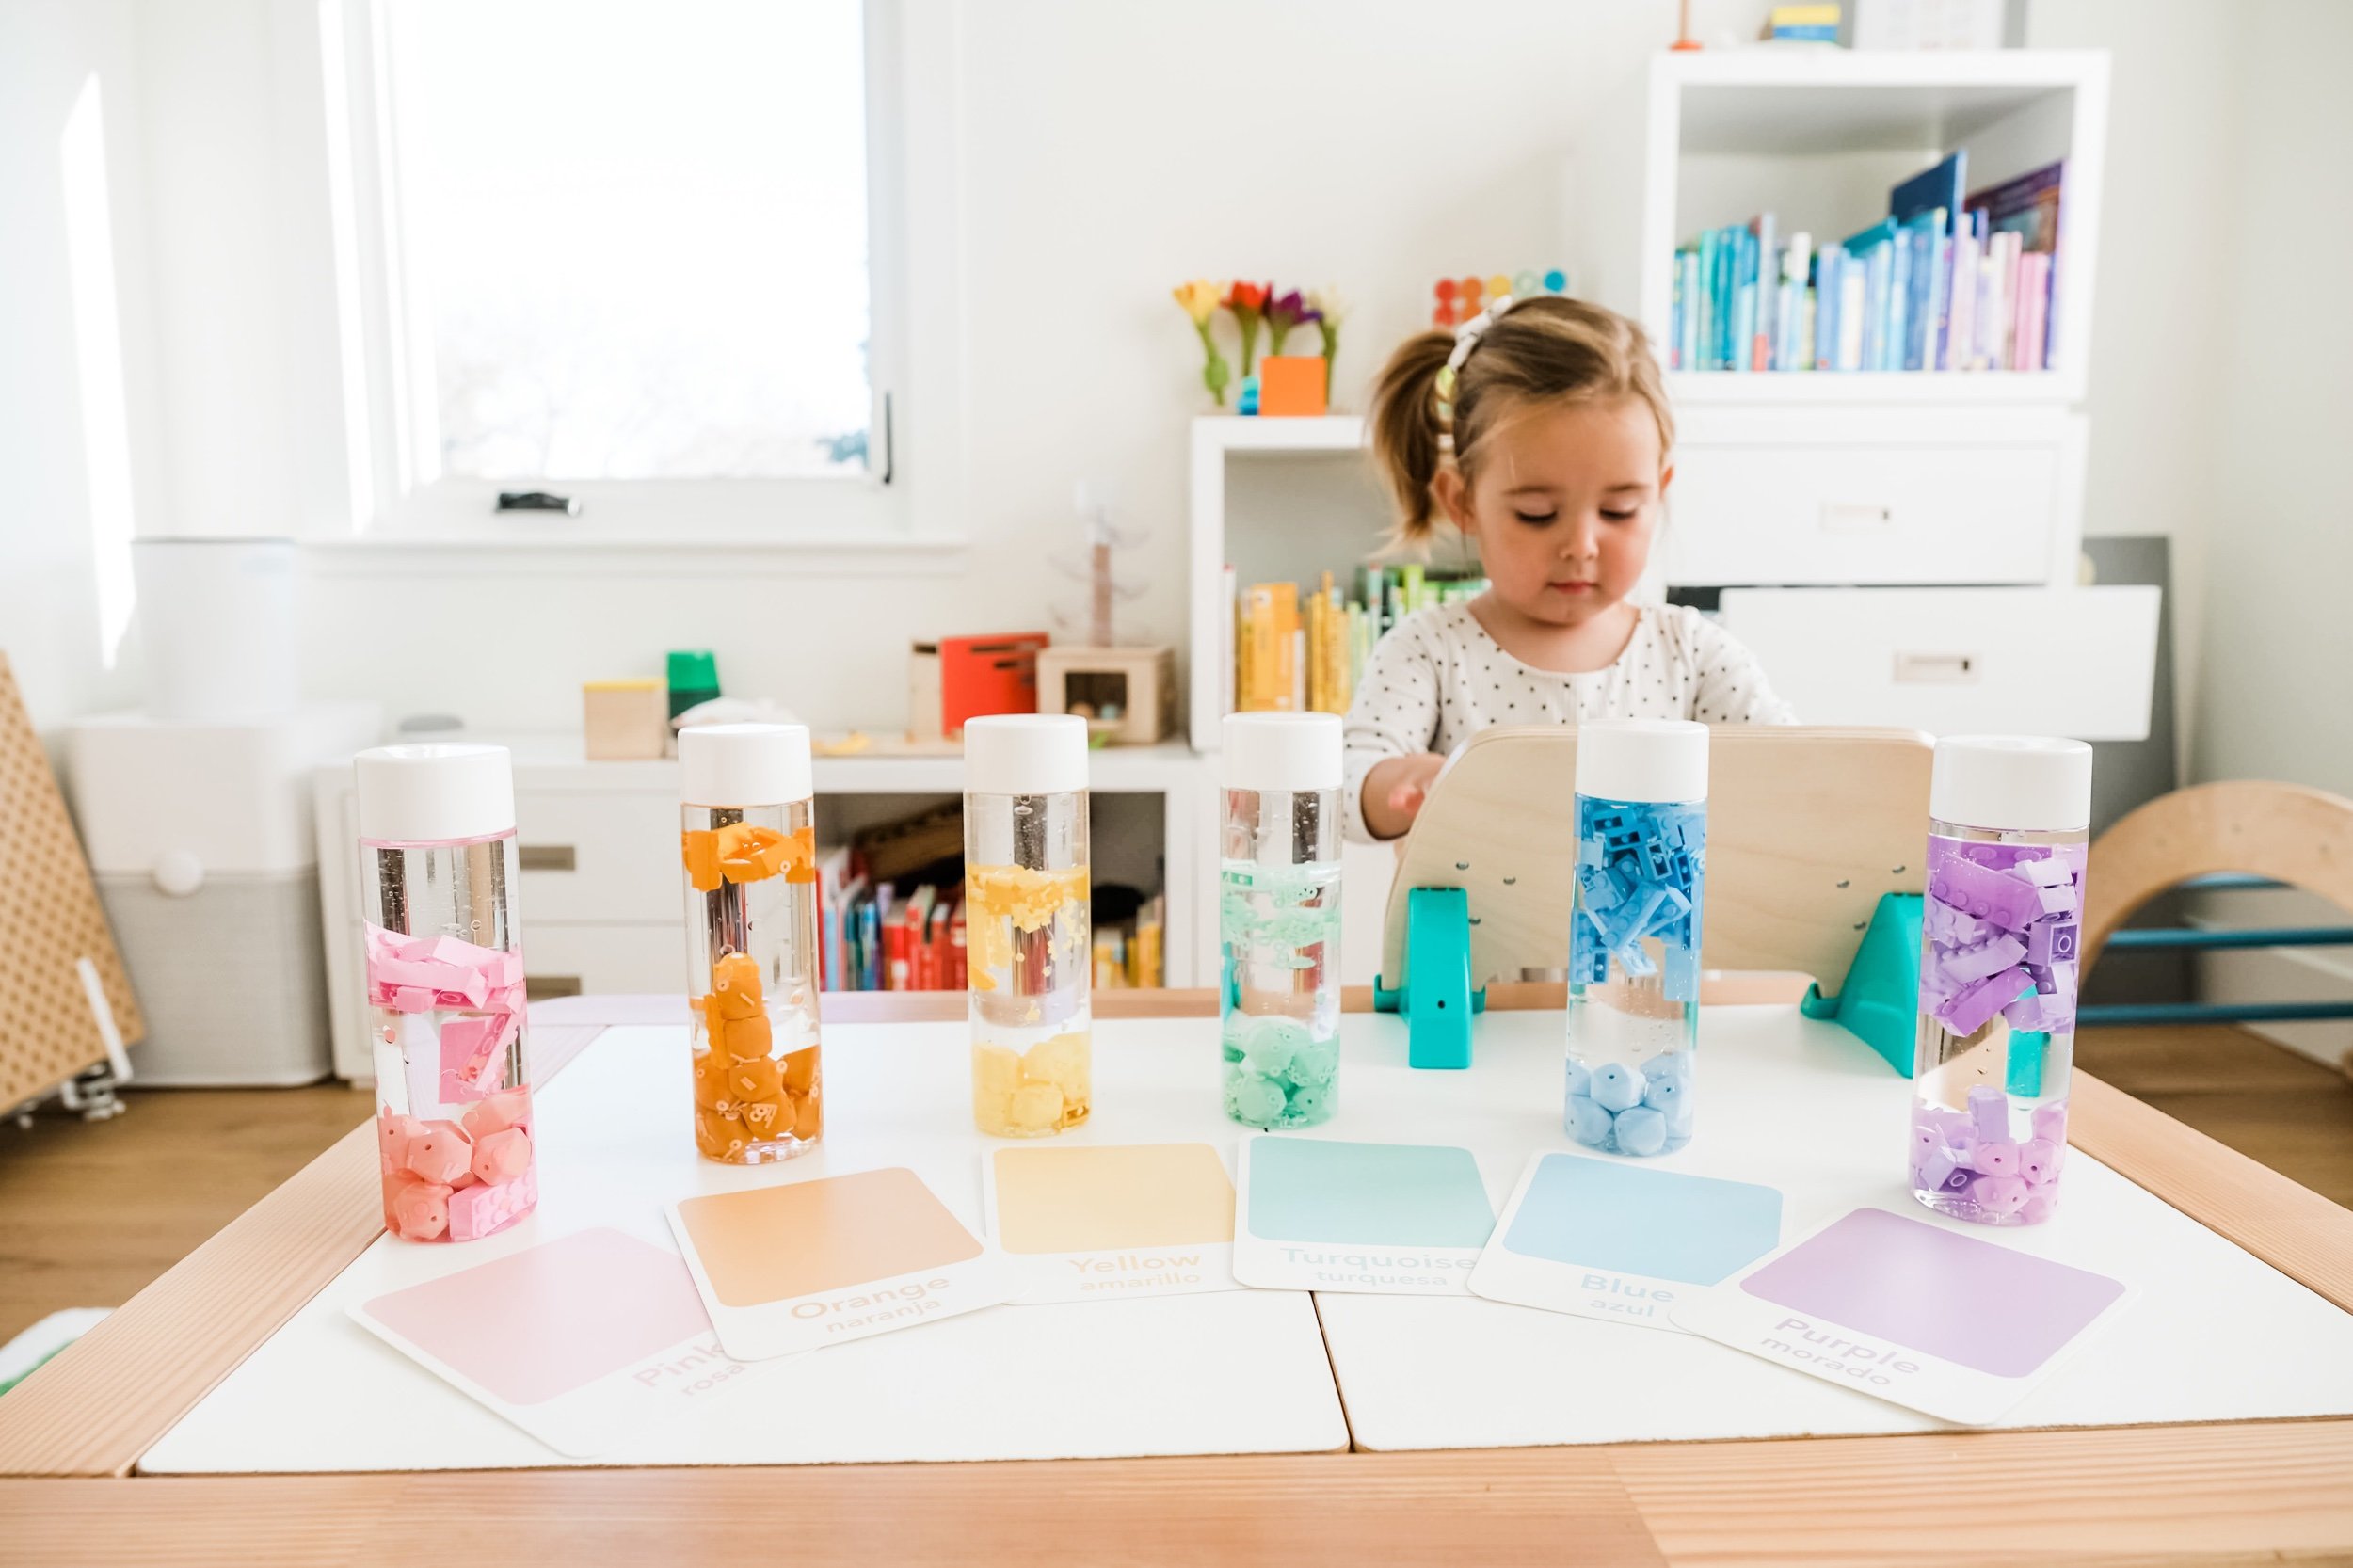
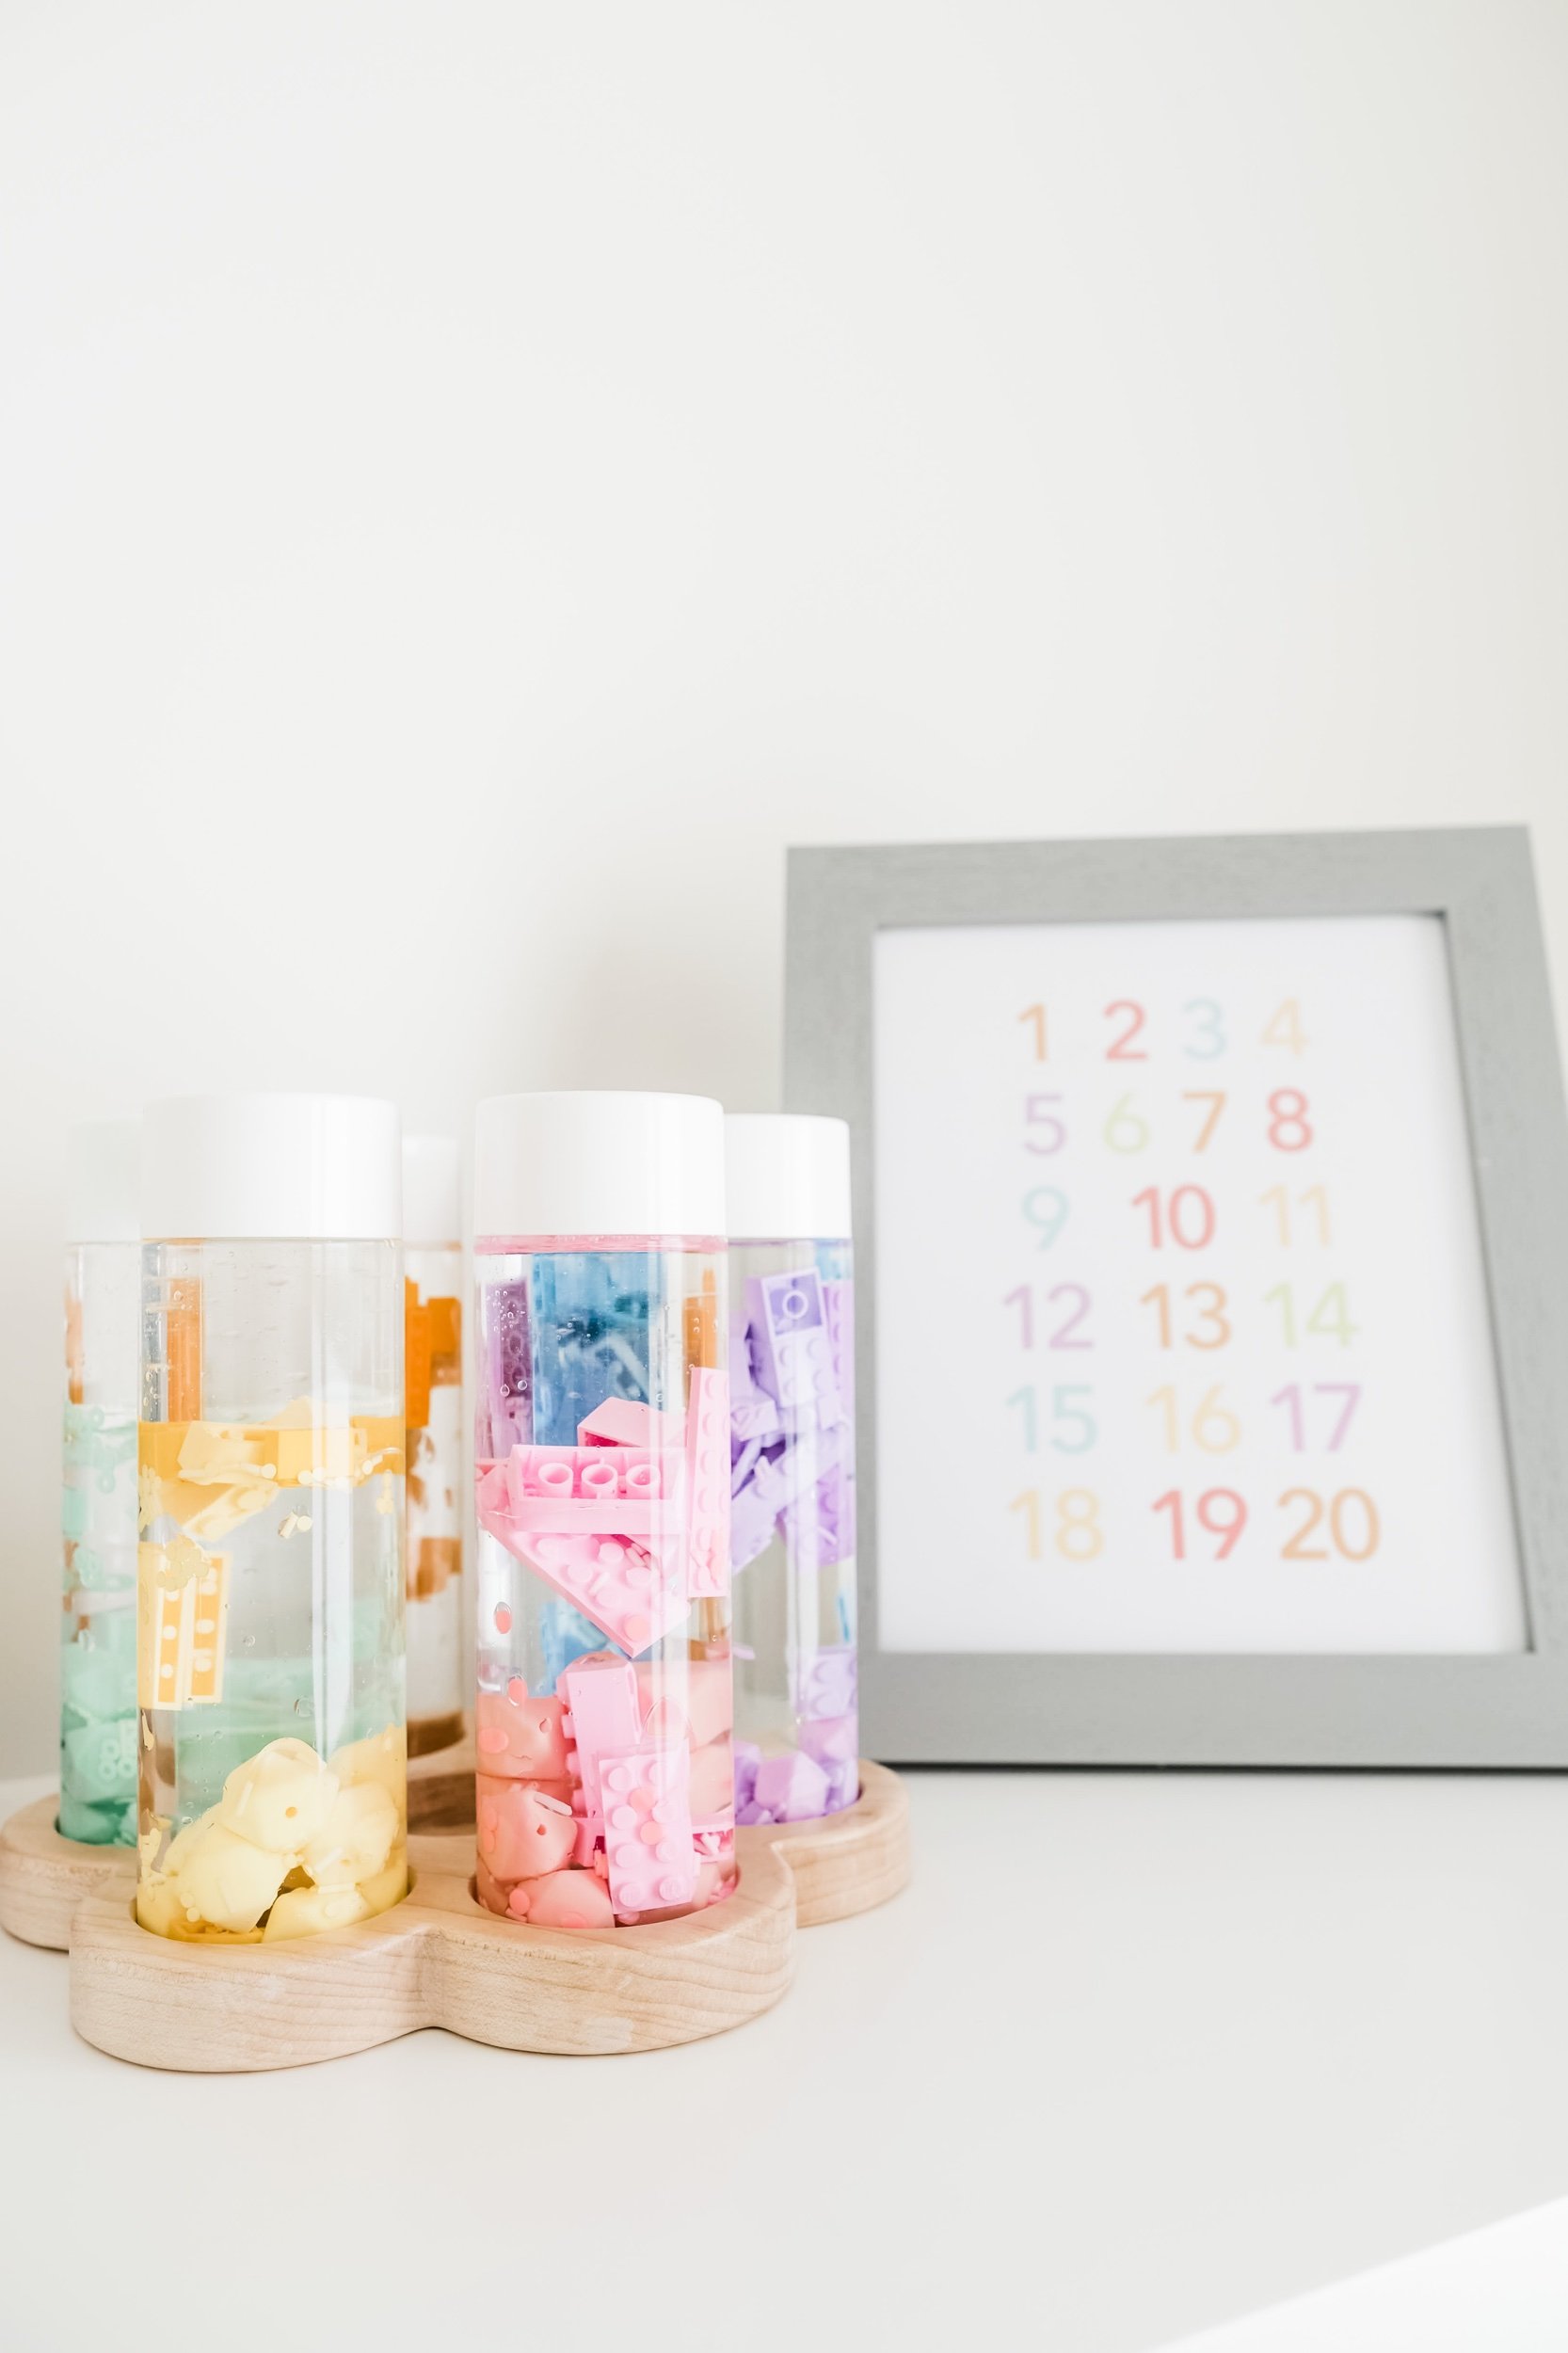
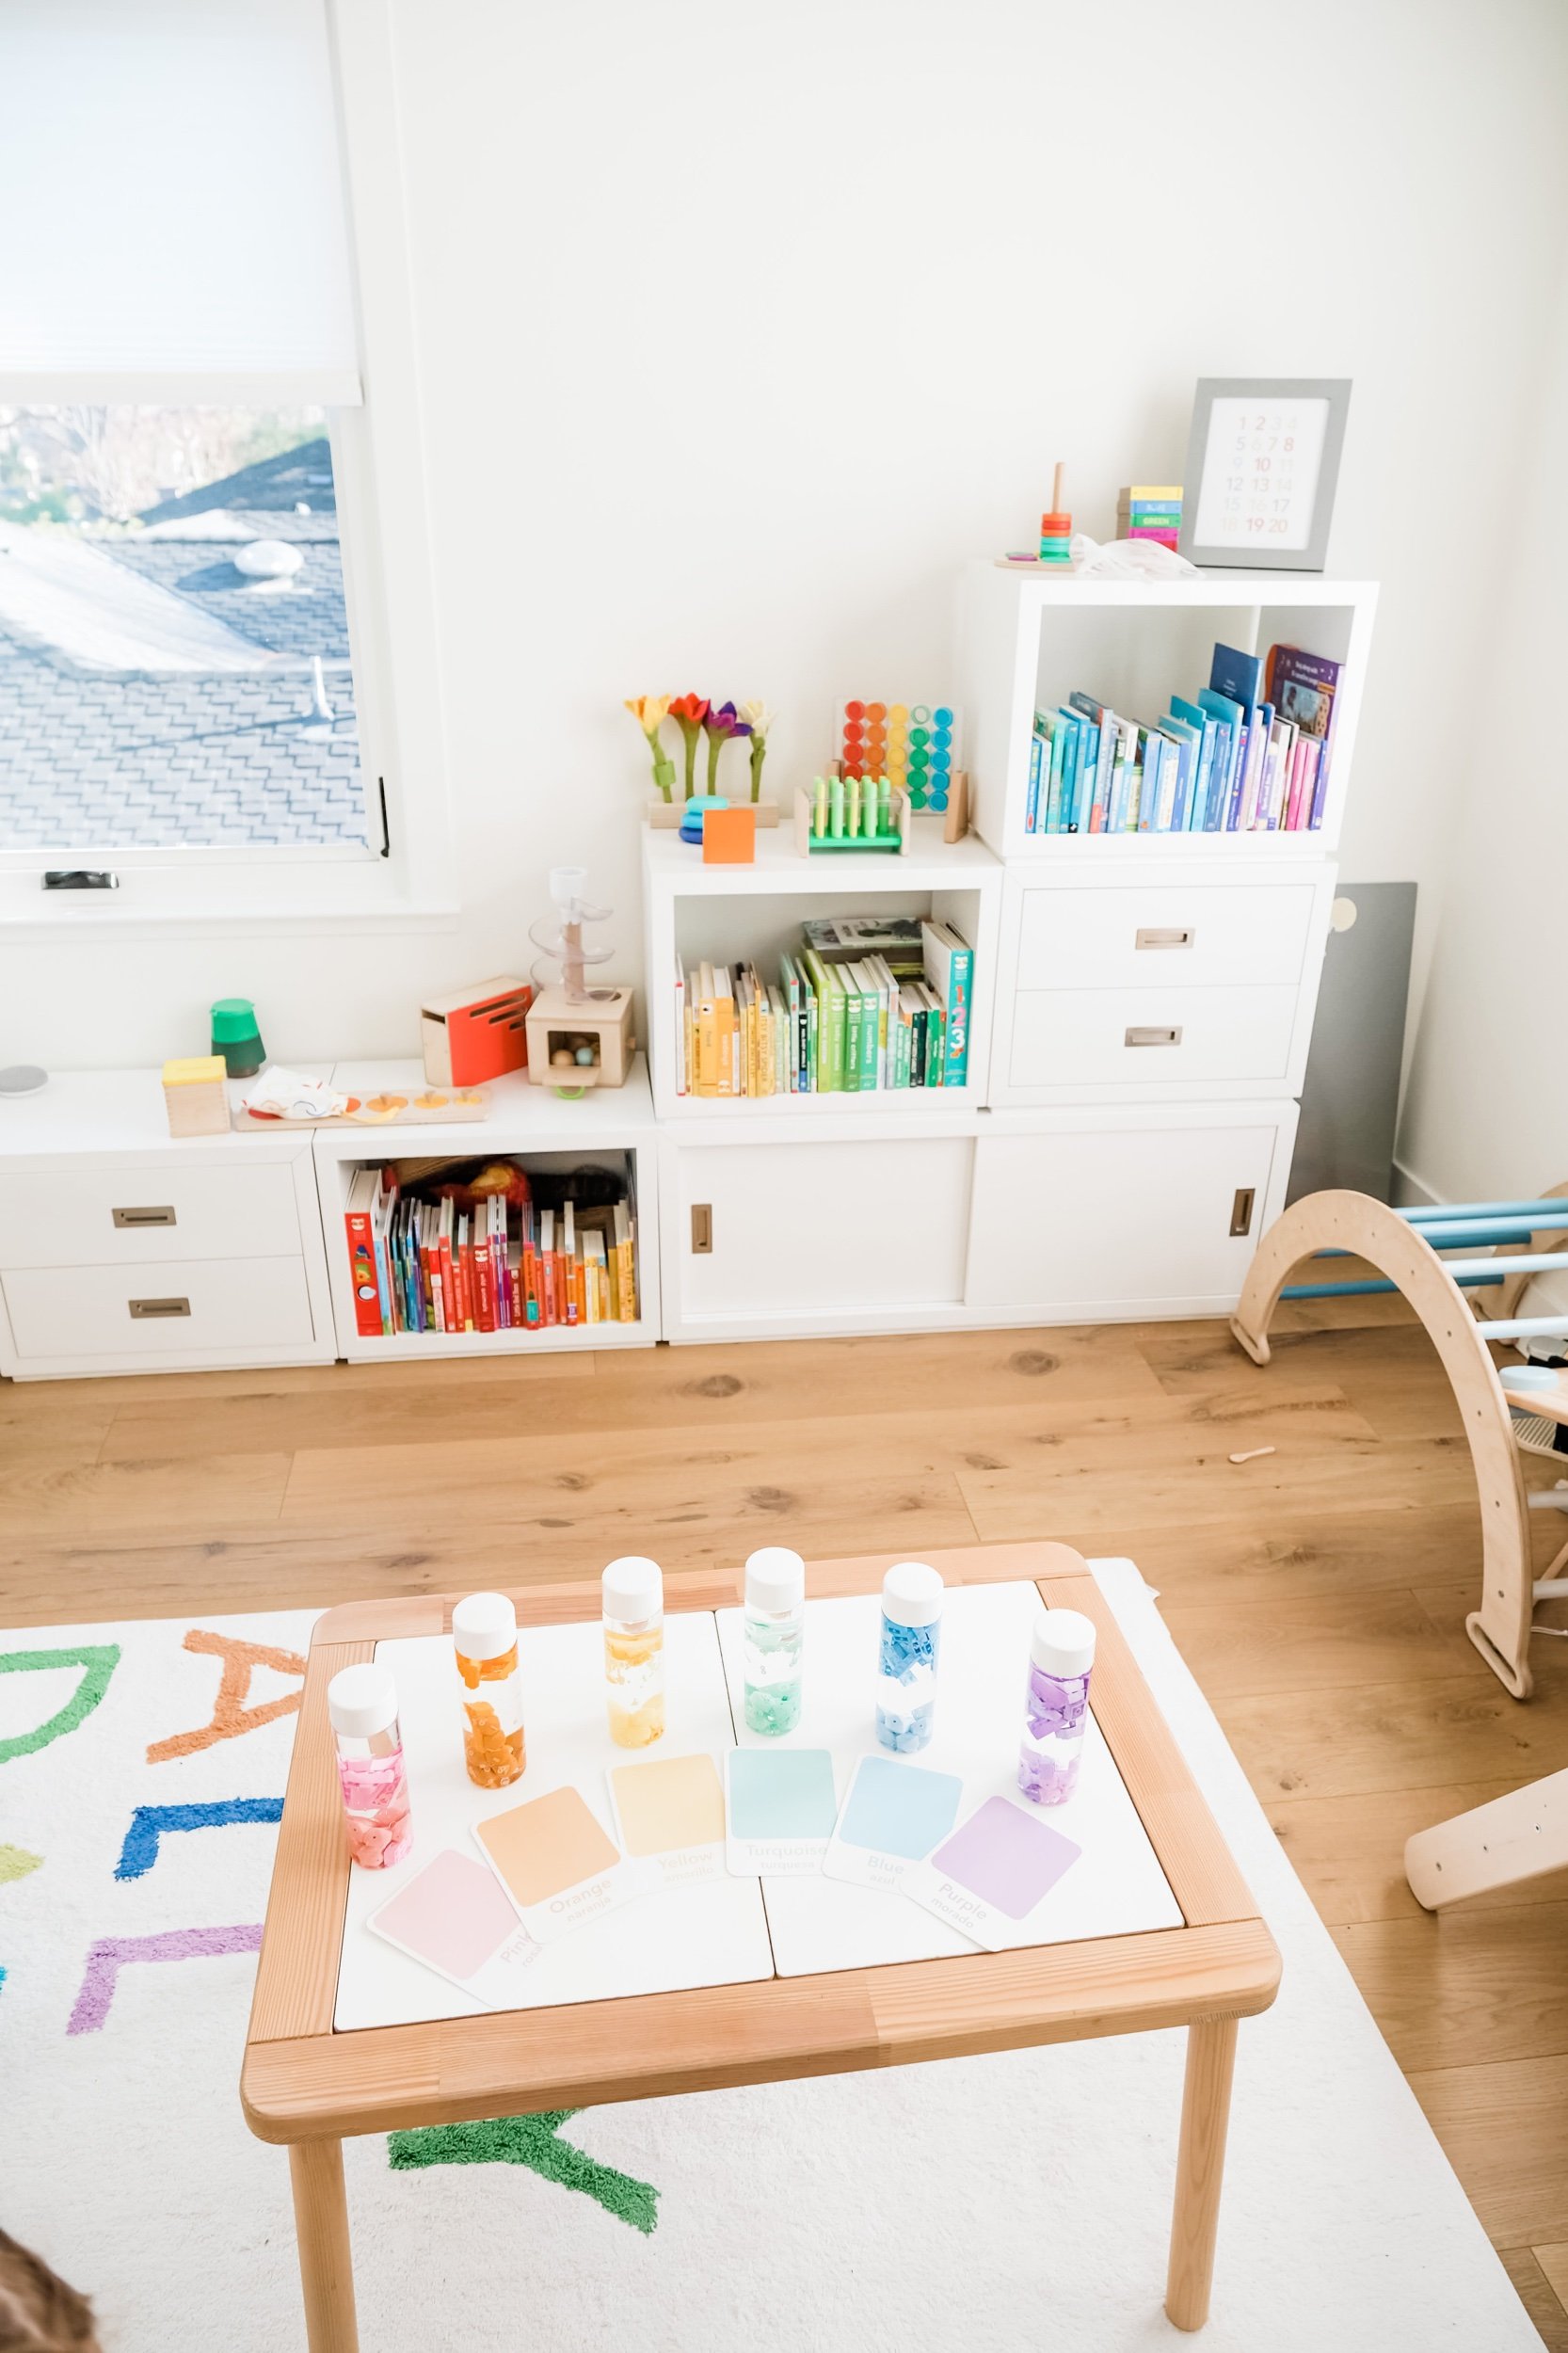
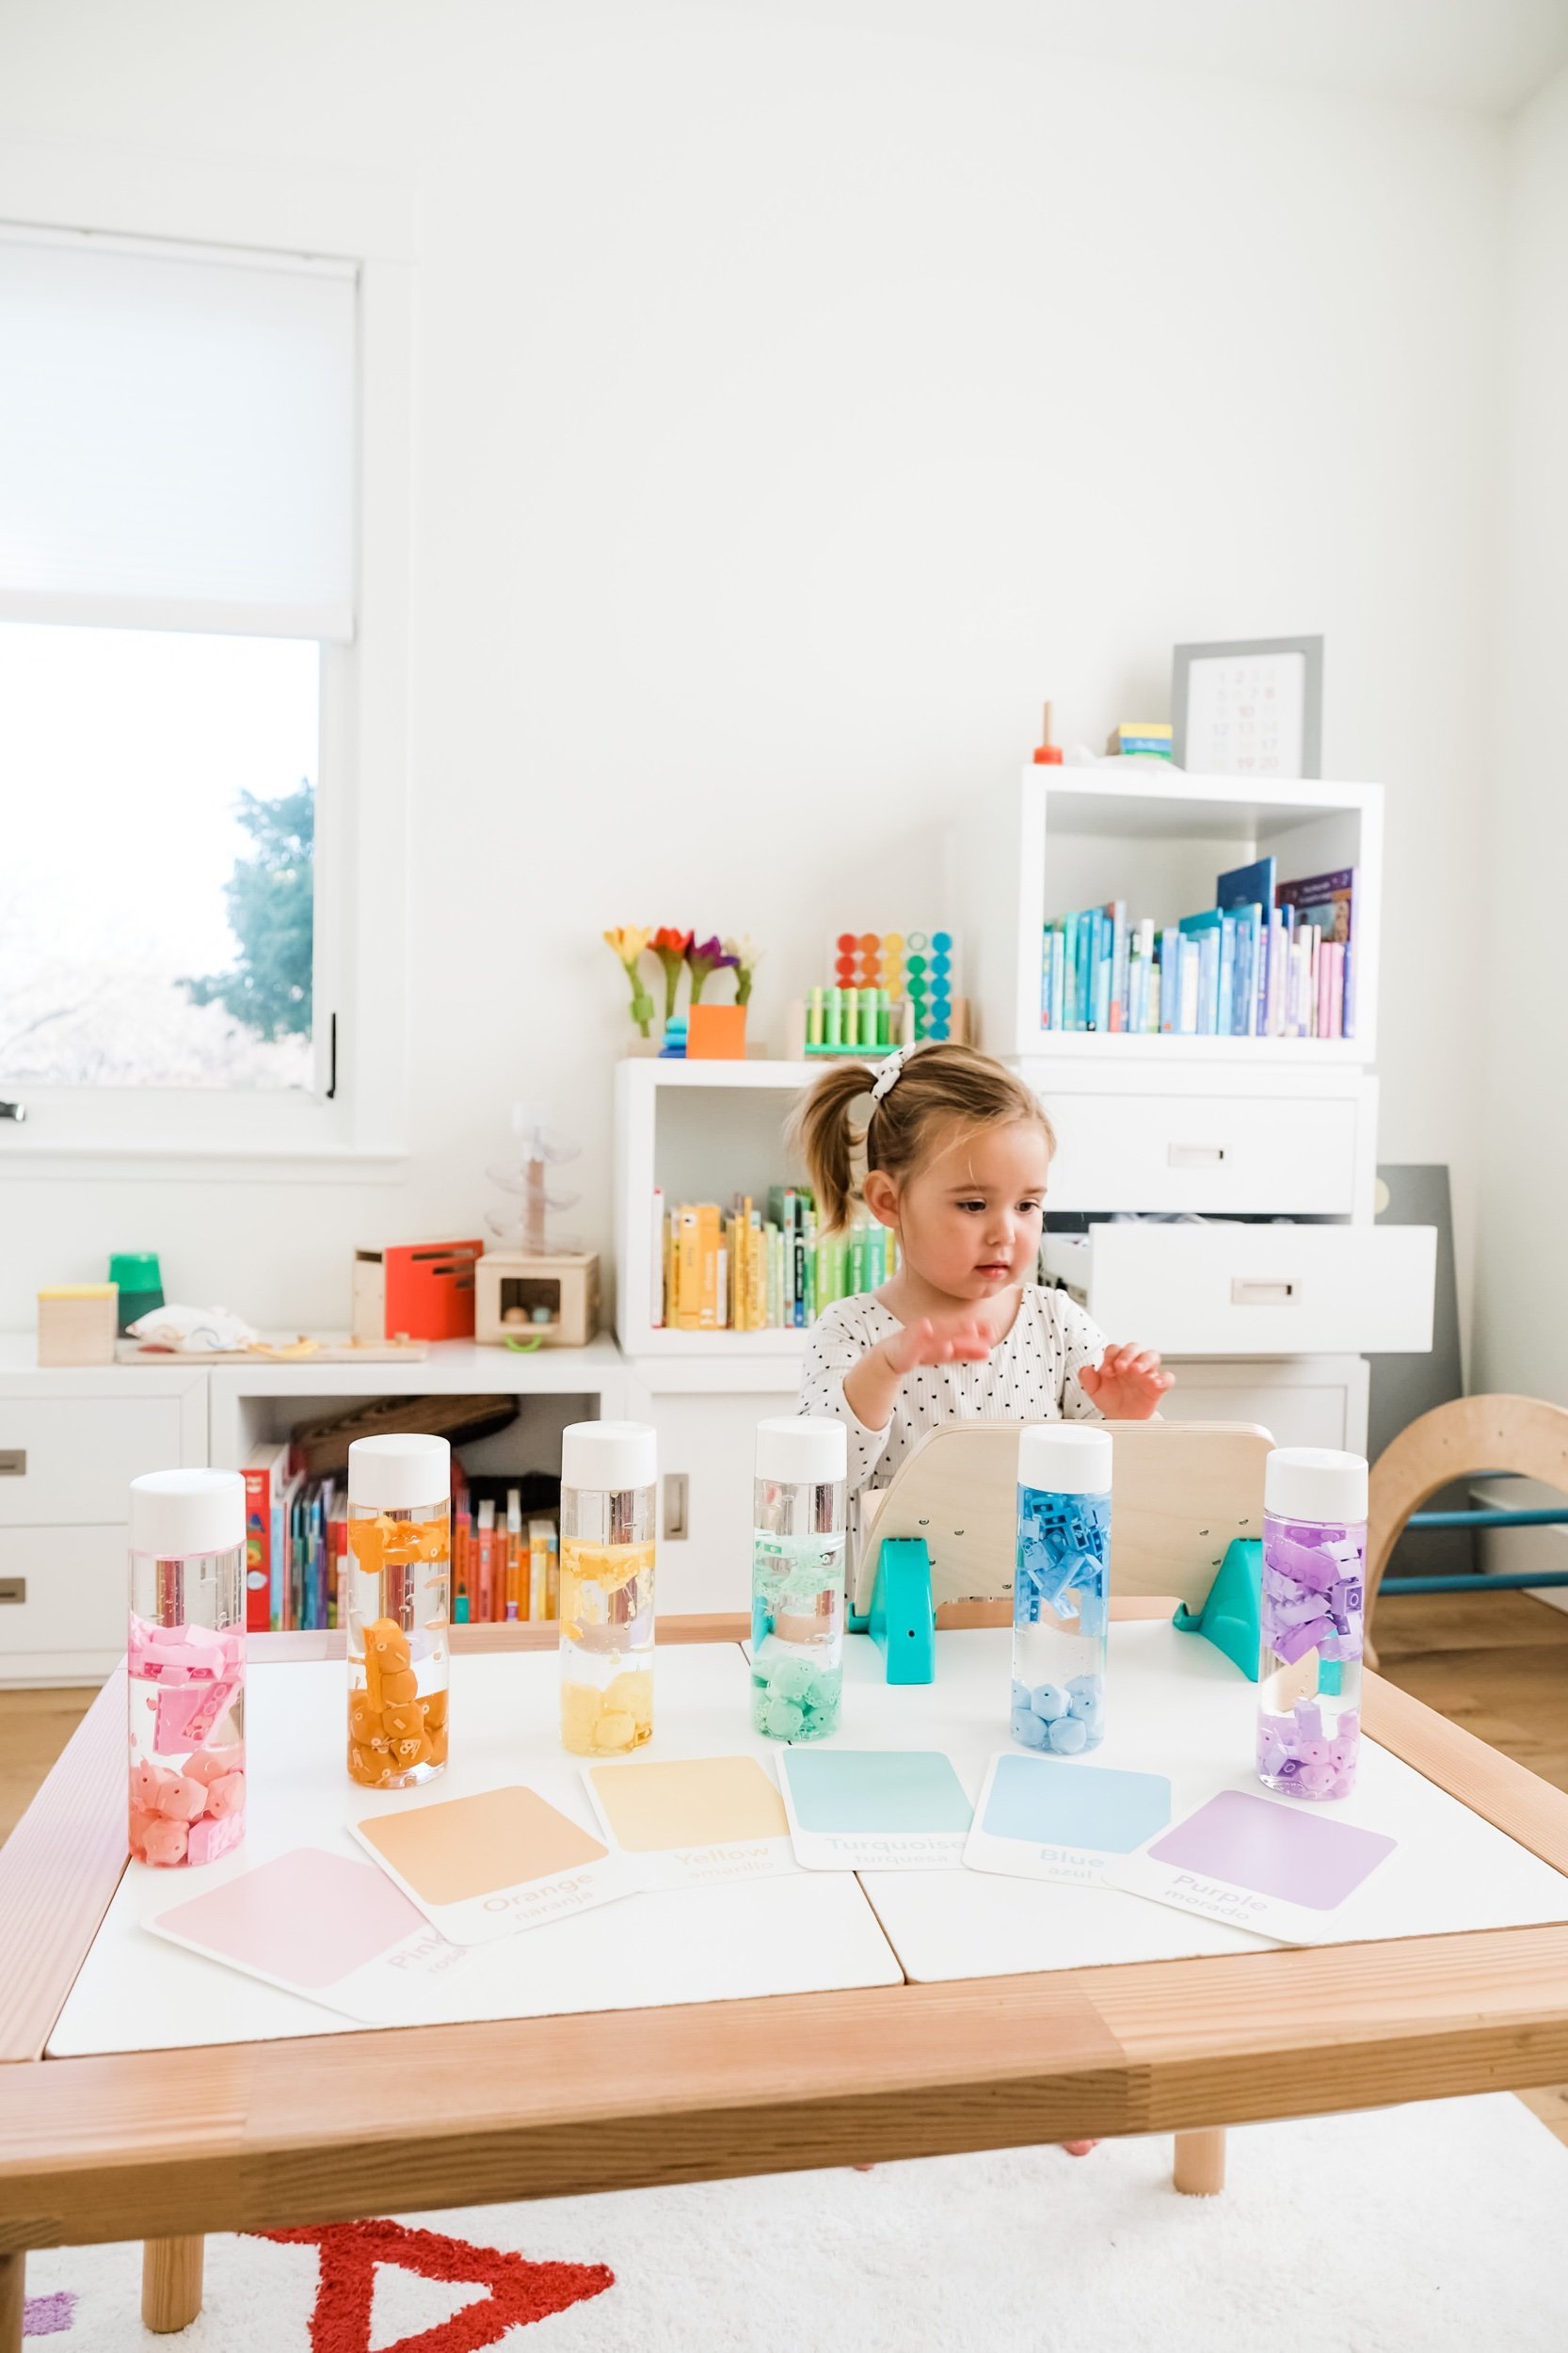
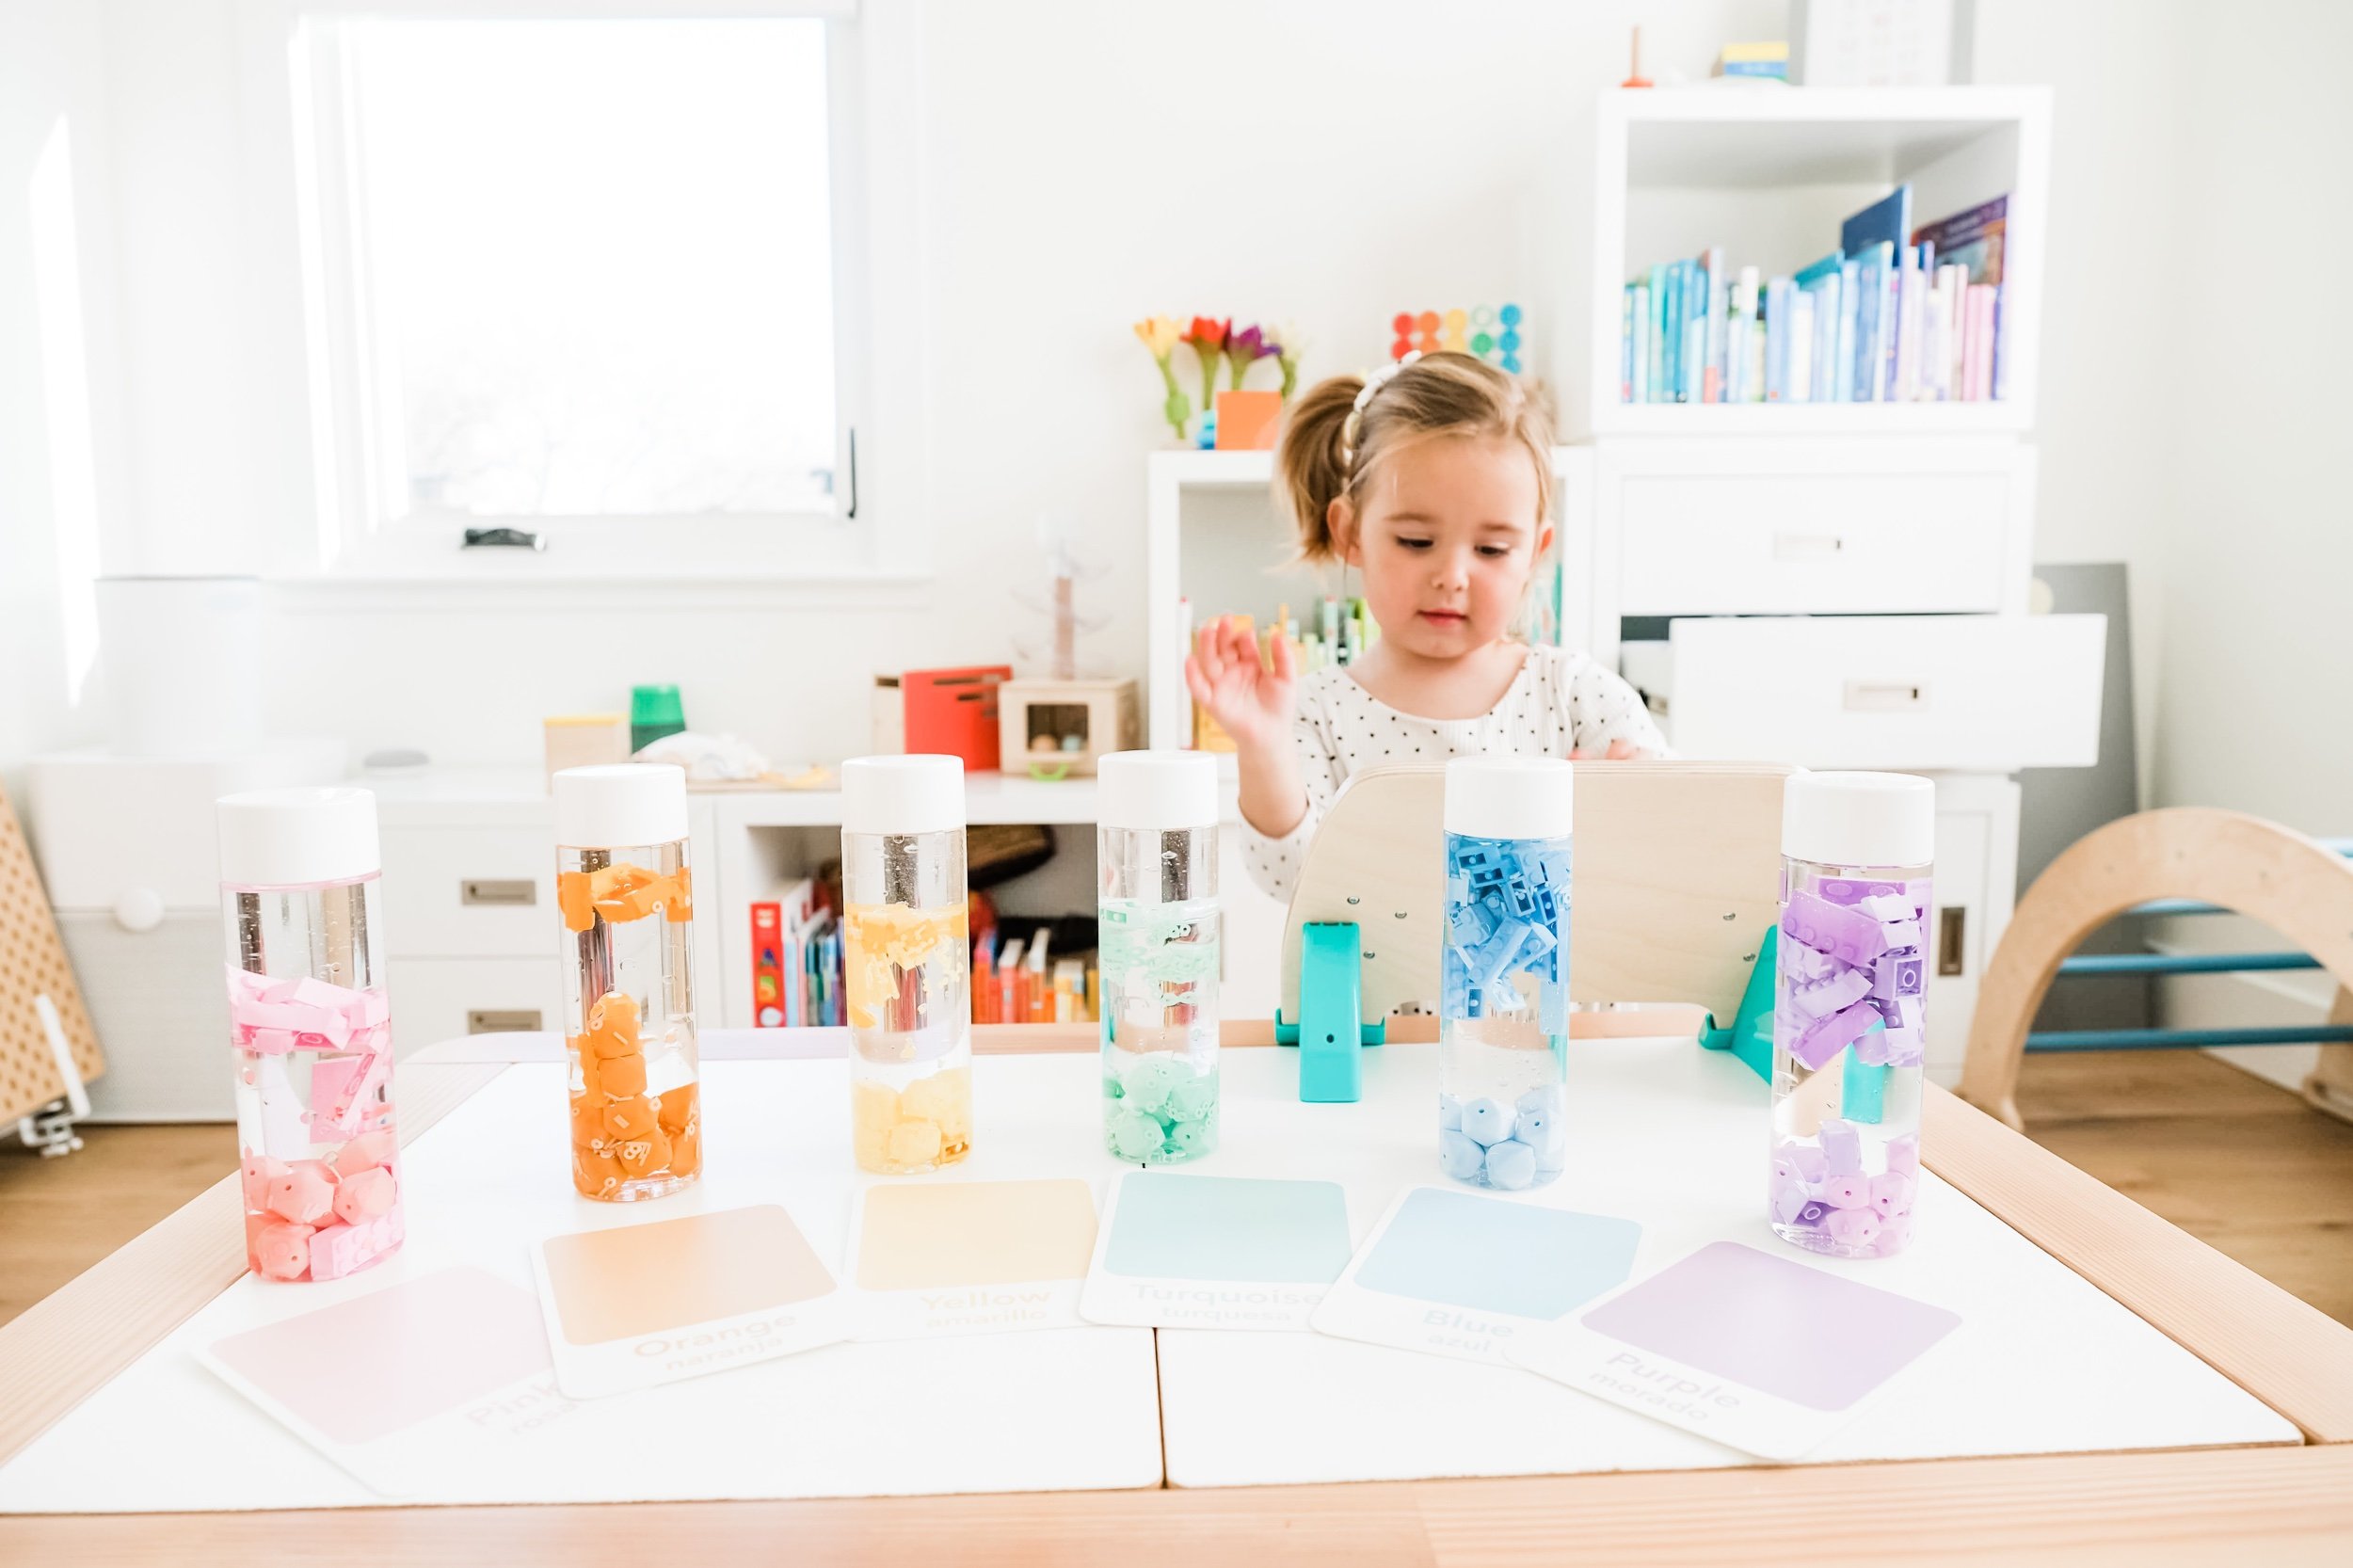
Here’s what you’ll need to create them yourself.
Understanding the Magic of Sensory Bottles
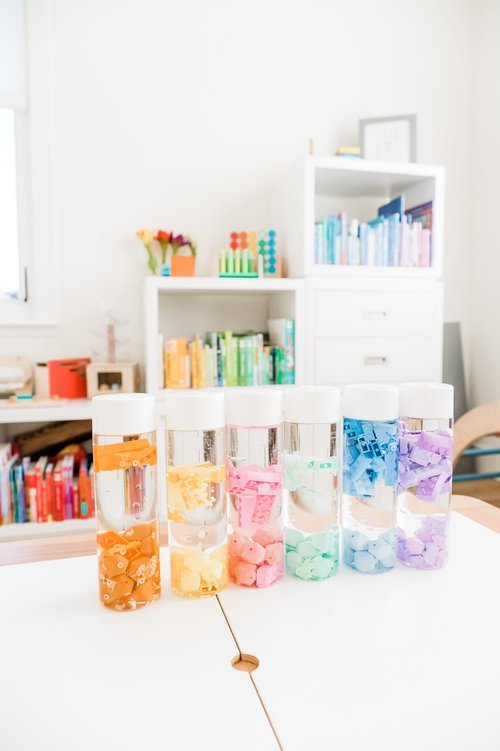
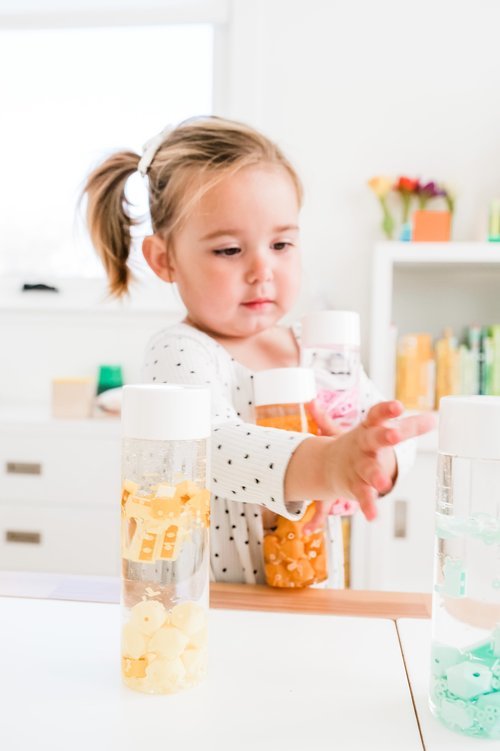
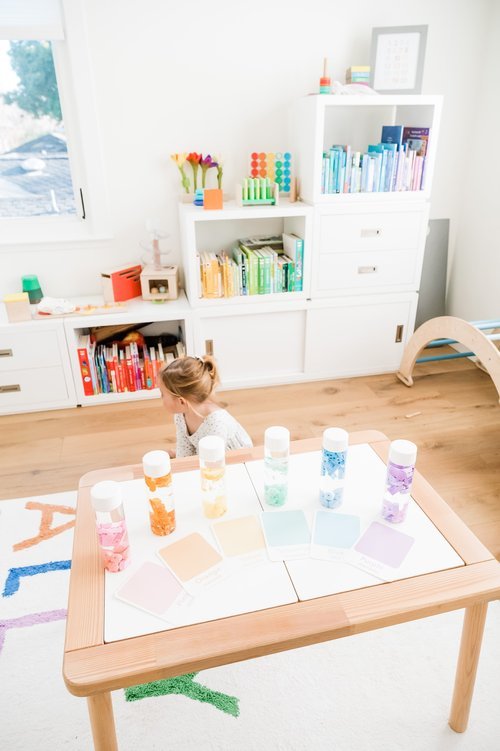
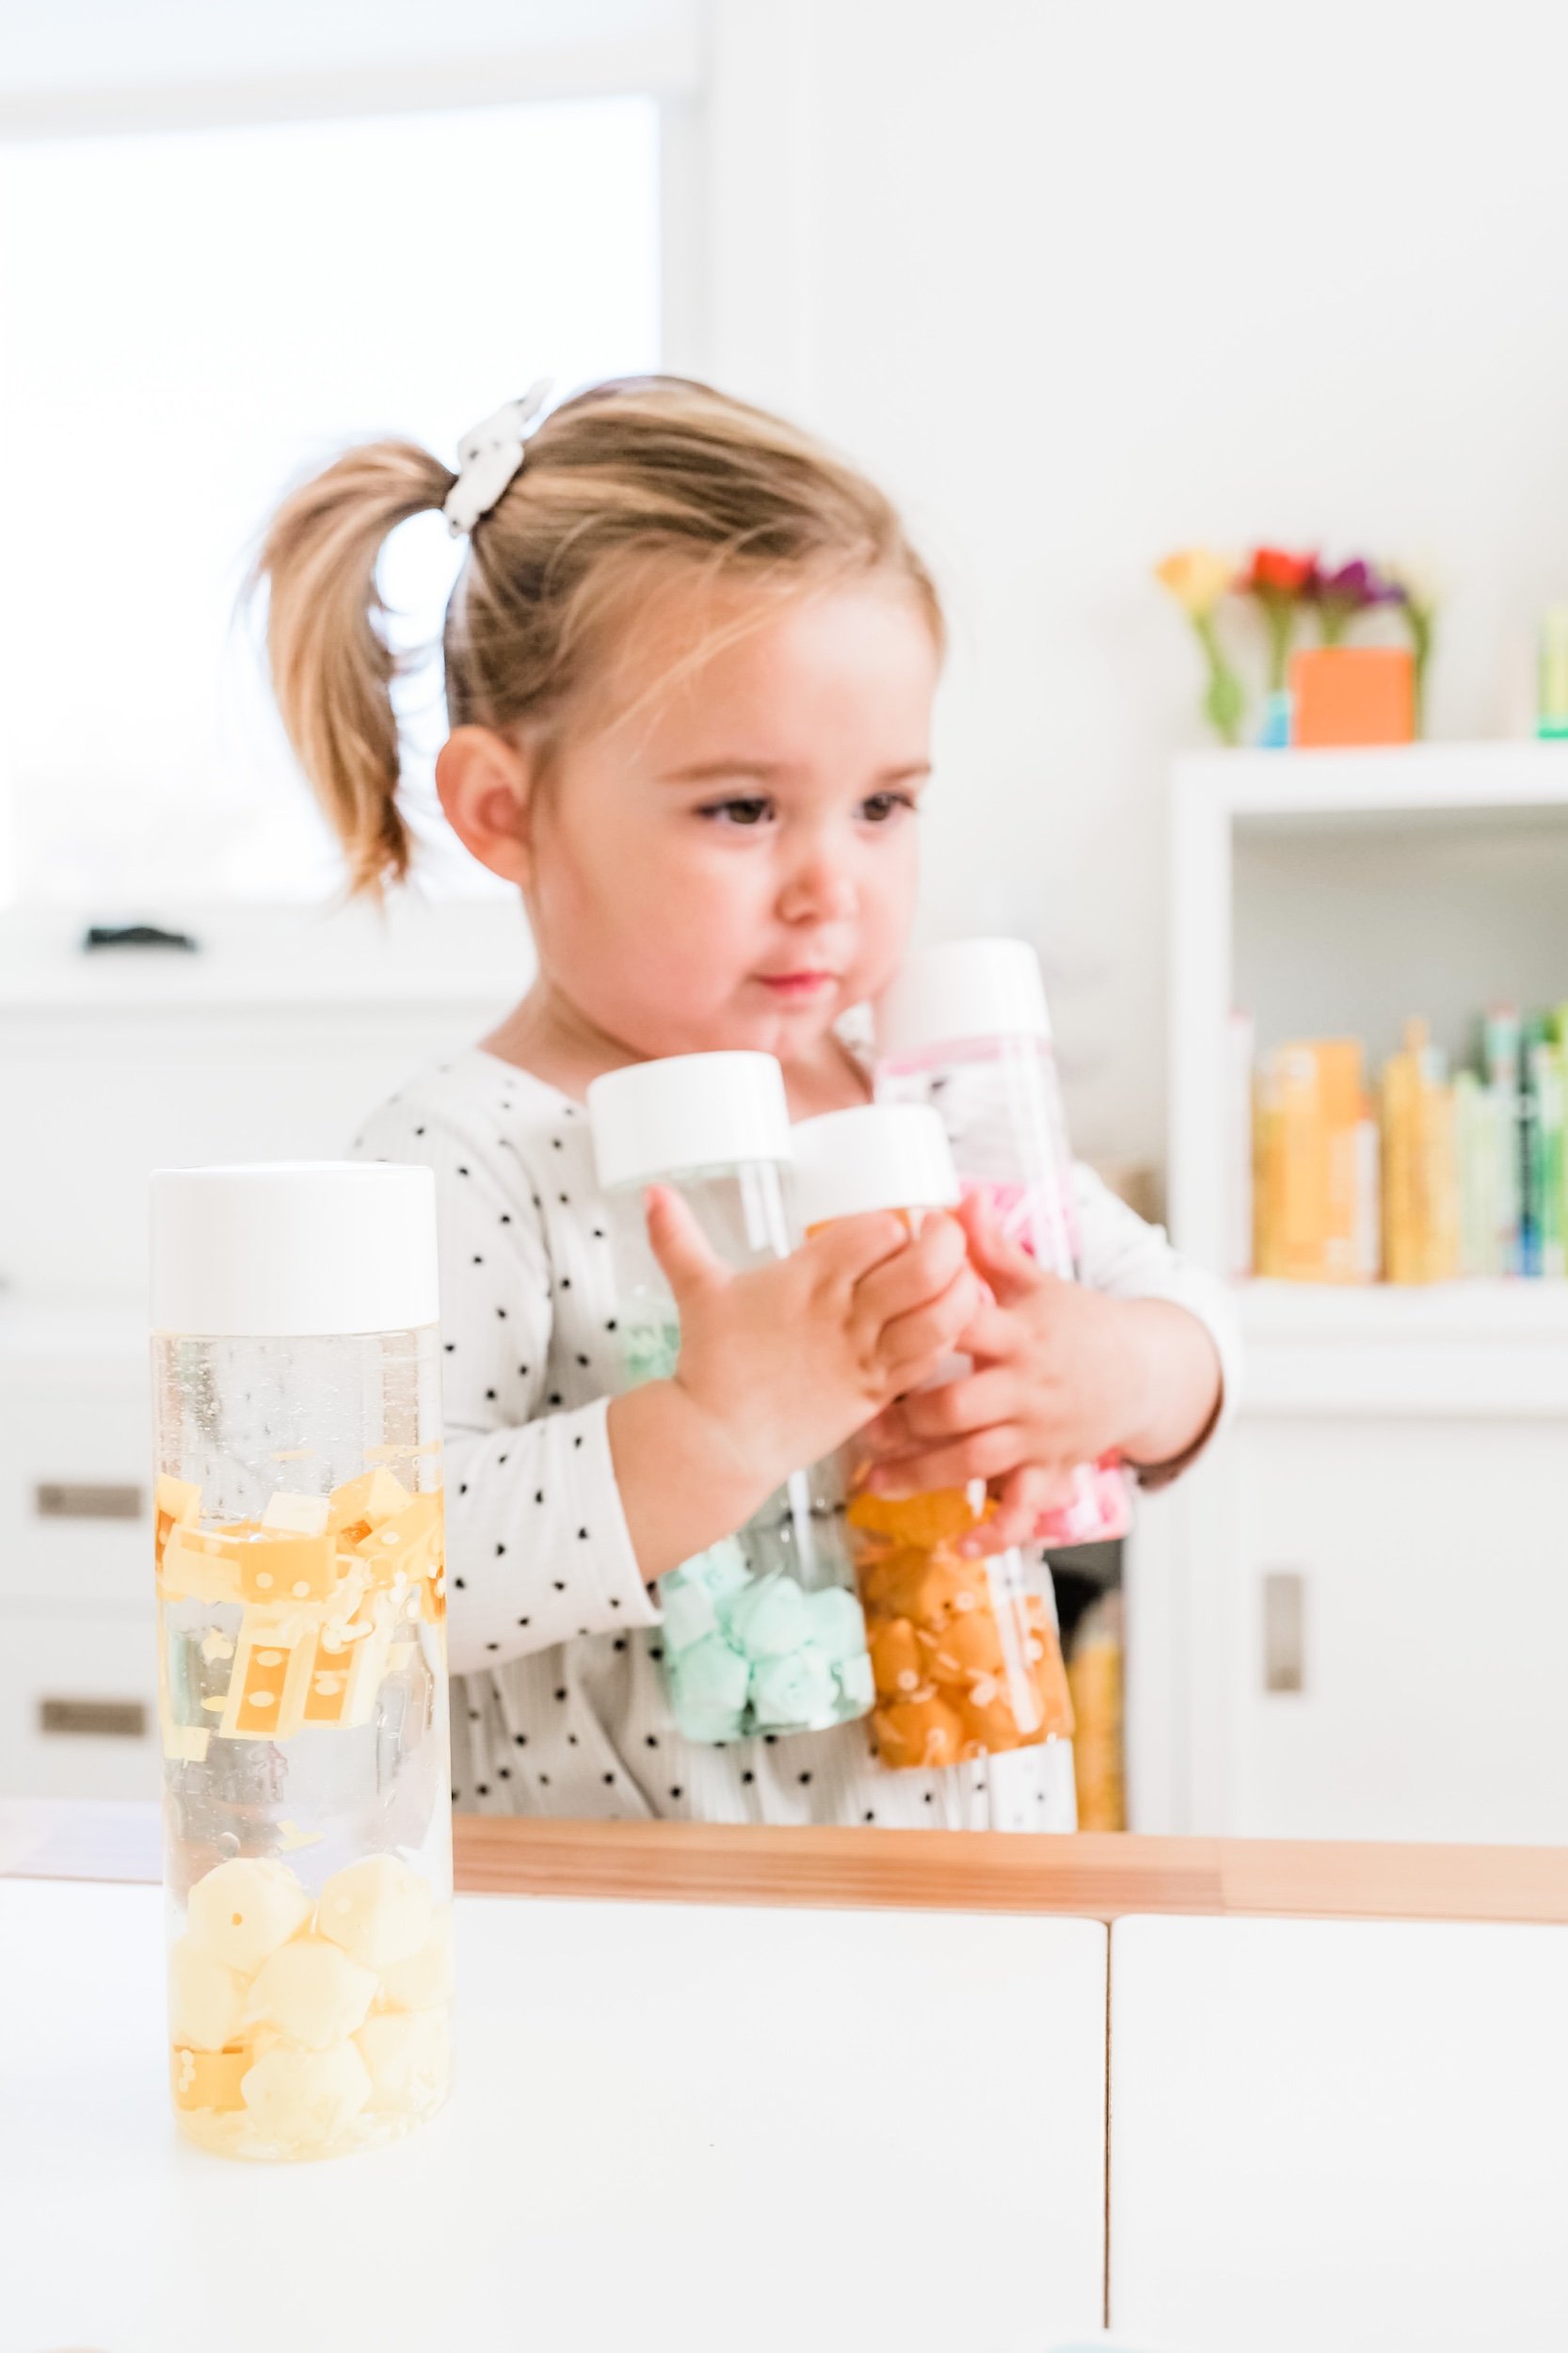
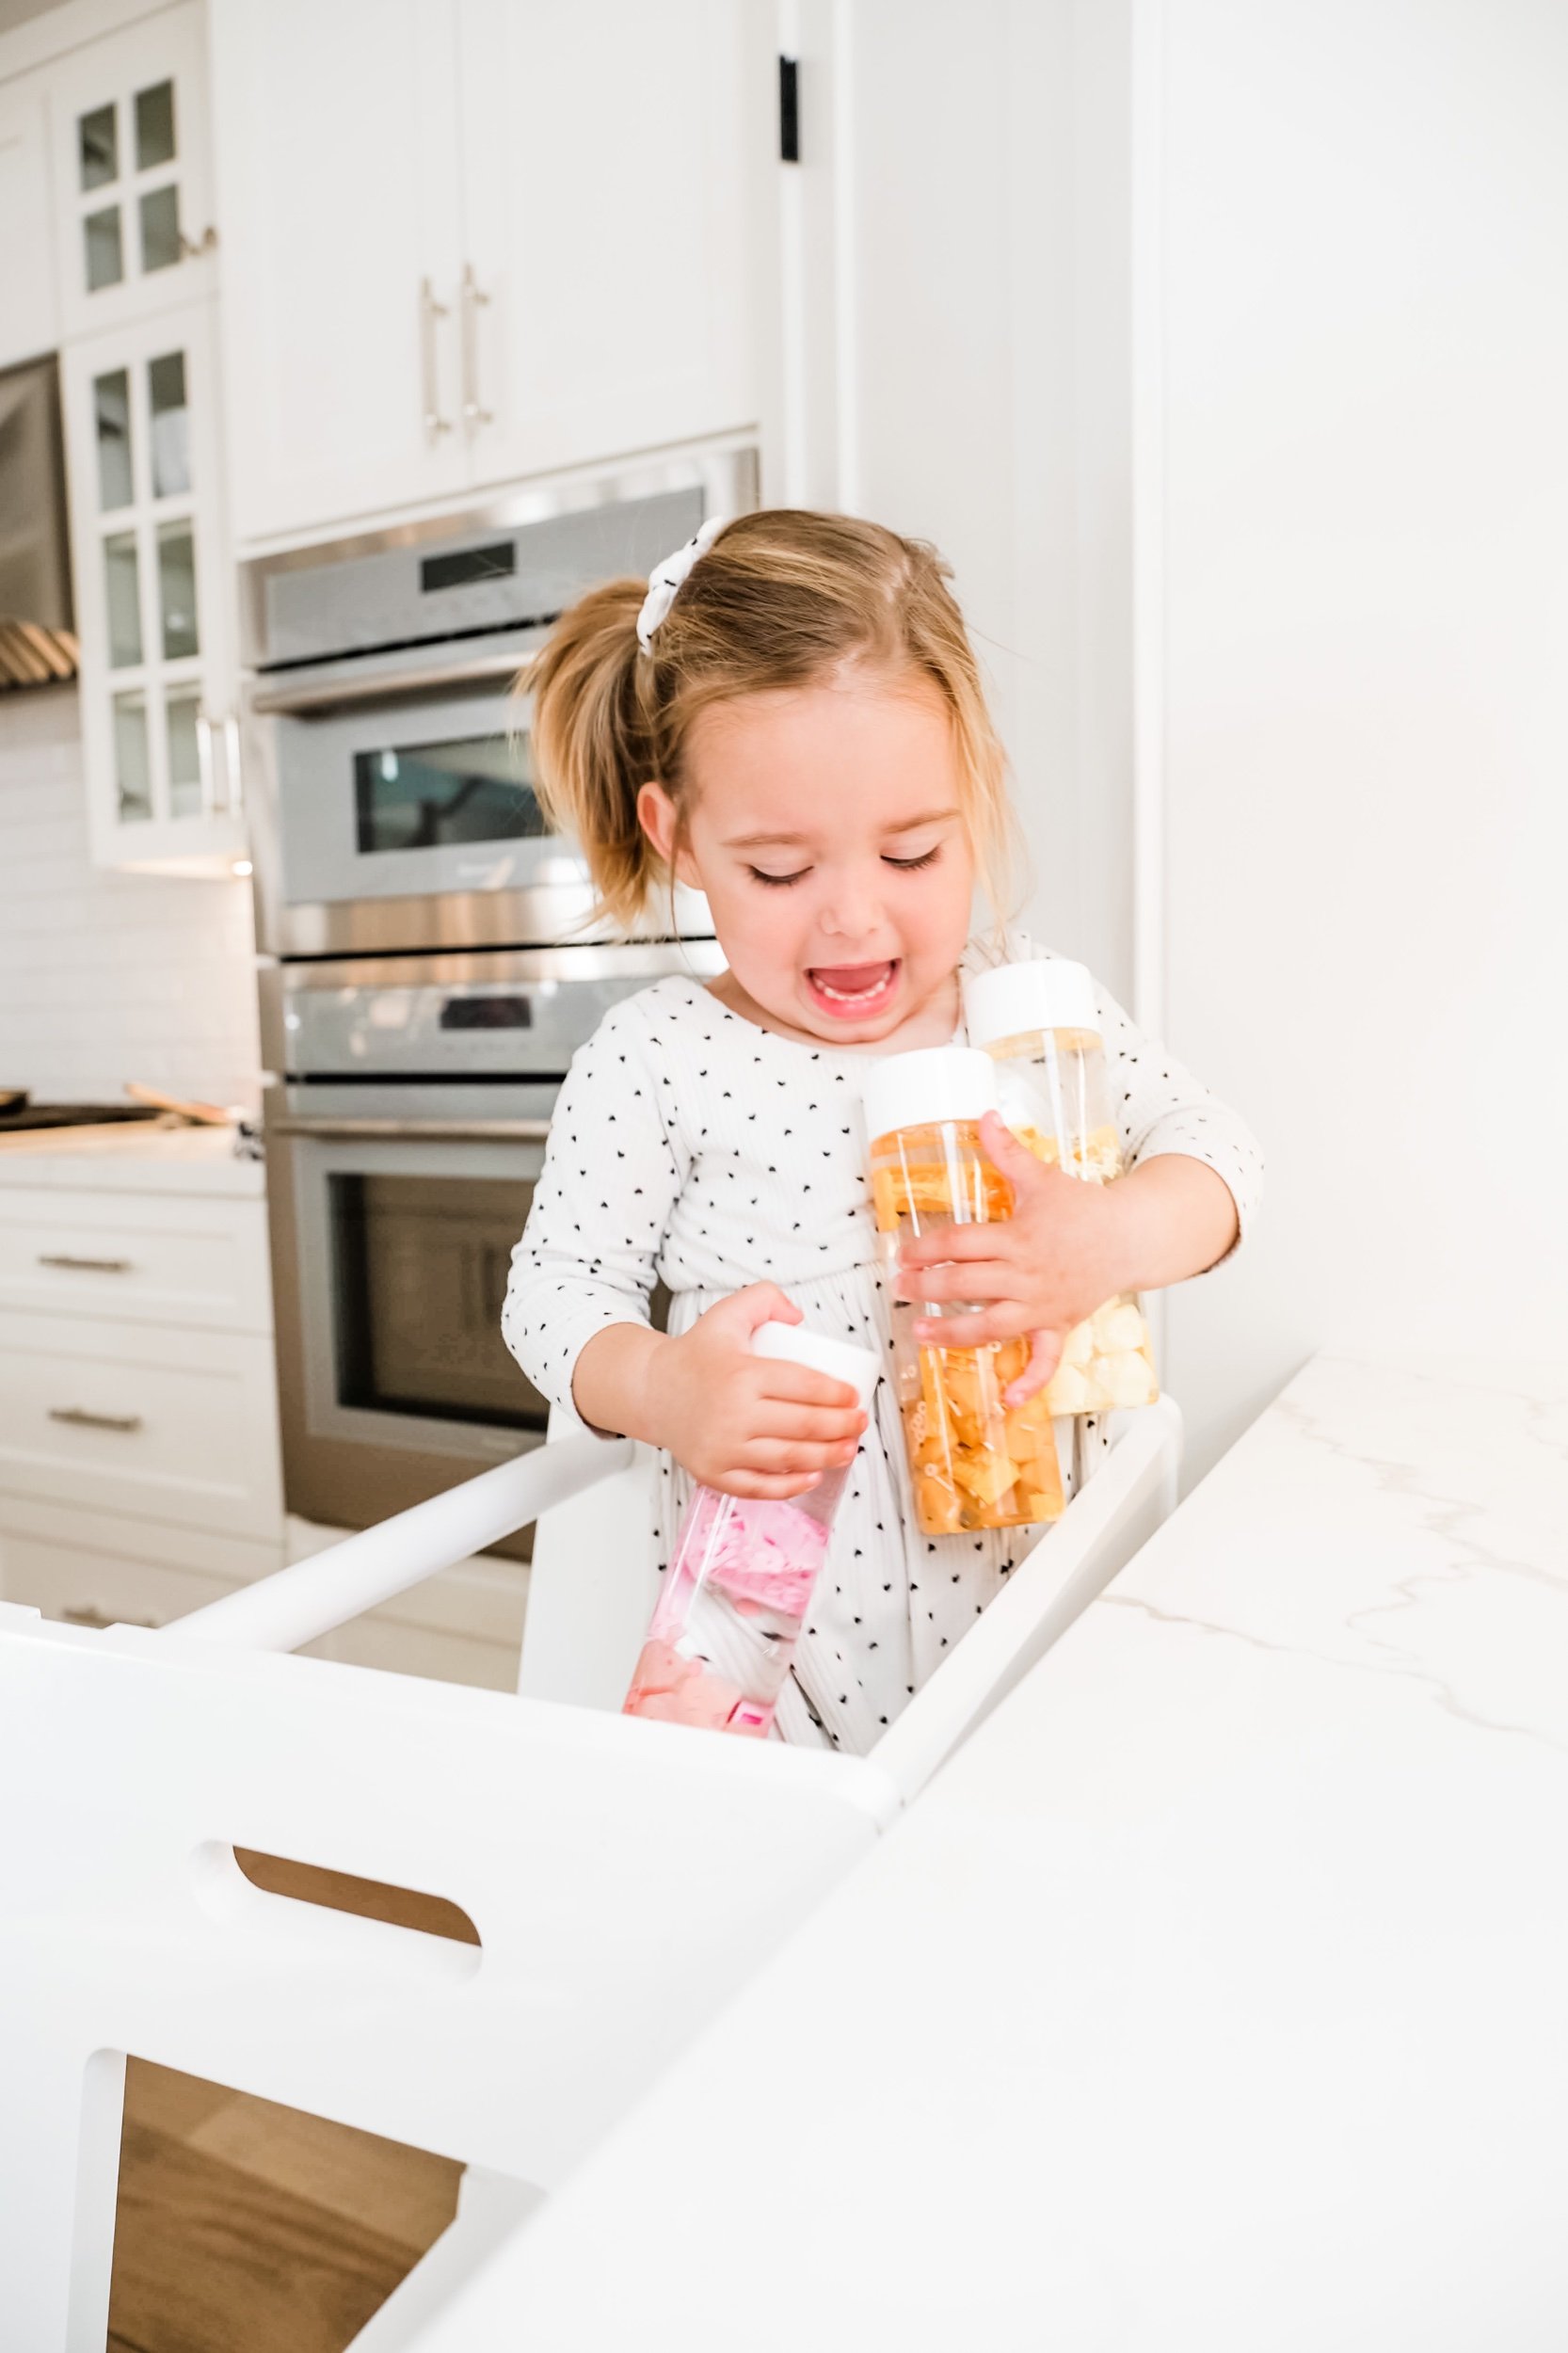
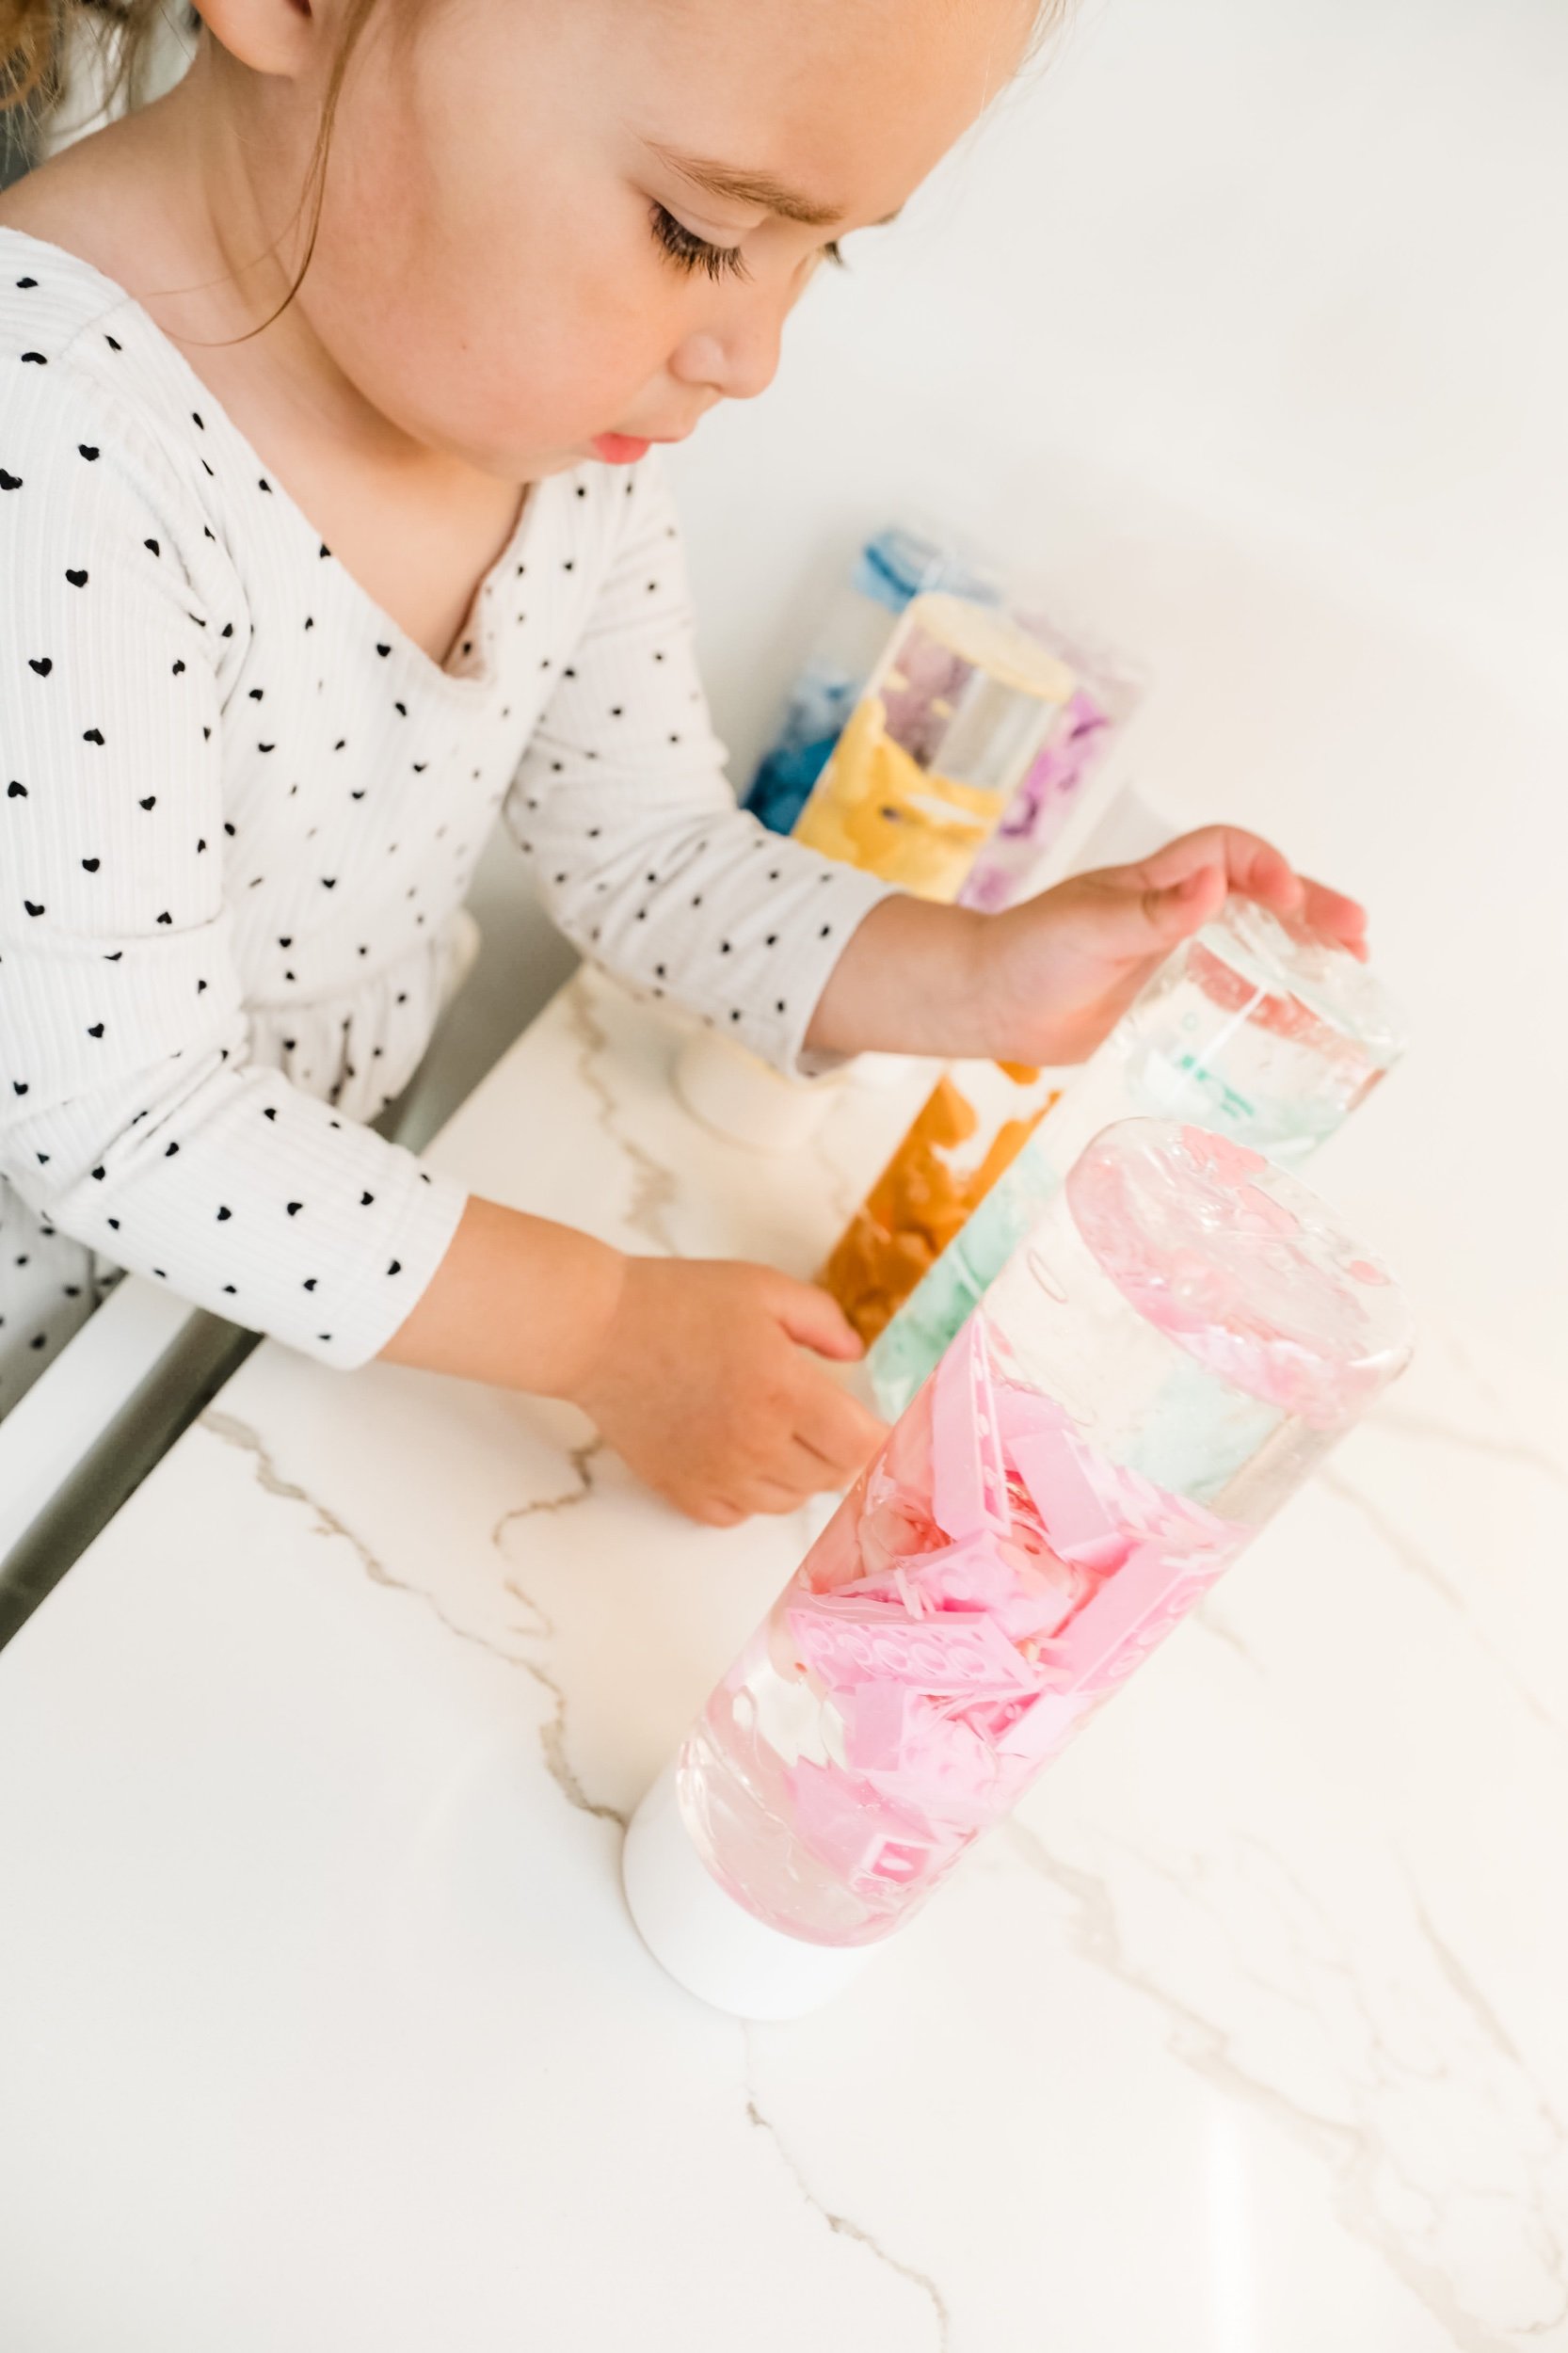
Sensory bottles, also known as calm-down or discovery bottles, are transparent containers filled with materials that engage the senses. The mesmerizing effect of watching colorful items float and swirl inside the bottle can effectively capture a child's attention, bringing a sense of tranquility and focus. These magical bottles are particularly beneficial for children with sensory processing challenges as they provide a safe and controlled sensory experience, promoting self-regulation and emotional well-being.
Benefits of Sensory Bottles for Kids with Sensory Issues
1. Calming Effect: Sensory bottles serve as a visual sensory tool helping children to self-soothe and regulate overwhelming emotions. The gentle movement and intriguing colors can provide a sense of relaxation during anxious moments.
2. Sensory Exploration: By creating and exploring sensory bottles, children engage in tactile, visual, and auditory experiences that can aid in sensory integration, assisting them in processing sensory information more effectively.
3. Encourages Focus and Attention: The captivating nature of sensory bottles captivates children's attention, making them an excellent tool for promoting concentration and minimizing distractions, especially for kids with attention difficulties.
Incorporating Other Calming Techniques
In addition to sensory bottles, various calming techniques can be incorporated to create a supportive environment for kids with sensory sensitivities. These techniques include deep pressure activities, sensory-friendly play spaces, and breathing exercises that encourage relaxation and self-regulation.
Let's Make Your Own Sensory Bottles!
Materials Needed:
Clear plastic bottles with secure lids
Clear baby oil, glue or glycerin
Water
Food coloring
Glitter, sequins, beads, or small toys
Step-by-Step Instructions:
1. Begin by selecting a few plastic bottles with secure lids to prevent leaks and spills.
2. Fill the bottles halfway with warm water.
3. Add clear glue or glycerin to the water. They help slow down the movement of the items inside the bottle.
4. Drop a few drops of food coloring into the bottle. Choose colors that your child finds soothing.
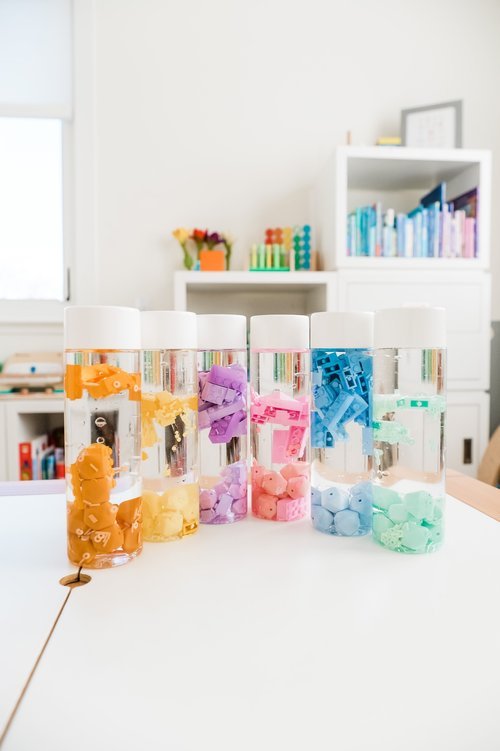
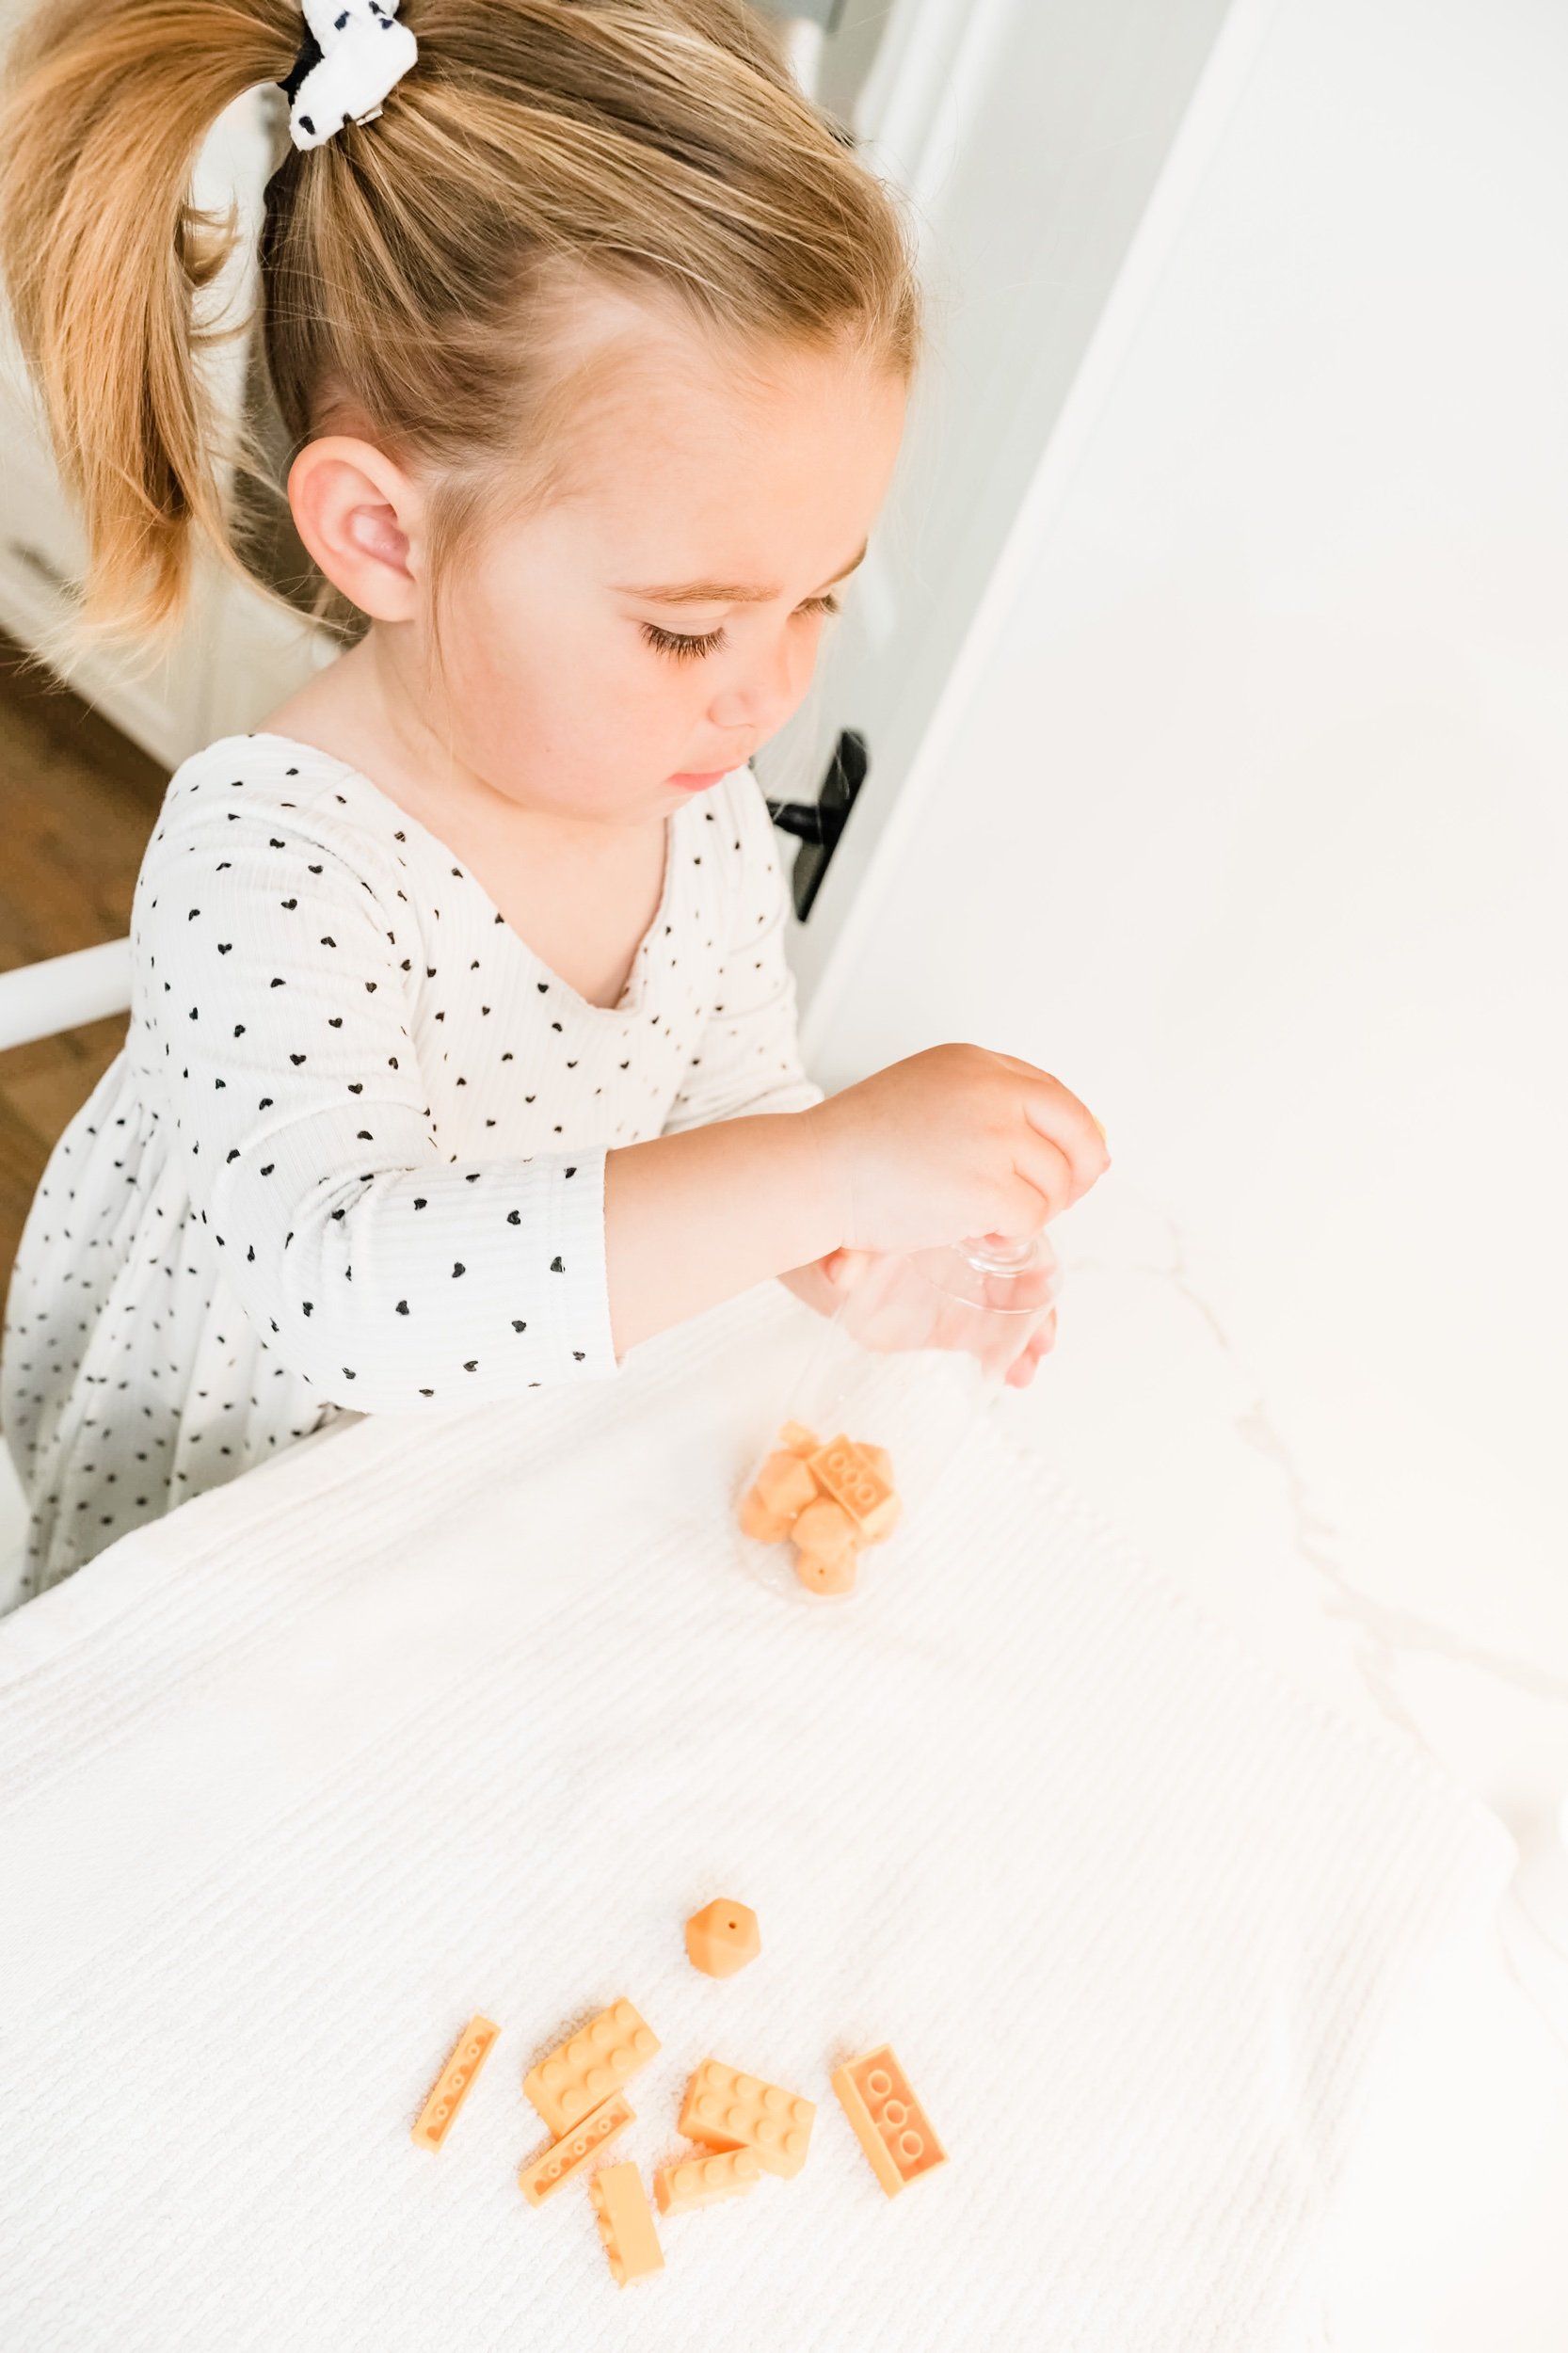
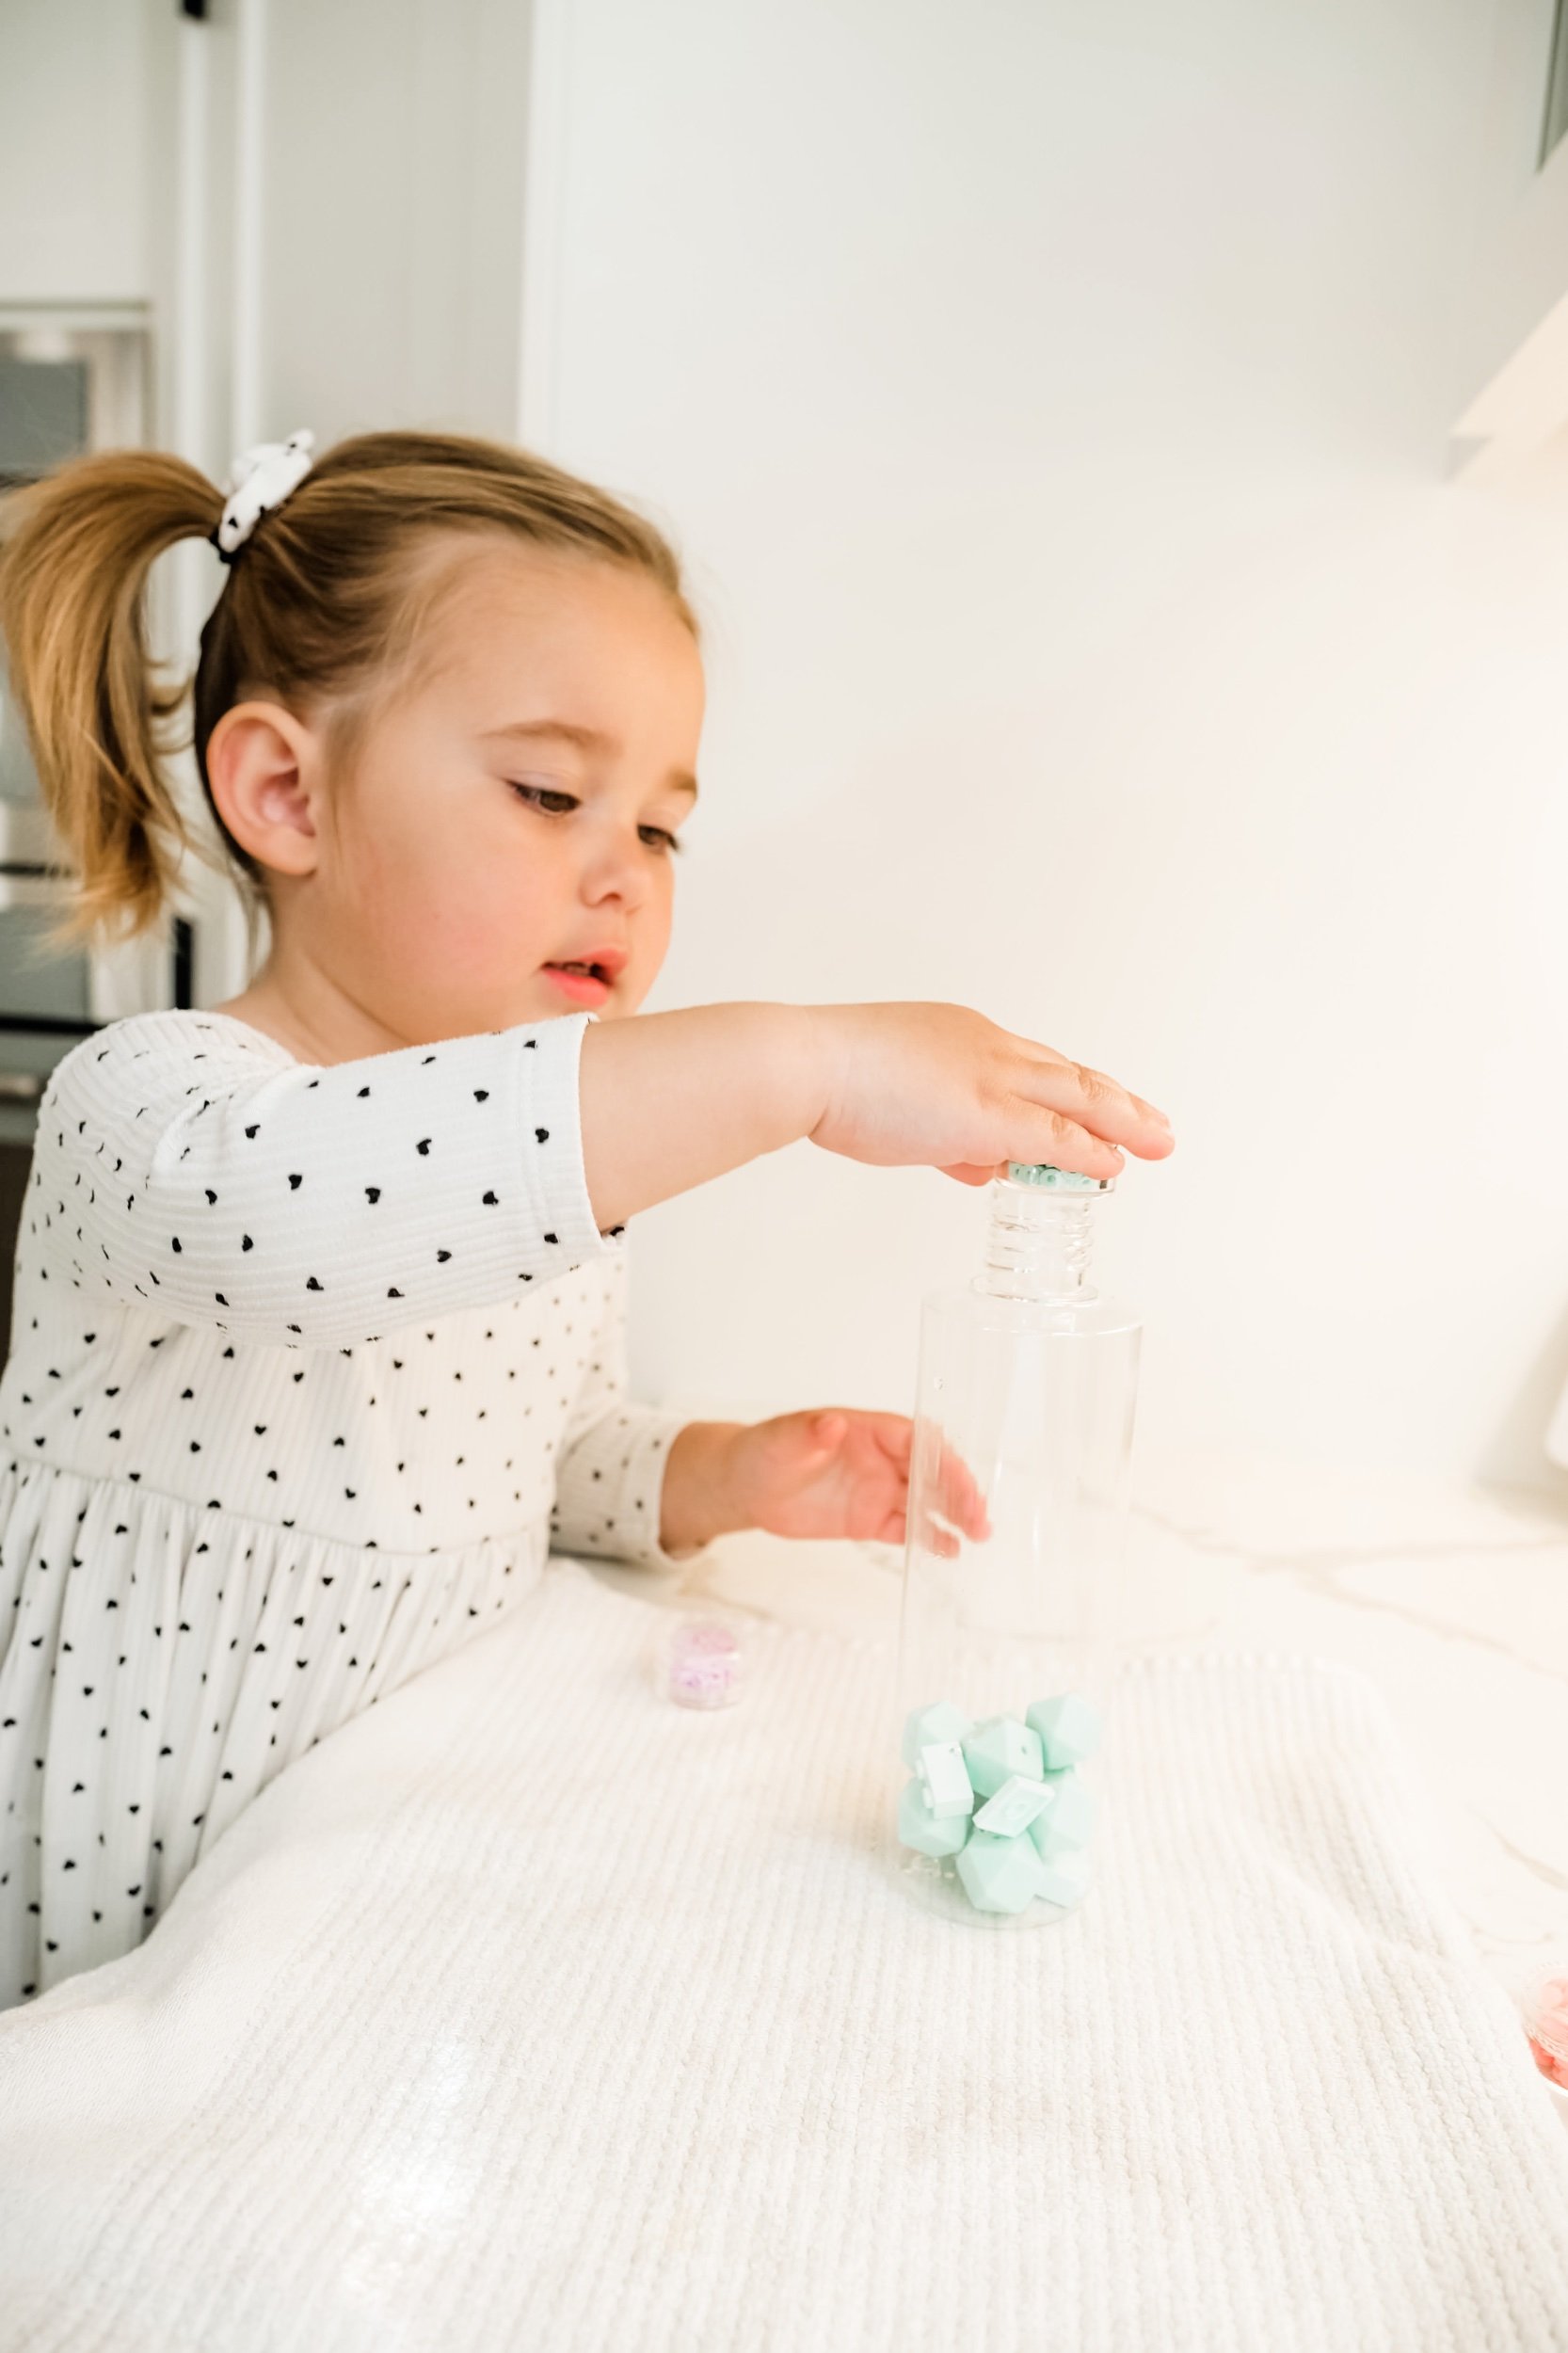
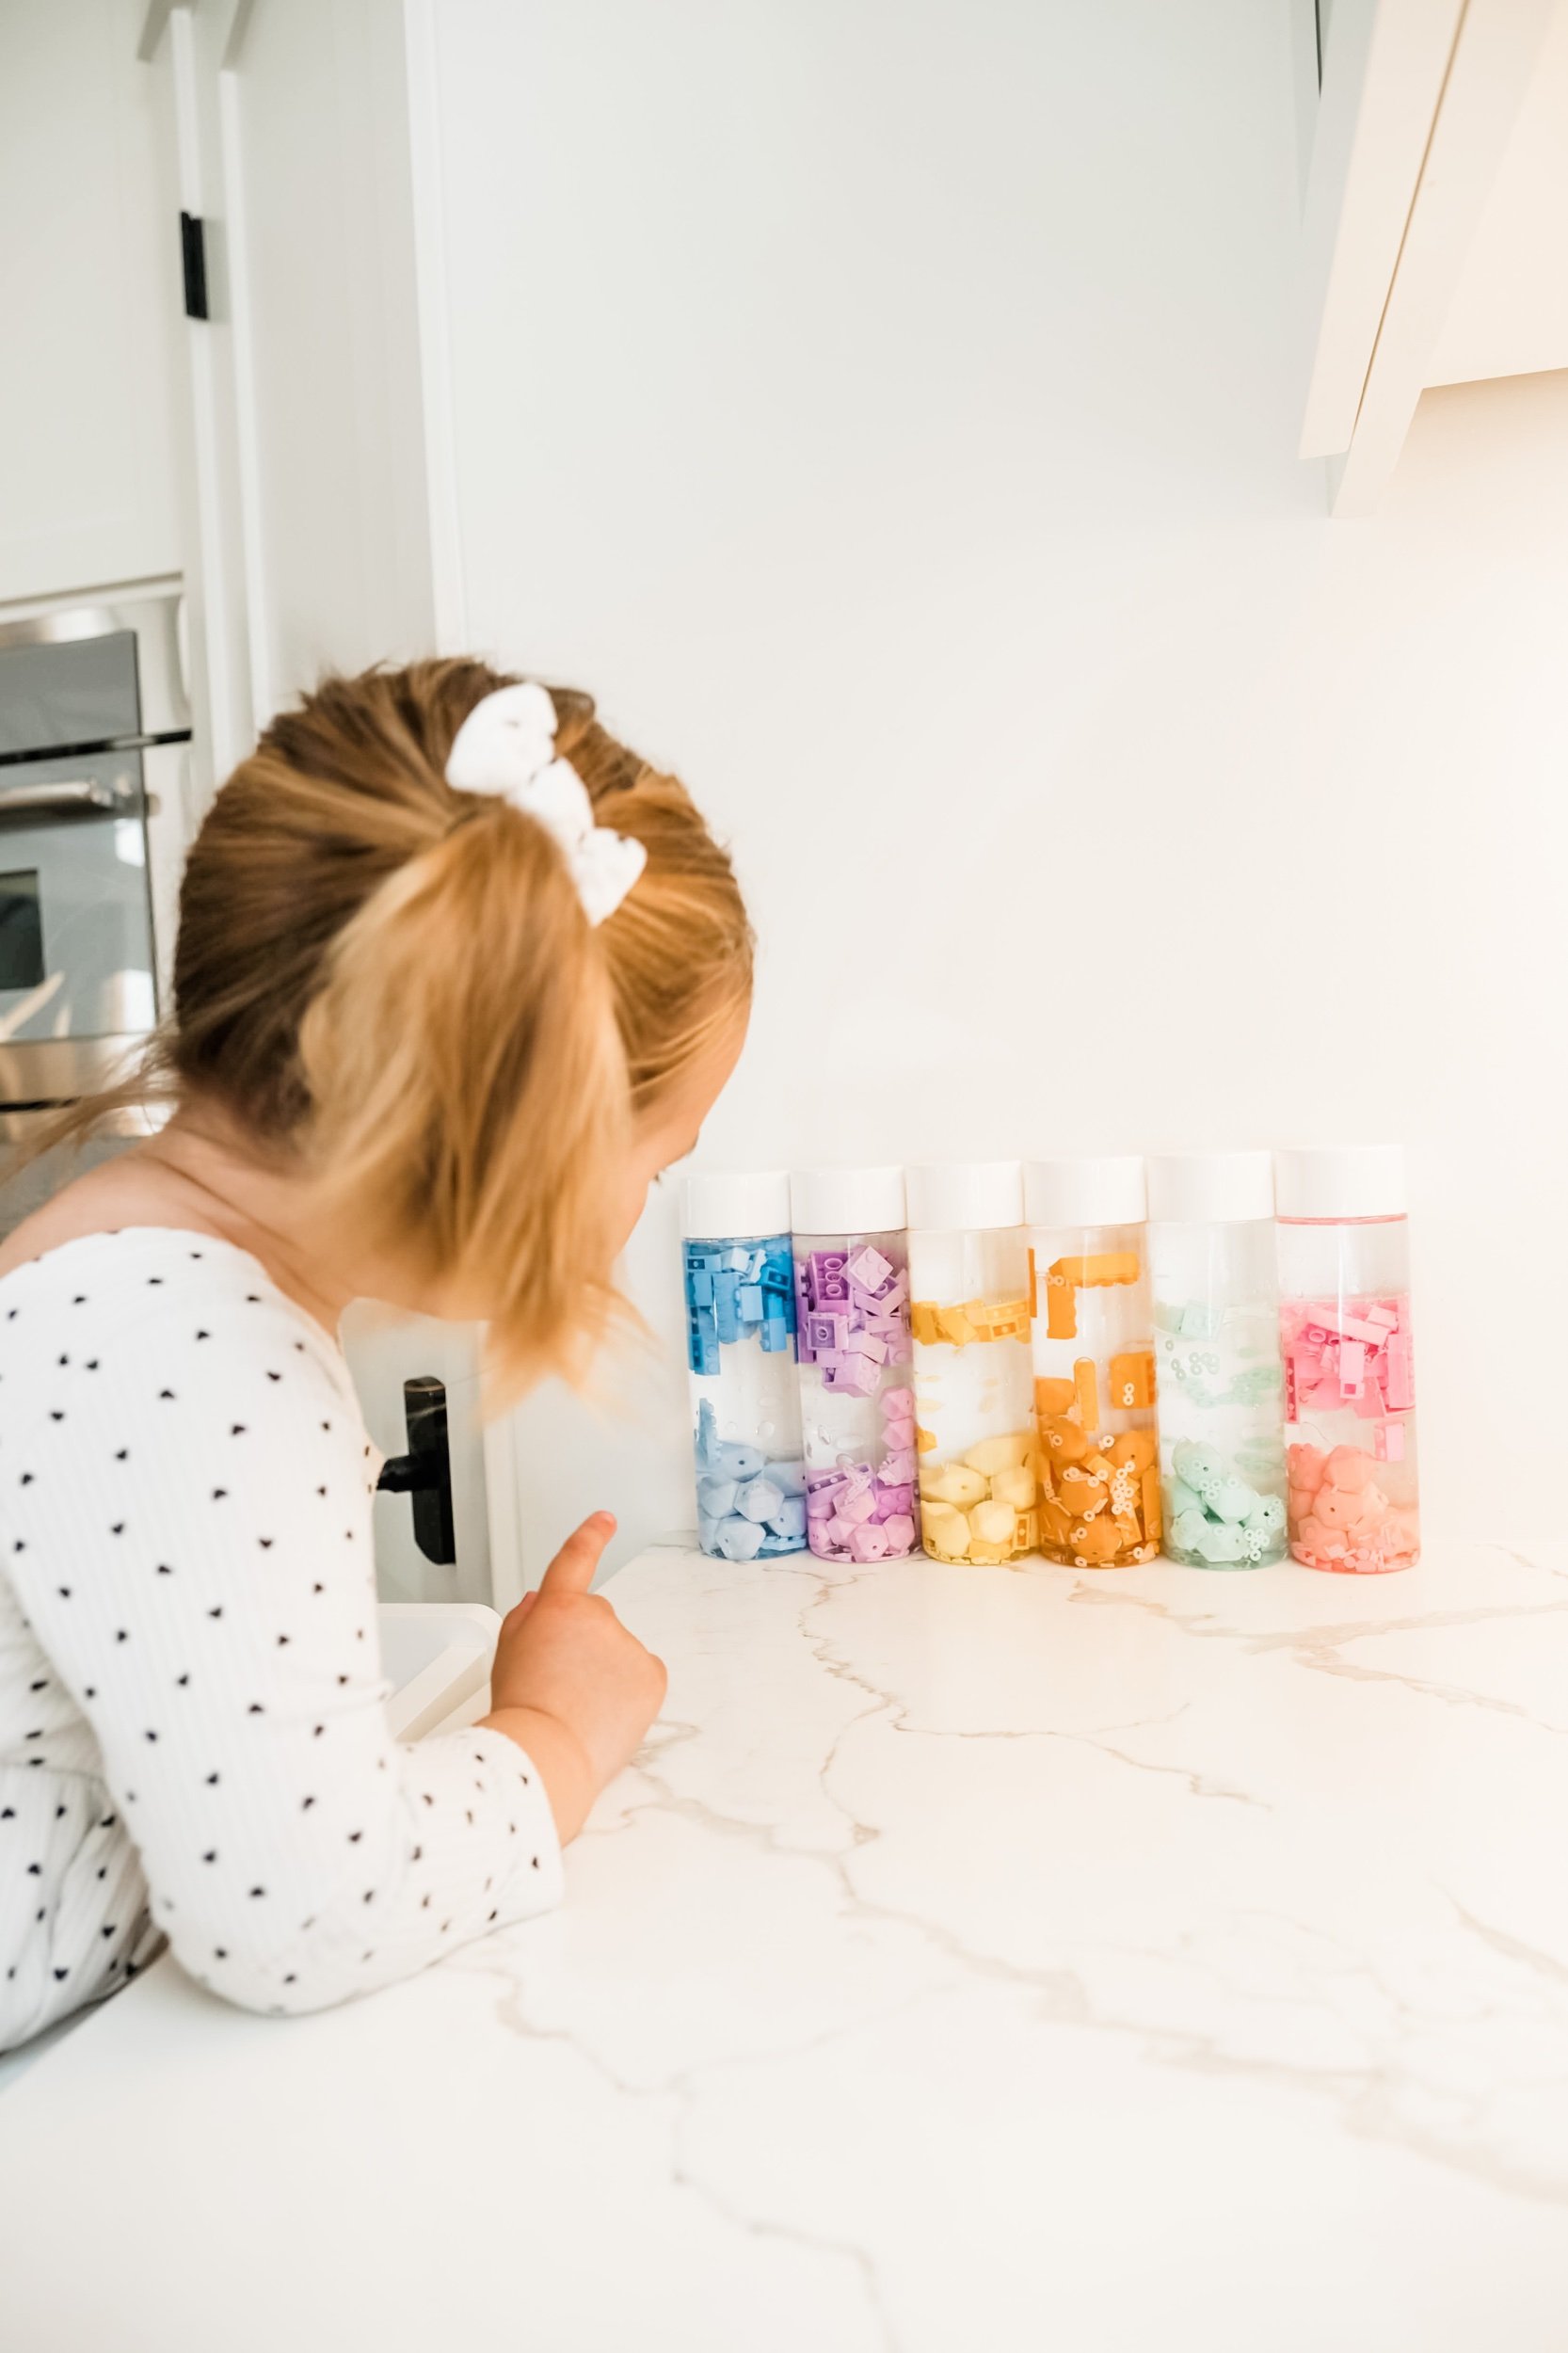
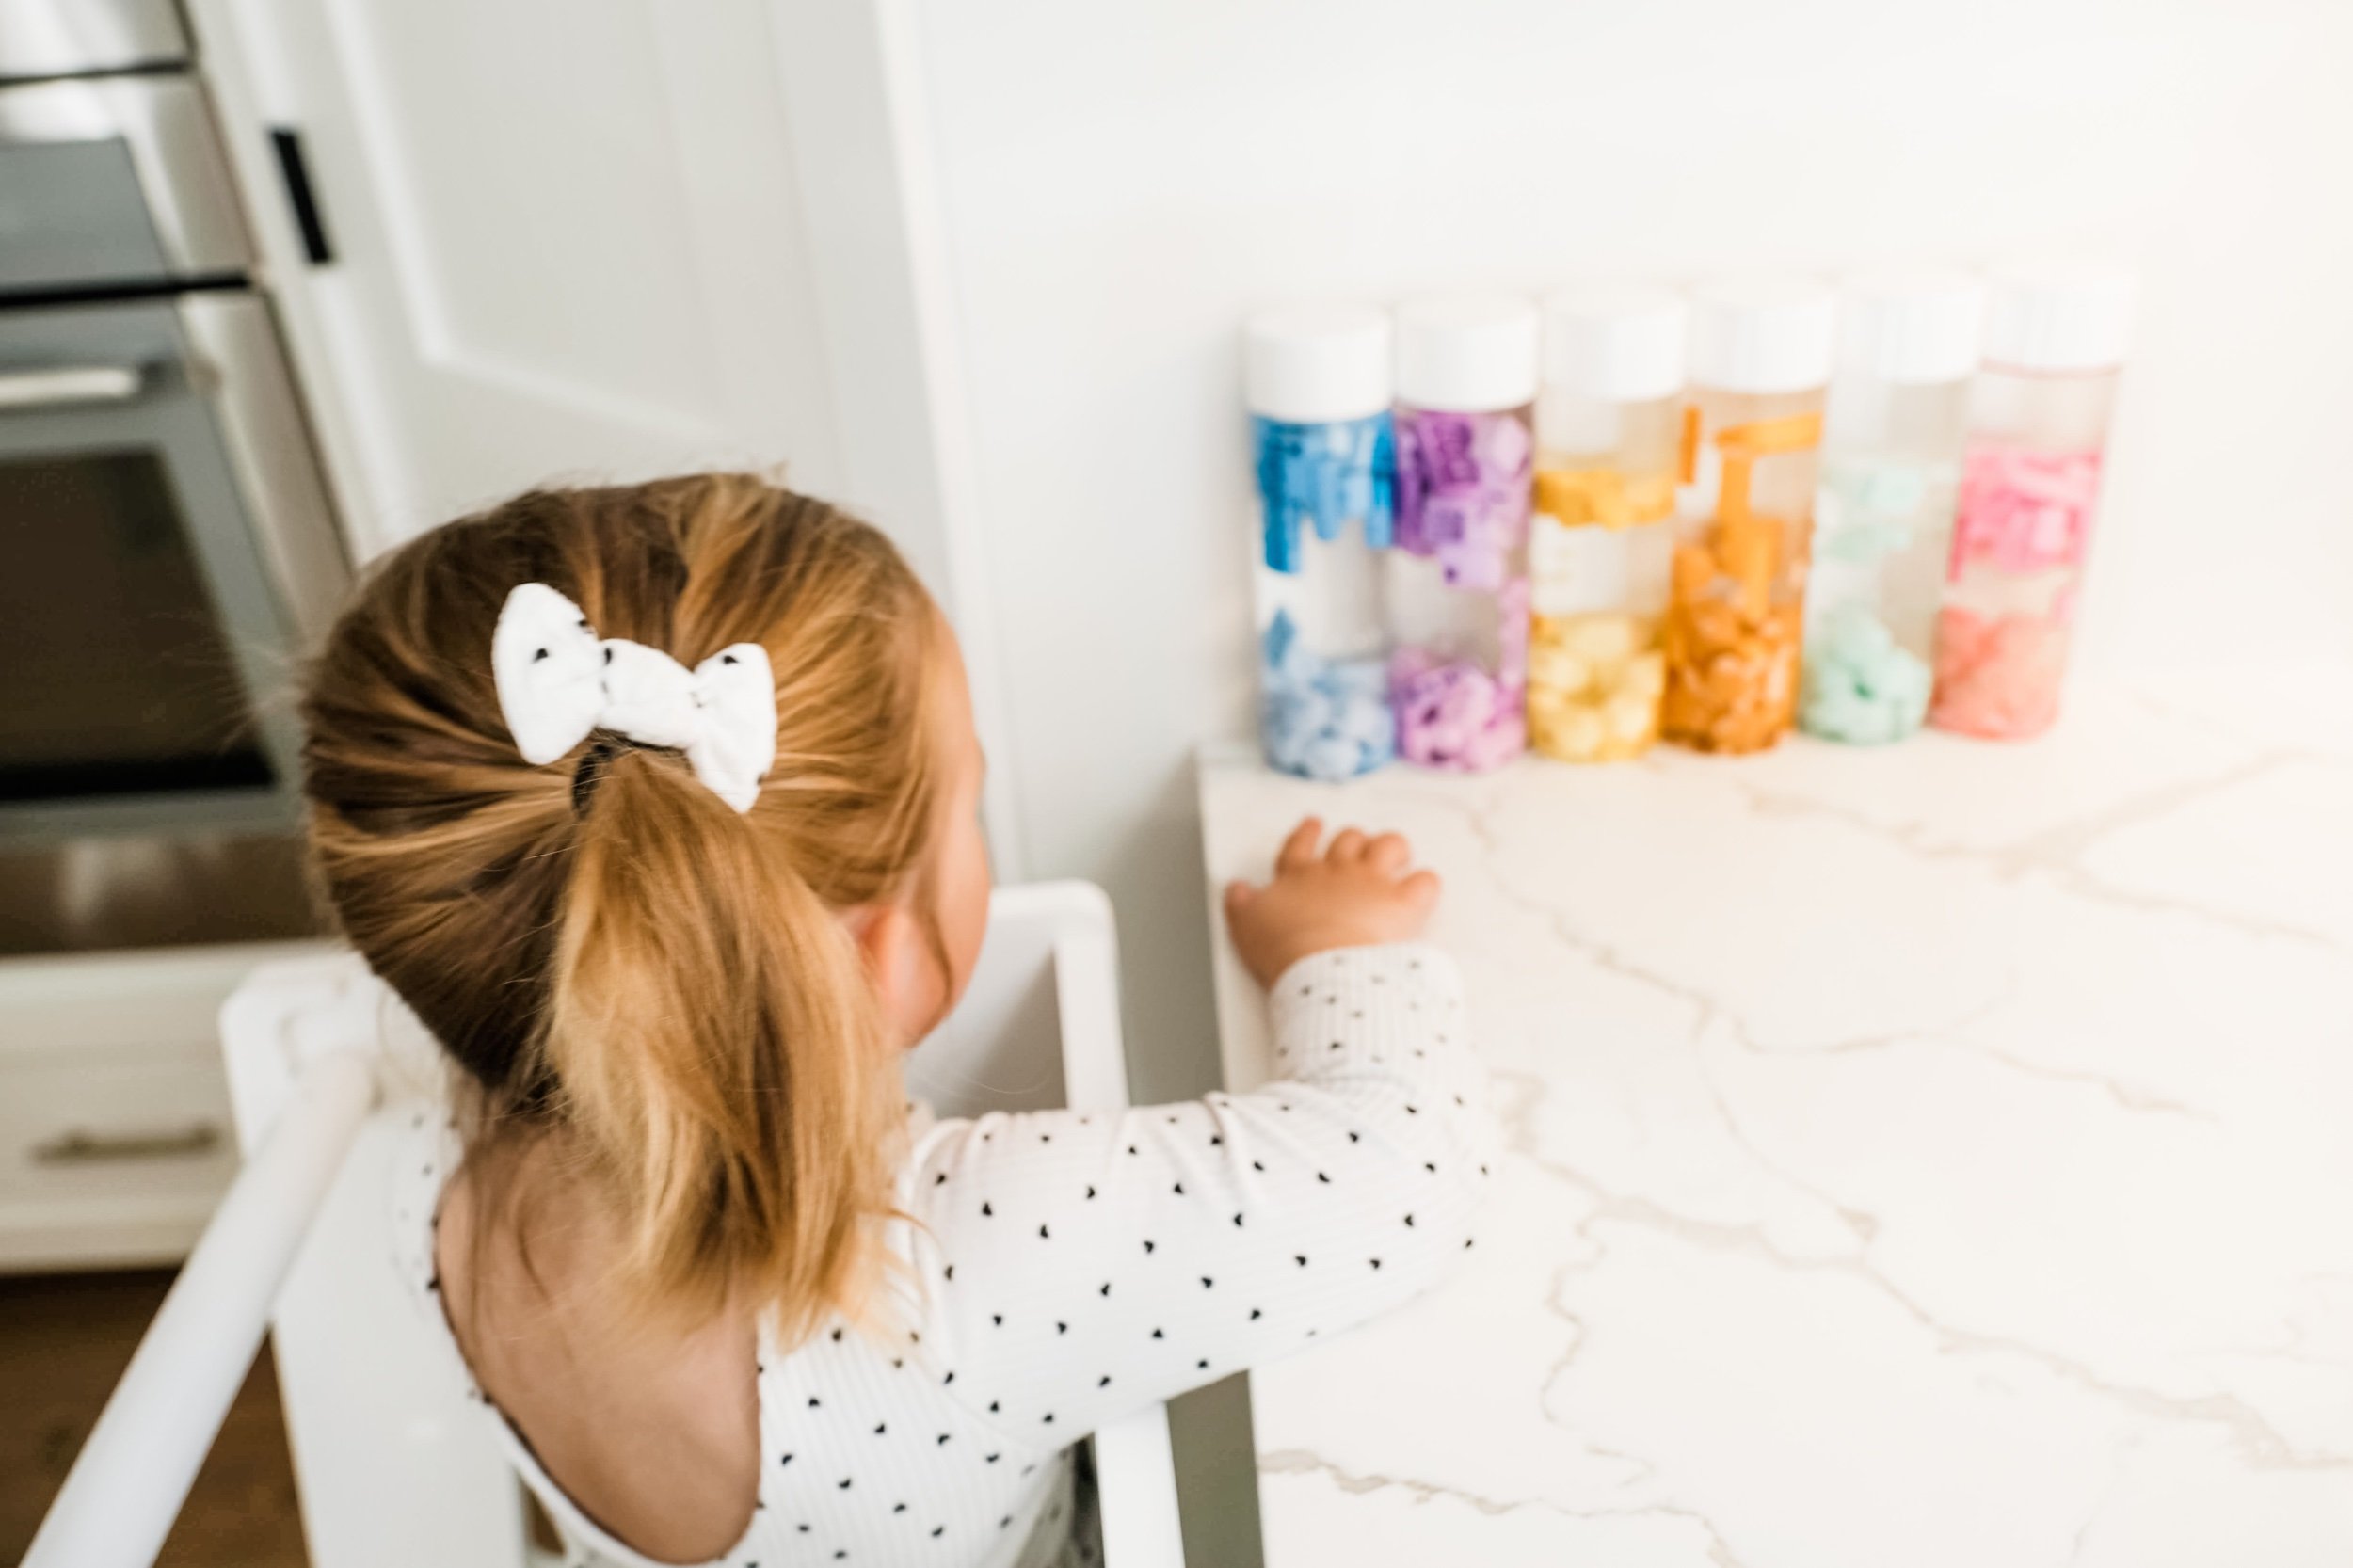
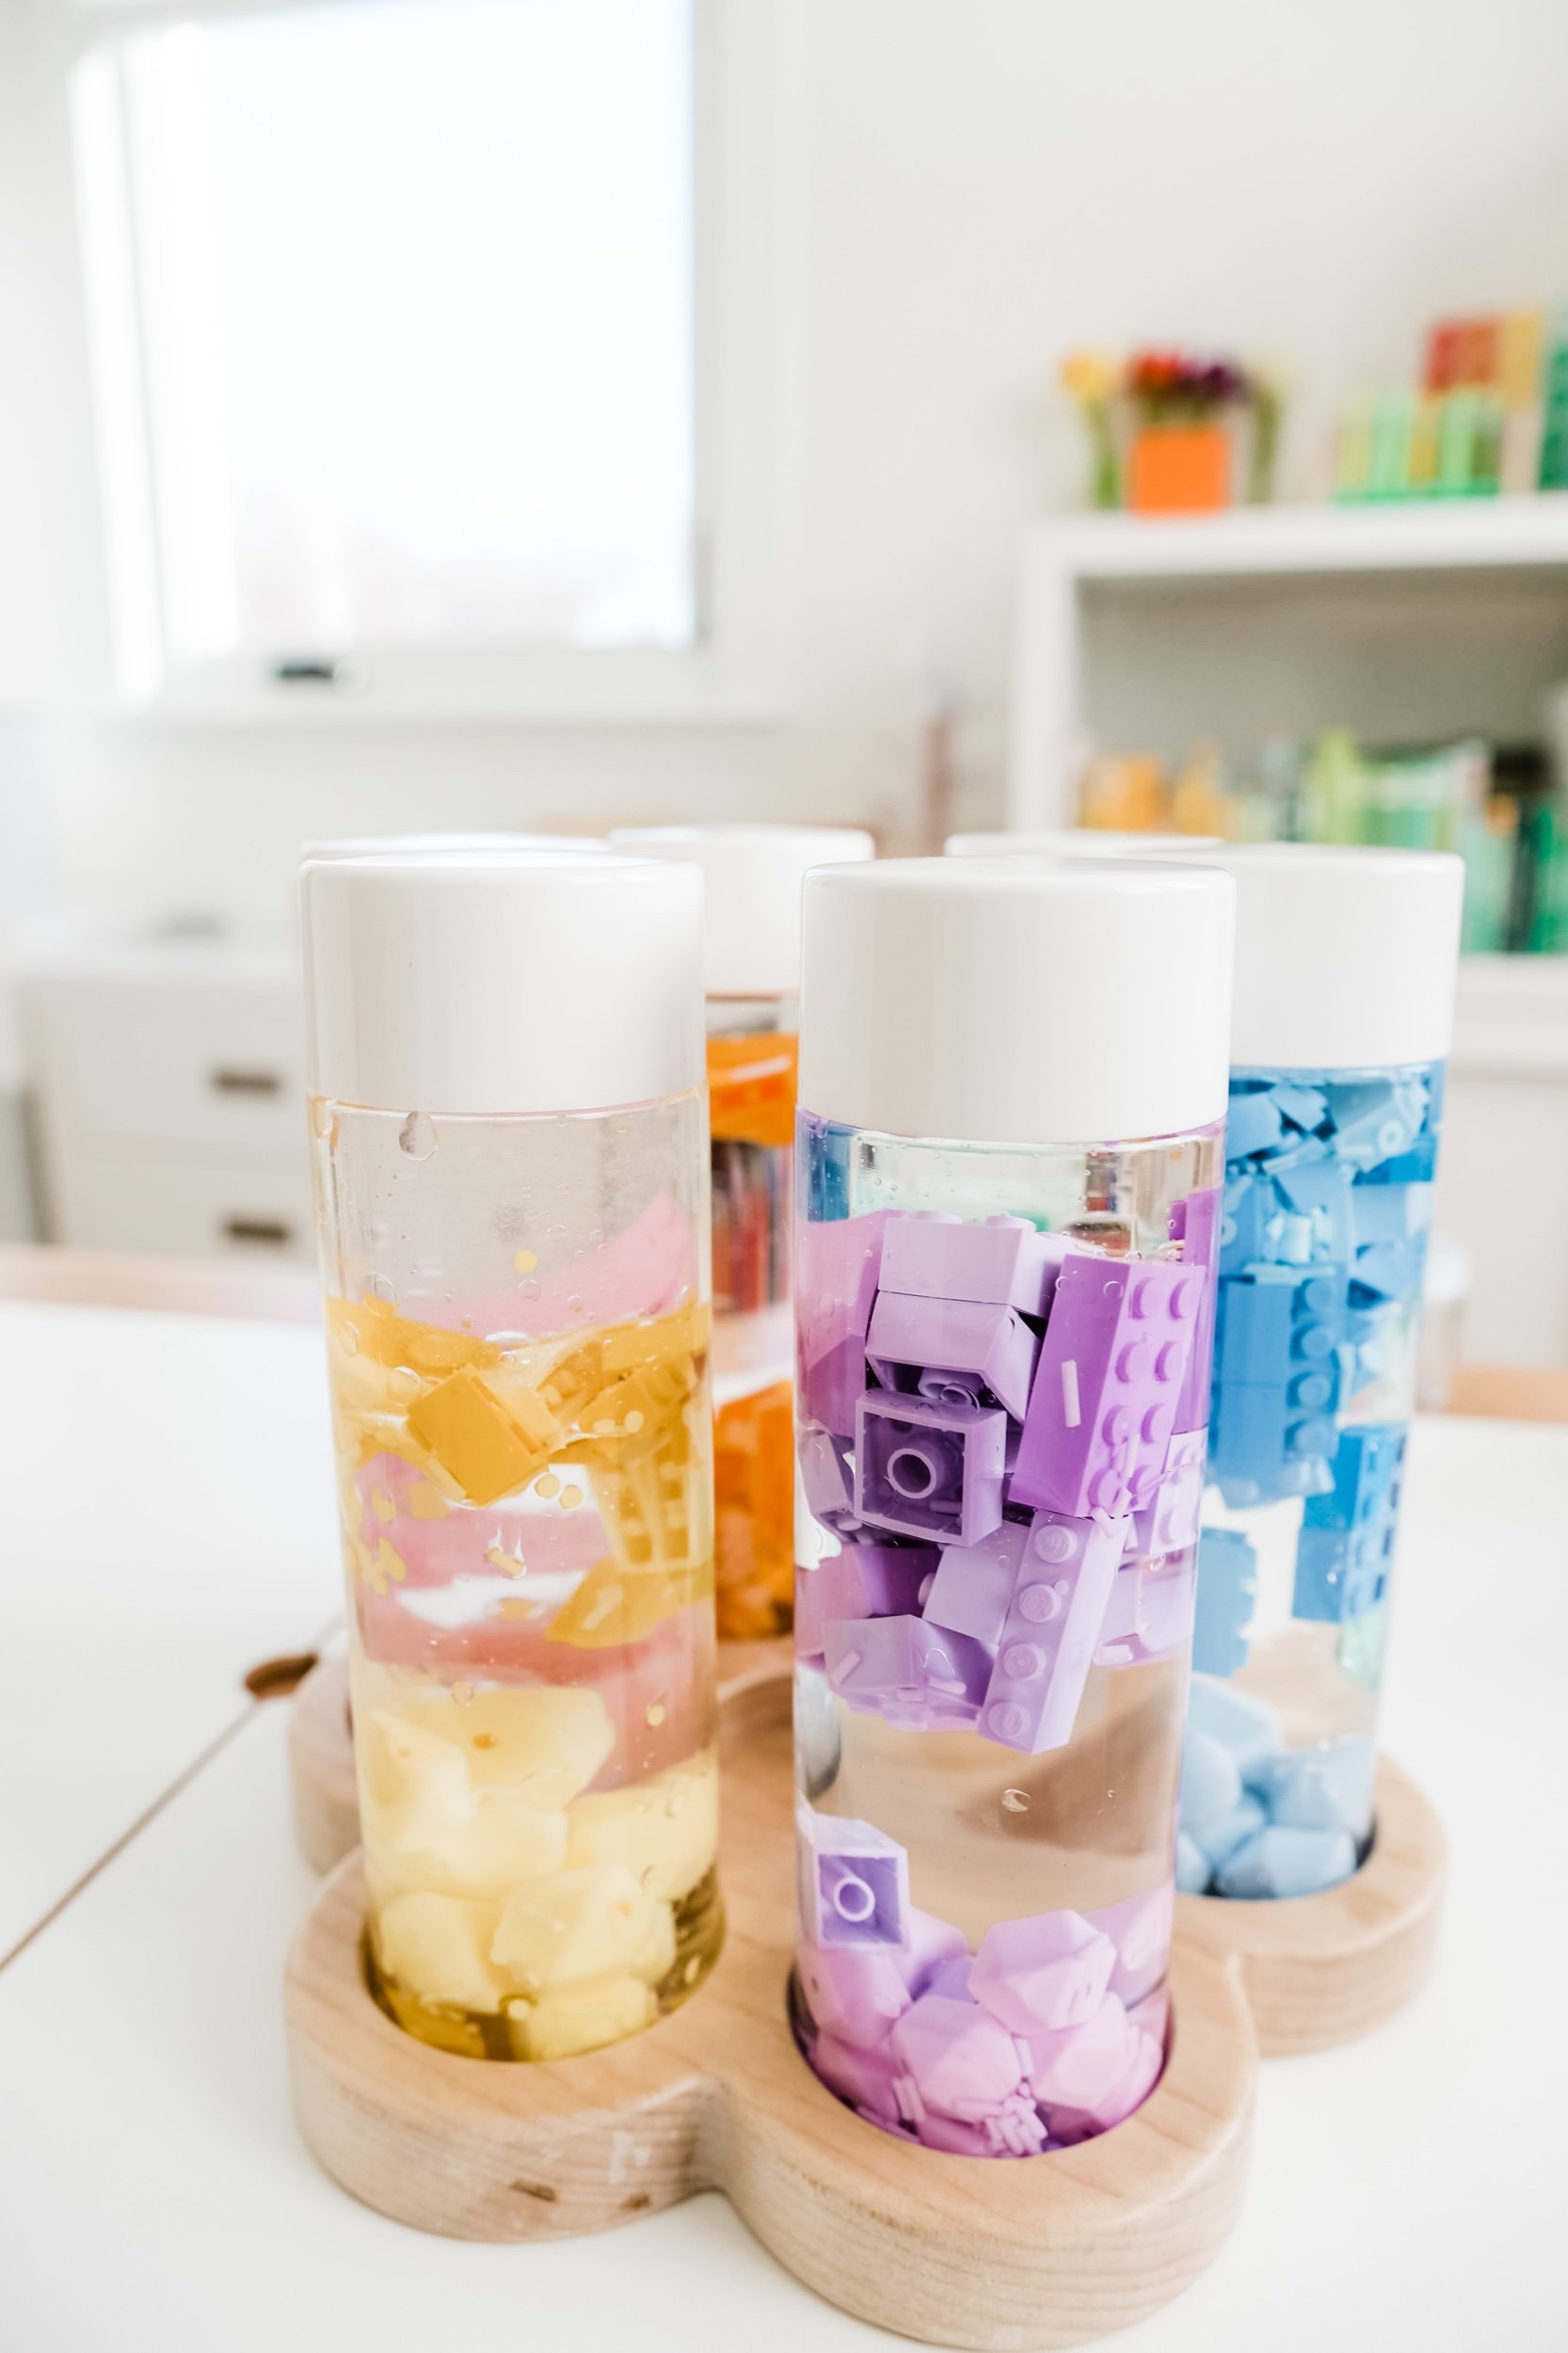
5. Next, add glitter, sequins, beads, or small toys to the bottle. These items will create an exciting visual effect when the bottle is shaken. I used teething beads, colorful legos, and resin sprinkles.
6. Once all the components are in the bottle, seal the lid tightly and secure it with hot glue if necessary.
Enjoy the Calming Magic
Shake and tilt the sensory bottle gently and observe the mesmerizing dance of colors and objects within. If your child is feeling overwhelmed, encourage them to focus on the bottle's movements, taking deep breaths as they watch the sensory magic unfold.
In conclusion, the benefits of sensory bottles for children, especially those with sensory issues, are vast. They not only provide a calming effect but also offer opportunities for sensory exploration and focus enhancement. By incorporating sensory bottles and other calming techniques into your child's routine, you can create a supportive environment that nurtures their emotional well-being and sensory development.
Remember, every child is unique, so have fun experimenting with different materials and colors to create sensory bottles that resonate with your little one's individual preferences and needs. Enjoy the journey of creating these enchanting tools and witnessing the calming magic they bring to your child's world.
Wishing you and your little ones moments of peace and tranquility,
xoxo,
Kylie
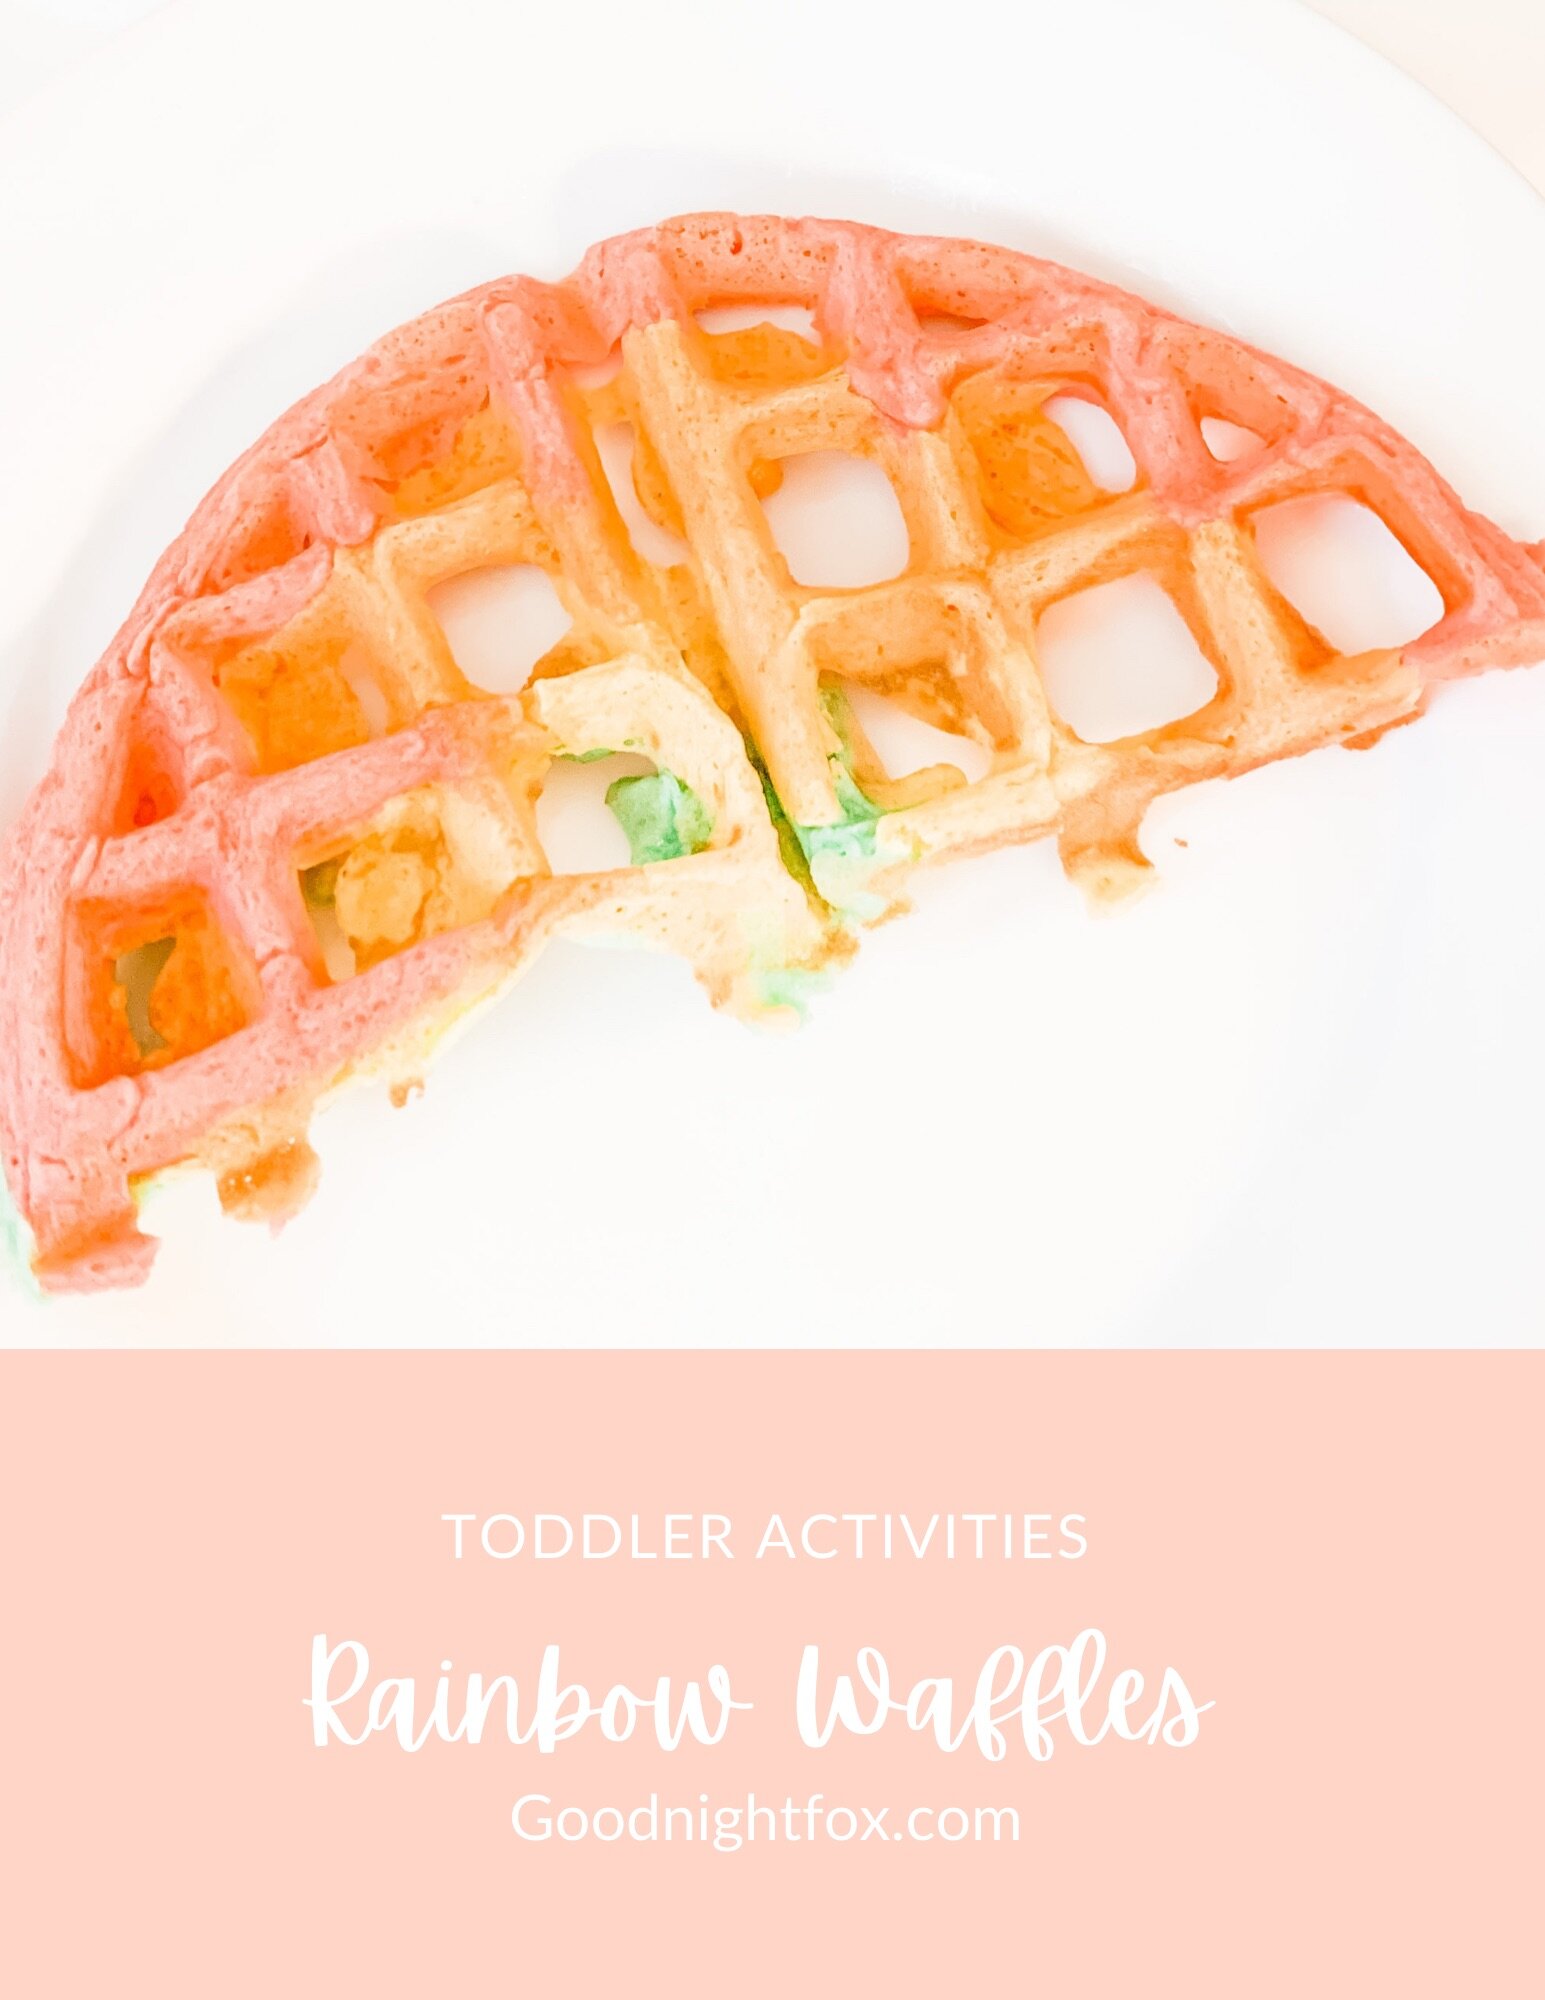
Rainbow Waffles Toddler Activity
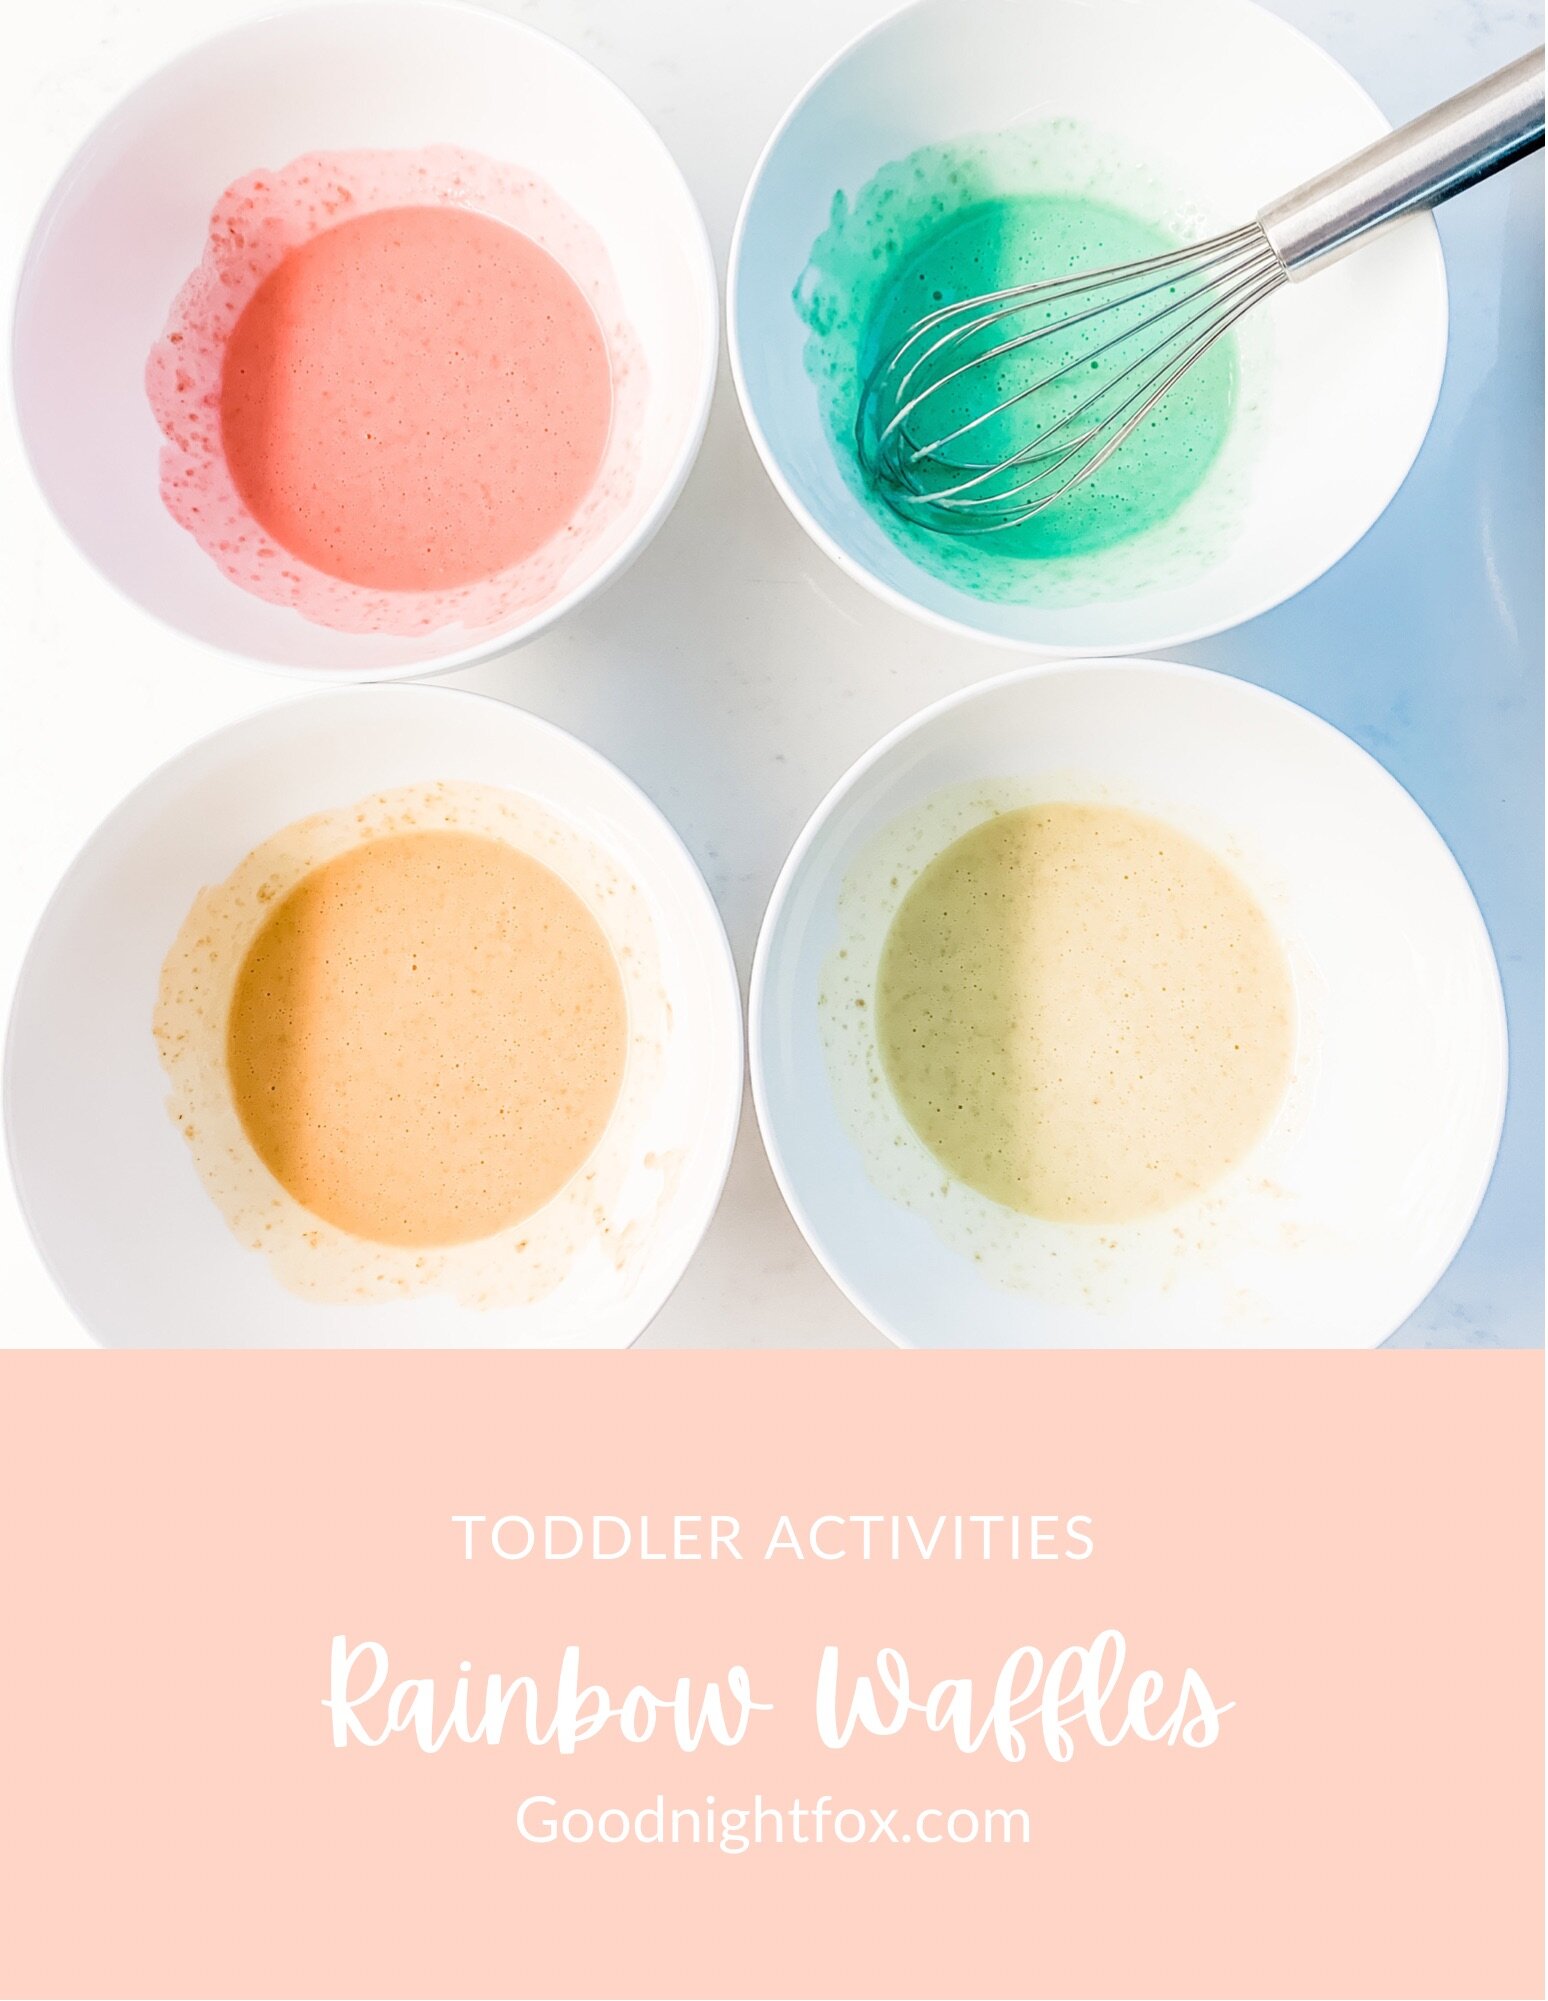
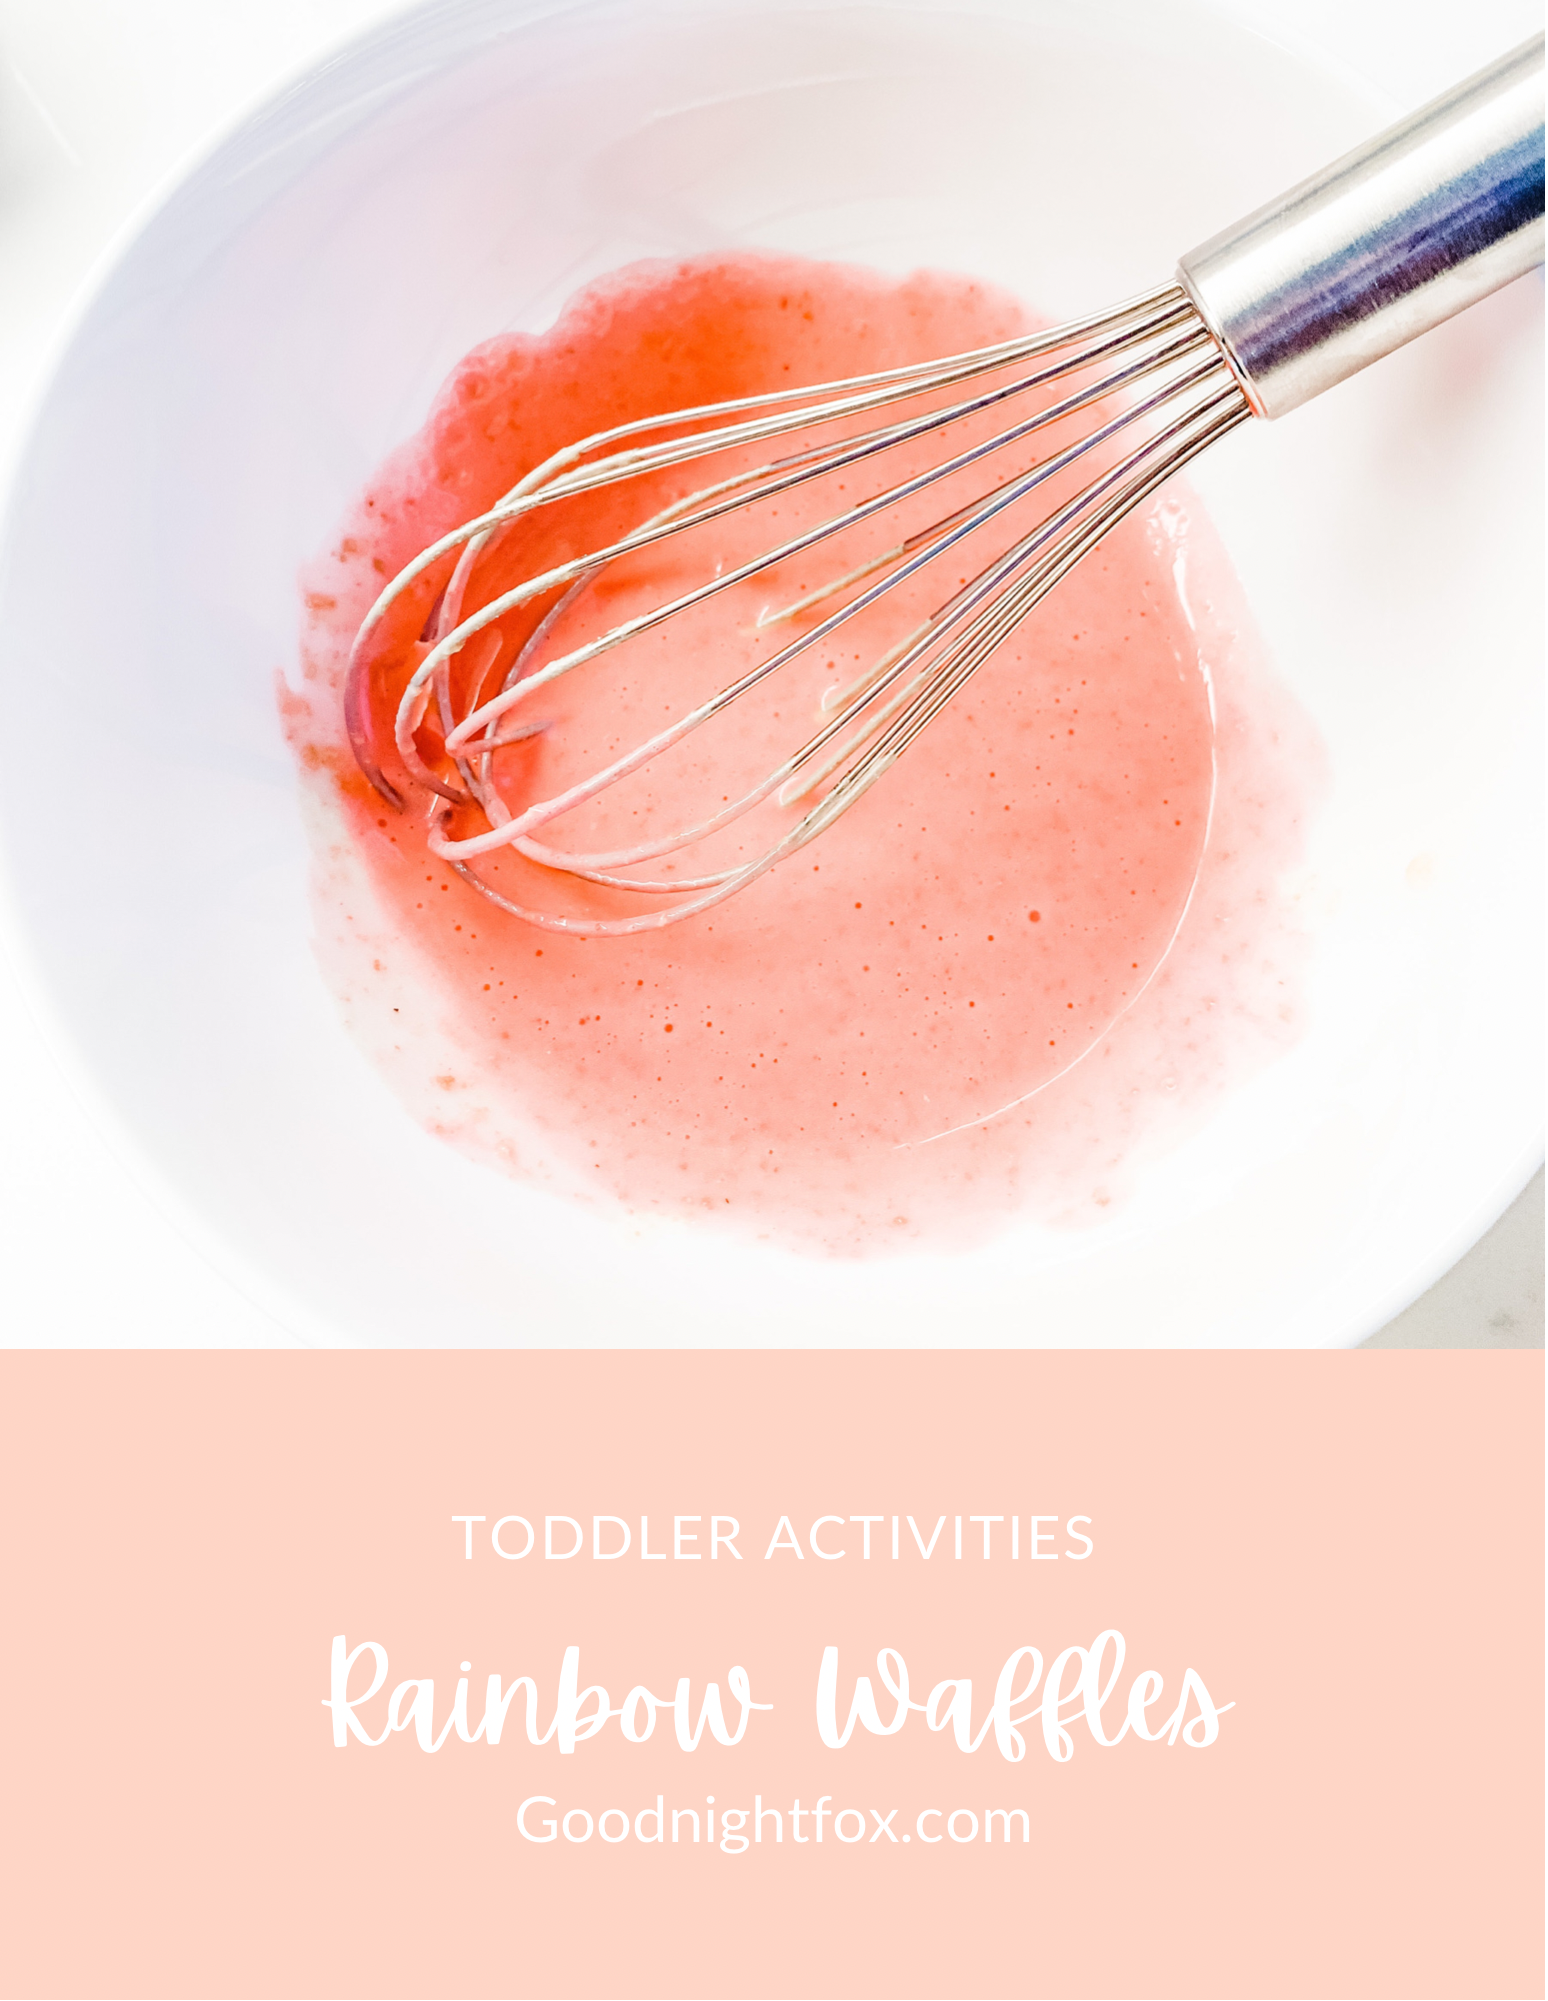
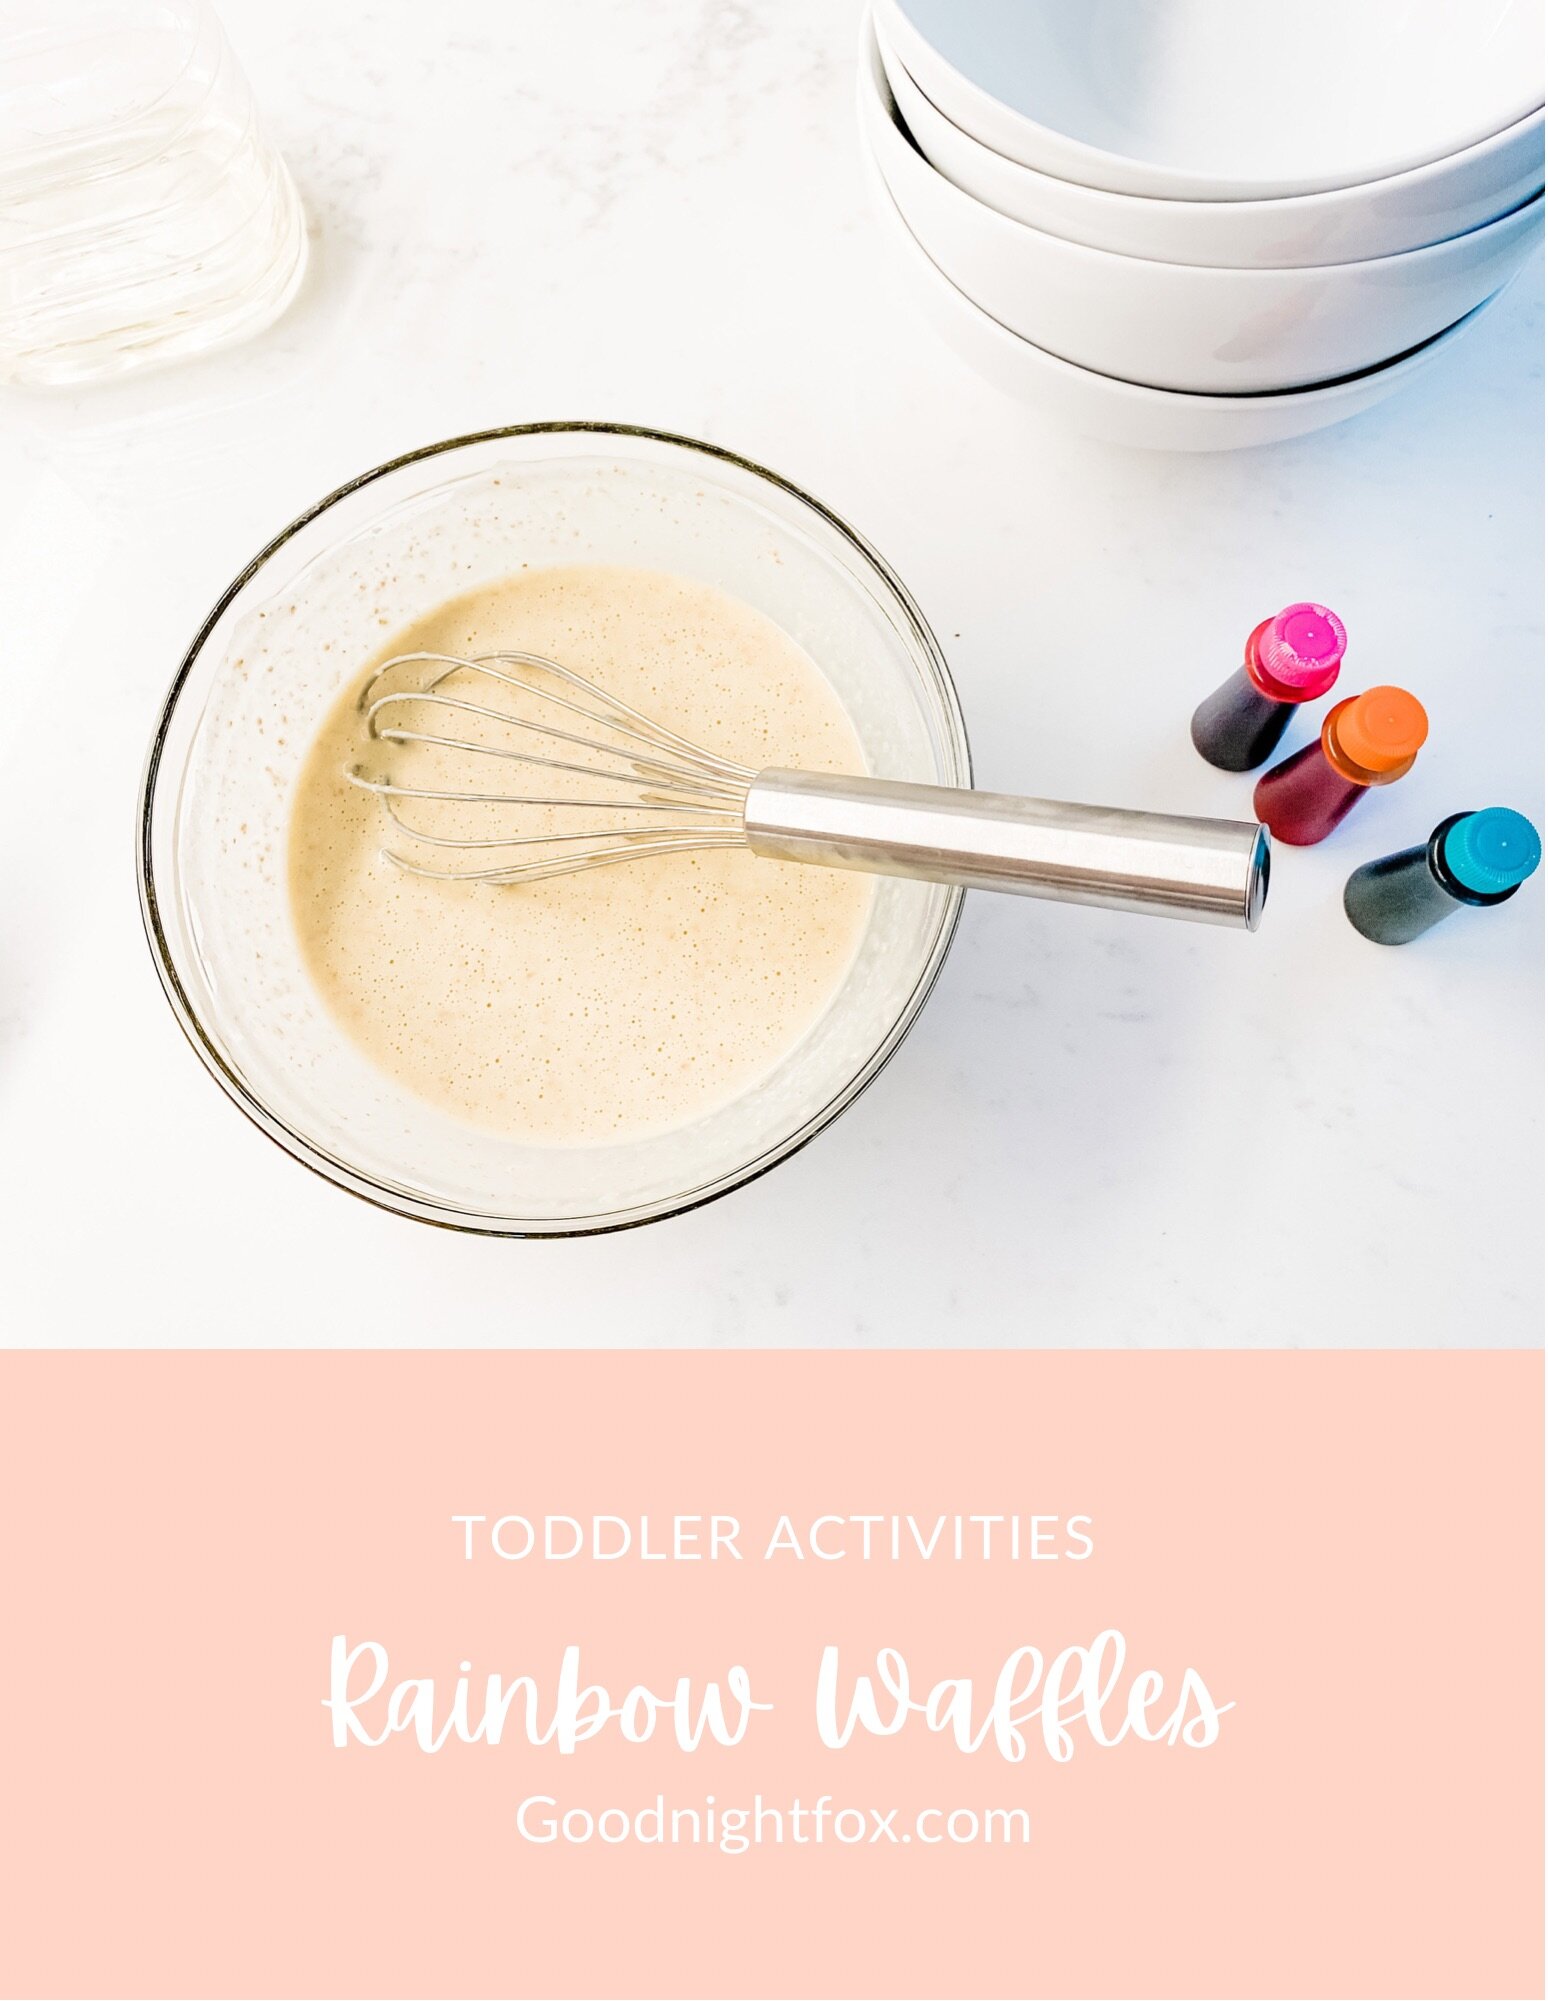
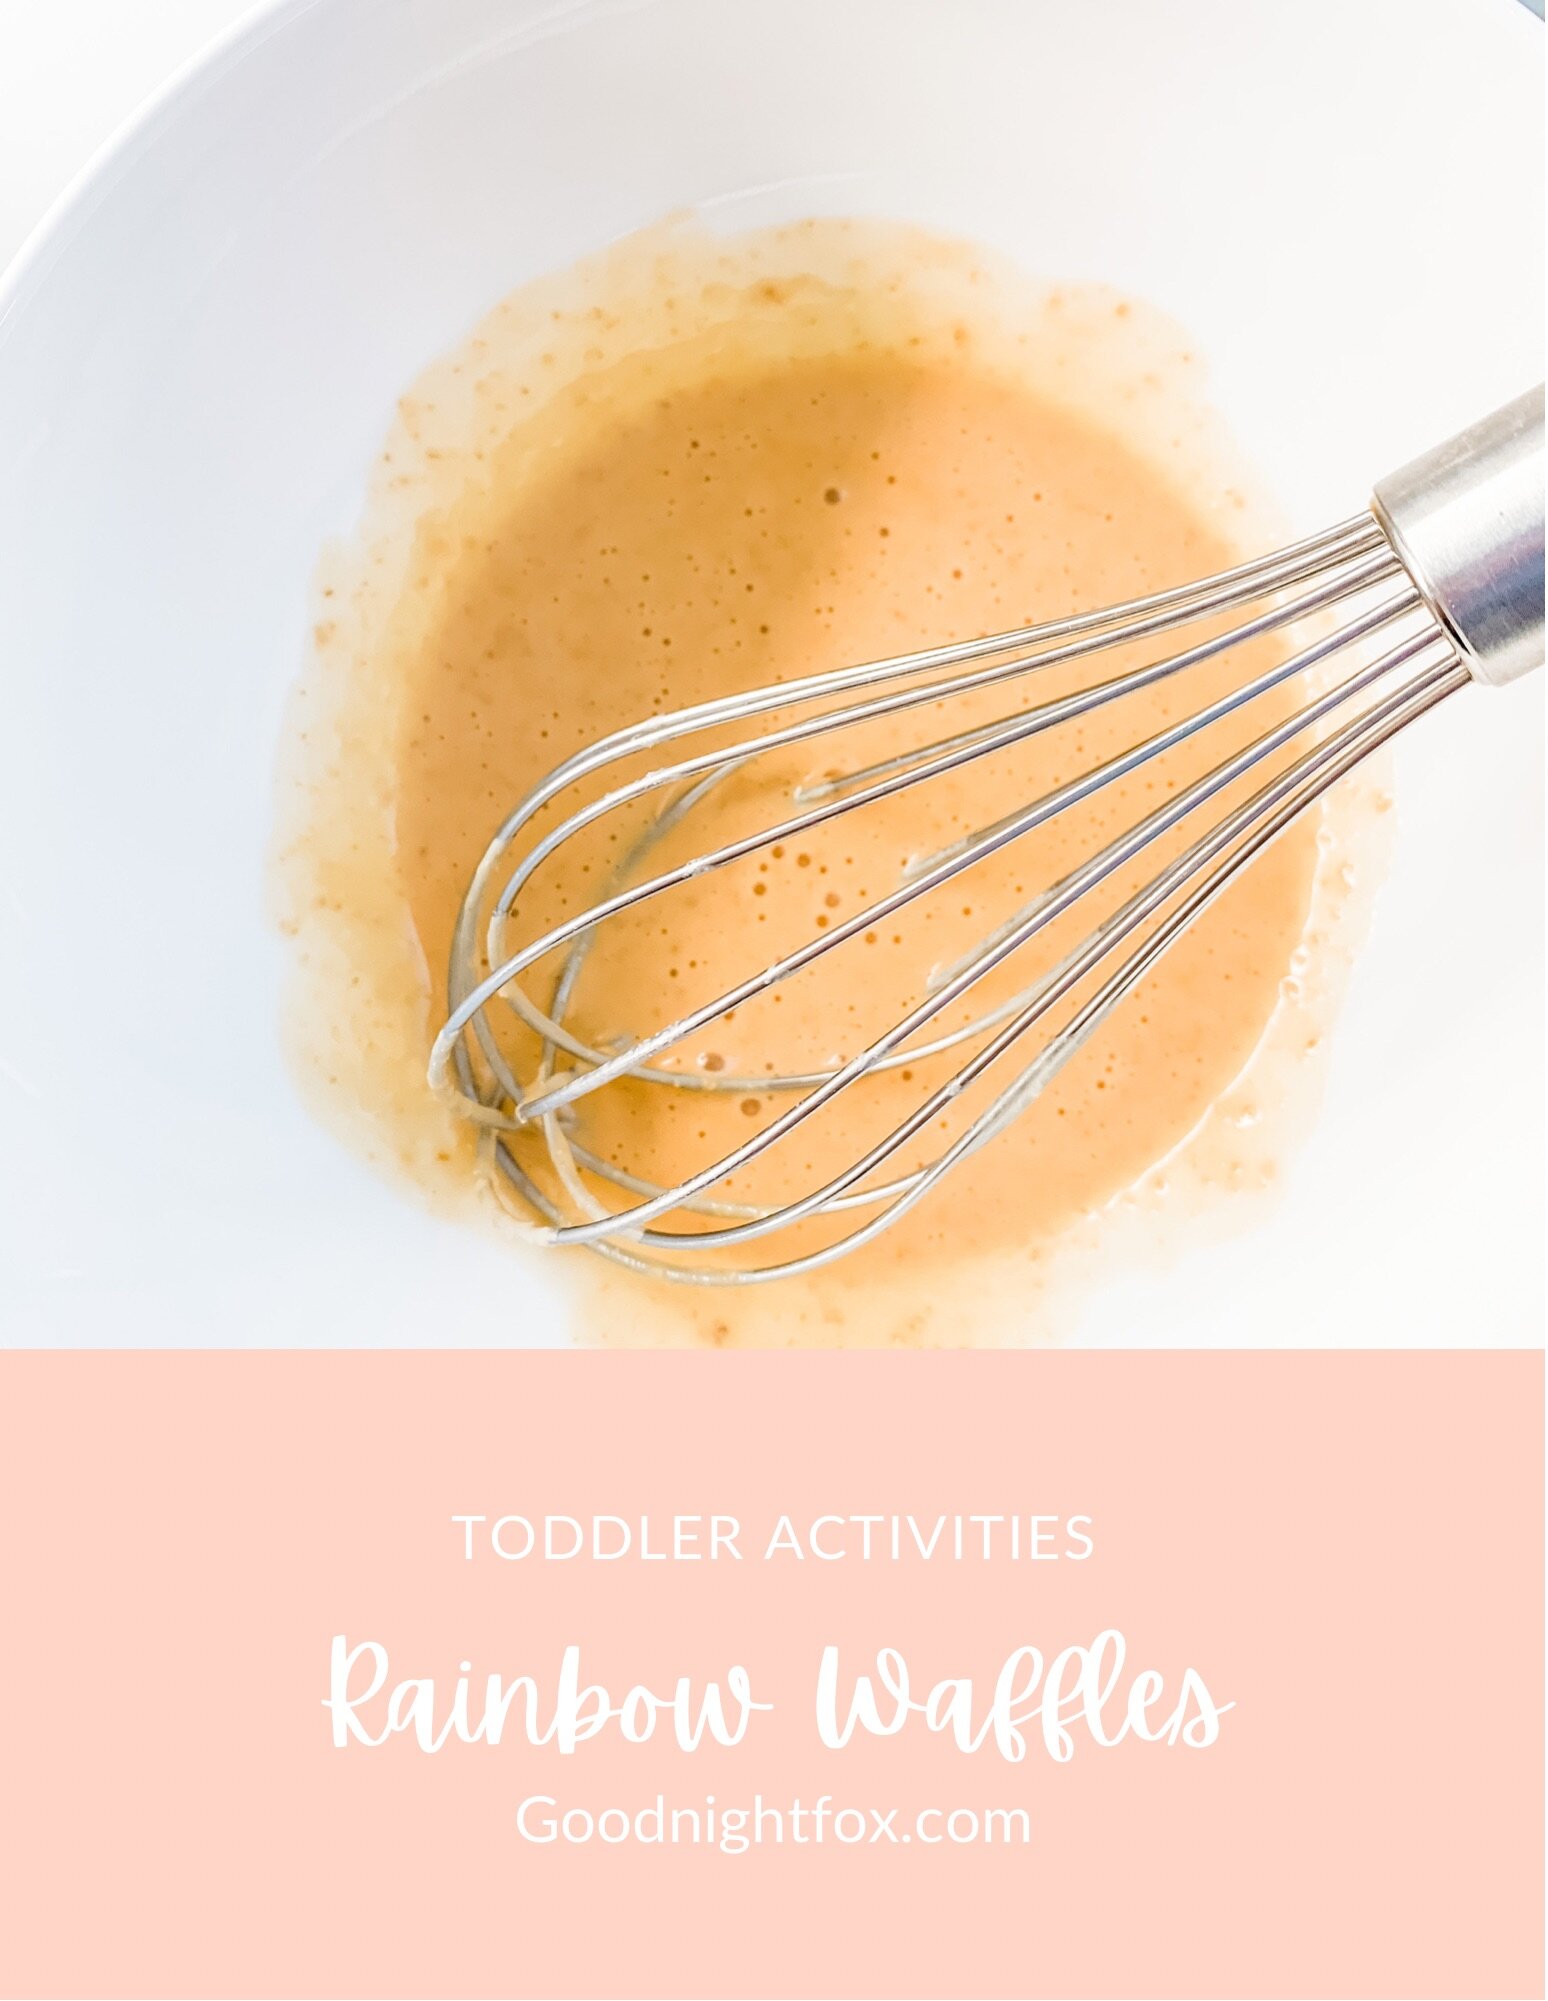
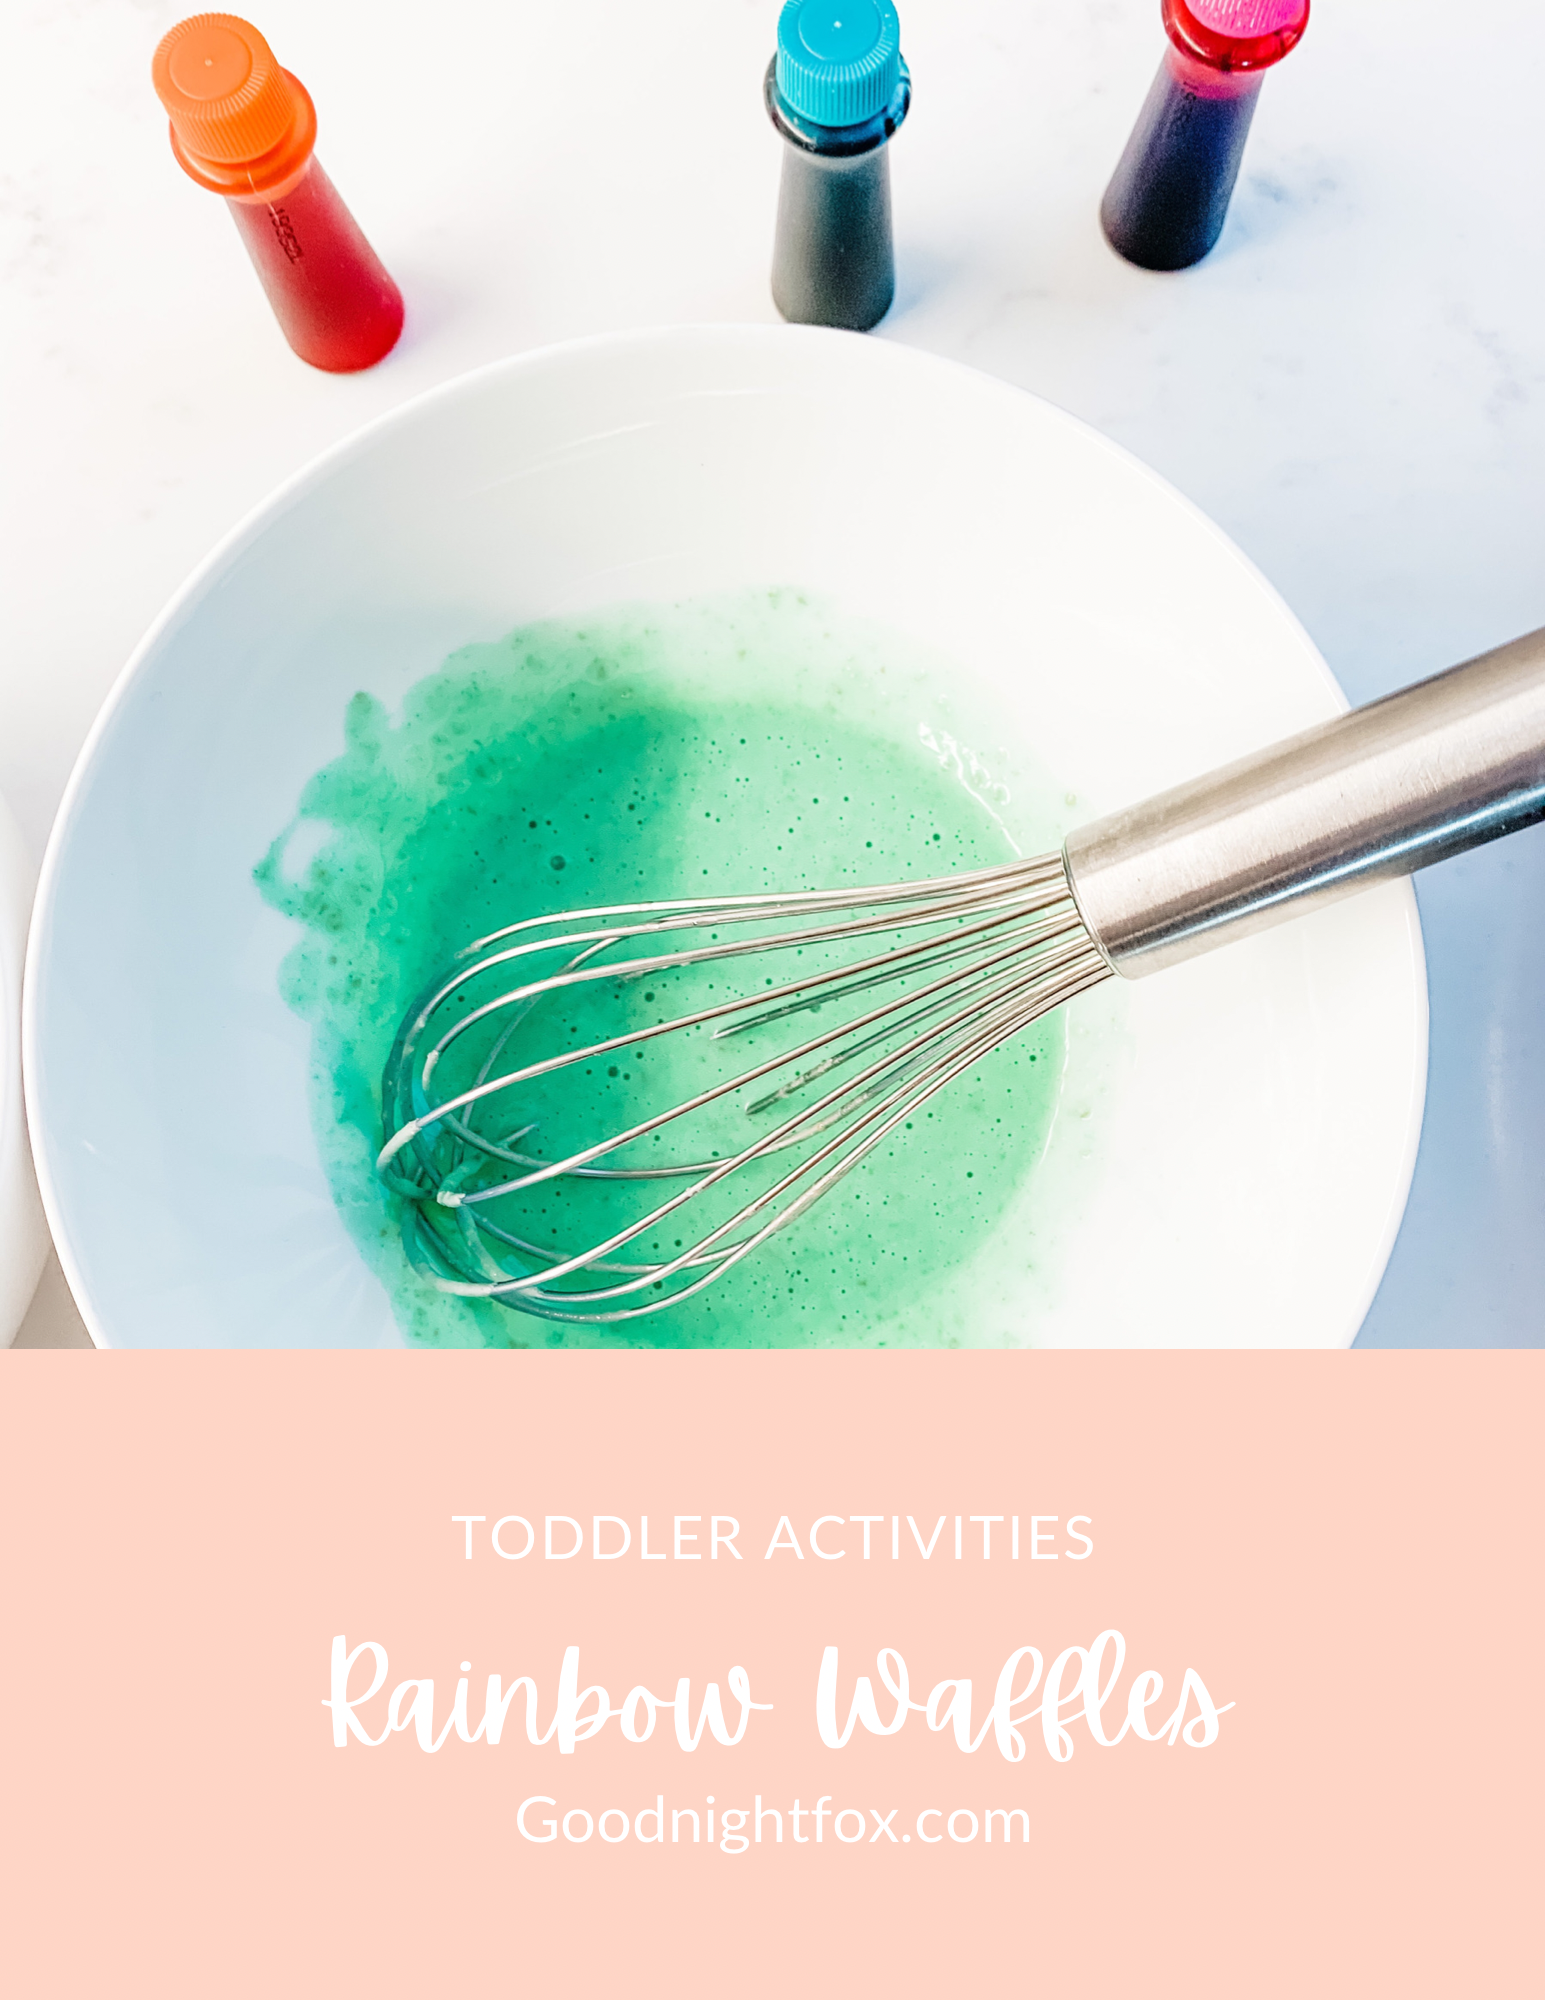
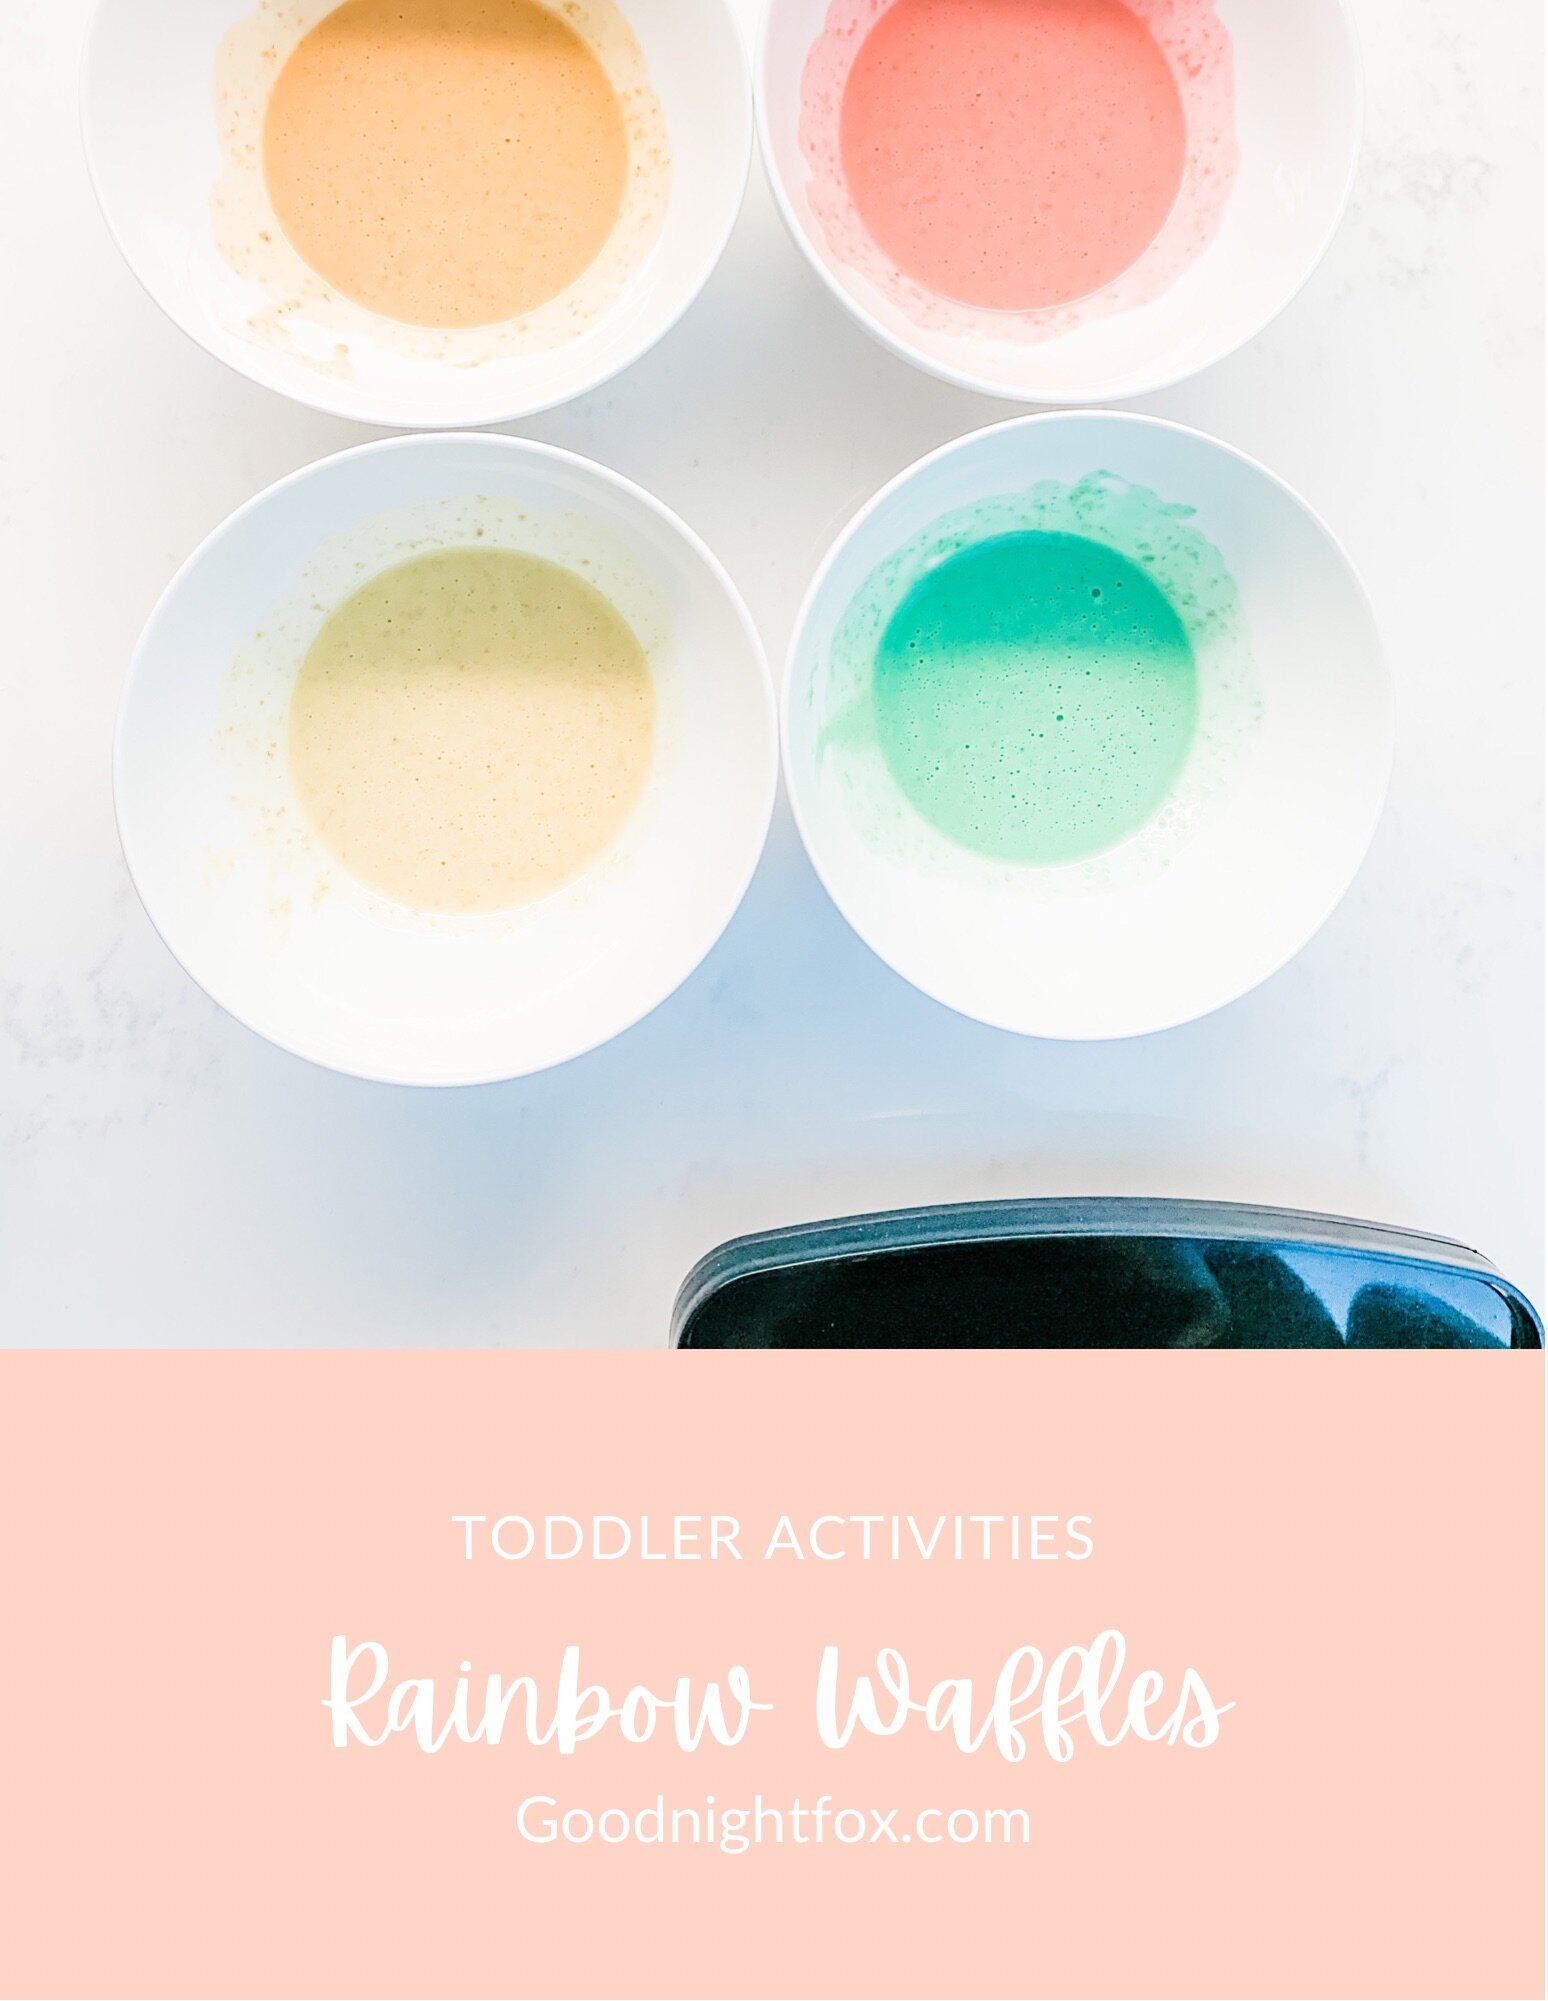
Ready for some more rainbow fun?! This week, Sofie and I made these fun rainbow waffles. It does take a little bit of time to mix all of the colors, but Sofie loves blueberries, so I kept her entertained with those while I made the waffle mix. To keep it simple, I just use a bag of waffle mix and then make each color in a separate bowl. I used these lovely pastel food coloring sets because I’m all about that modern pastel rainbow. Here’s what you need to get started:
Blueberries
Waffle mix
Water or milk
Pastel food colors
Waffle iron
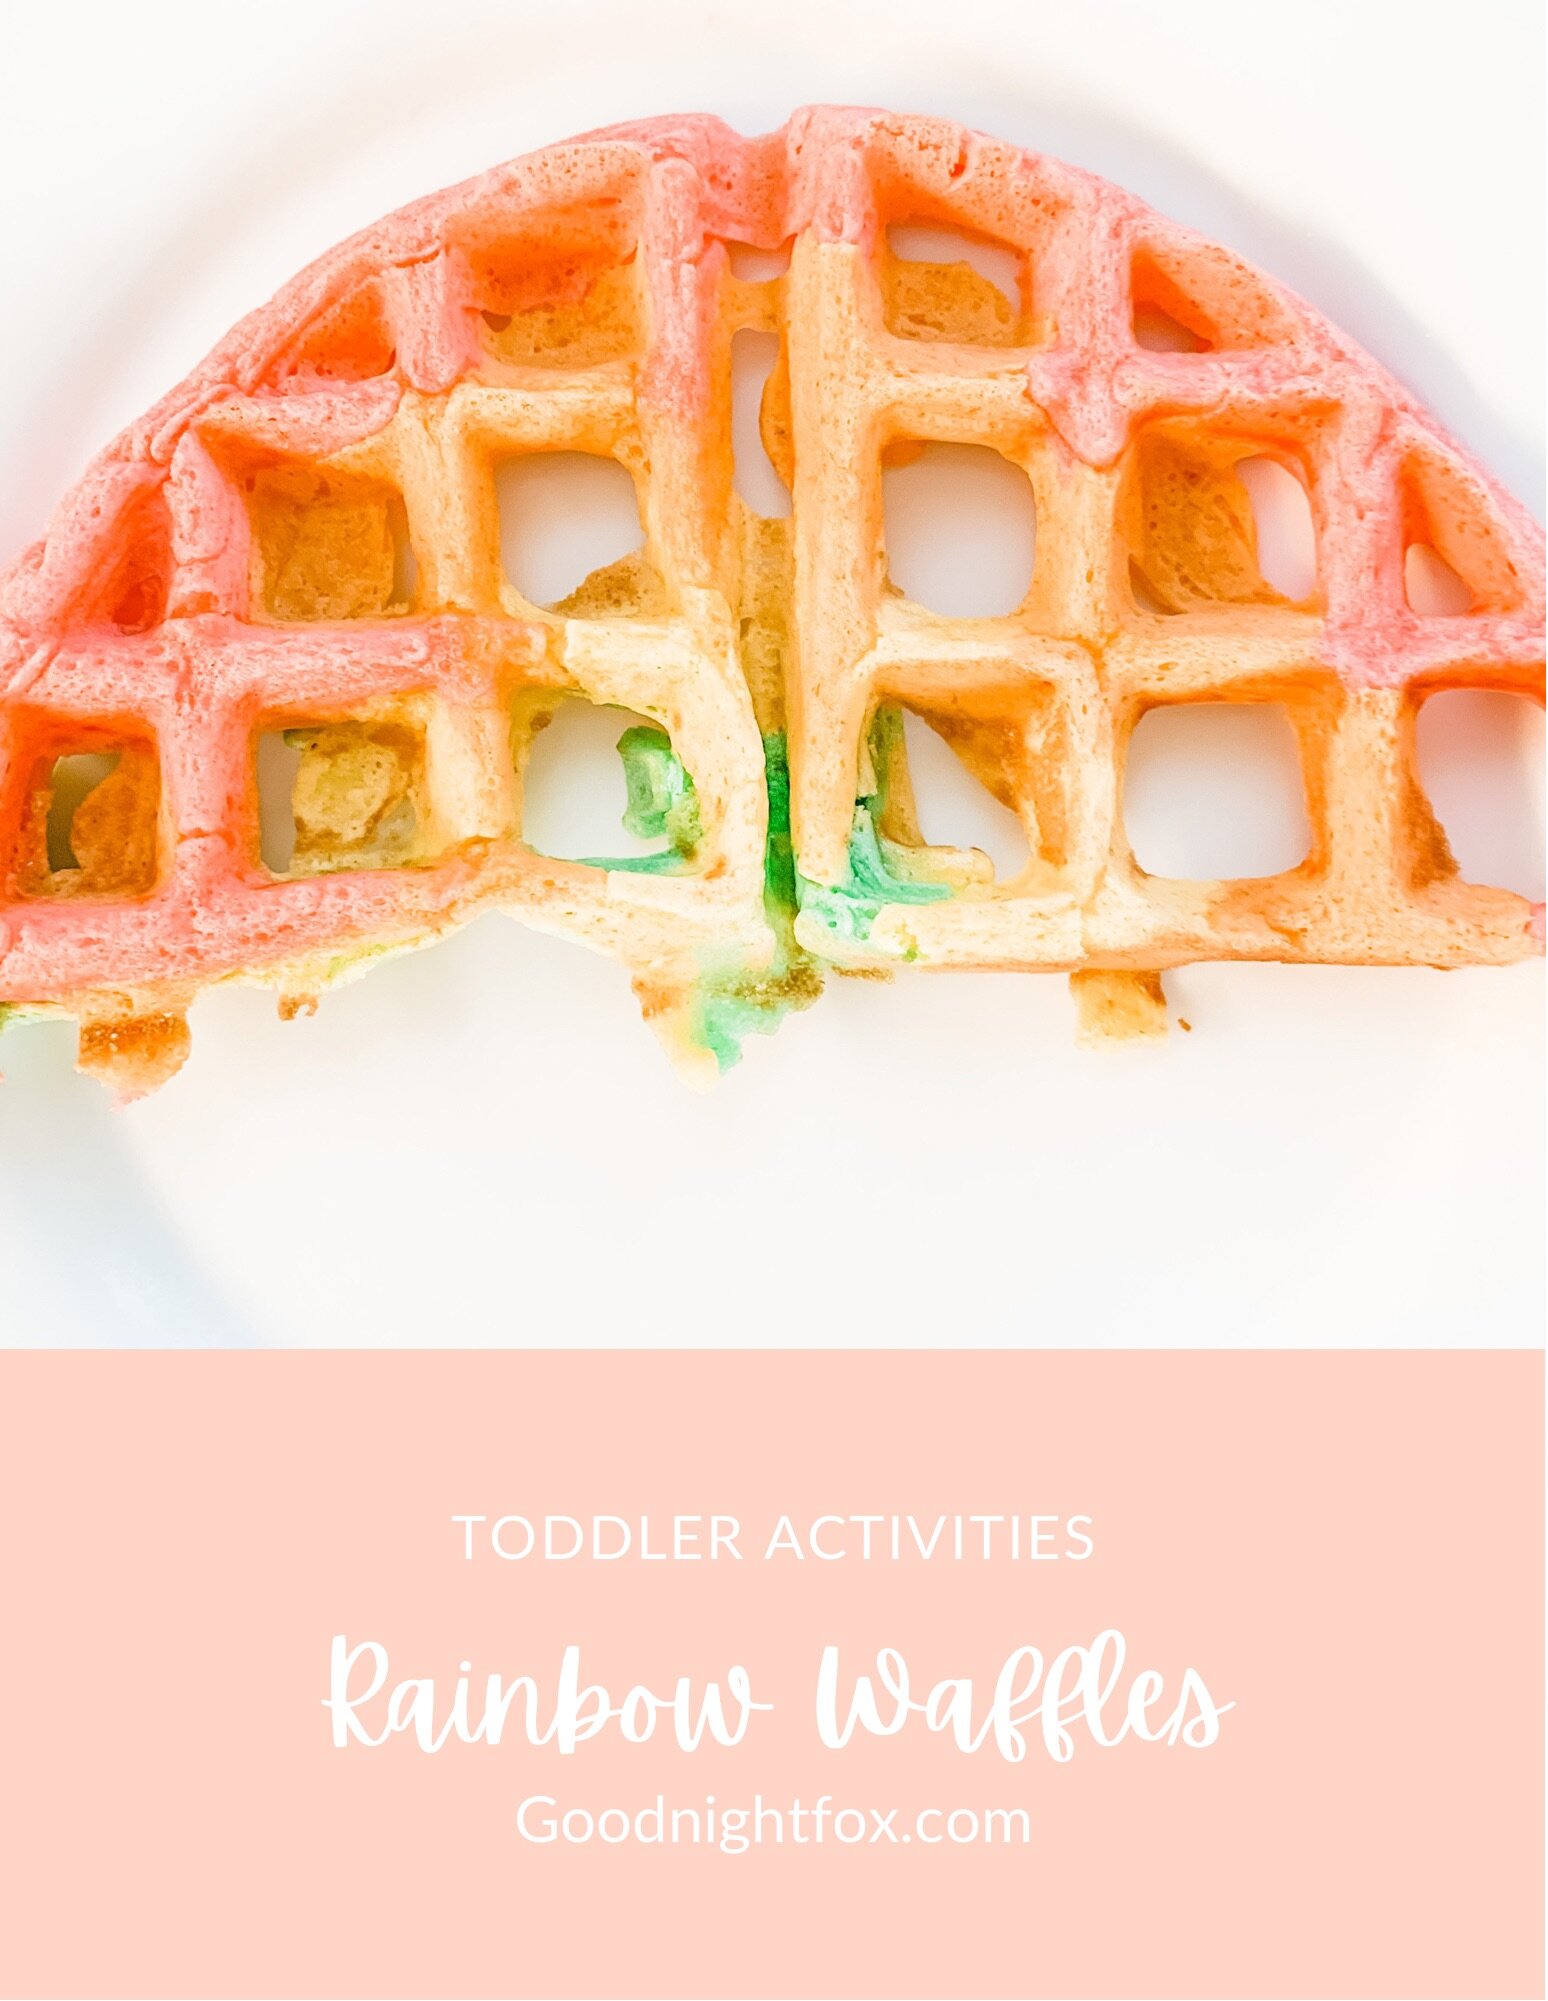
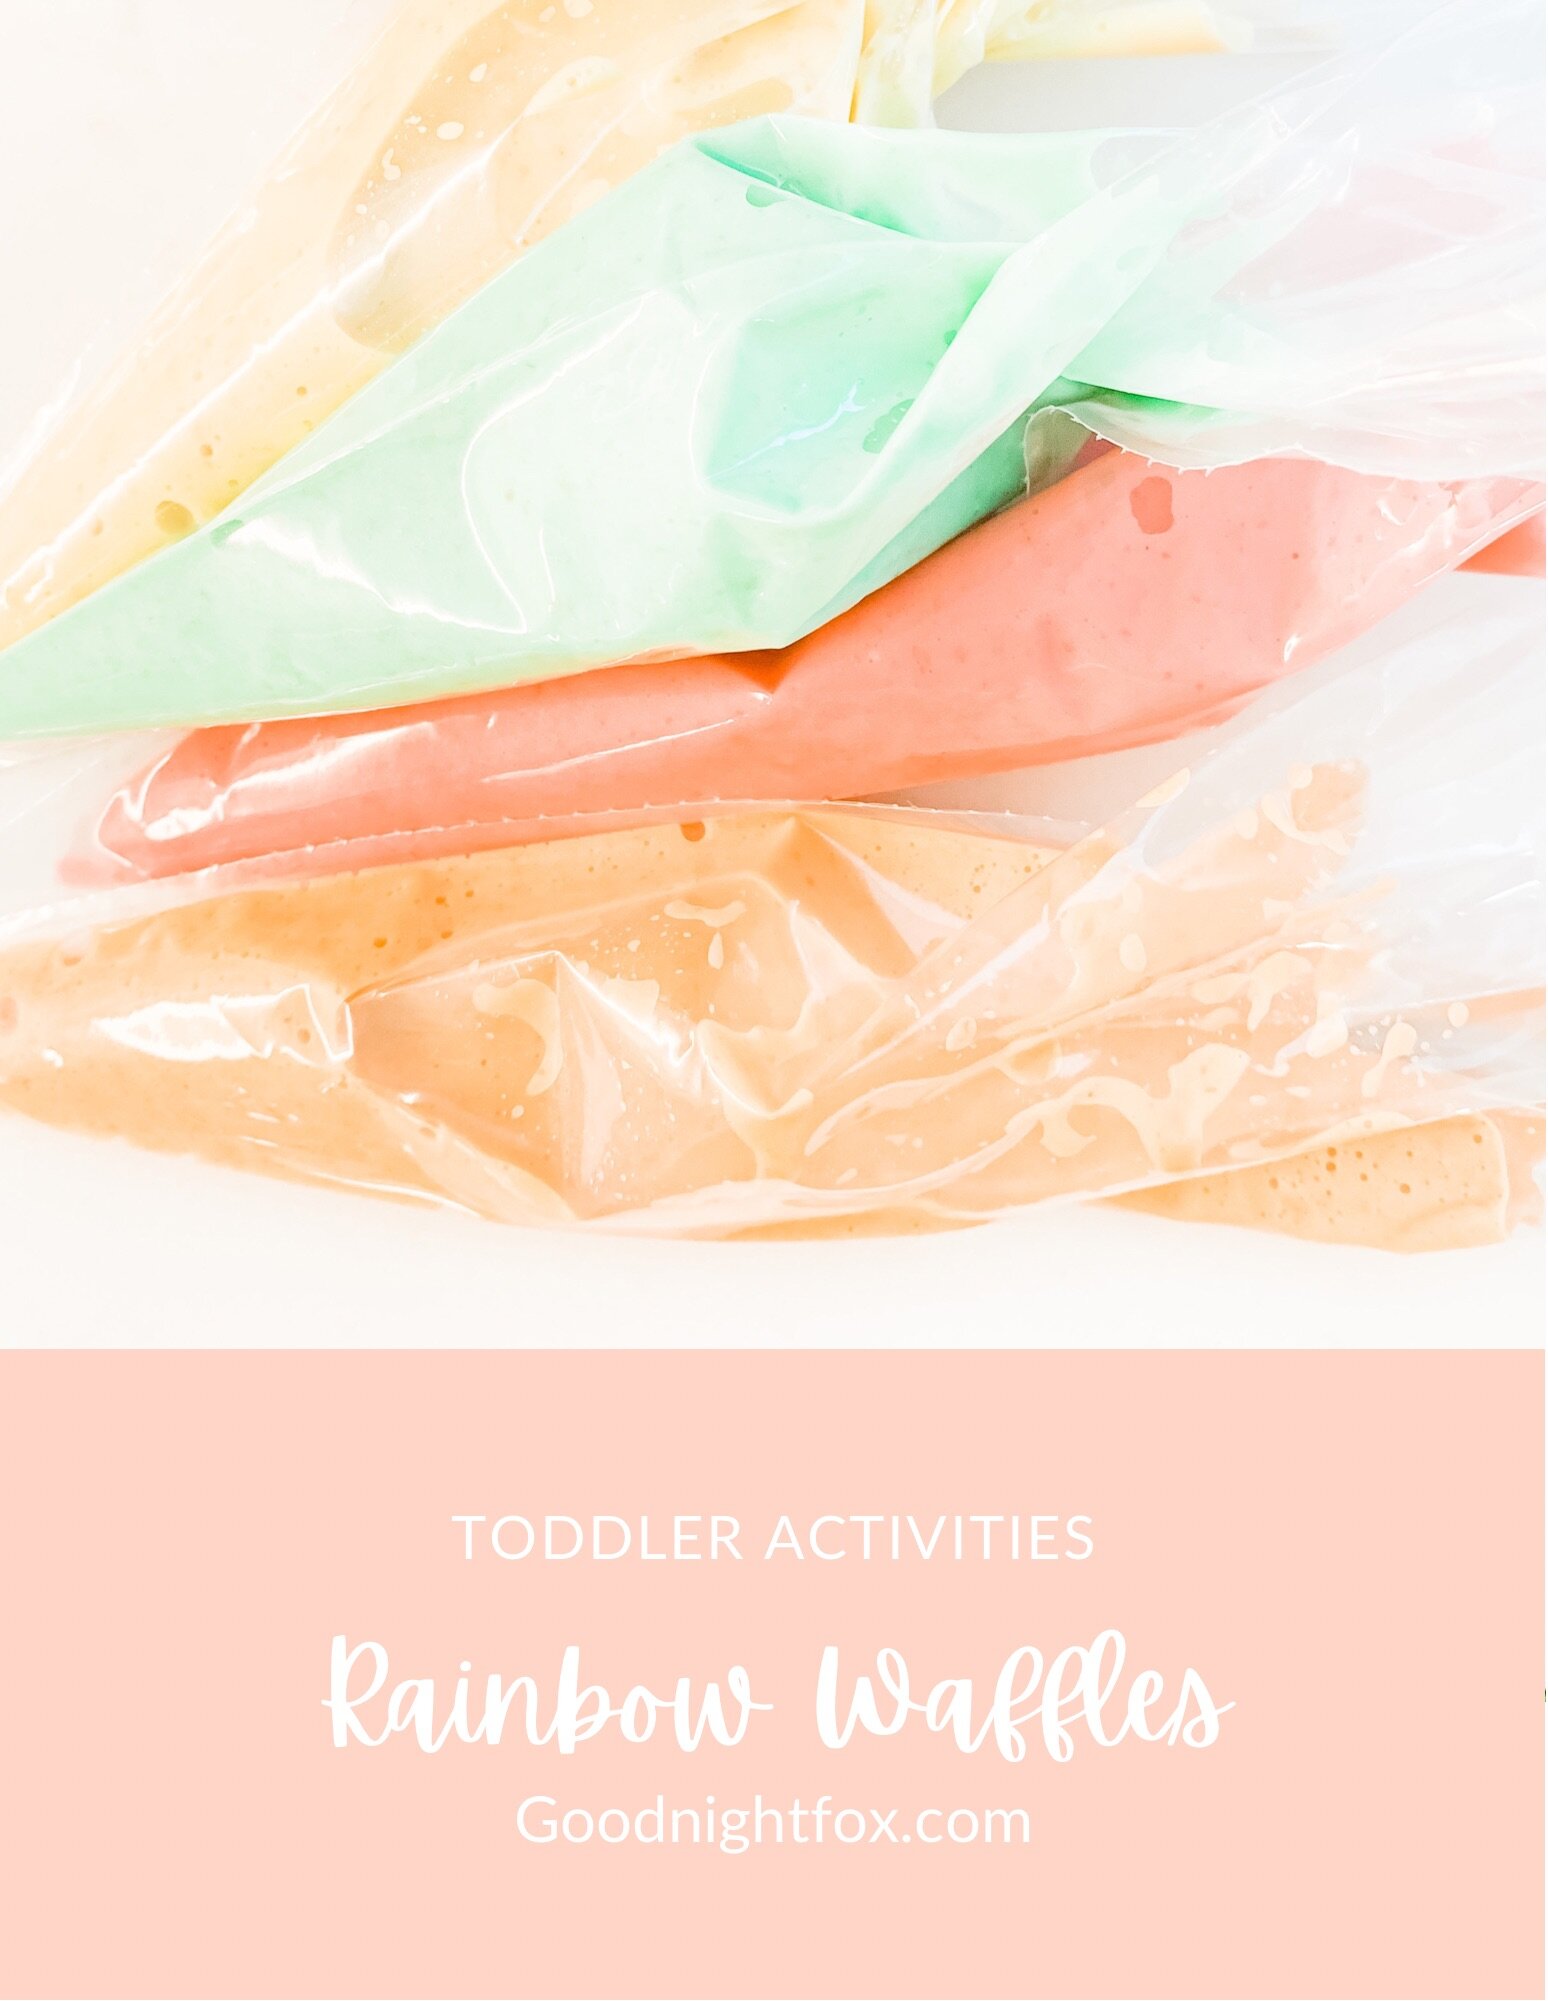
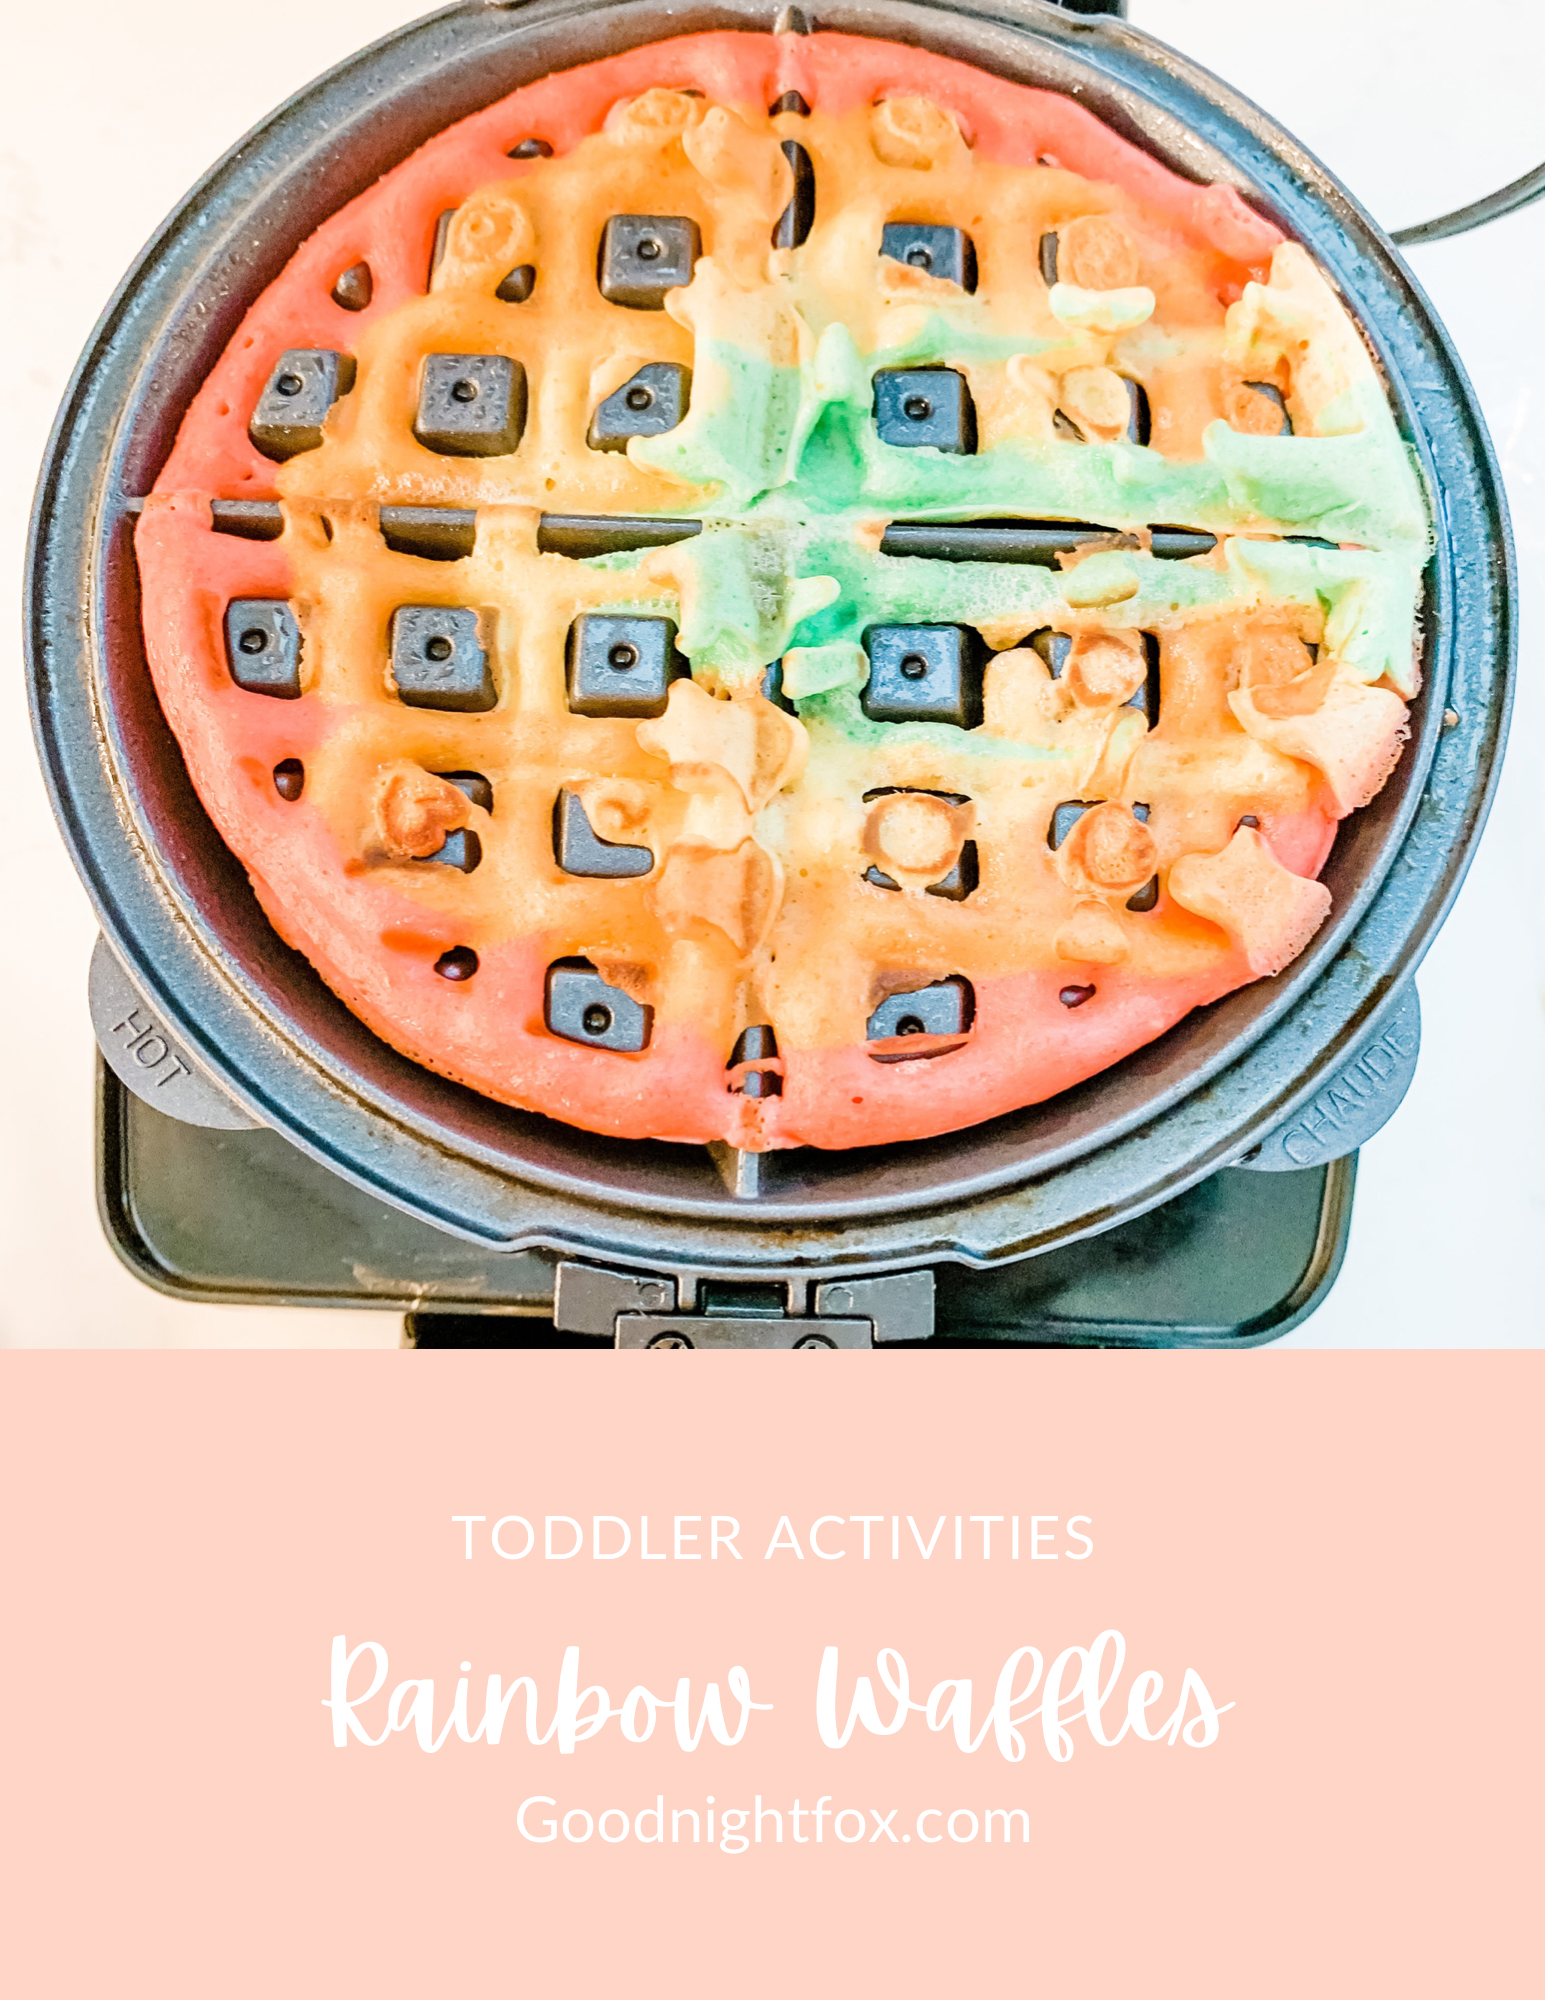
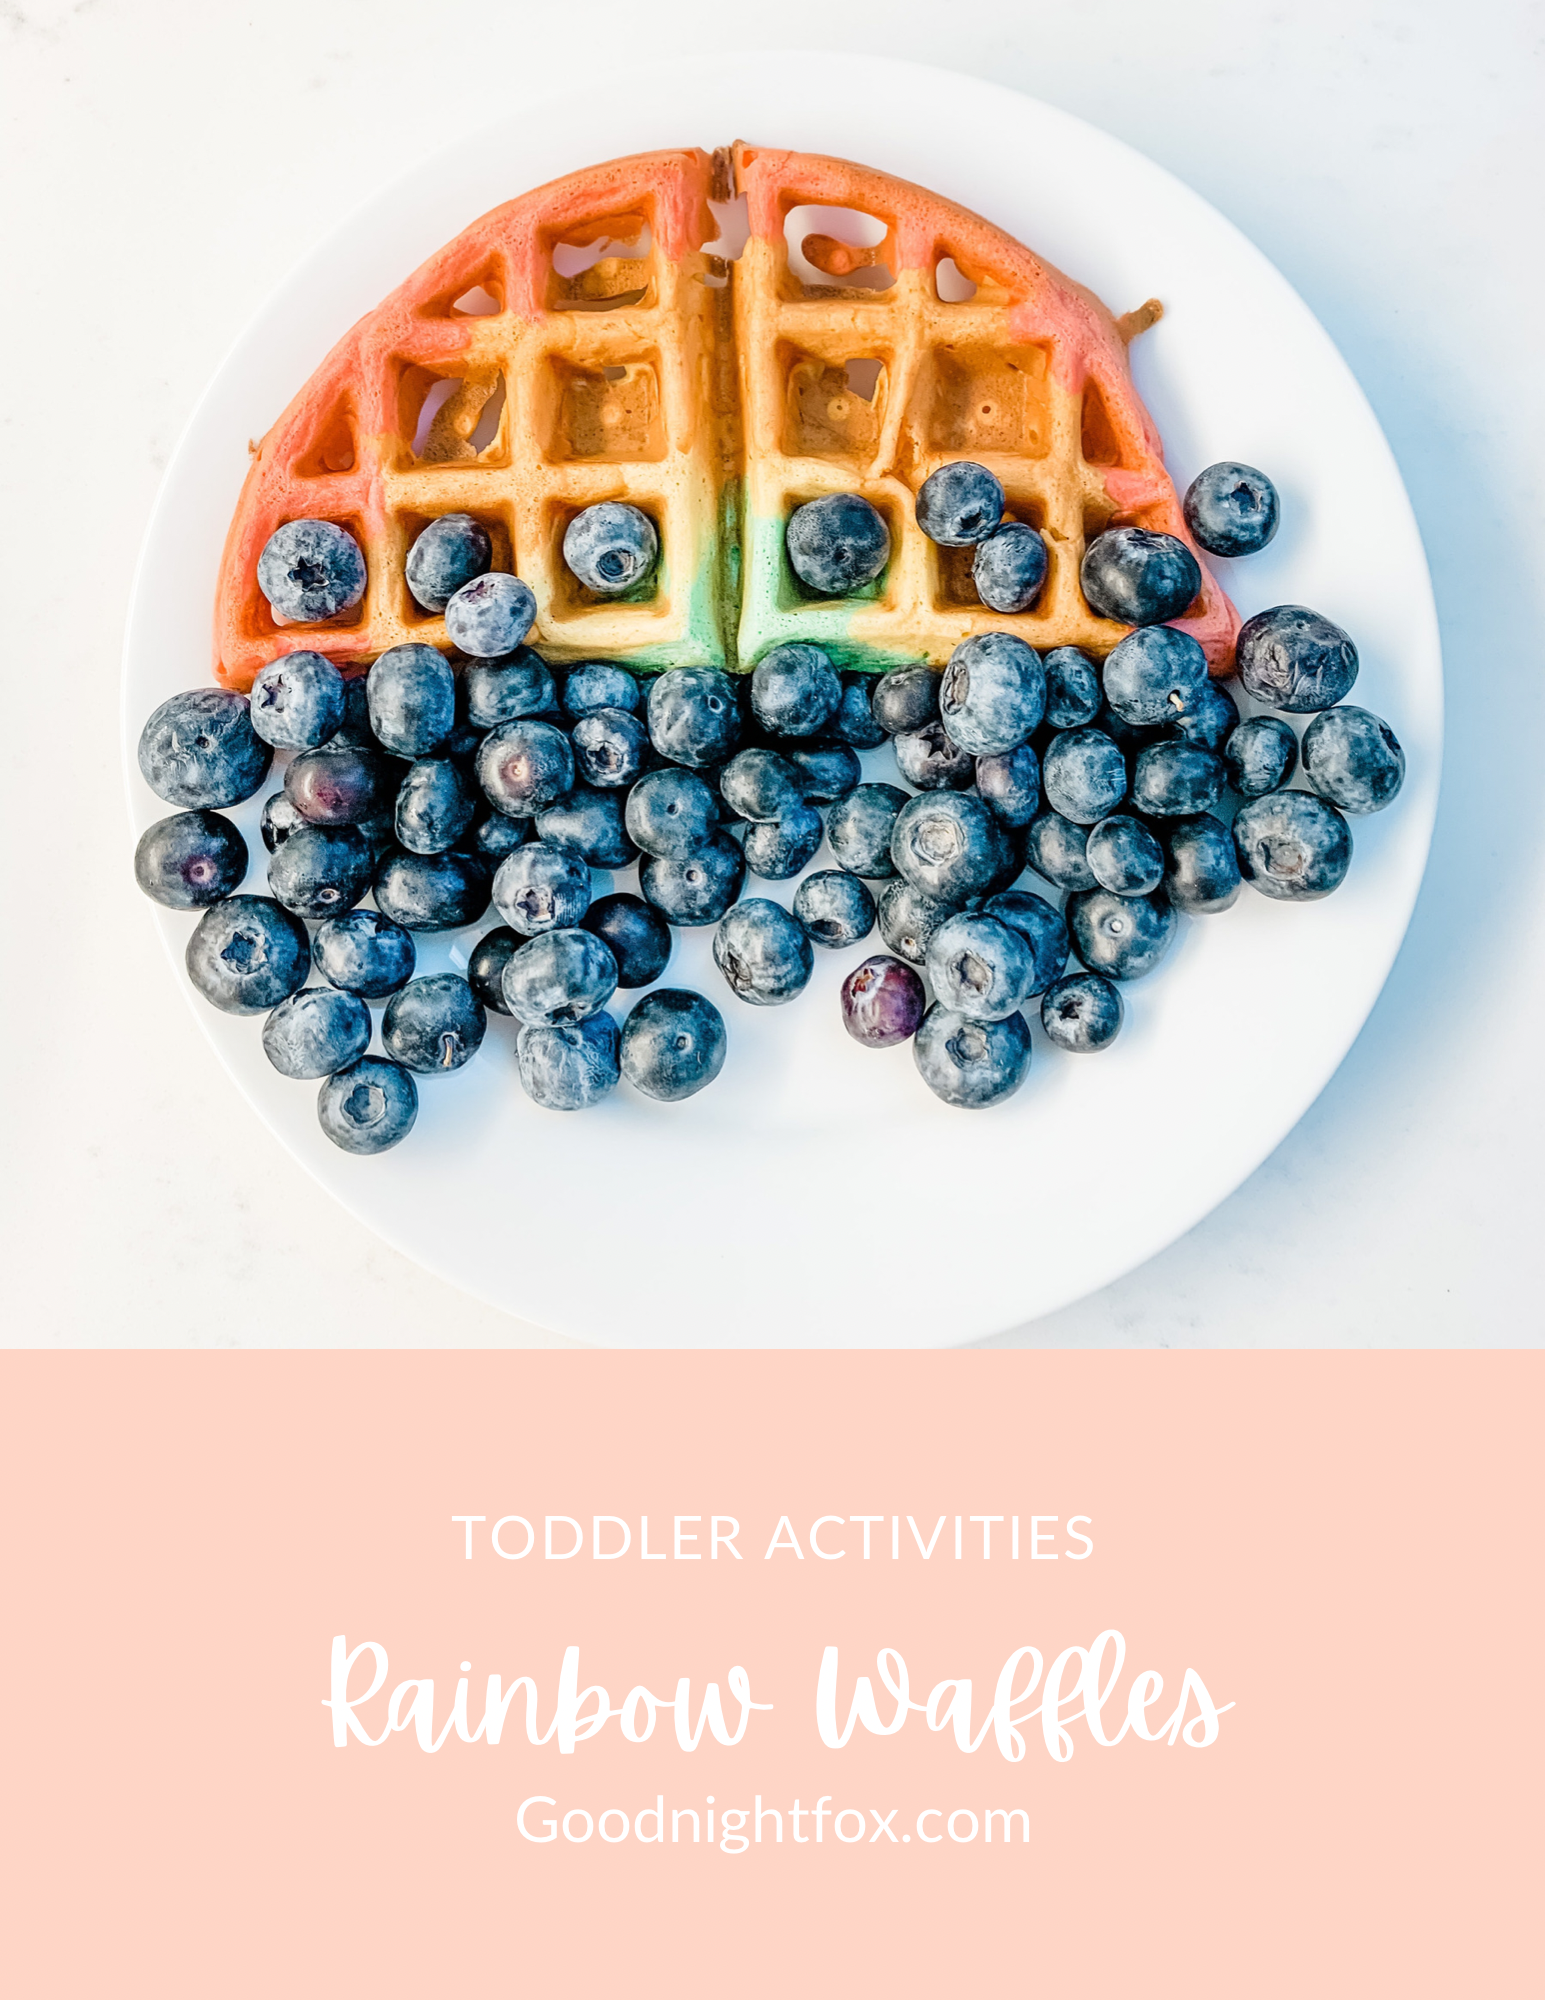
Now for the hard part — pour each color into a piping bag and cut the tips. You have to work pretty quickly. I started on the outside with the pink and then did a circle around. Then move onto the orange and so on until you get the perfect rainbow effect. You can tell I didn’t quite fill it up enough which is why my waffle had holes. So hopefully you use enough to fill it and work fast enough not to let the colors bleed together. Then just use your waffle iron as directed and when you’re done pop it out. Mine pretty much fell apart in half, but if not, break or cut it down the middle and sprinkle some blueberries for clouds.
And there you have it, the perfect toddler breakfast — rainbow waffles. Sofie loved these and the blueberries added sweetness with out needing to get her hands sticky with syrup. I’m all about the ease of clean up over here. ;)
Looking for an awesome rainbow activity?
Check out these adorable rainbow colored flashcards from Goodnightfoxstudio.etsy.com
Rainbow Pancakes
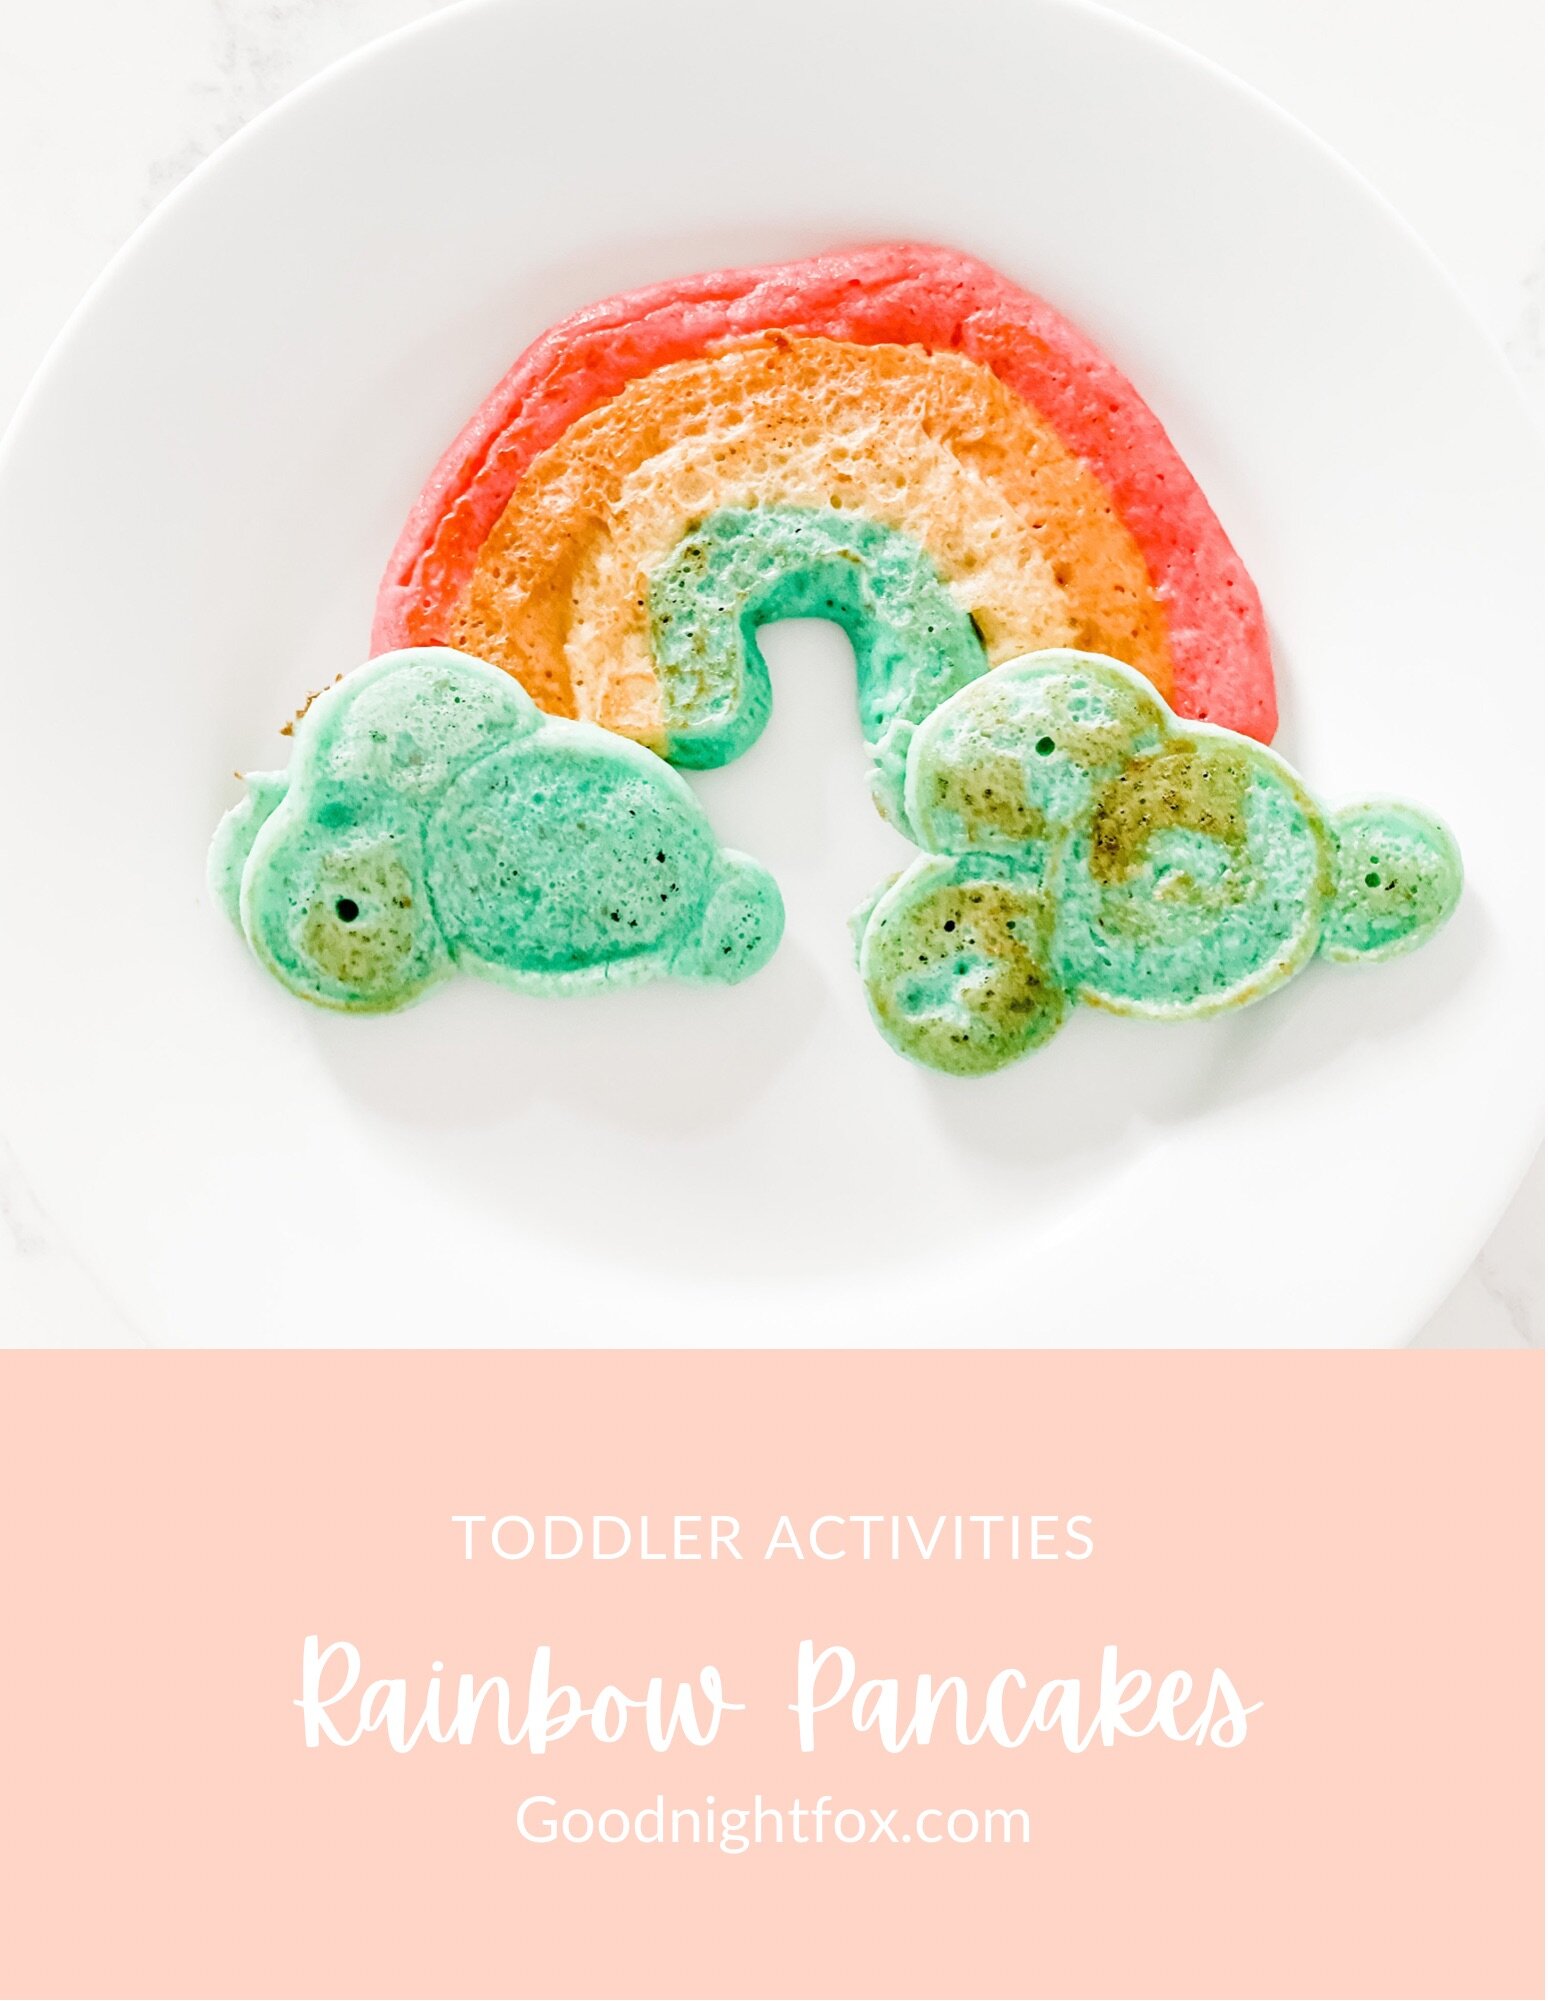
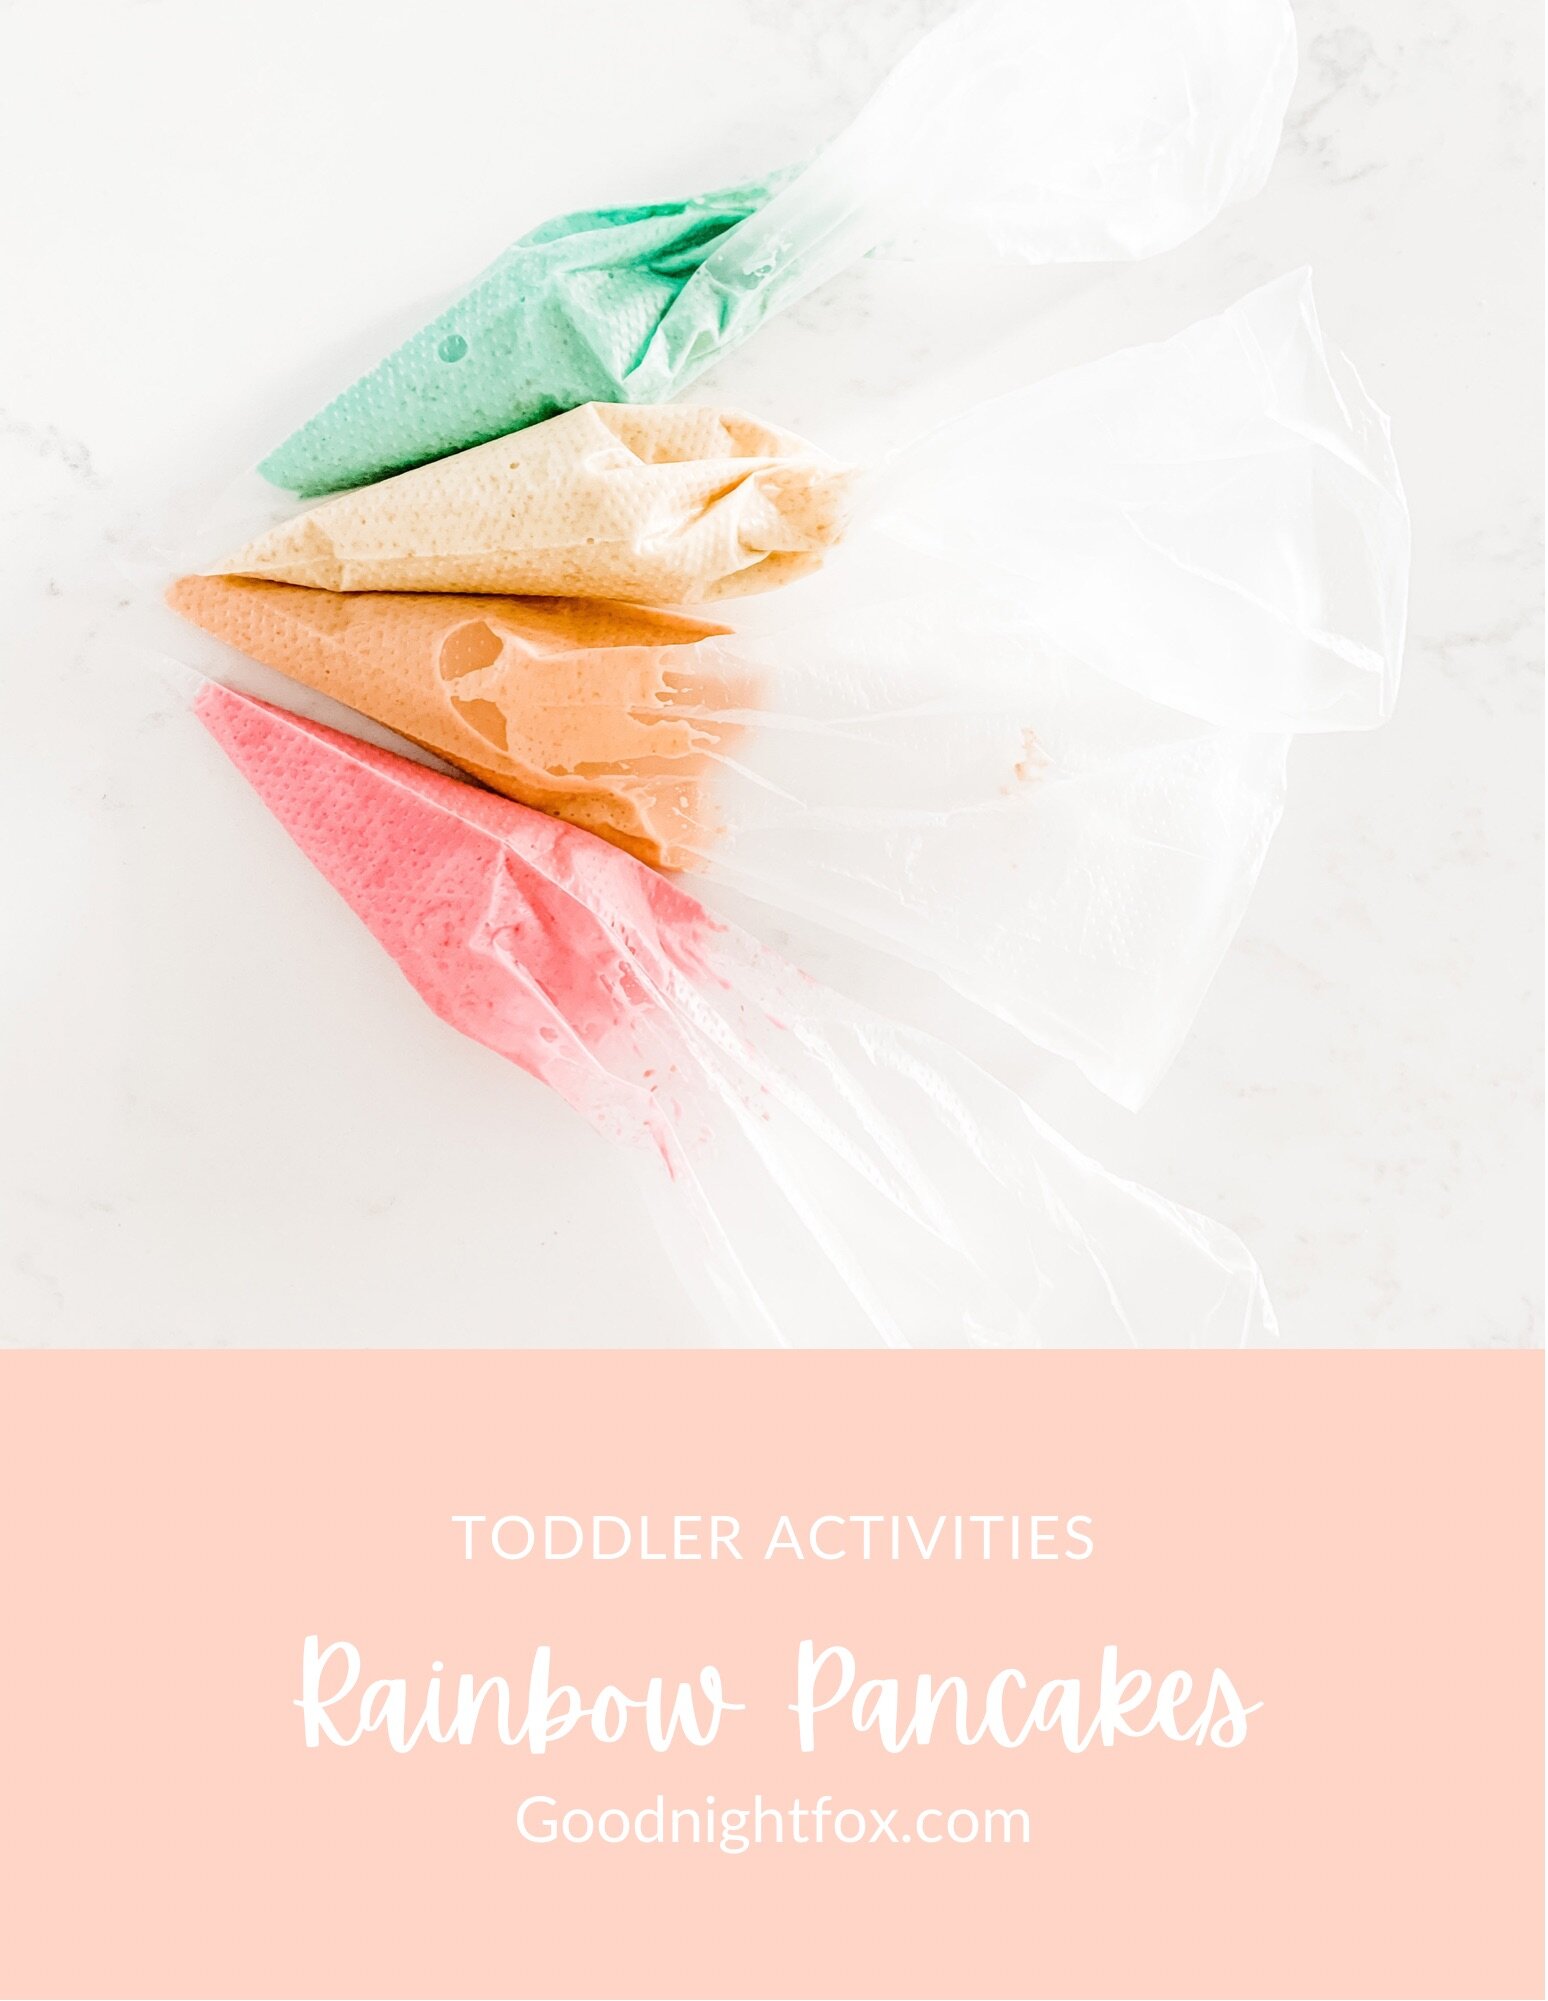
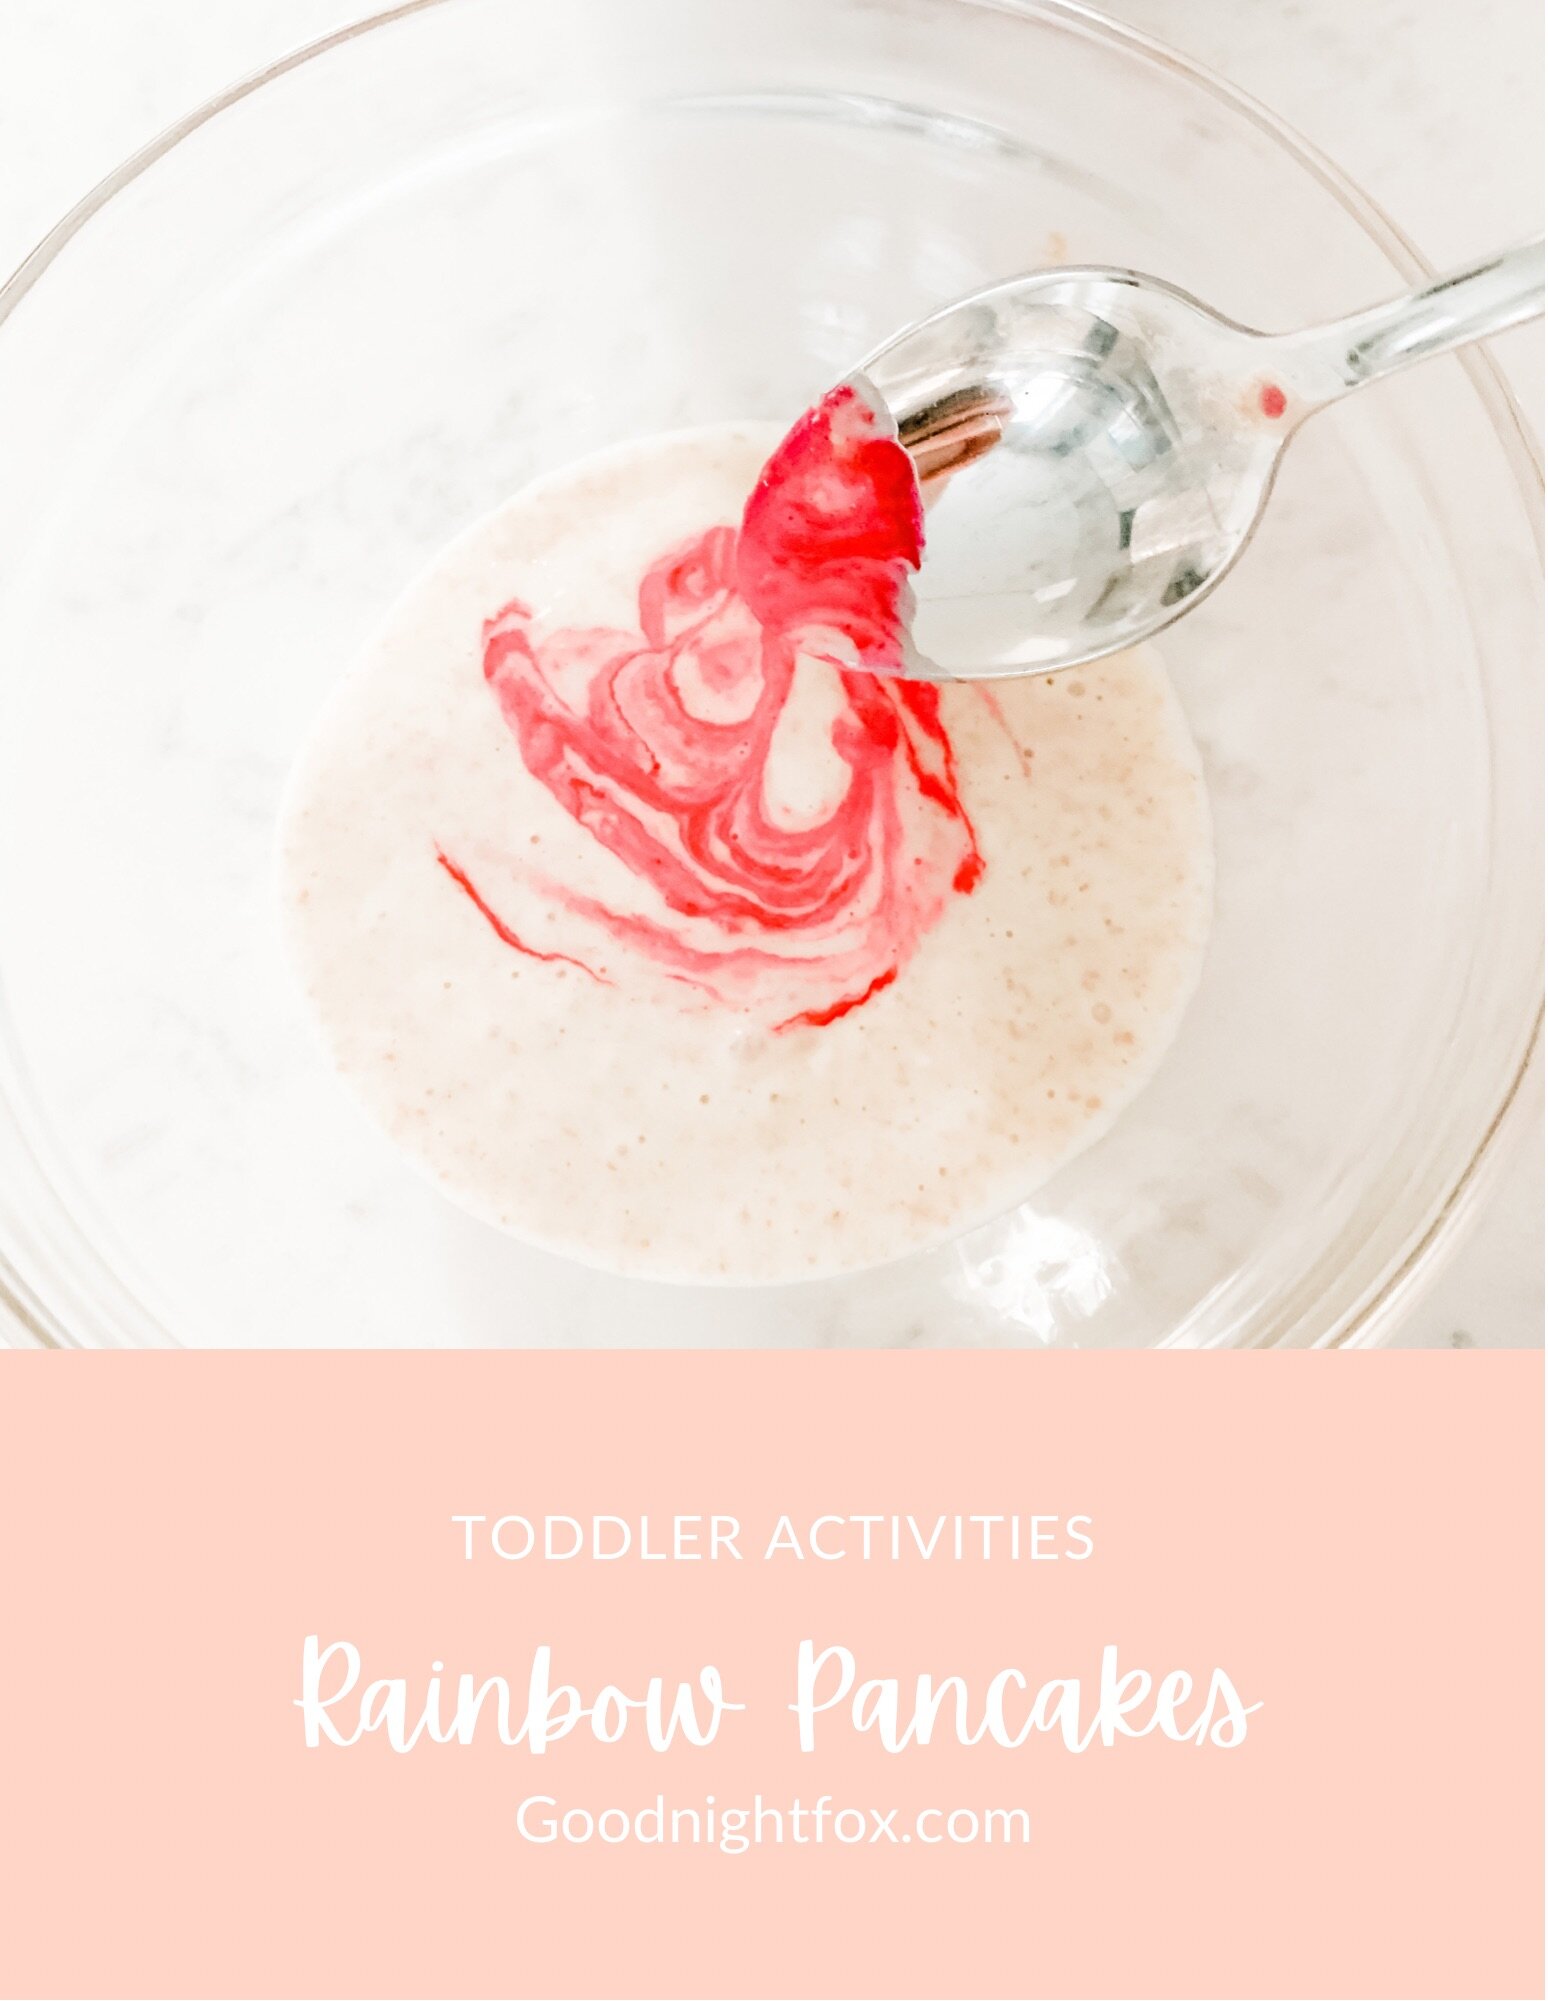
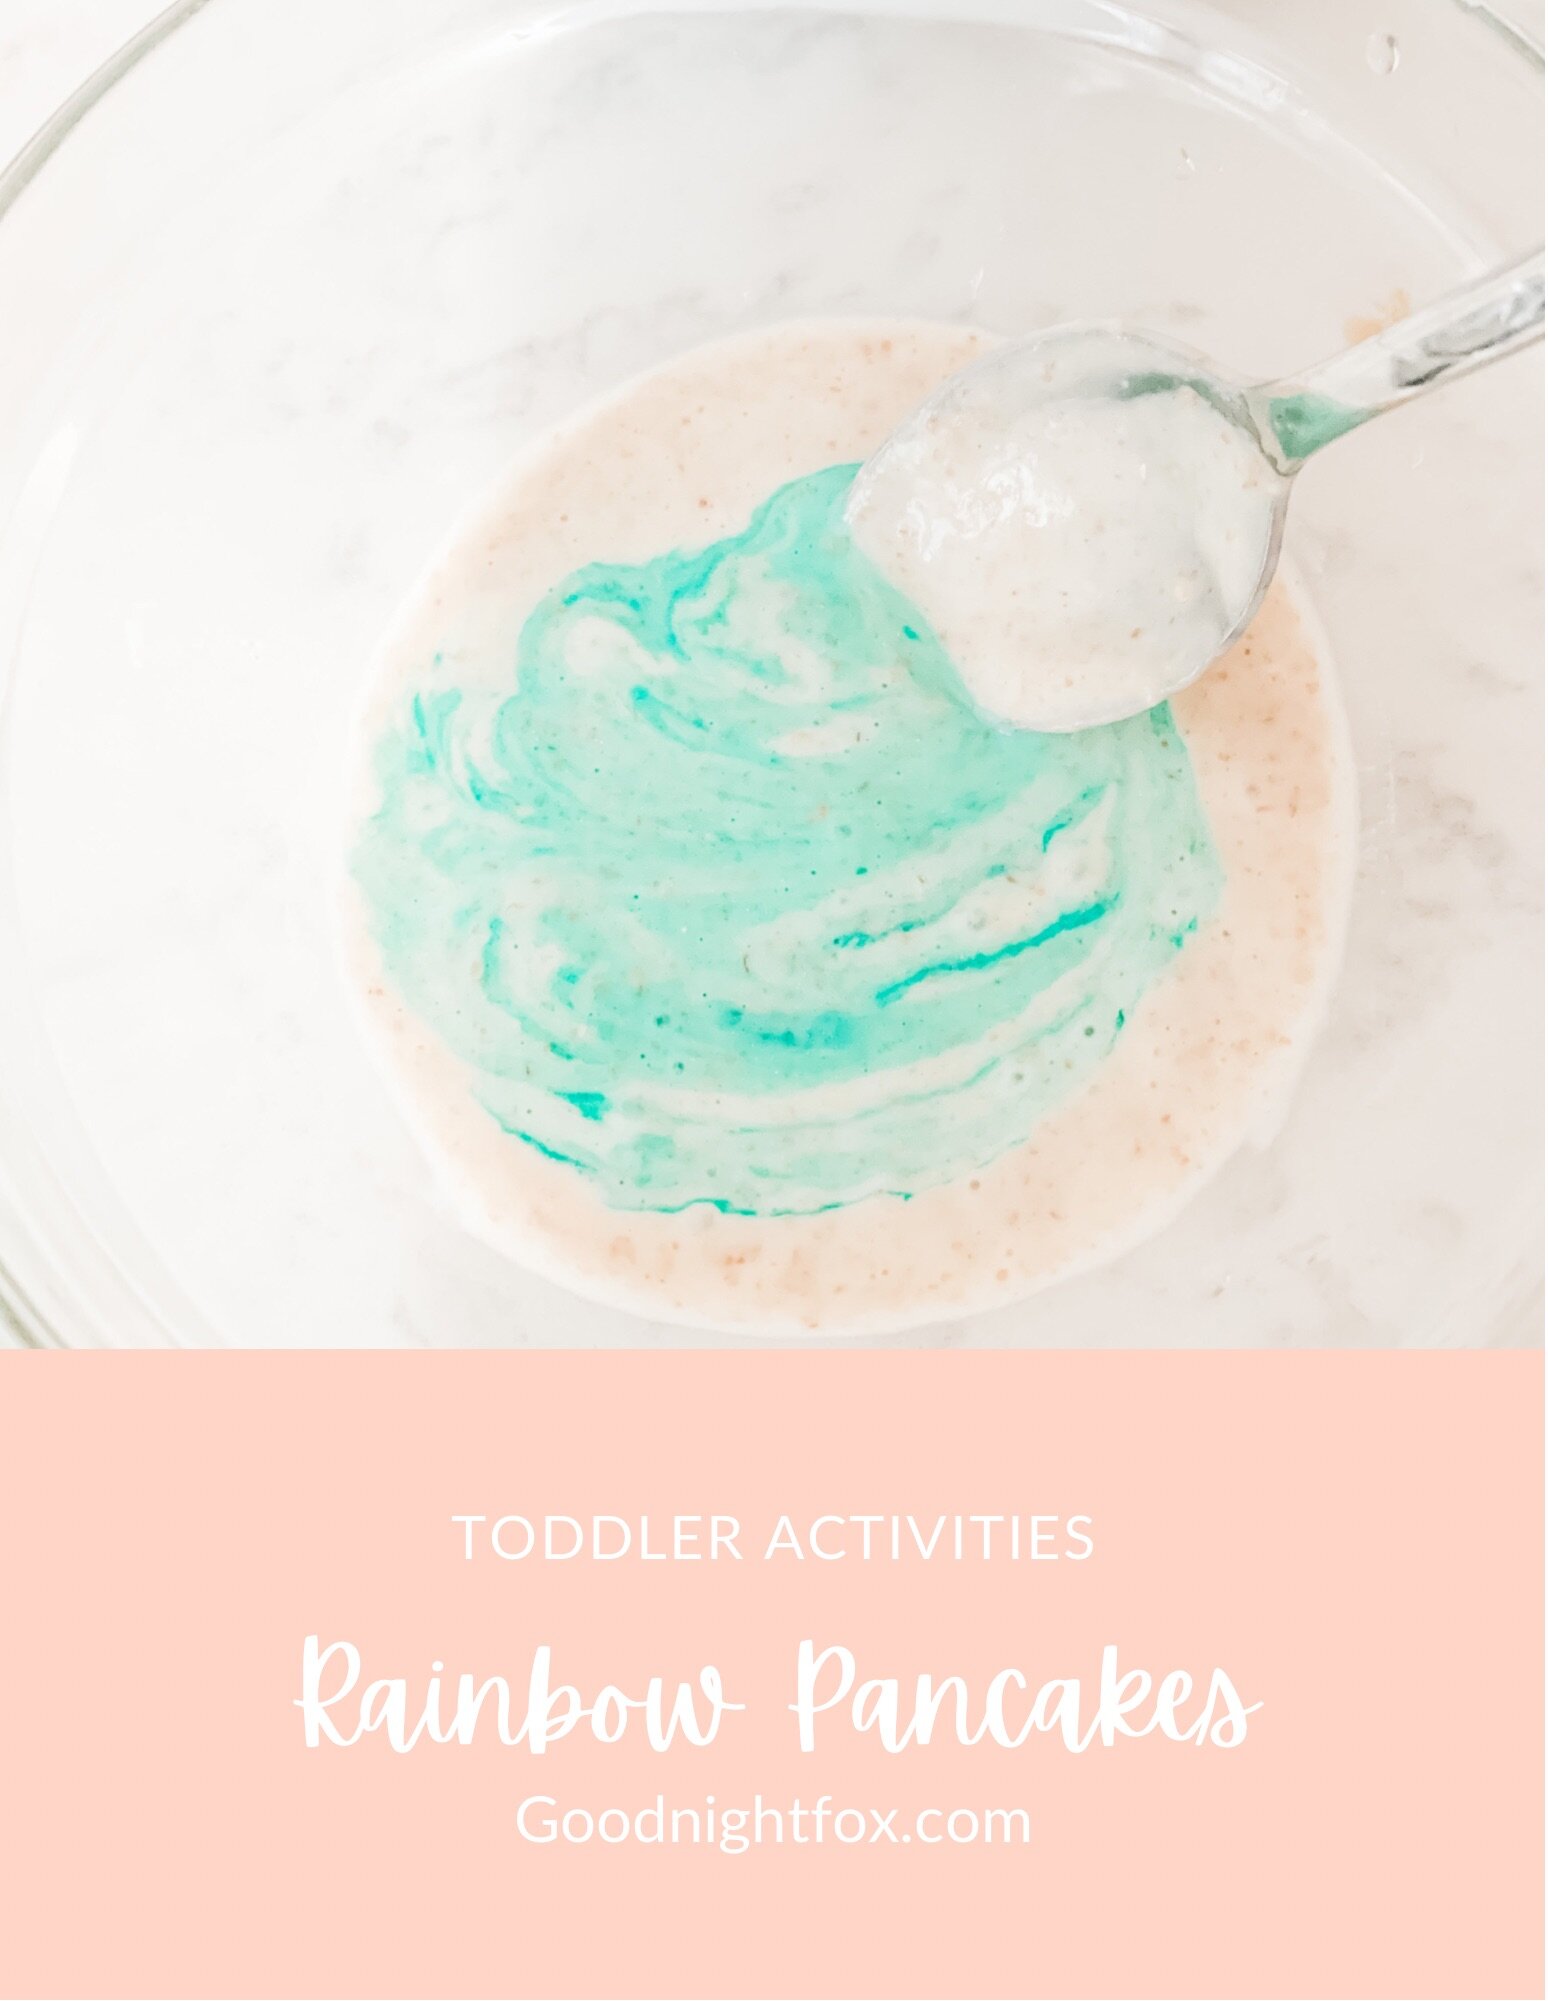
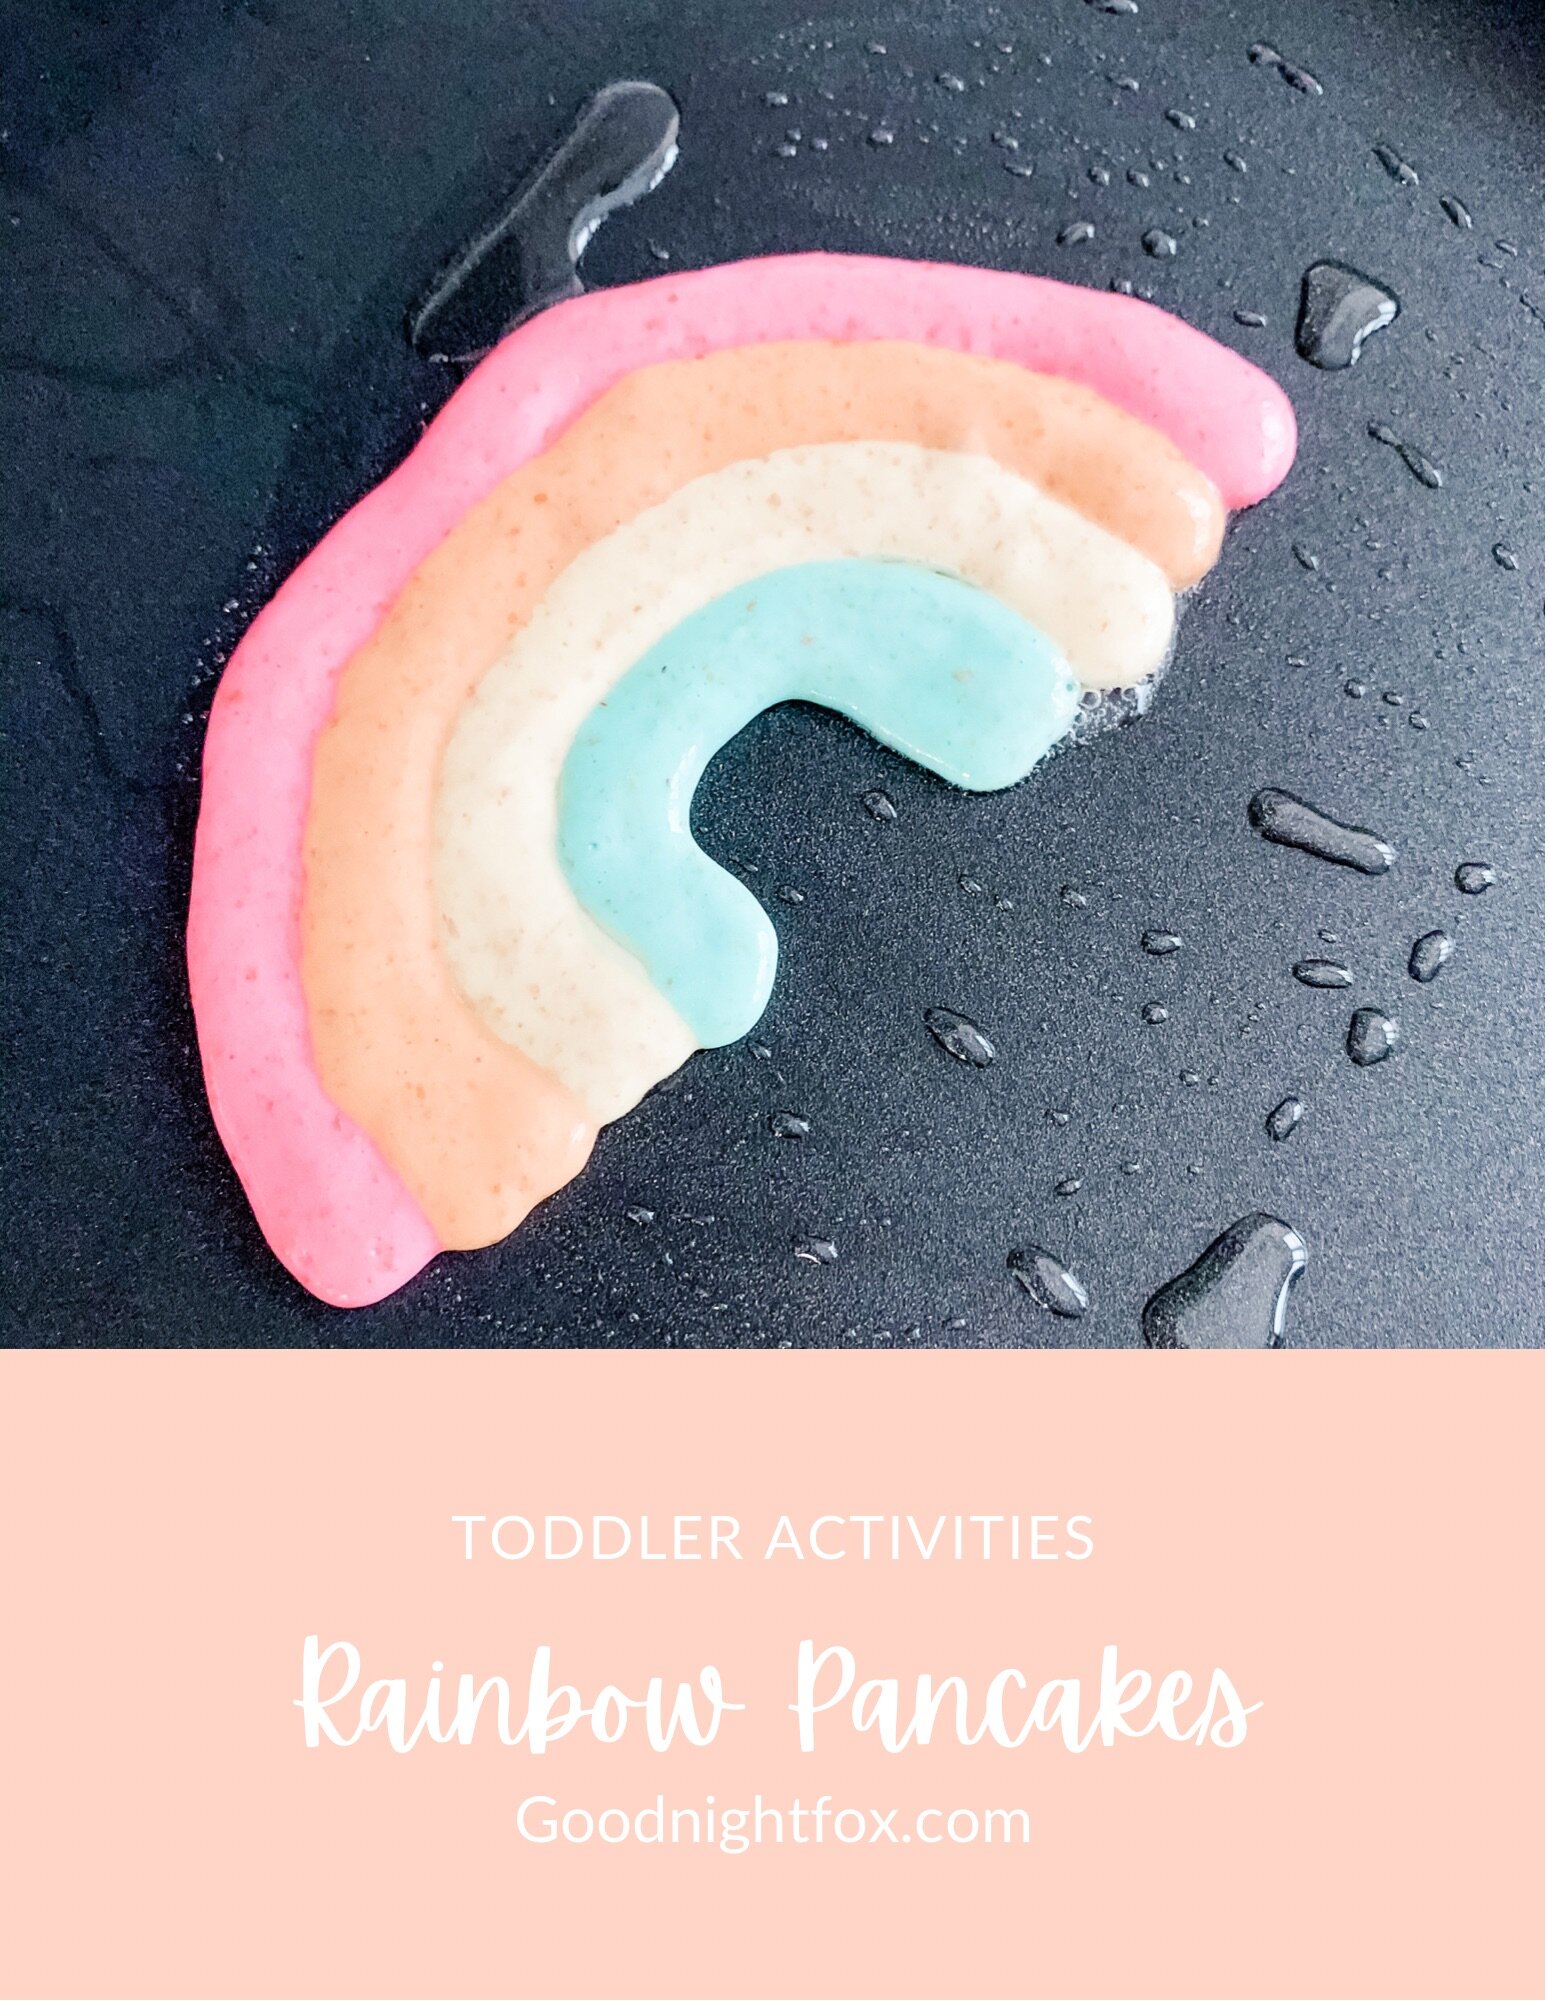
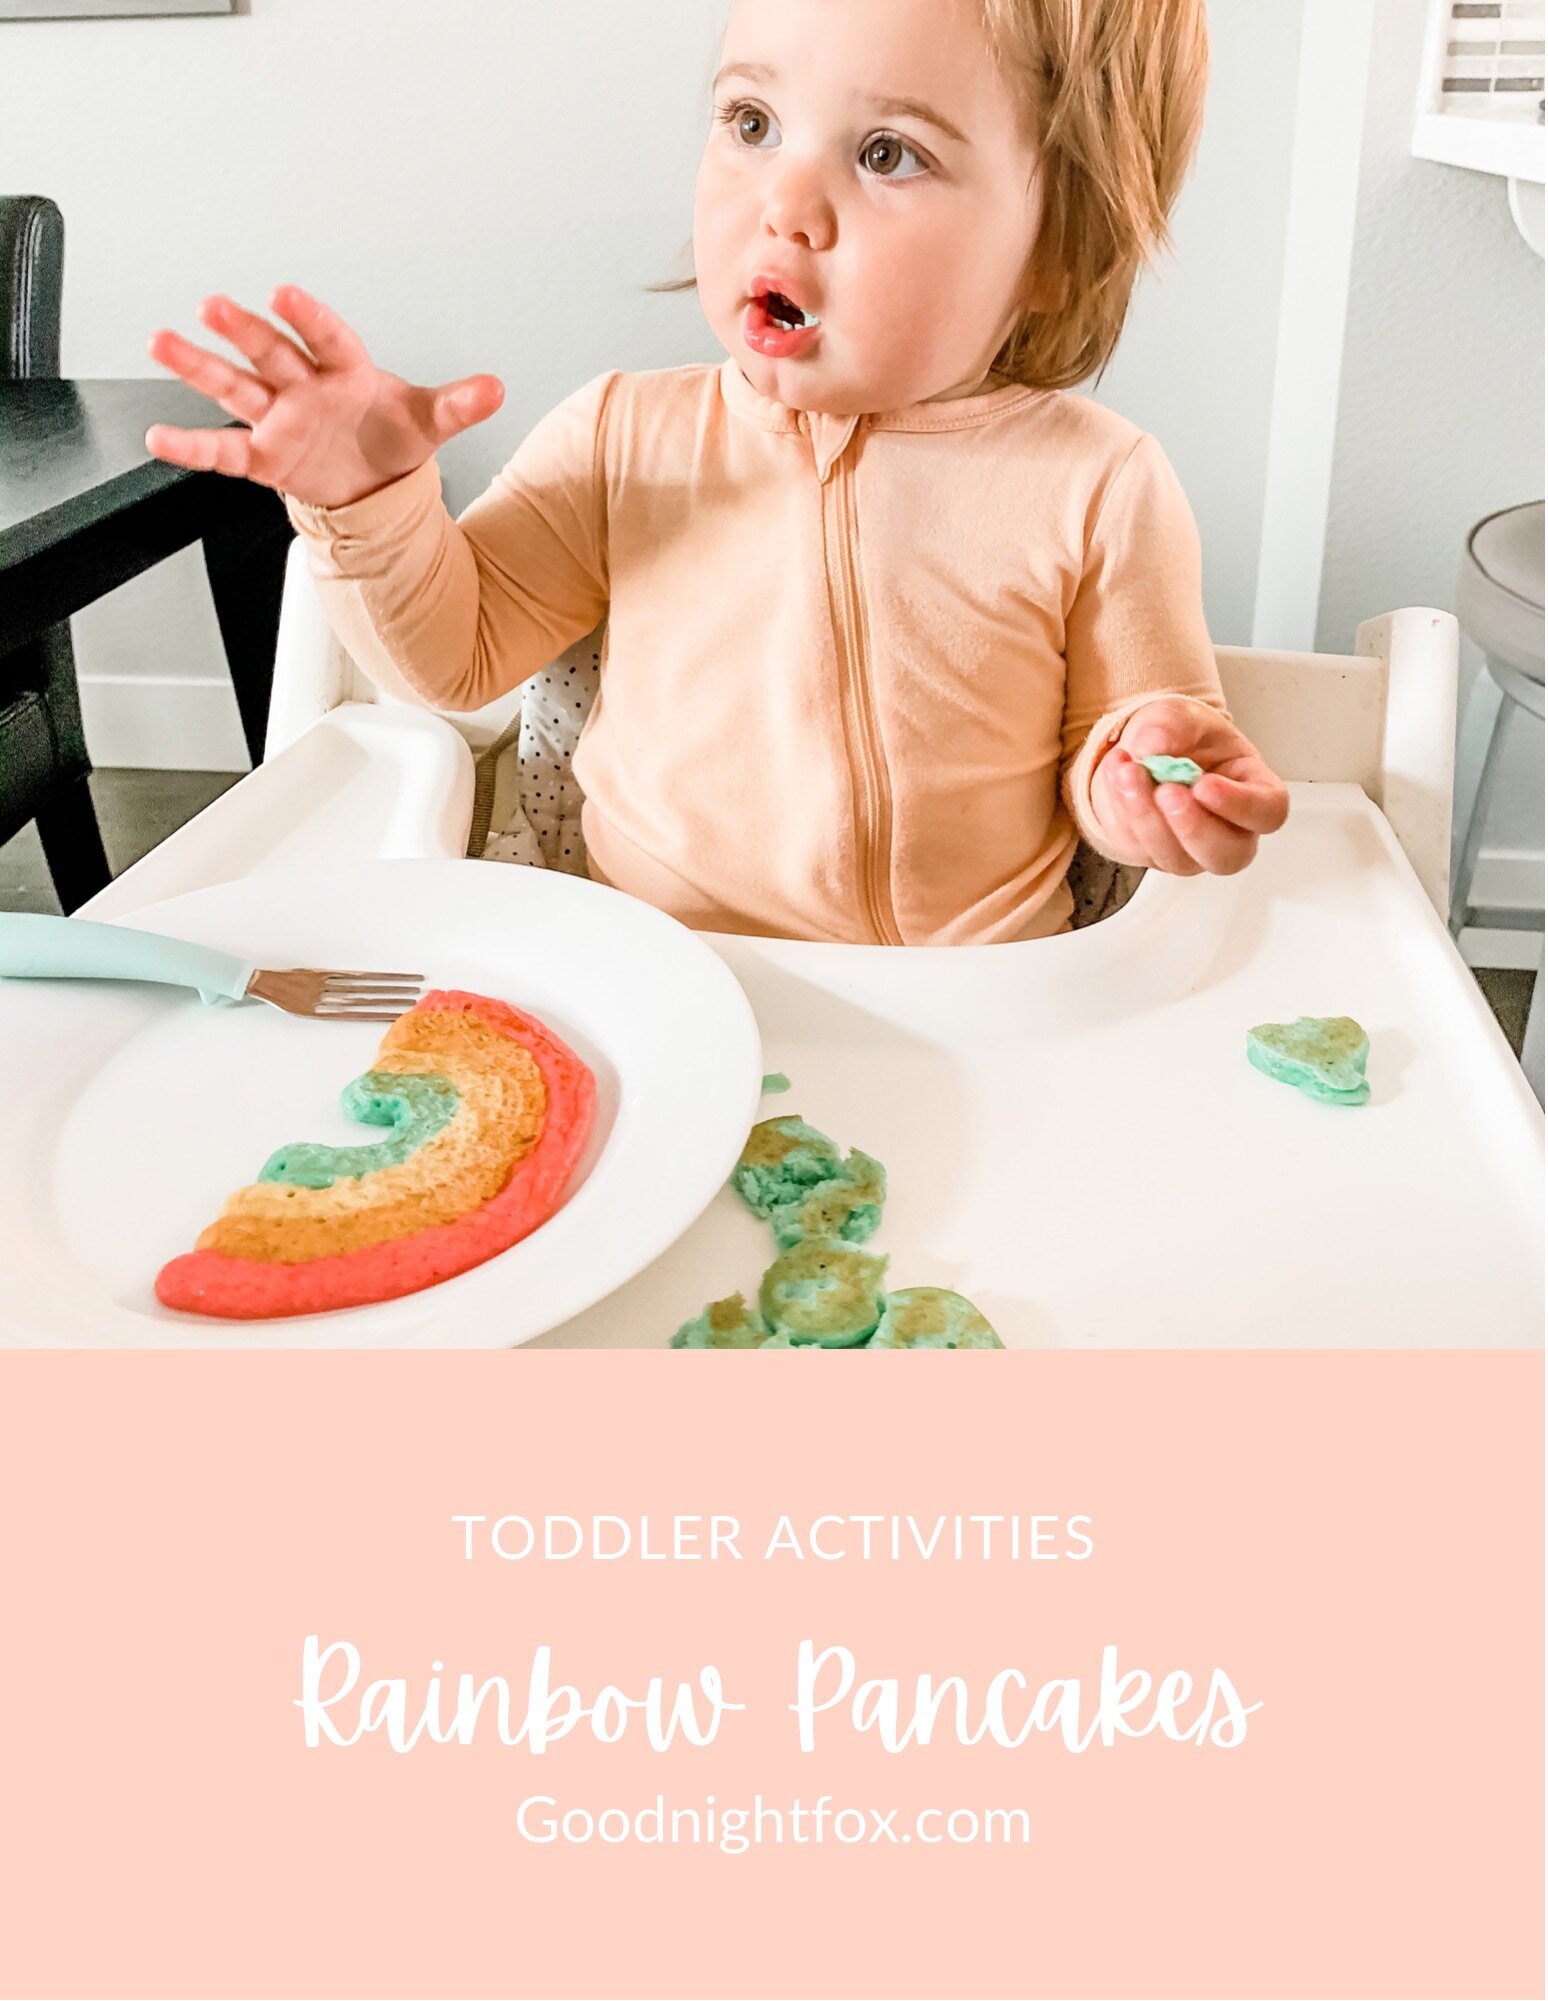
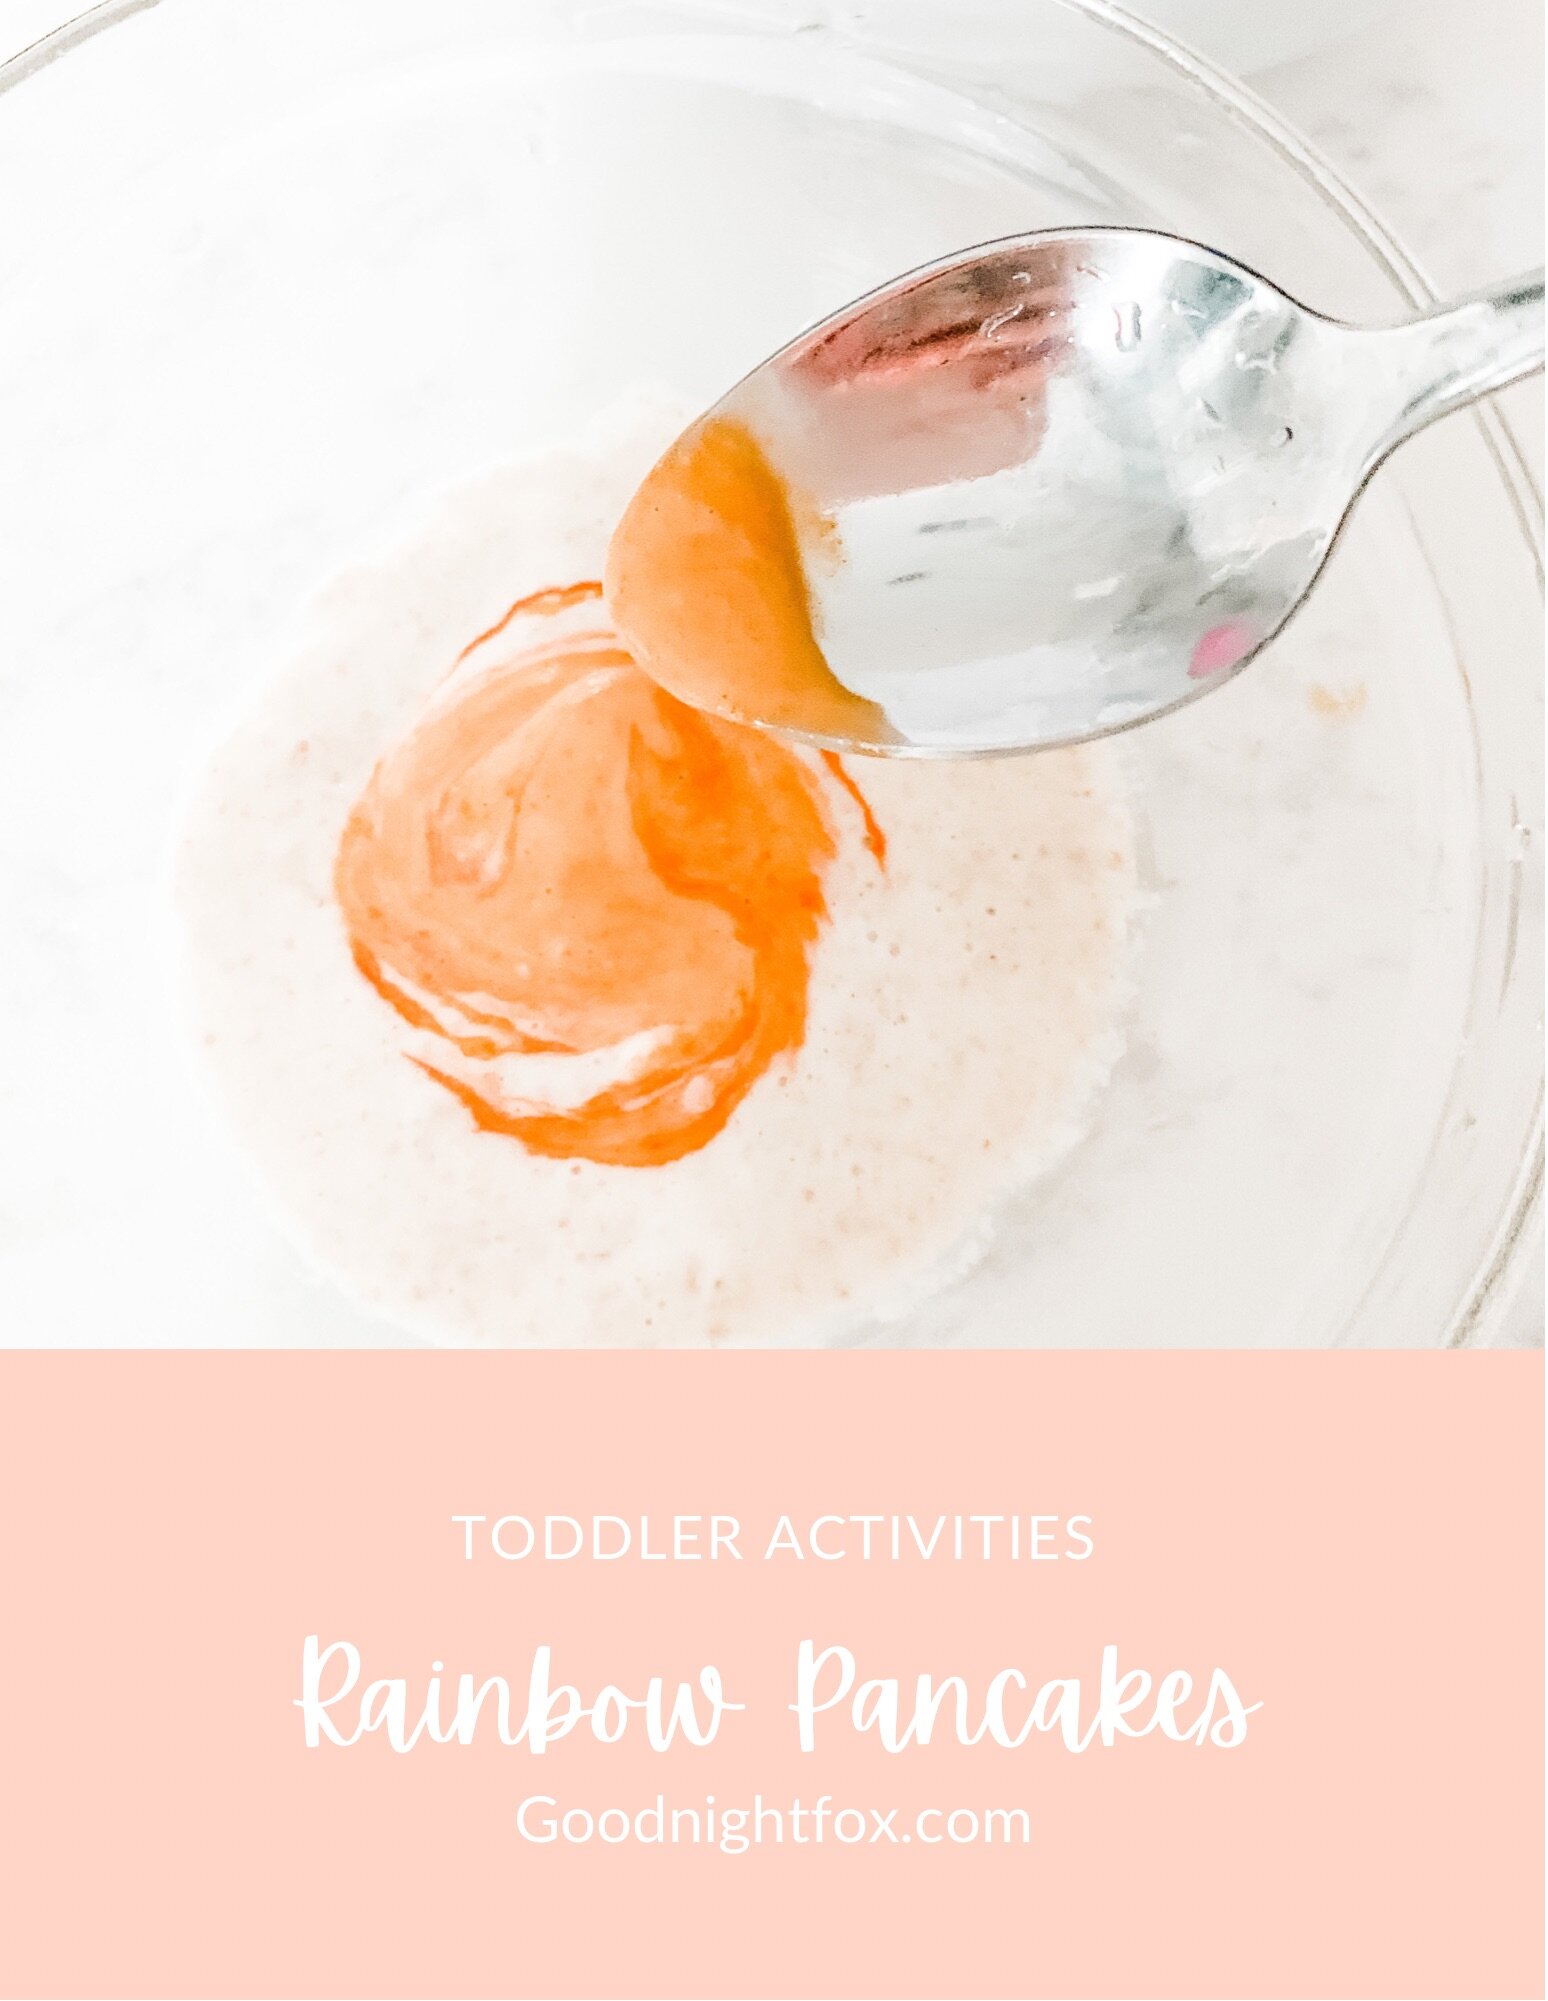
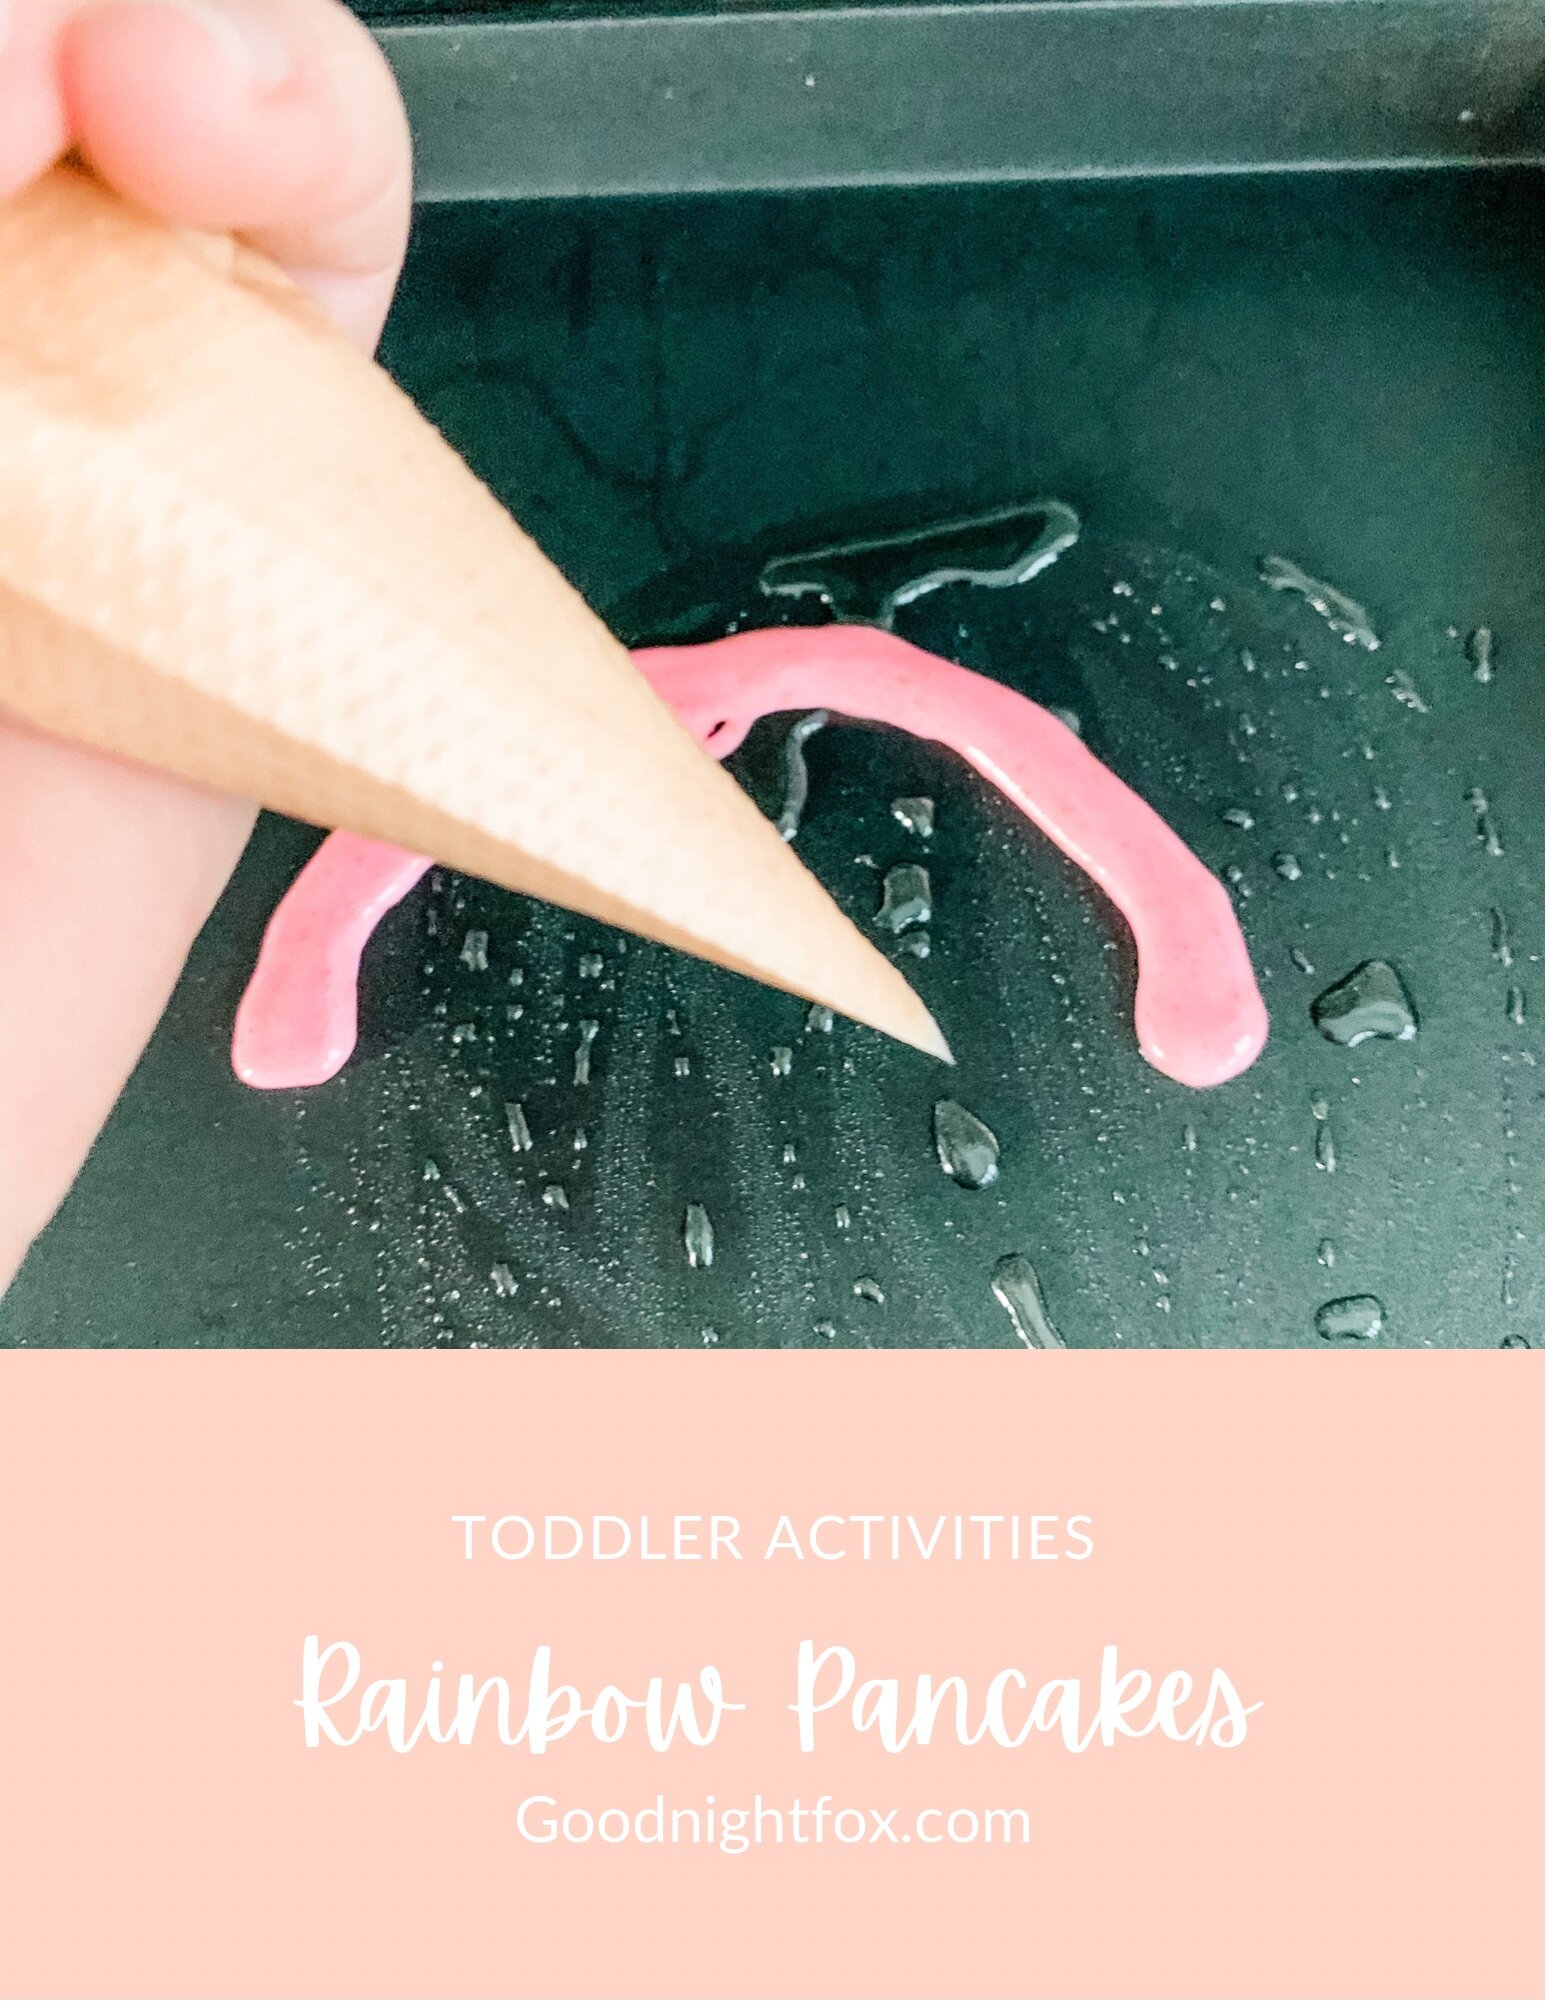
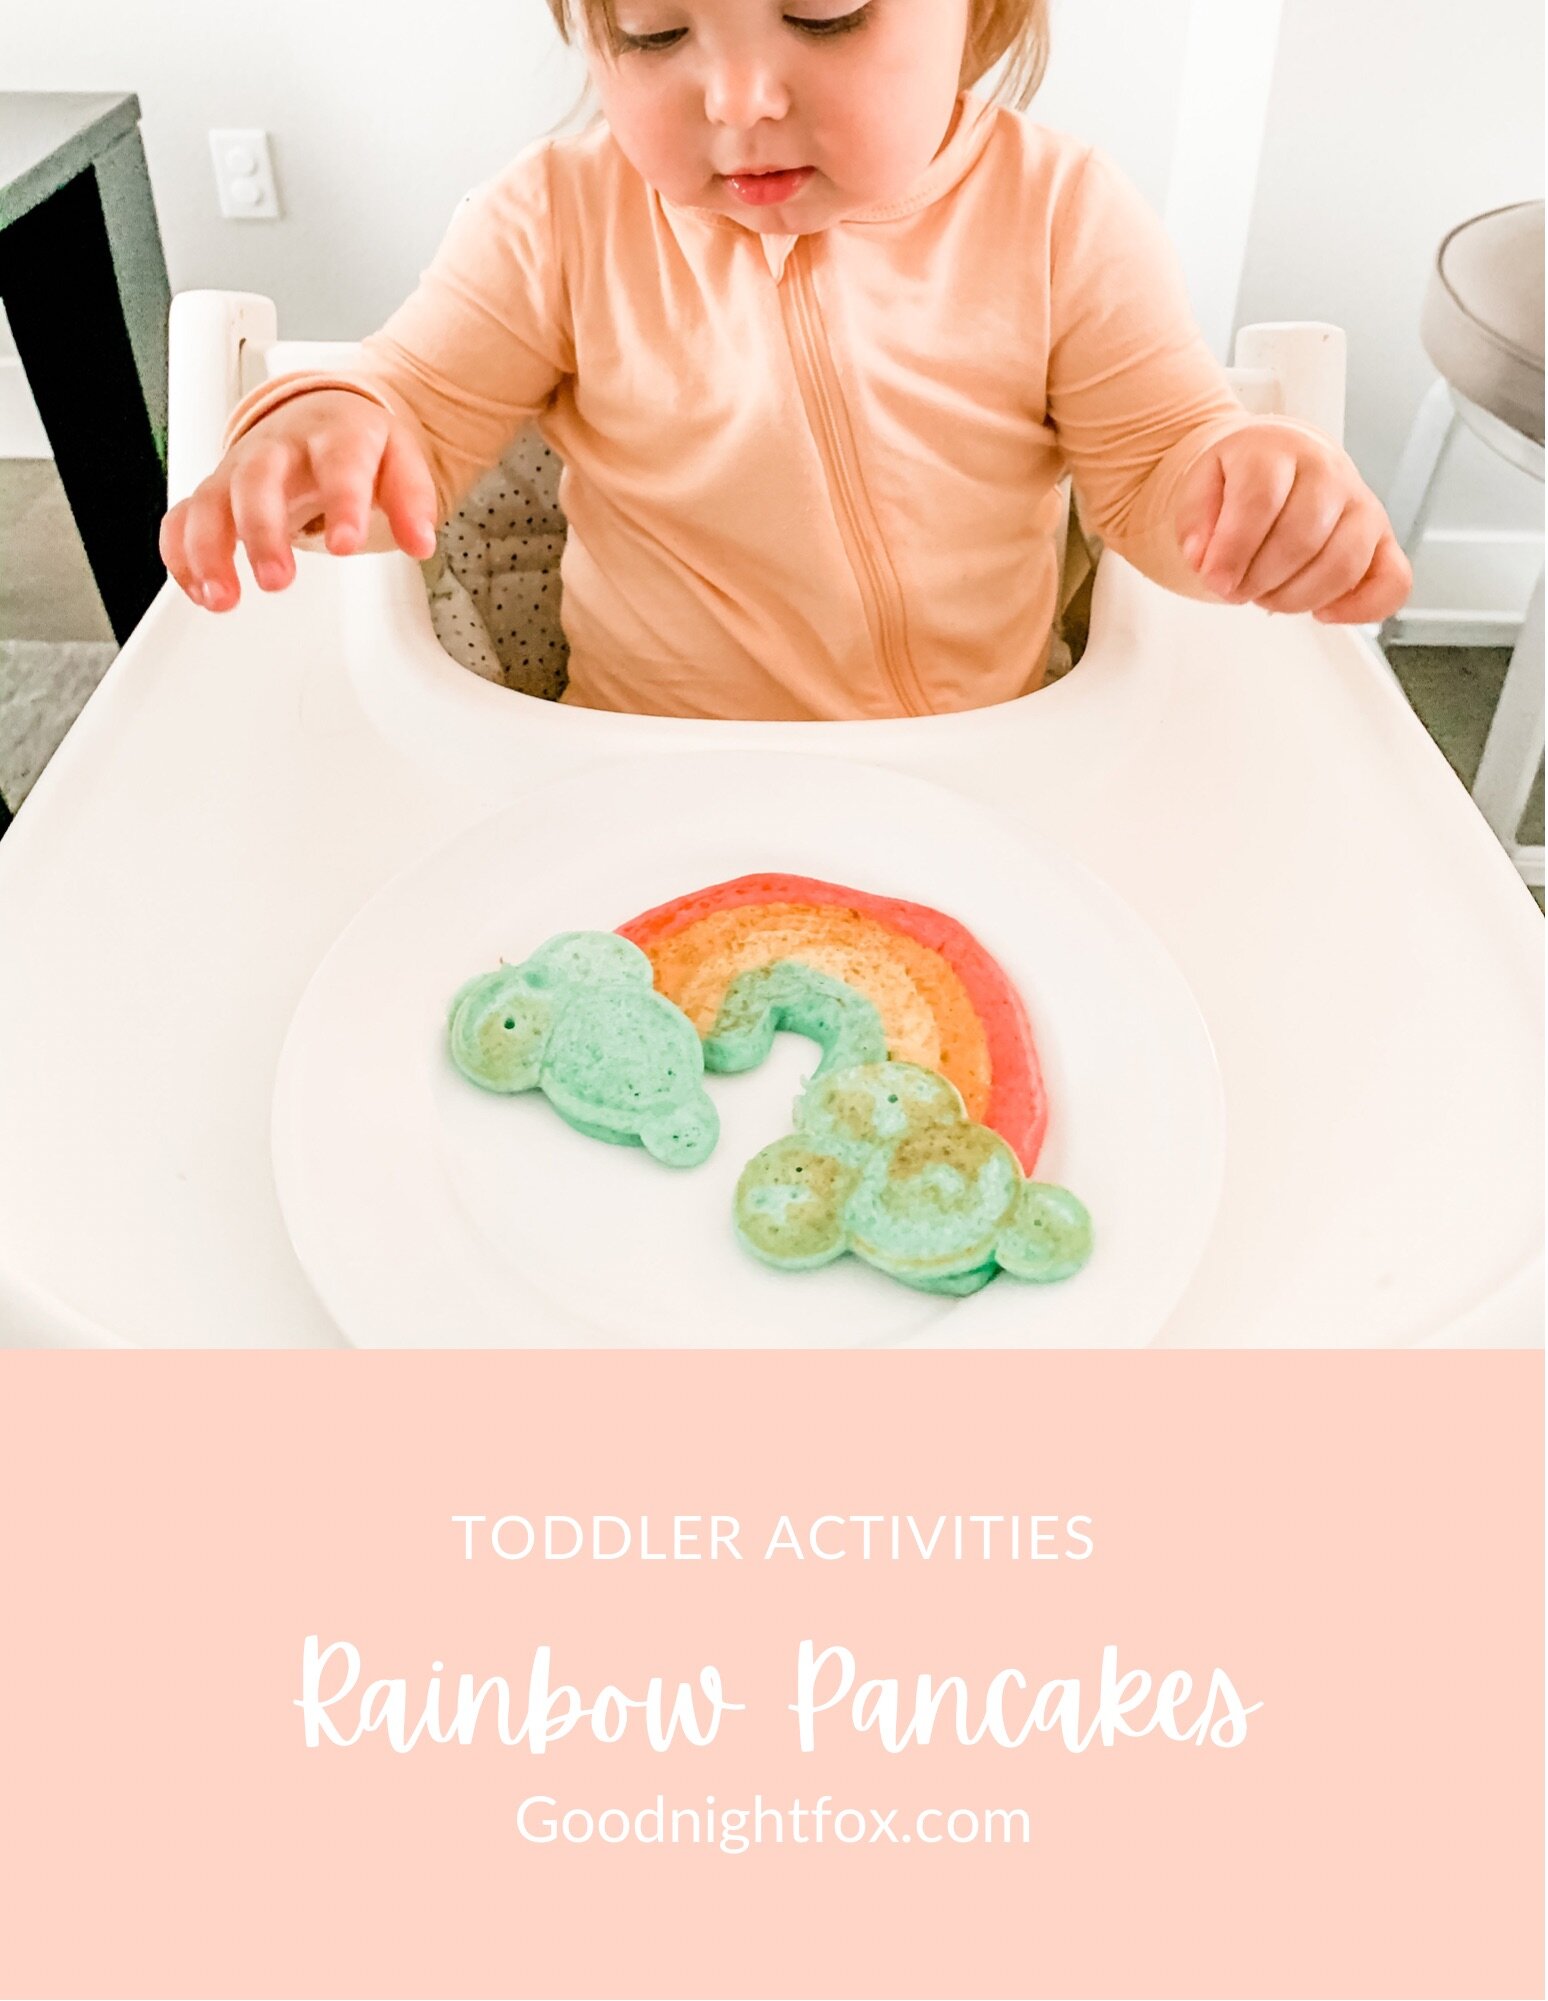
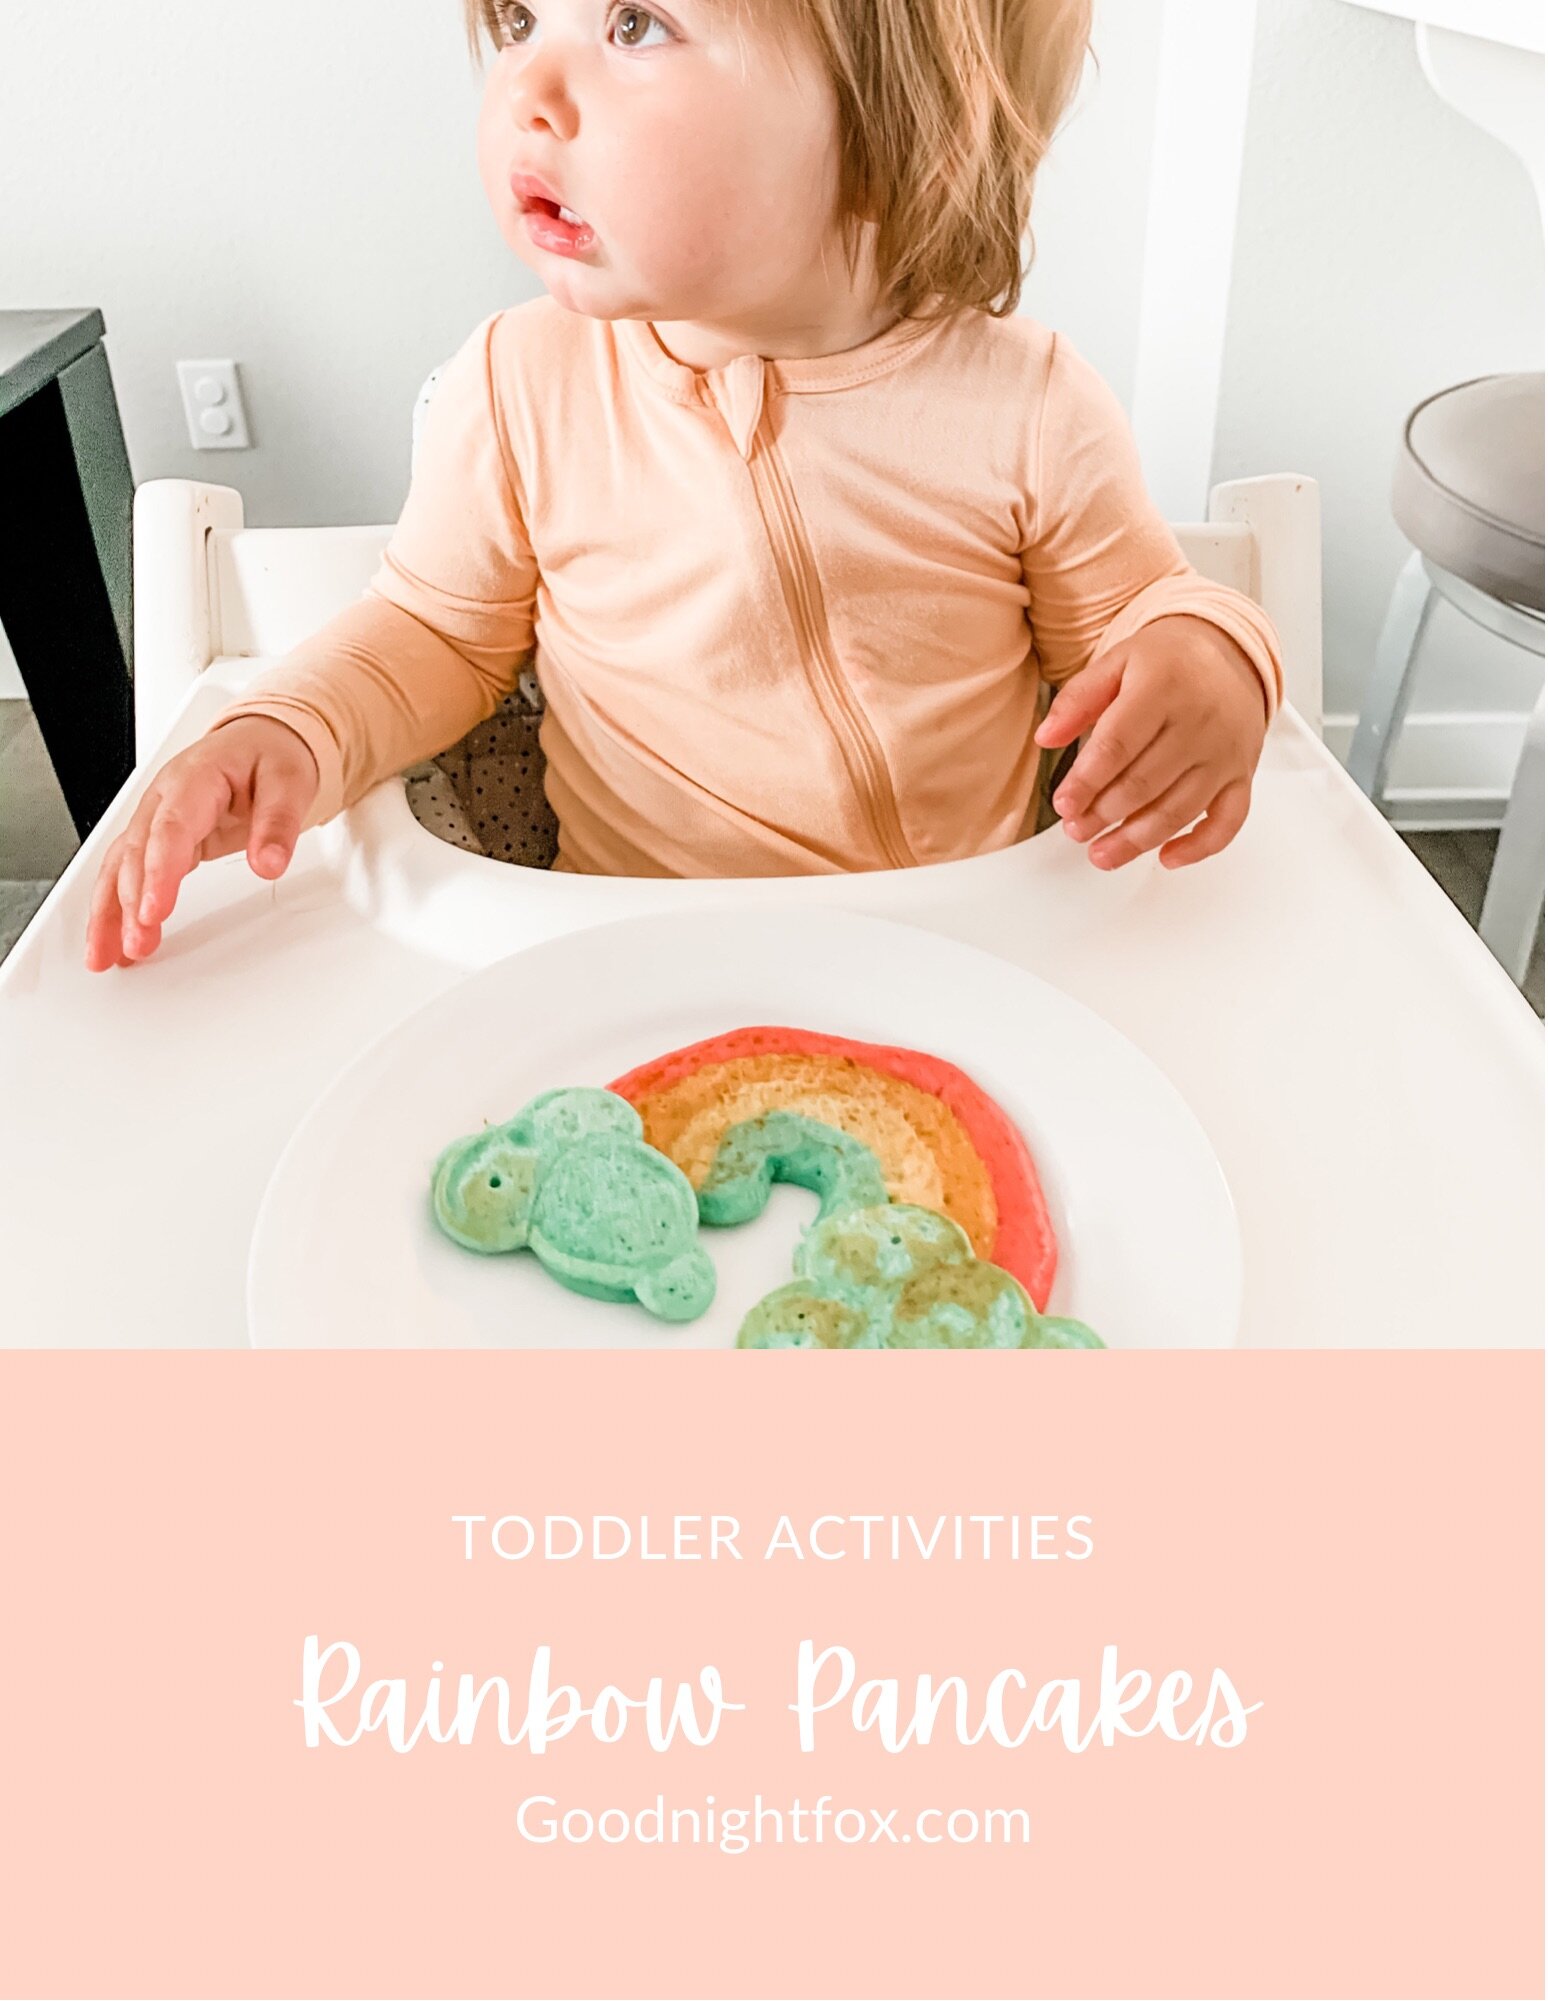
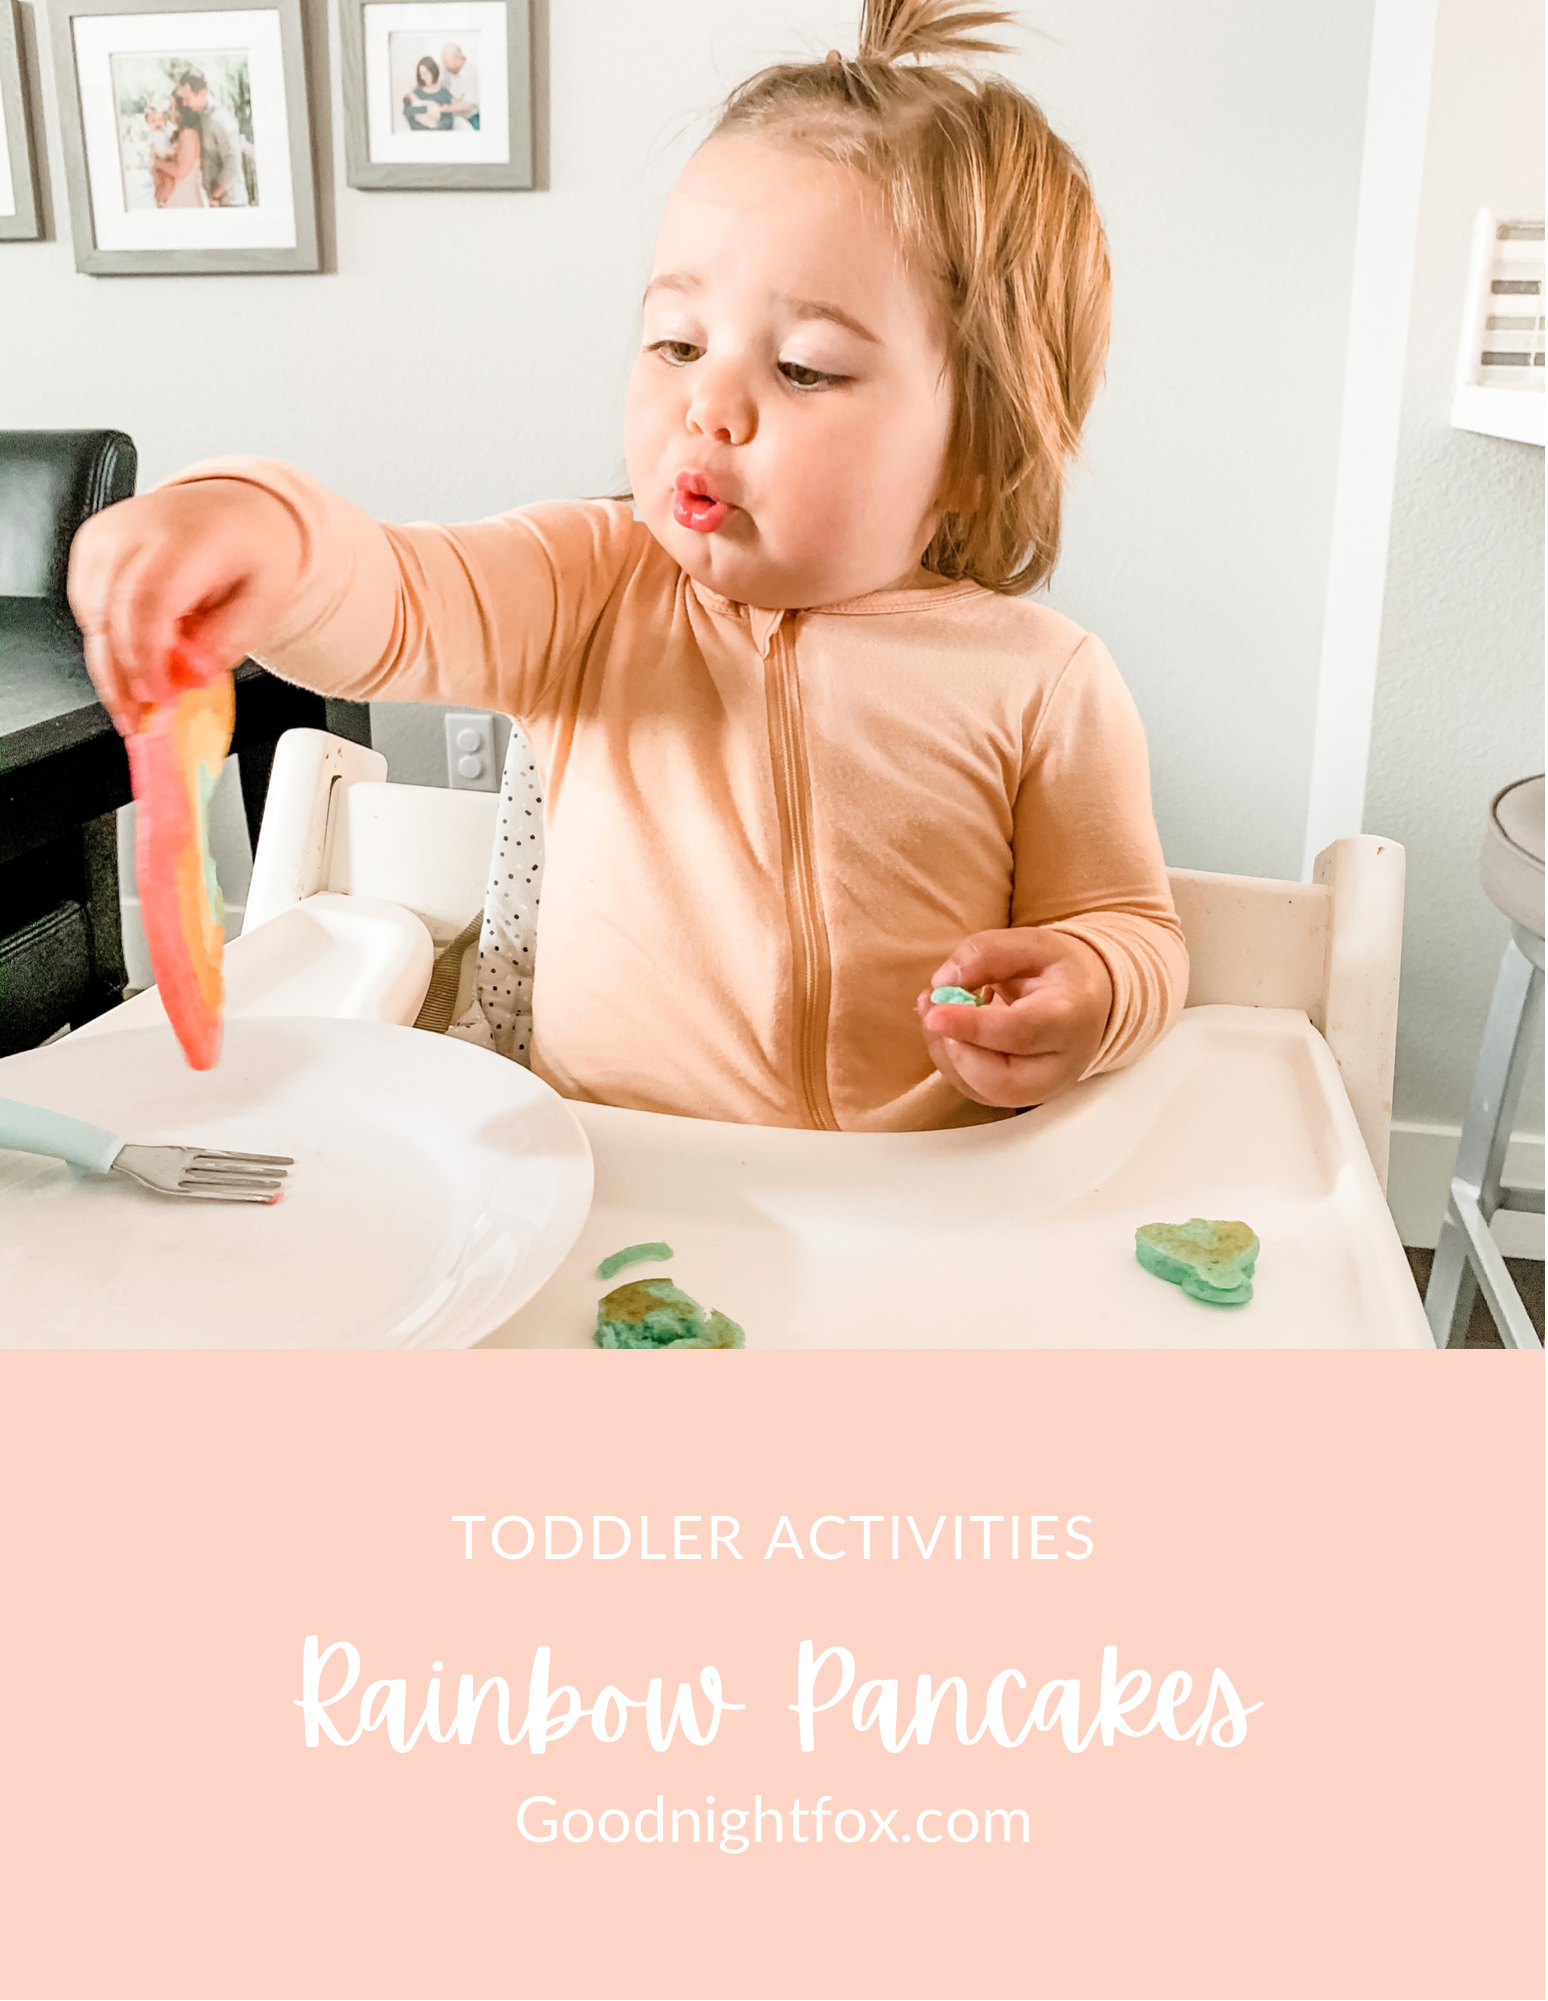
So some good friends of mine recommended I branch out from the usual eggs for breakfast. So on a whim I decided to make some rainbow pancakes this morning. I literally decided to do it and whipped them ago all within a matter of 30 minutes. And the outcome was so fun! Look at these adorable rainbows and clouds! I will definitely be doing more pancakes in the future.
Pancake Mix
Water or Milk
Canola Oil
Food Coloring
Piping bags
Taste Safe Rainbow Finger Paints
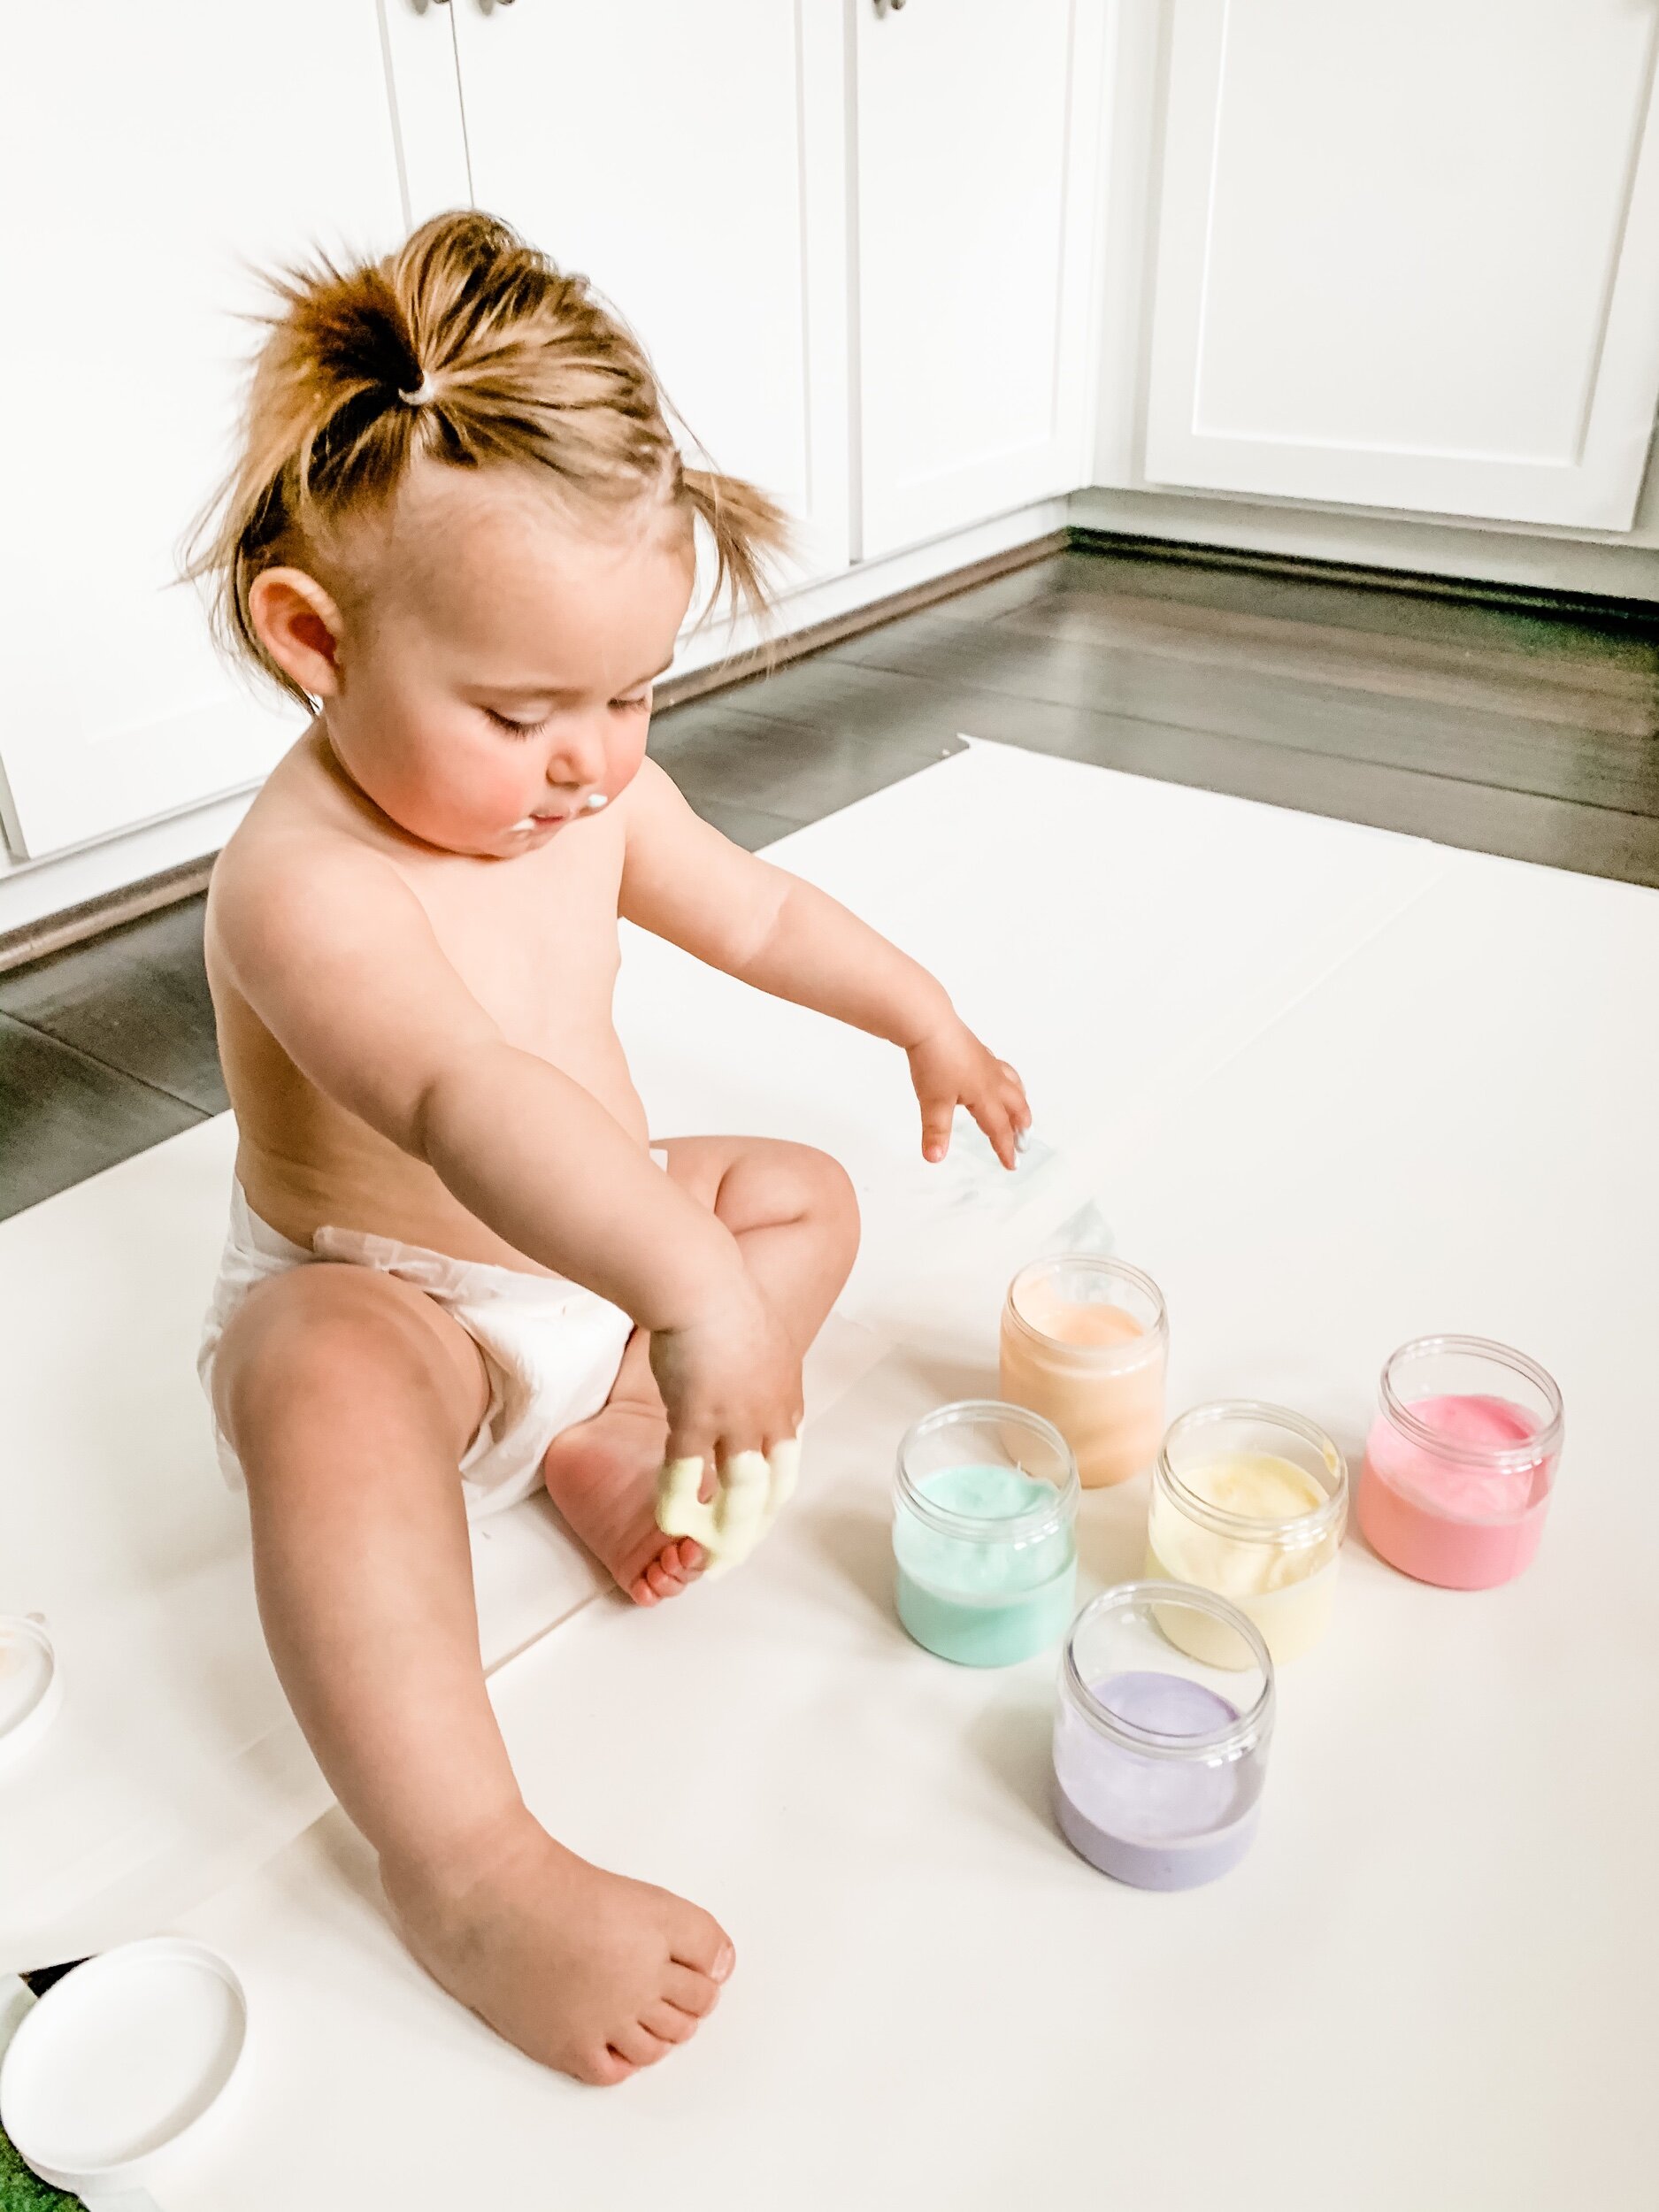
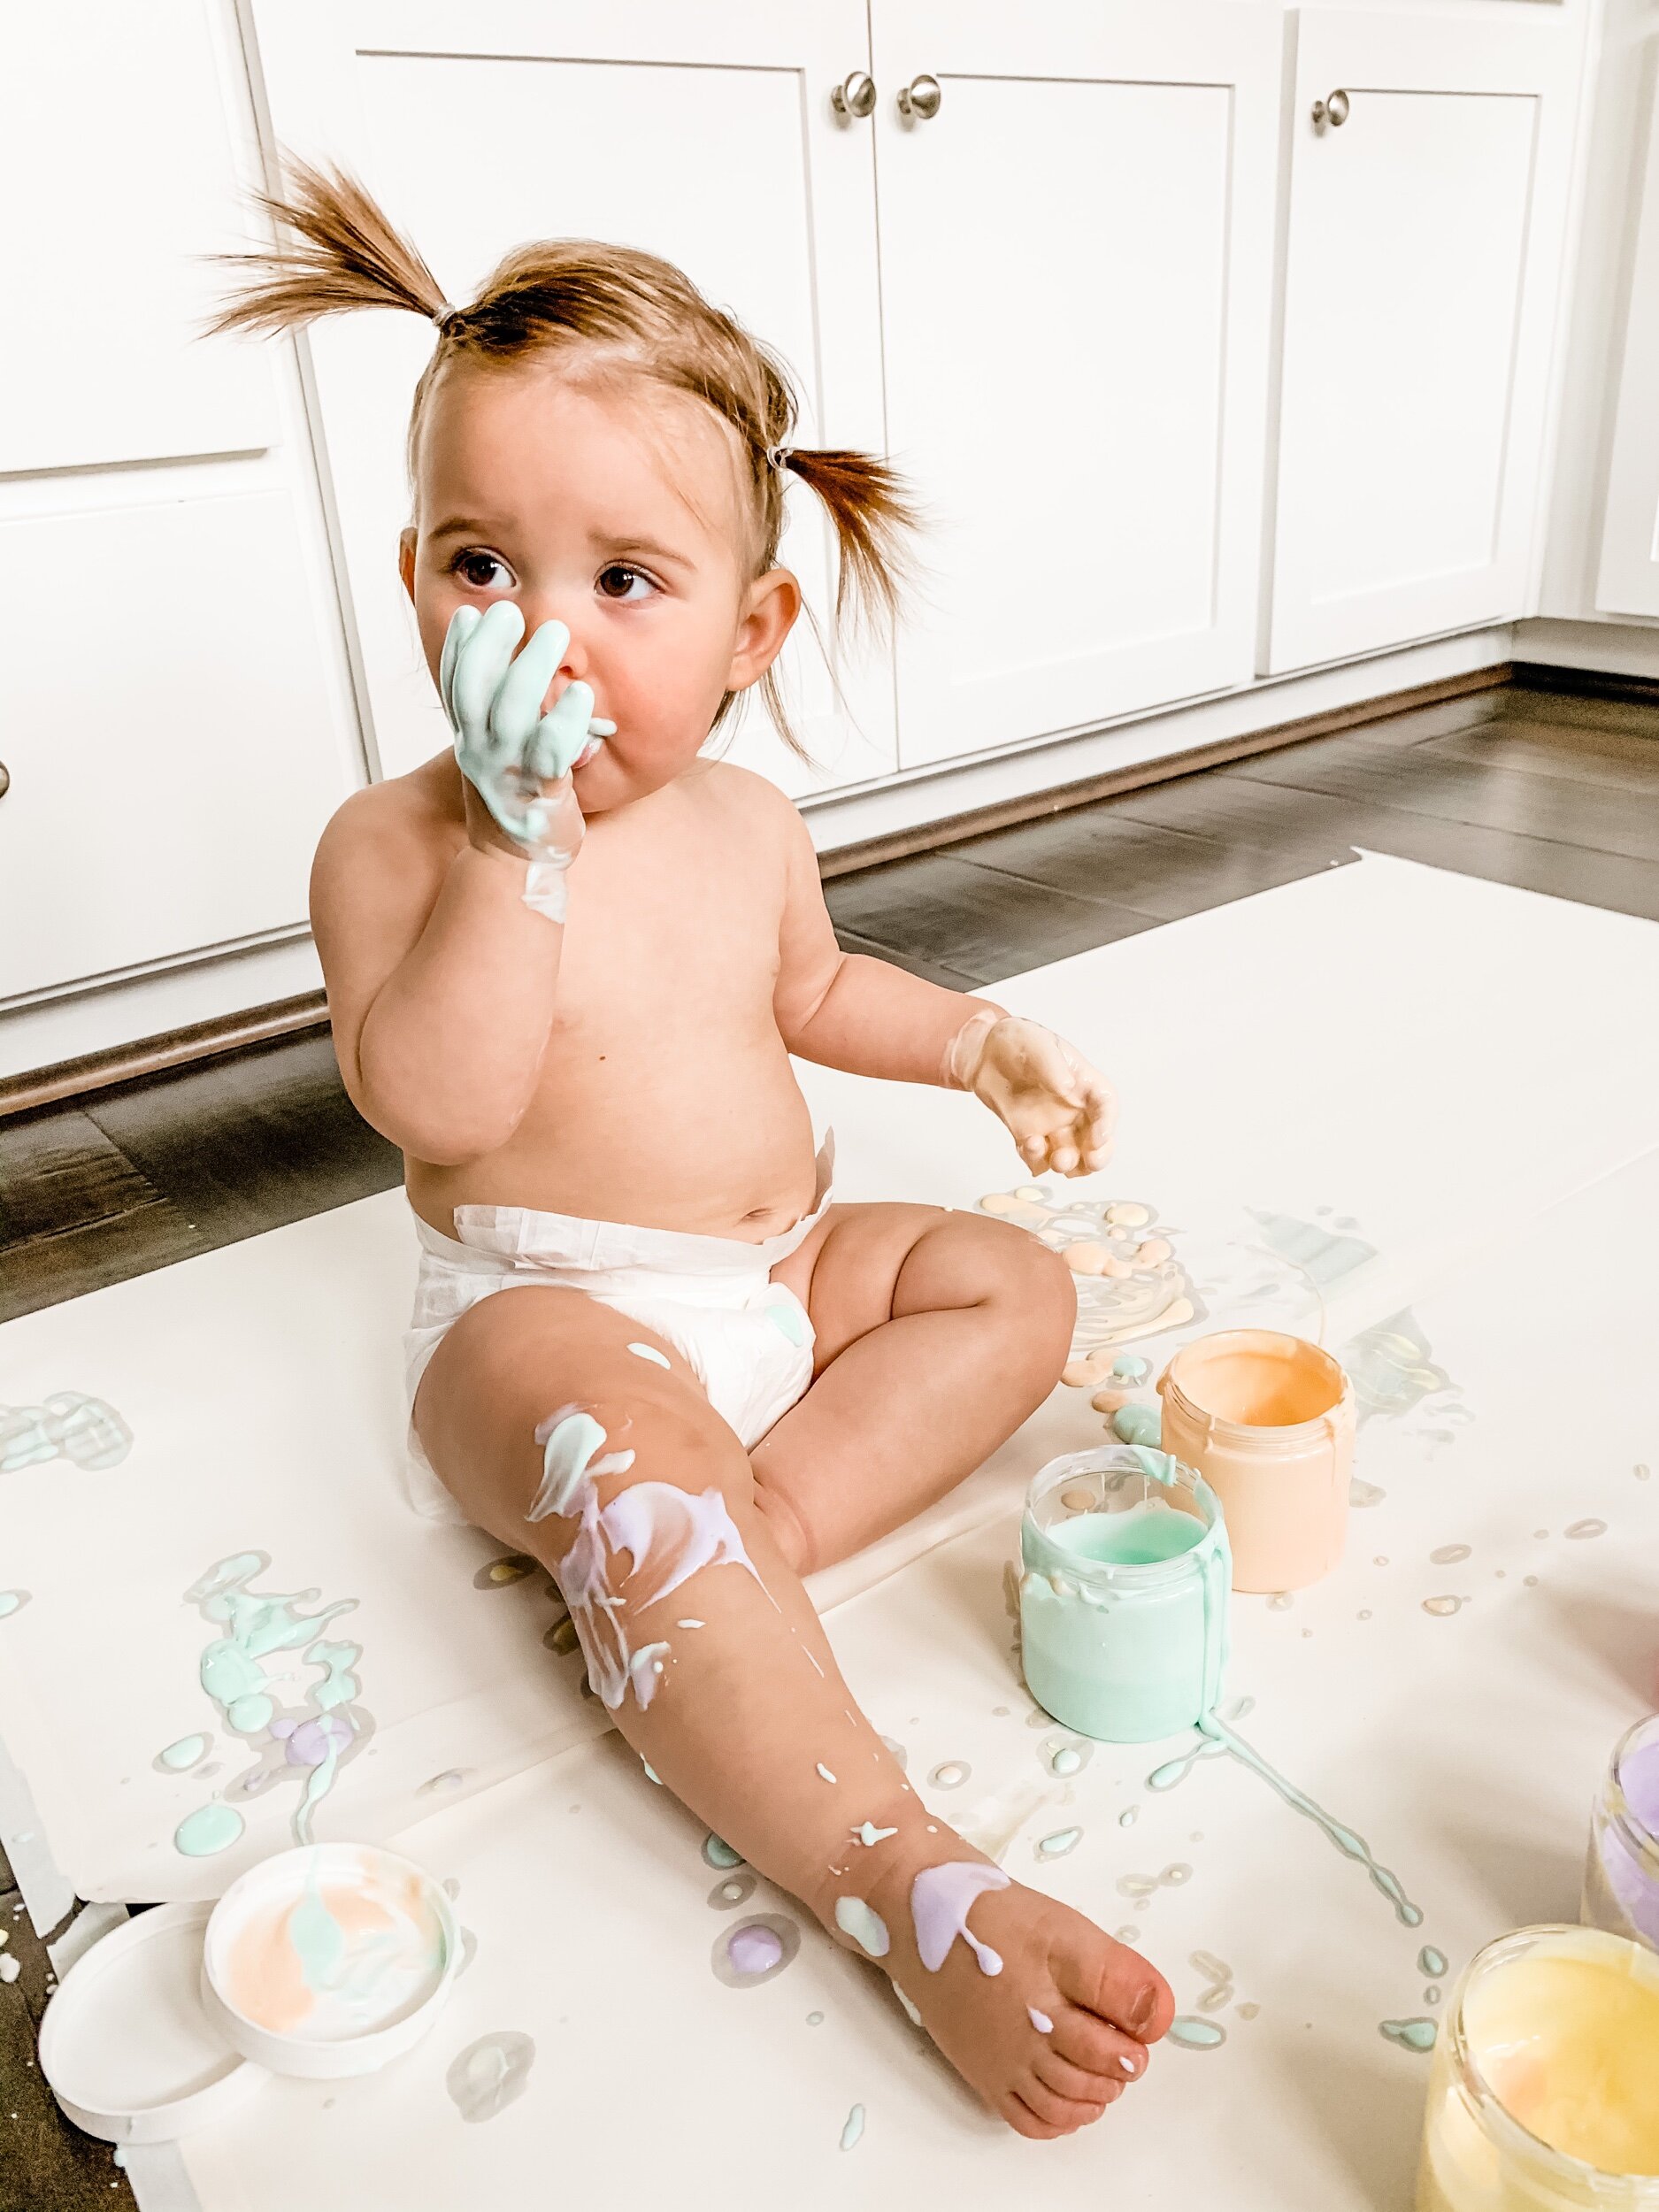
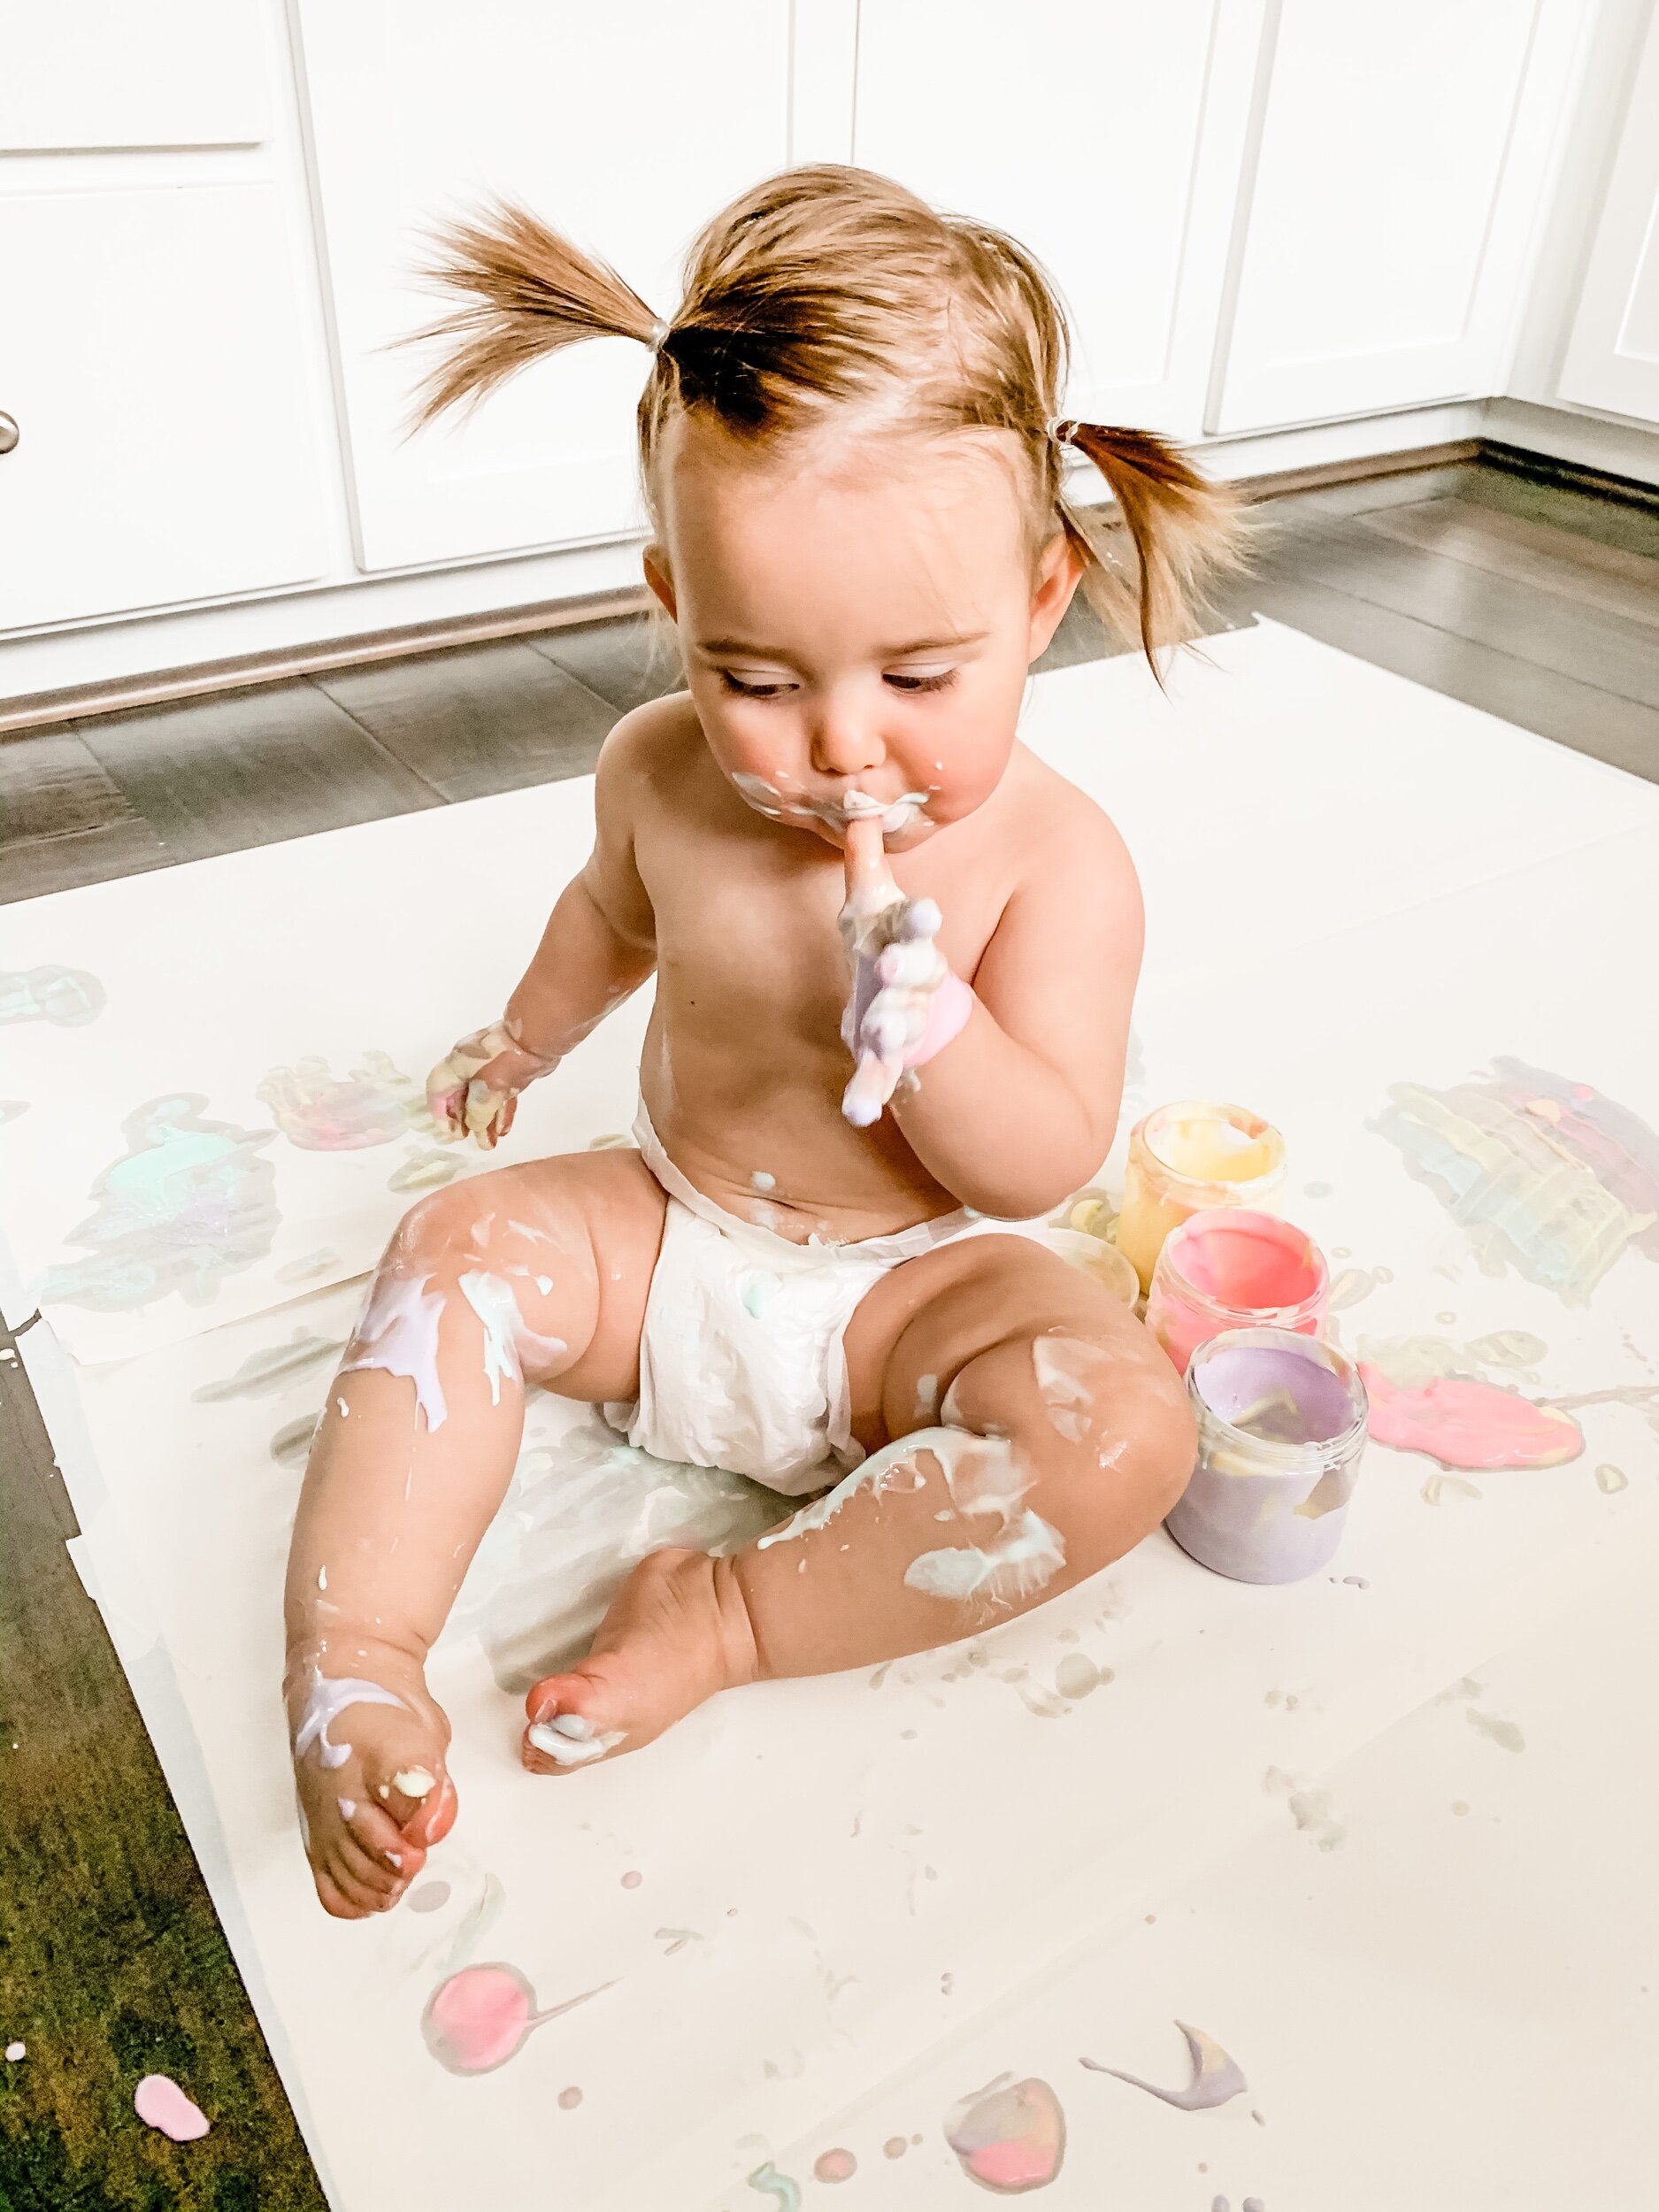
I finally found an amazing “recipe” for taste safe fingerprints. Sofie still points everything in her mouth, as I’m sure many one year olds do. So it’s no surprise that I’m constantly on the lookout for taste safe activities that can keep this busy toddler occupied for more than five minutes. She loves sensory activities so even though I knew this one would be messy, I figured I’d give it a go!
Yogurt
Food coloring
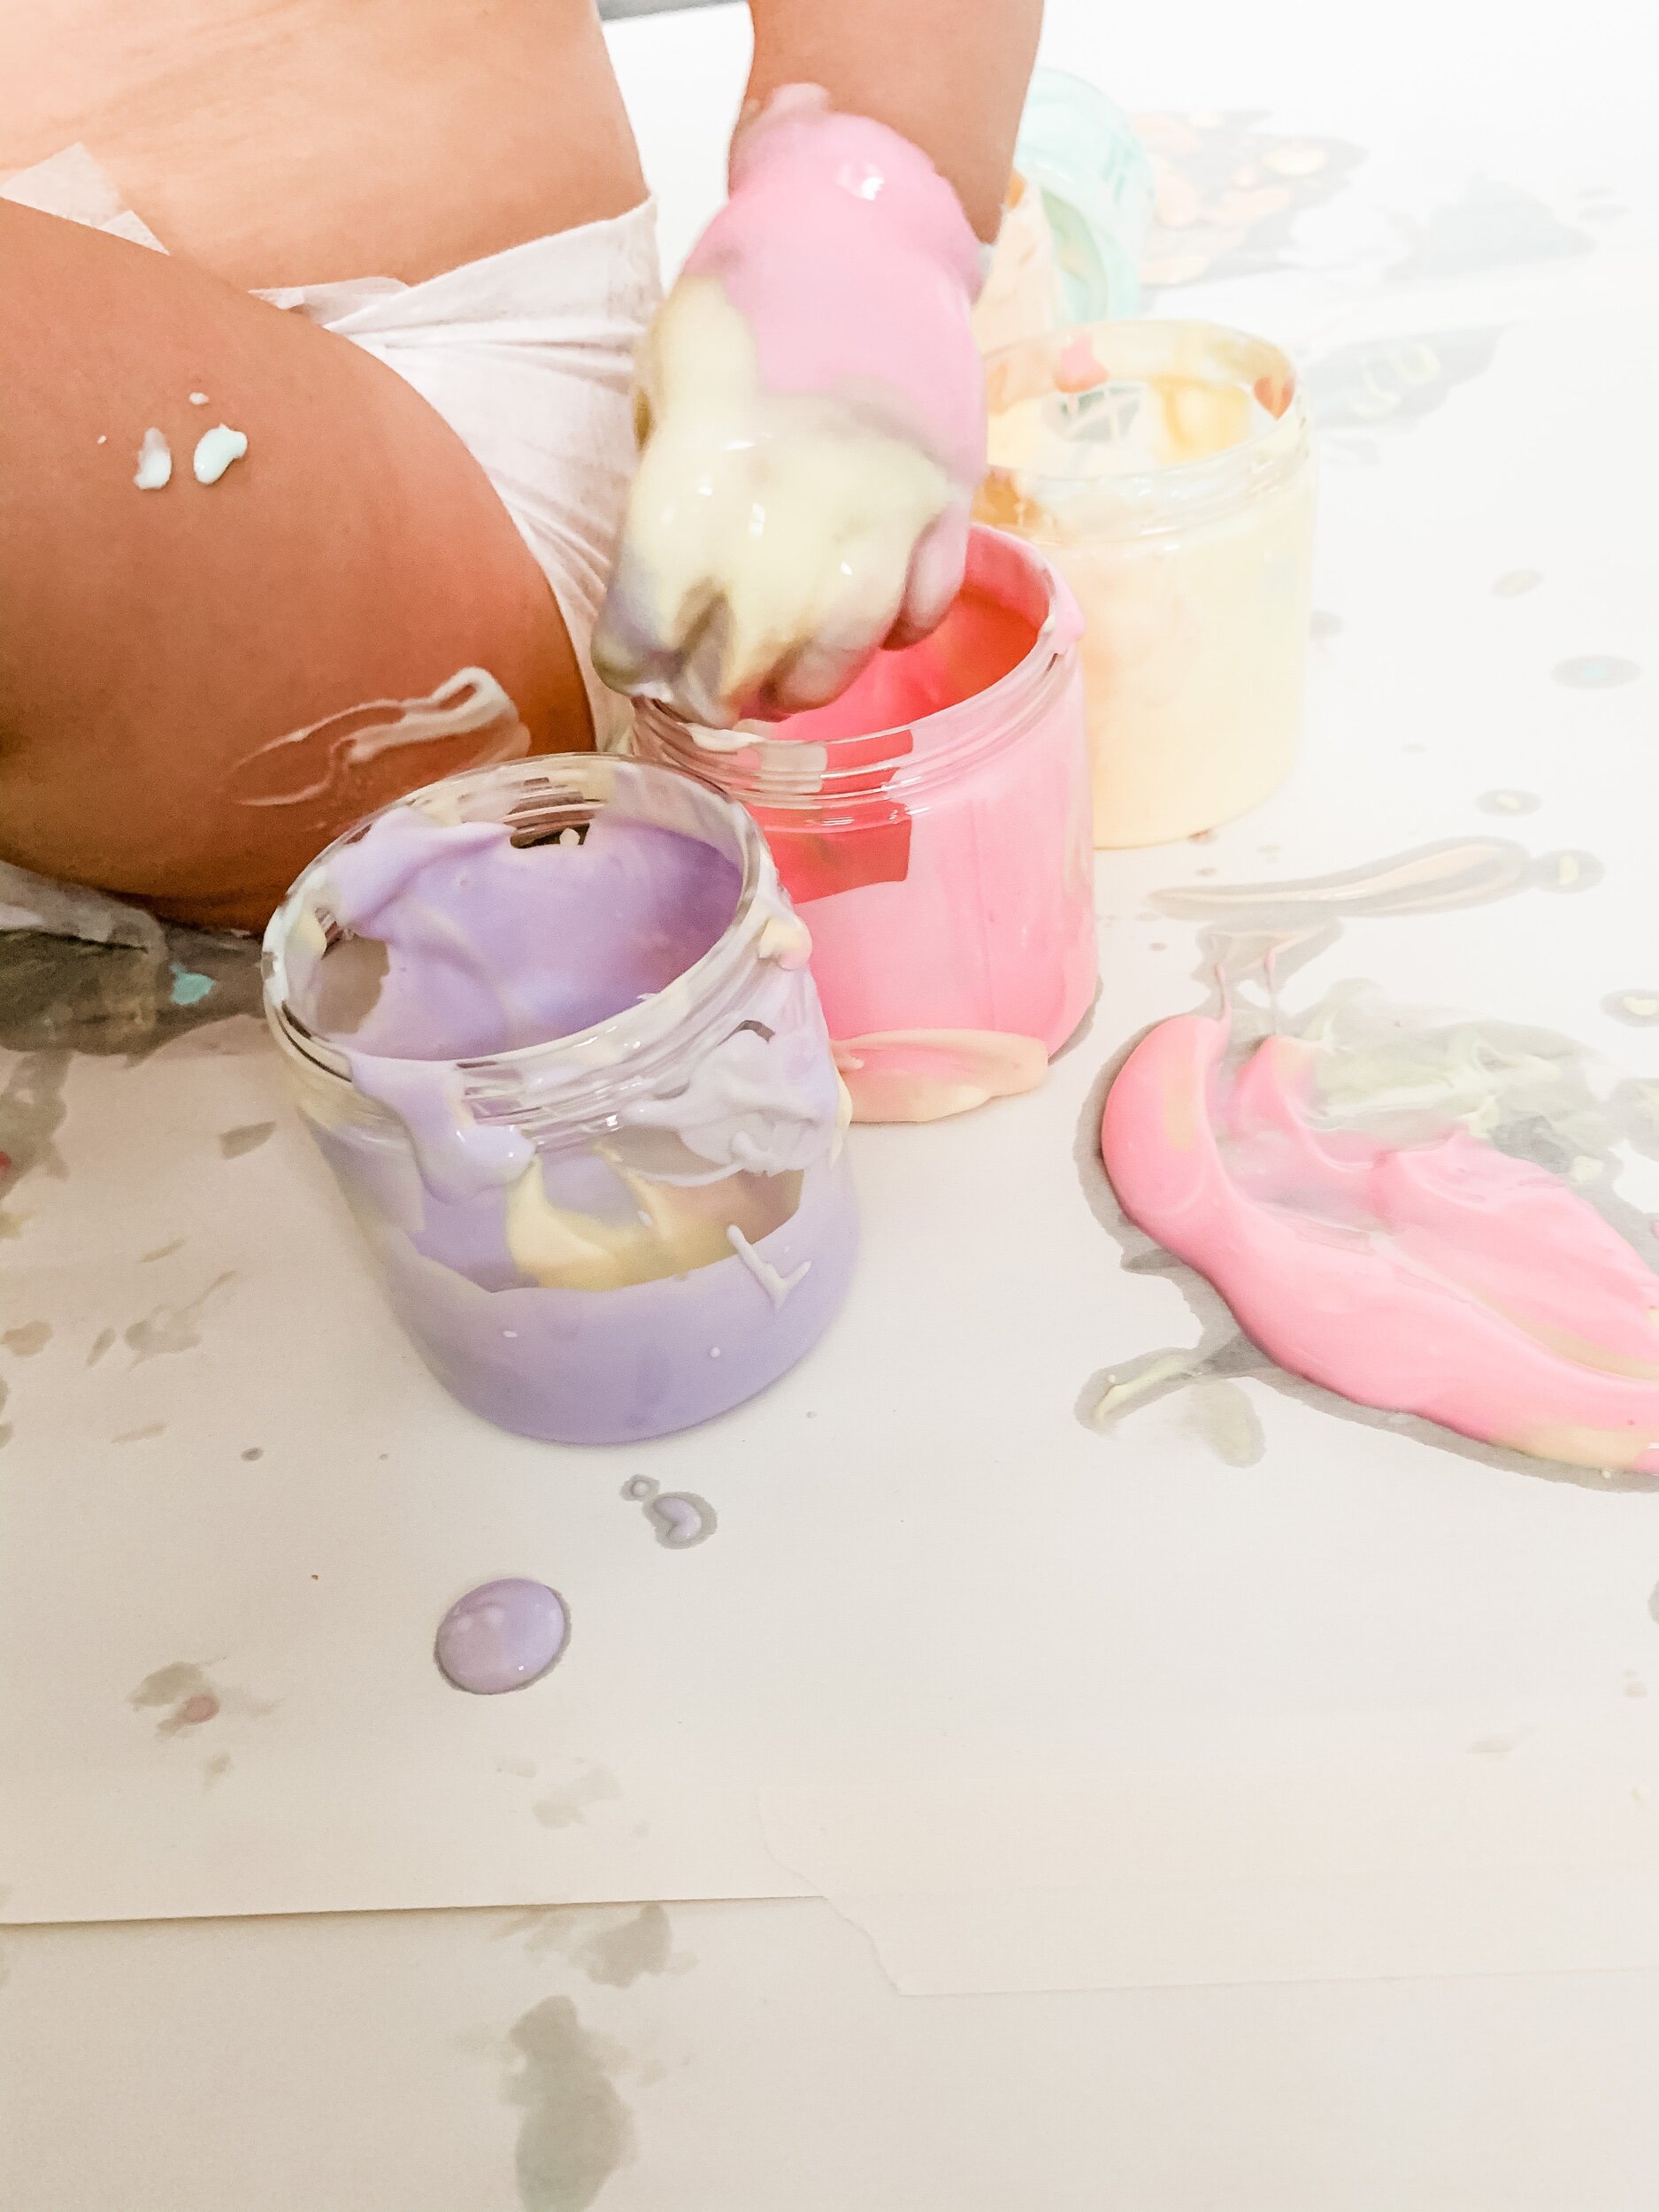
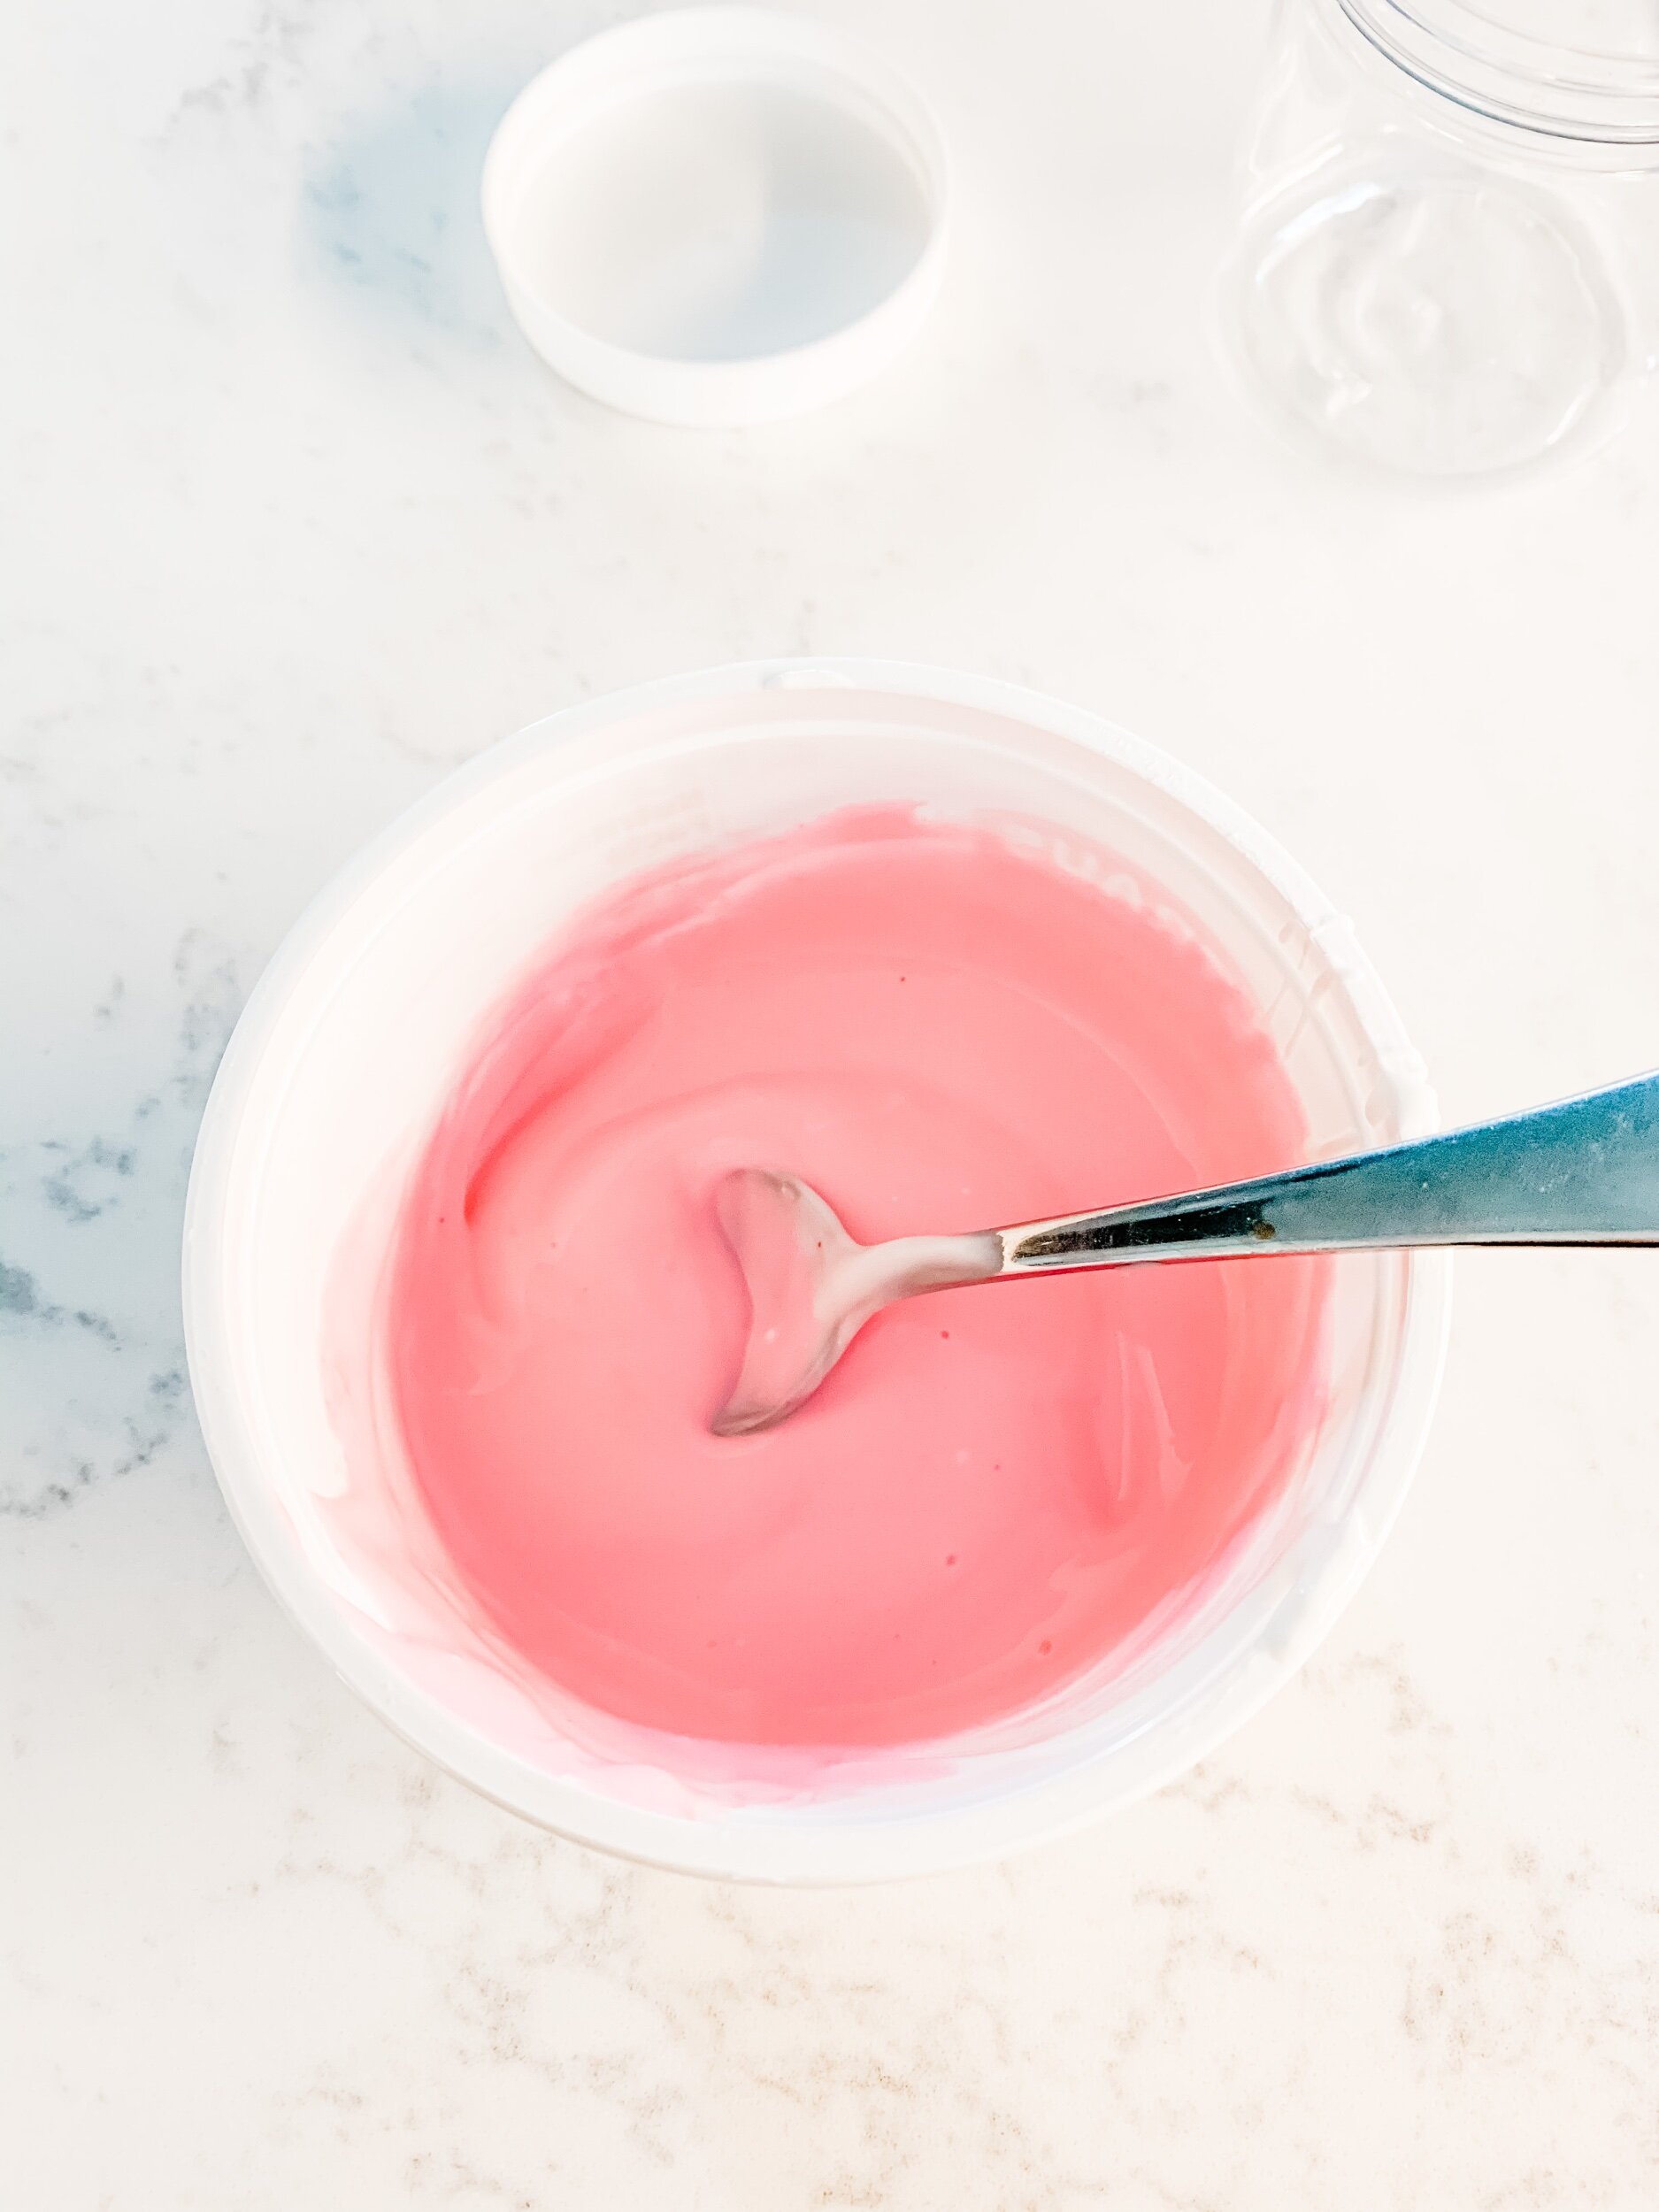
This one is so simple to make because all you need is a big tub of yogurt and some food coloring and voila you have a fun little activity! I will say I was skeptical about how yogurt would really paint on but her paper. And to be honest, I probably would have done it differently had I known.
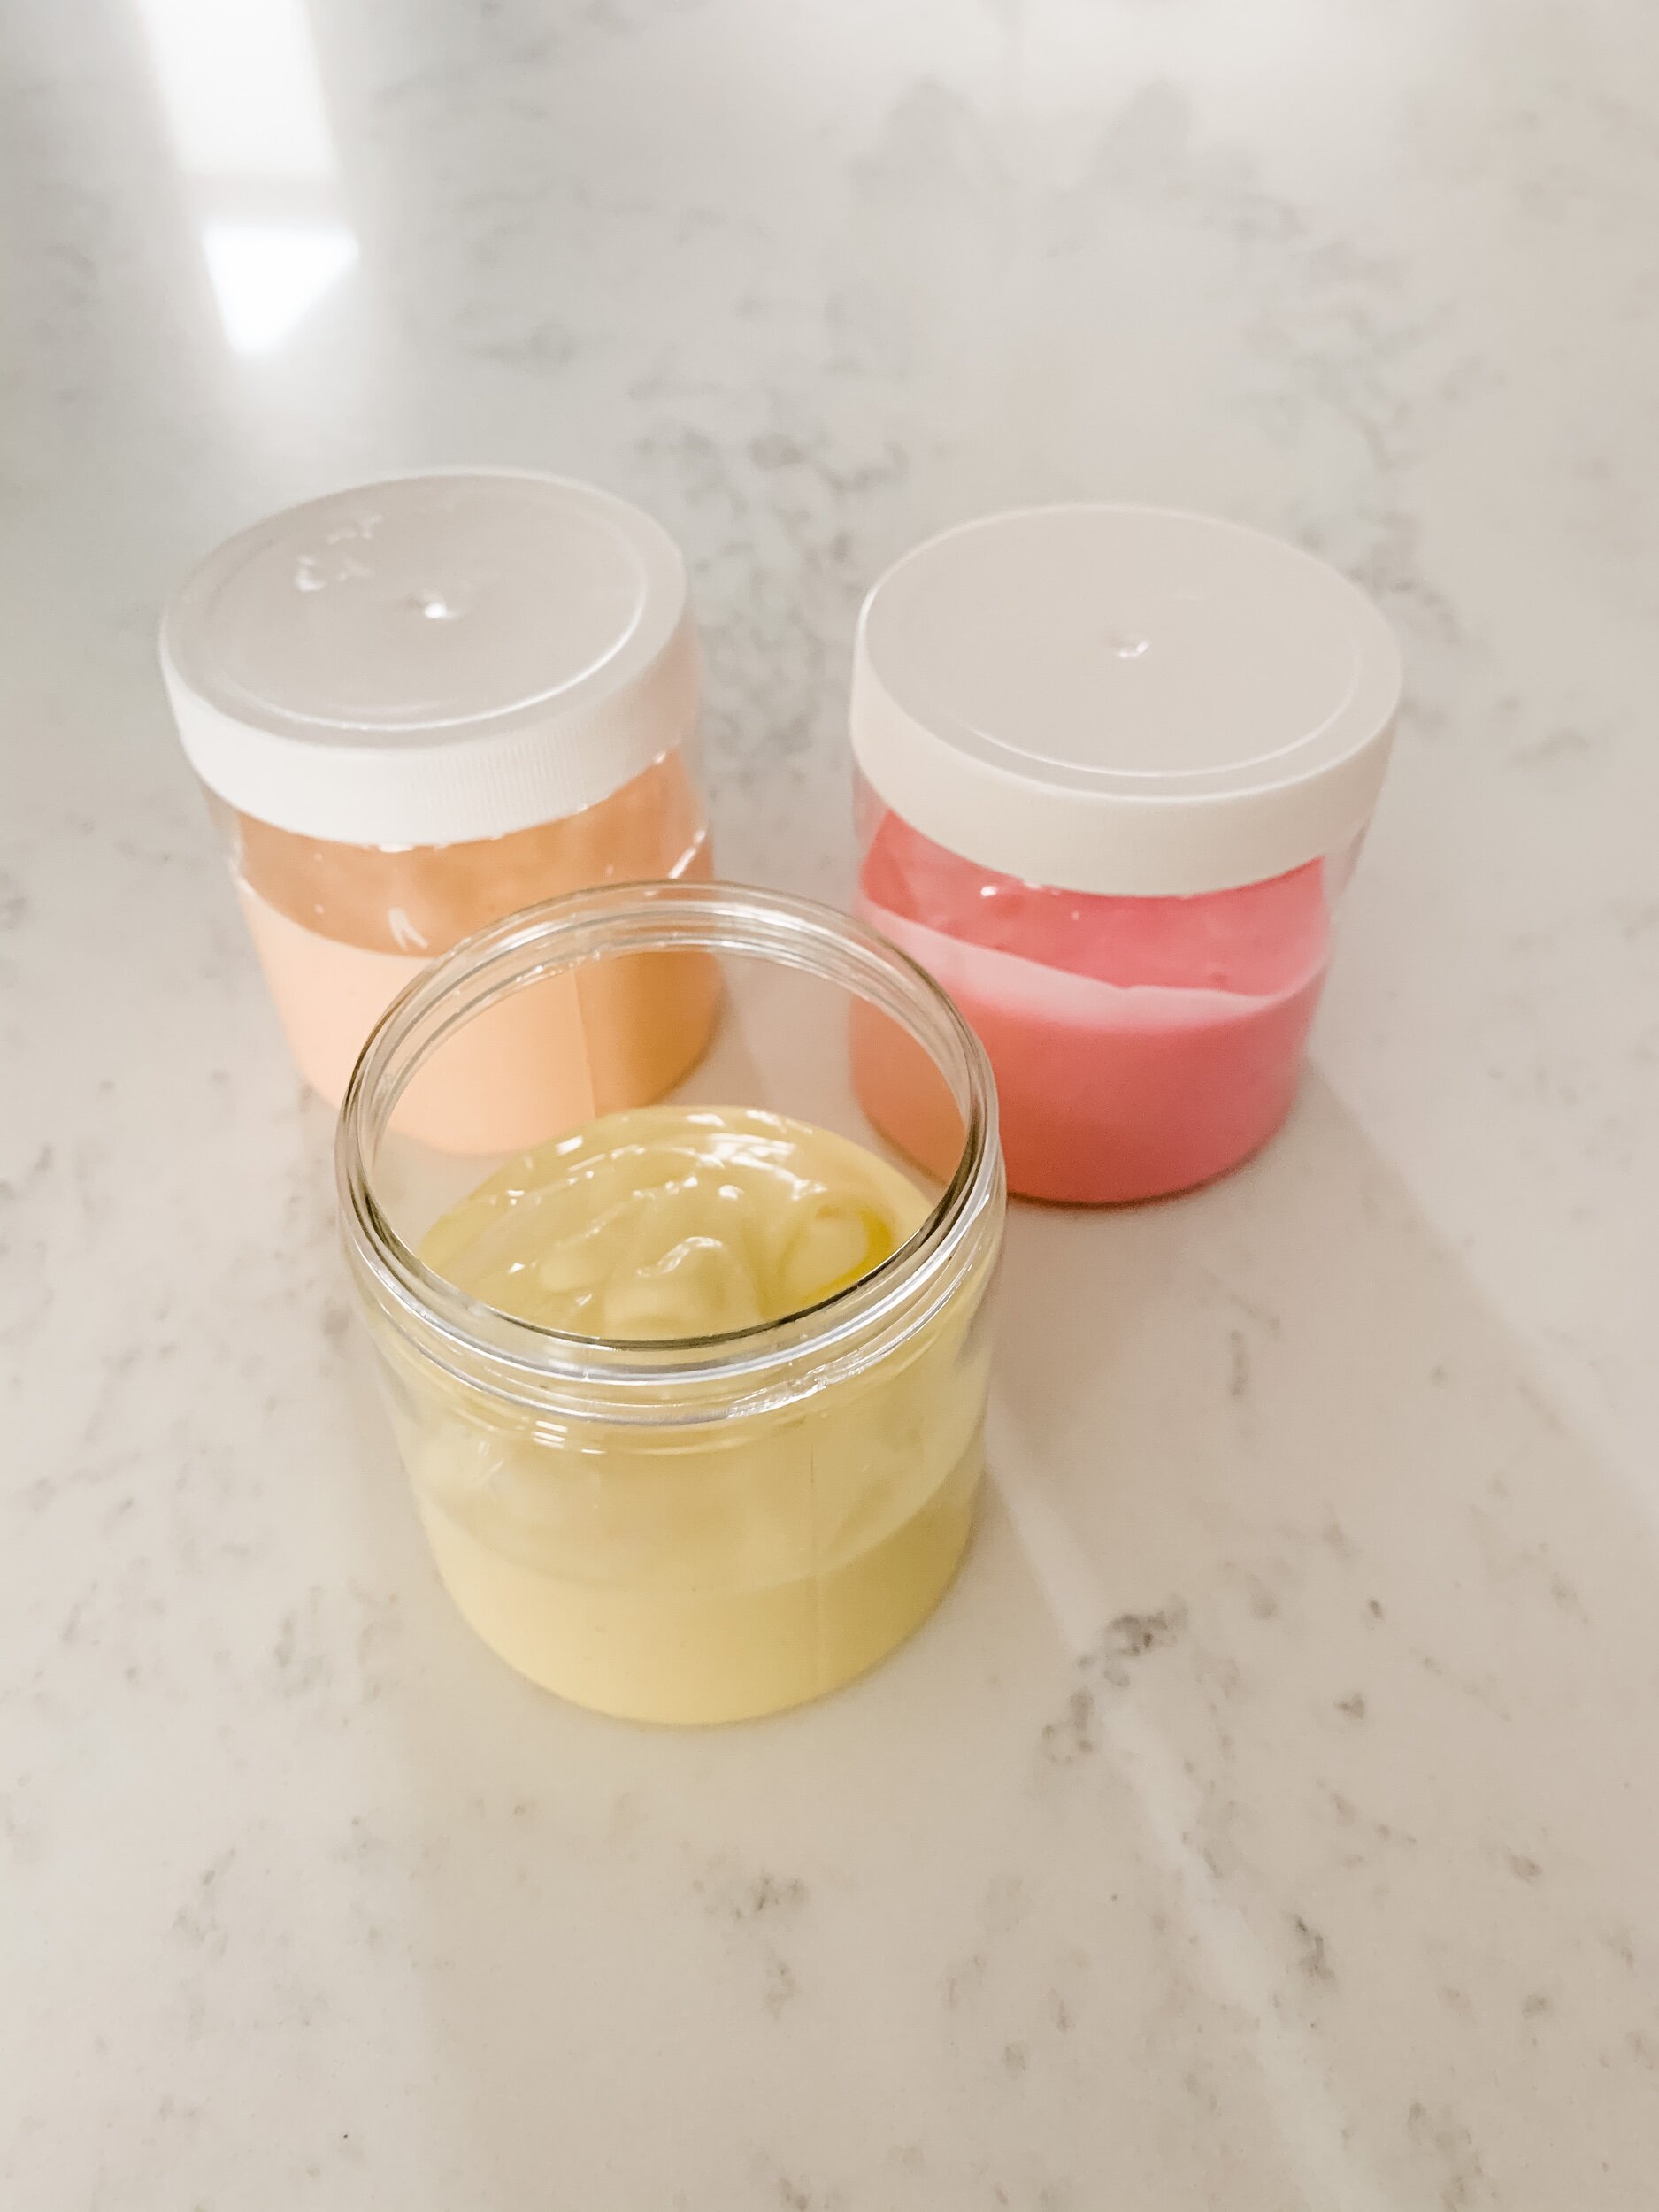
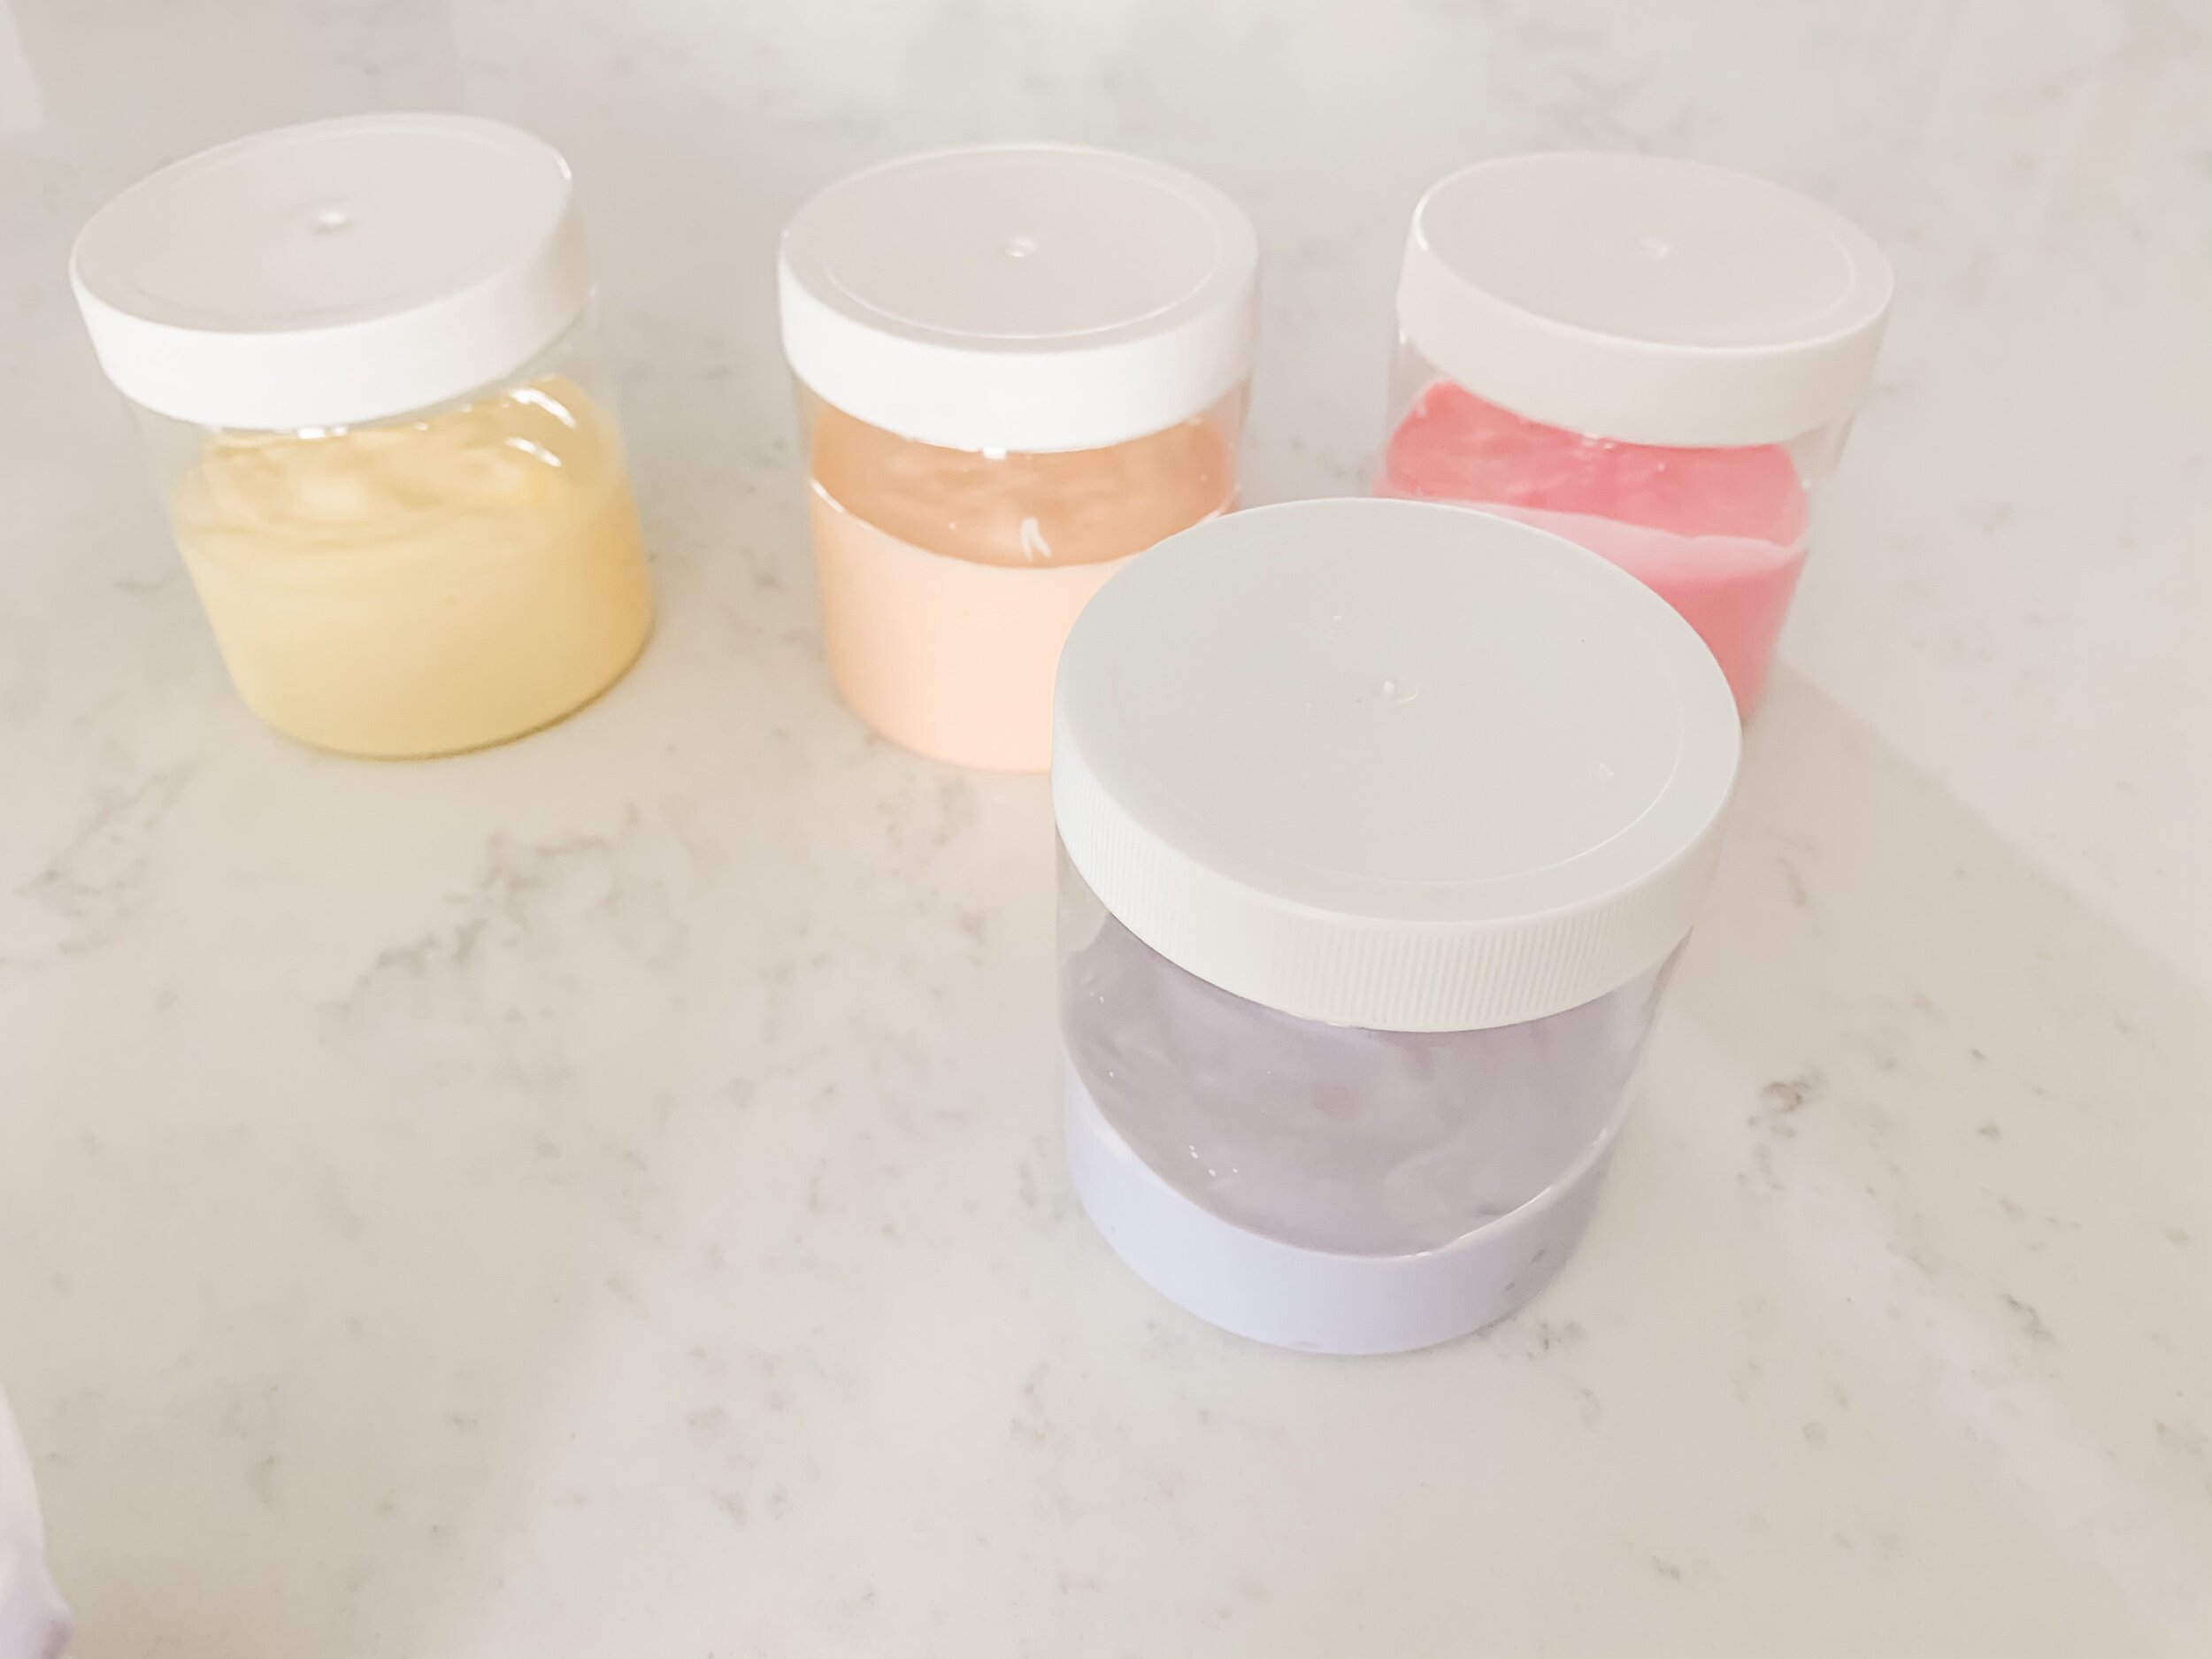
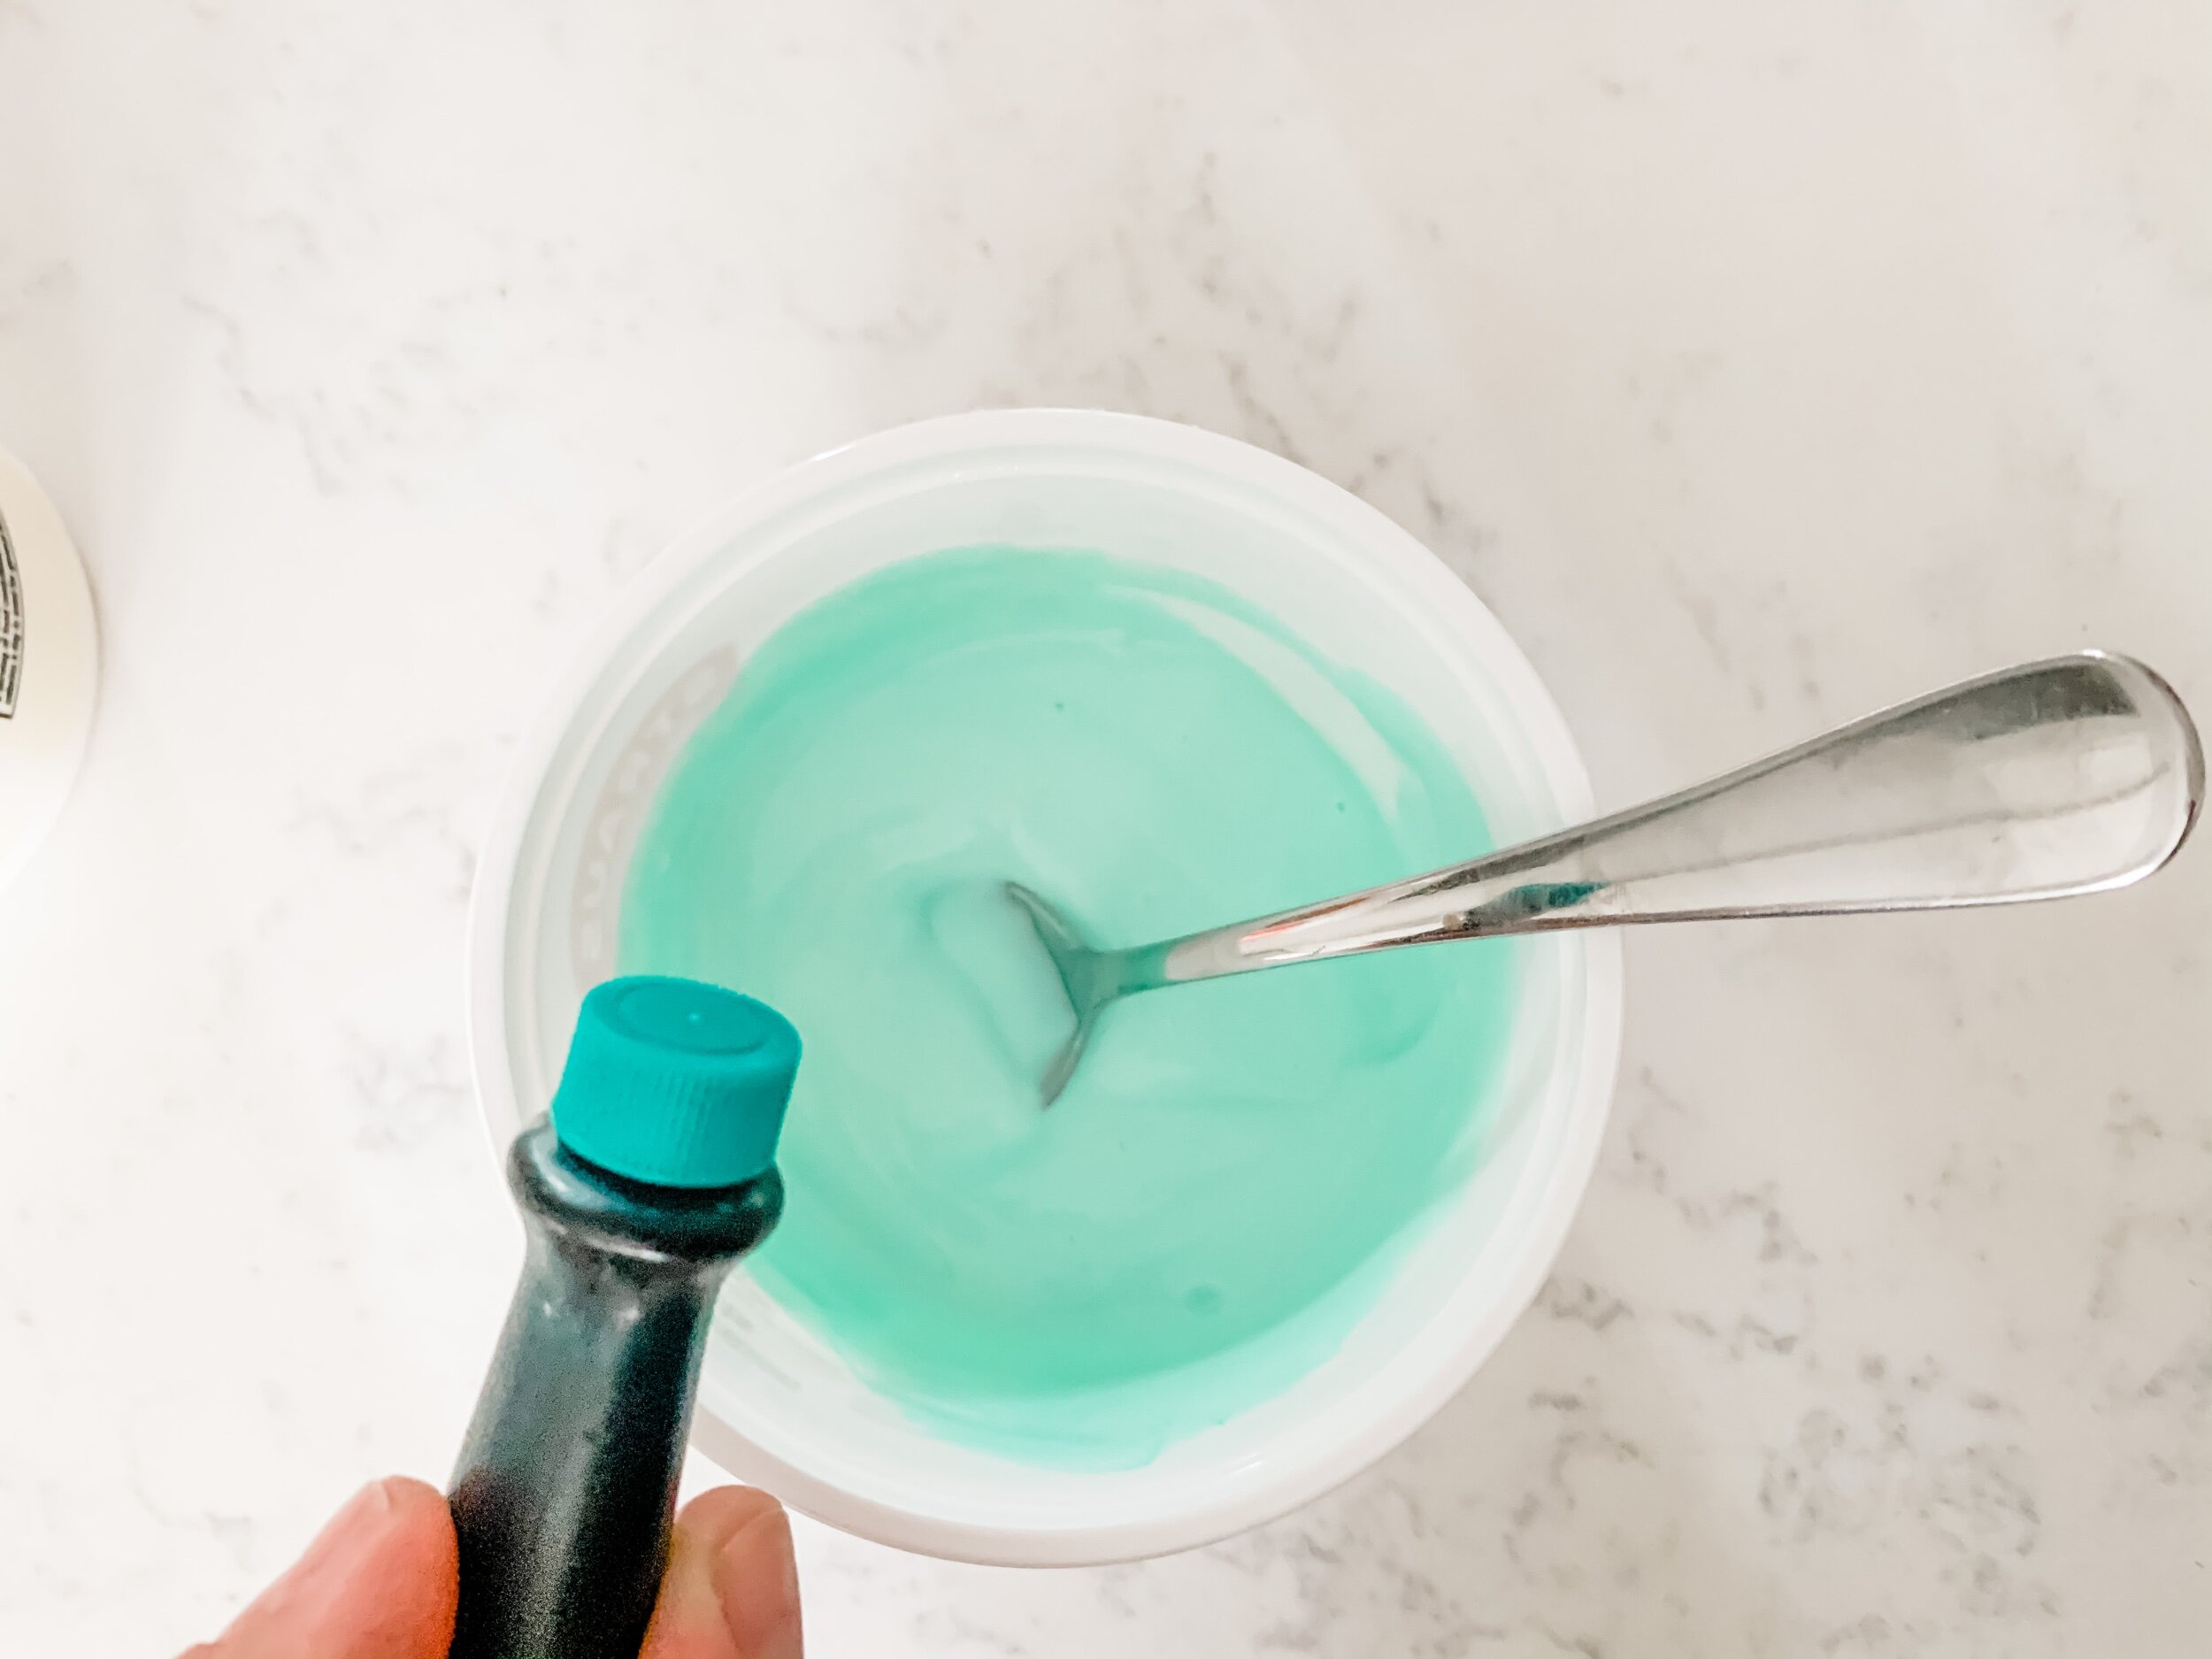
Here’s the yogurt being colored! Super simple and just one drop of coloring really turned it bright pink!
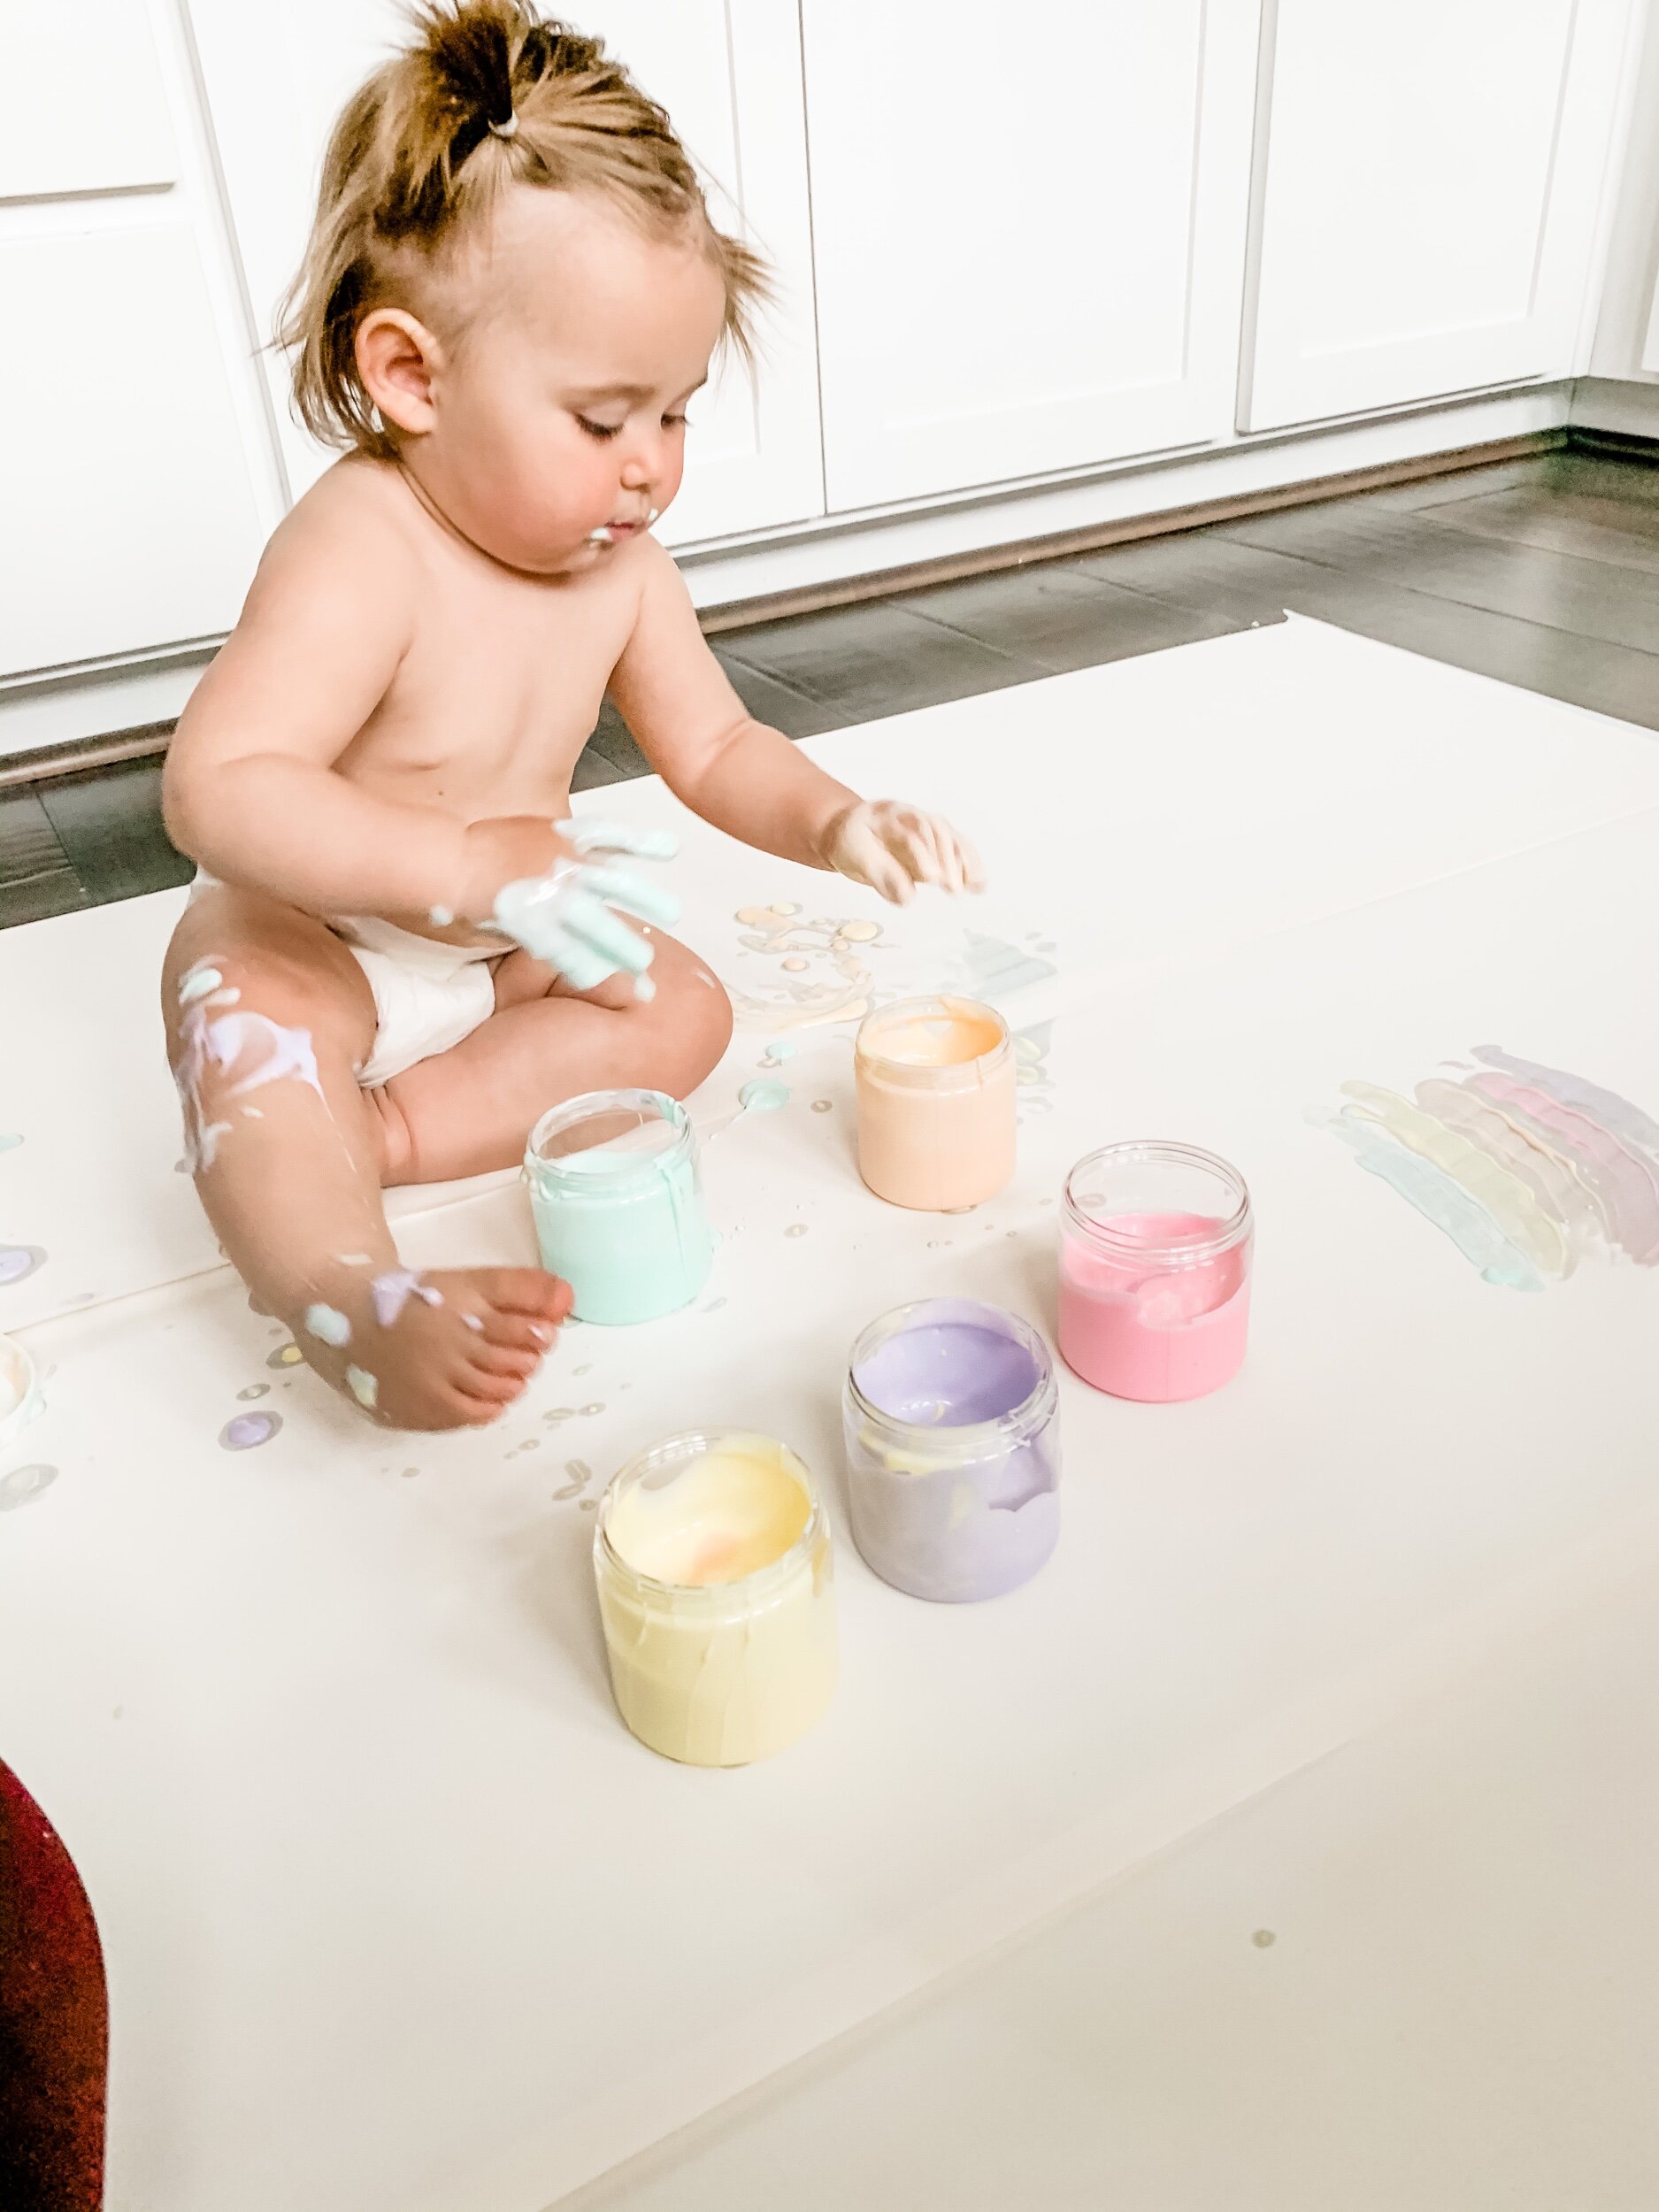
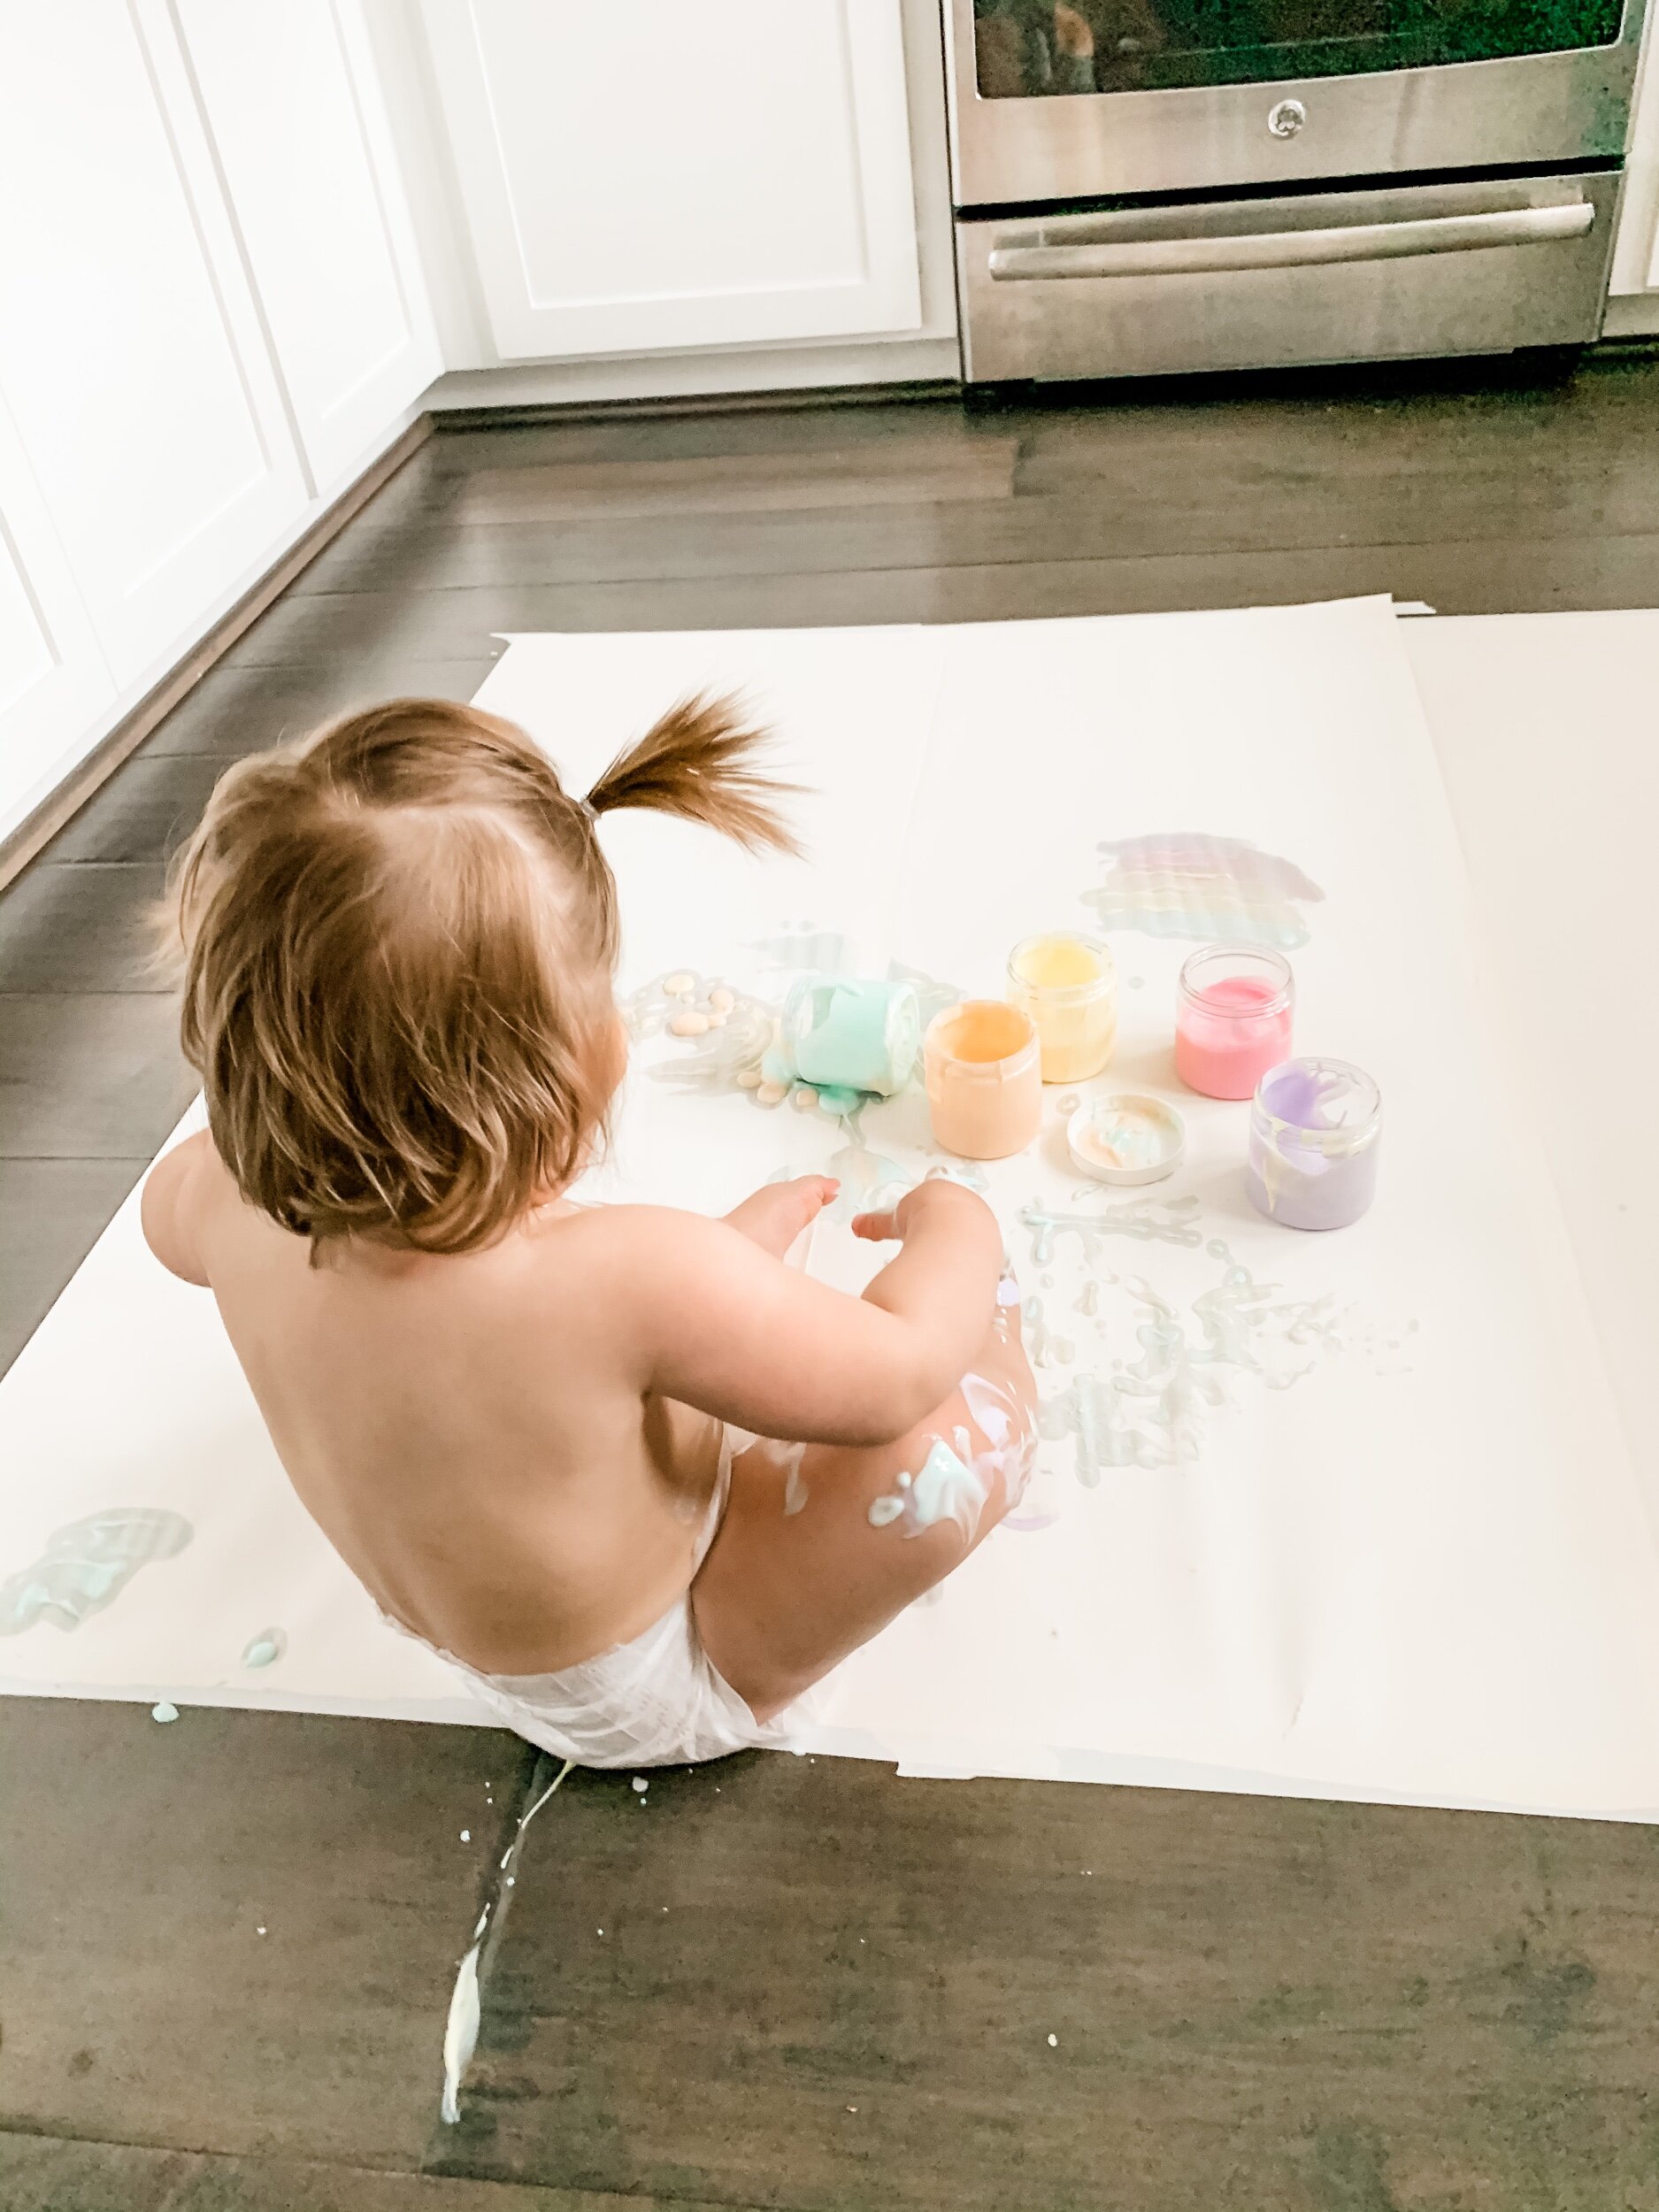
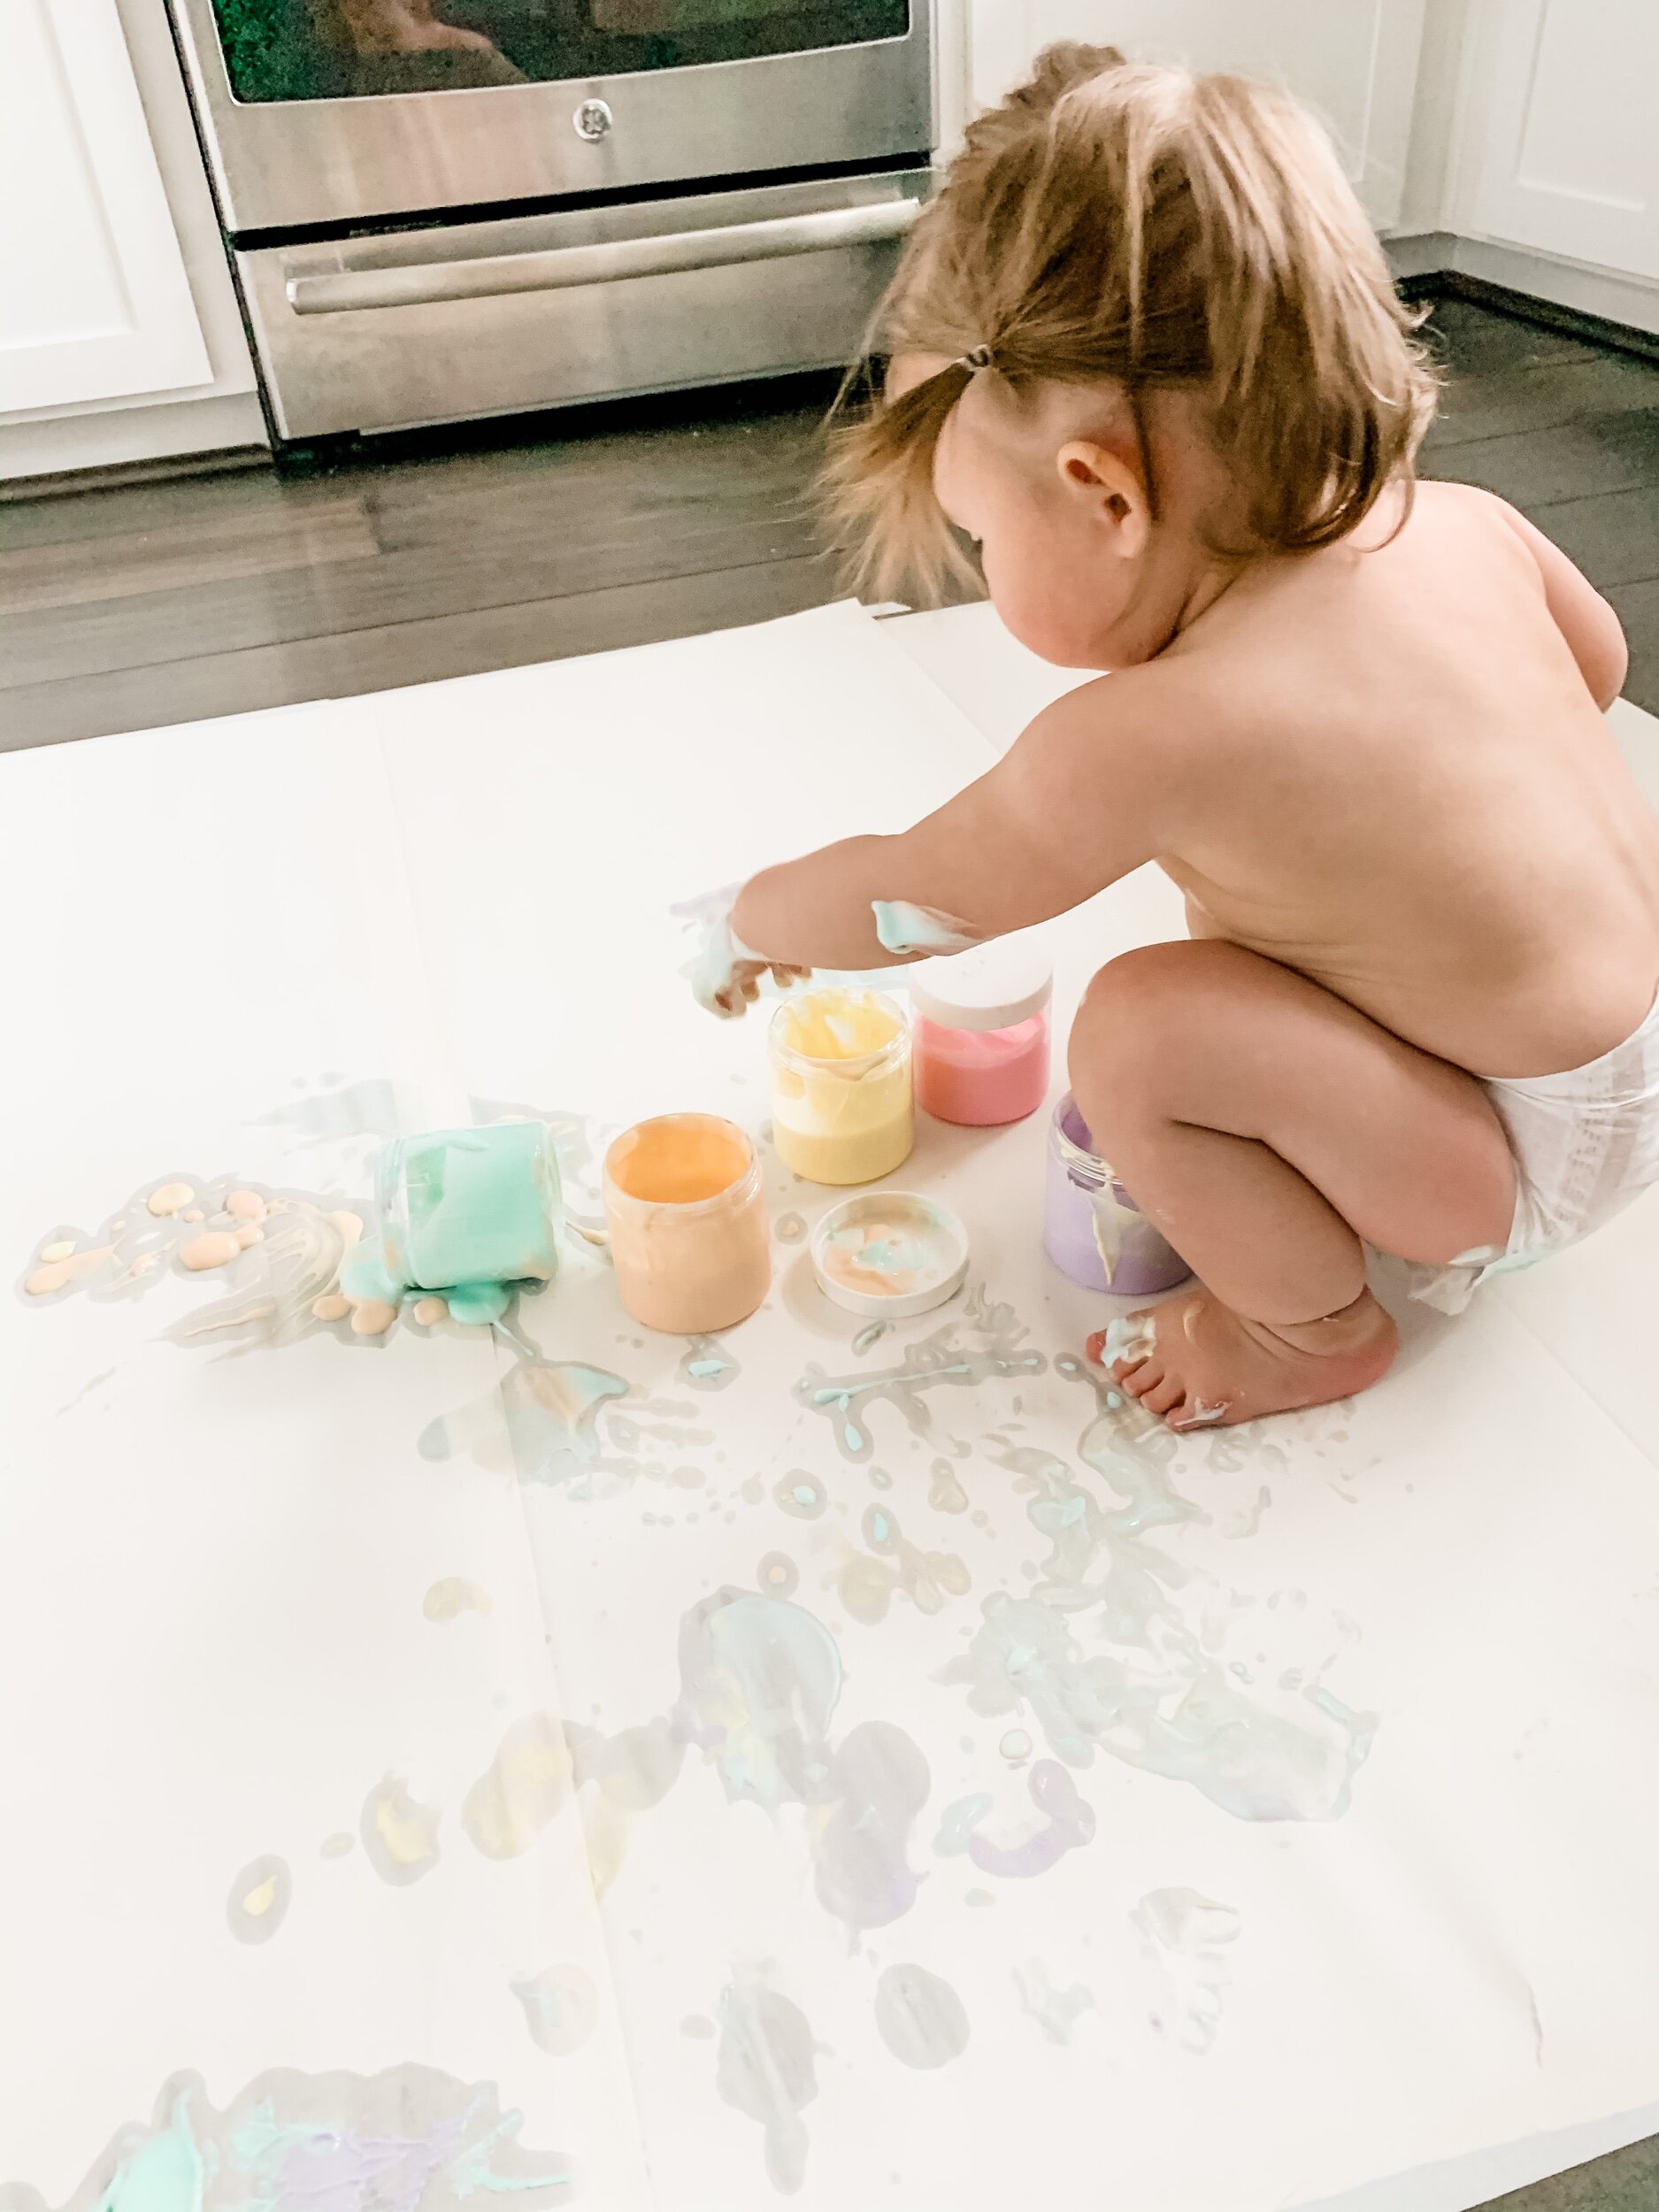
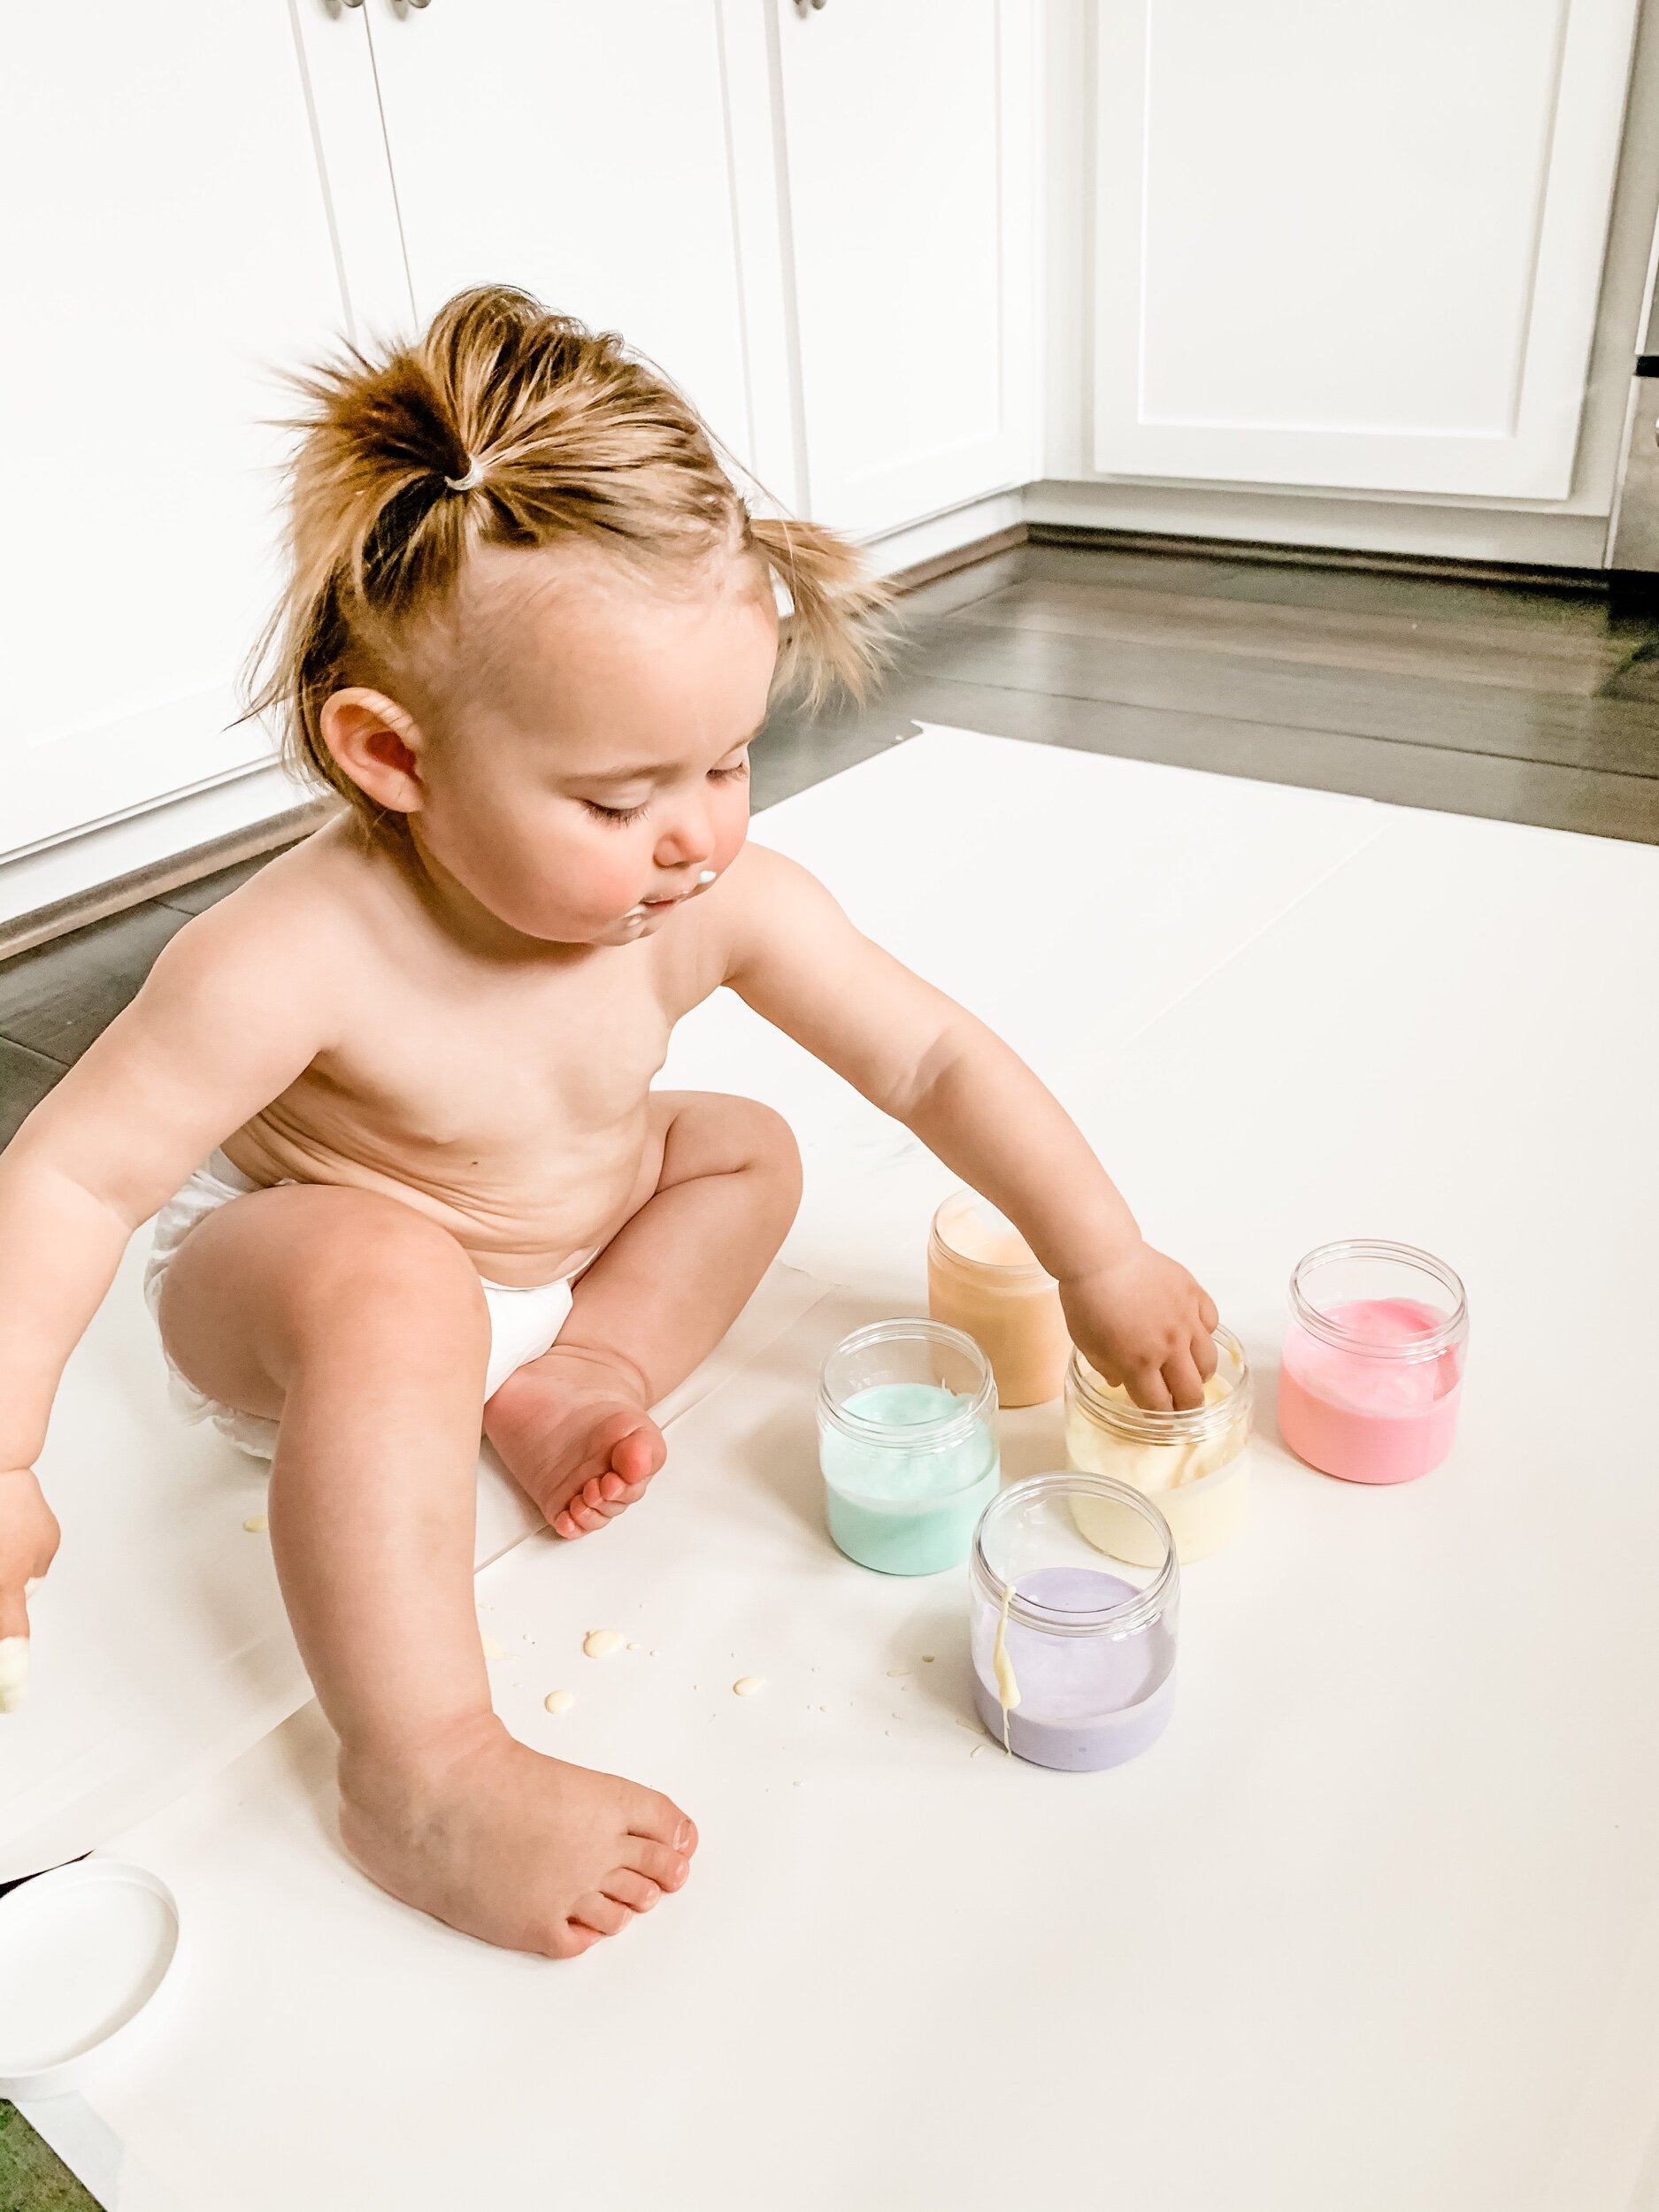
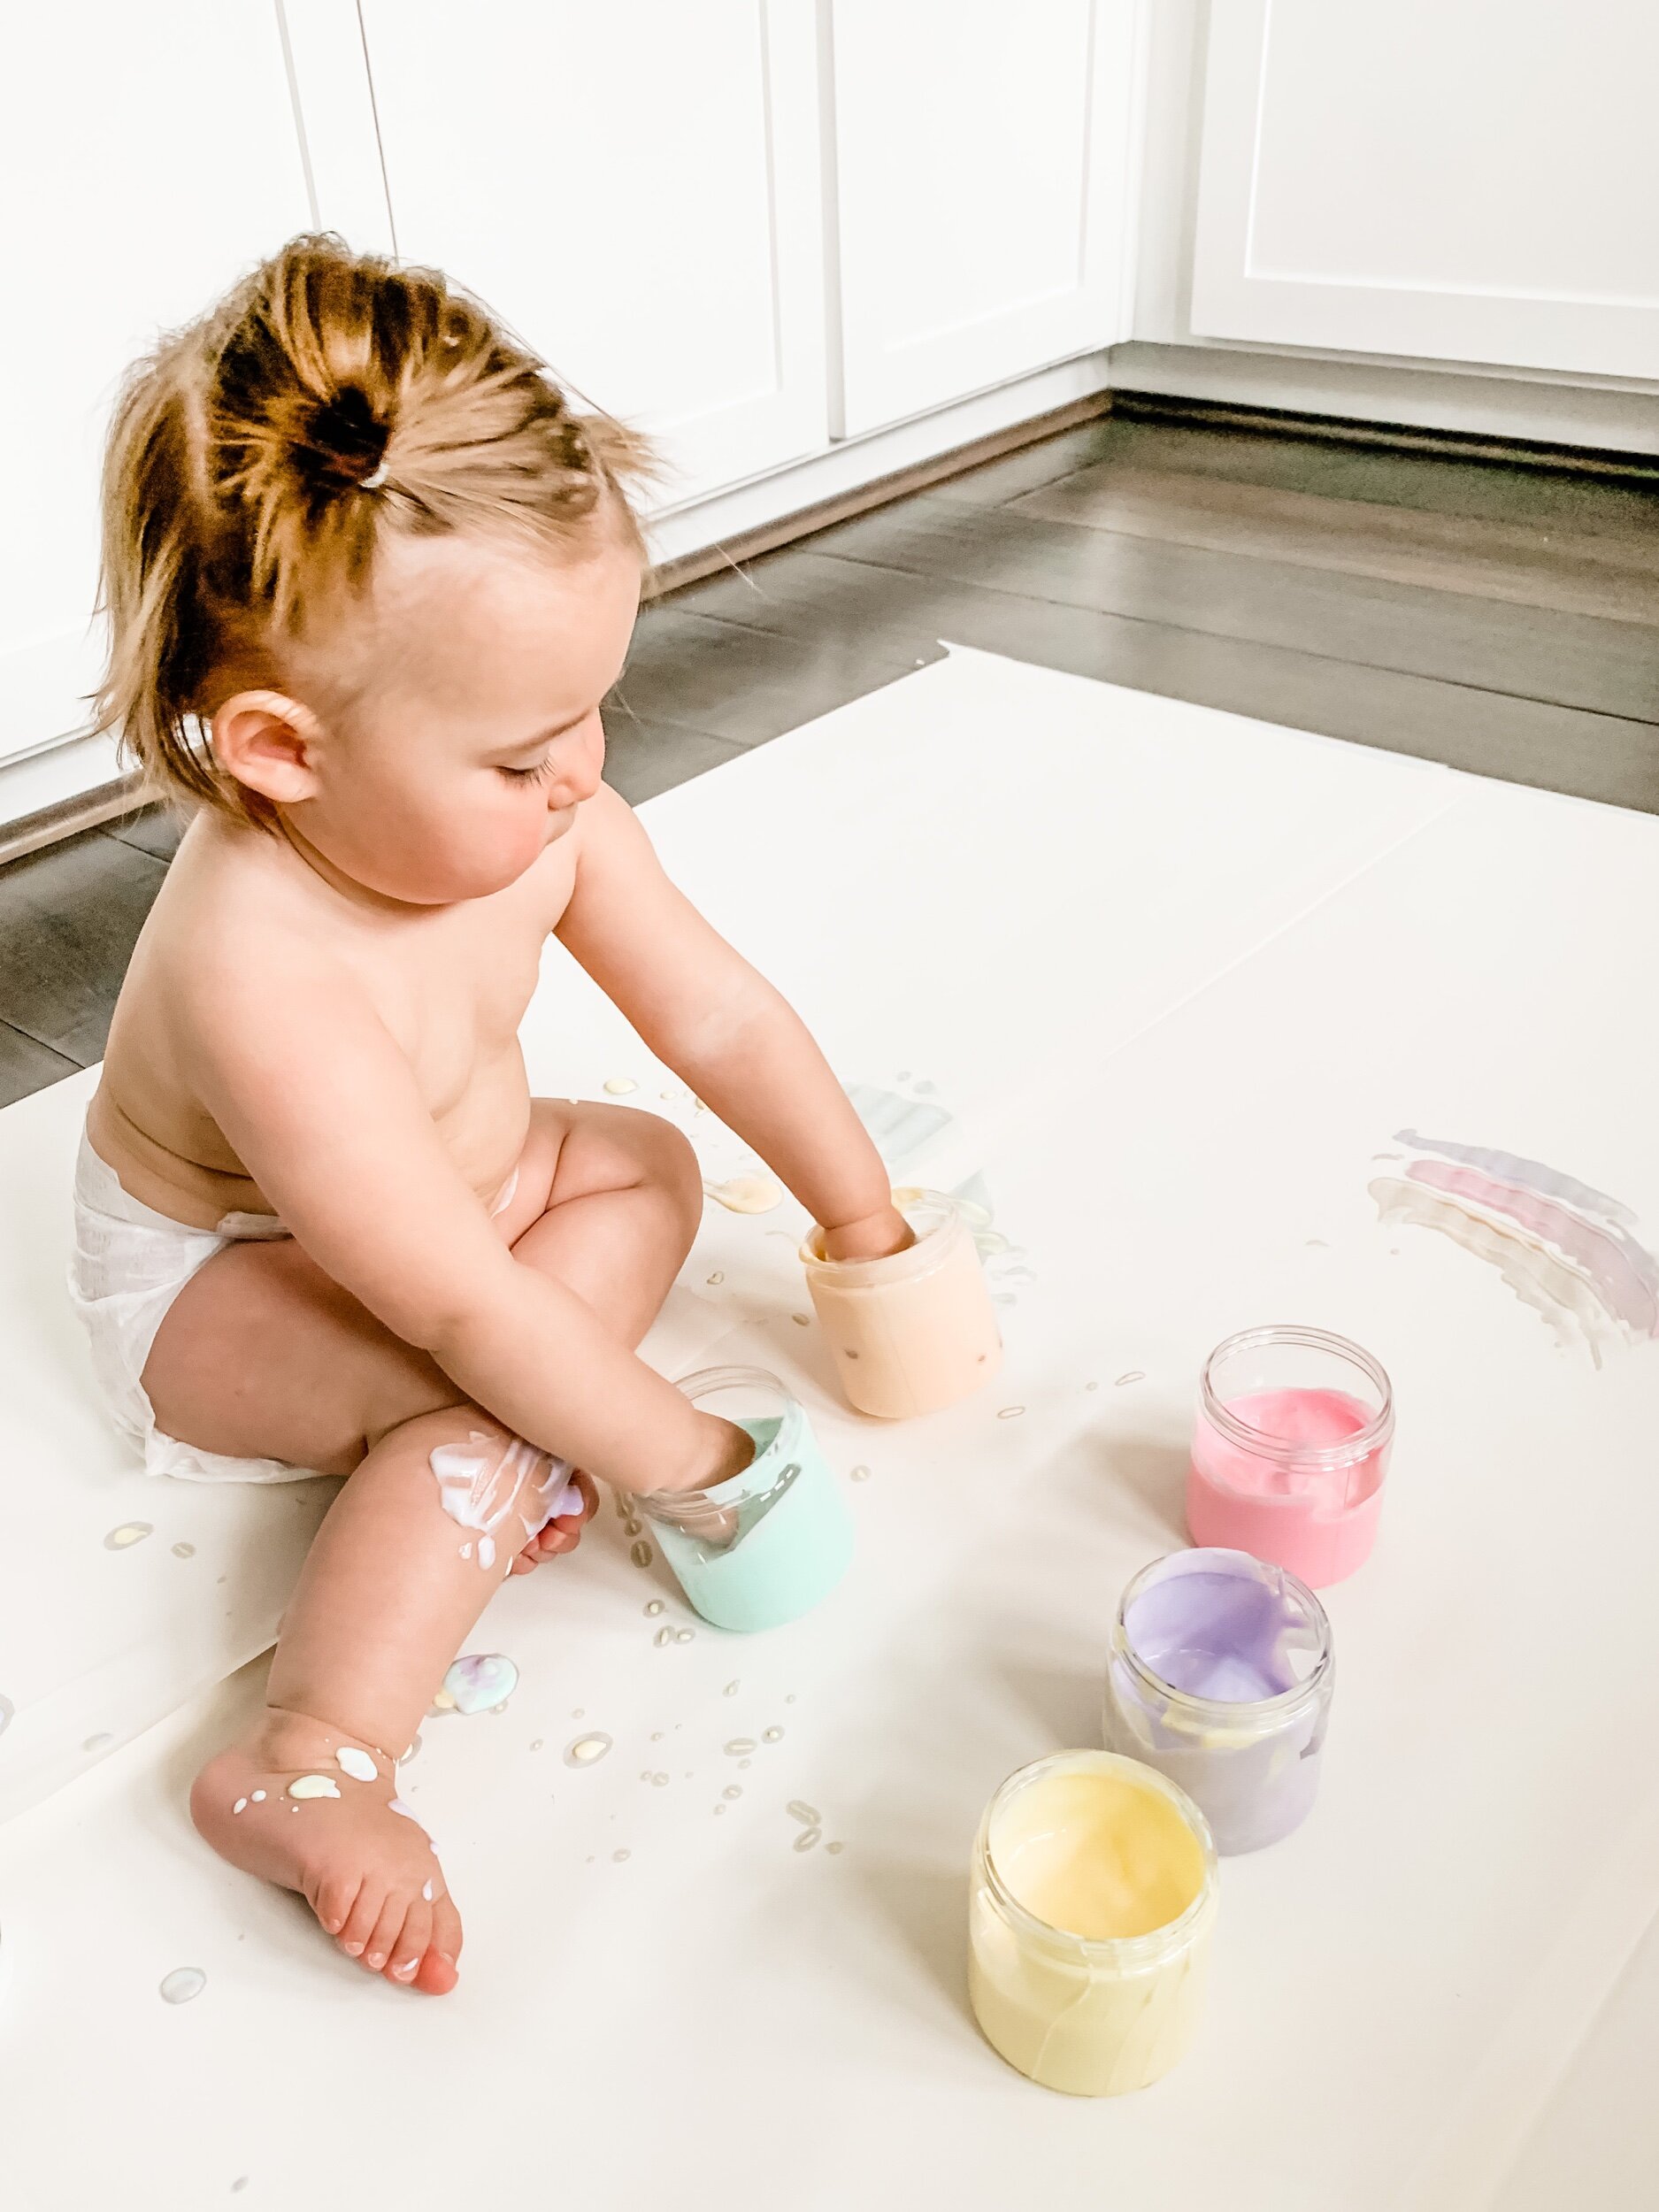
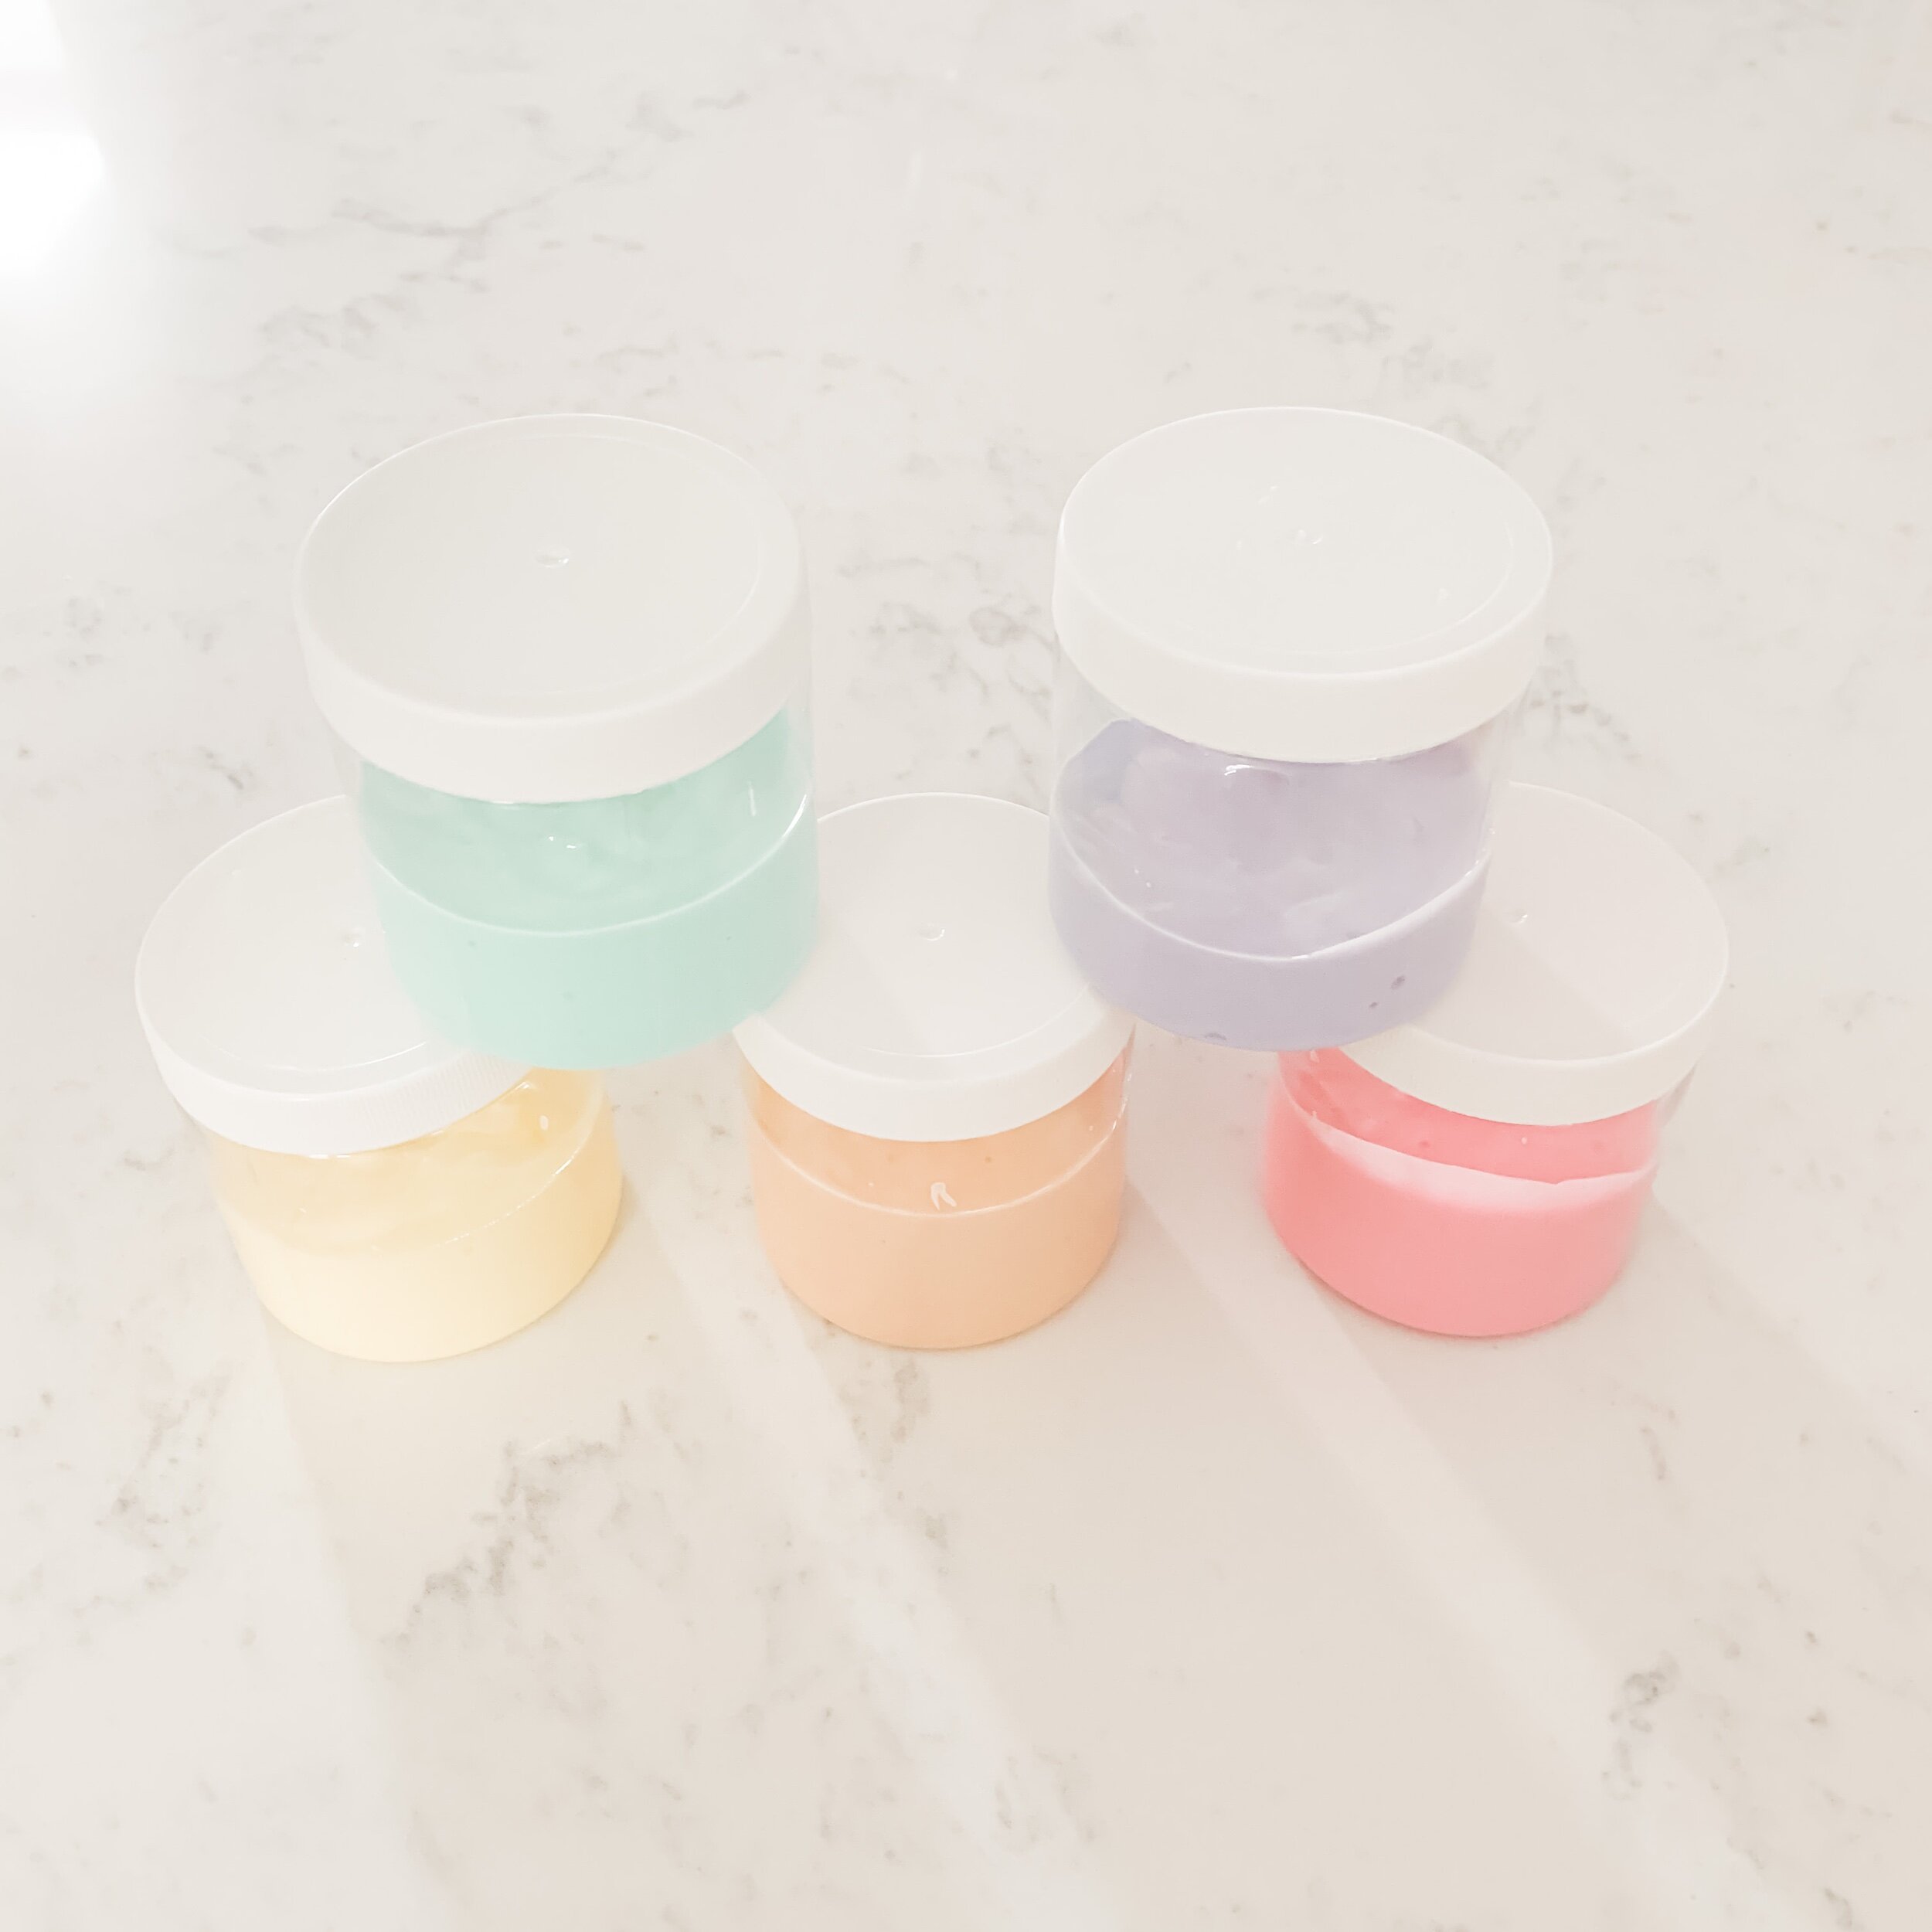
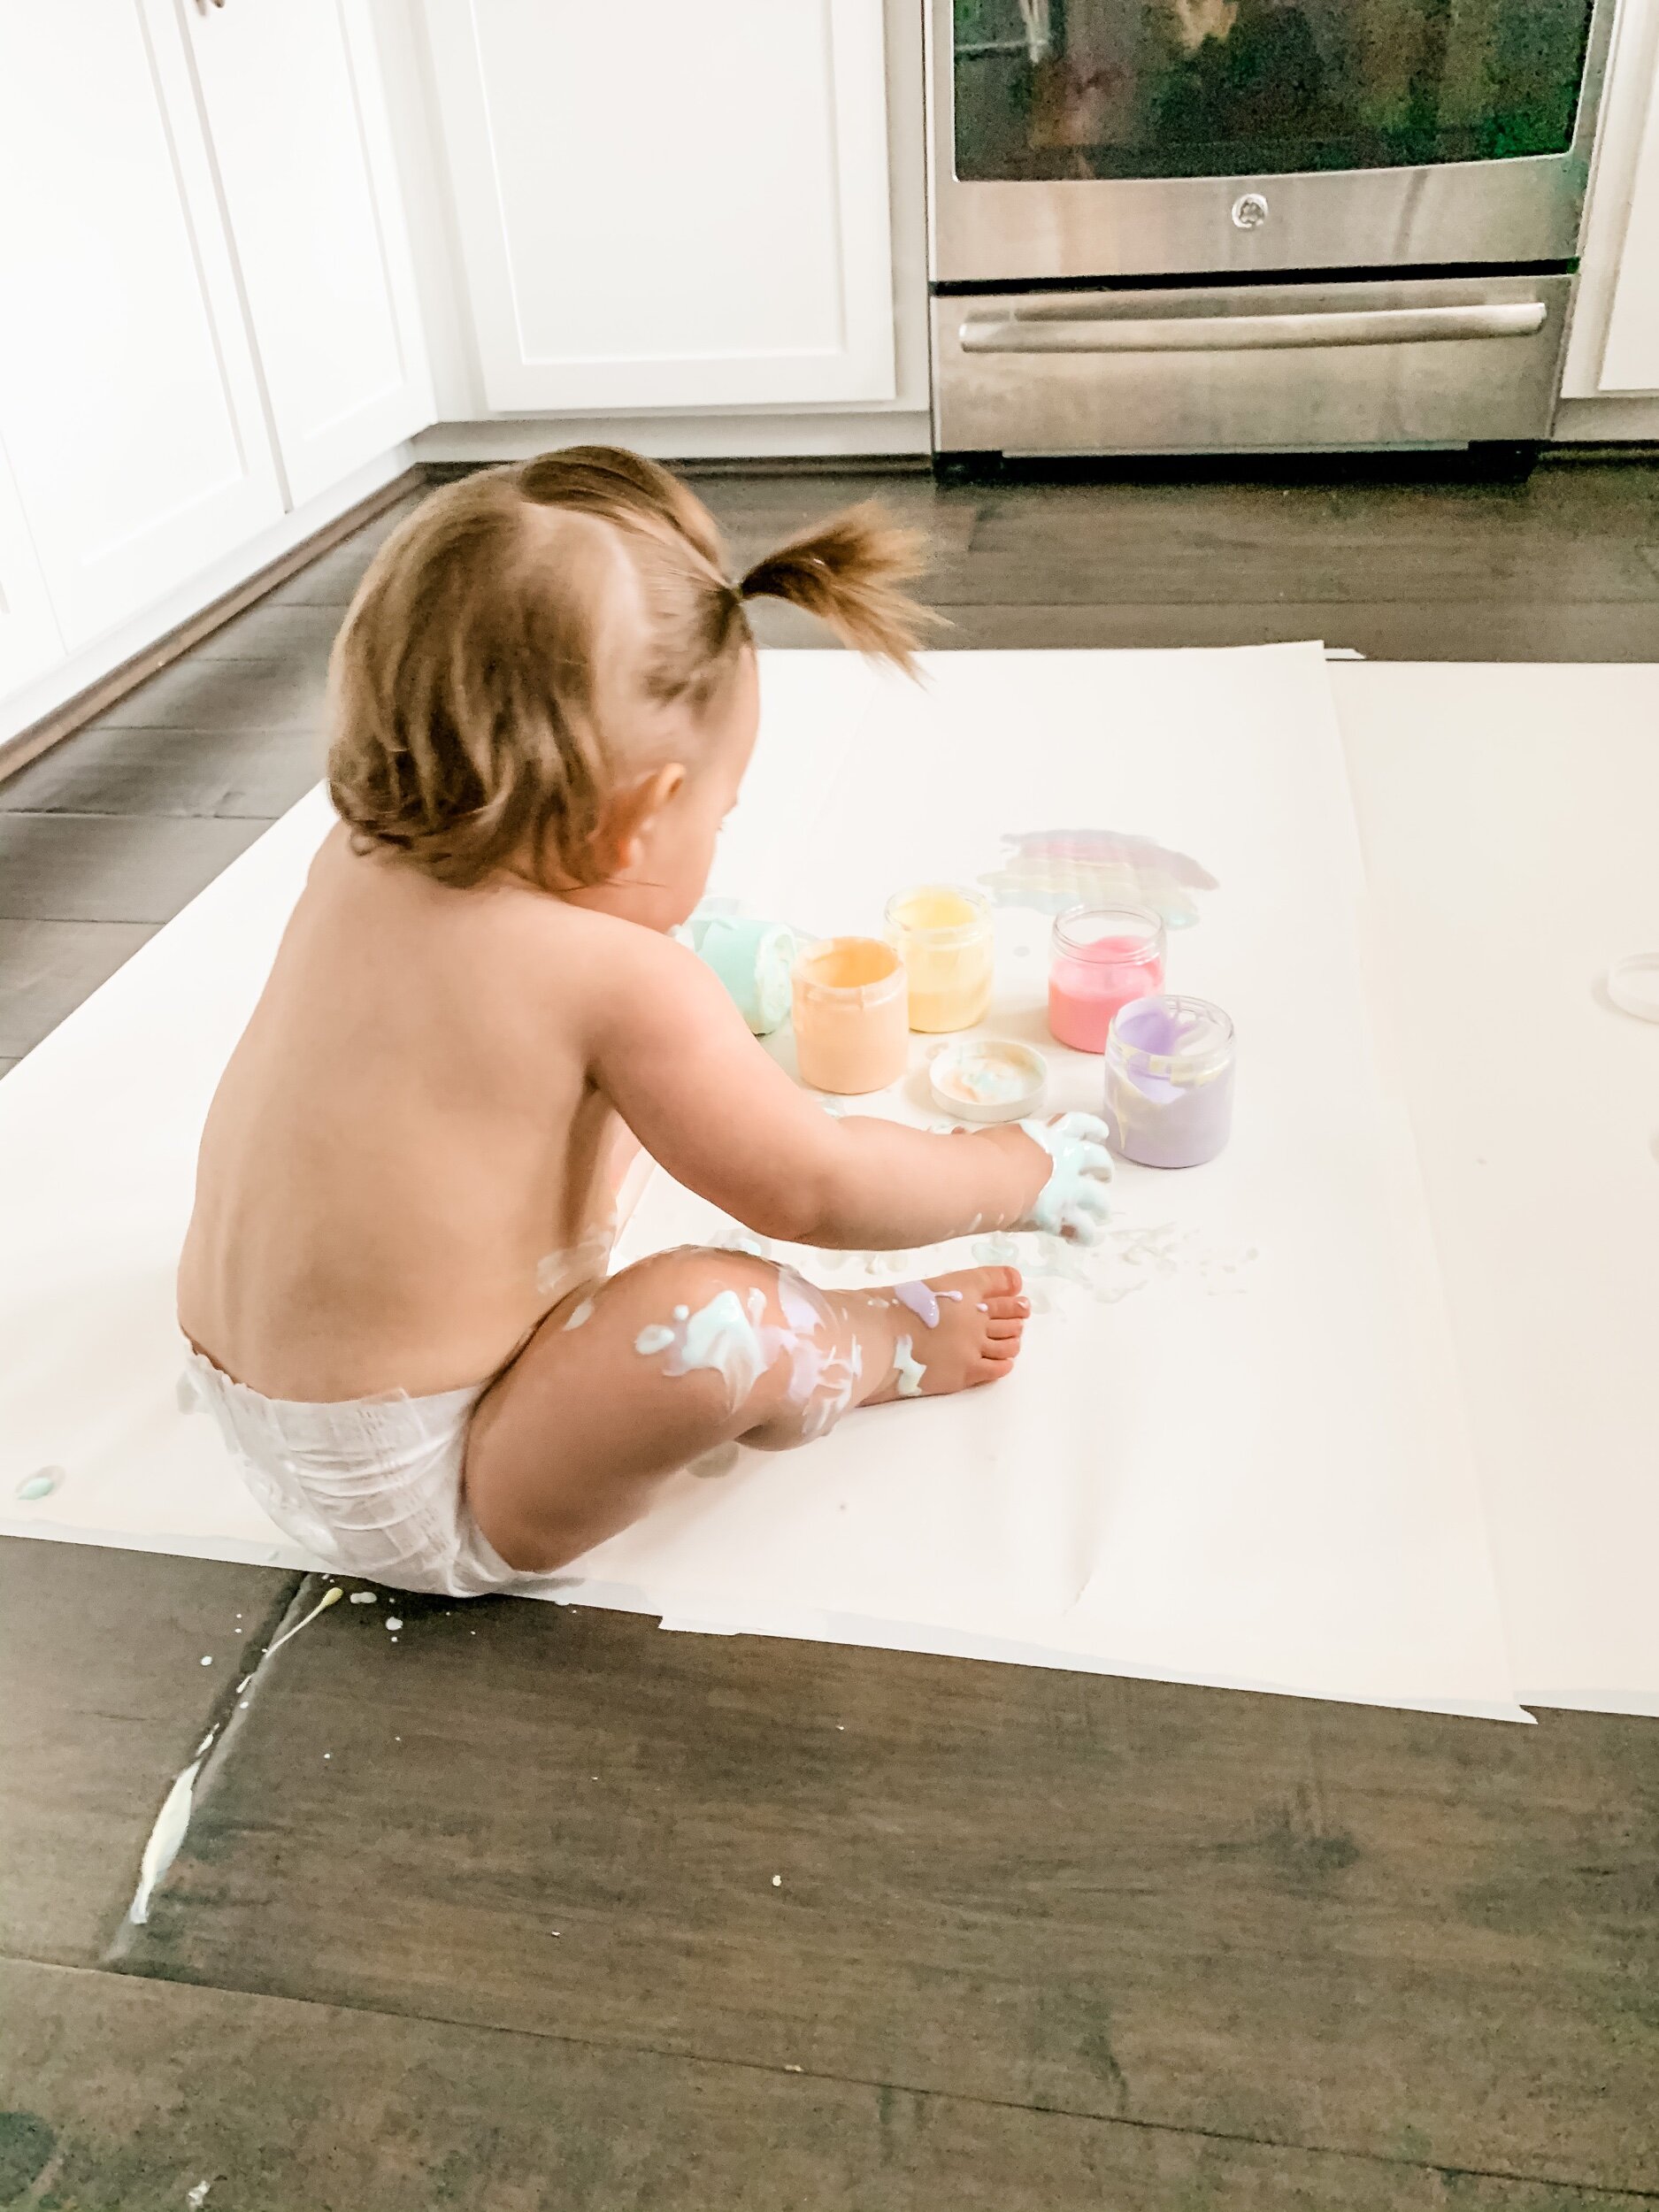
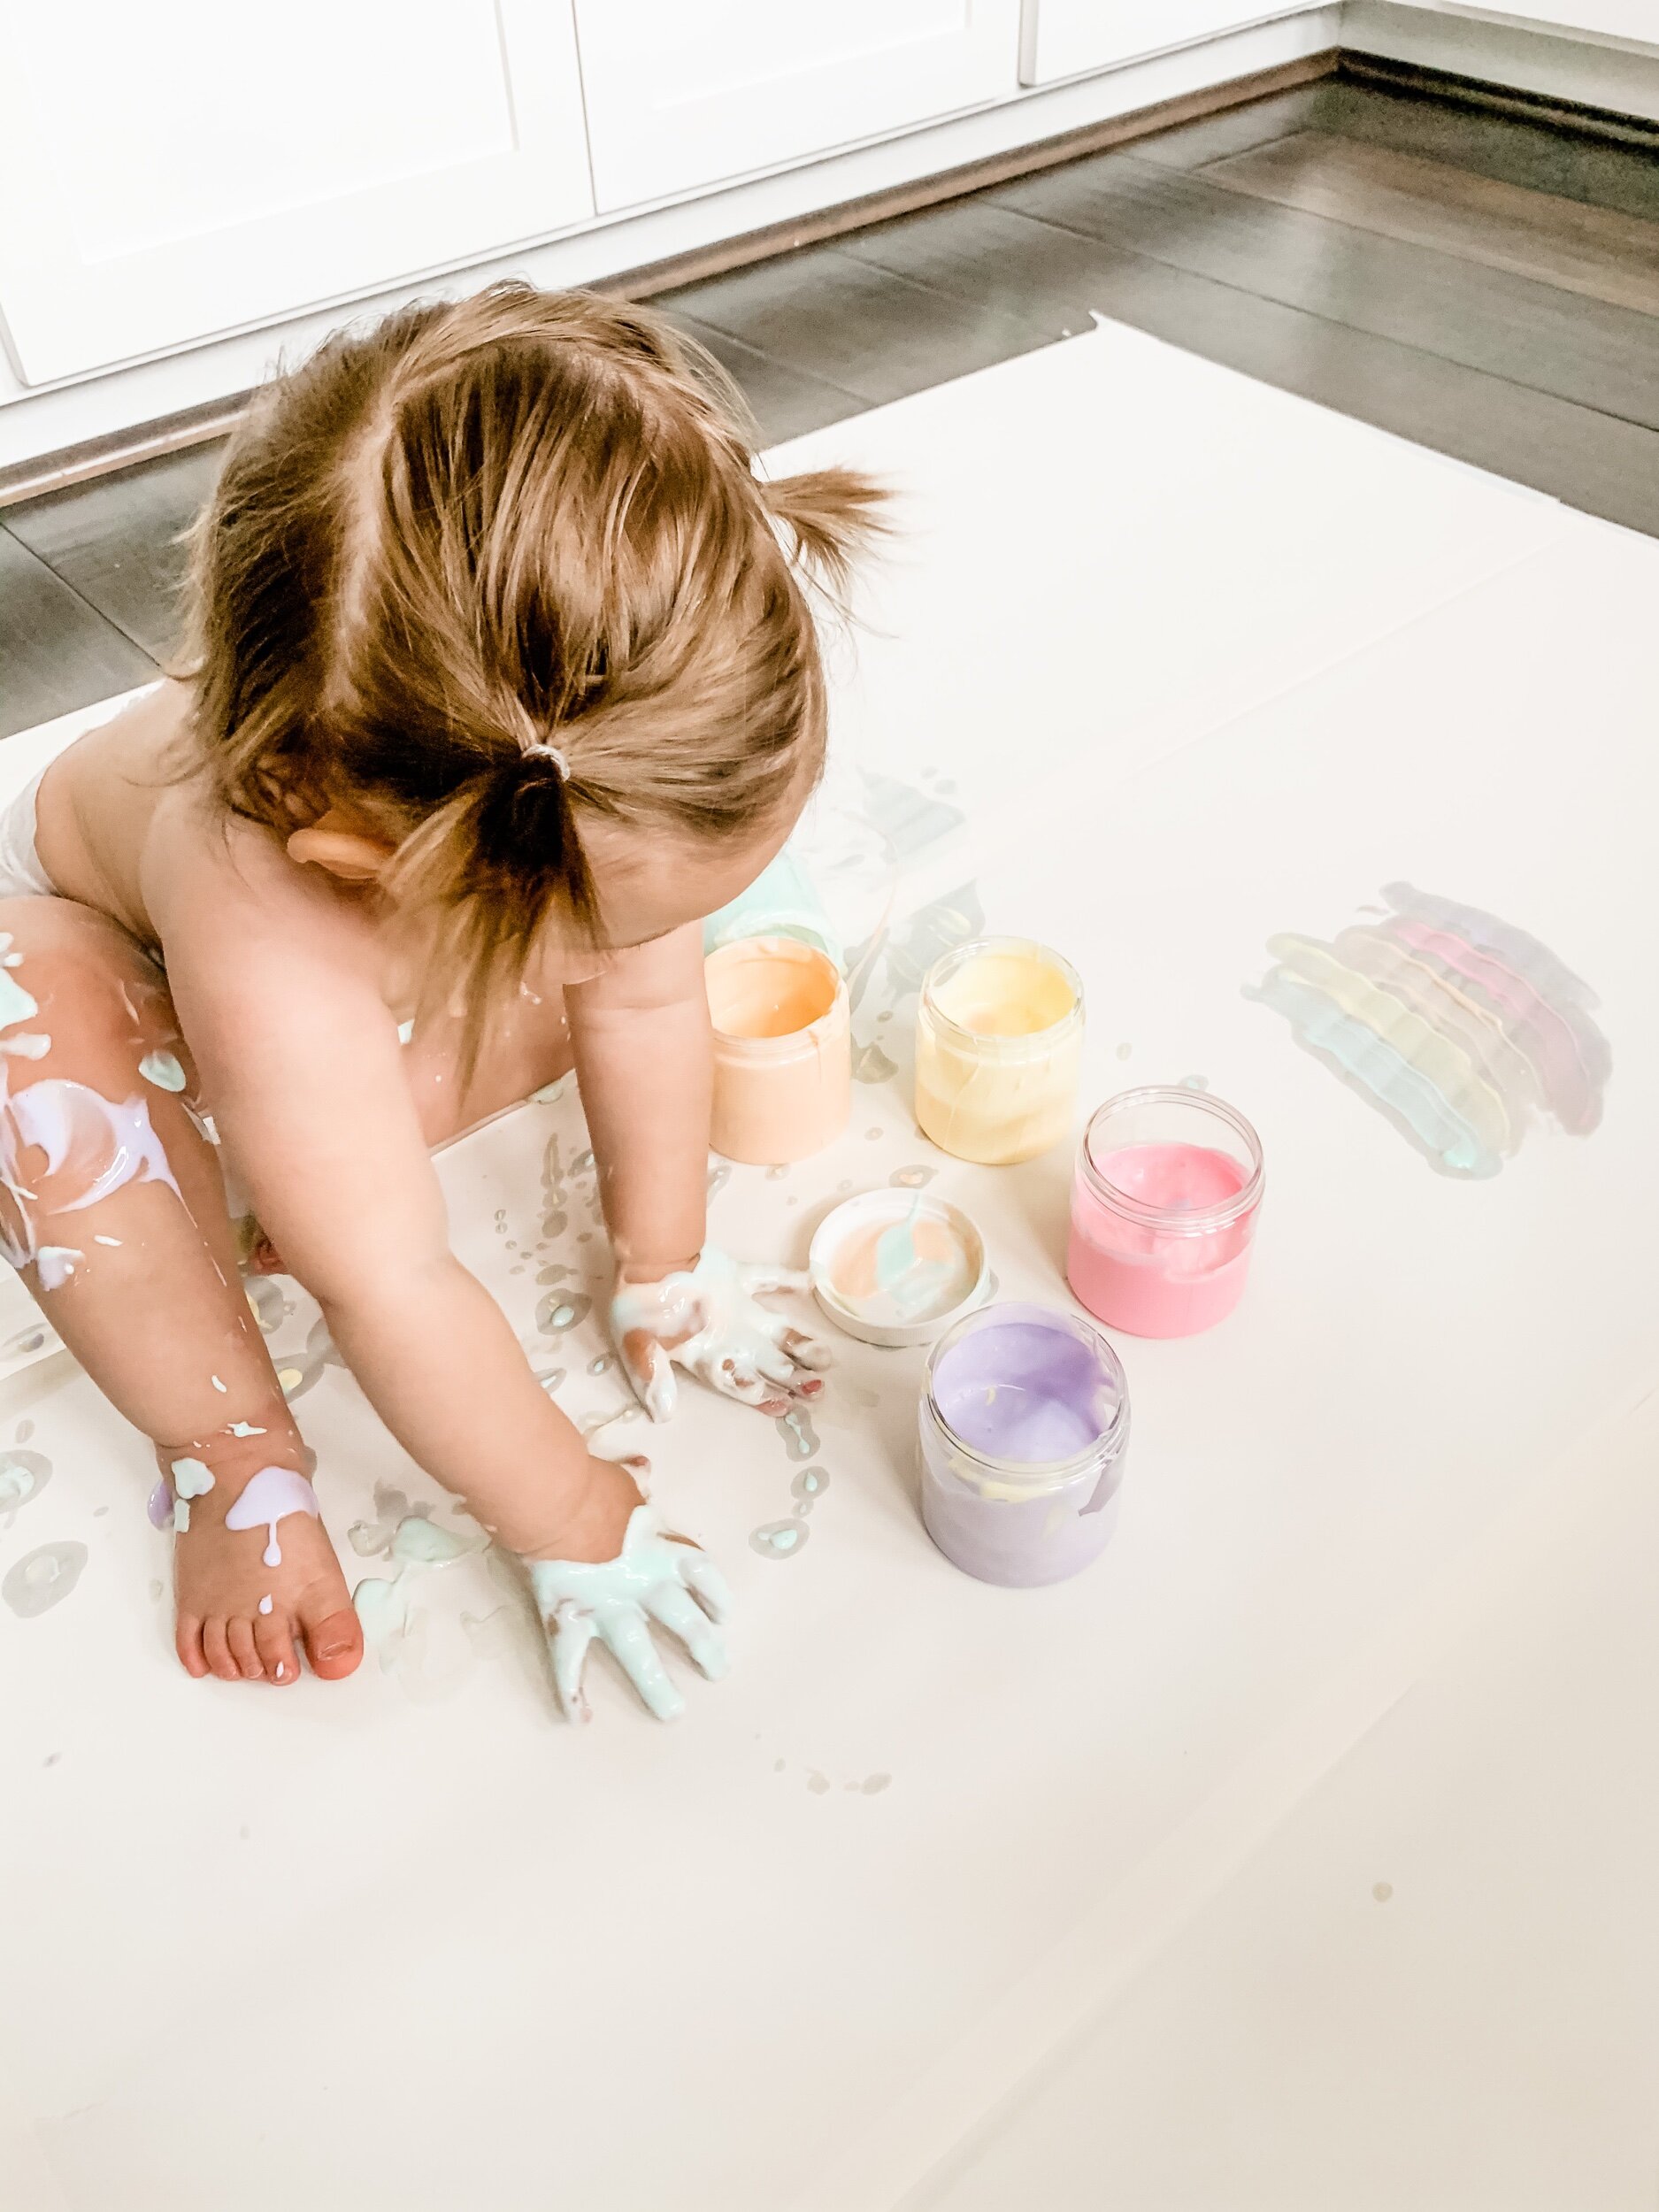
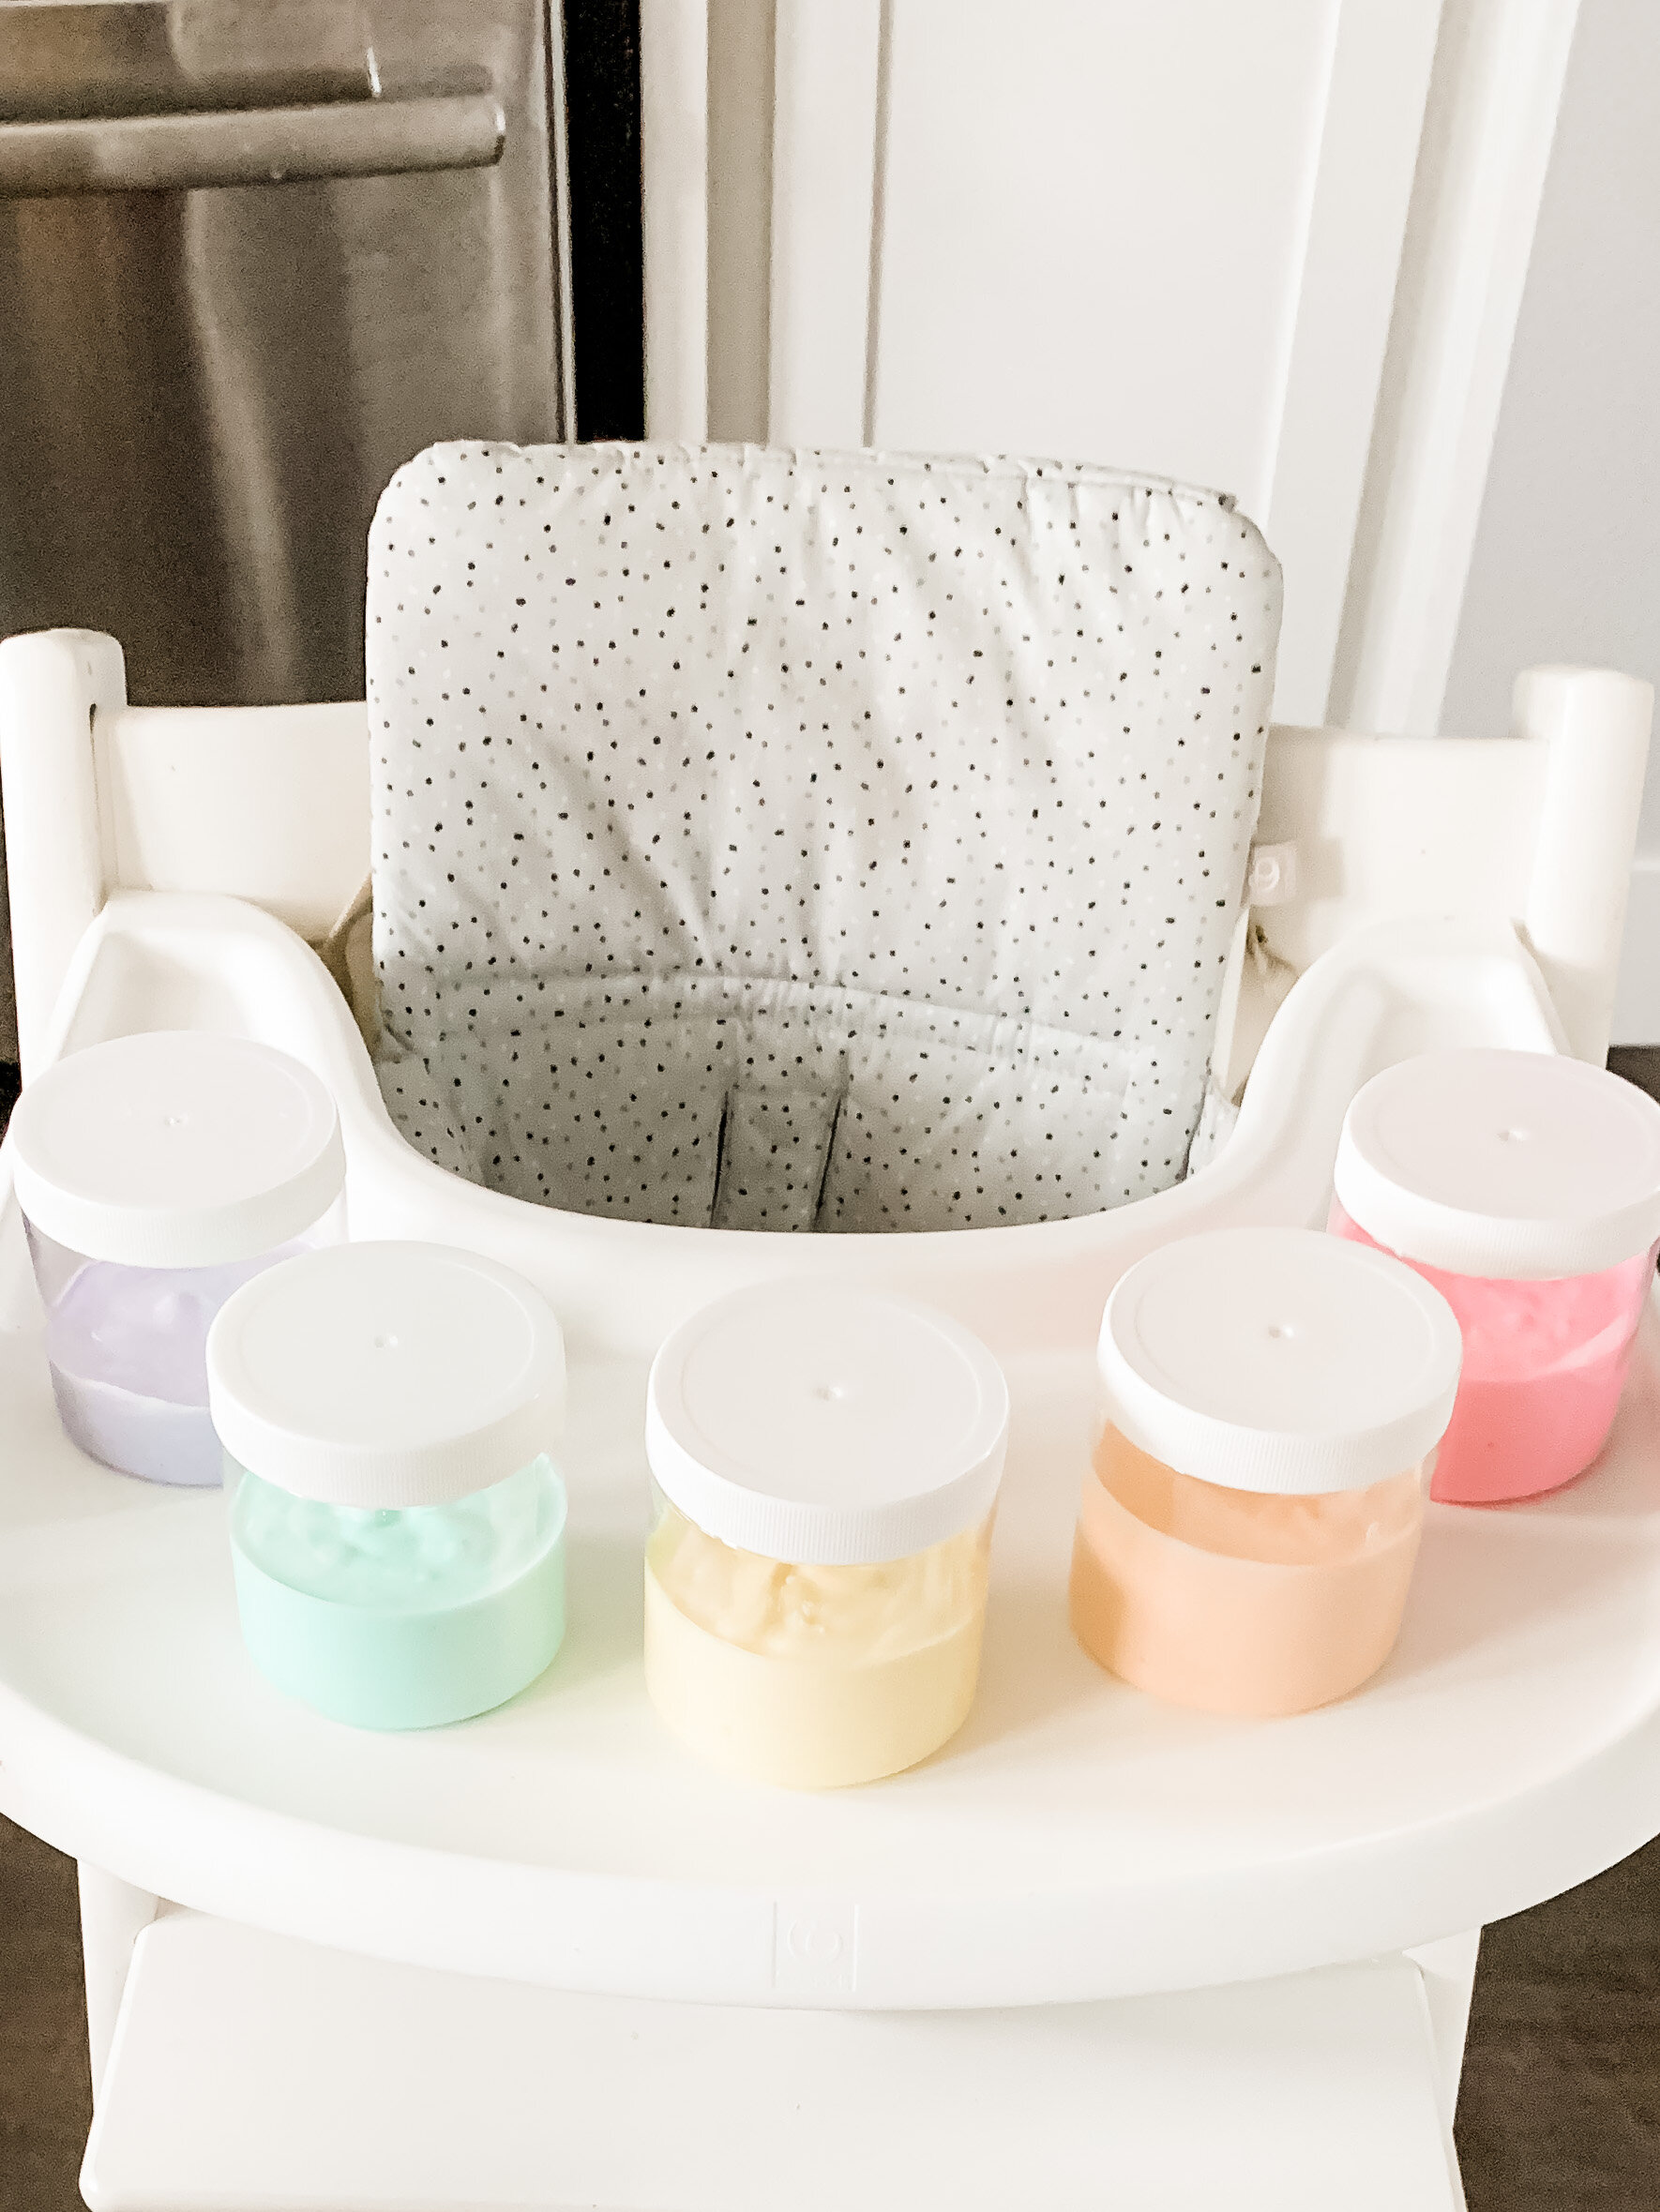
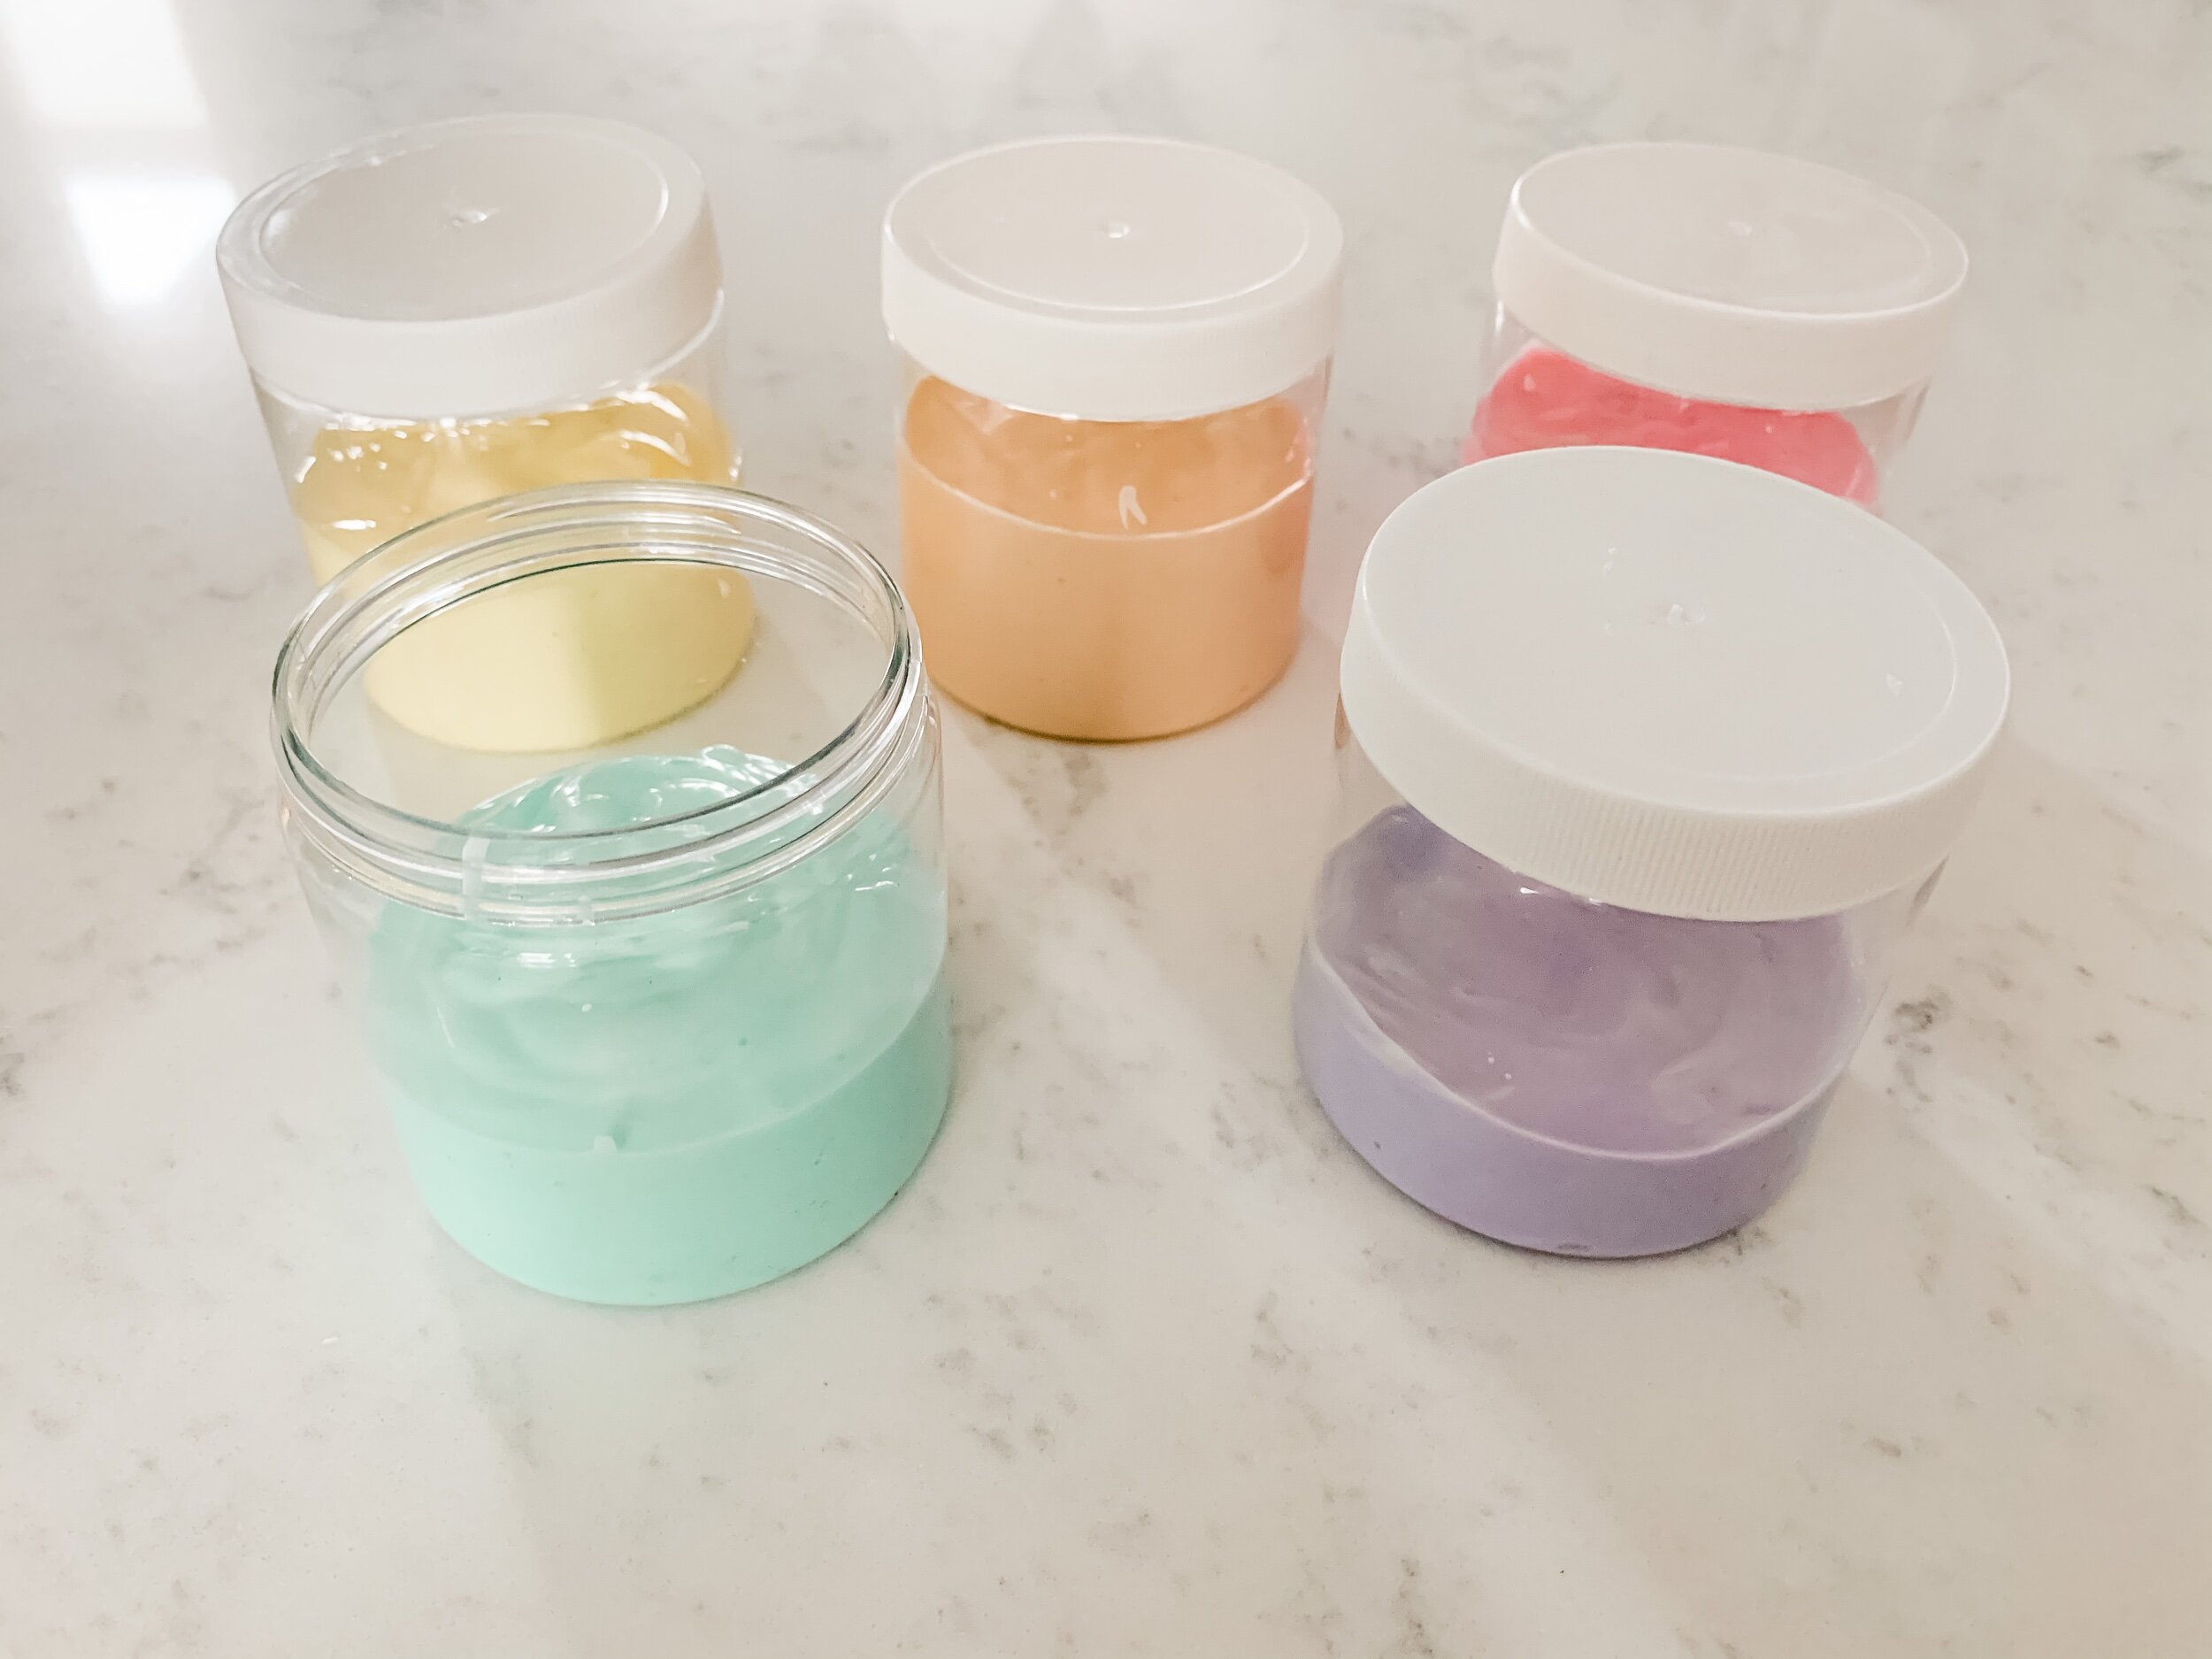
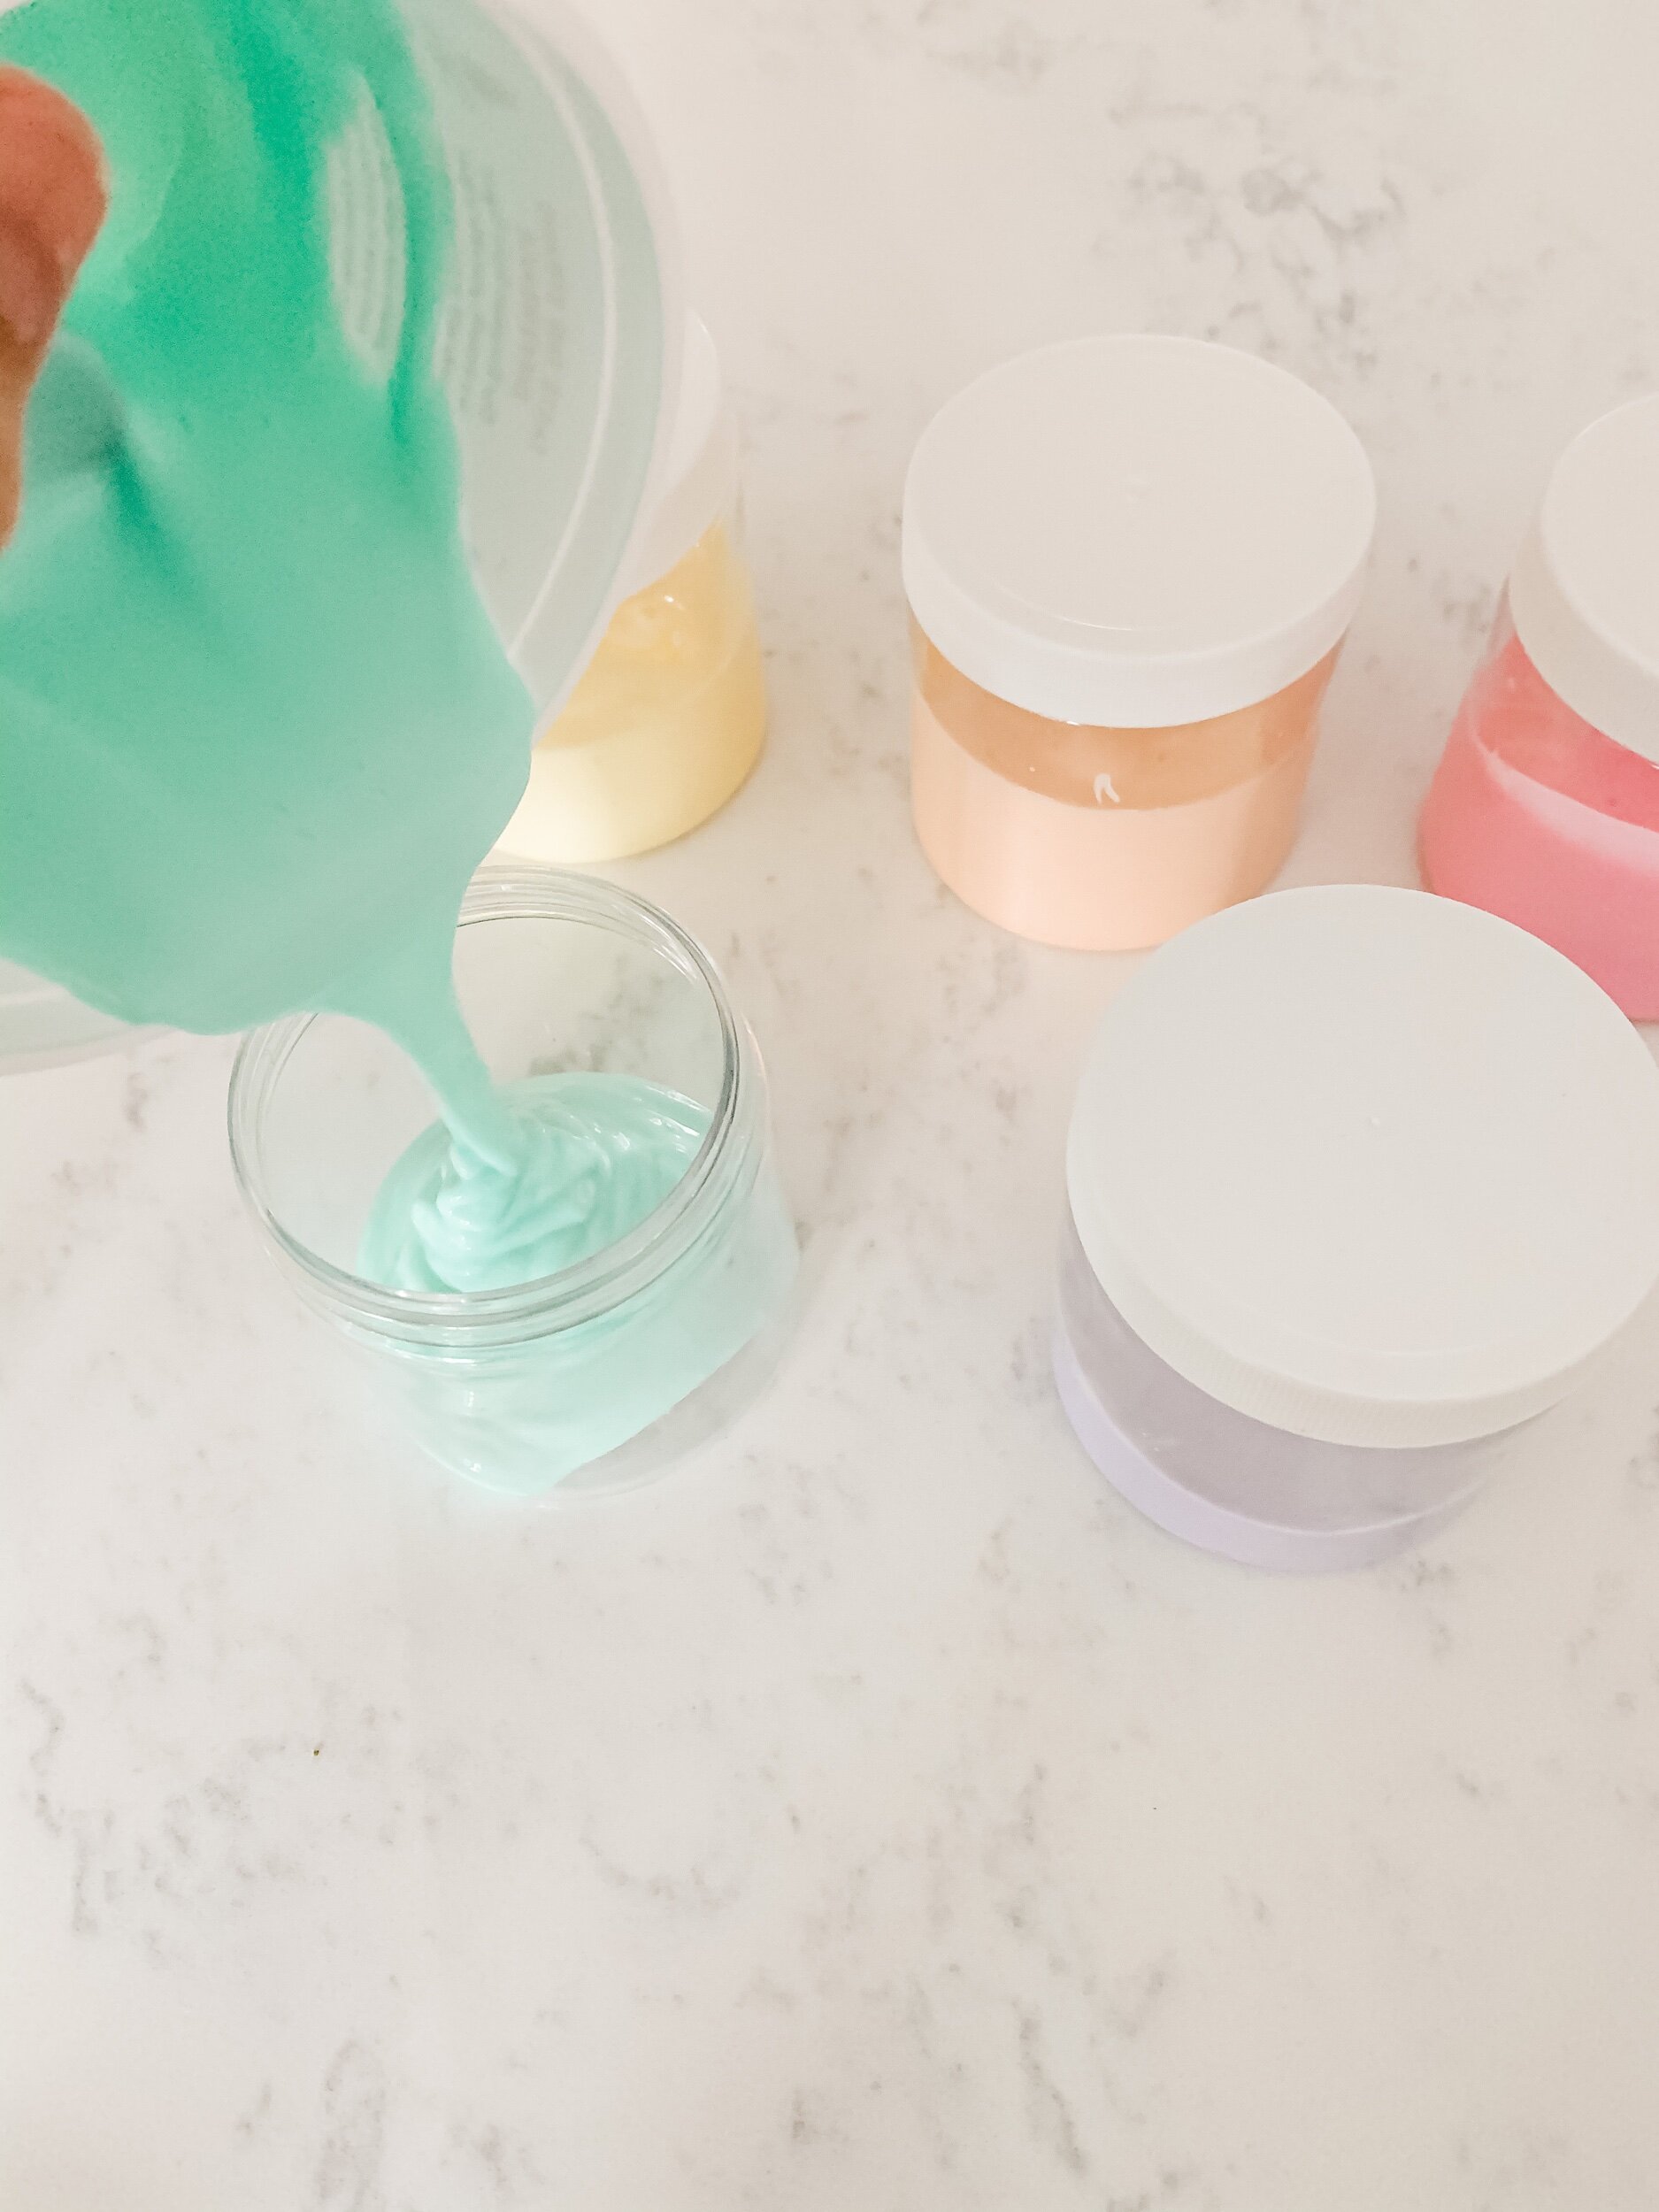
I wanted Sofie to be able to paint a little rainbow so I made these edible paints in rainbow colors. I made each one in the same tub to avoid doing dishes and just washed it as I went. Then I poured them into these plastic jars that I got at Michael’s for under a dollar!
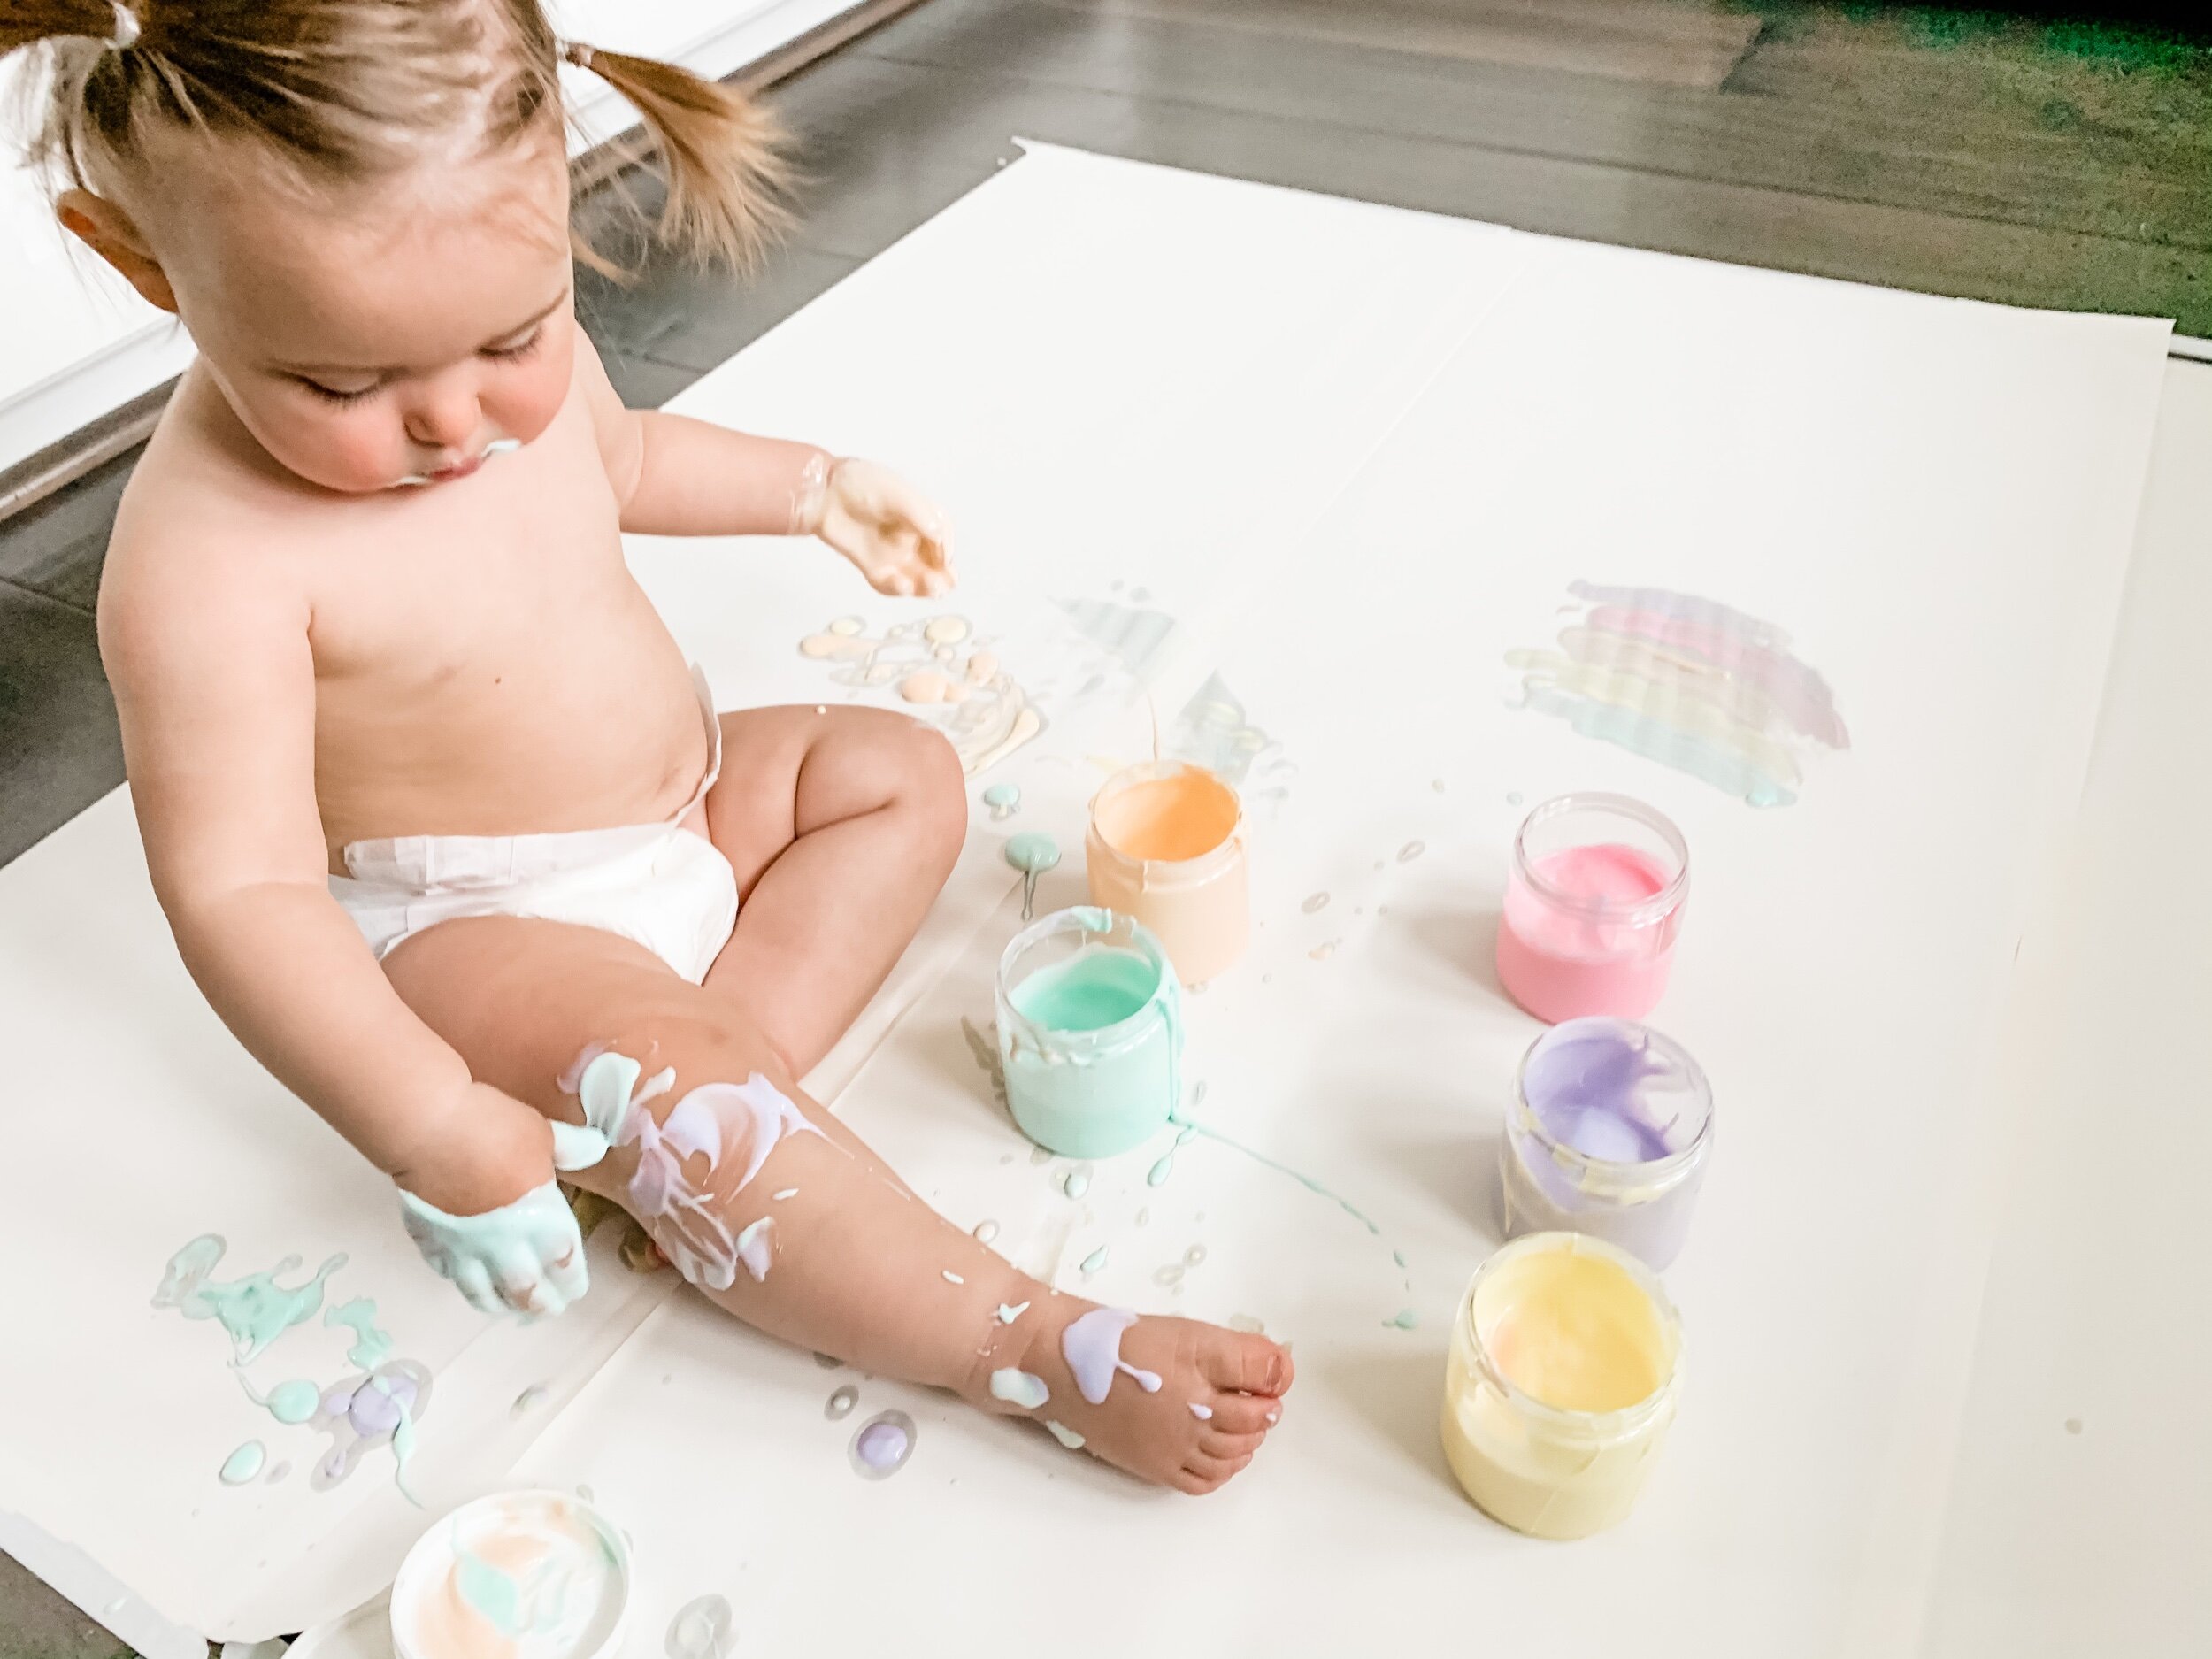
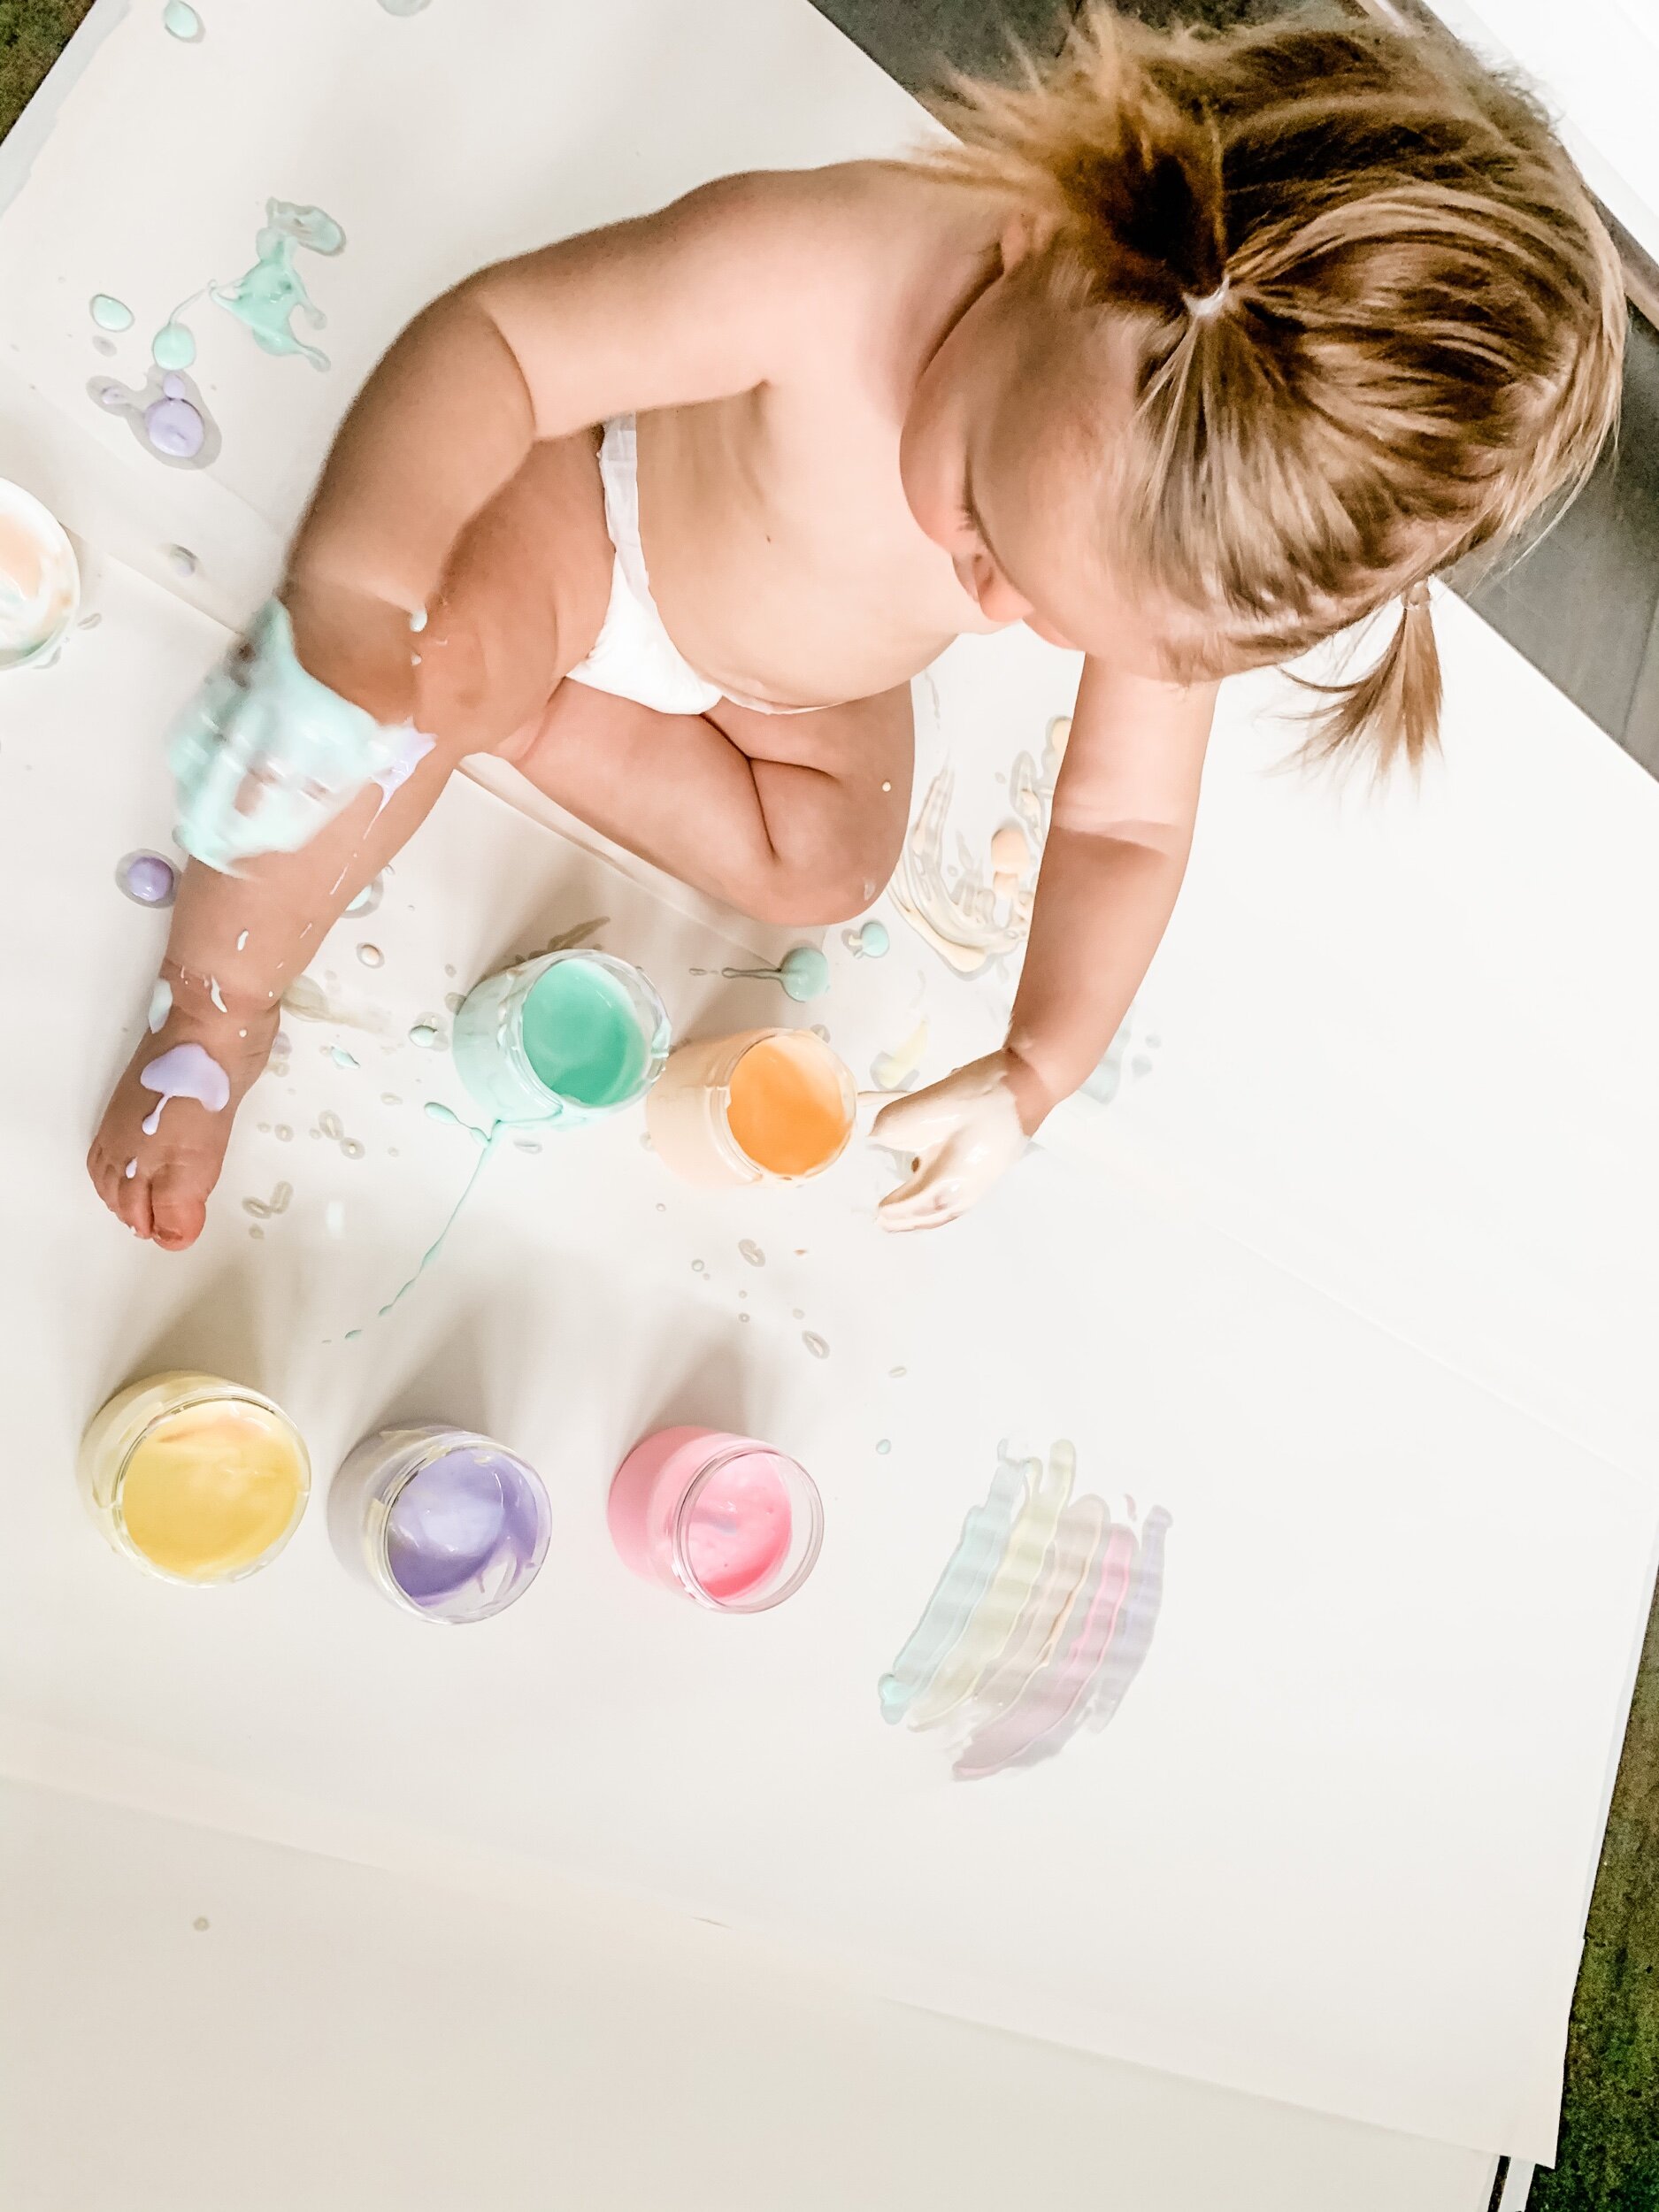
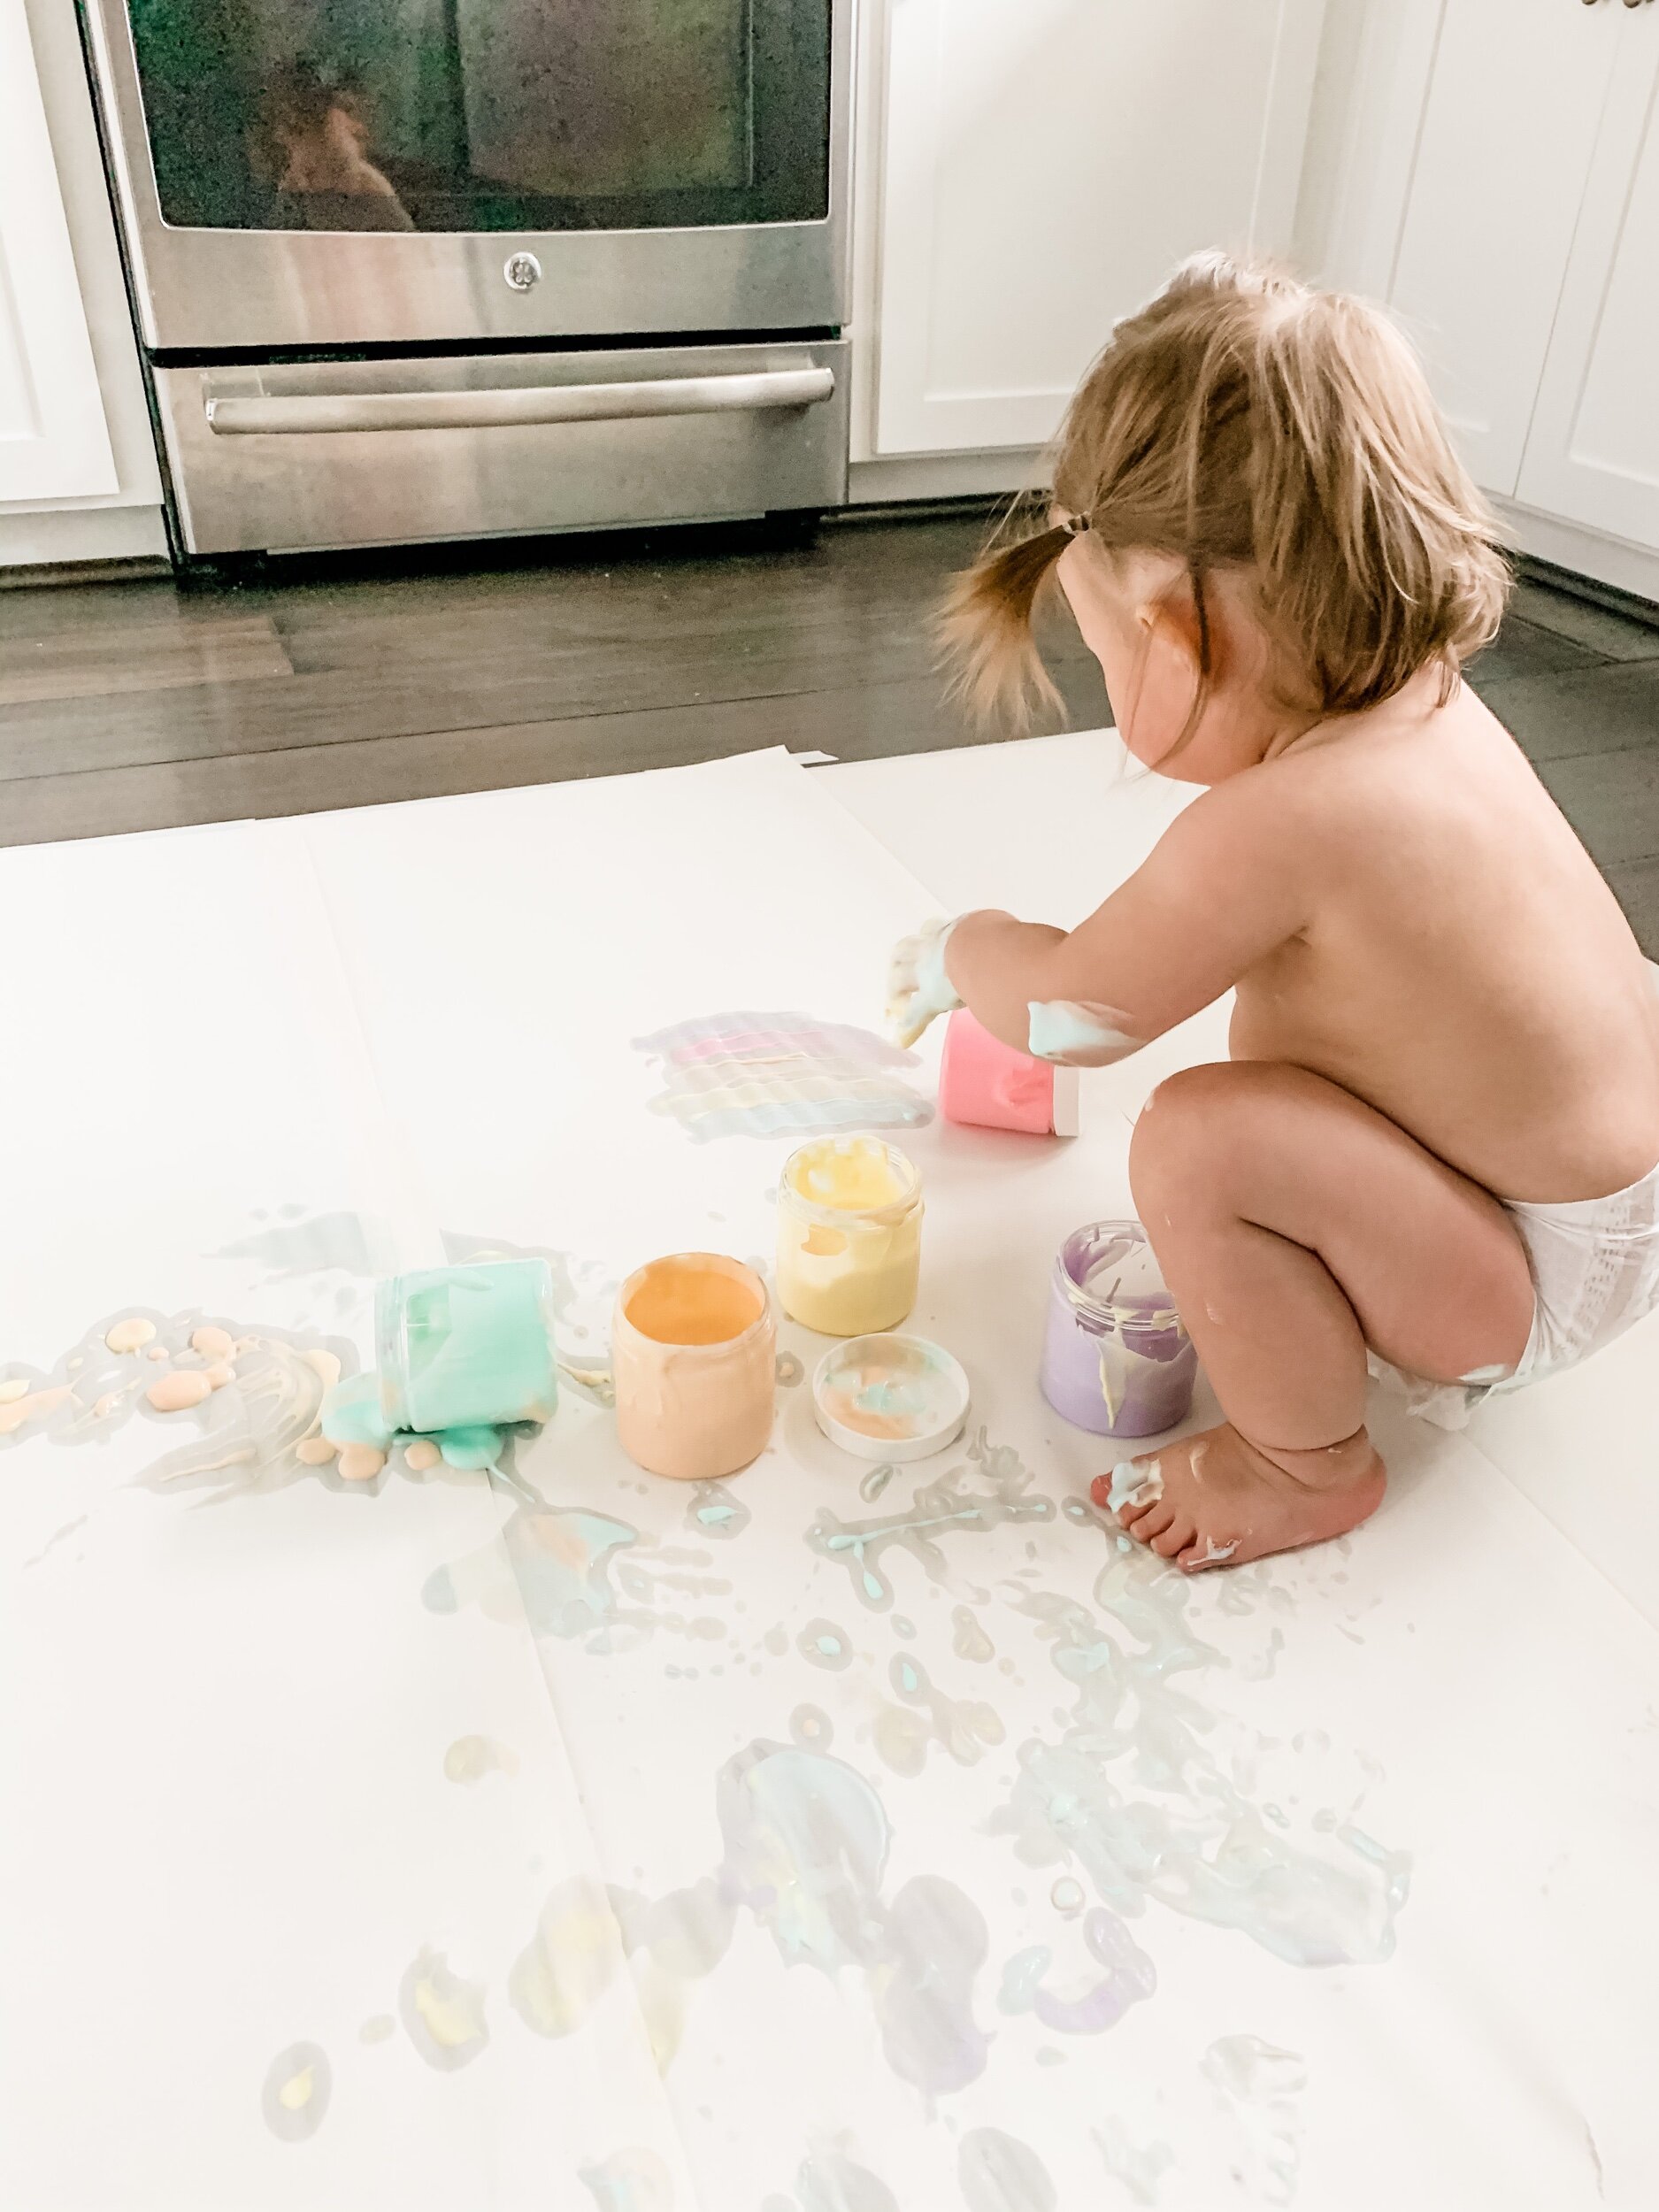
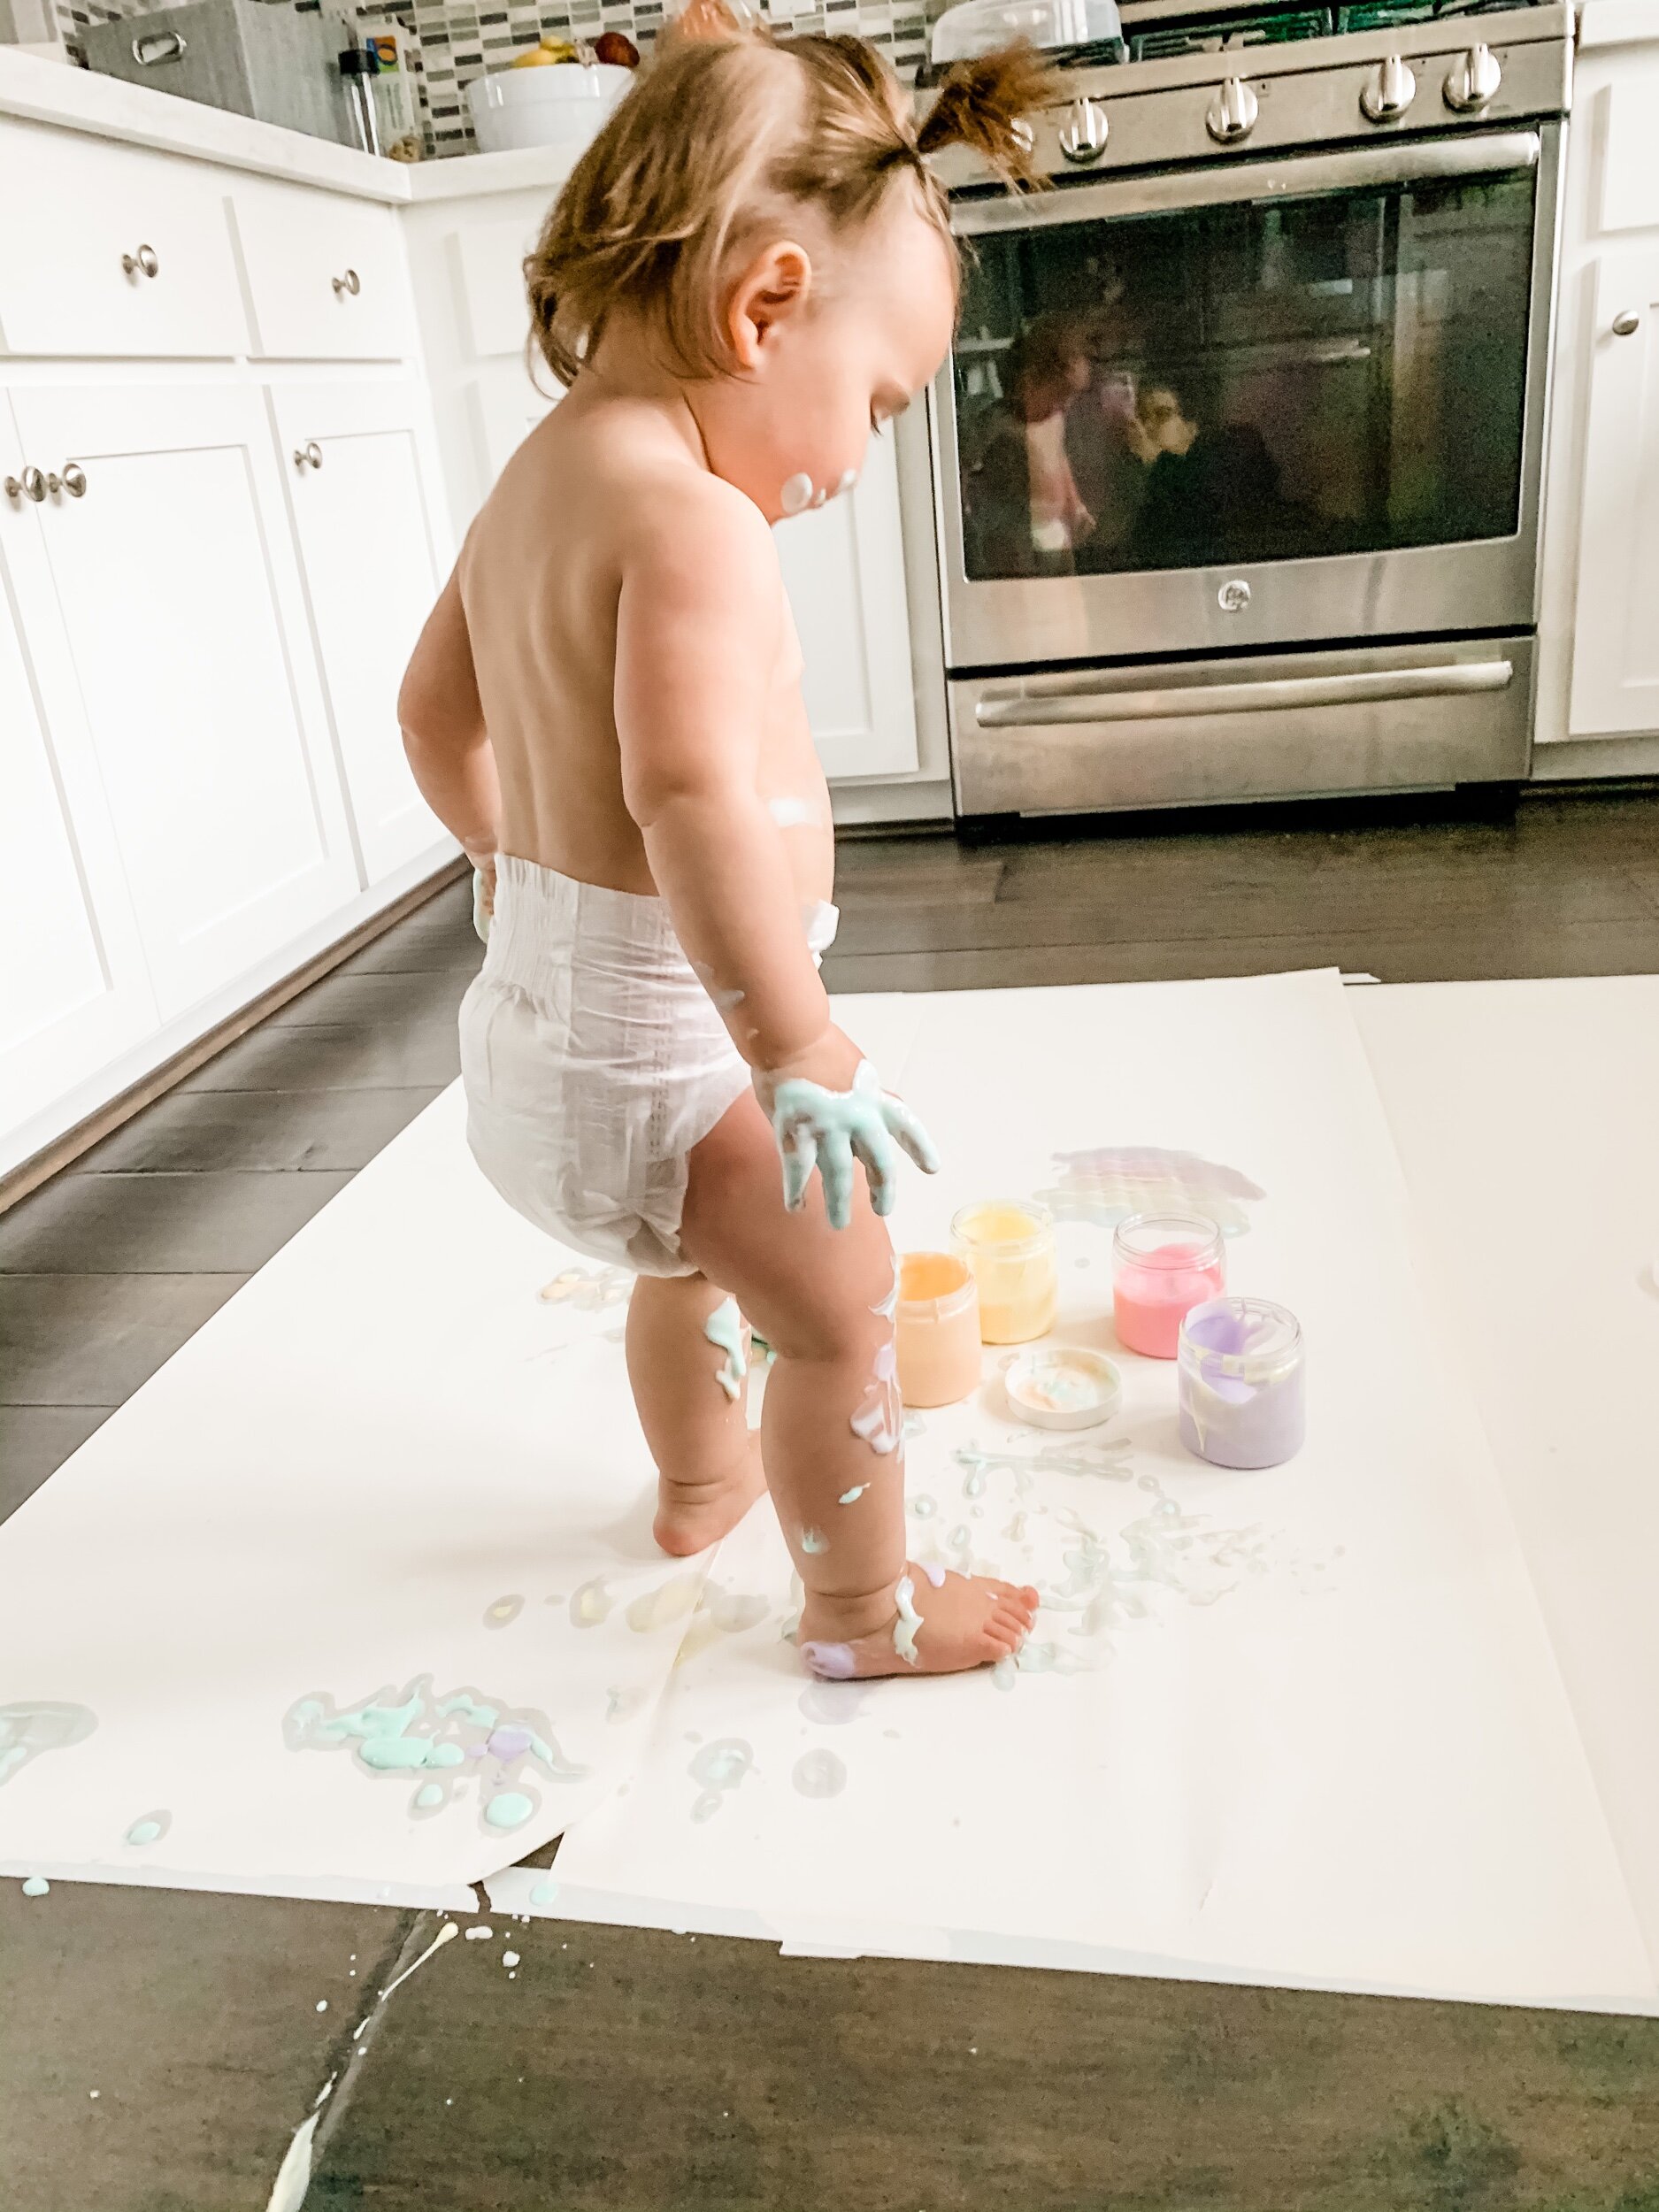
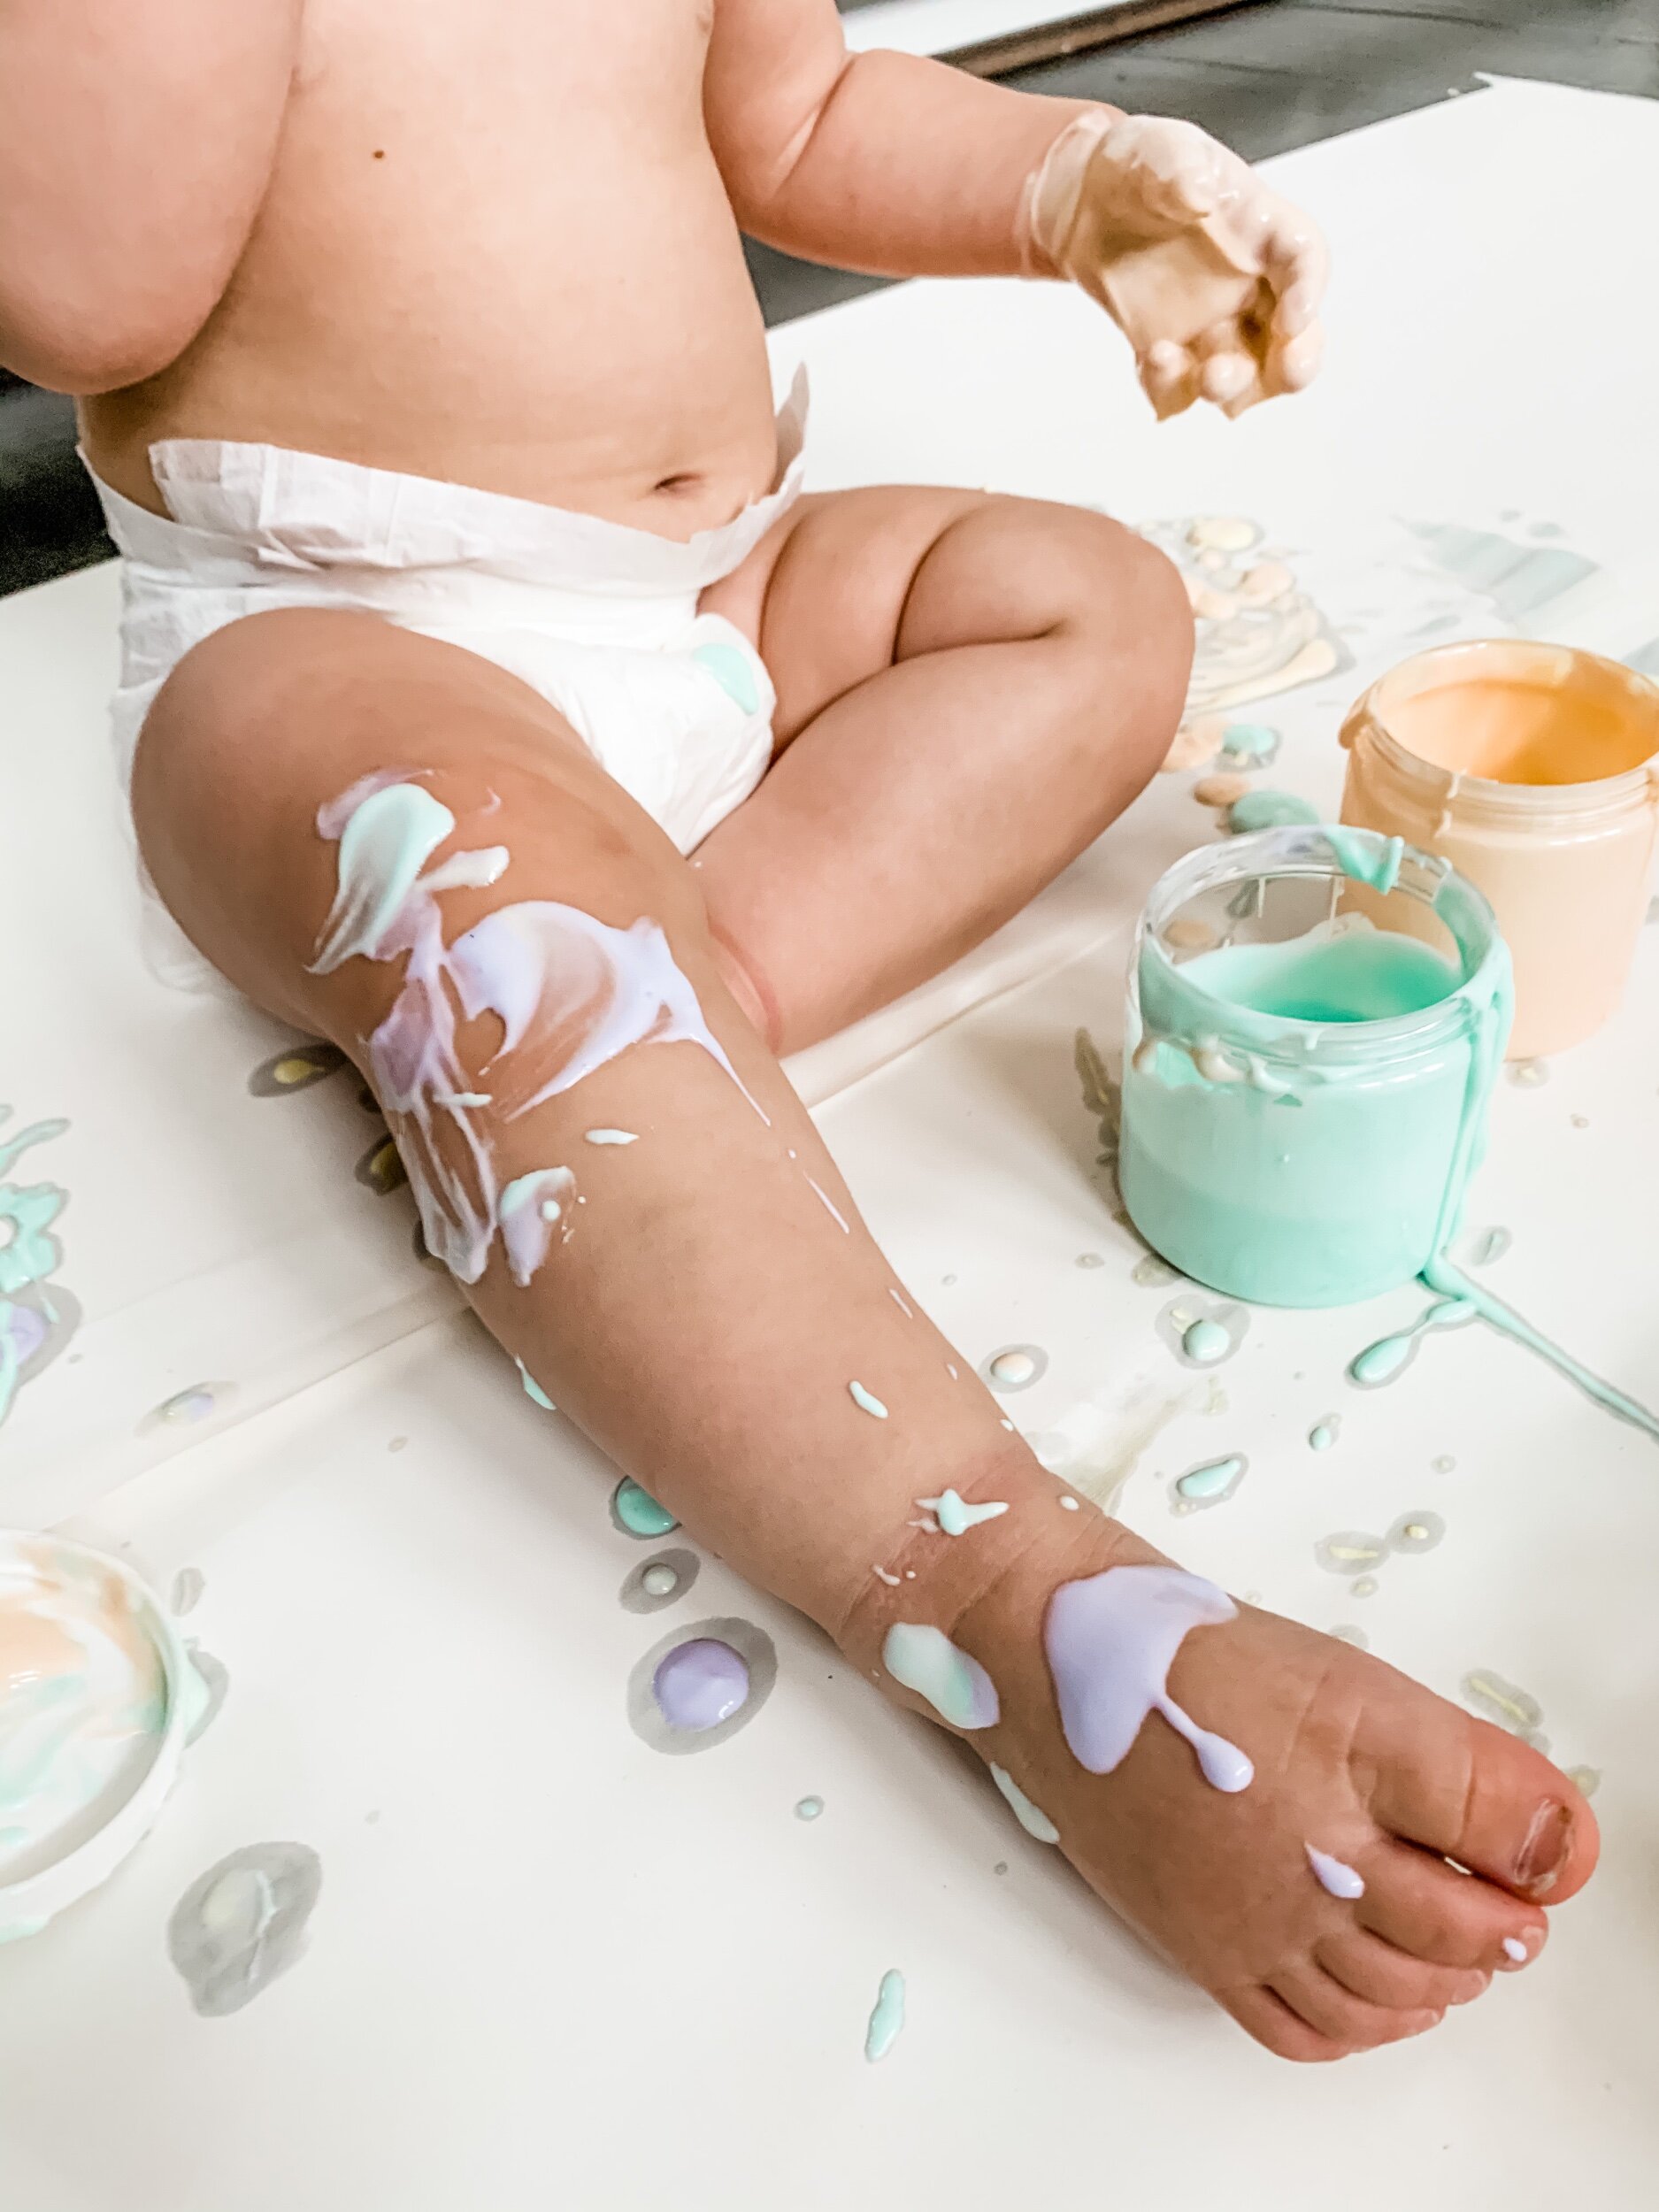
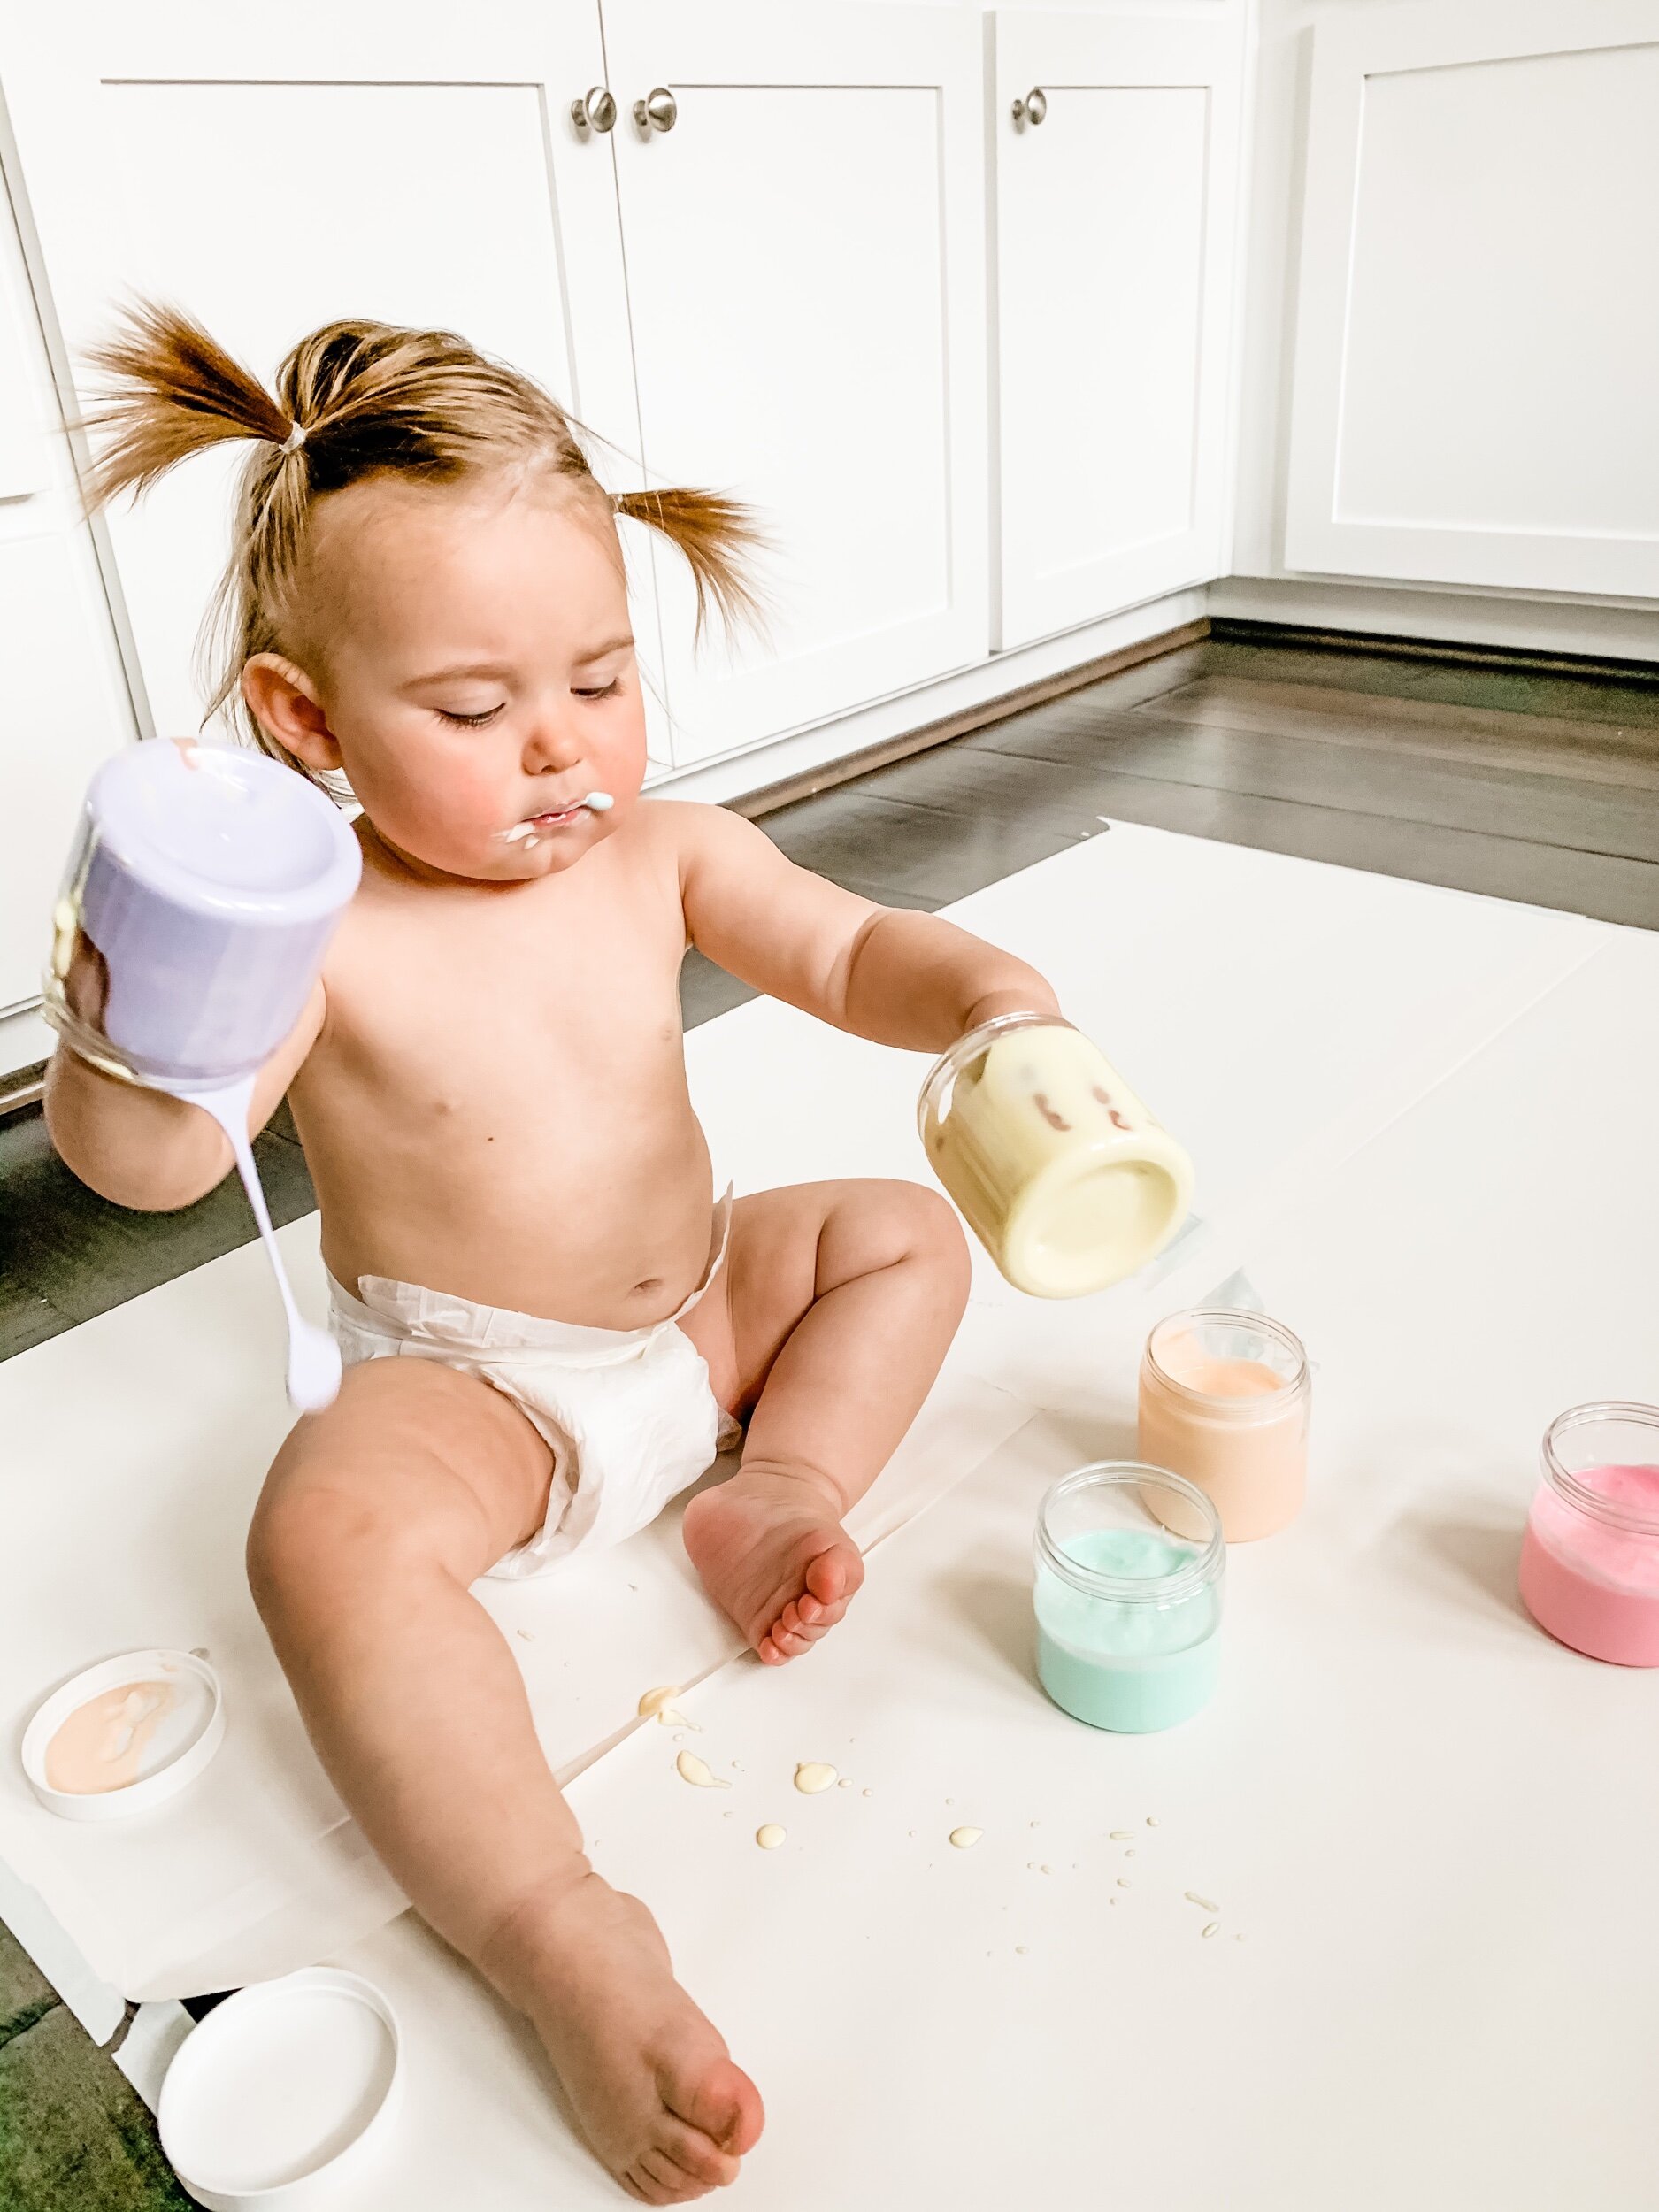
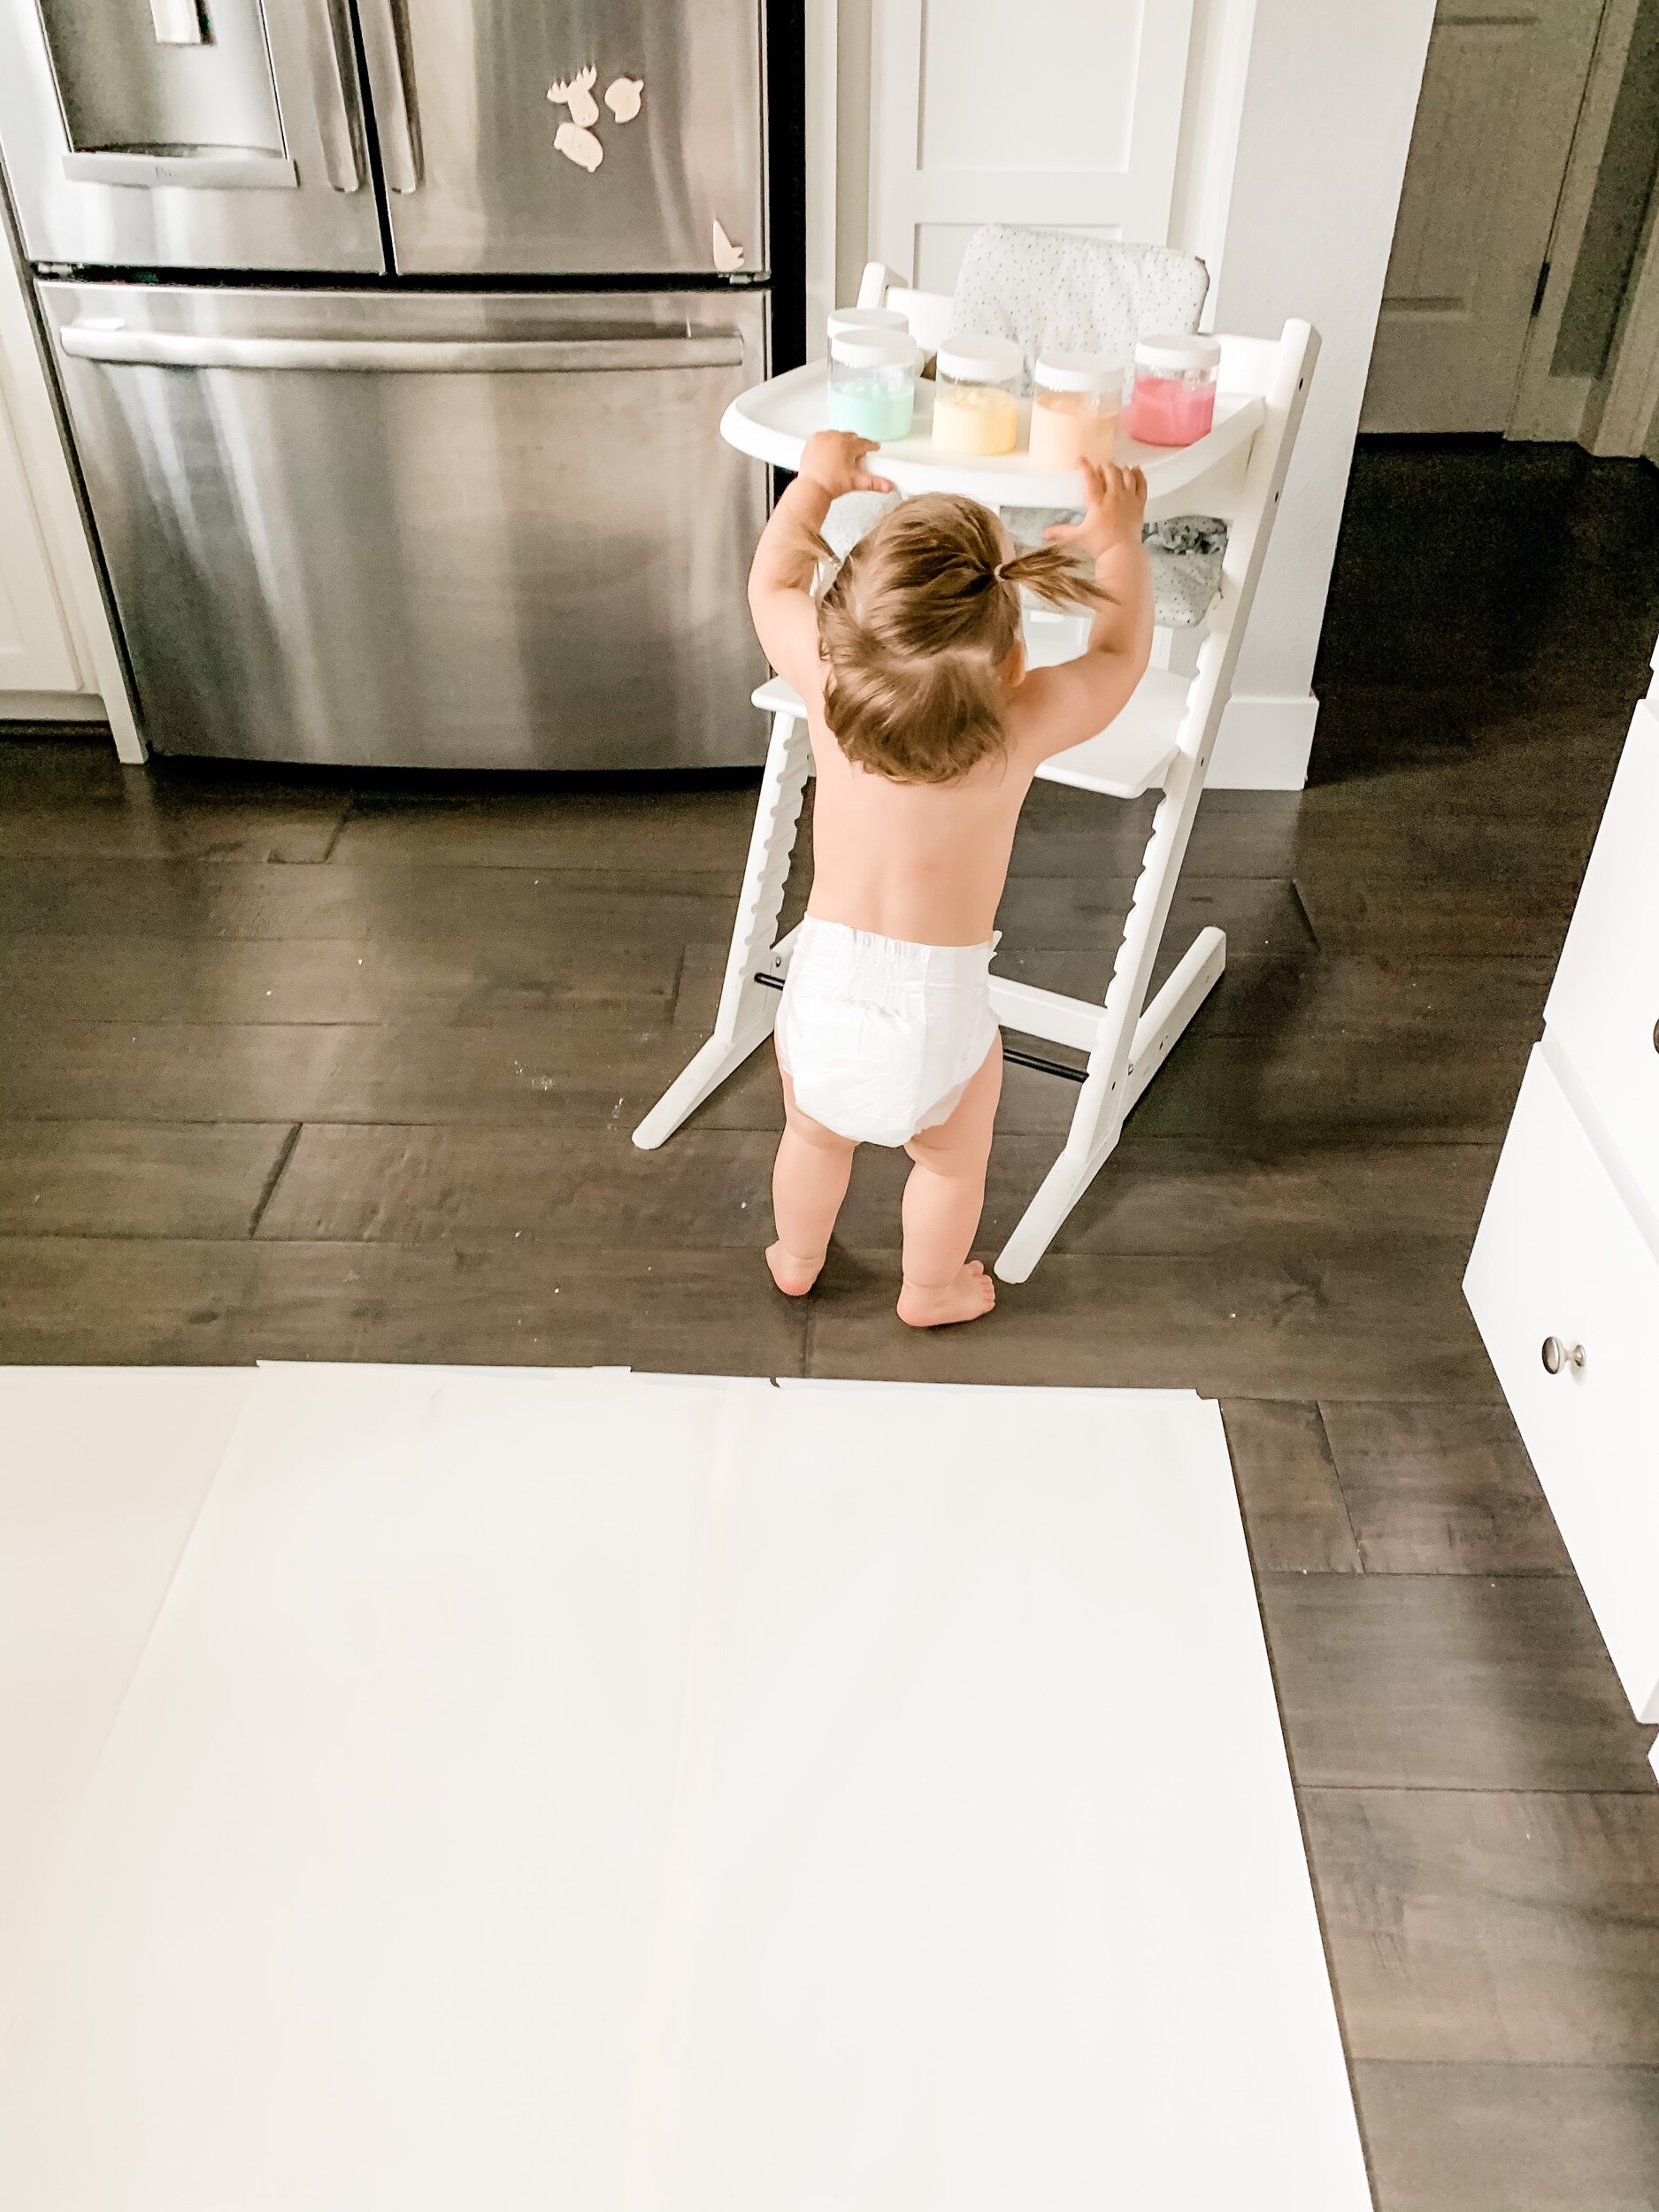
It was so much fun to make these rainbow colored paints that I almost didn’t want to let Sofie make a mess of them. But I went ahead and put some butcher paper down on the kitchen floor and taped it down with painters tape. In hindsight, I wish I had done it two layers thick because the yogurt was quite liquidy and it did deep through the paper. It was still pretty easy to clean up though.
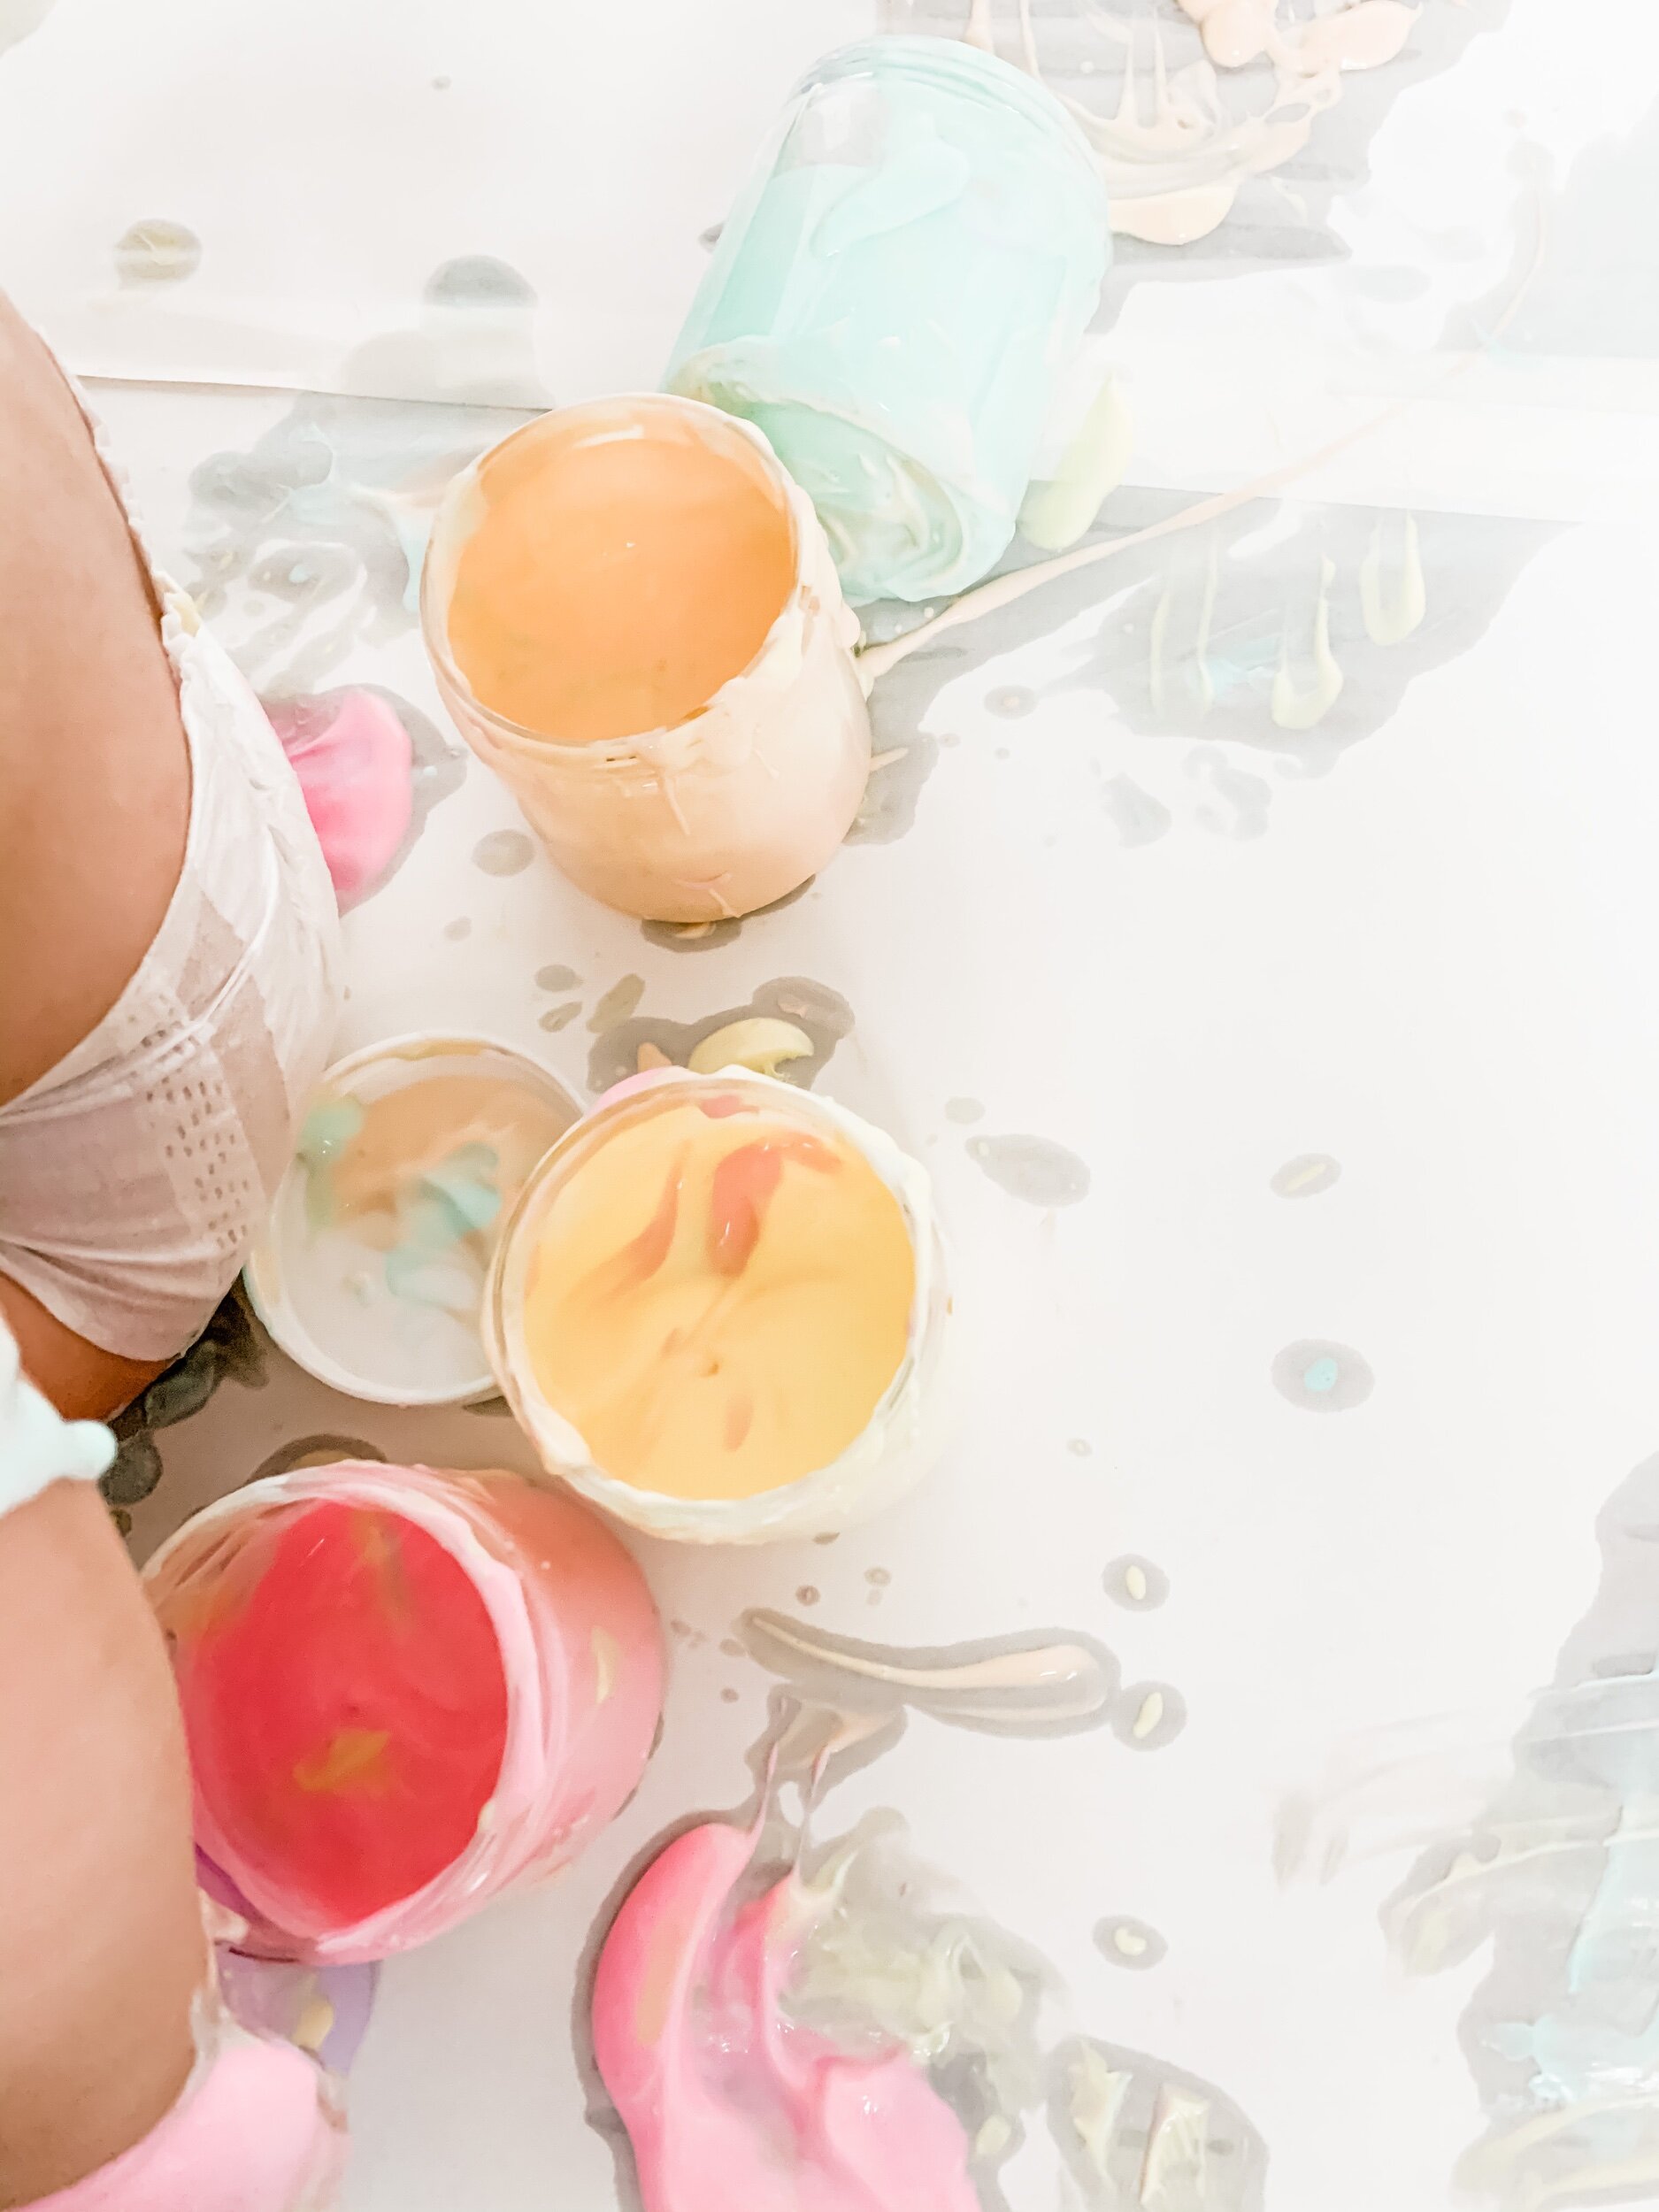
I put the paints up on her high chair for safe keeping while I got everything ready. But that didn’t last long — she was reaching for them as soon as she saw them. I stripped her down to her diaper so as not to get her clothes messy. Then I opened up one jar at a time and let her have at! Here’s the result:
Looking for more great activities for learning colors?
Check out Goodnightfoxstudio.etsy.com Color Flashcards and use code FRIENDS15 to save!

